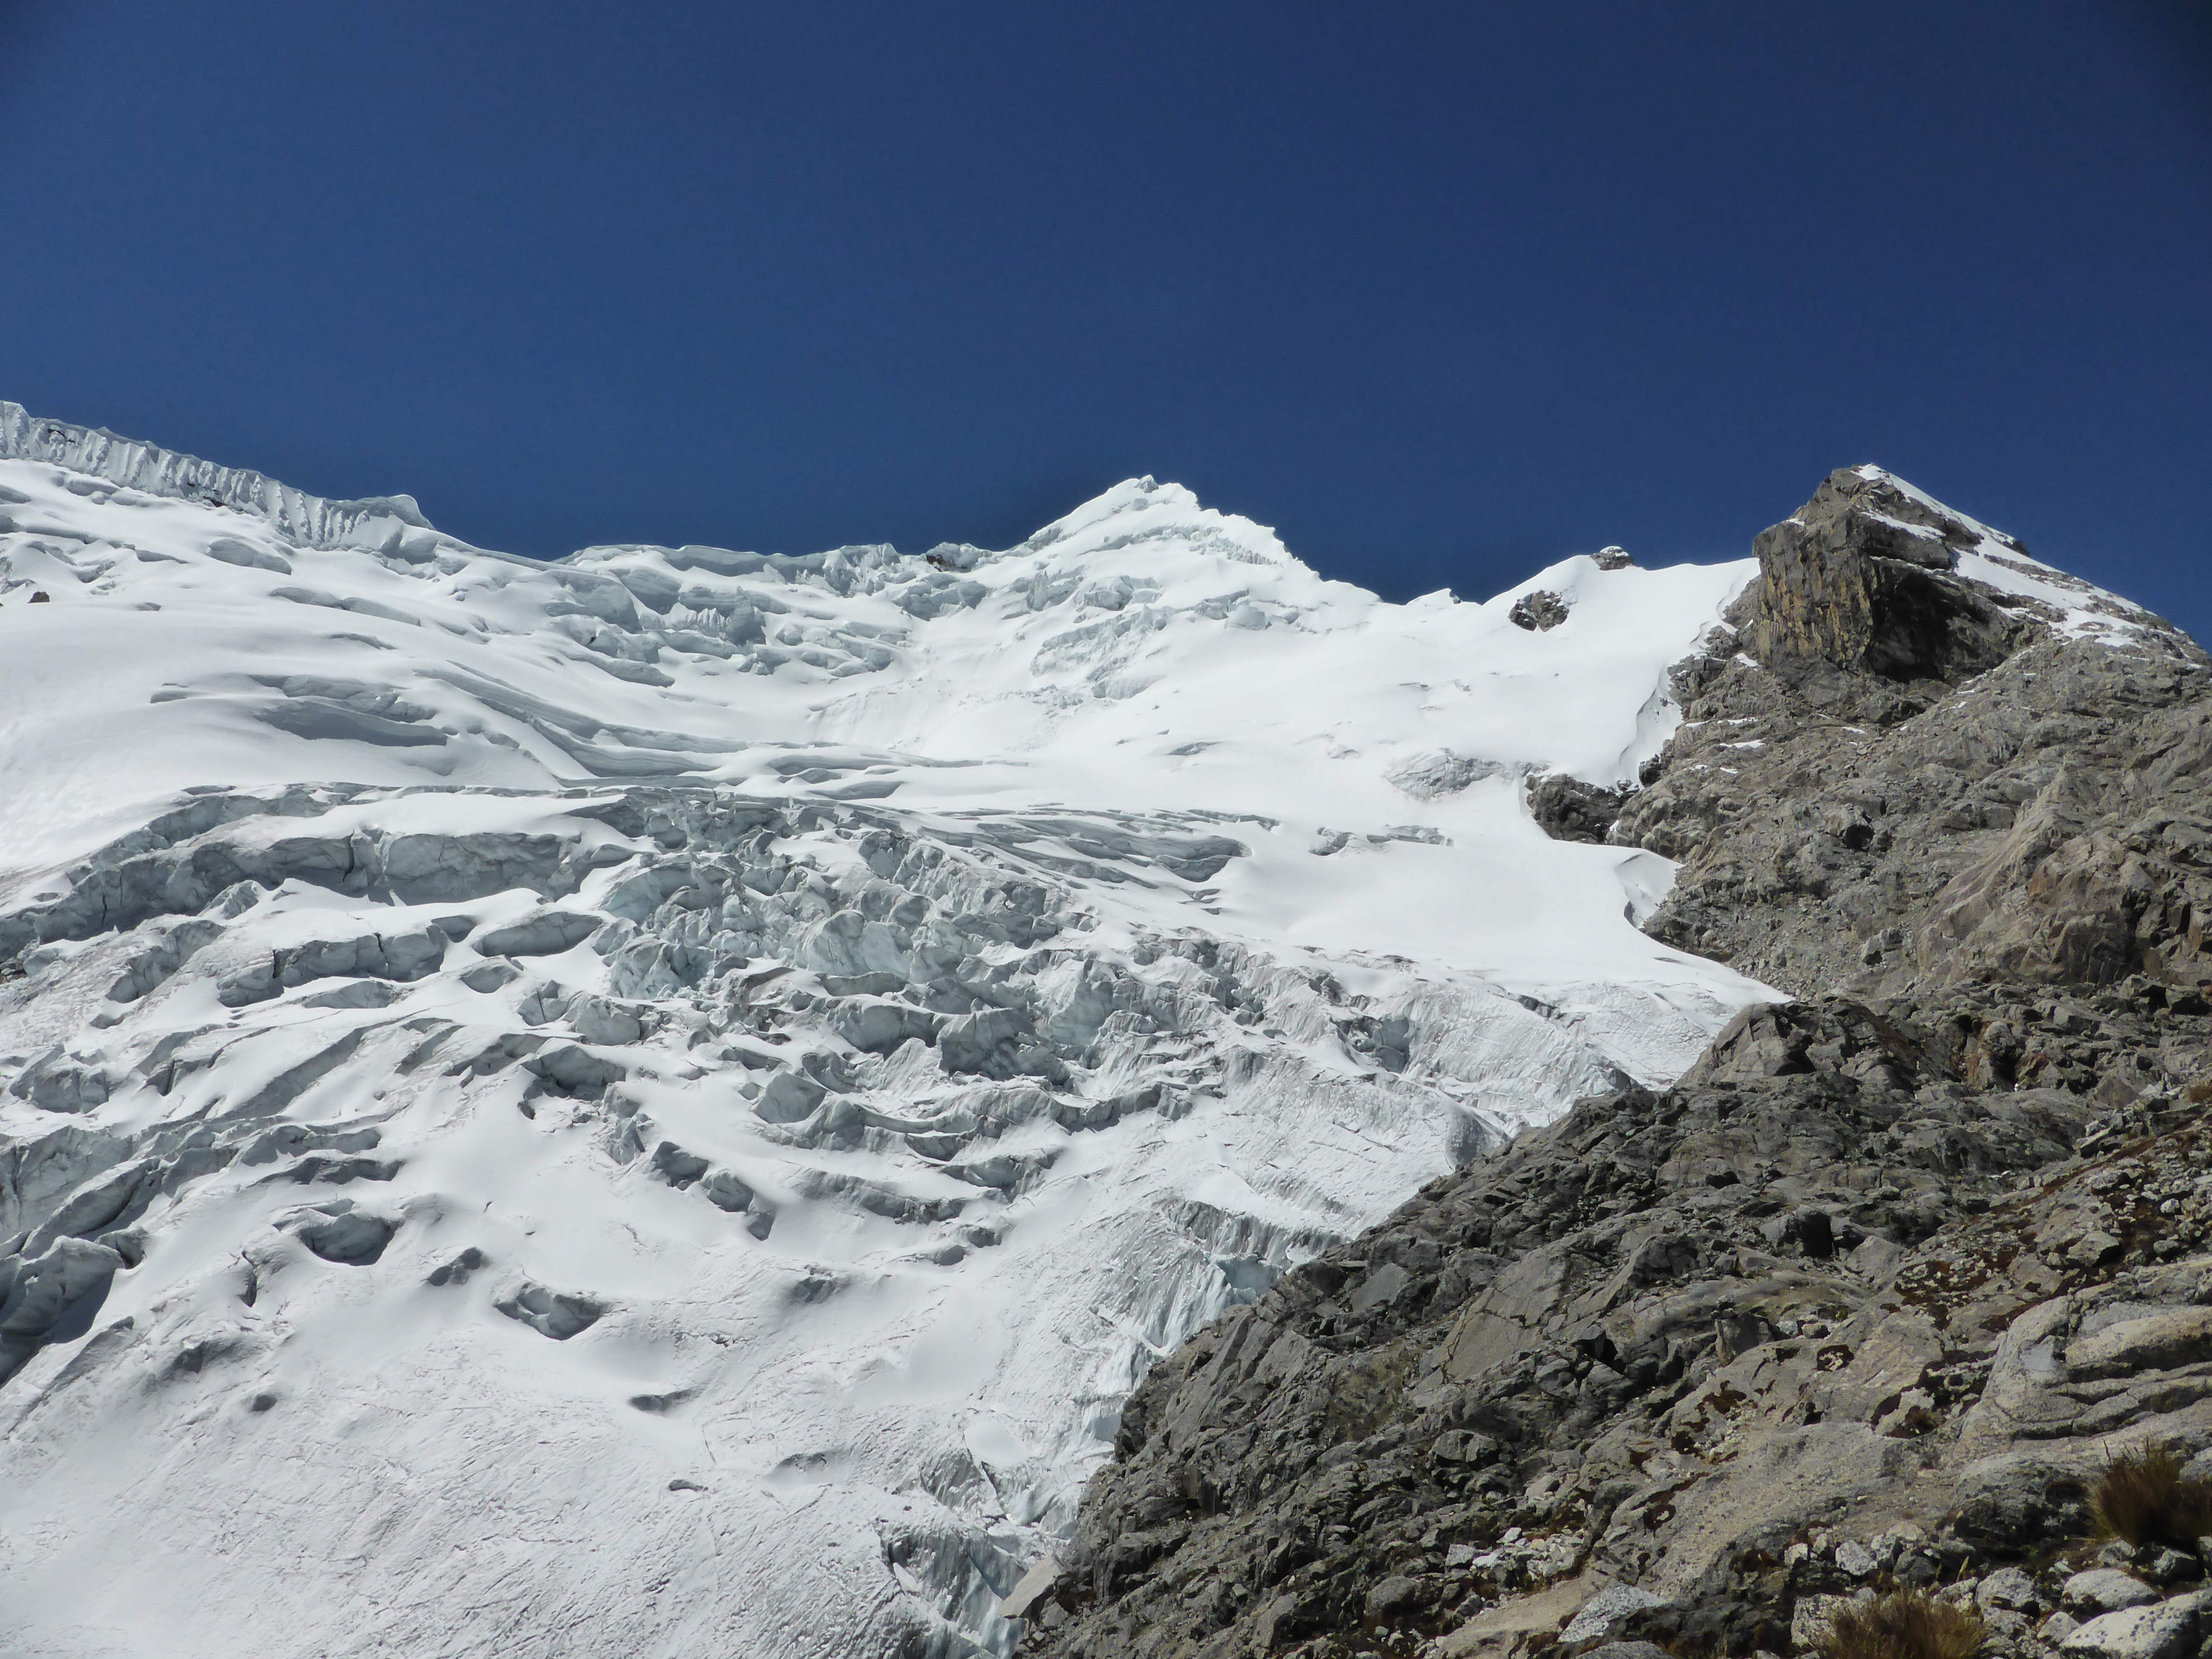
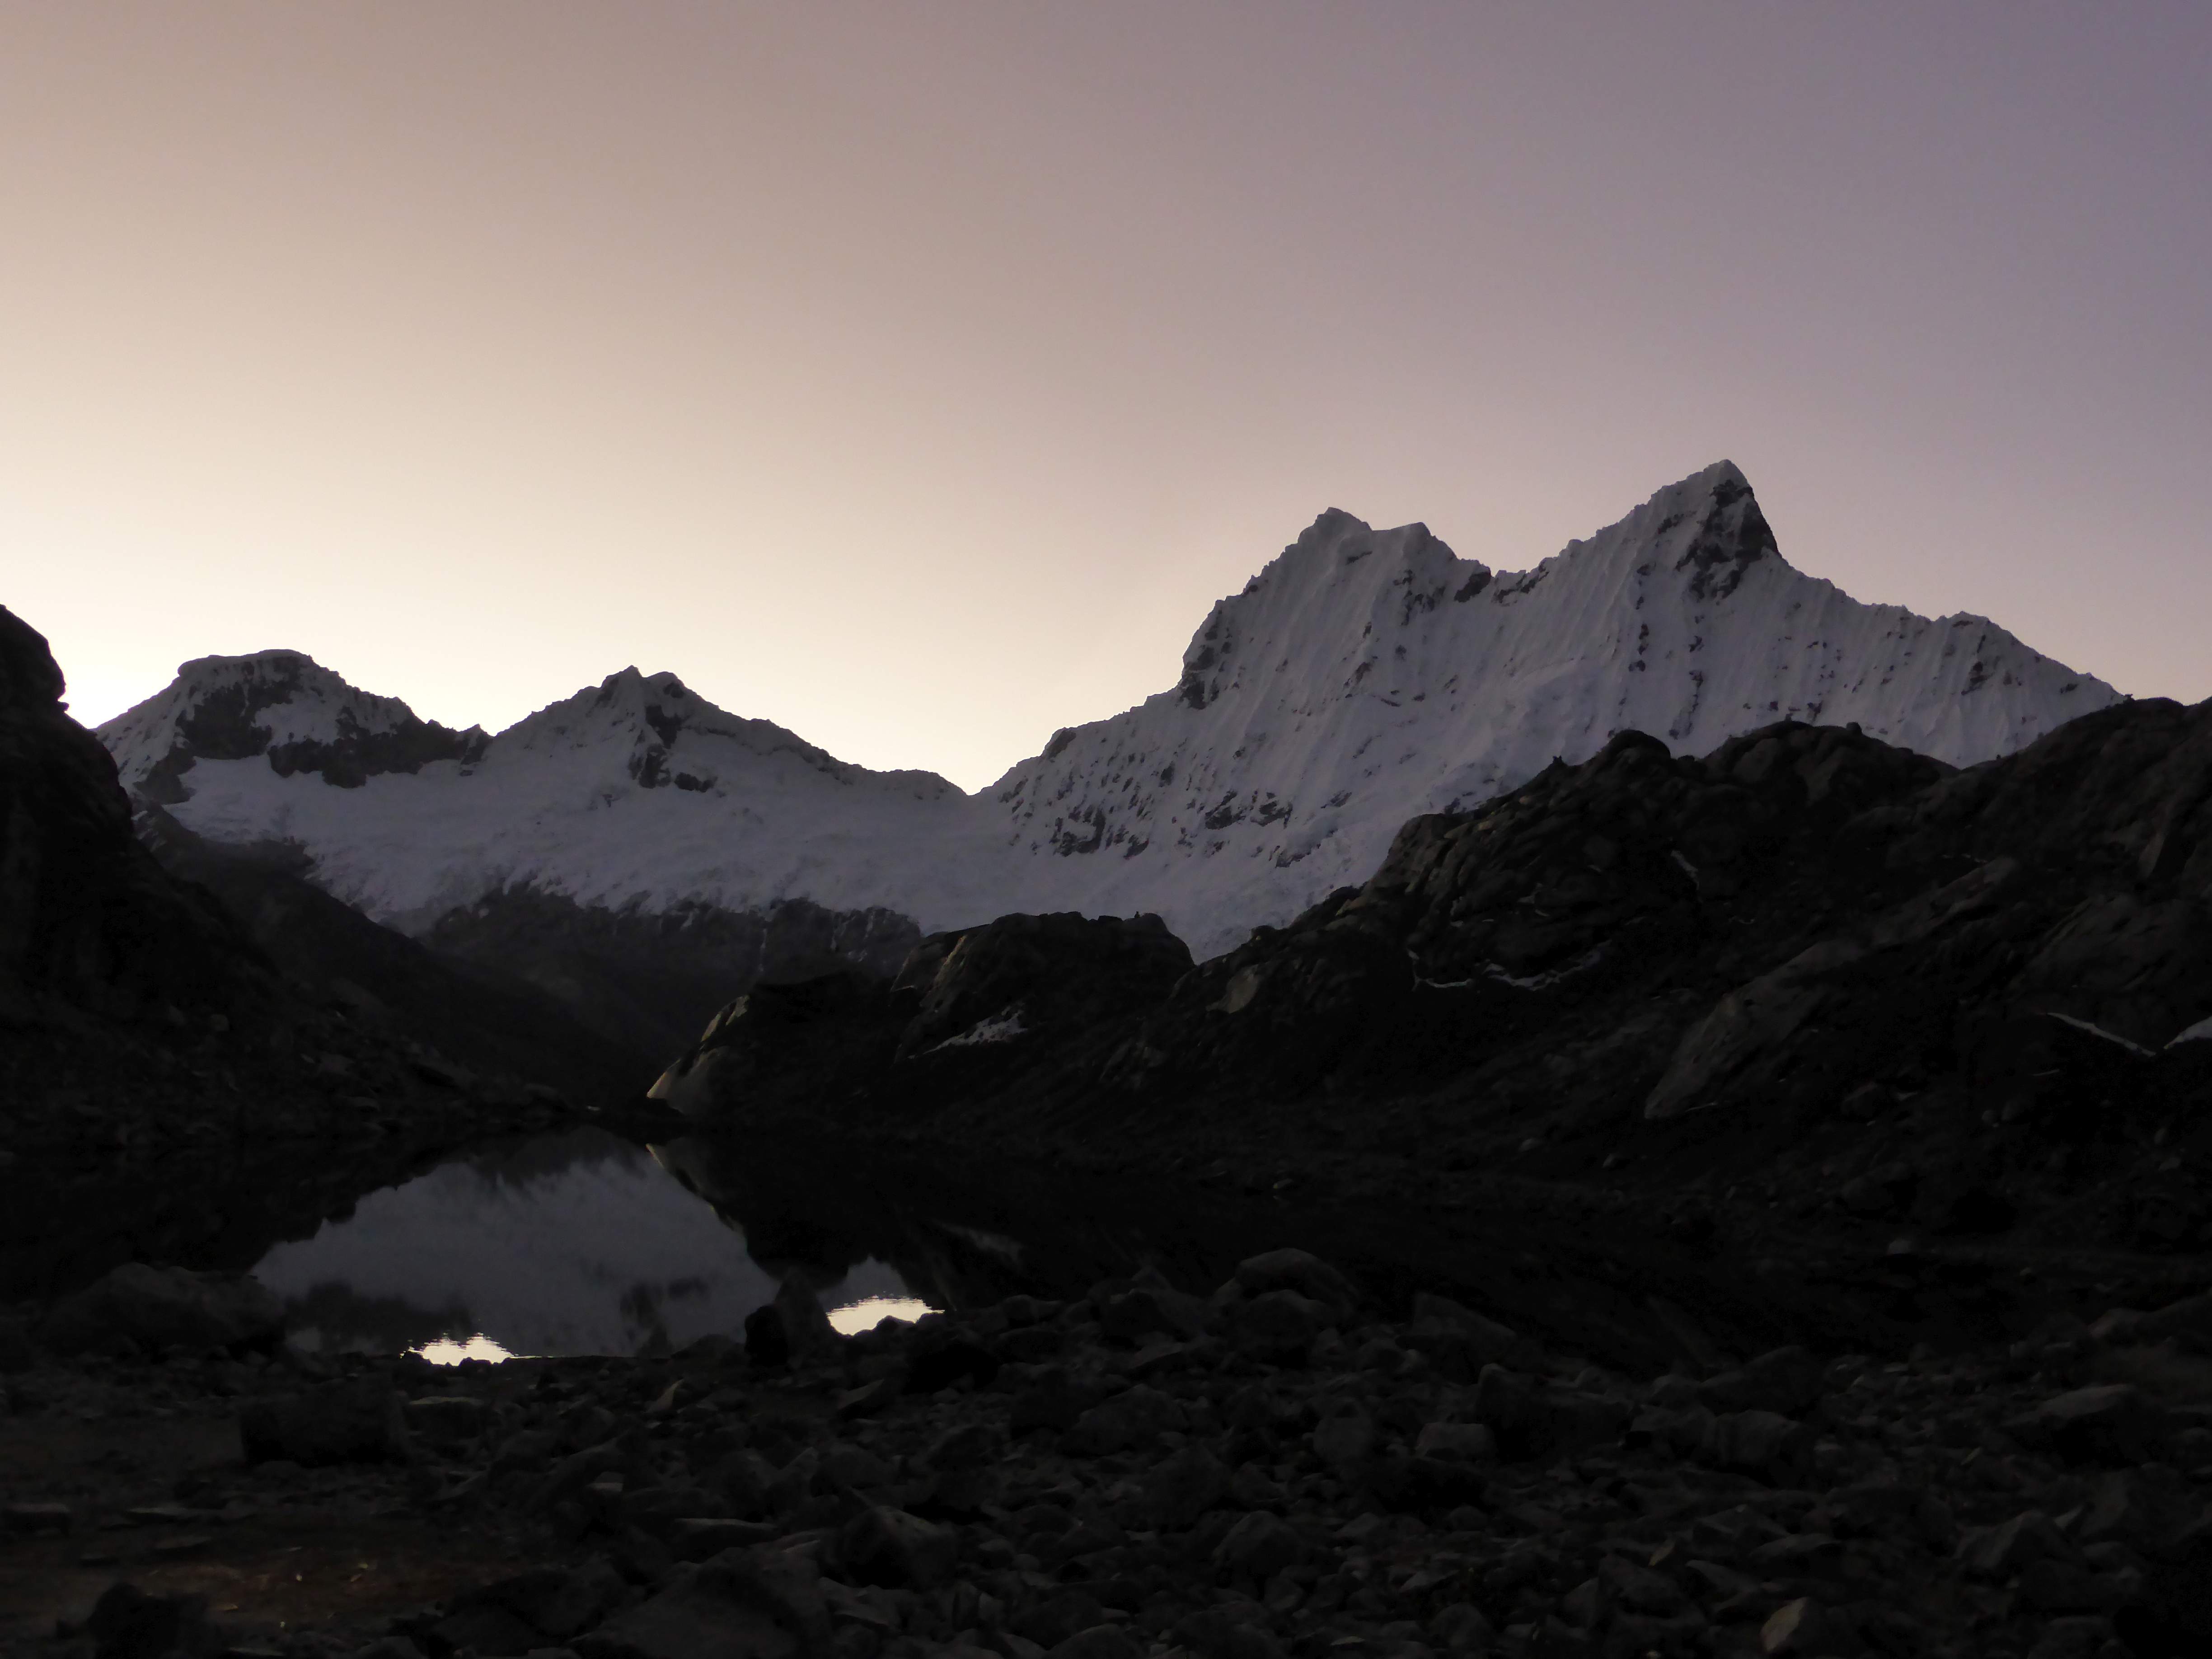
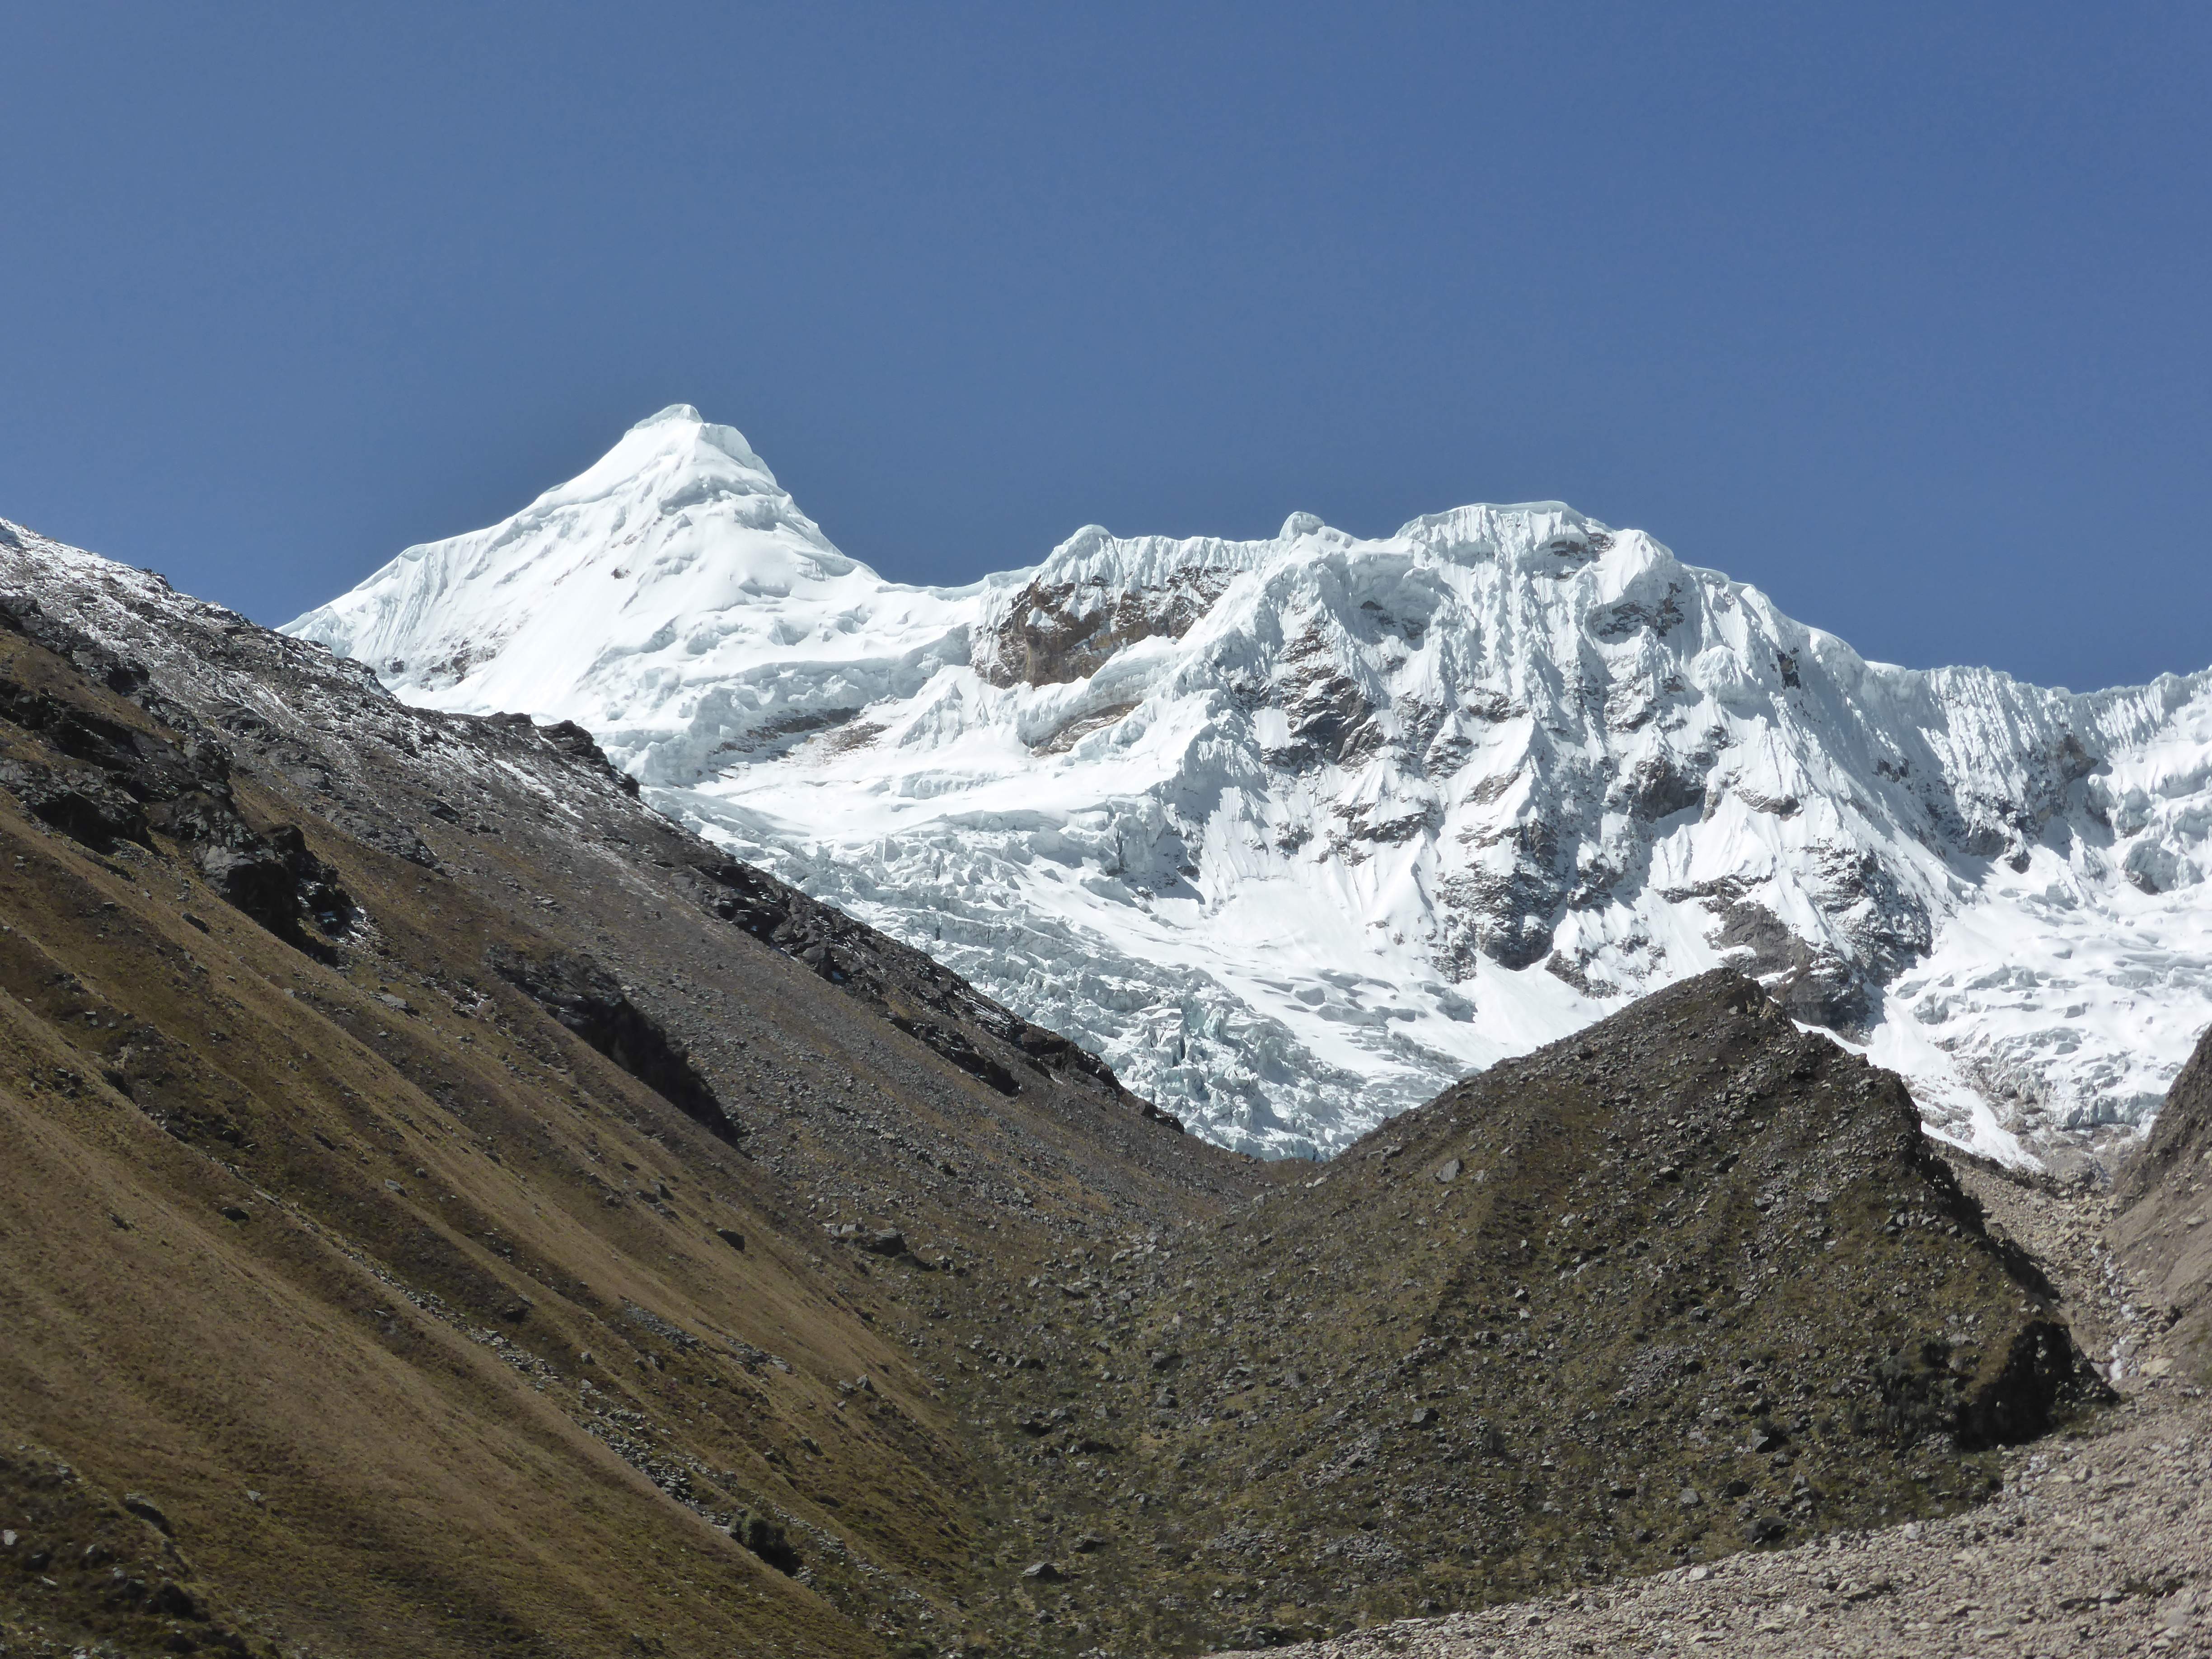
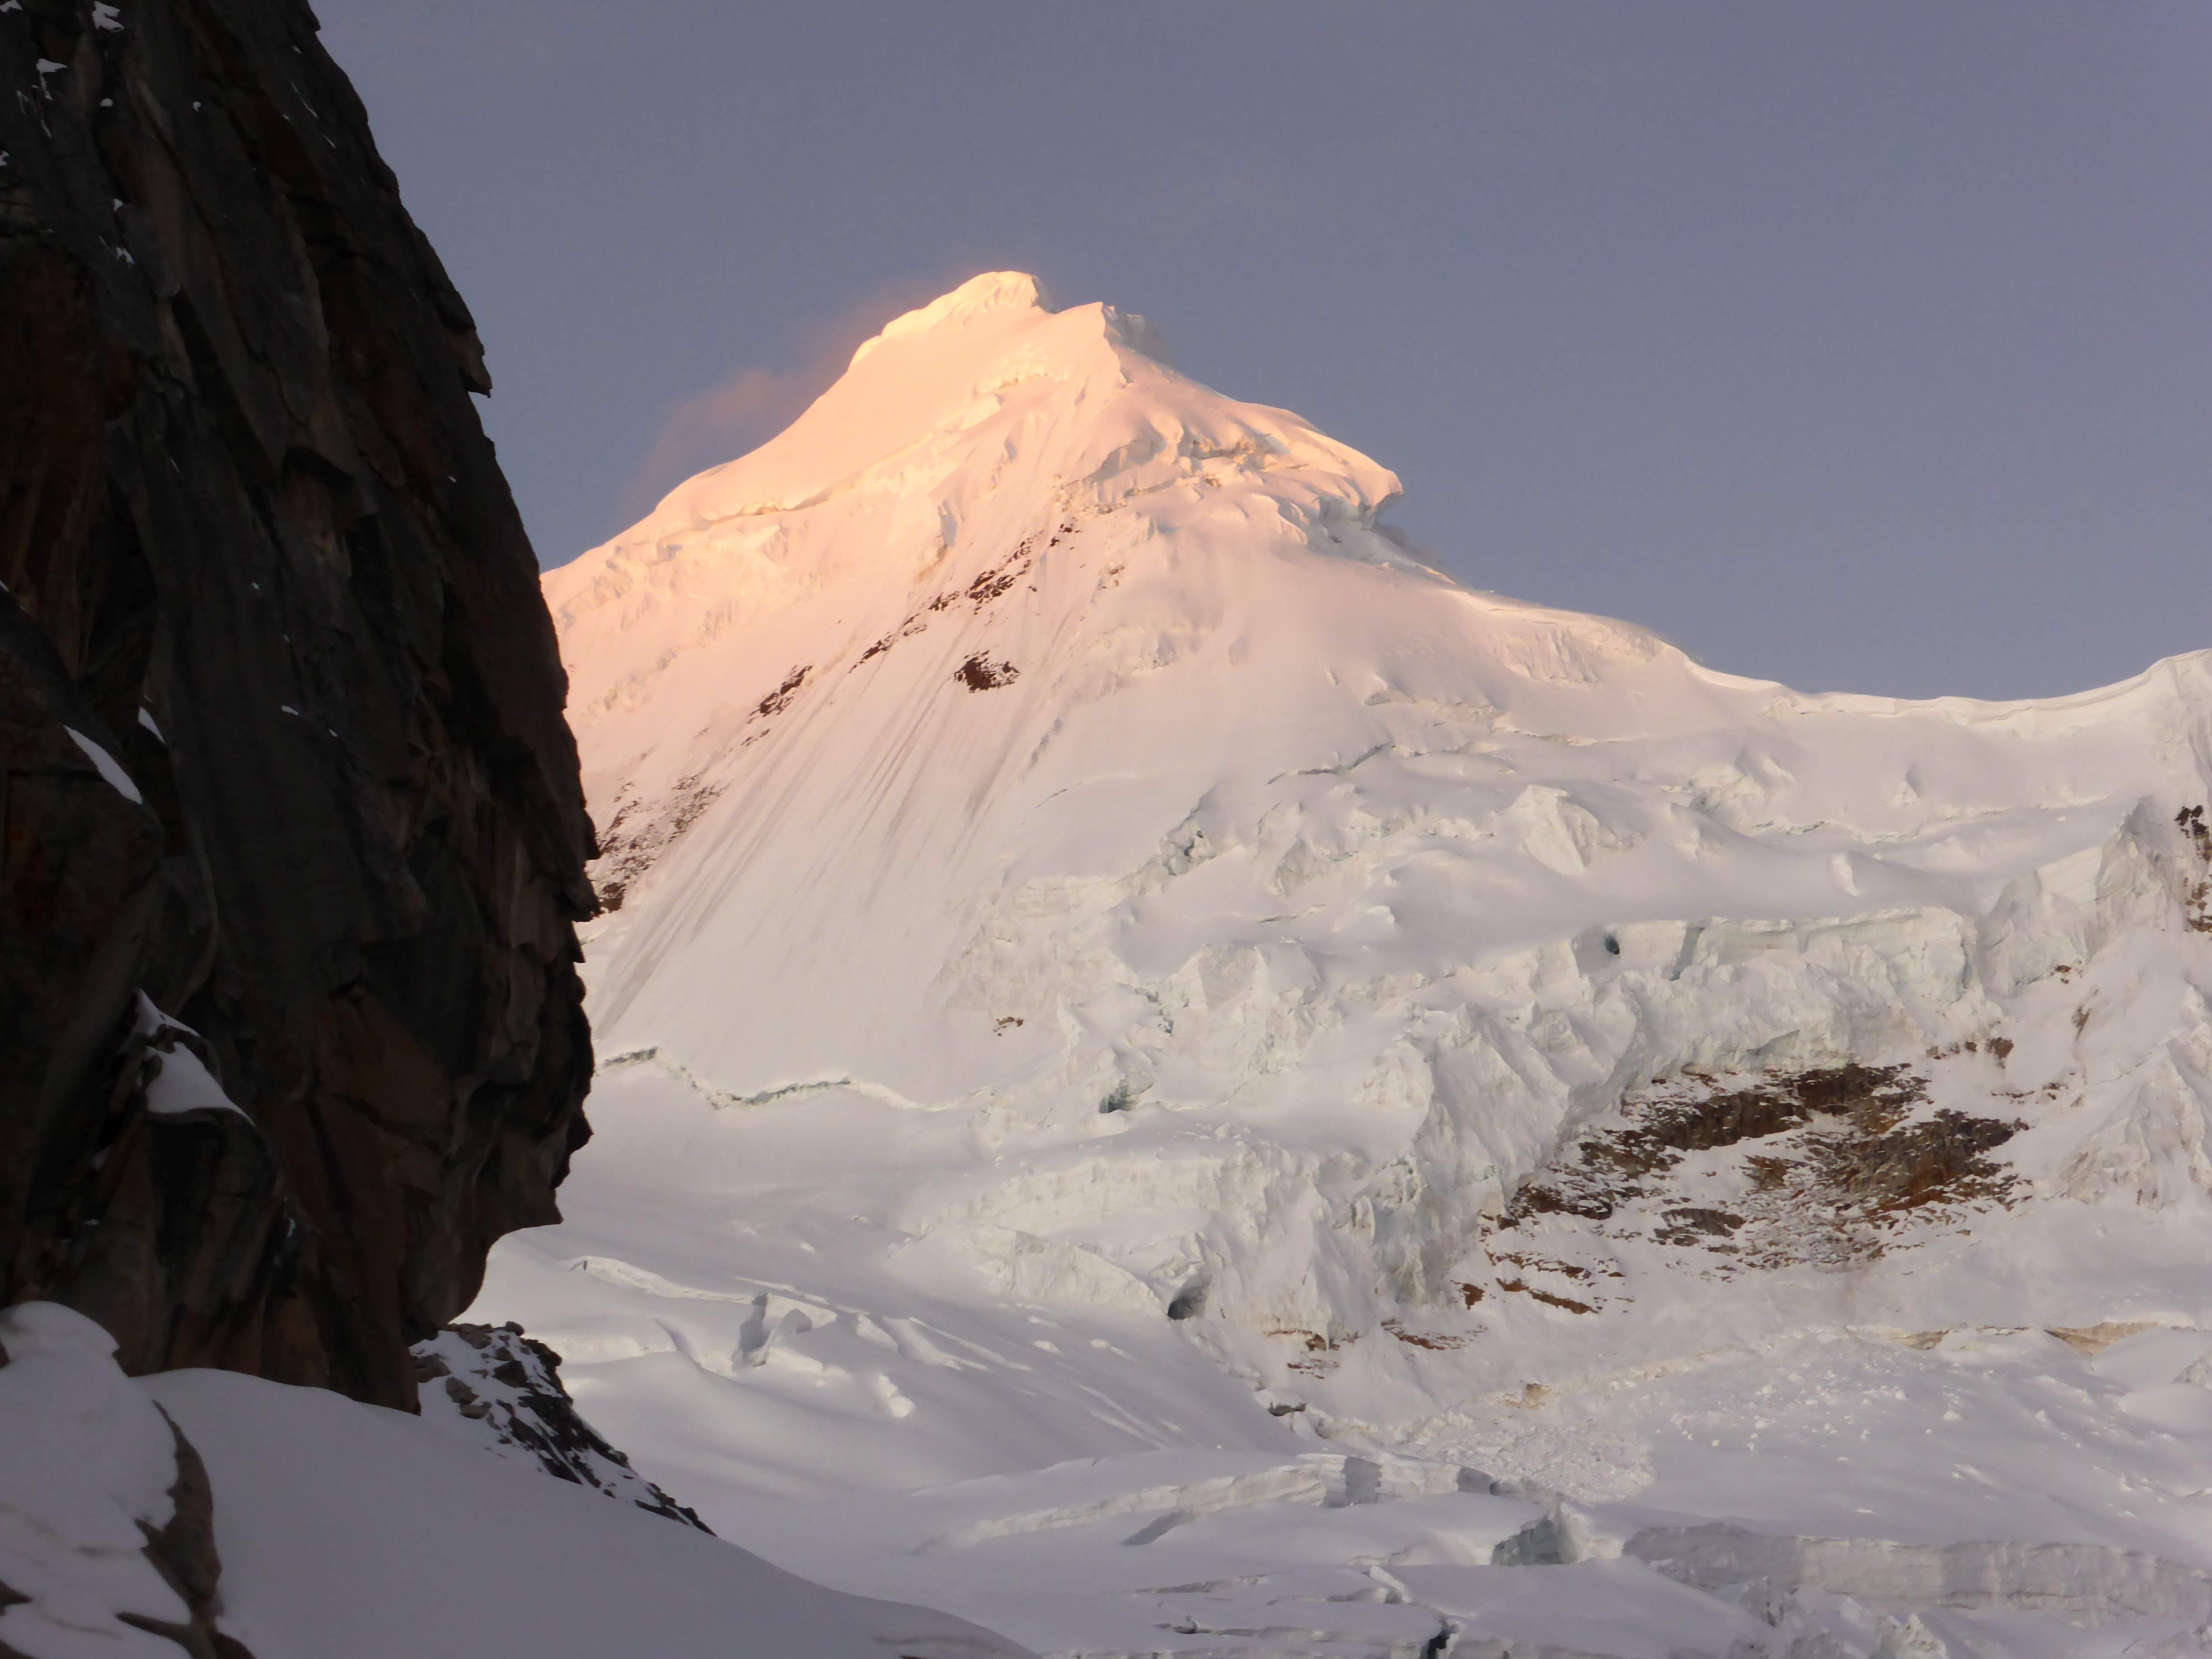
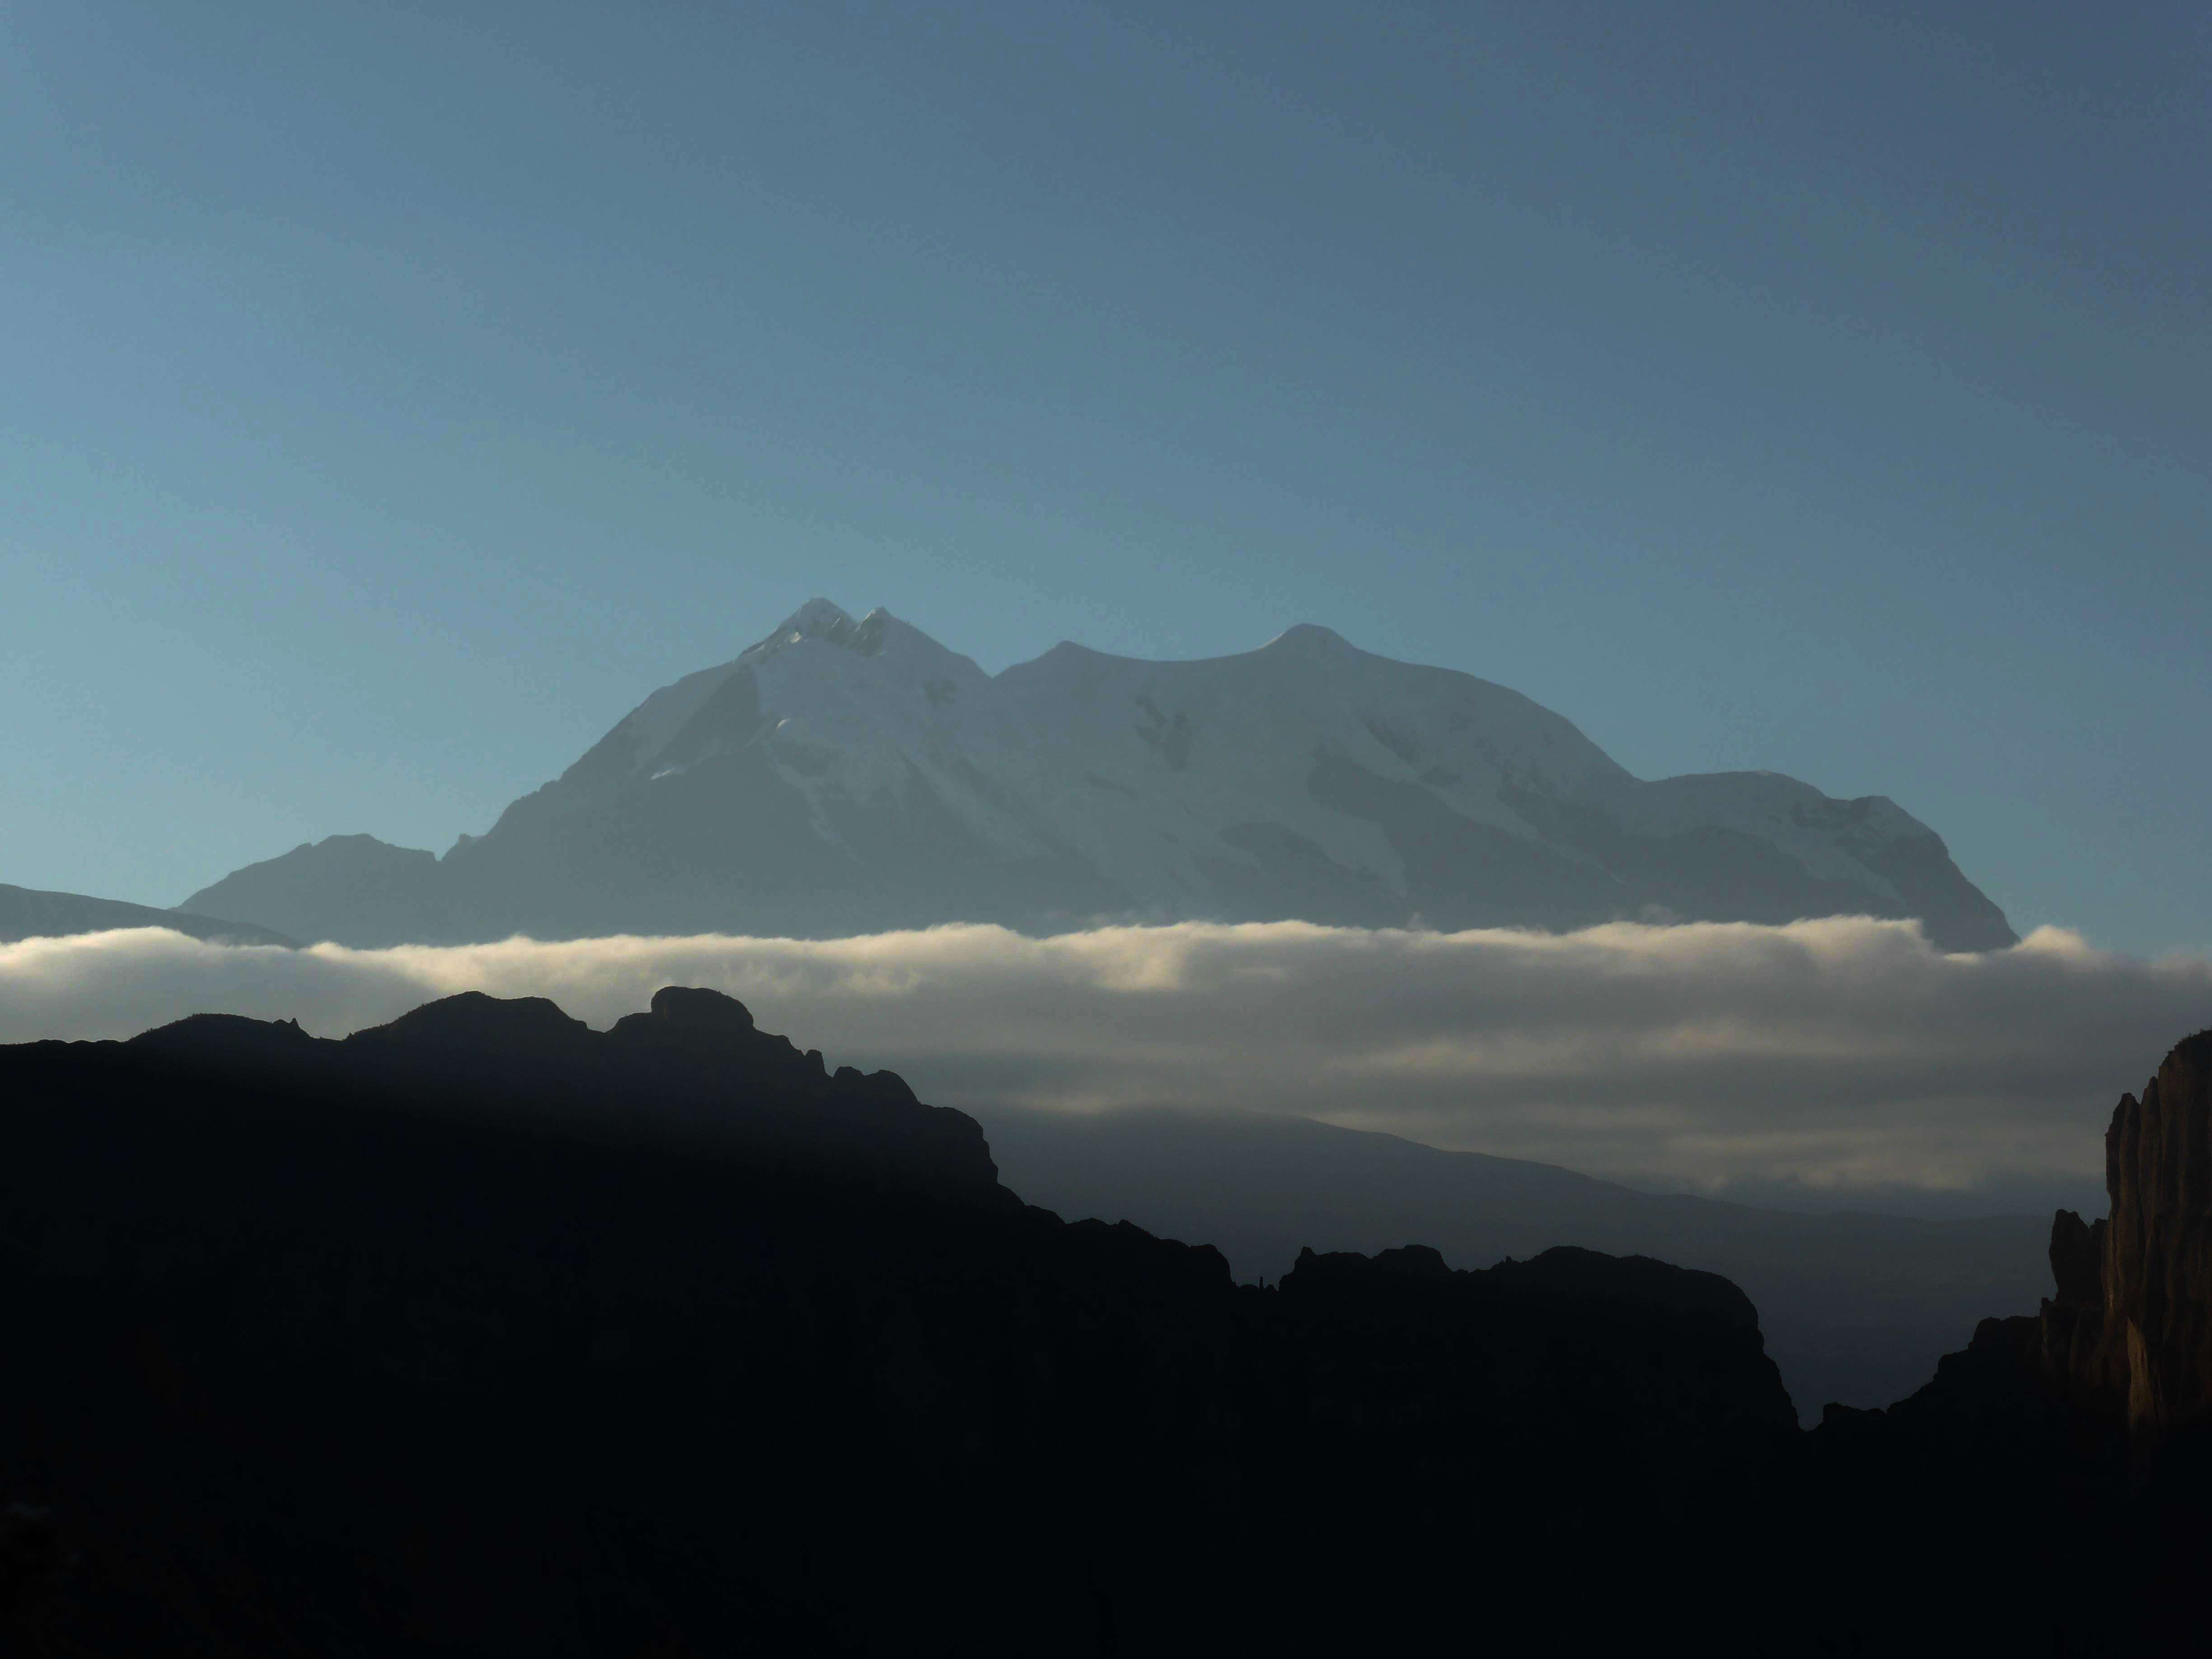
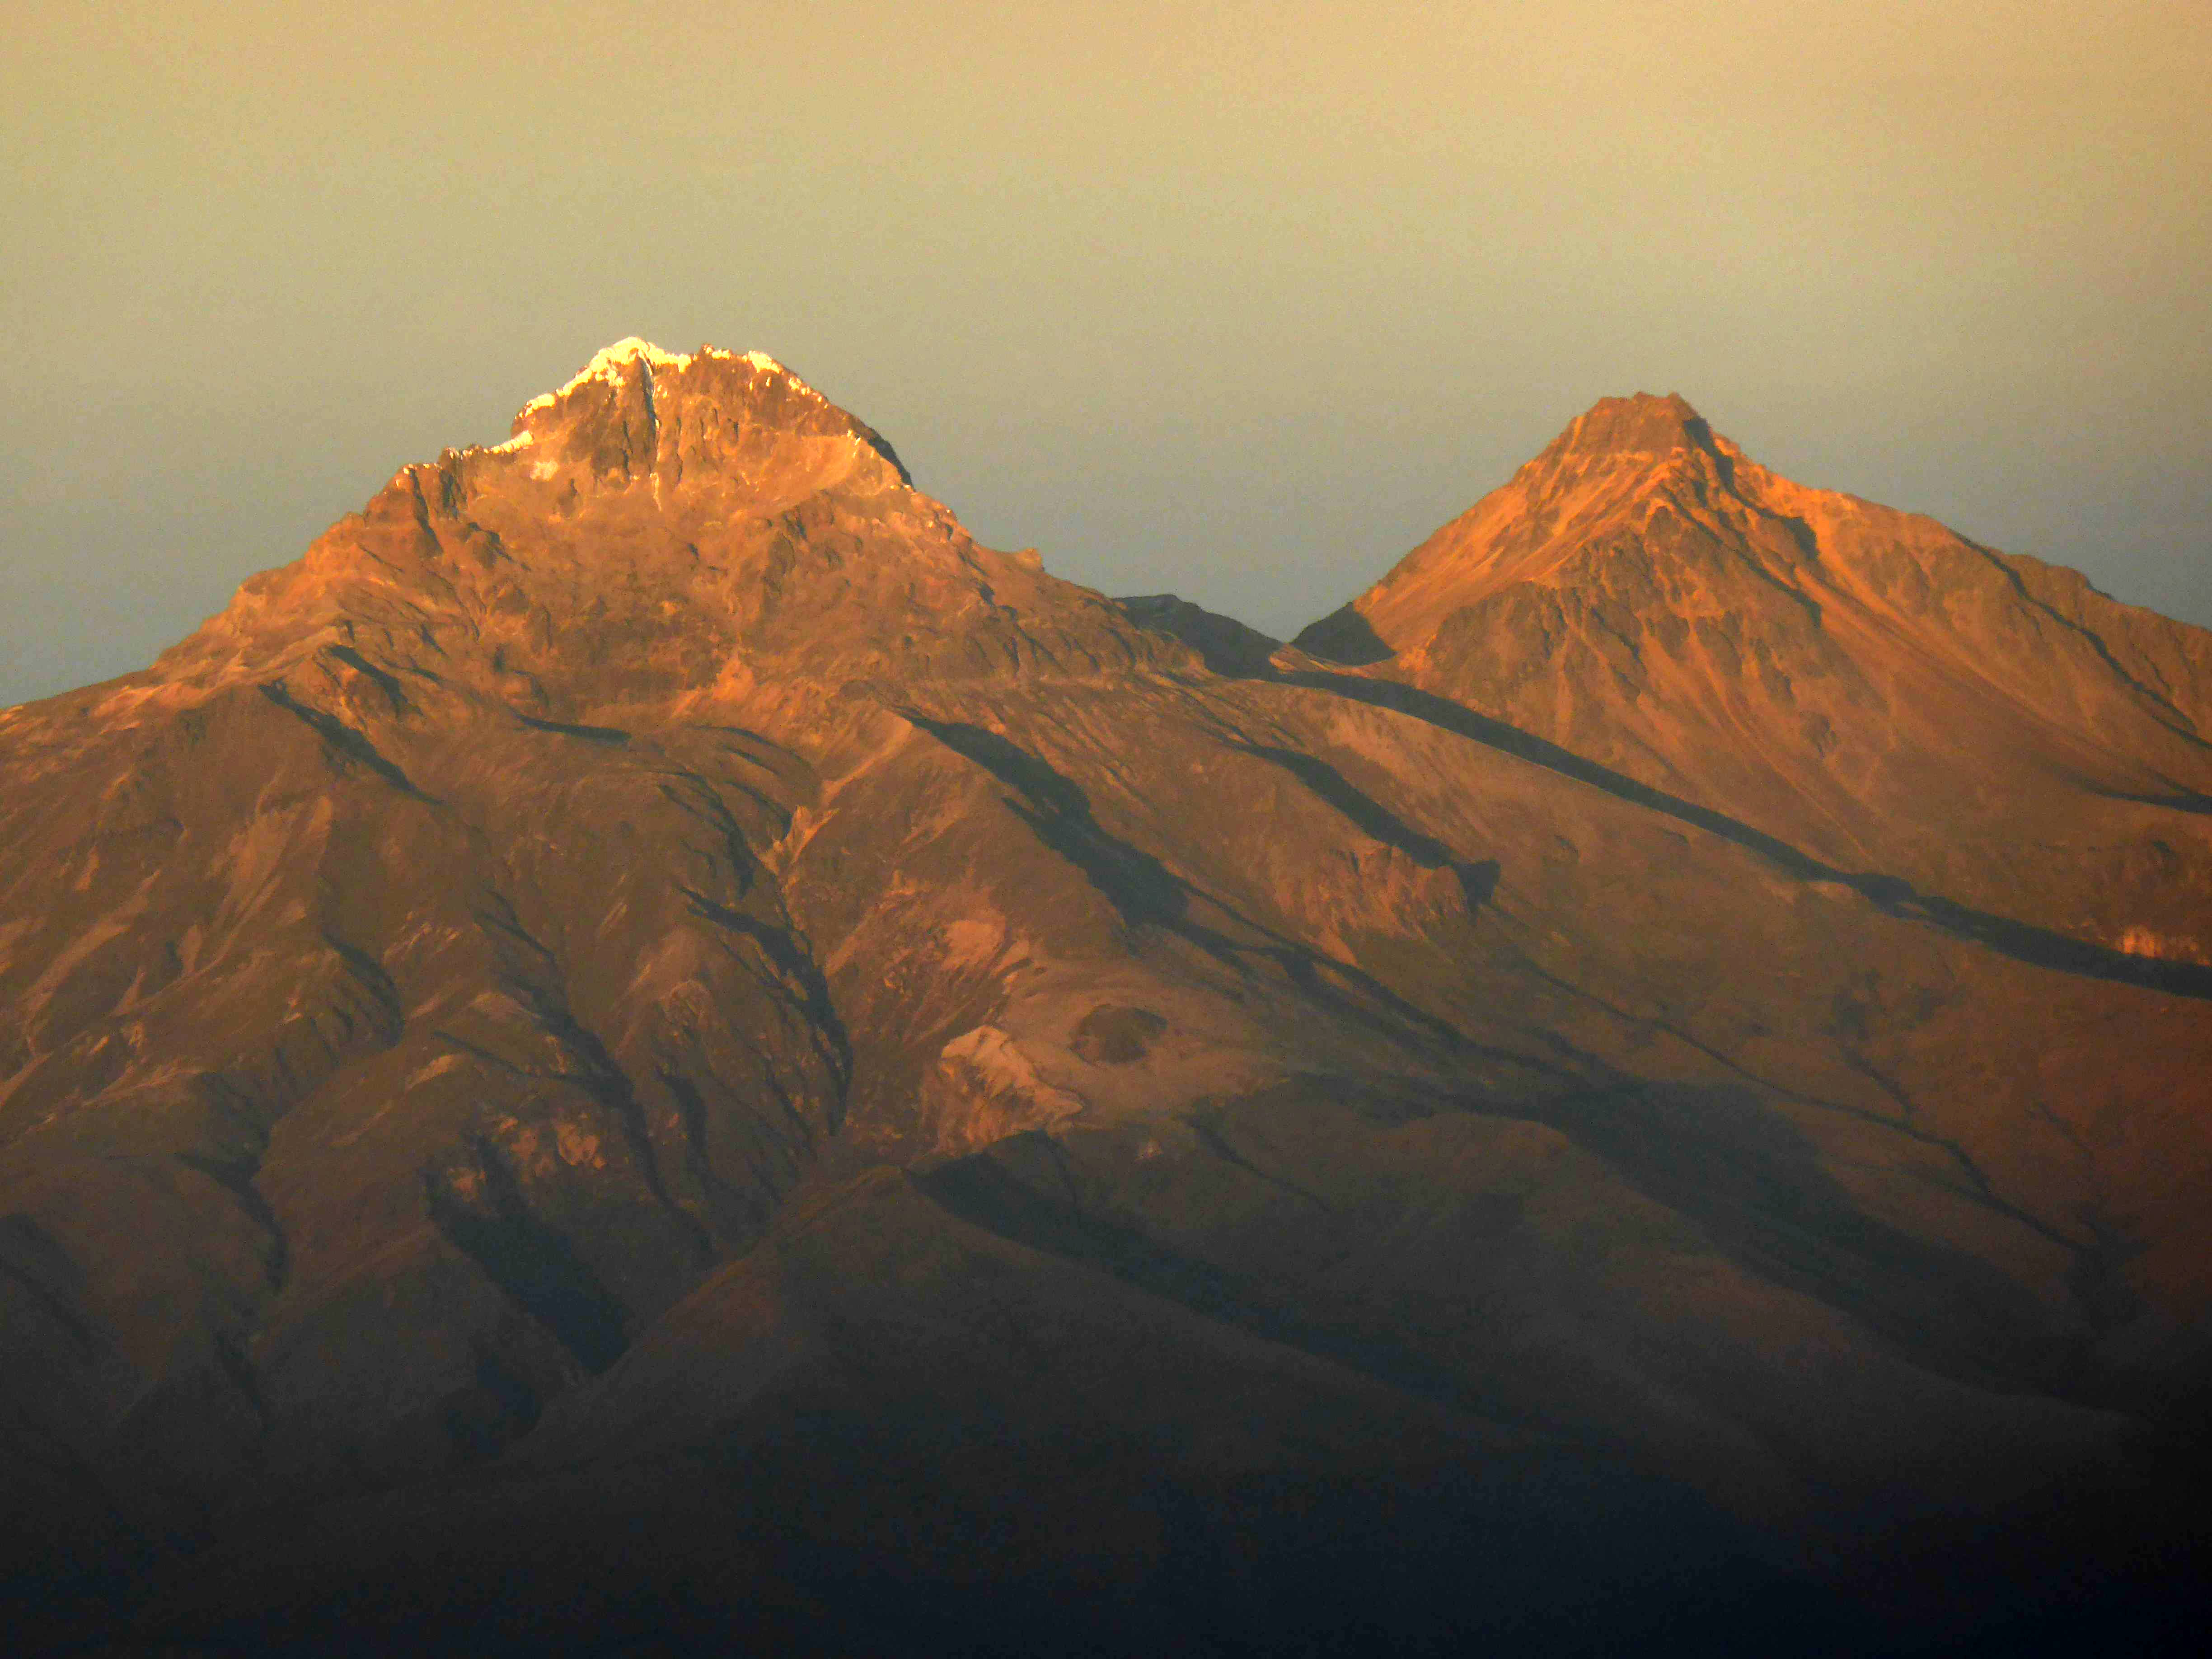
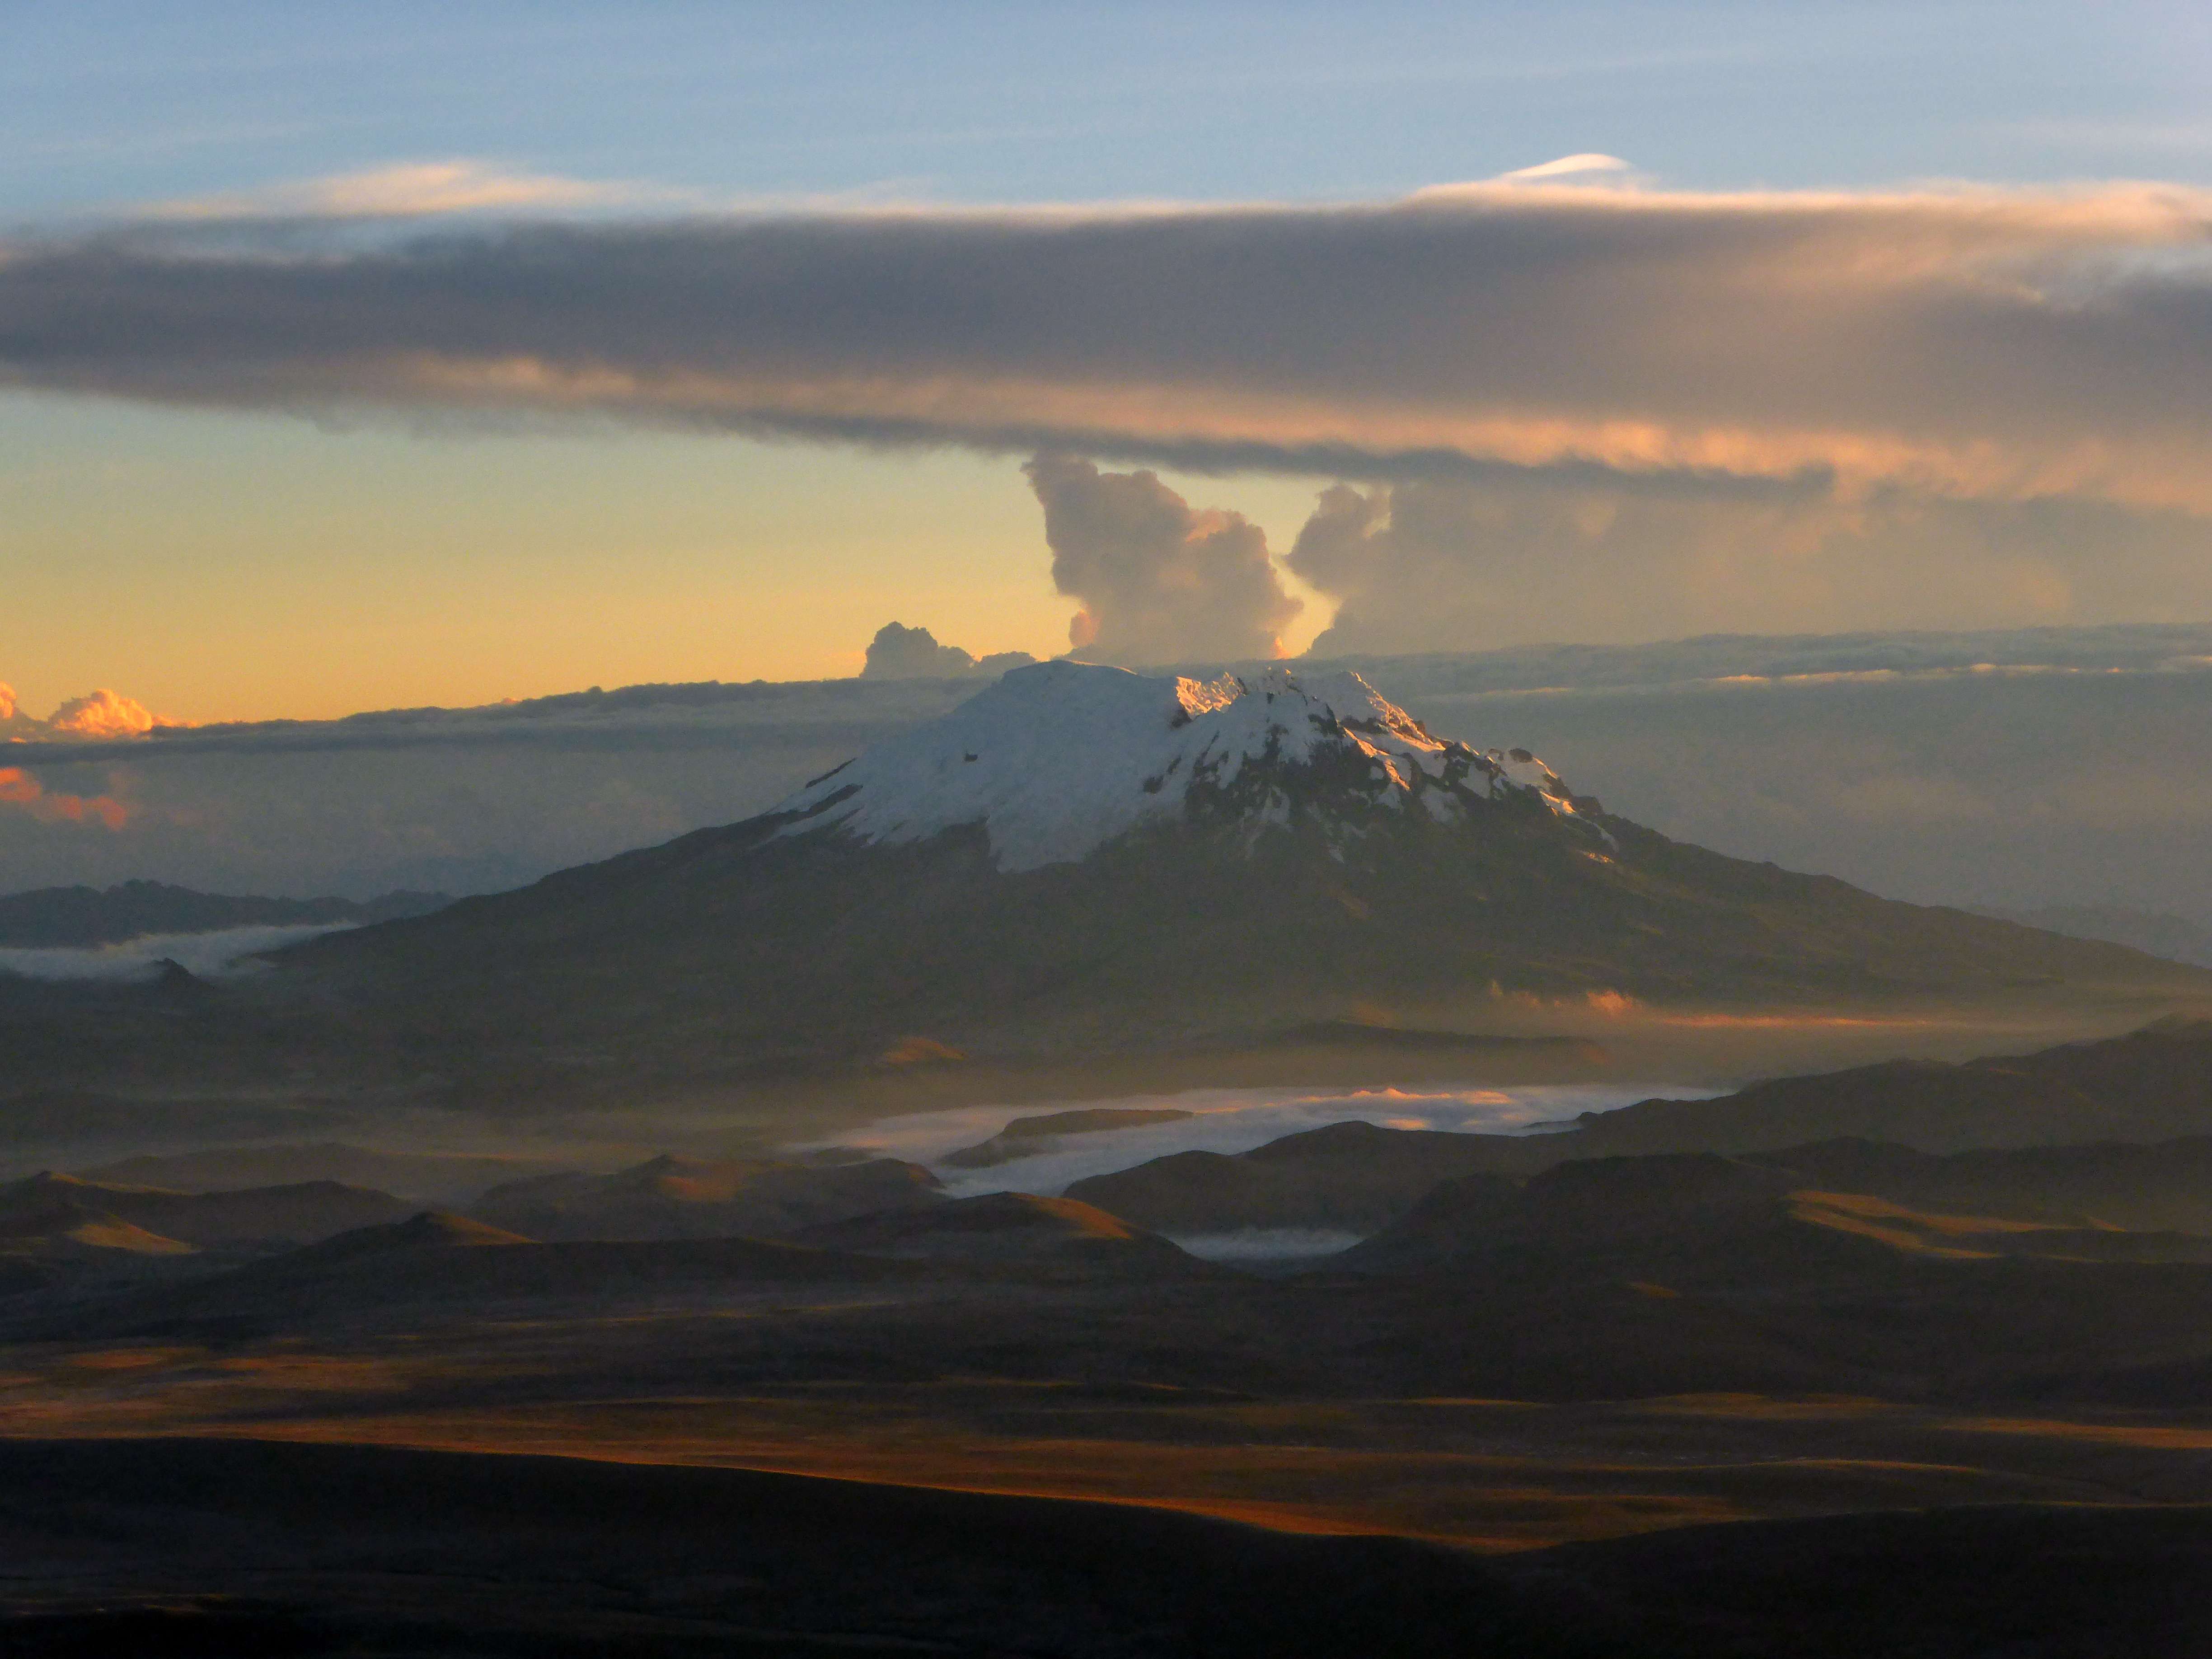
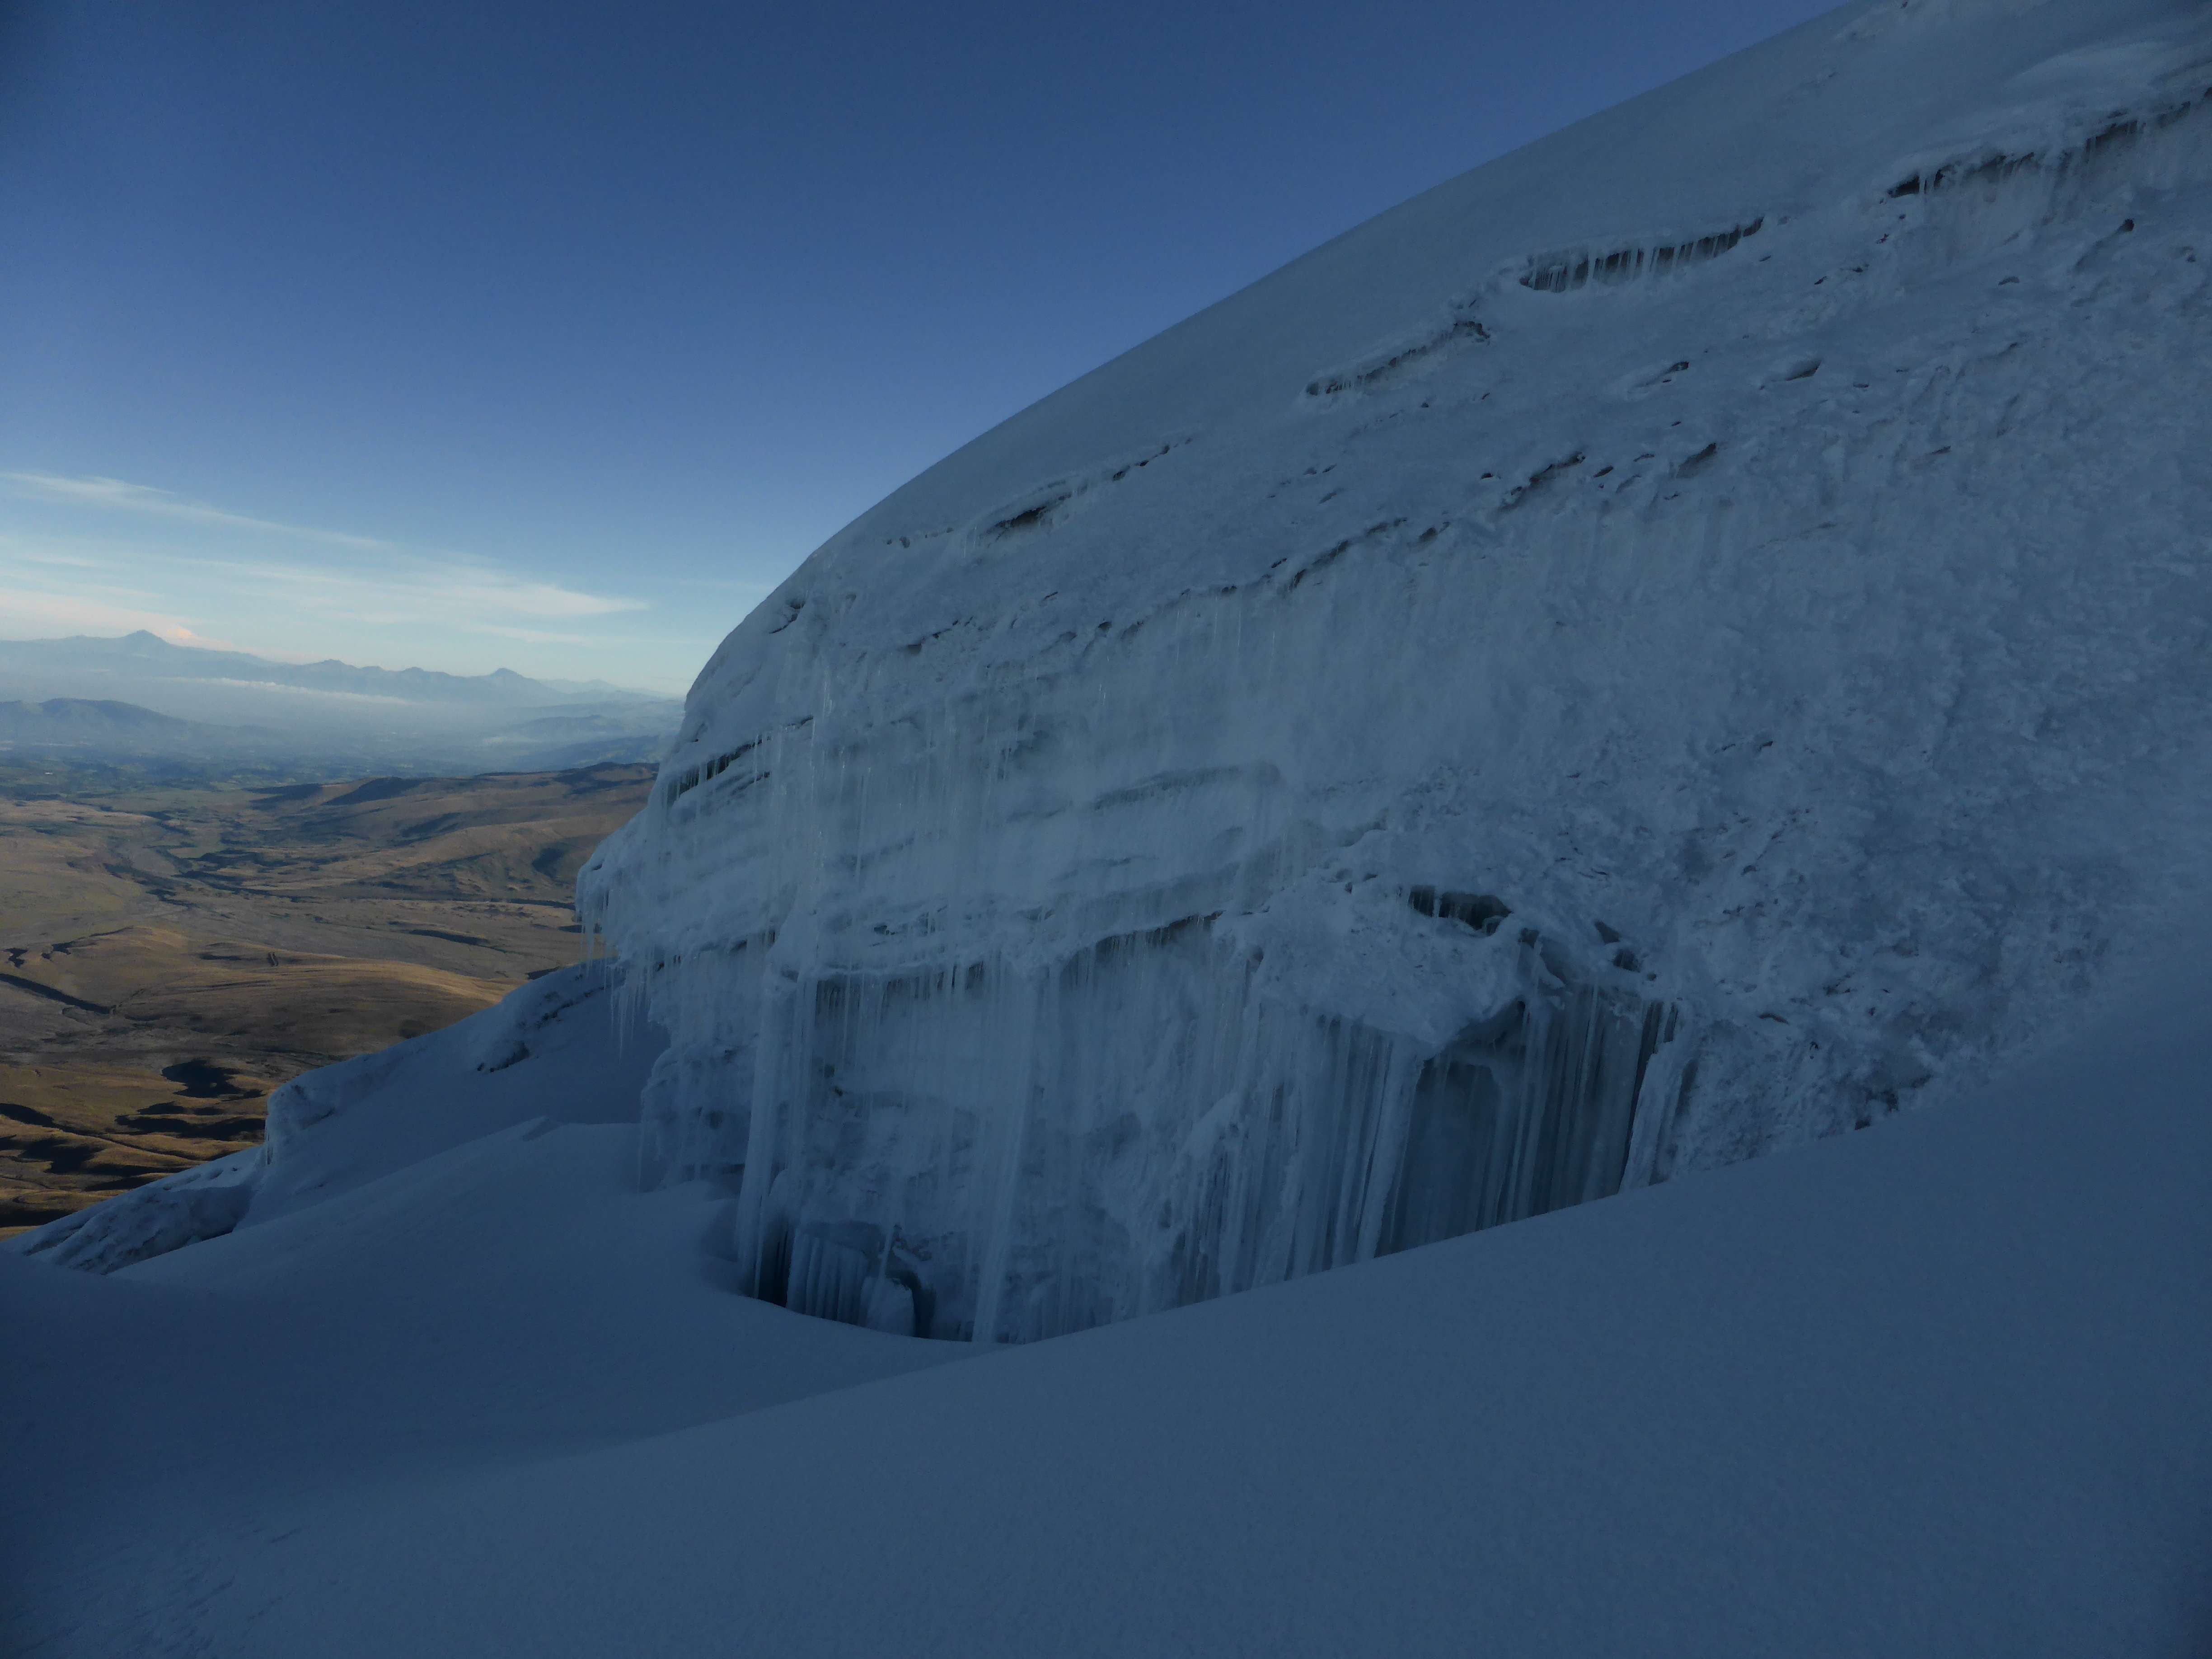
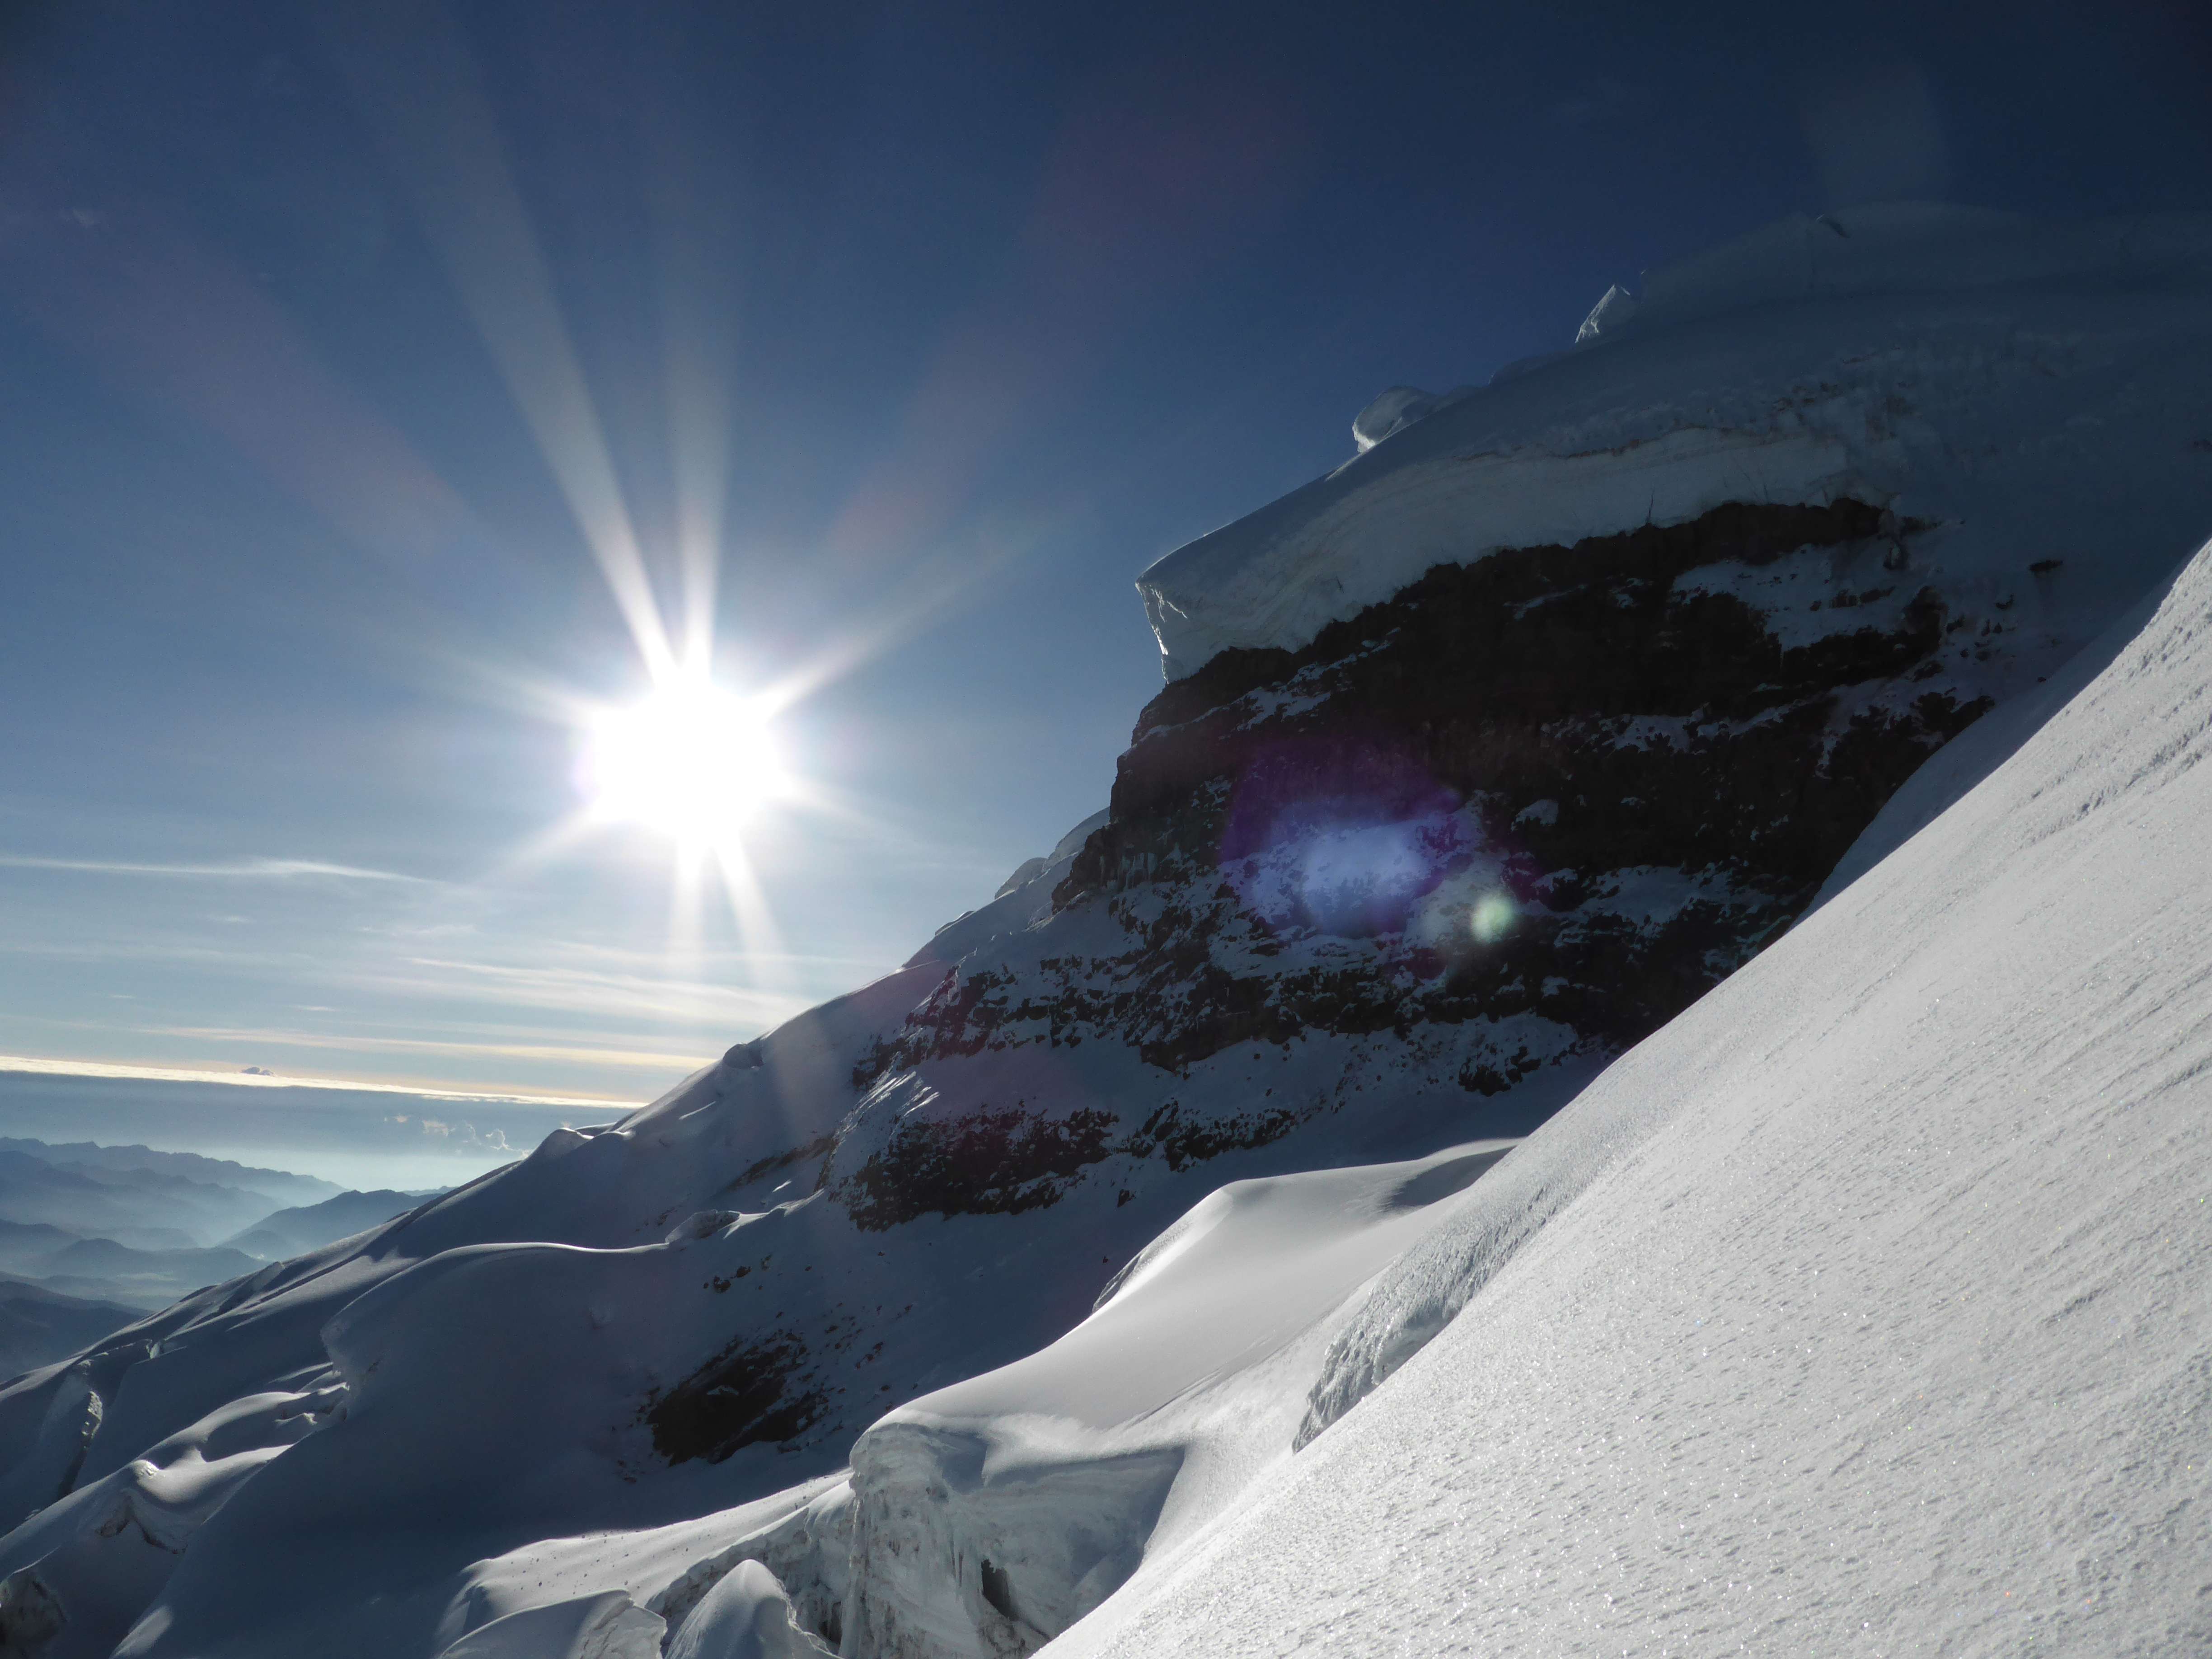
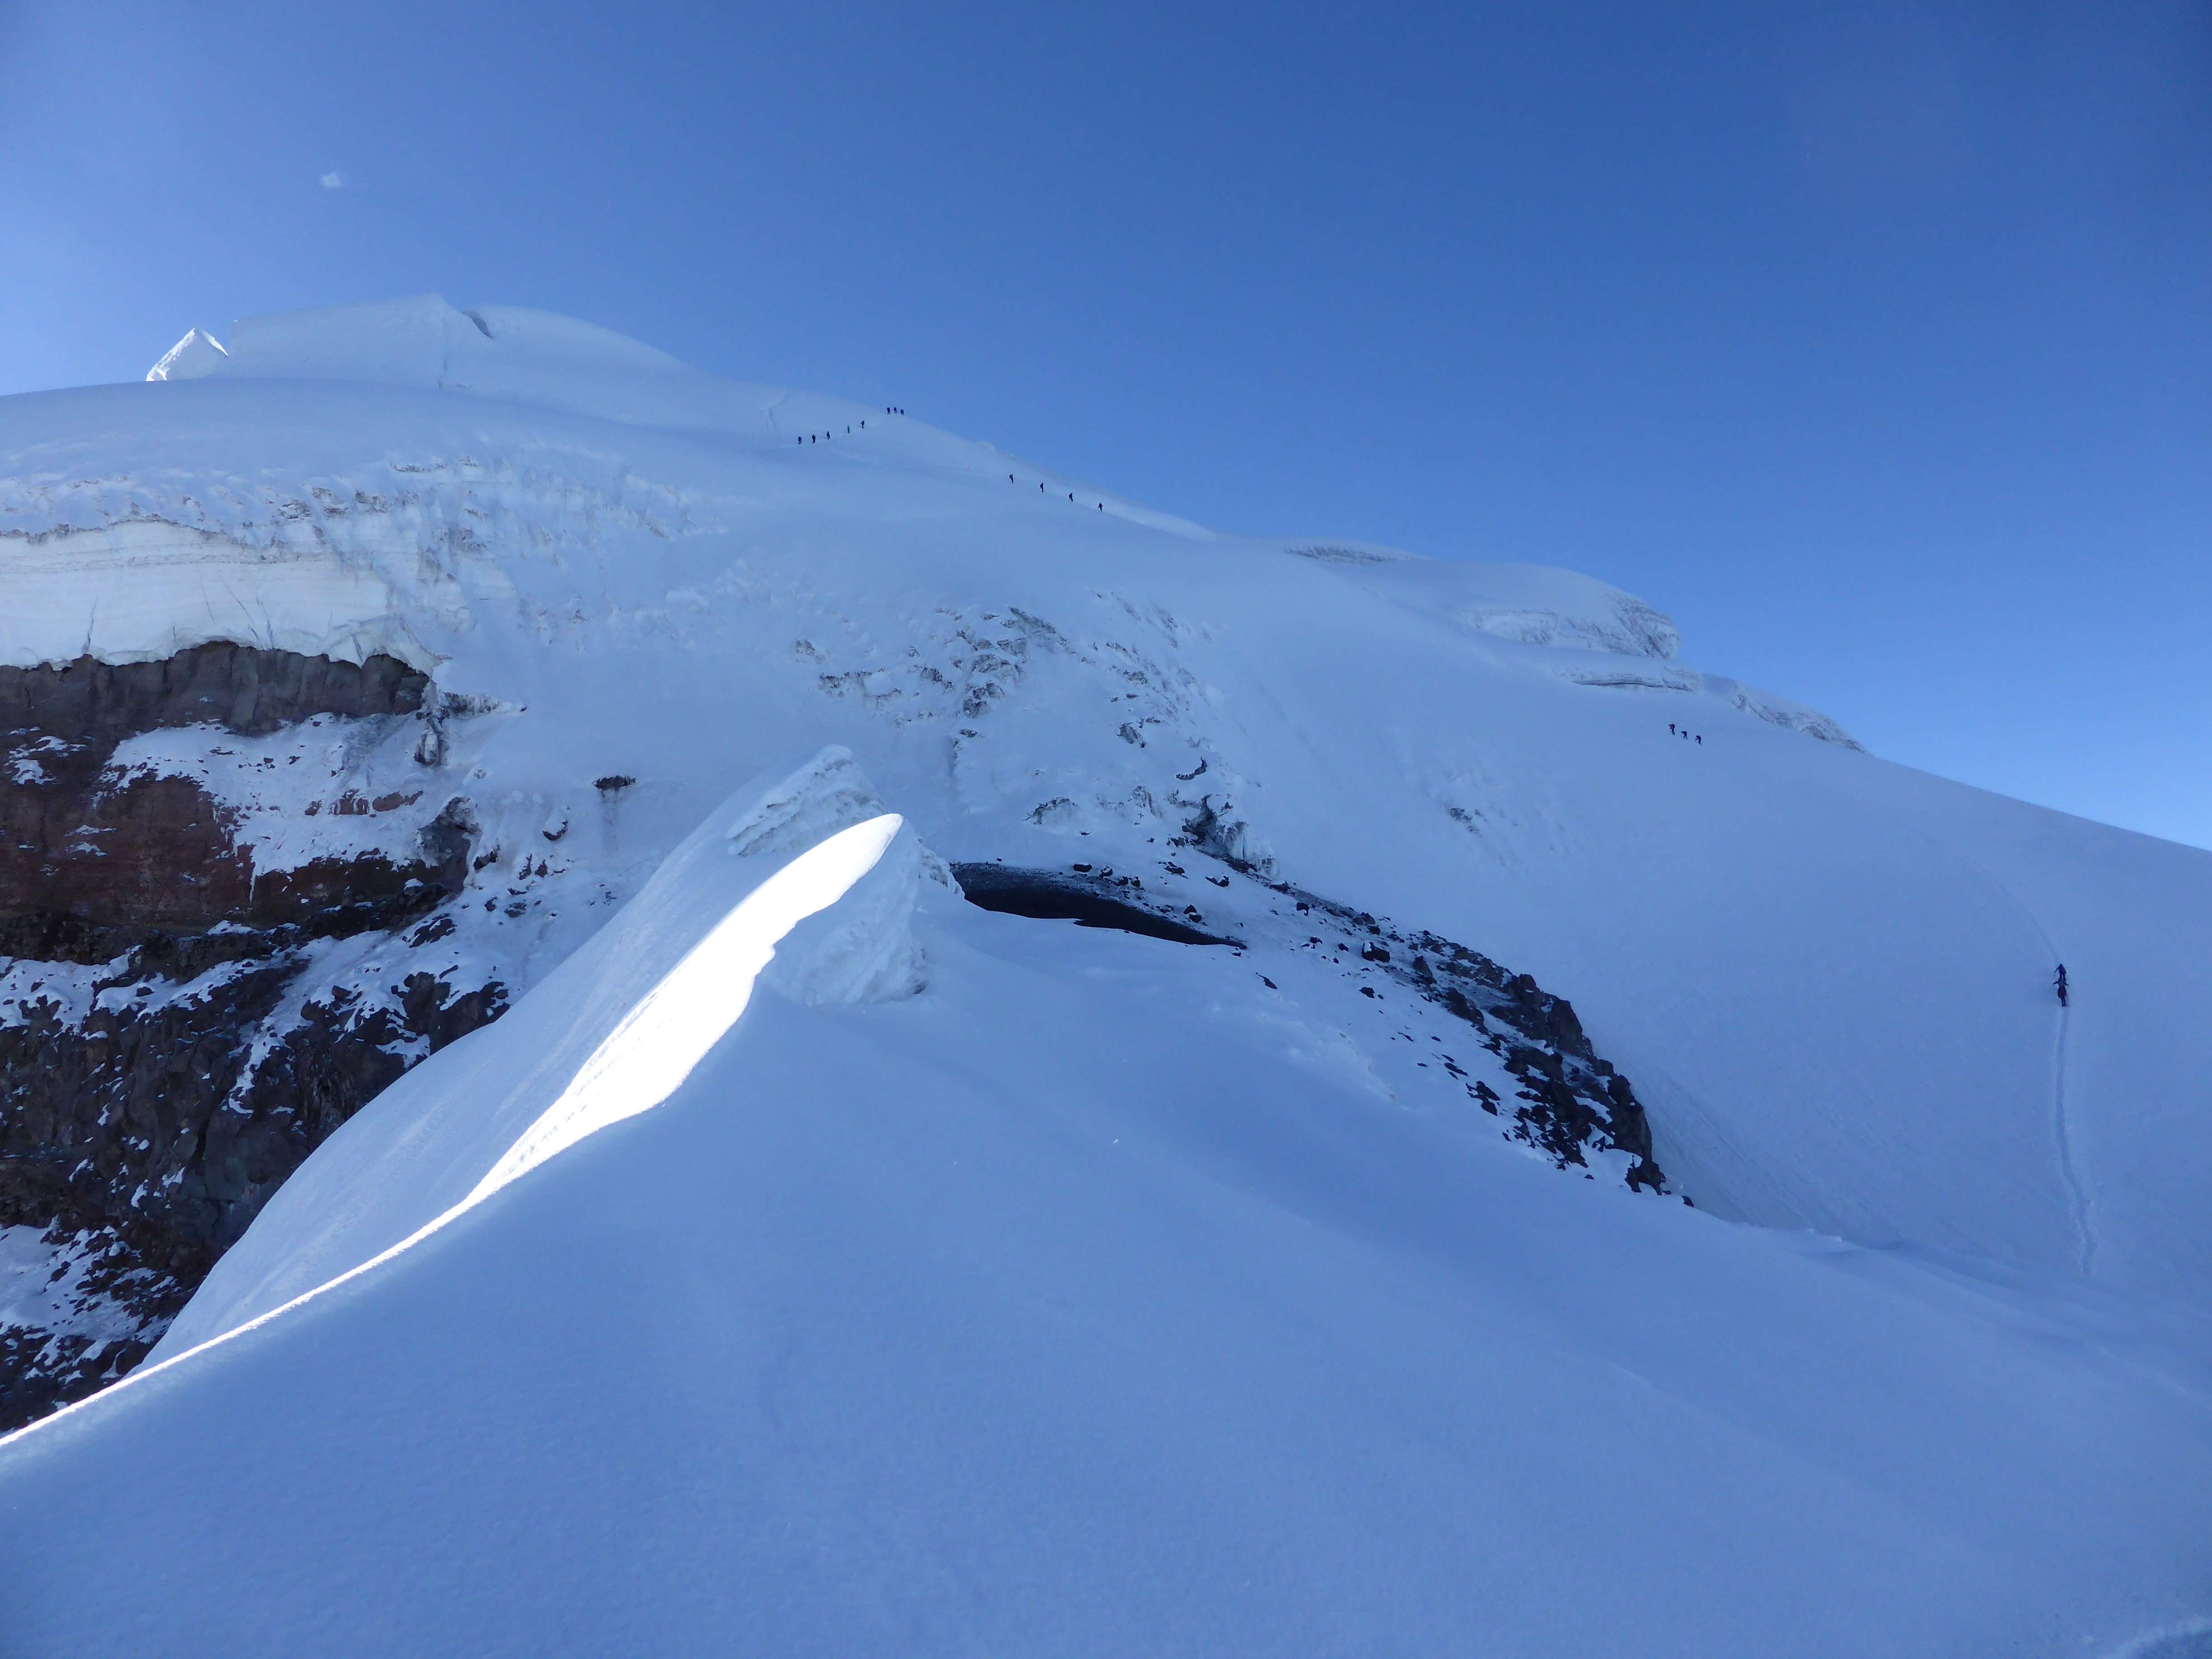
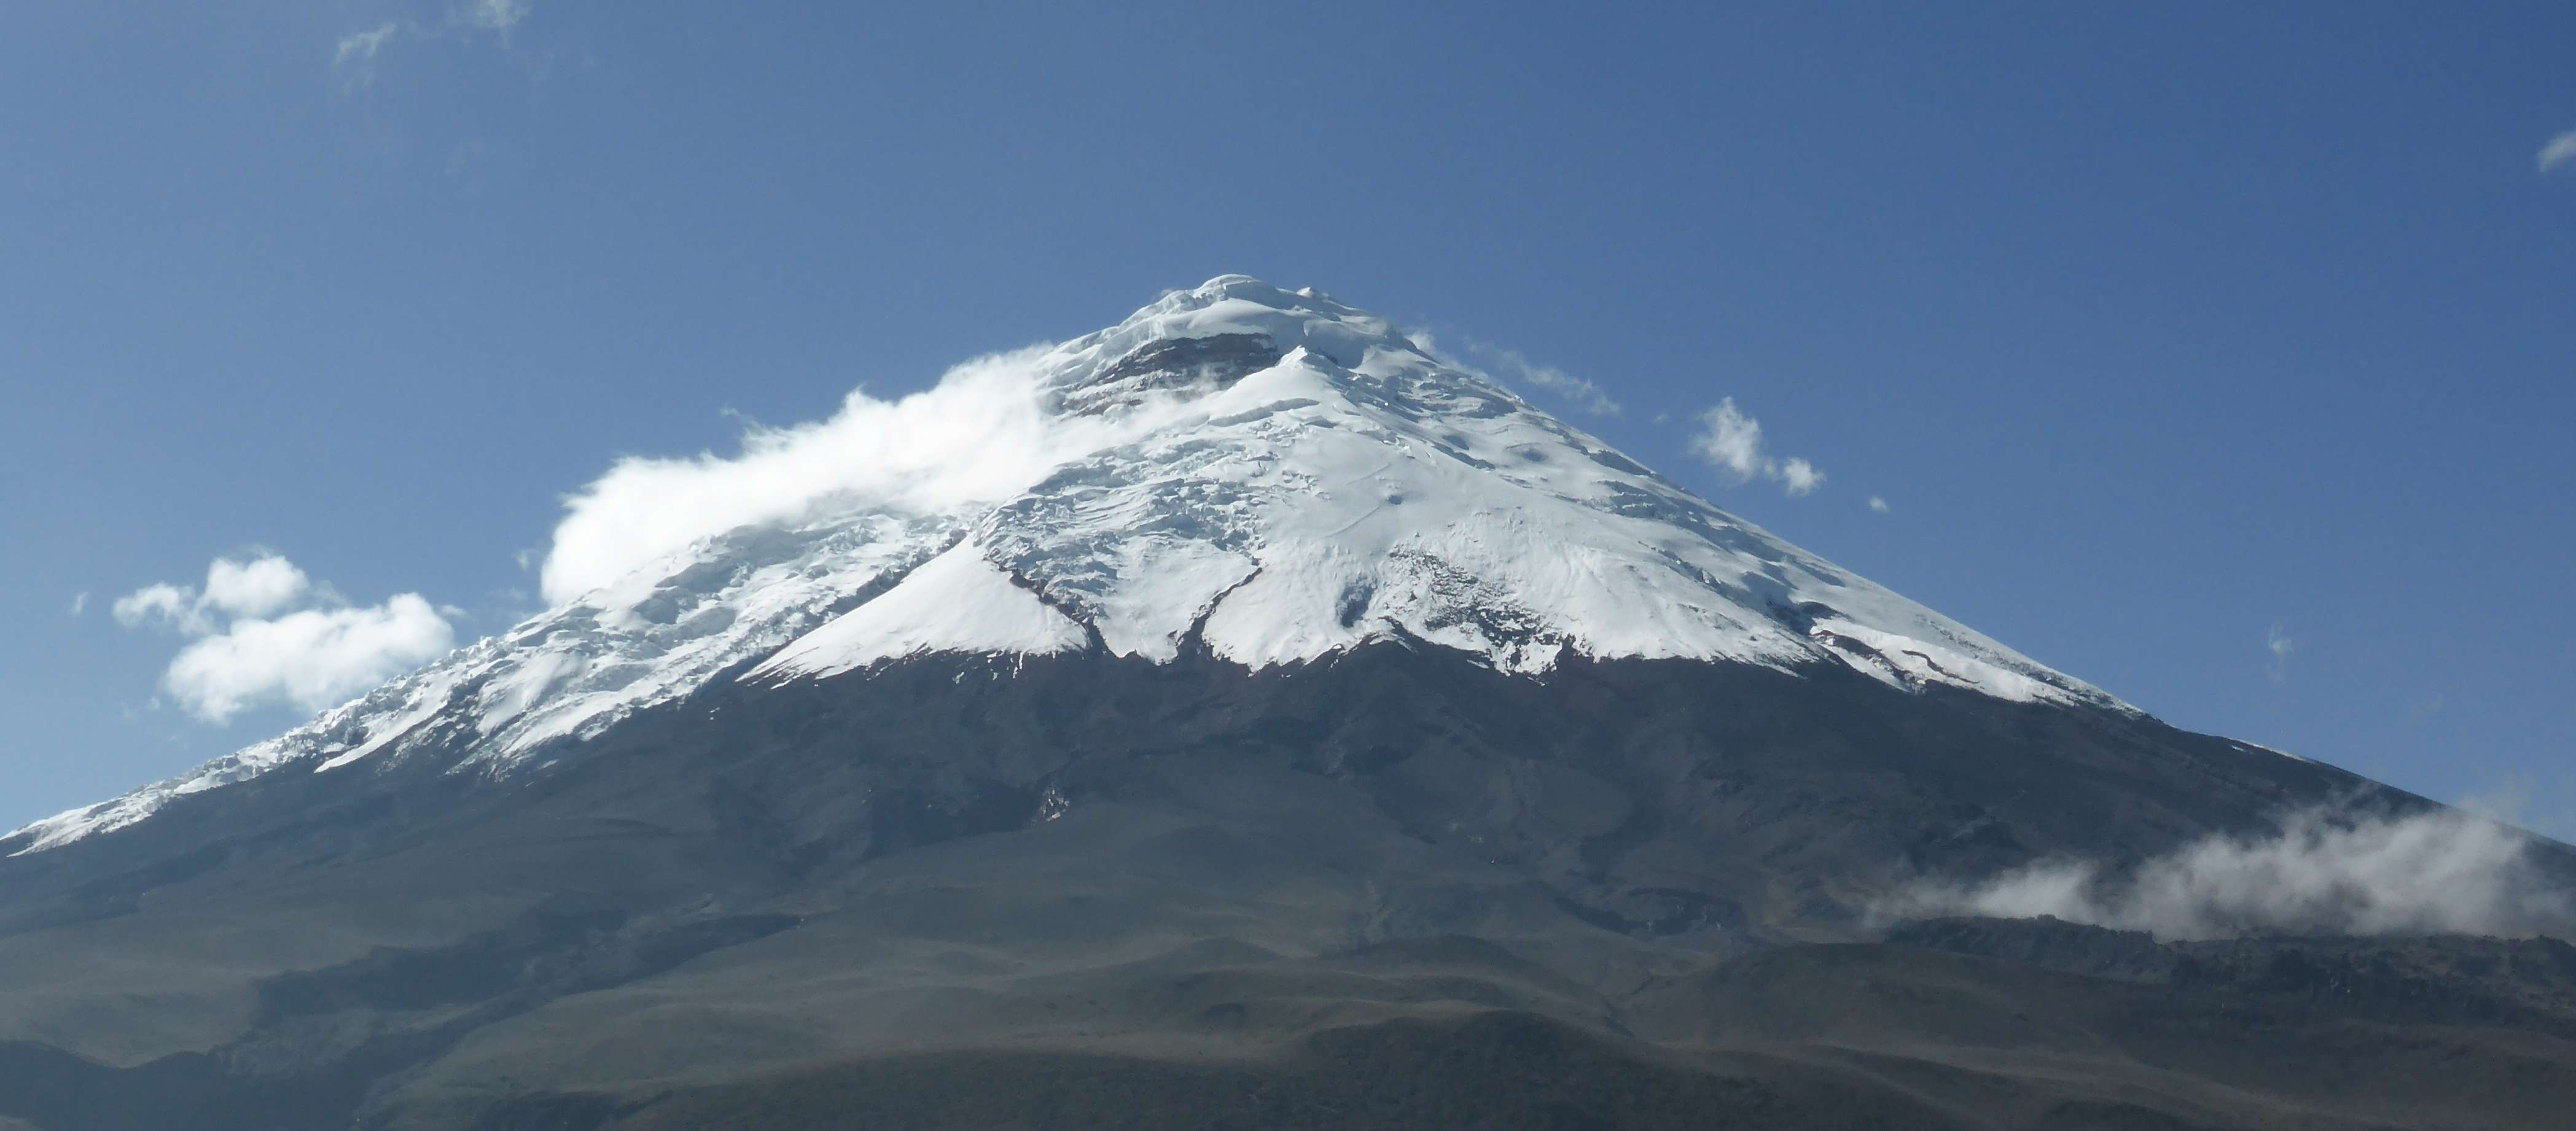
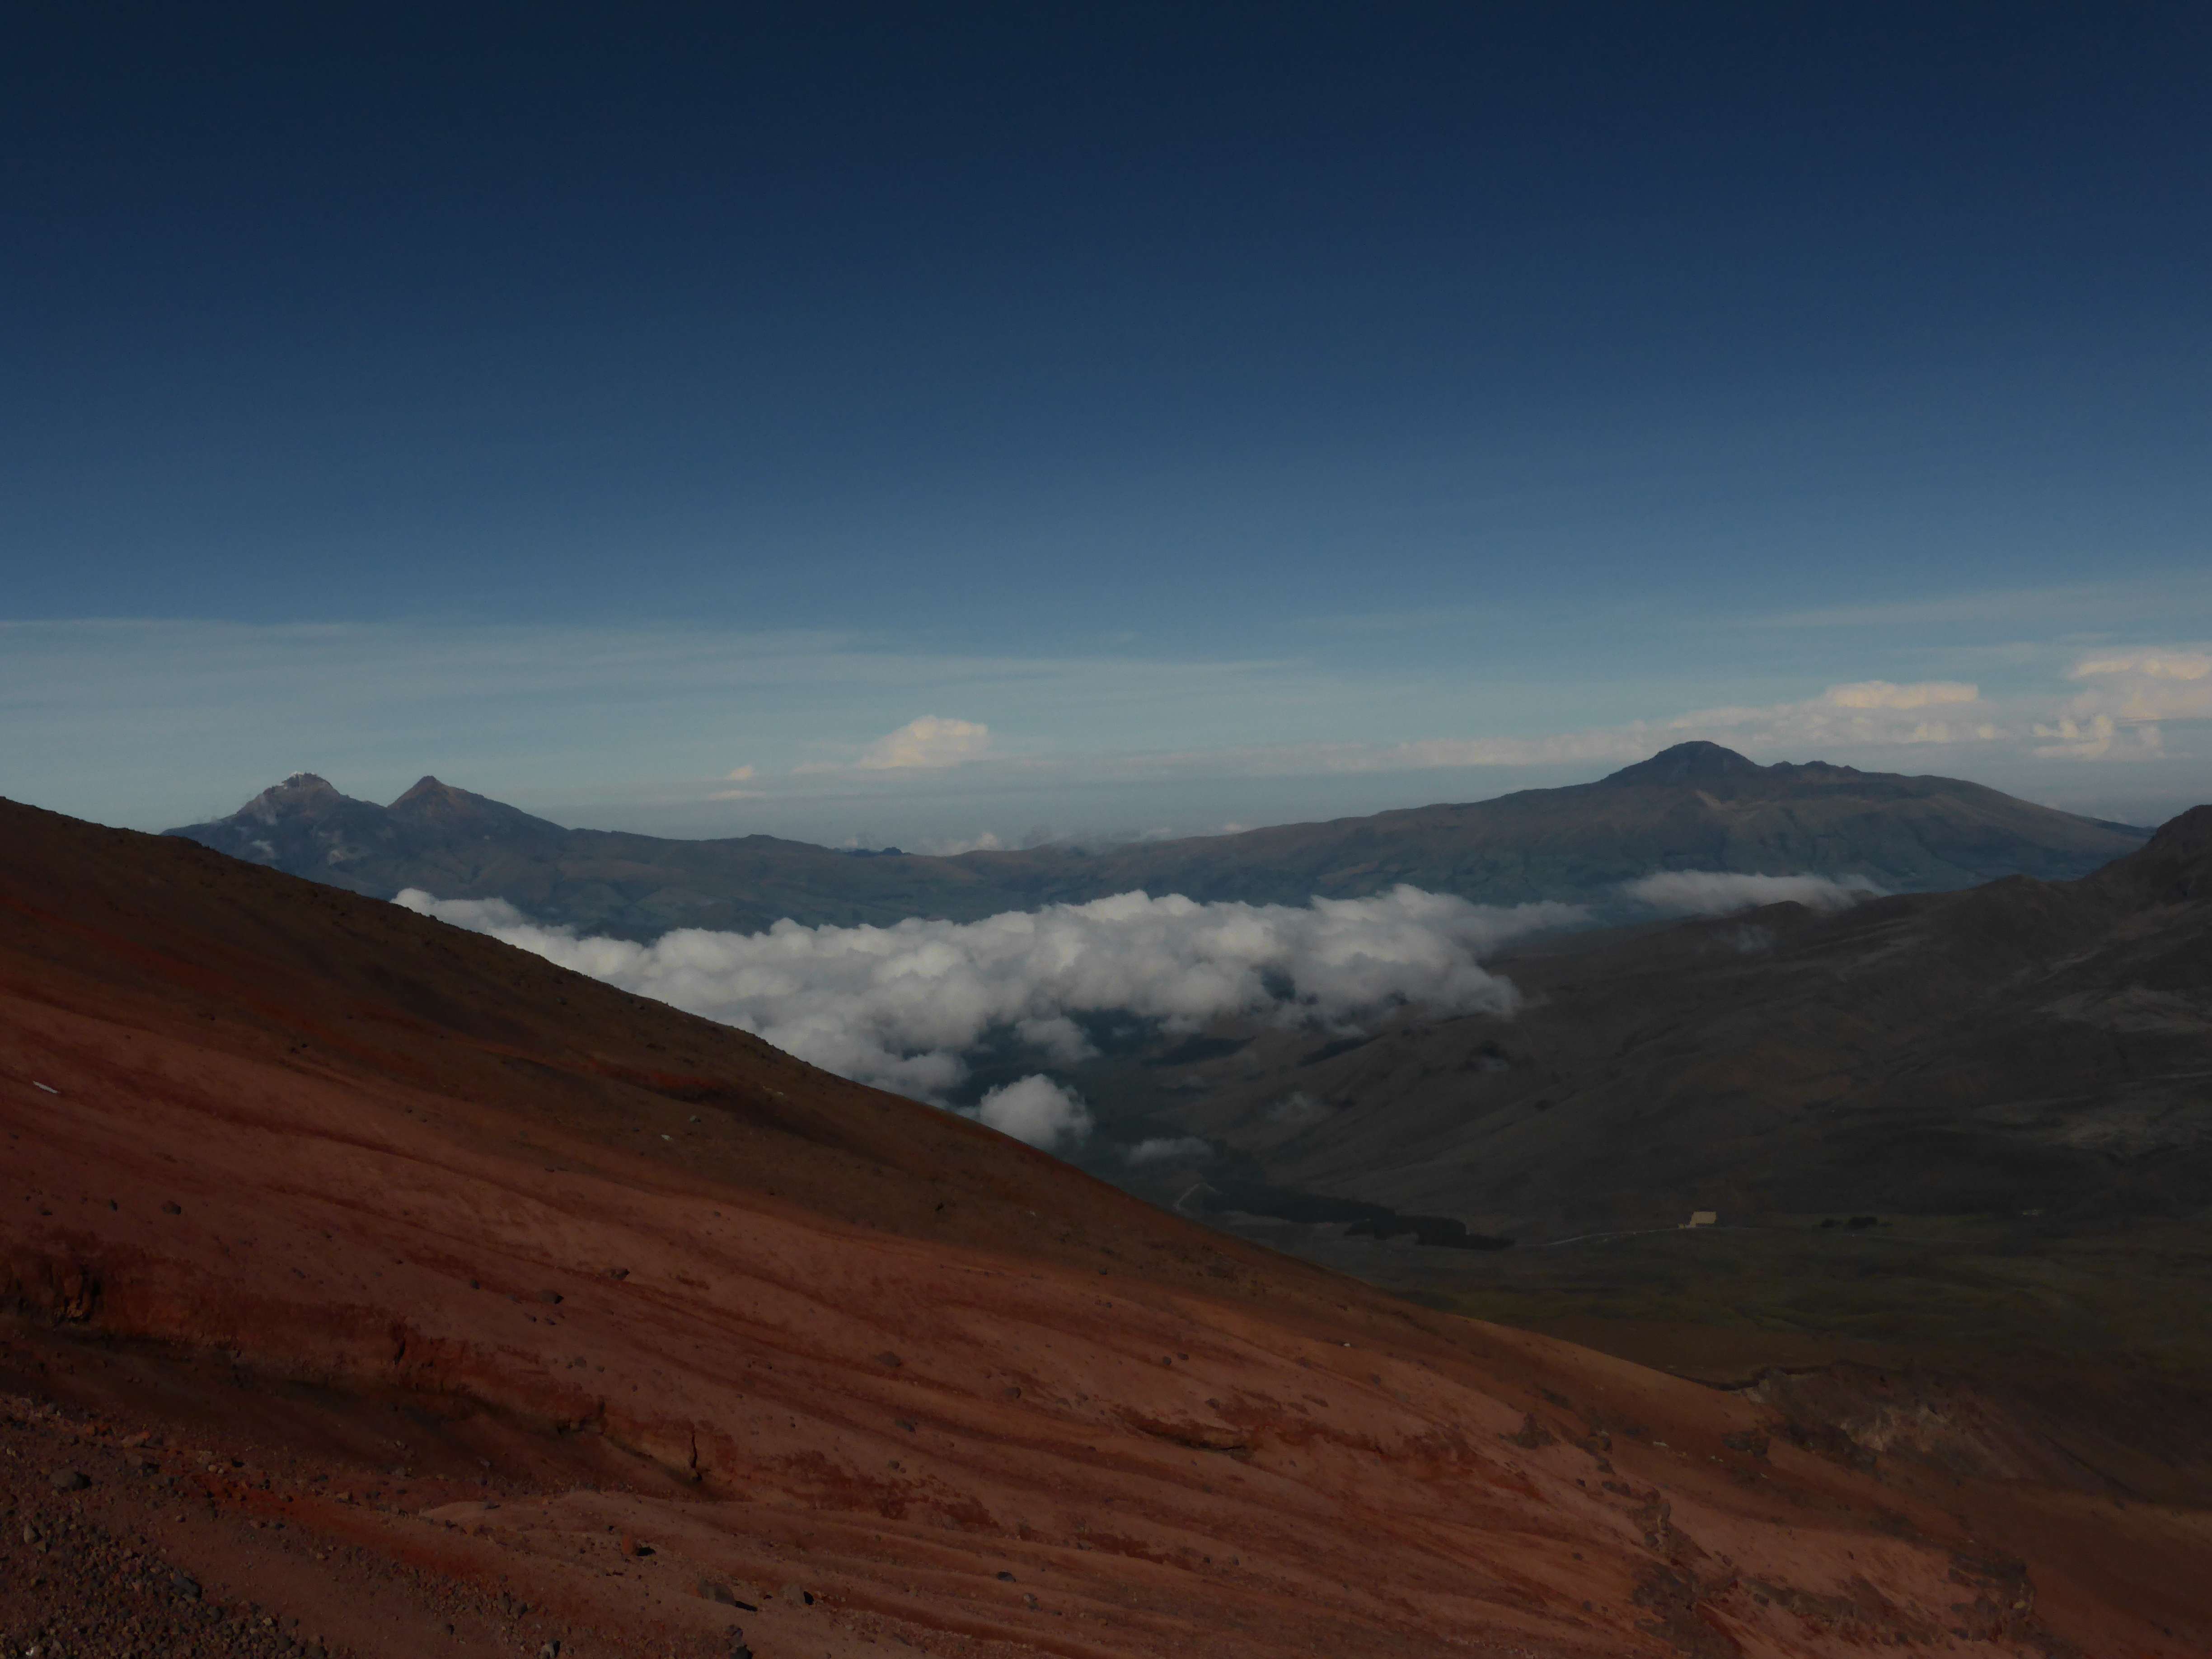
Aconcagua from near the Horcones trailhead.

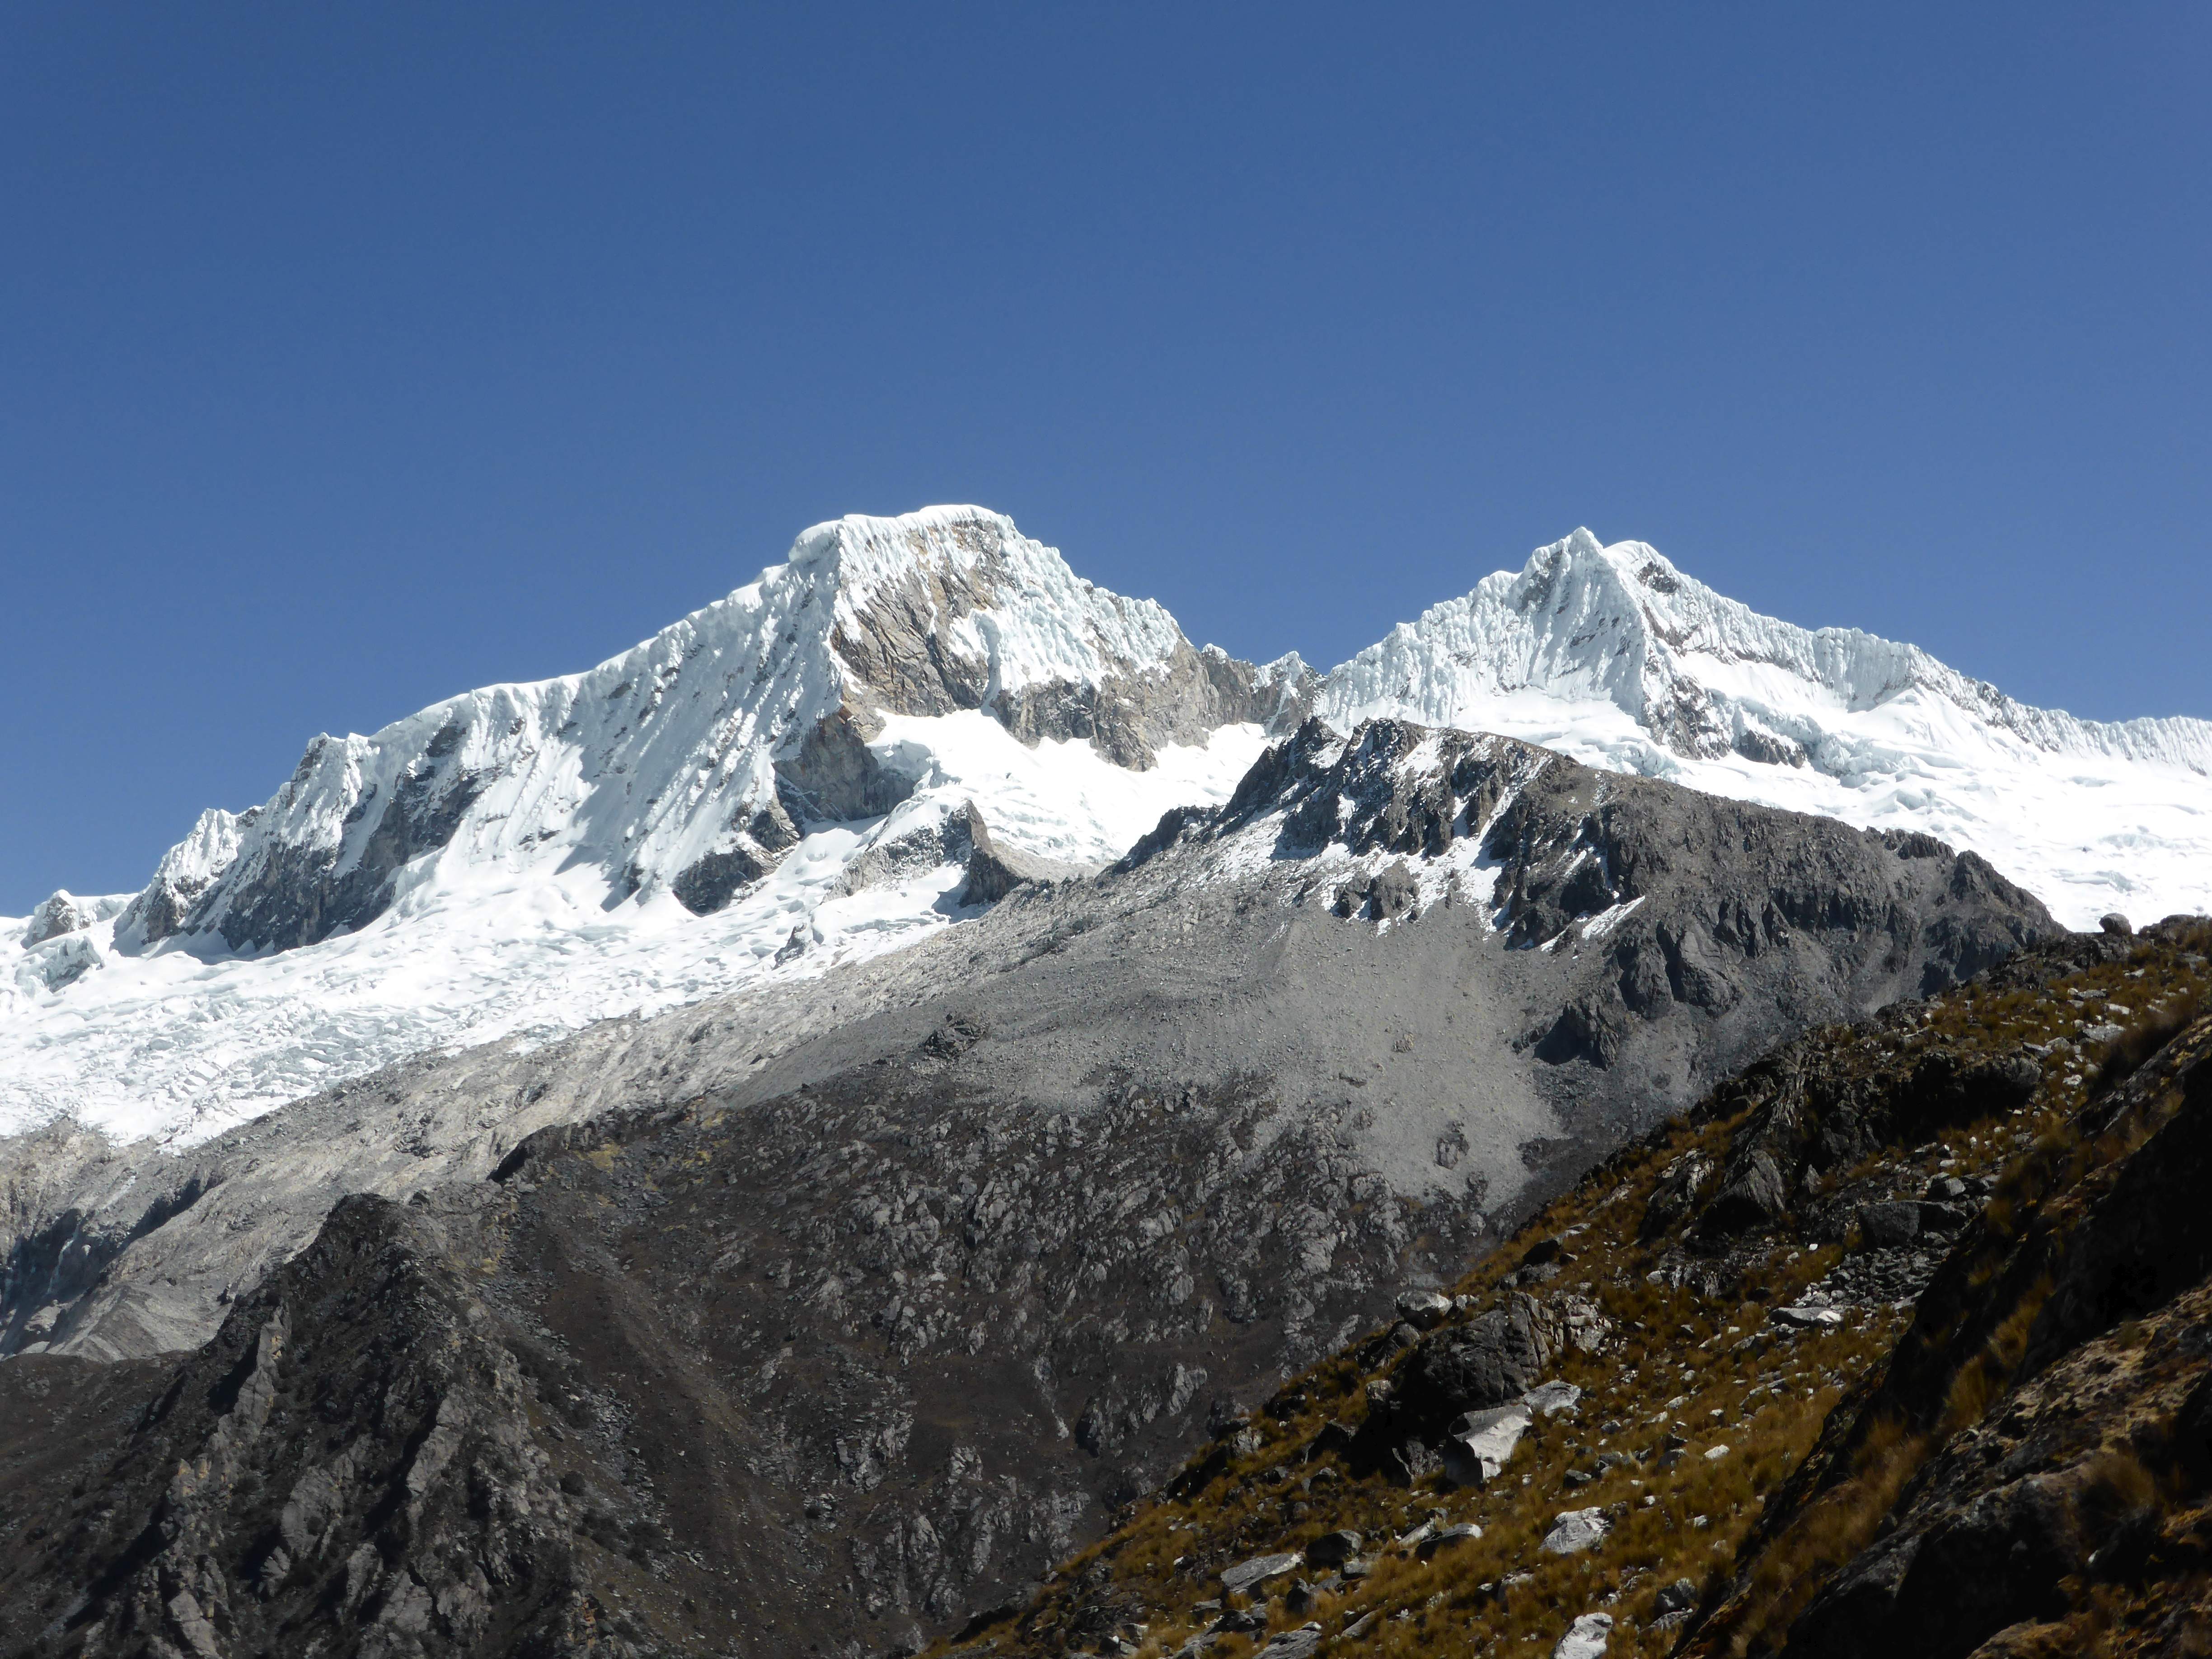
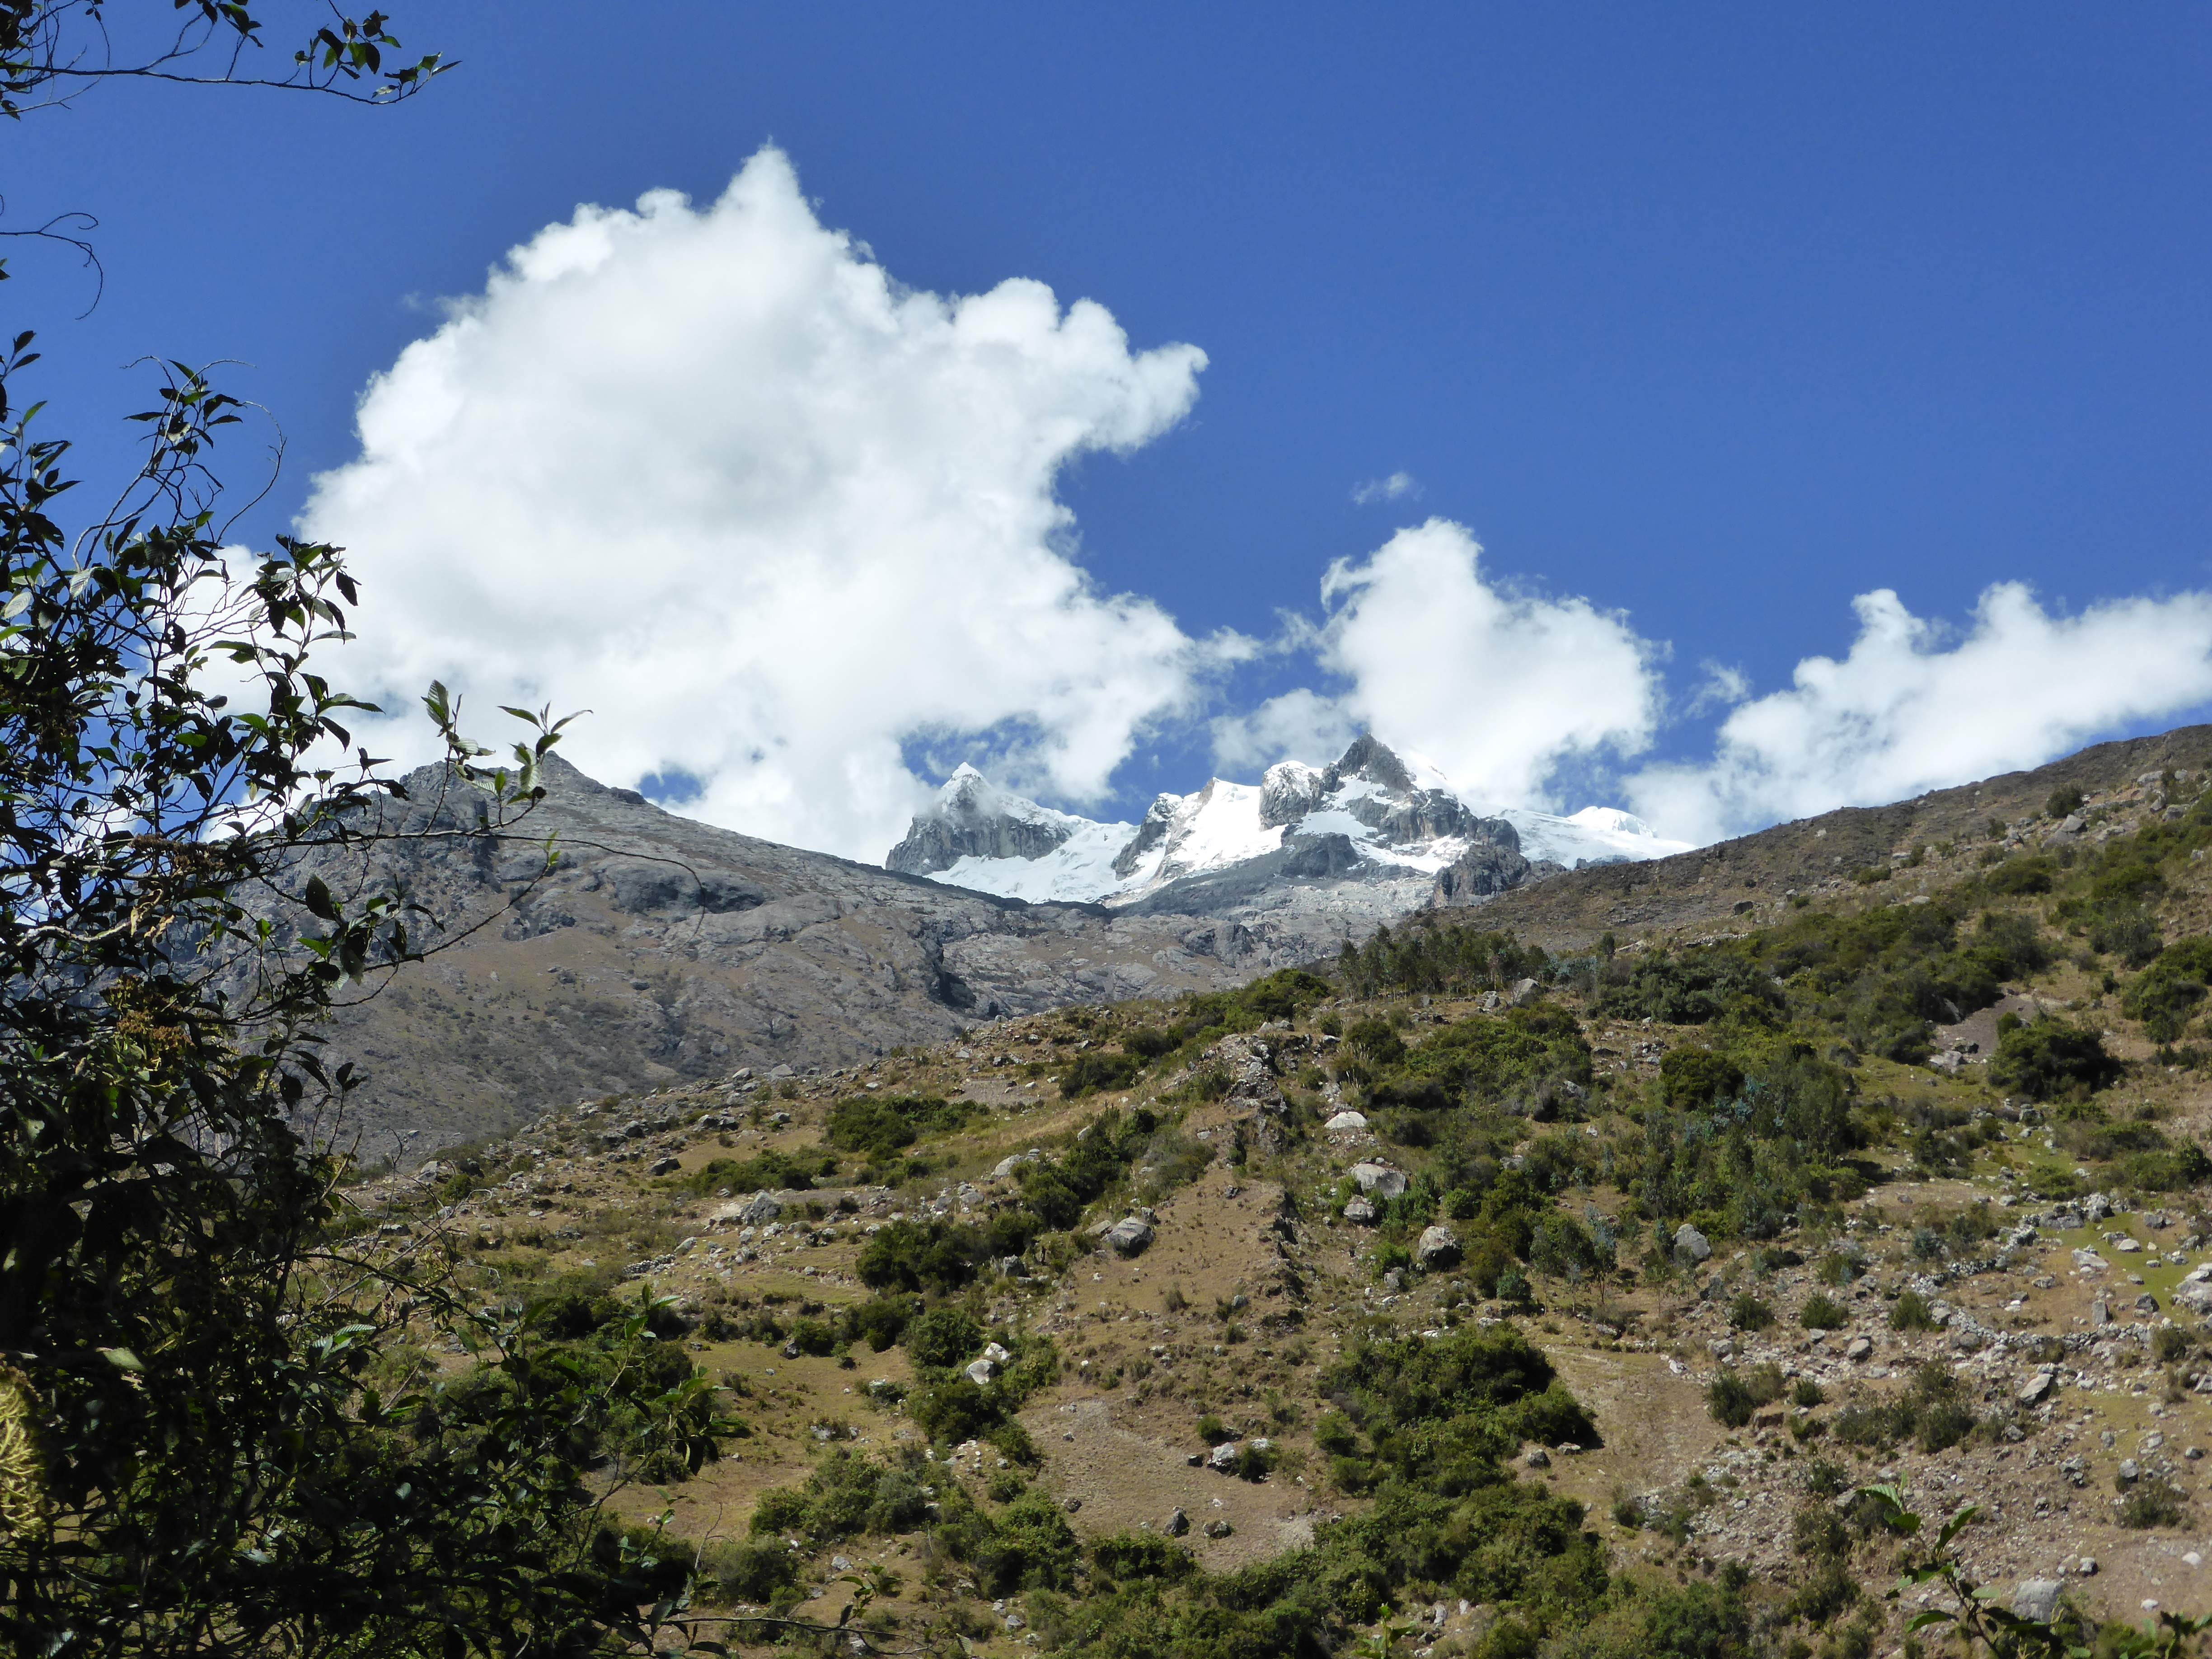
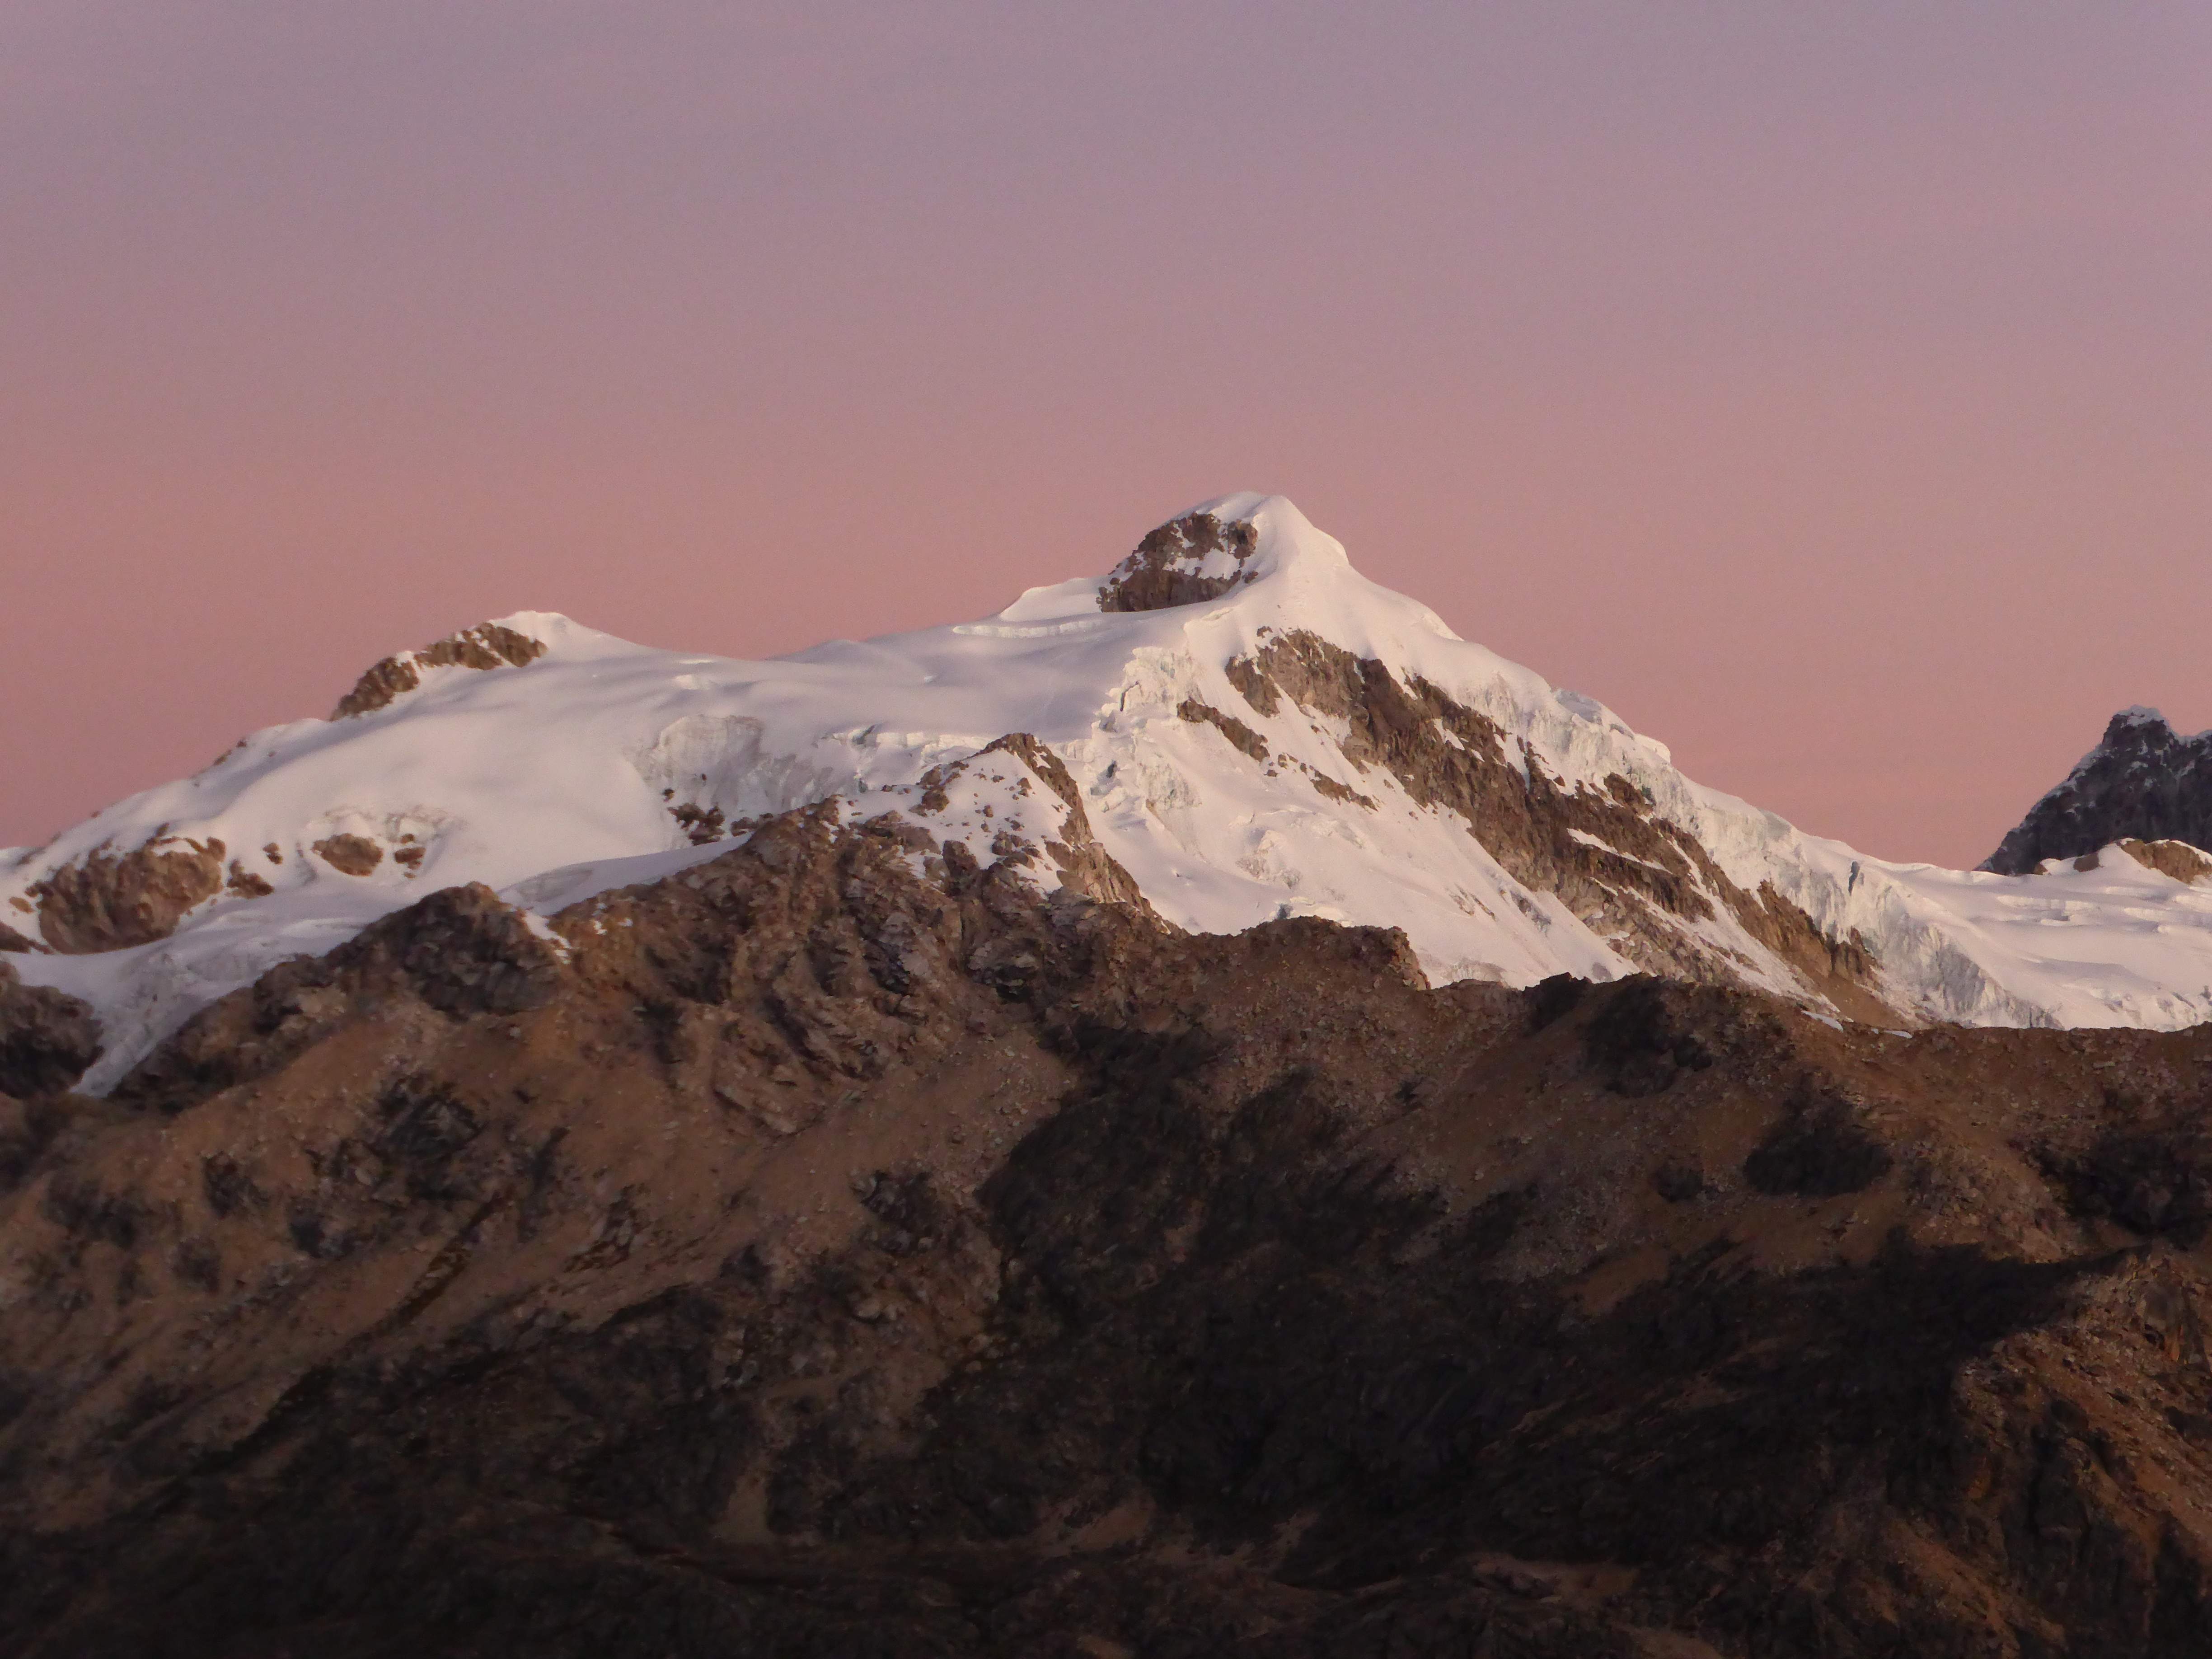
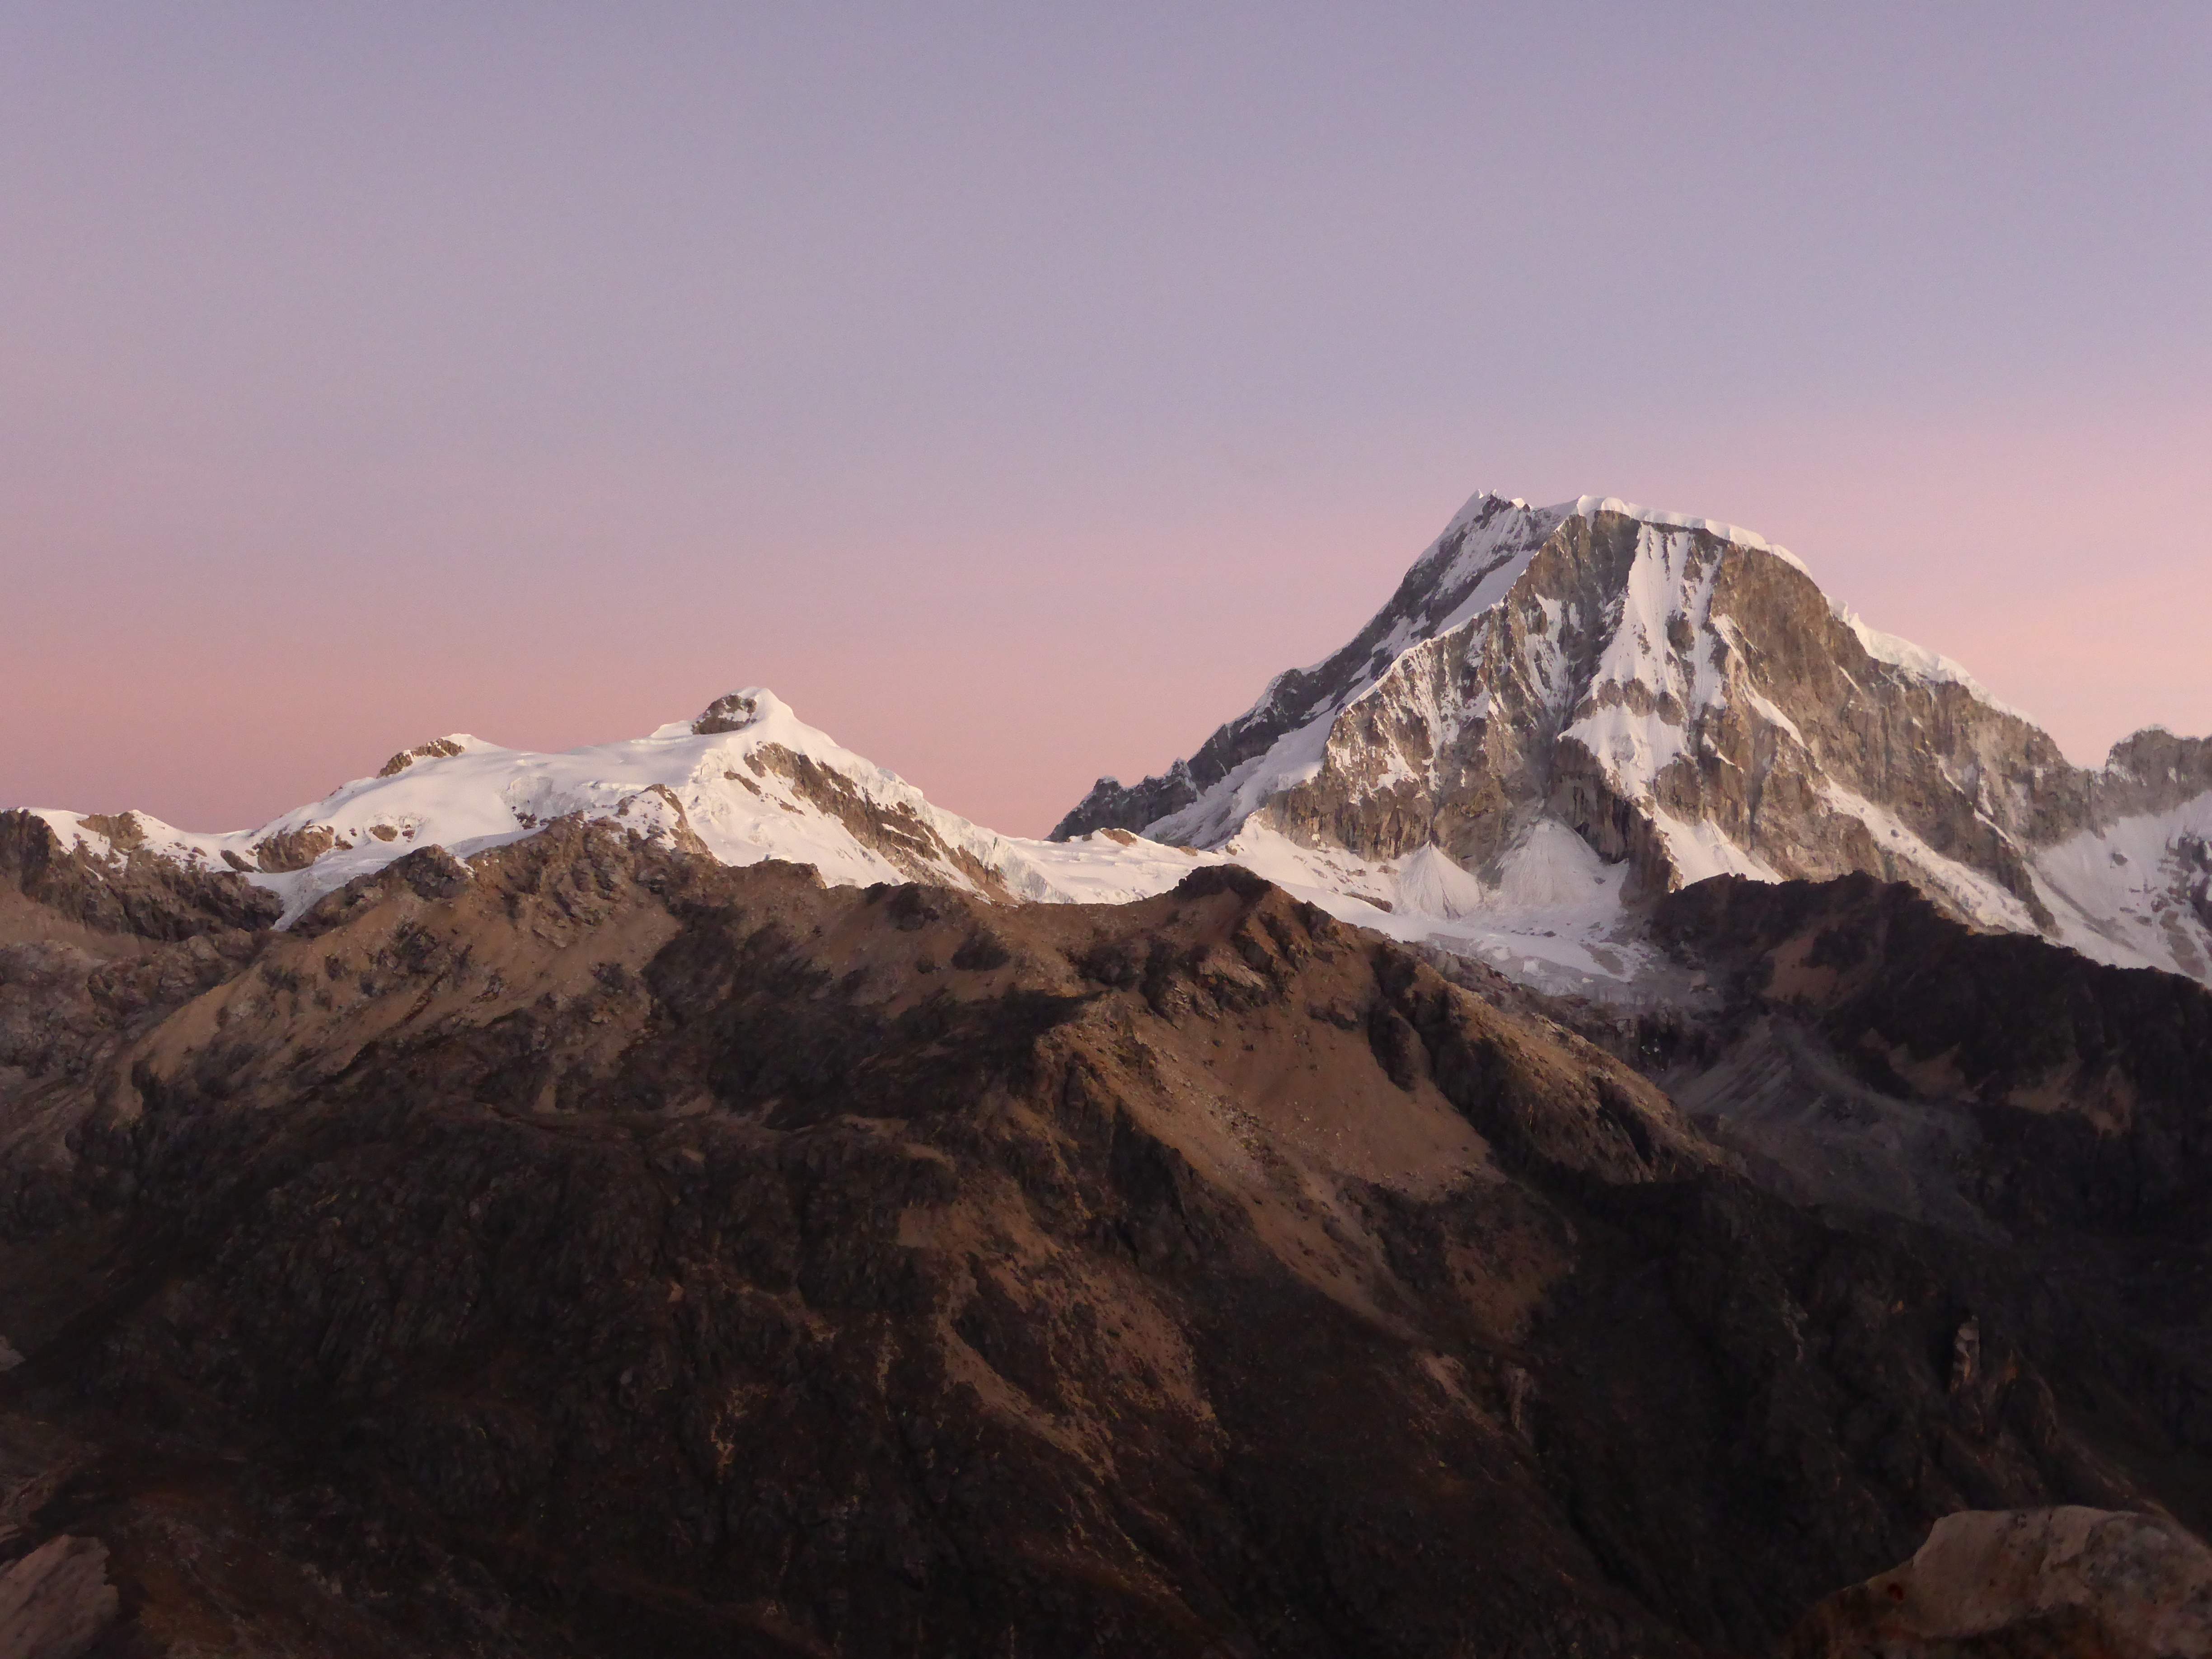
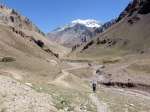
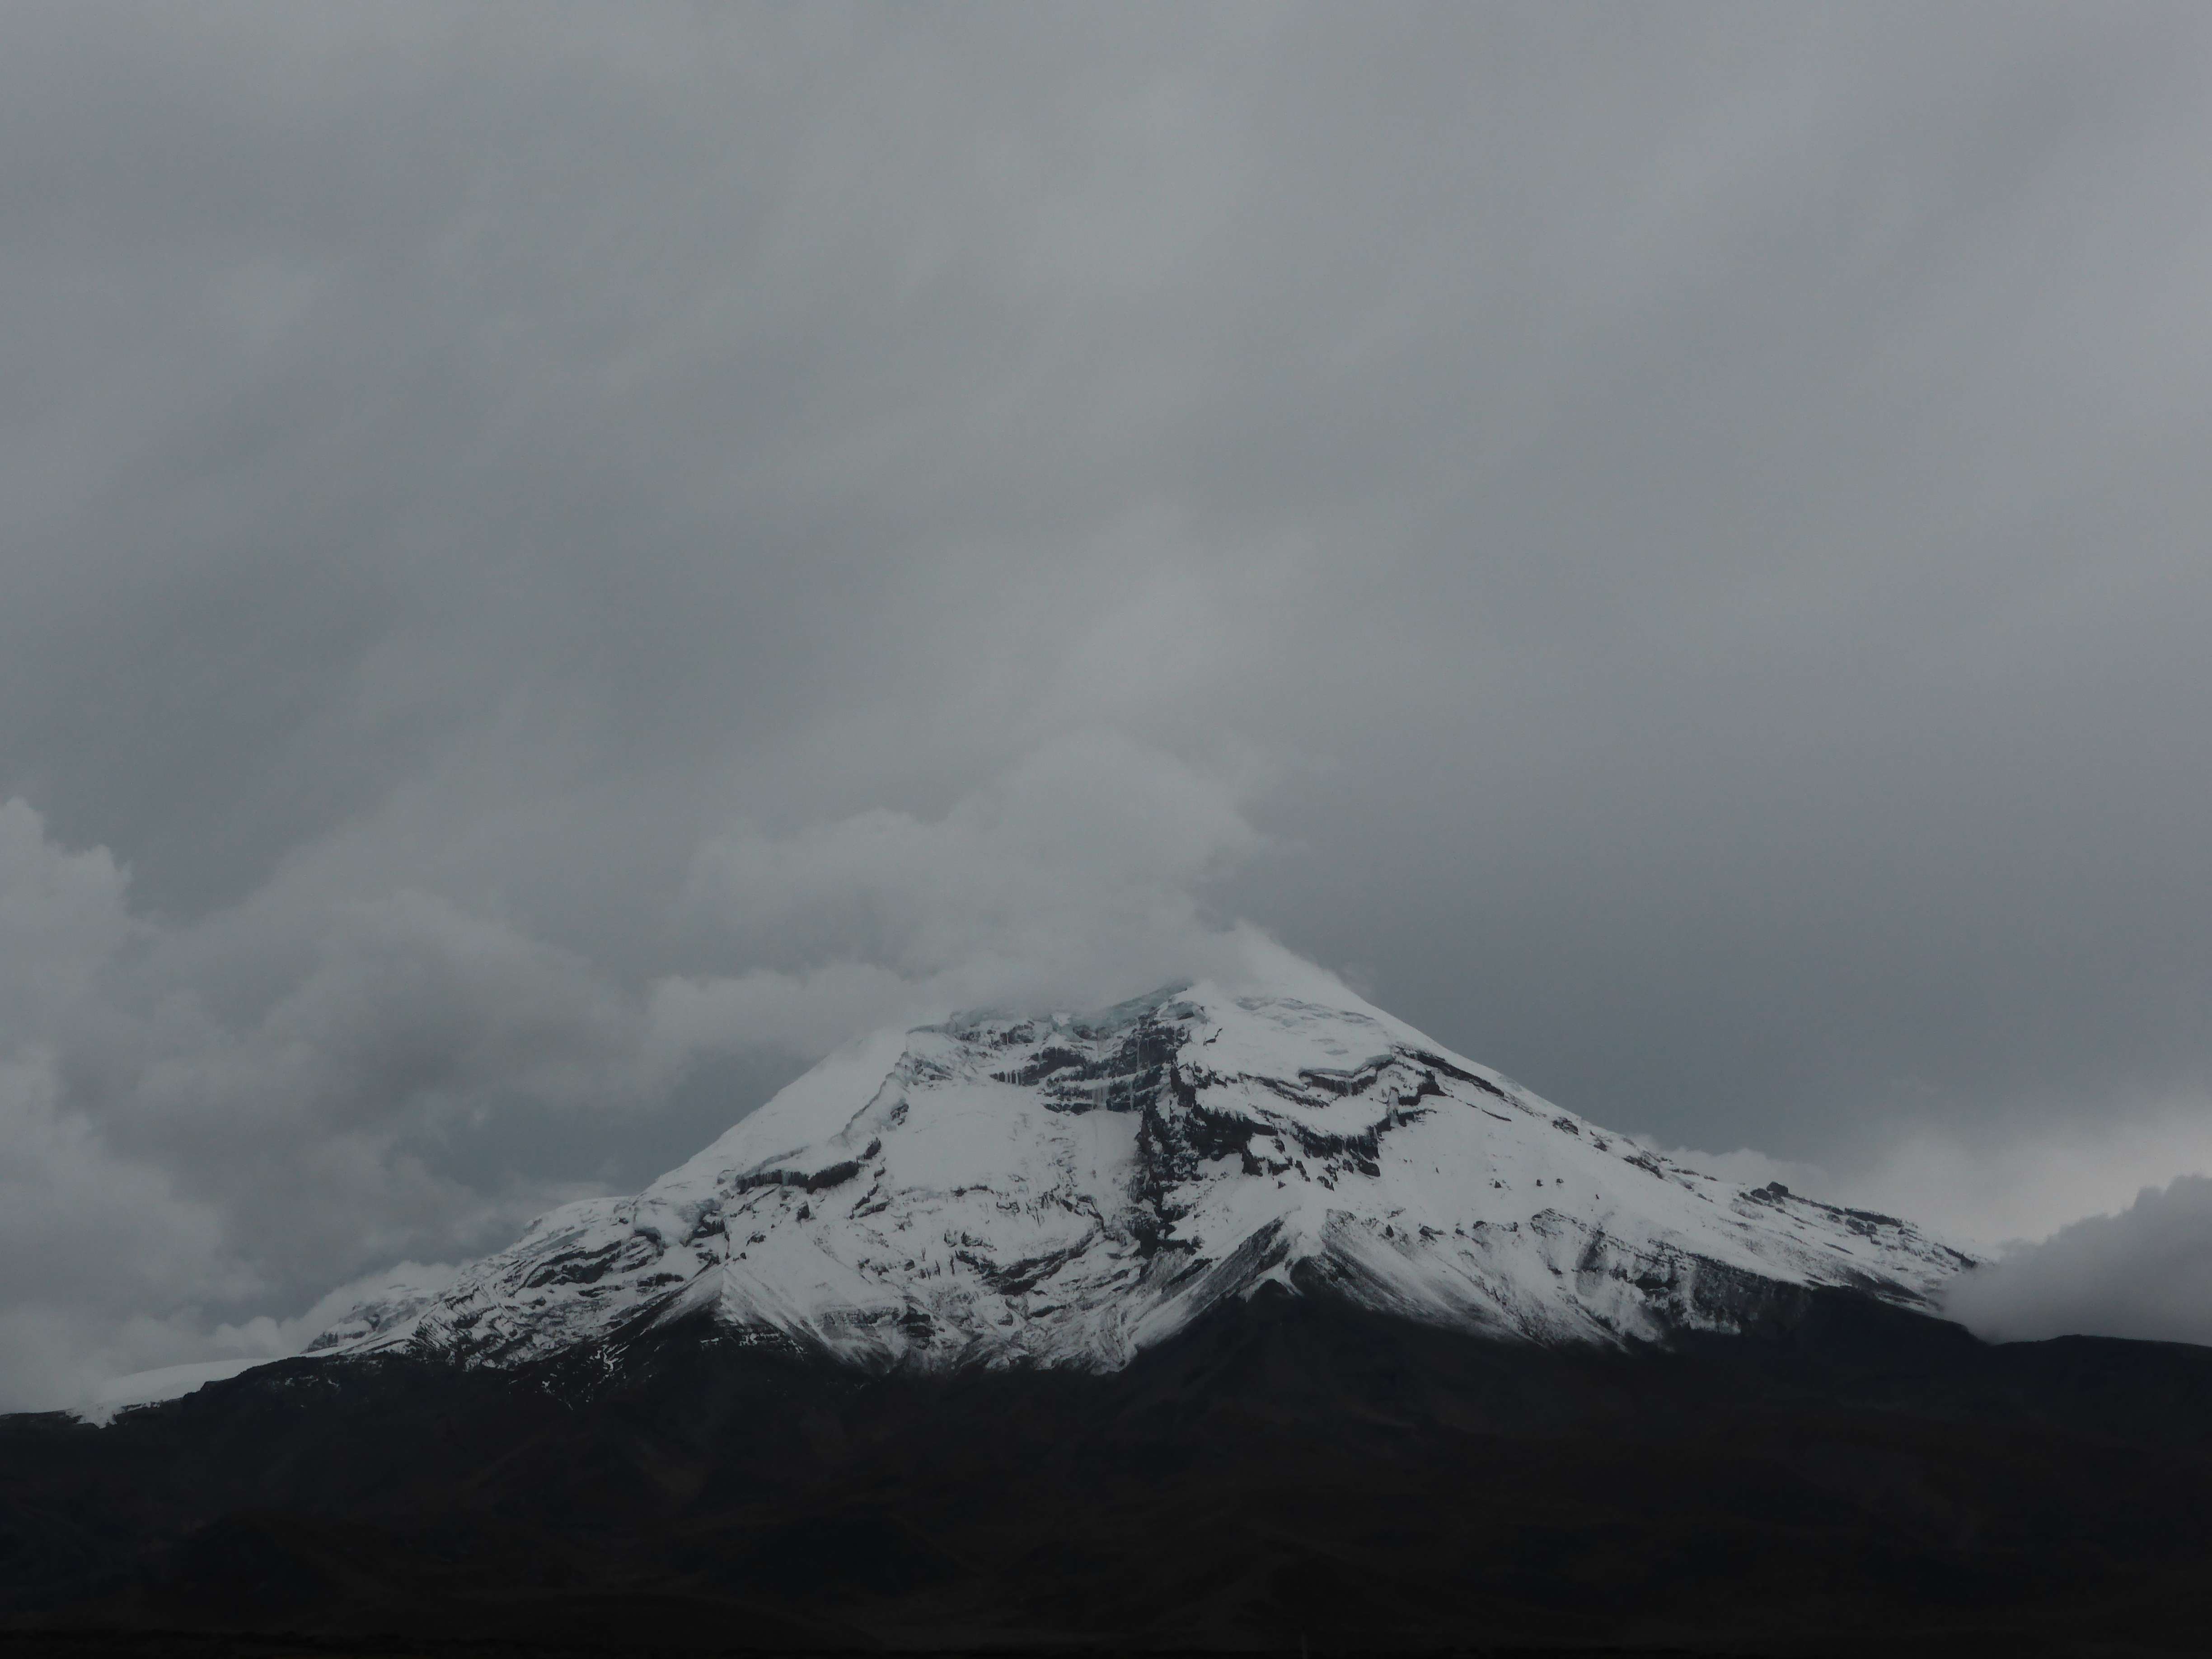
Aconcagua from the trail between Horcones and Confluencia.

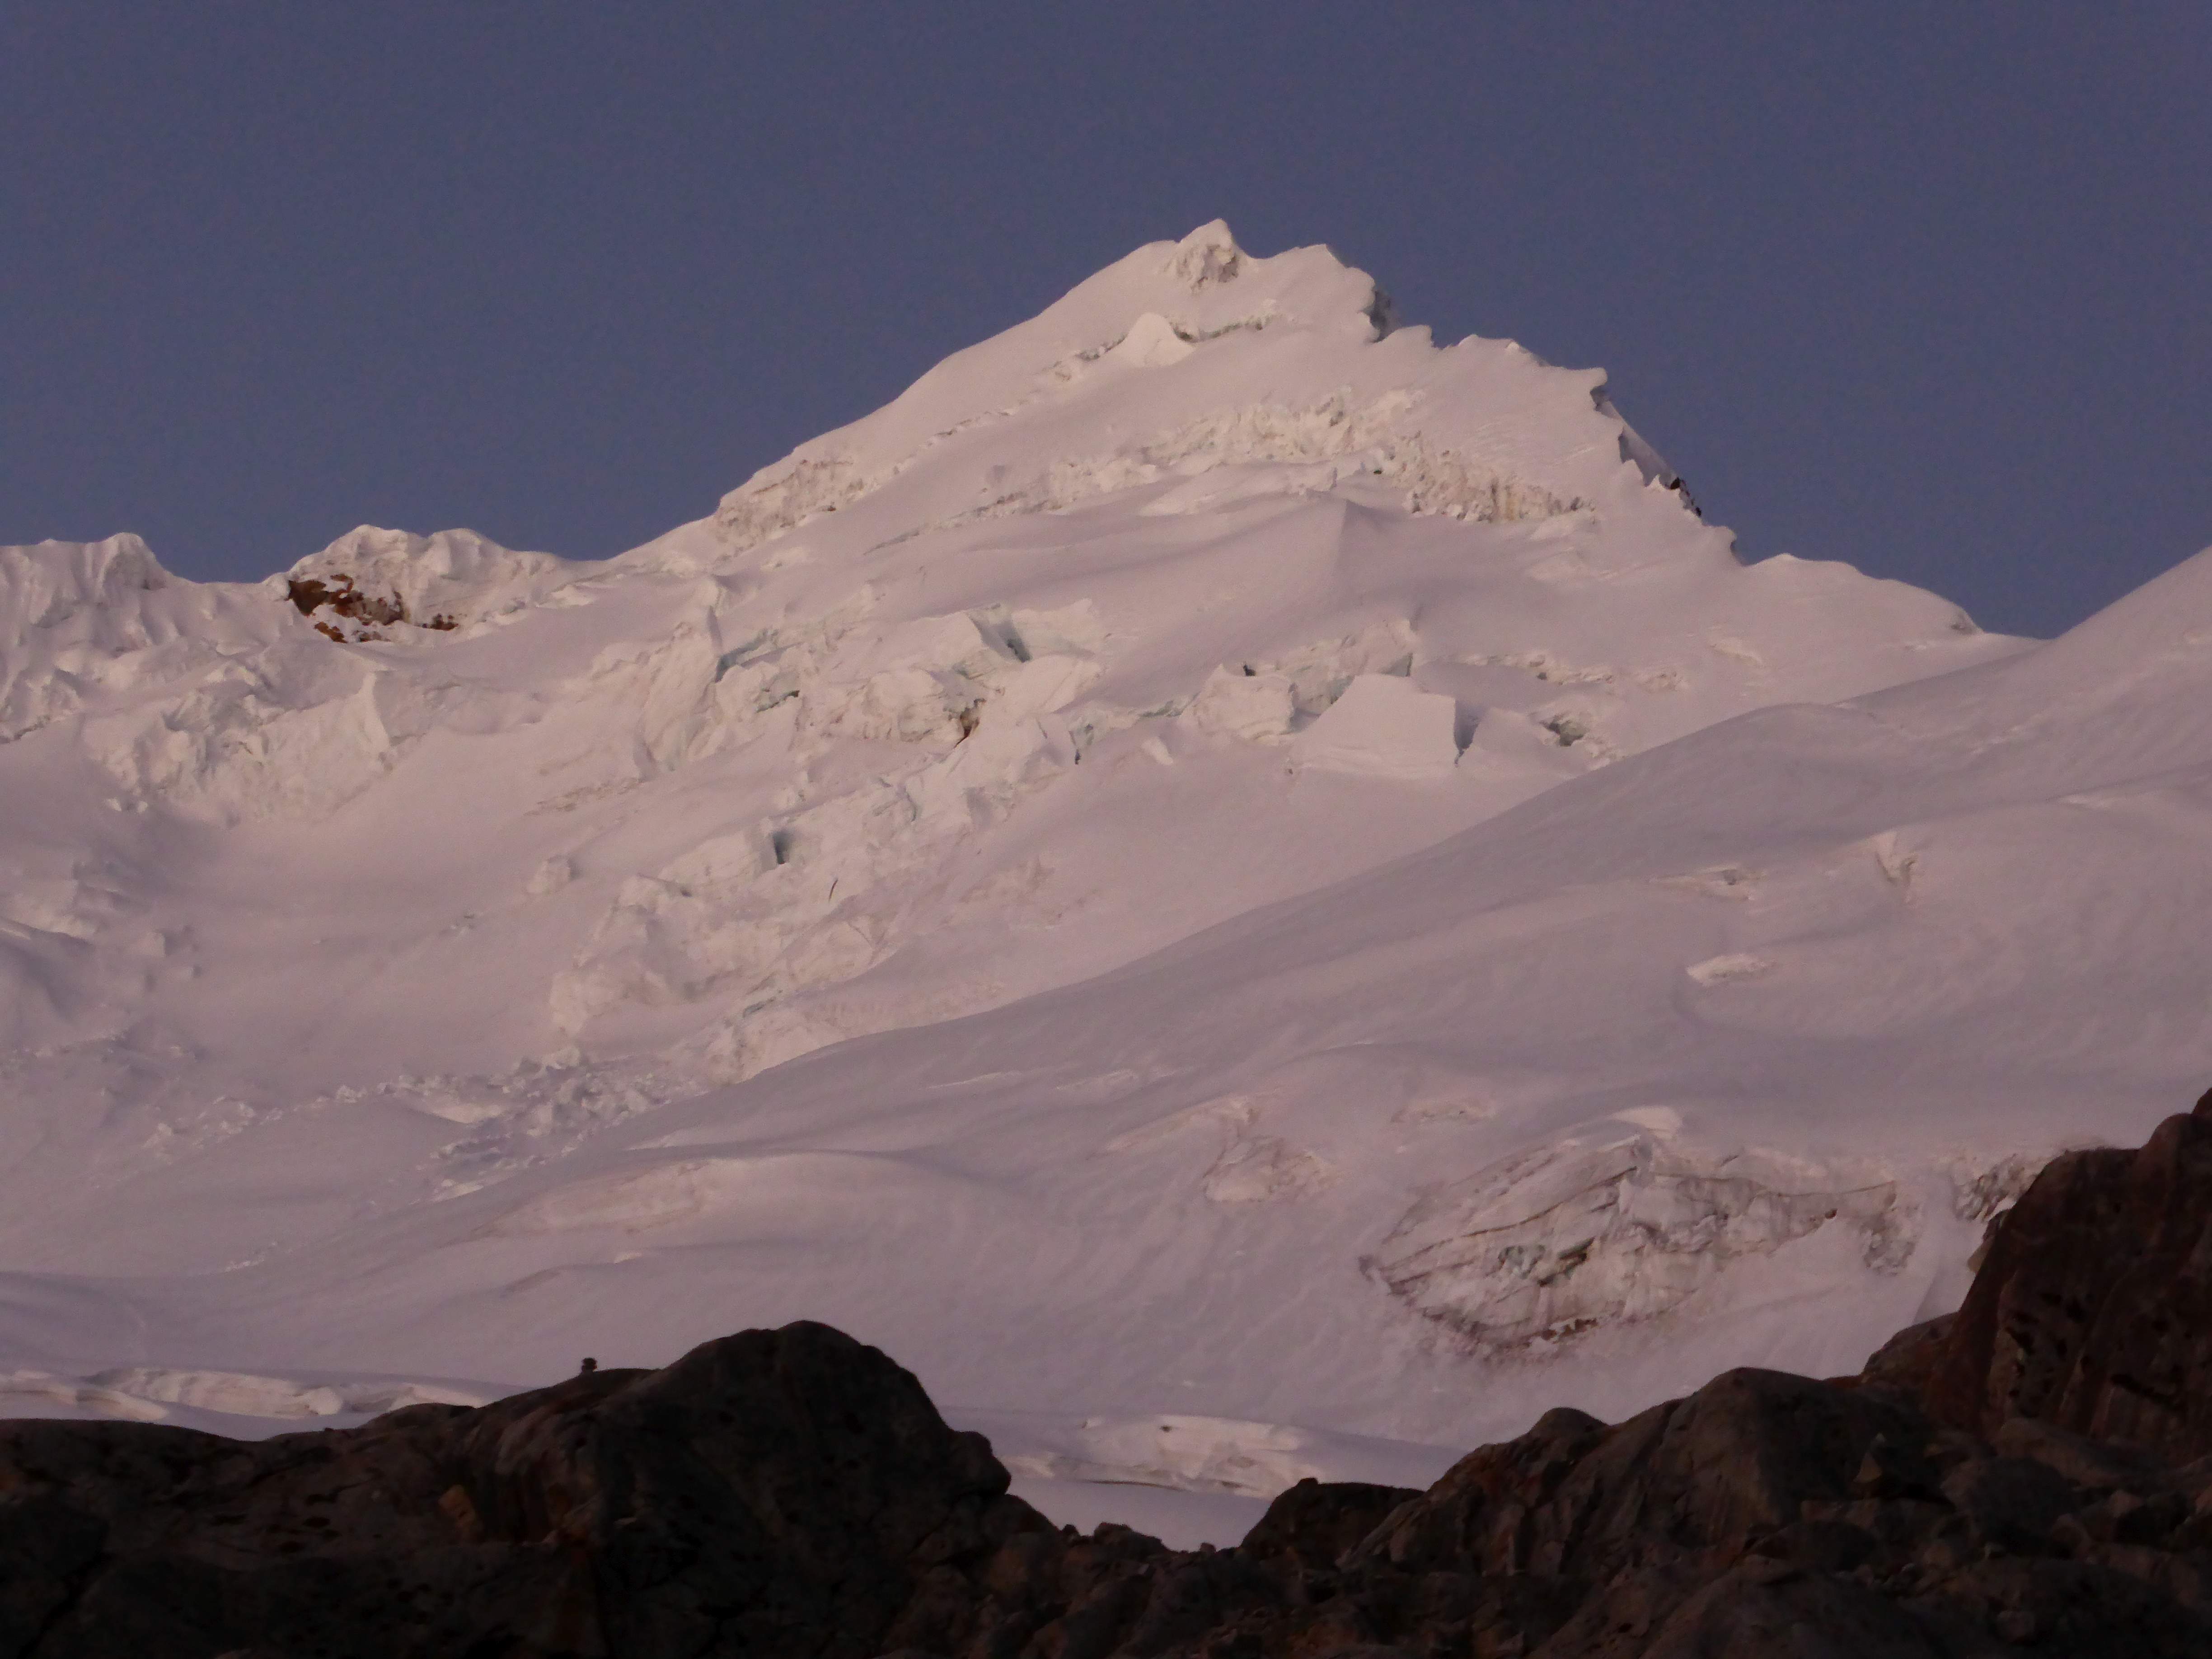
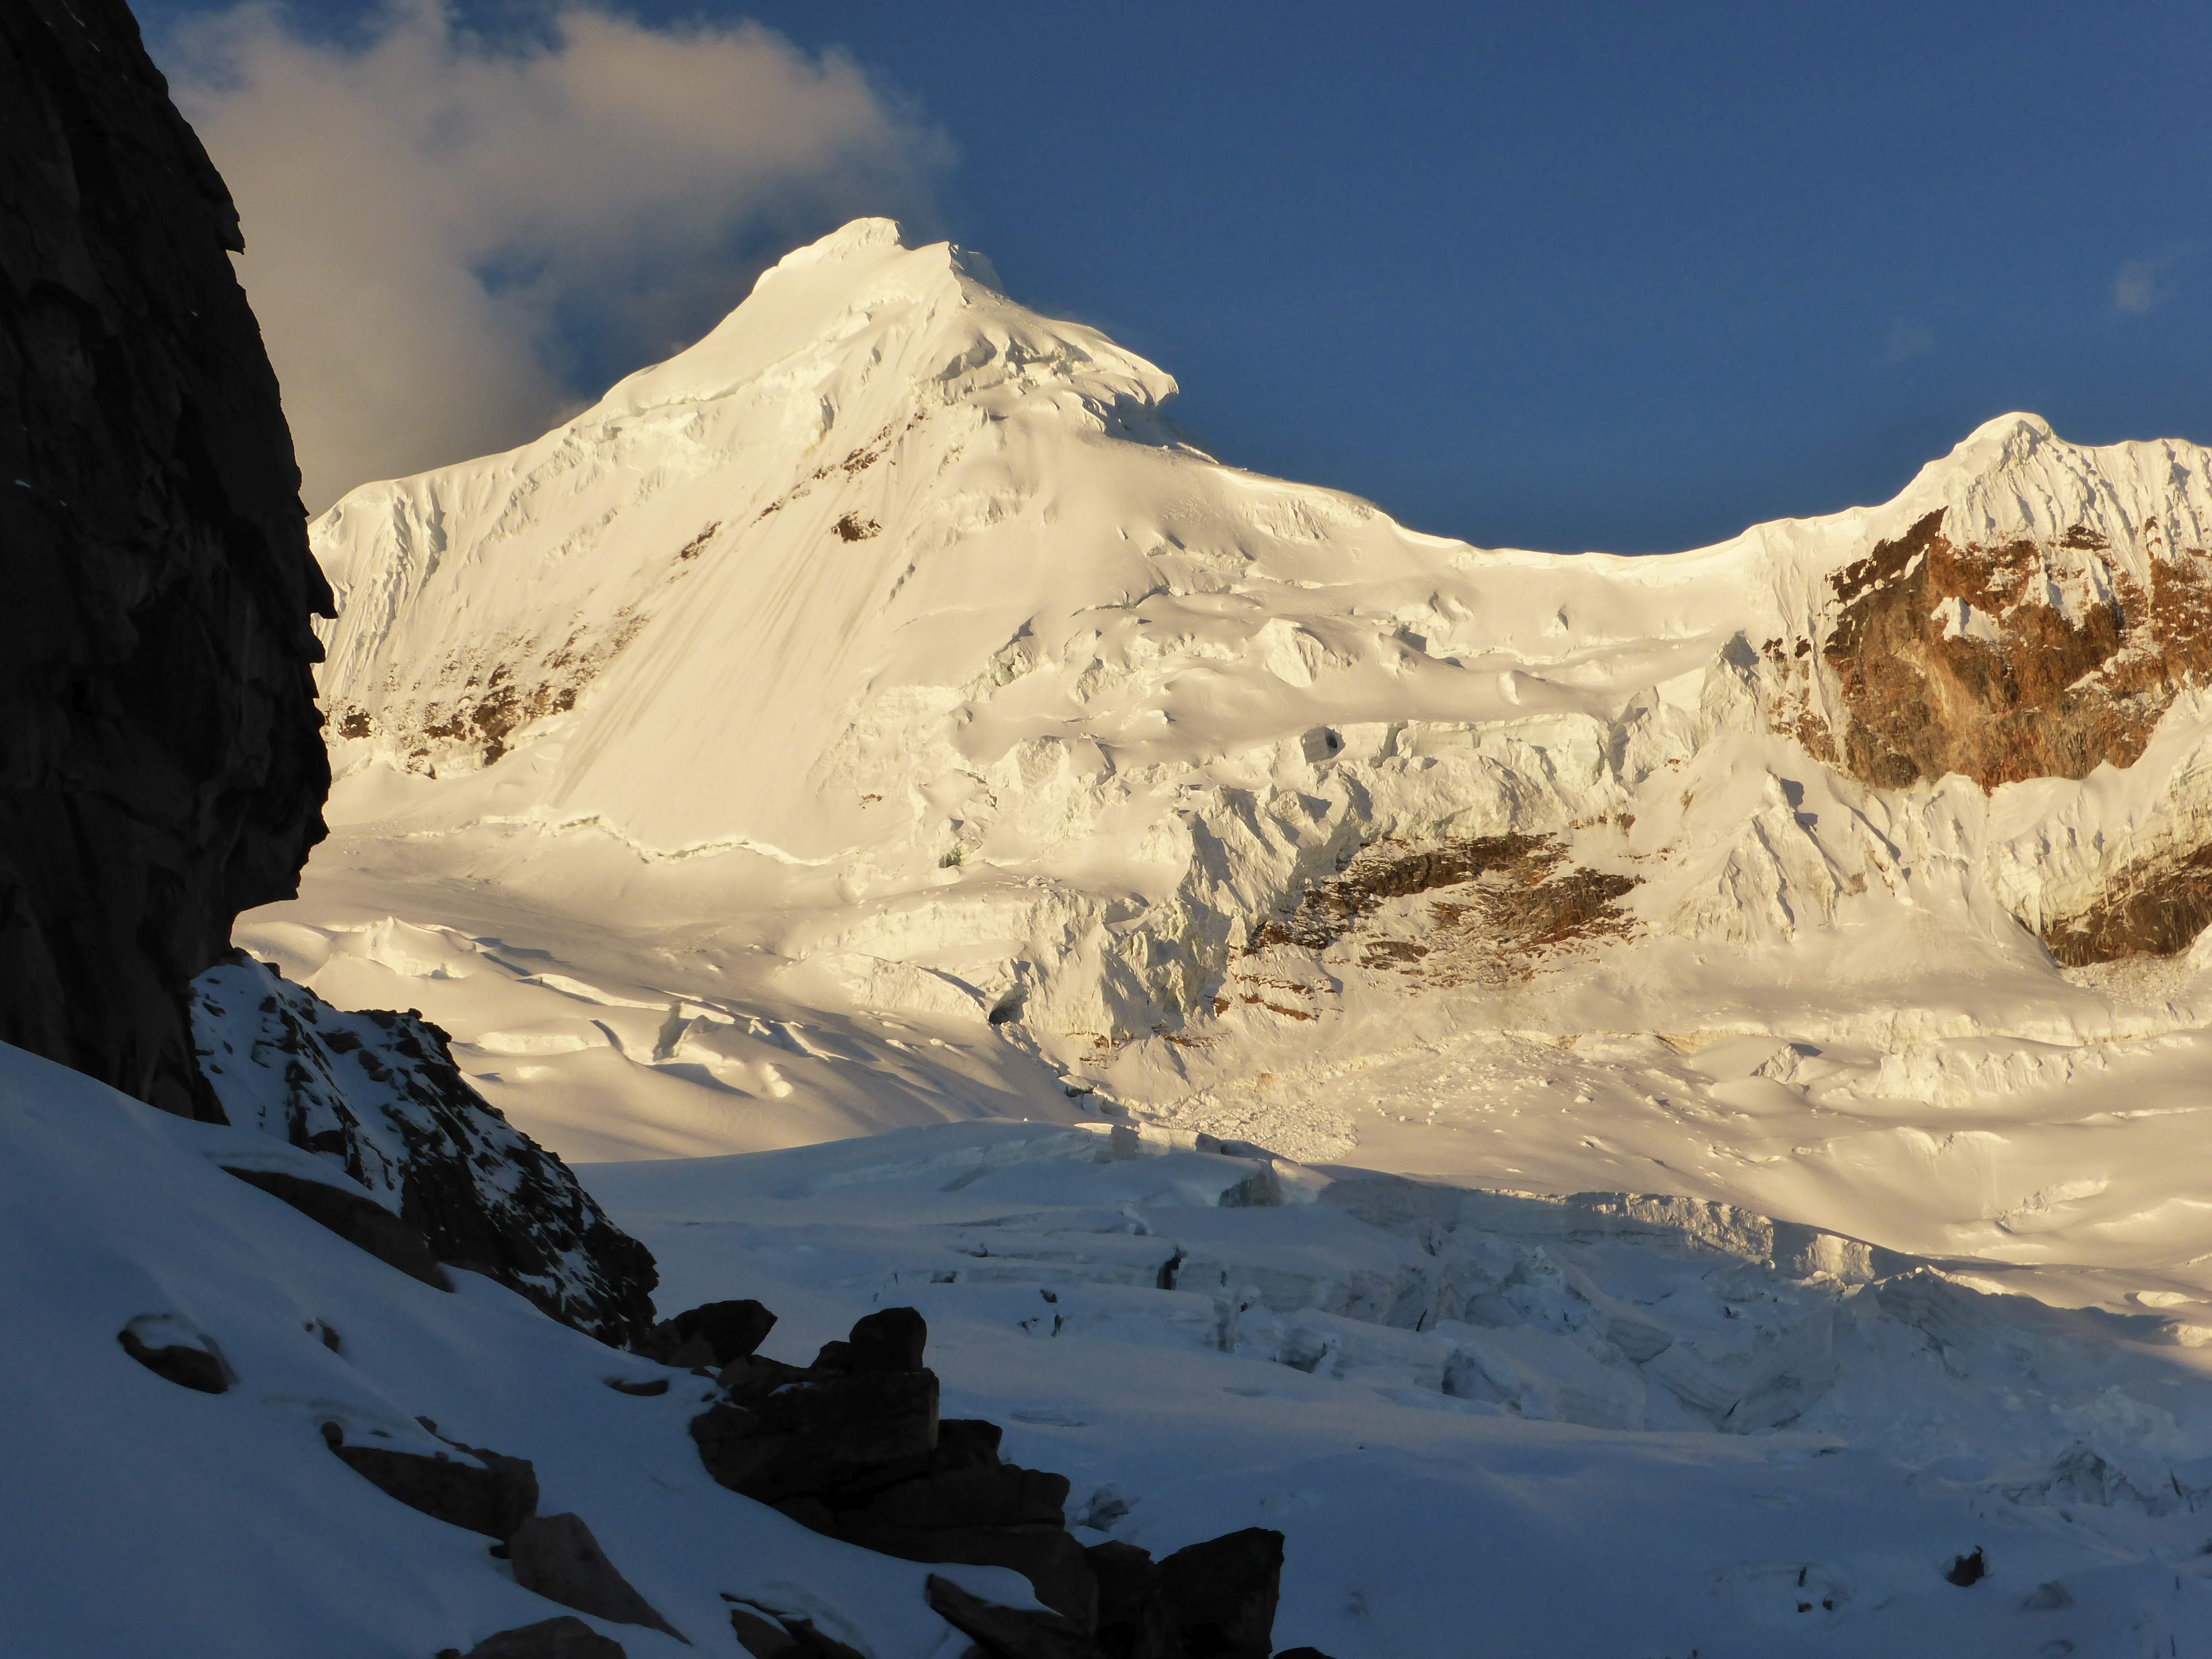
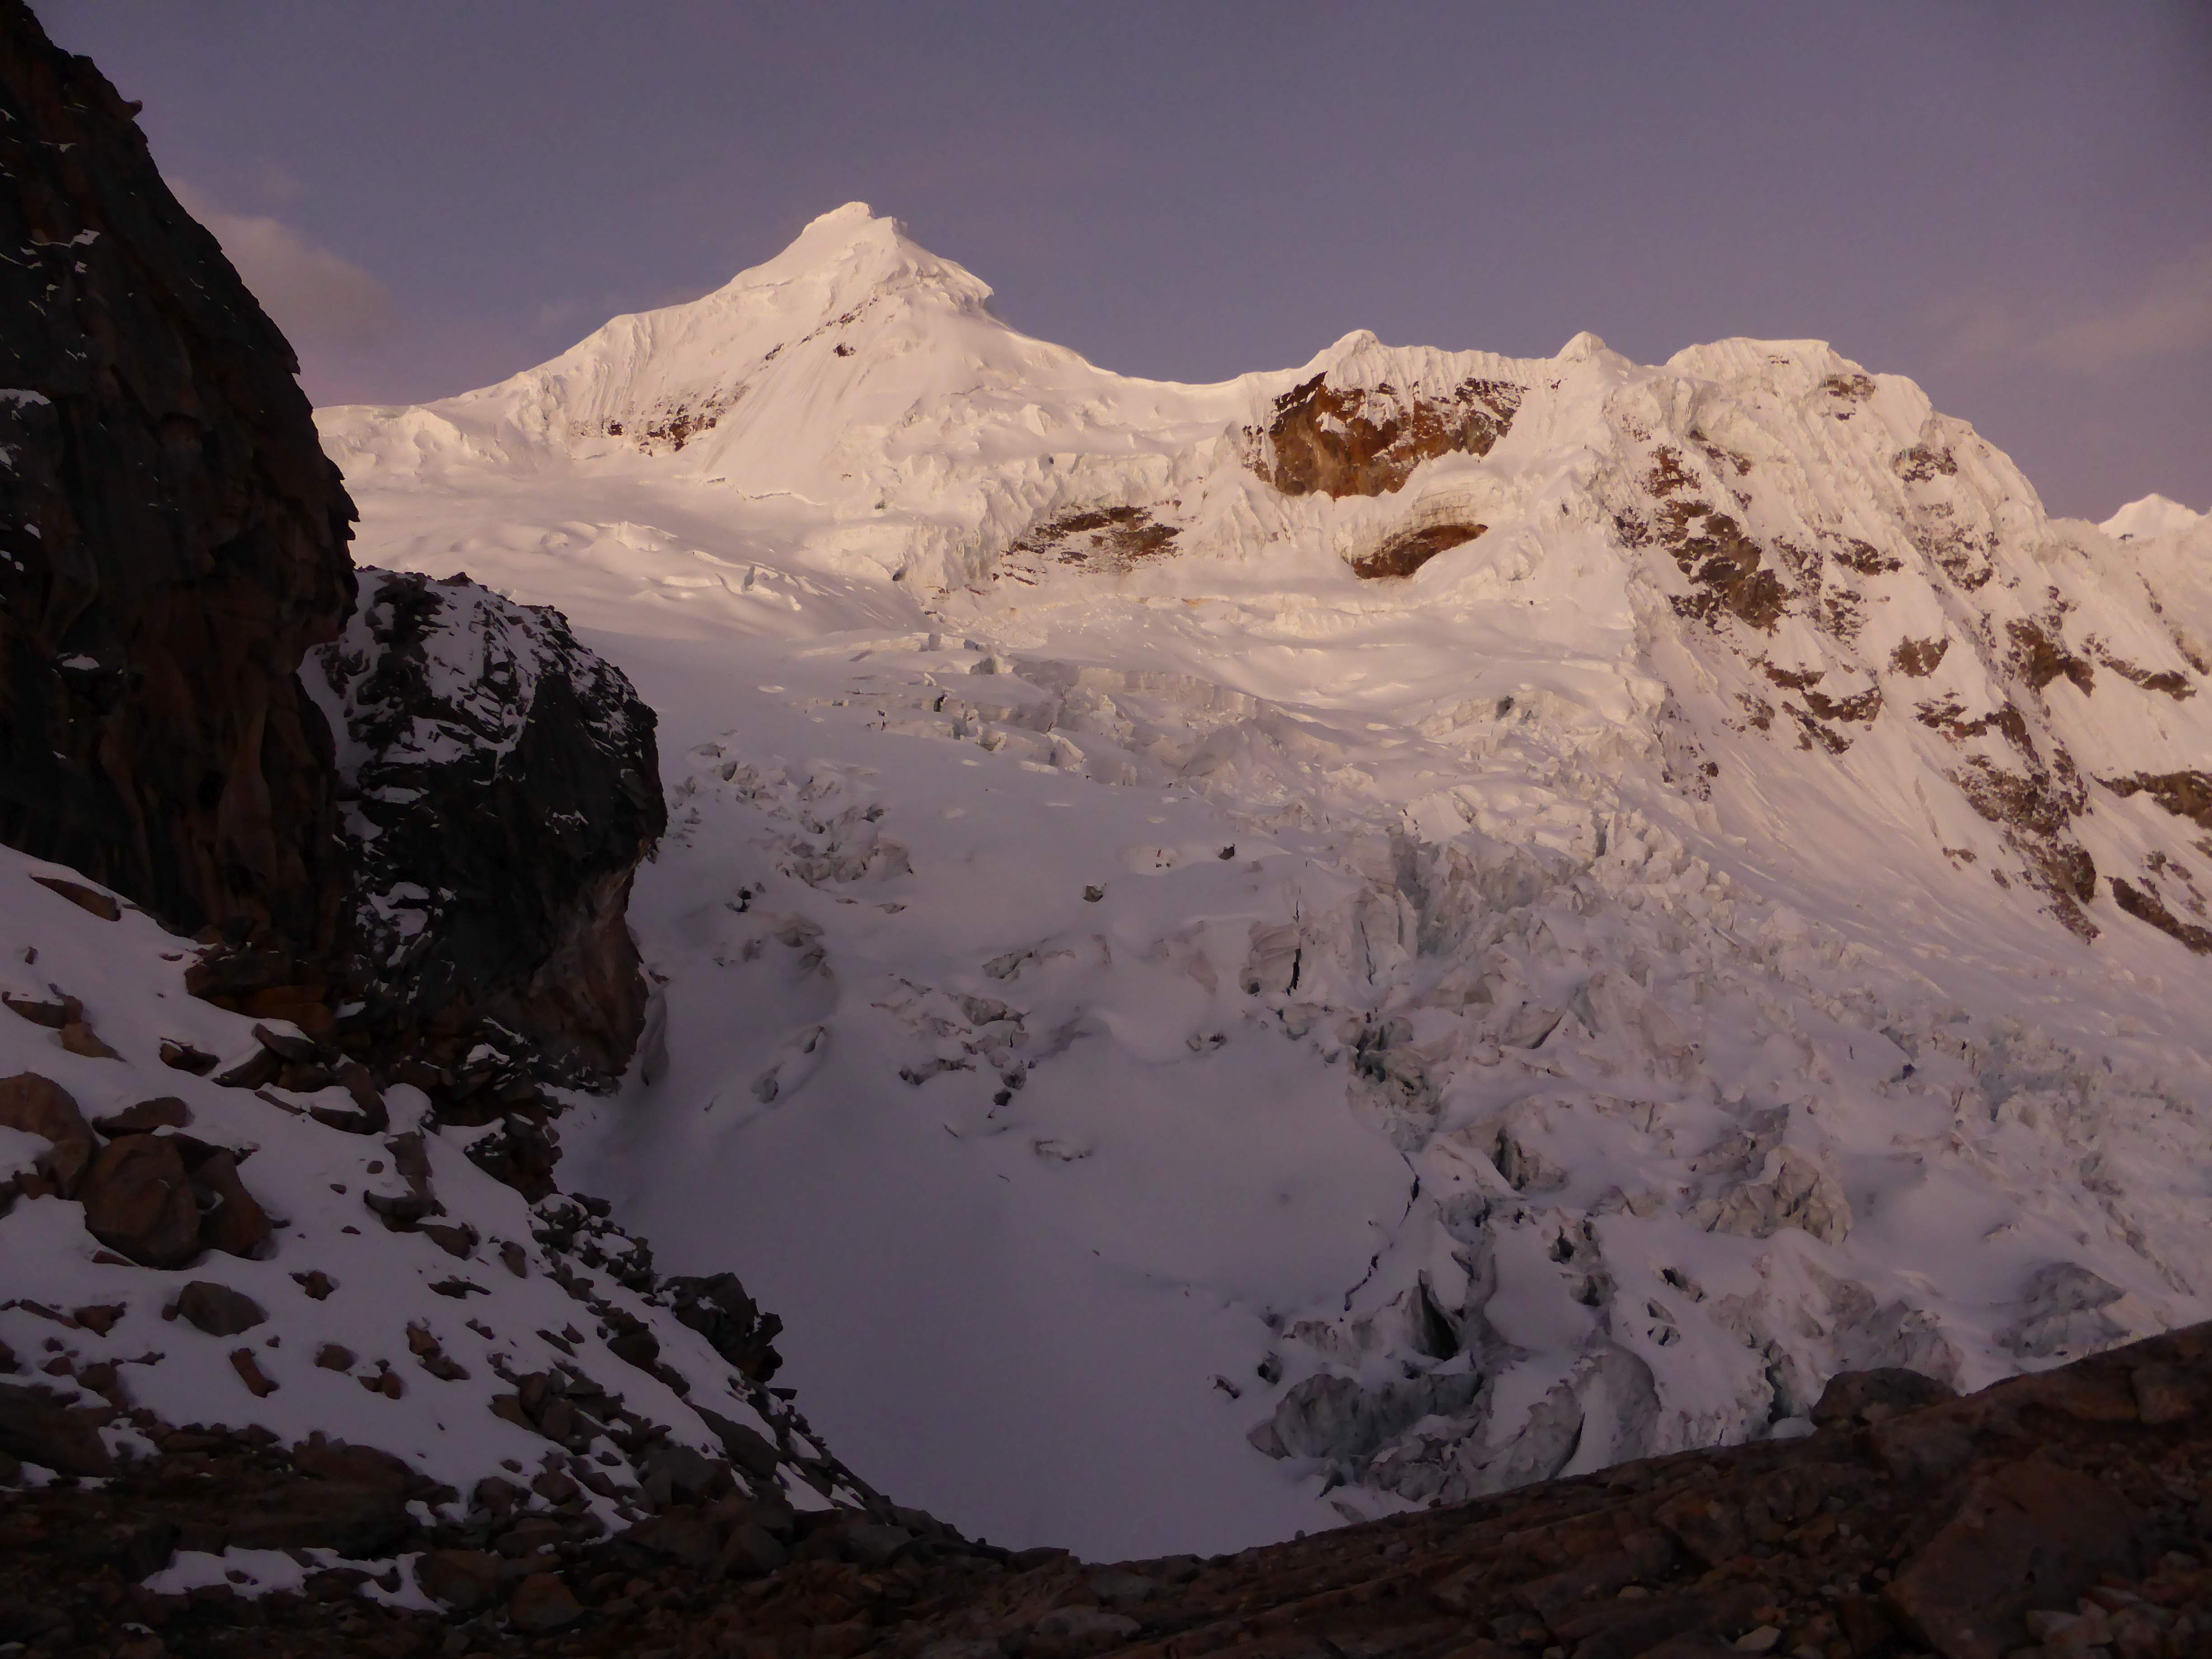
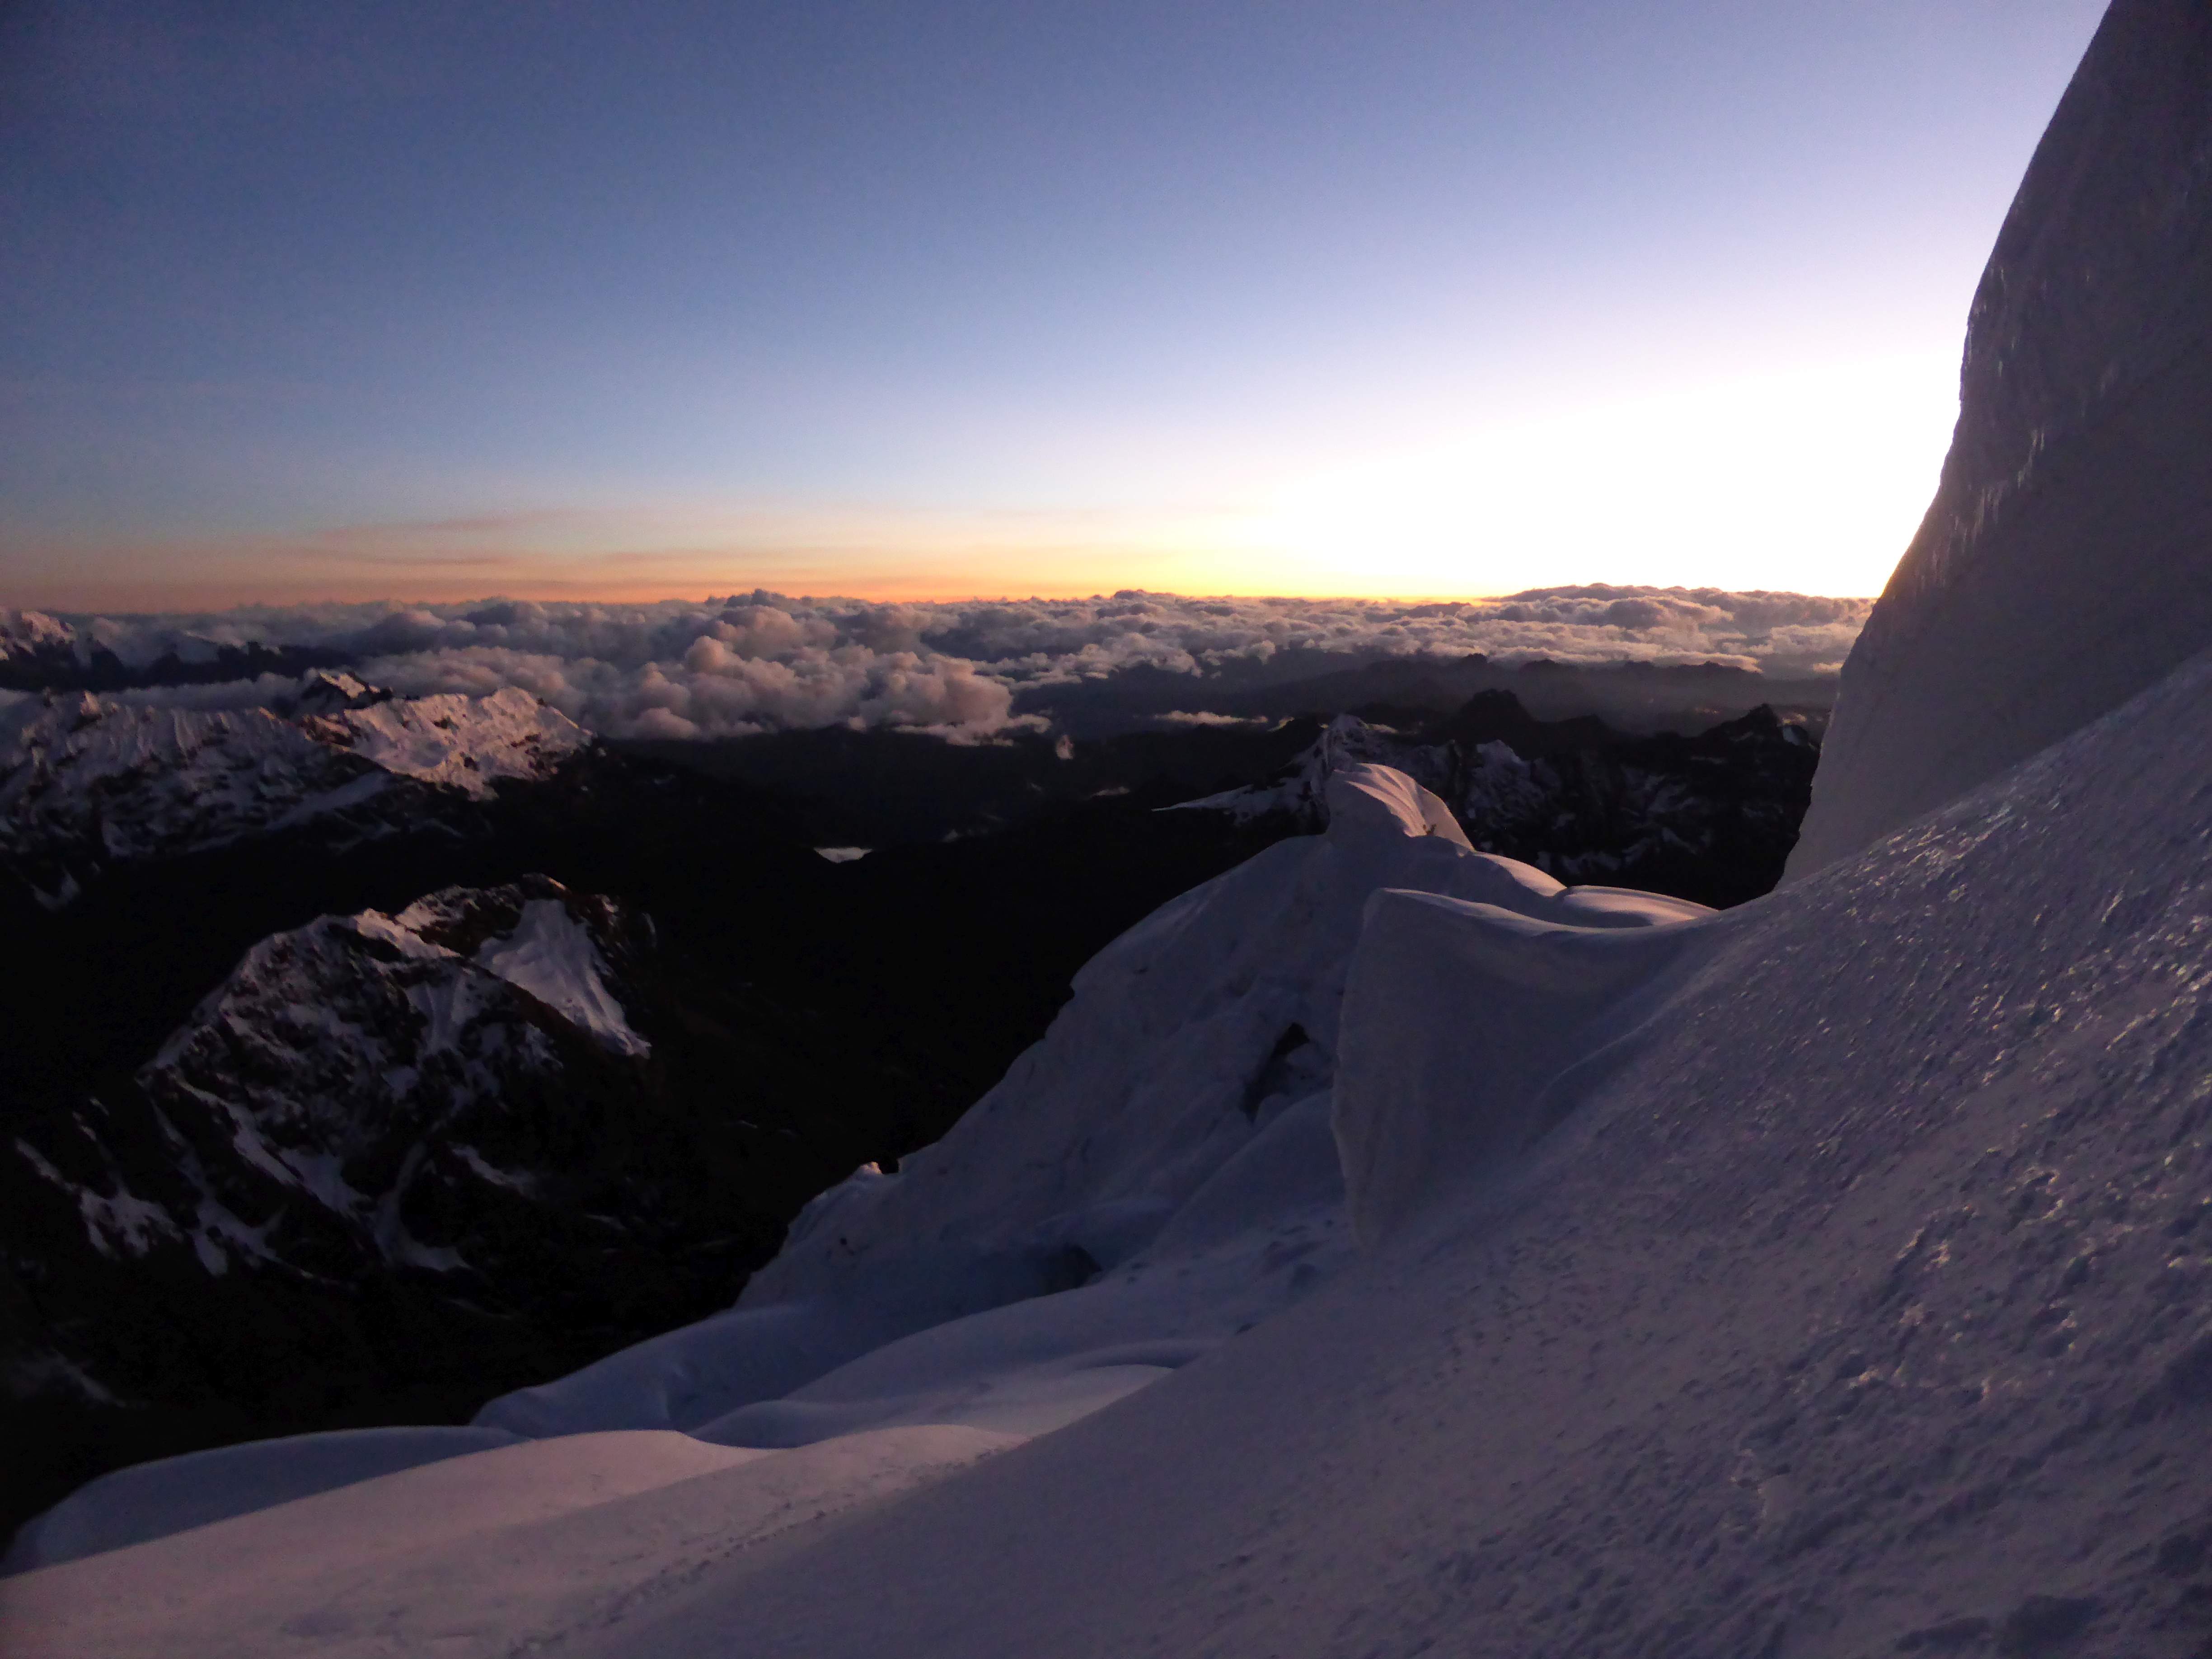
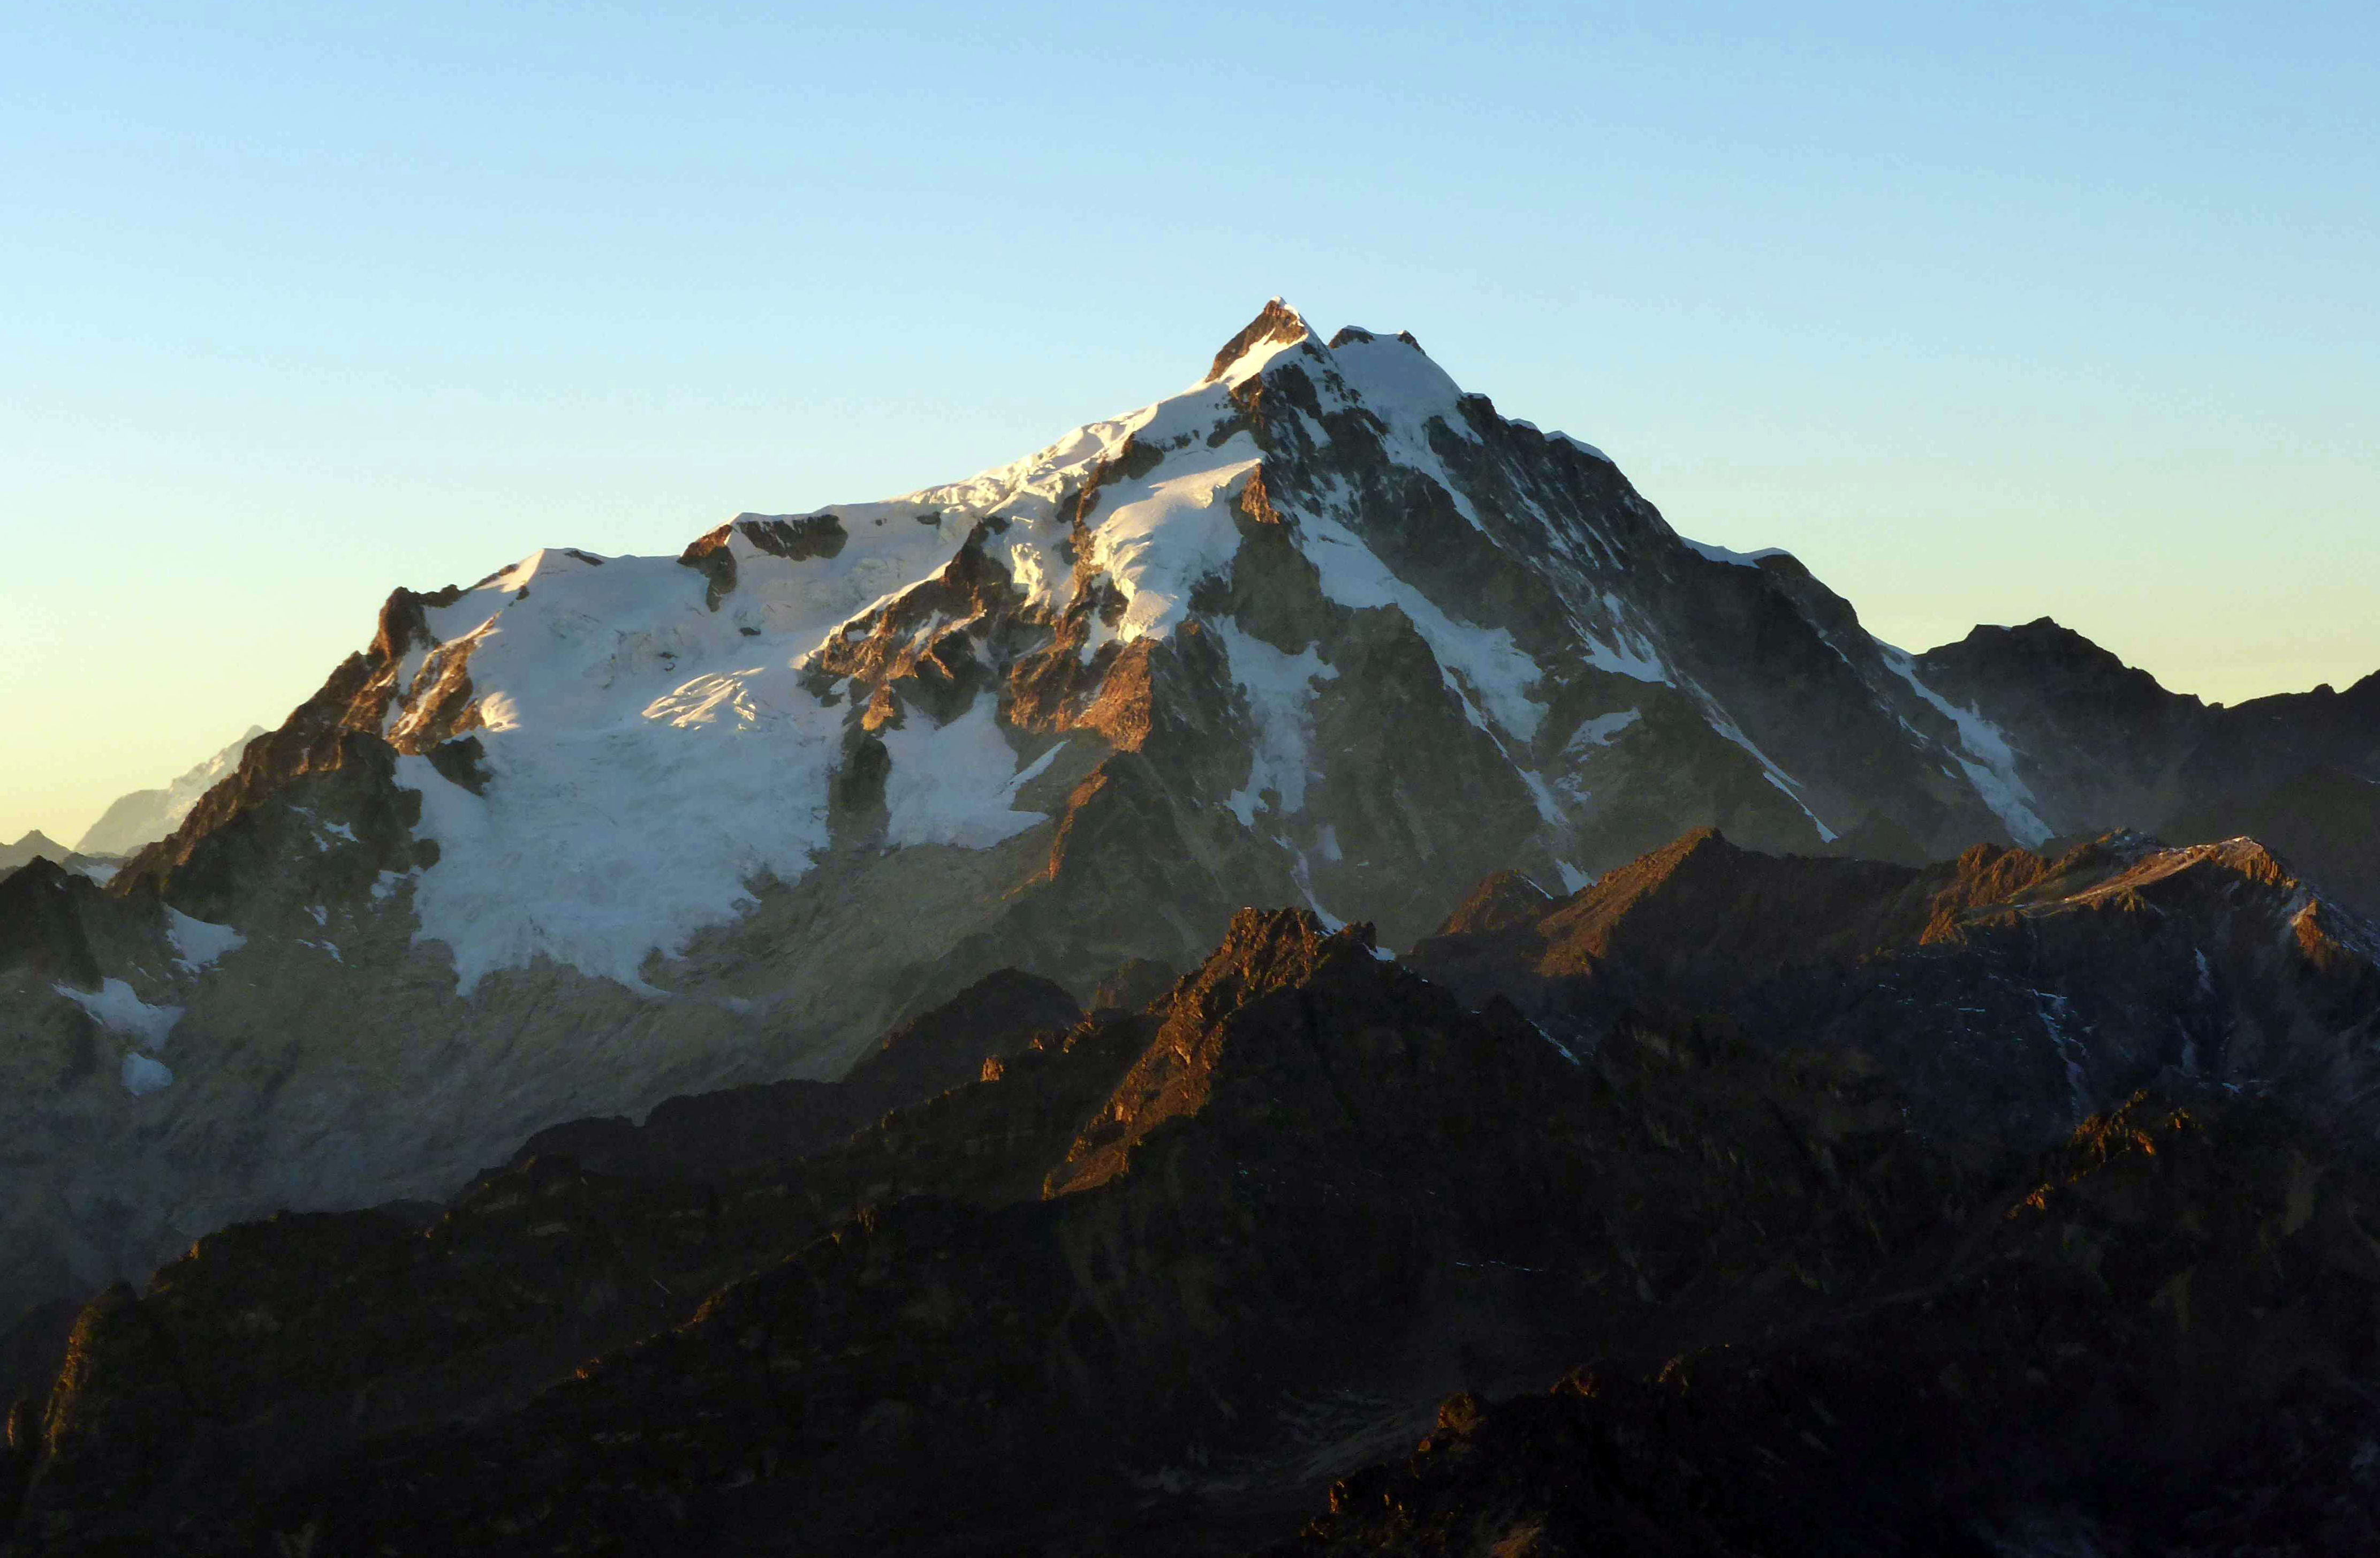
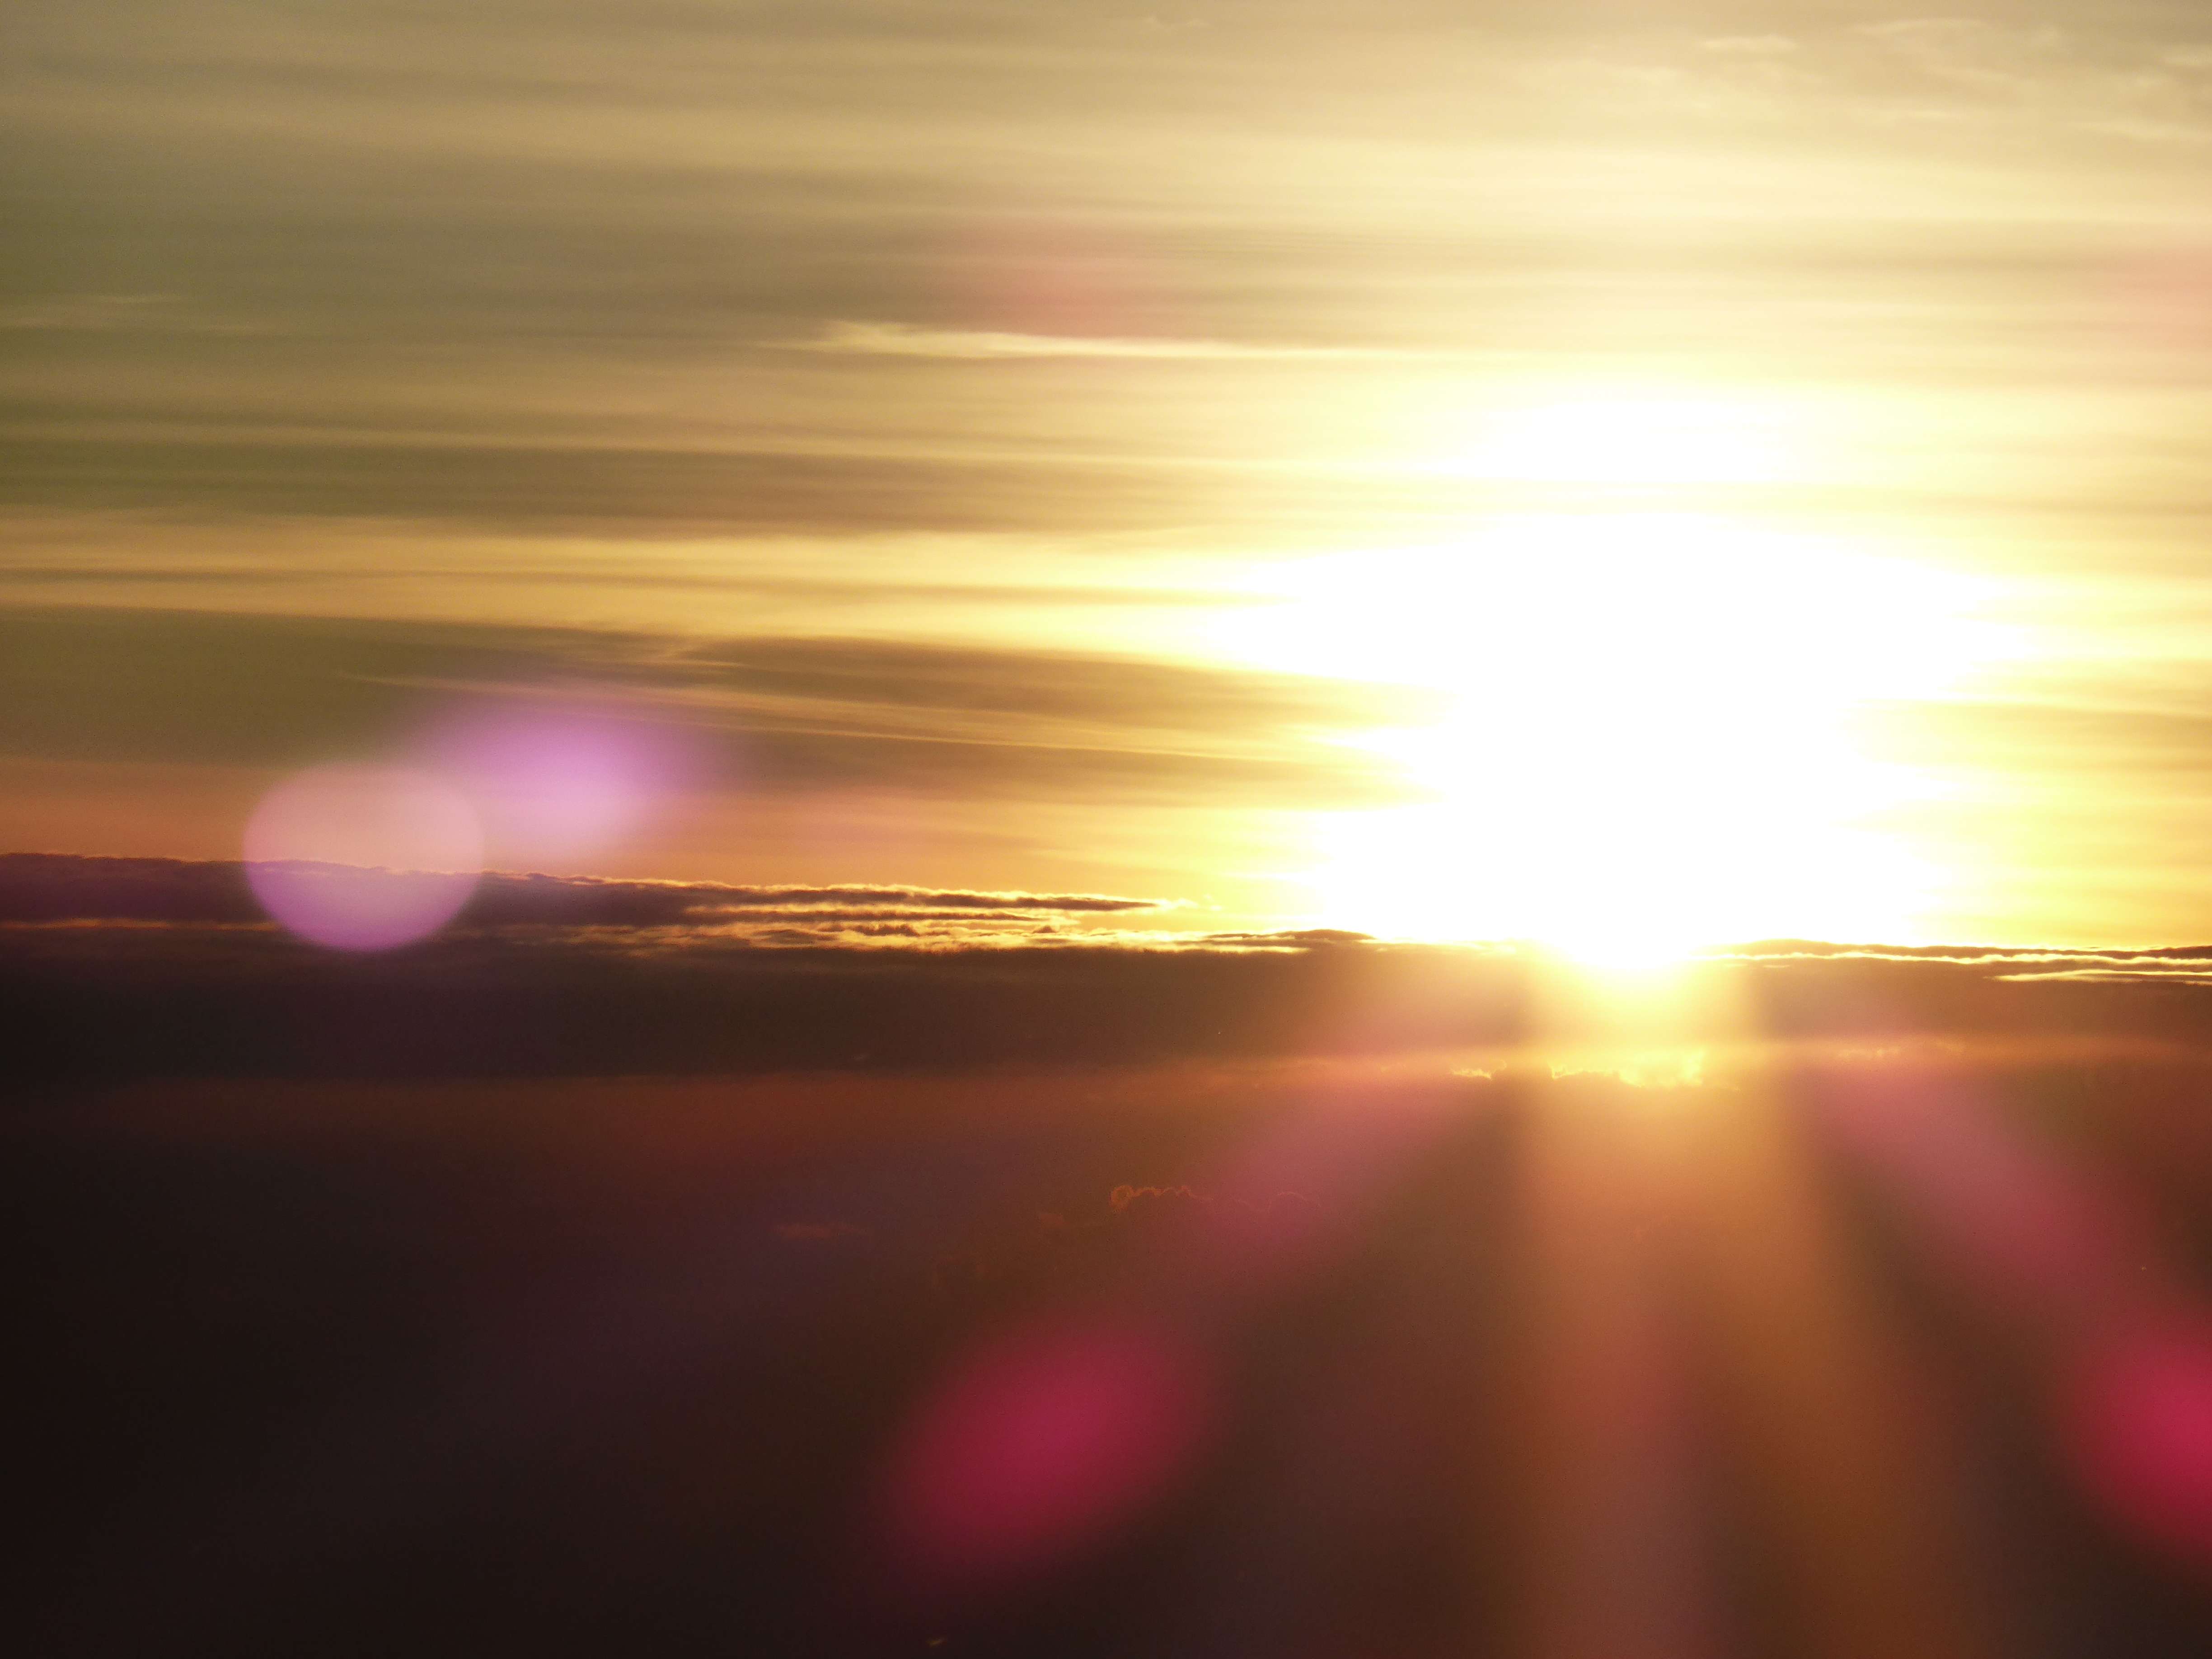
Aconcagua at sunset, from Plaza de Mulas.
Aconcagua
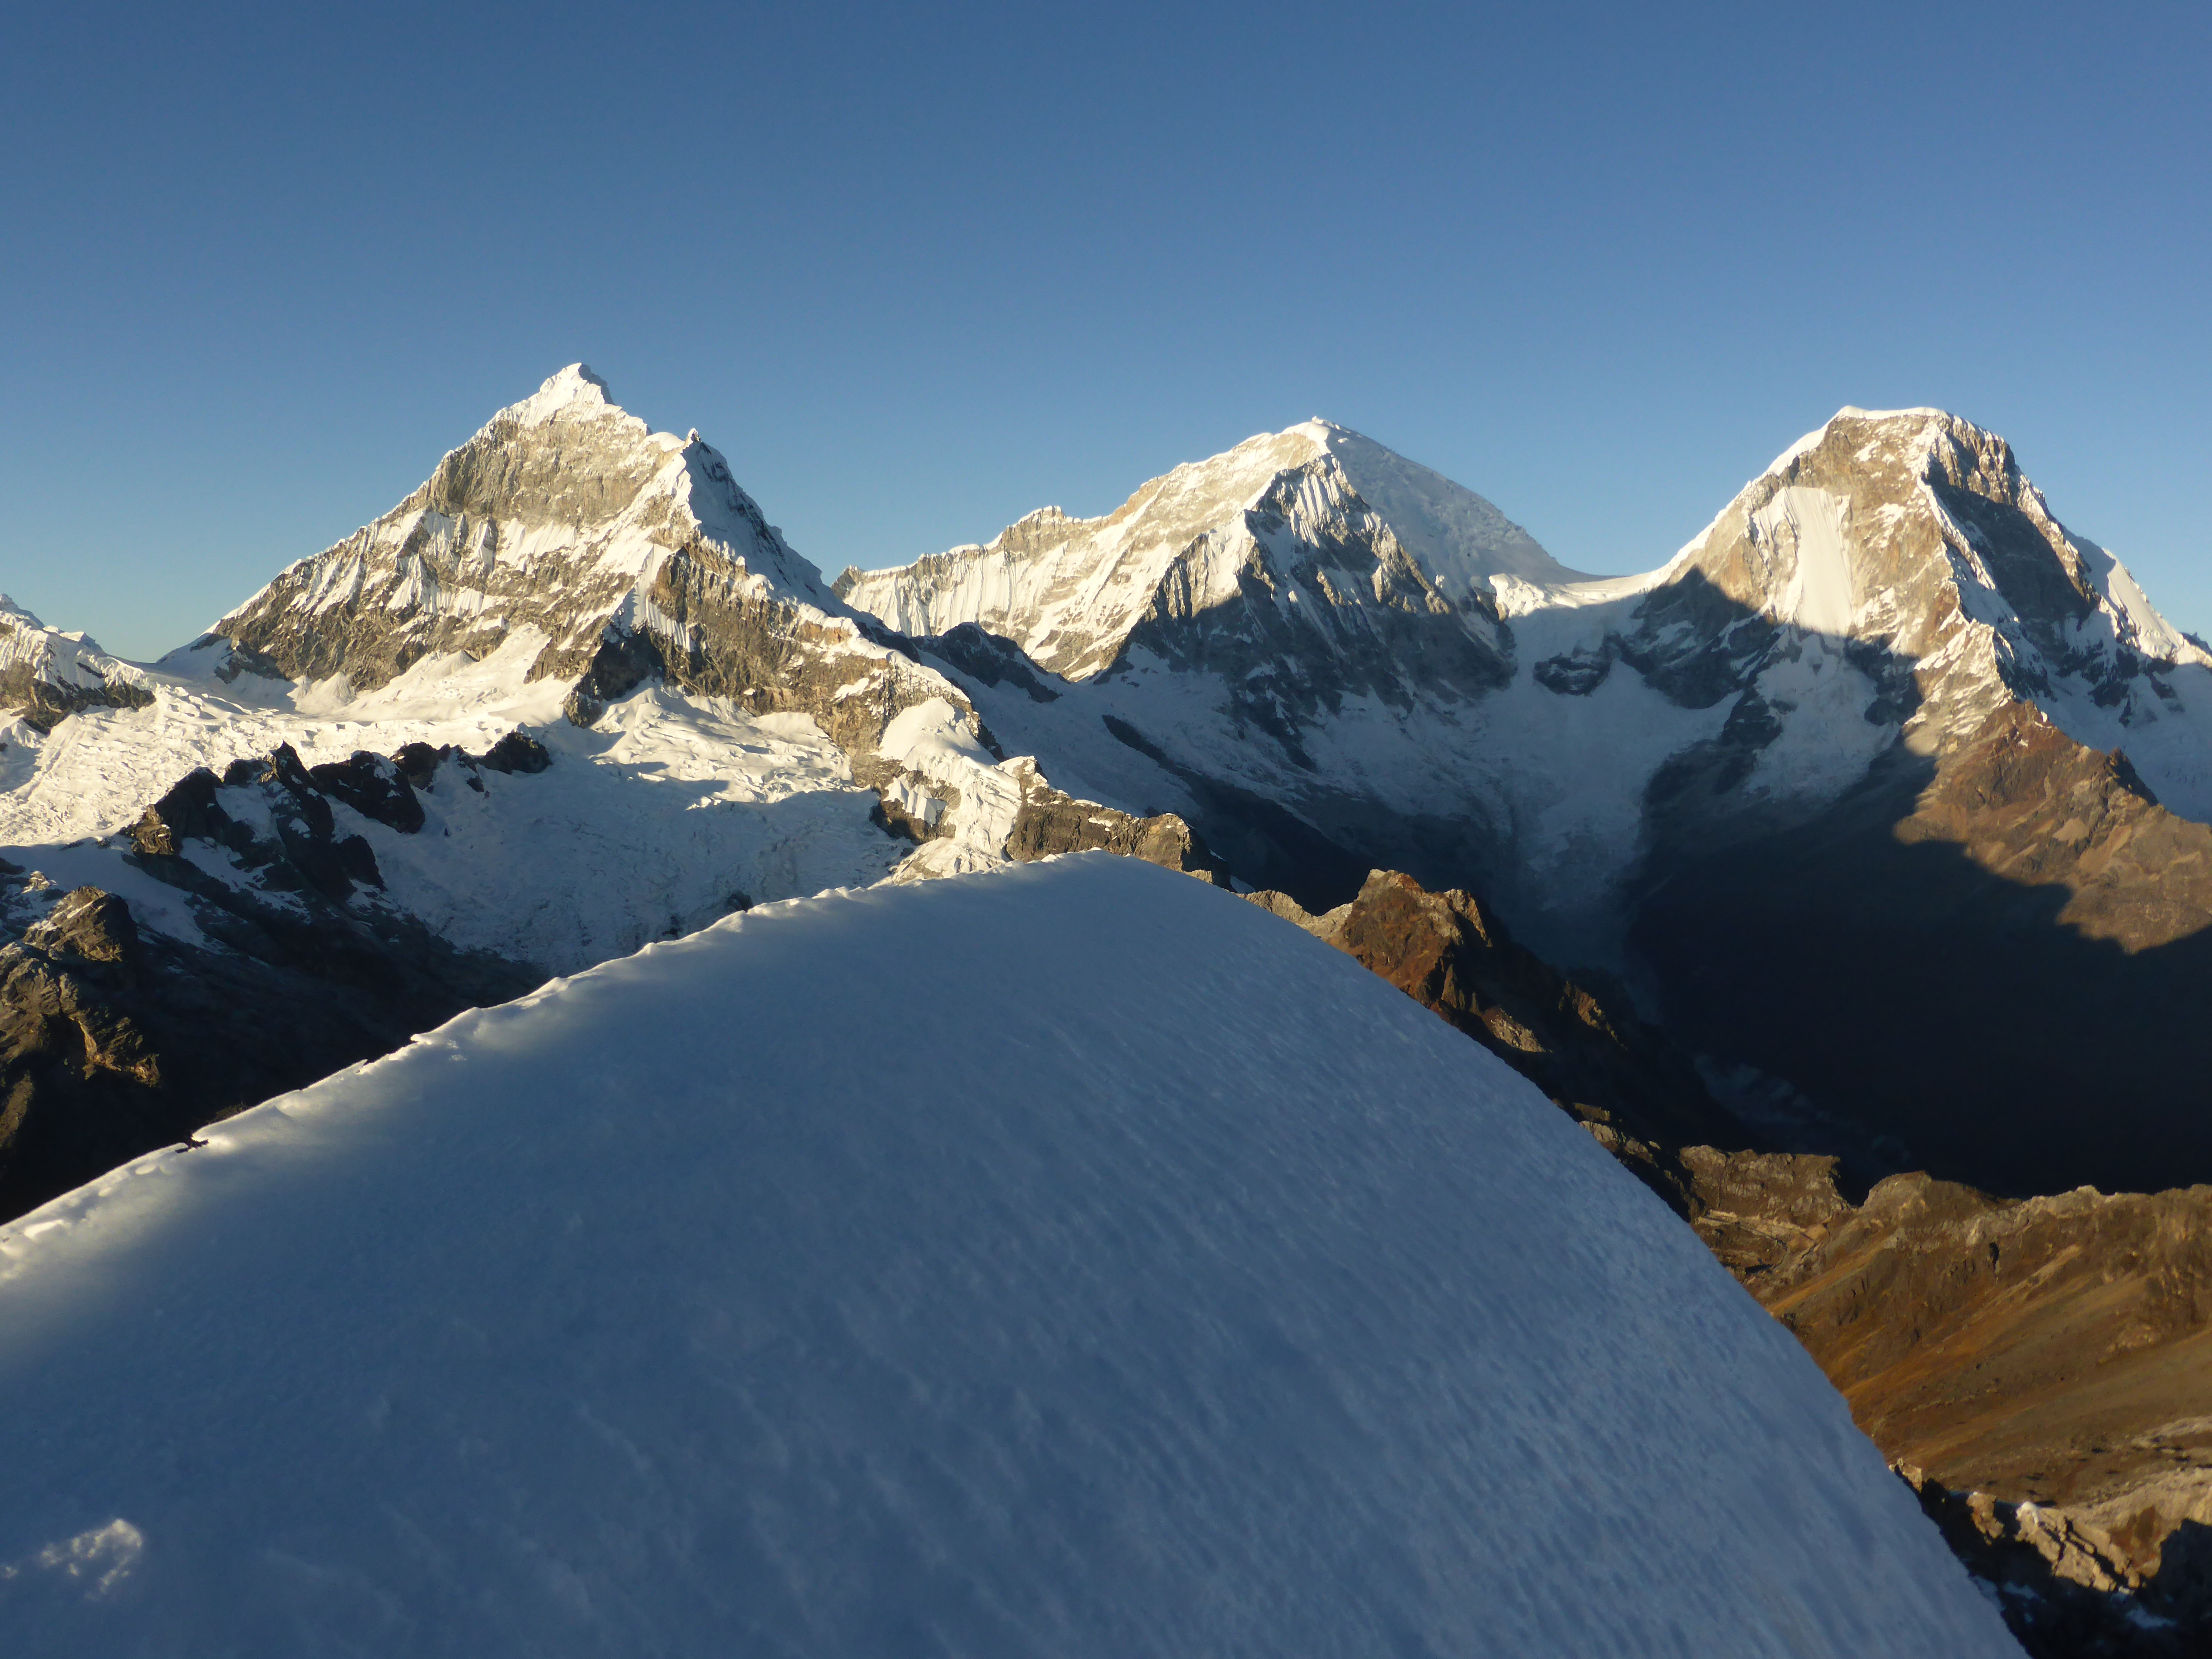
Argentina’s 6962m Aconcagua is South America’s highest mountain, the highest peak in the western hemisphere, and indeed the highest anywhere outside of Asia. Located in the Andes near the border between Argentina and Chile, Aconcagua is generally accessed from the Argentine city of Mendoza. Aconcagua has numerous established routes, including several word-class technical lines up the mountain’s incredible south face. The most popular routes by far are the Normal Route and the Polish Traverse. The Normal Route is accessed through the Horcones Valley and ascends the north-west ridge. The Polish Traverse is accessed through the Vacas Valley and ascends the mountain’s eastern aspect to the Polish Glacier, where a traverse connects to the Normal Route and meets at around ~6400m. Ascent can also be undertaken via the Polish Glacier itself, but this appears to be increasingly uncommon due to high objective risks associated with the declining condition of the glacier. Both the Normal Route and Polish Traverse are non-technical, and are essentially lengthy hikes at high altitude with a high probability of extreme weather. Despite a (well deserved) reputation for being technically simple Aconcagua sees a relatively low summit success rate, claims numerous lives every year, and represents a serious undertaking due to altitude, weather, expedition logistics, and a long summit day.
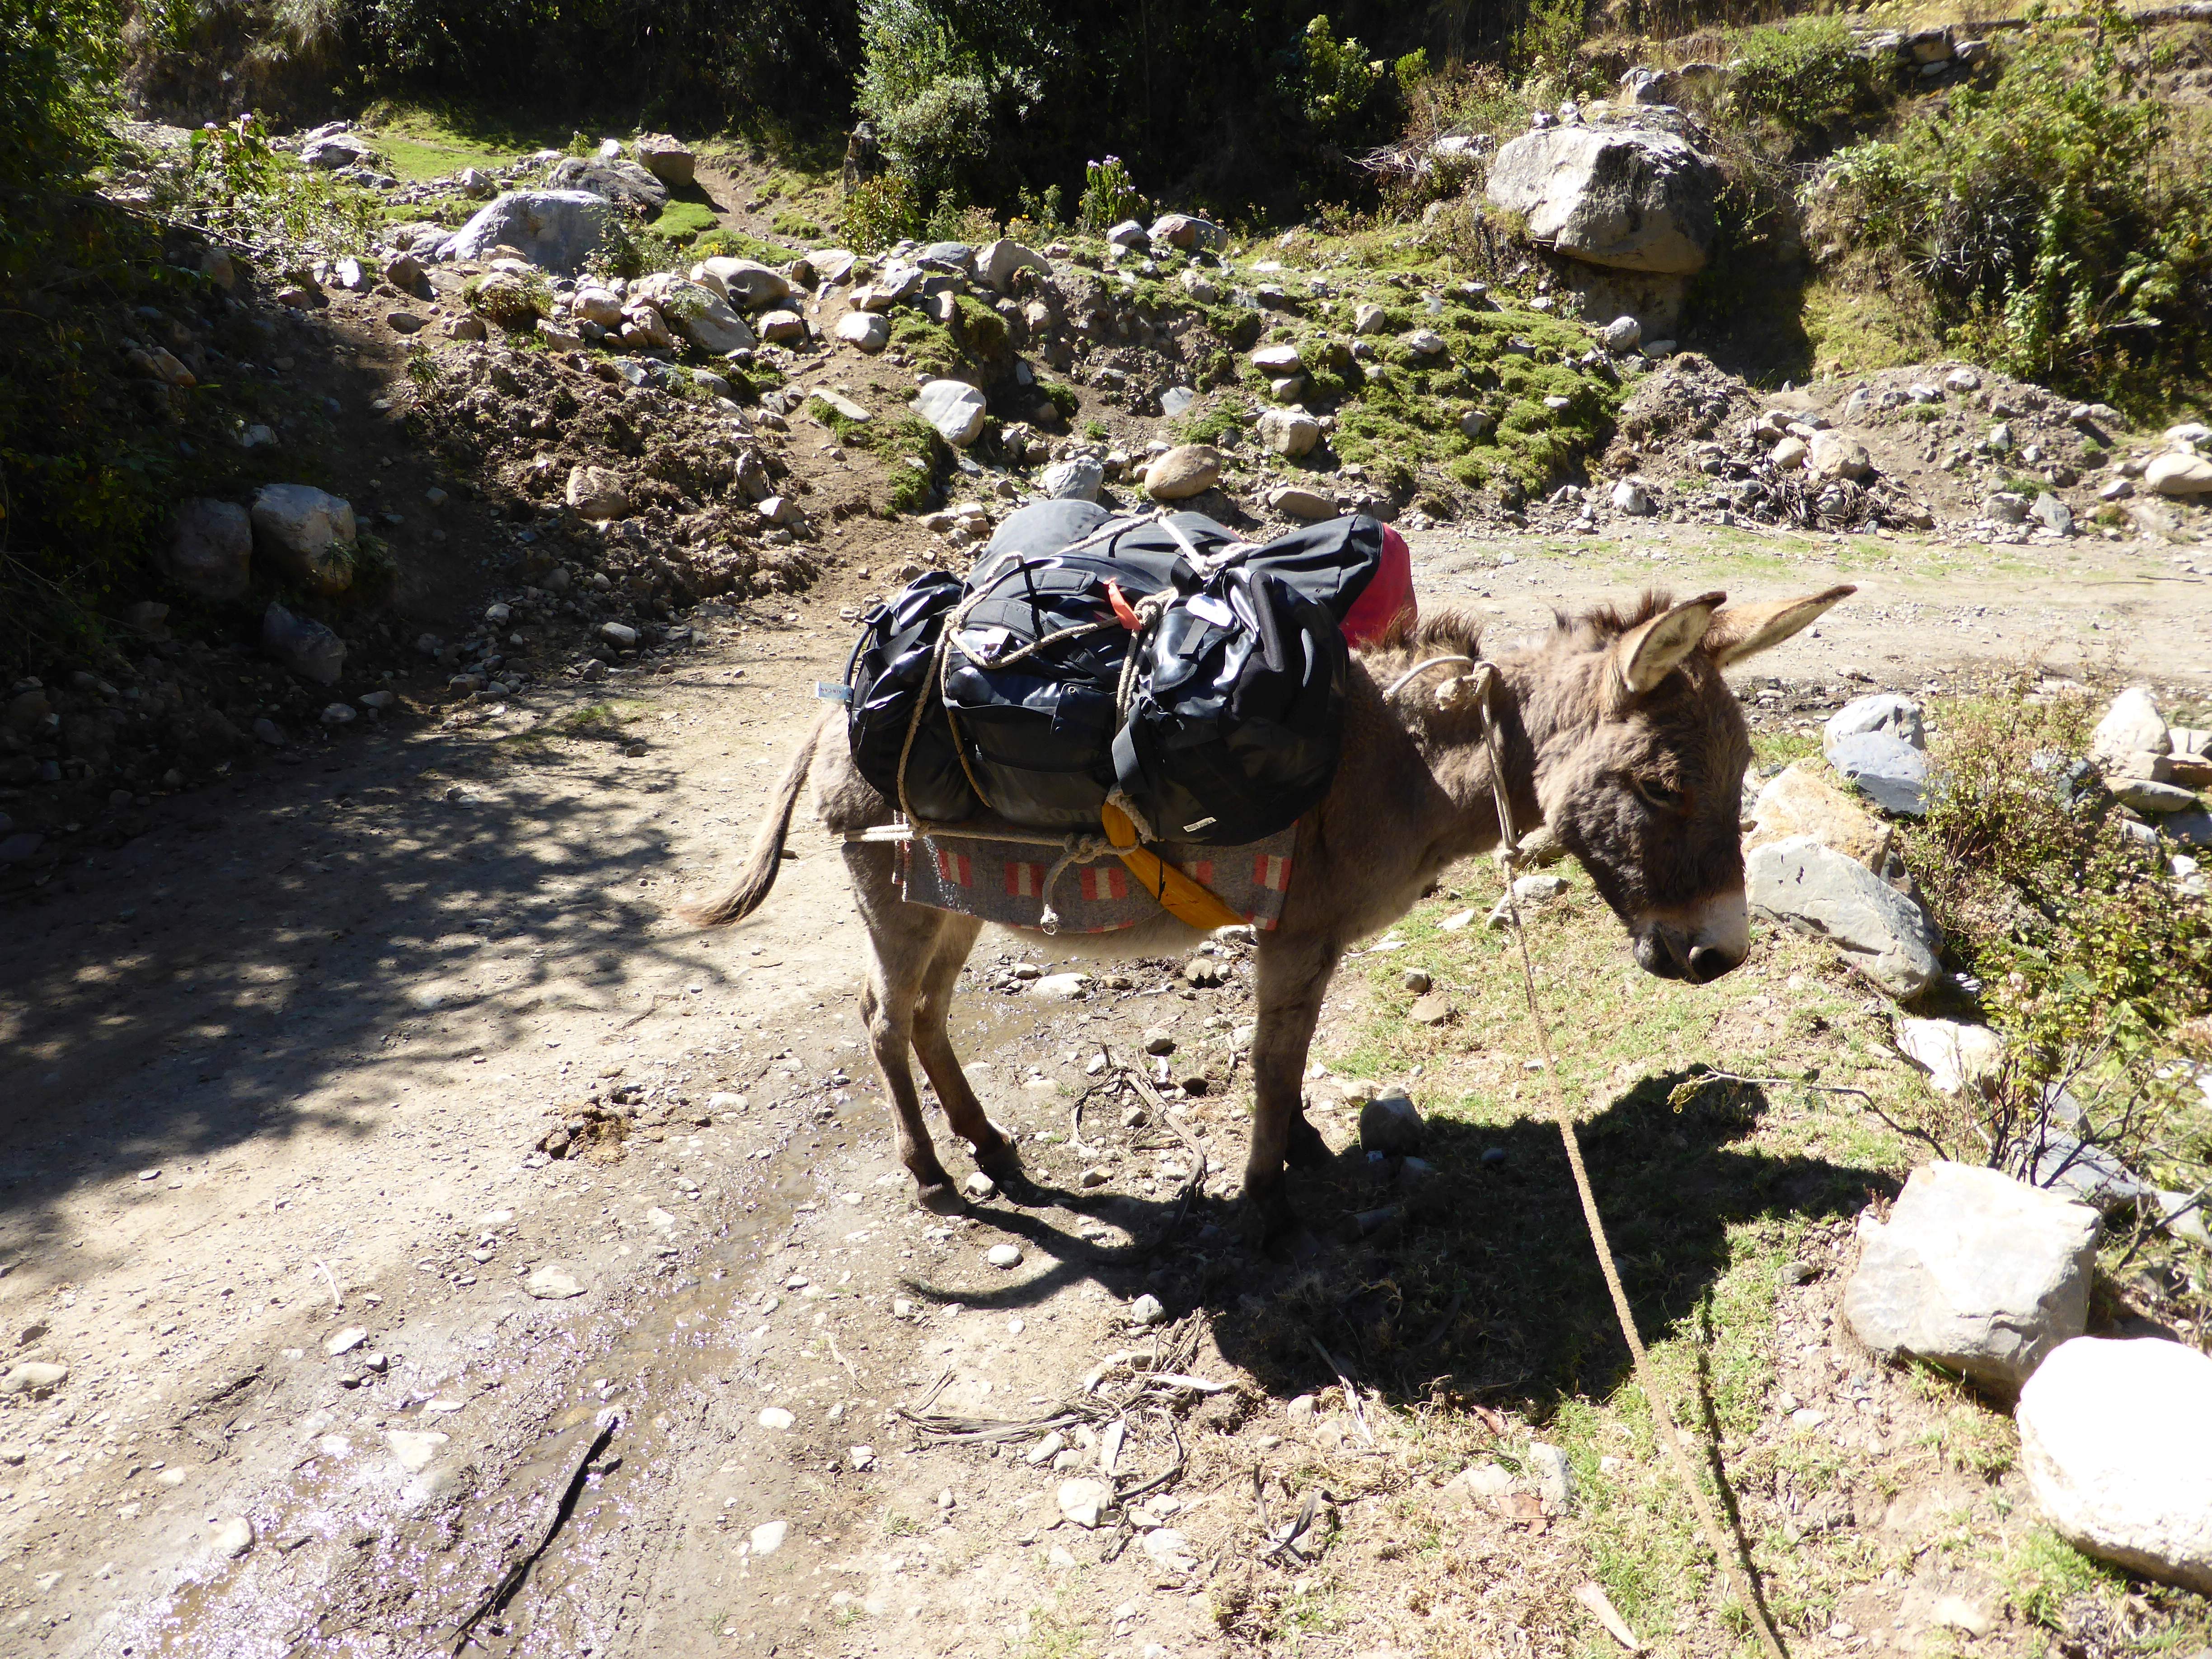
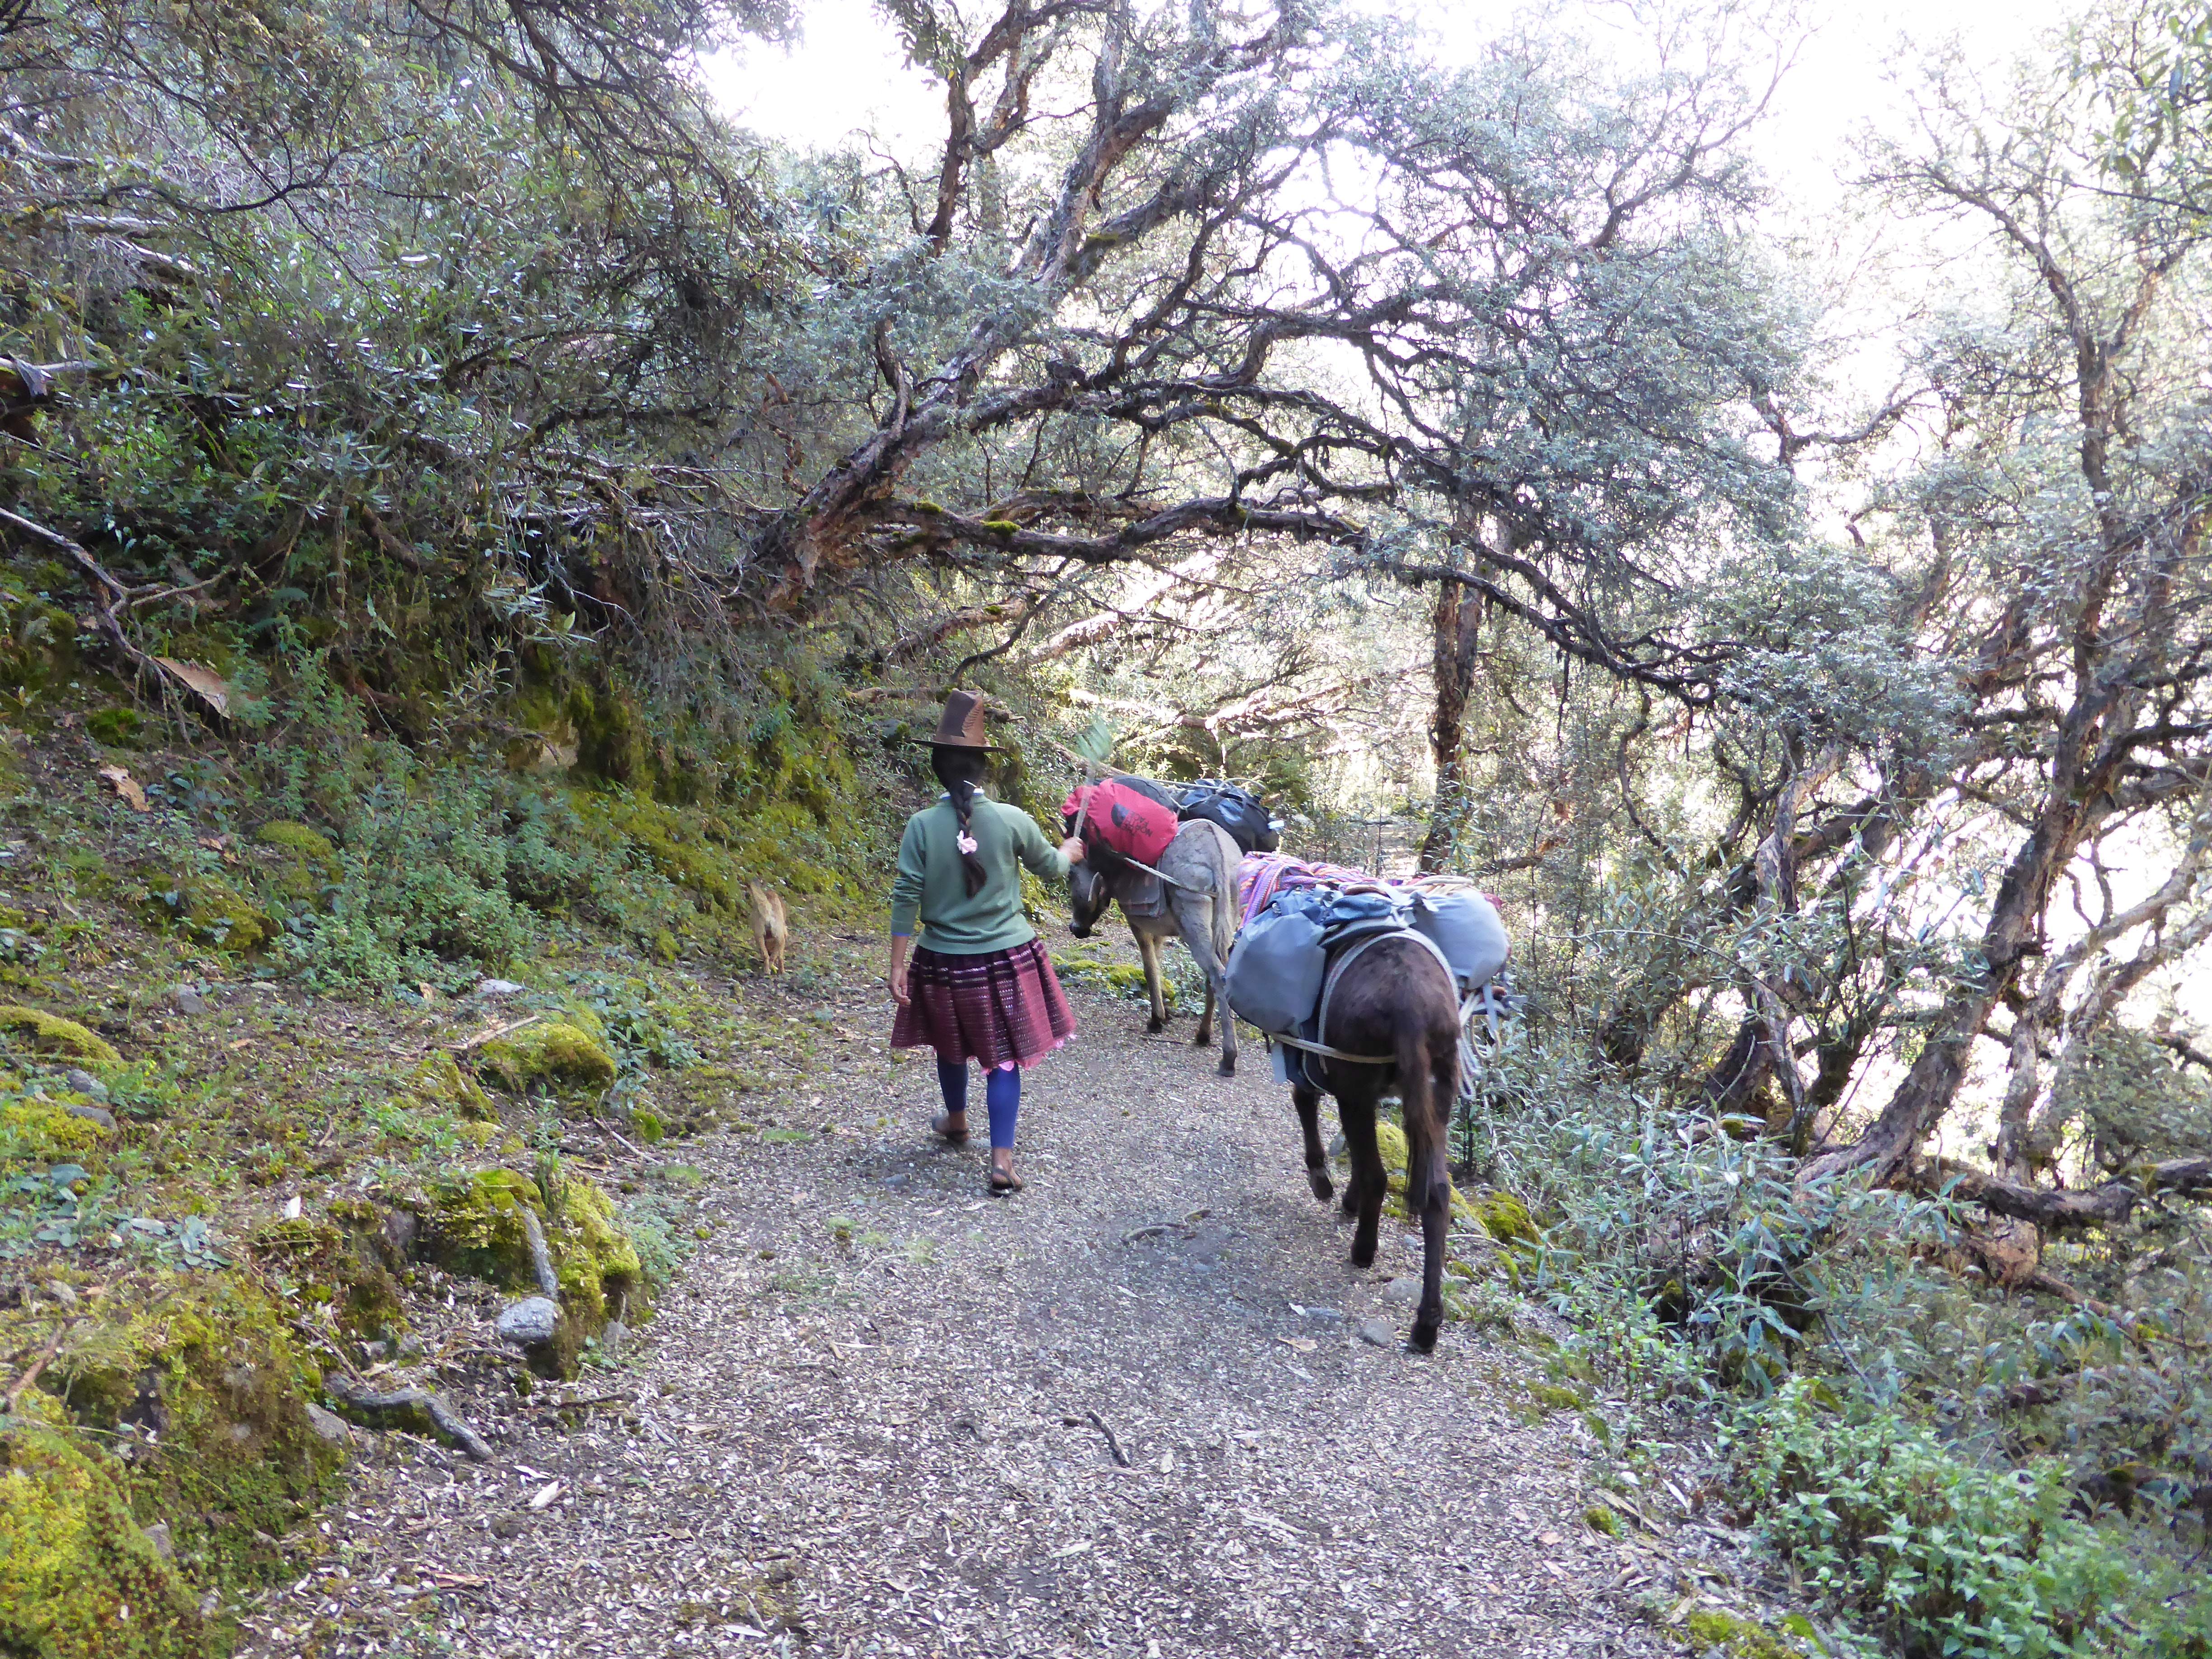
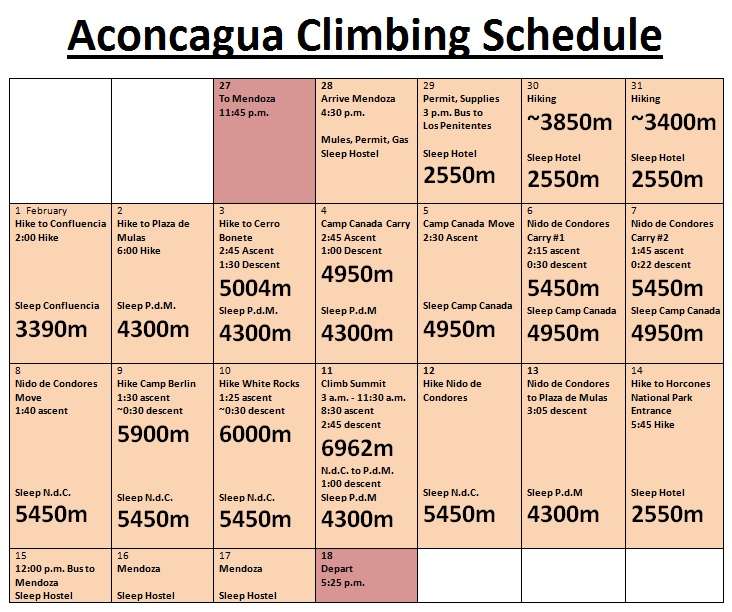
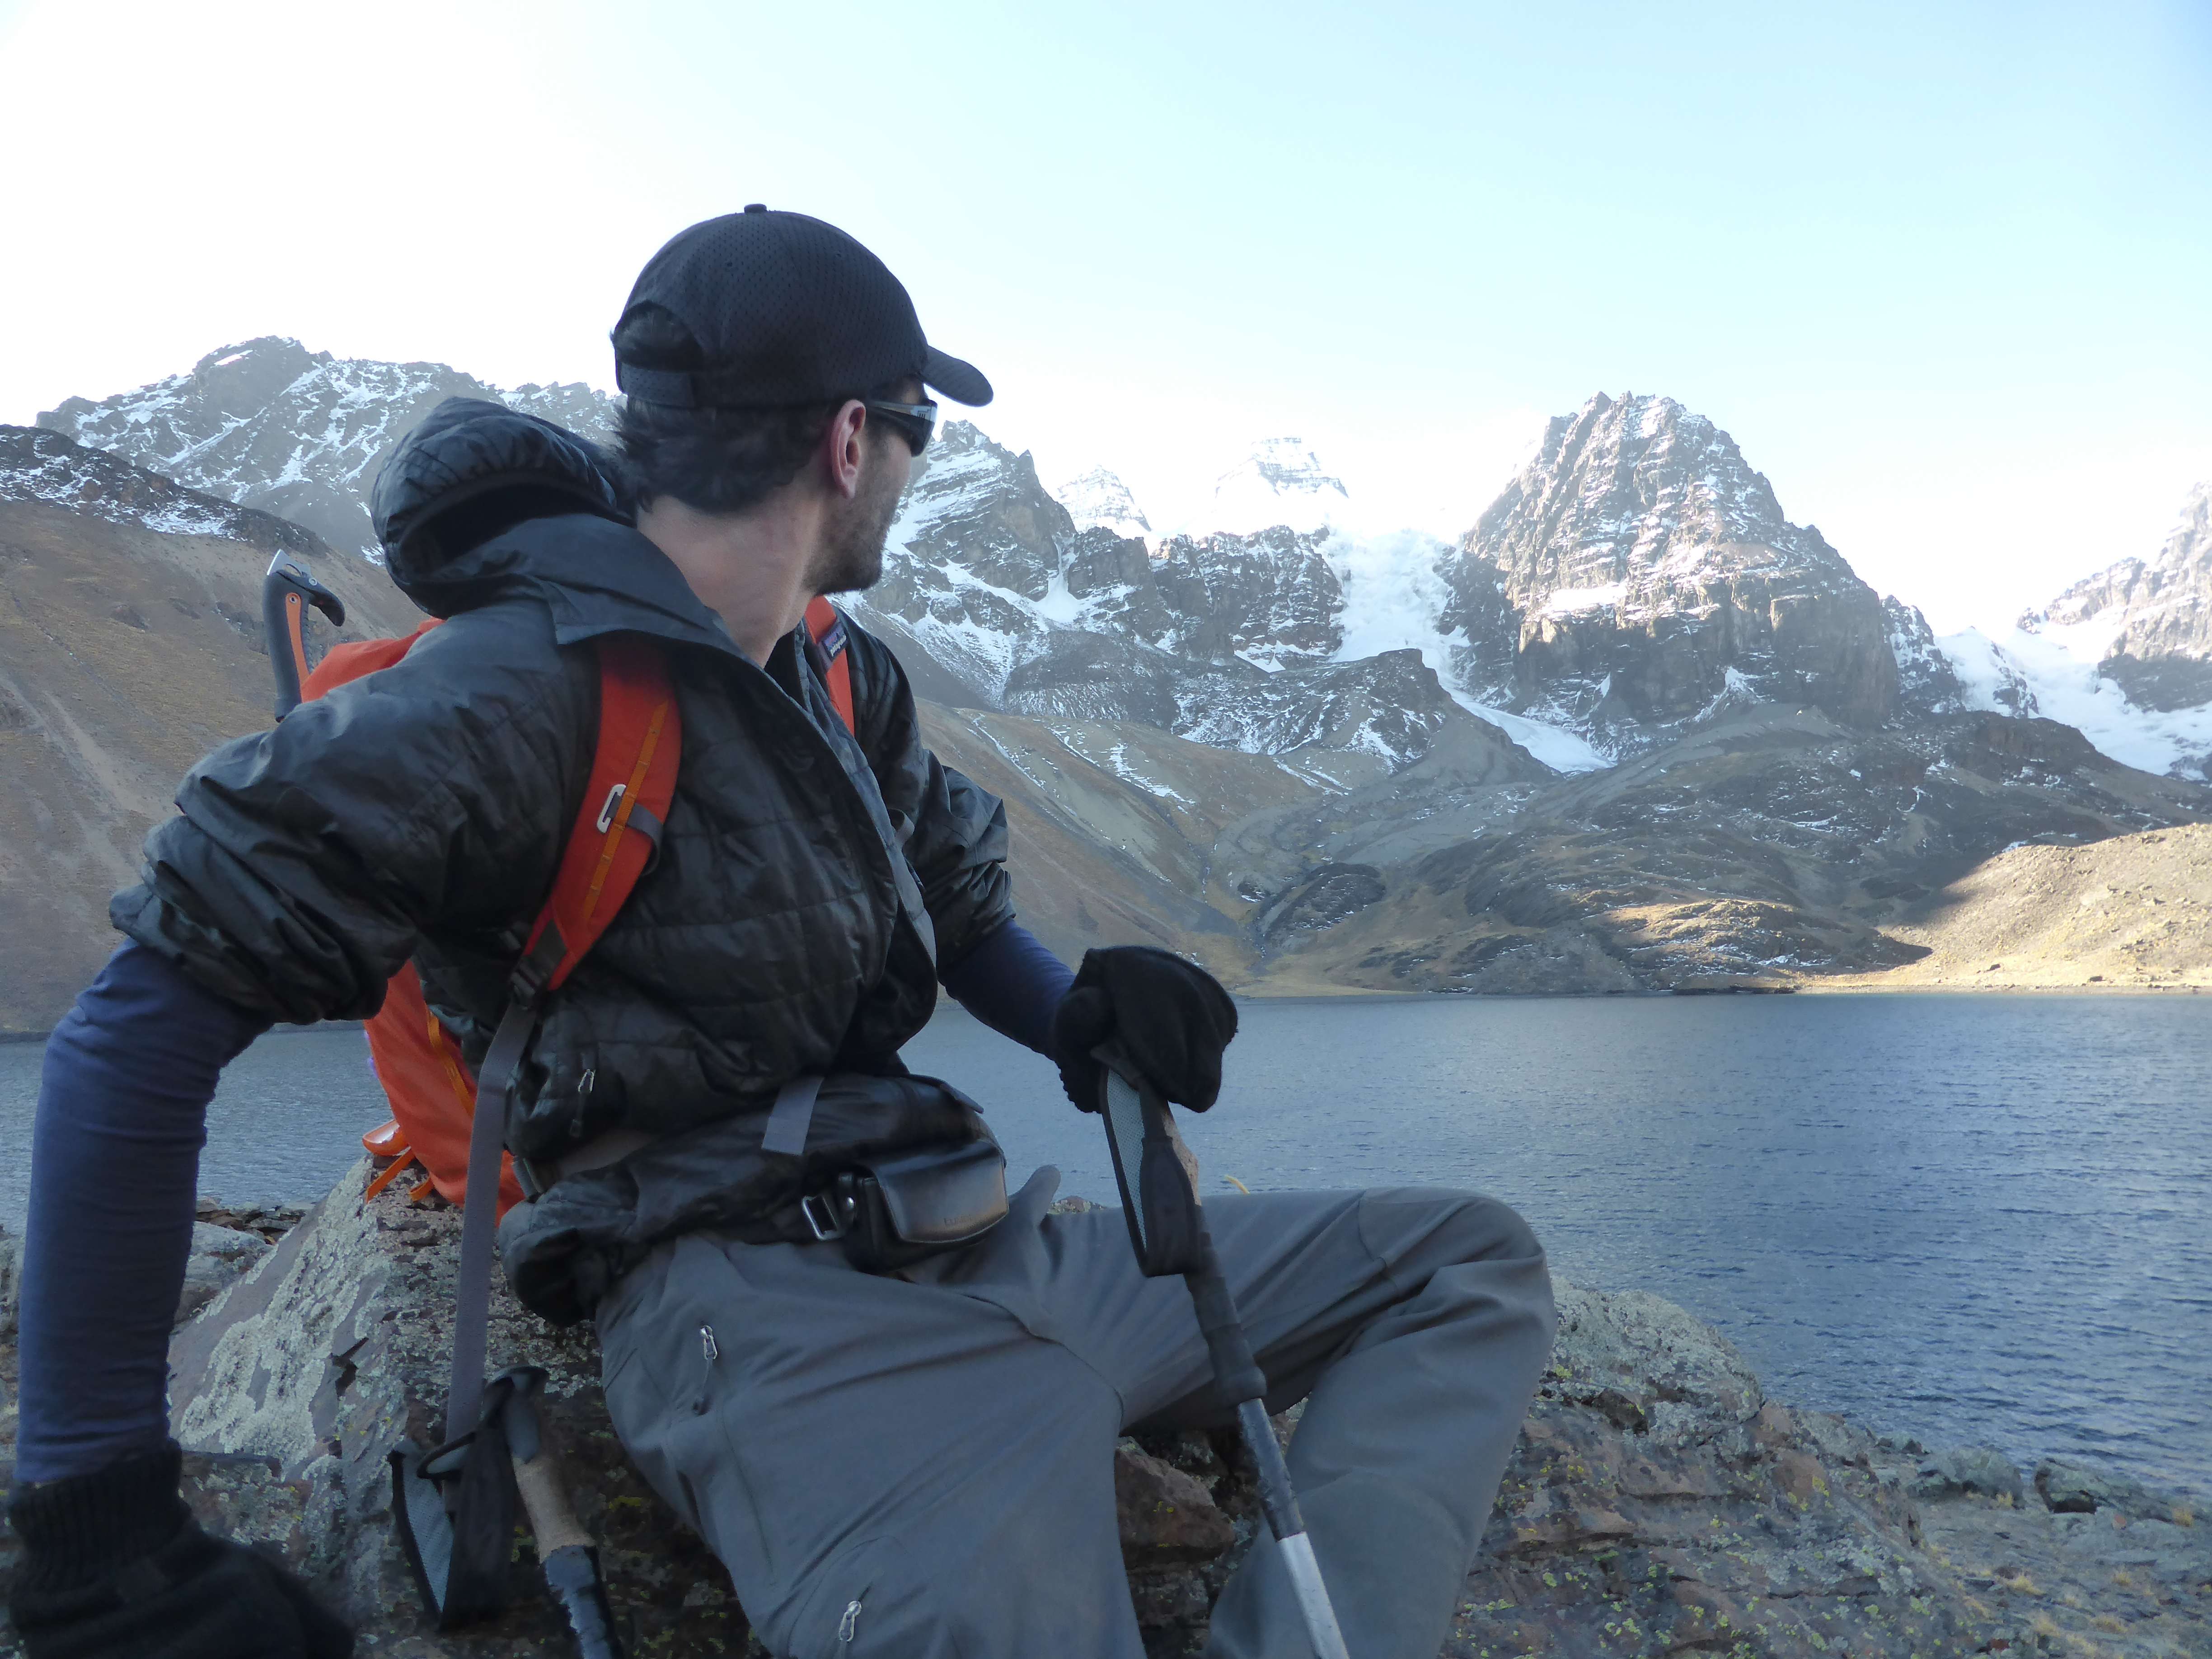
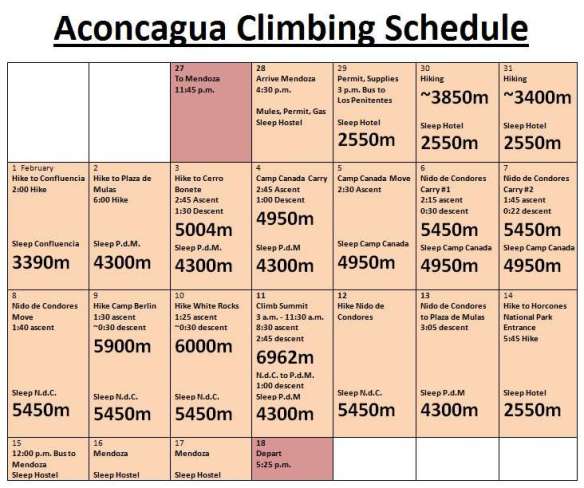
I climbed Aconcagua solo via the Normal Route from February 1st-14th, 2015, and successfully reached the summit on my 11th day in the national park. I did not use a guide, porters, or any support whatsoever above basecamp. I used mules to move gear to basecamp, bought some meals in Plaza de Mulas, and rented a bunk in Plaza de Mulas from my mule company after reaching the summit. Below is a calendar of the itinerary which I followed while in Argentina, as well as a complete trip report. I managed to keep a fairly detailed journal while on the mountain, which I have summarized below.
Route Description
A note regarding altitudes. All of Aconcagua’s campsites are quite large, slightly sloped plateaus. There is considerable divergence in the altitudes reported by various sources for this reason. For example, at Nido de Condores I camped about ~50m below the rangers, and could even have camped well above them. I have used altitudes consistent with the very rough measurements provided by my watch, relative to the altitude of known points such as the Plaza de Mulas entrance – so the altitudes which I cite are definitely not 100% accurate.

A map of the Aconcagua Provincial Park.
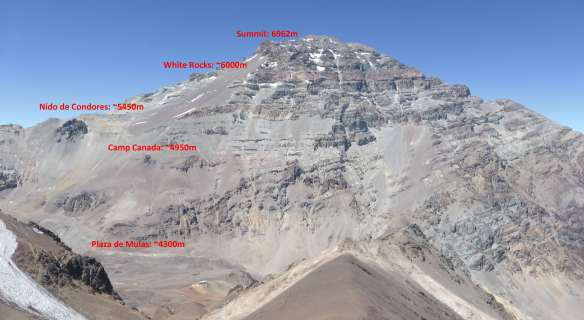
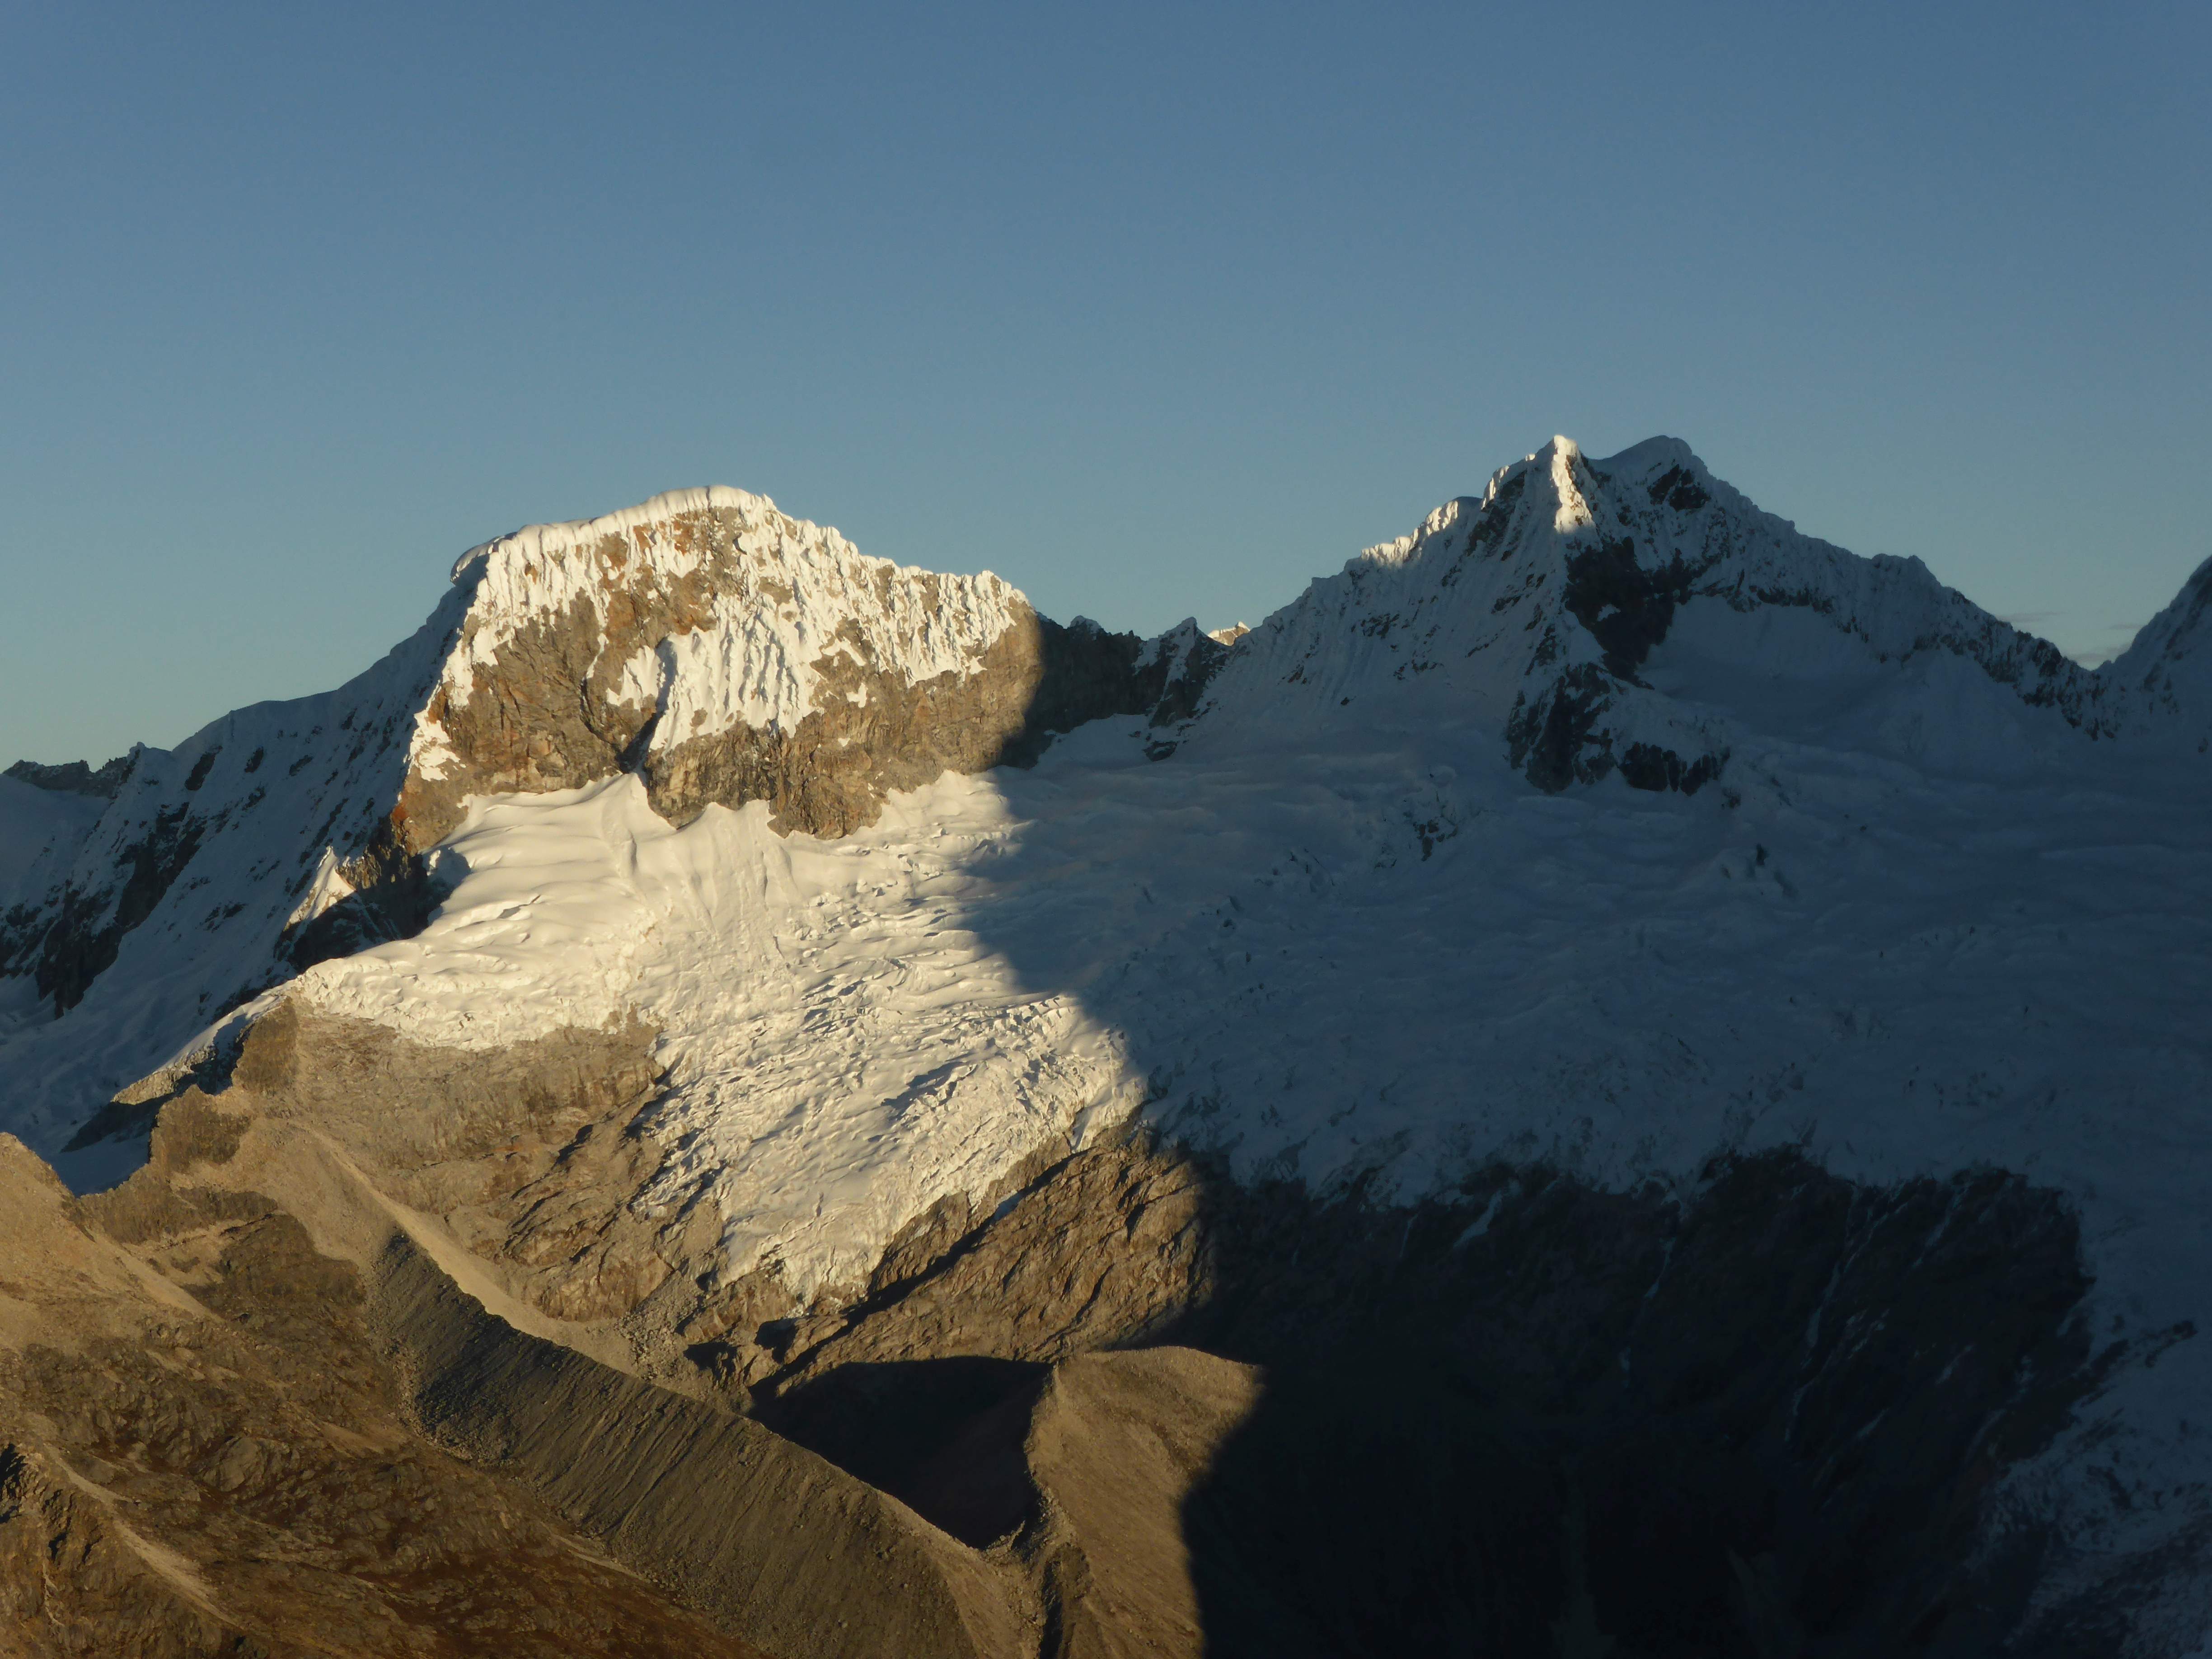
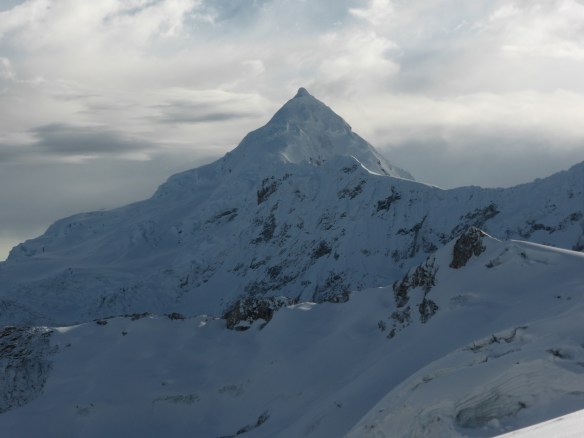
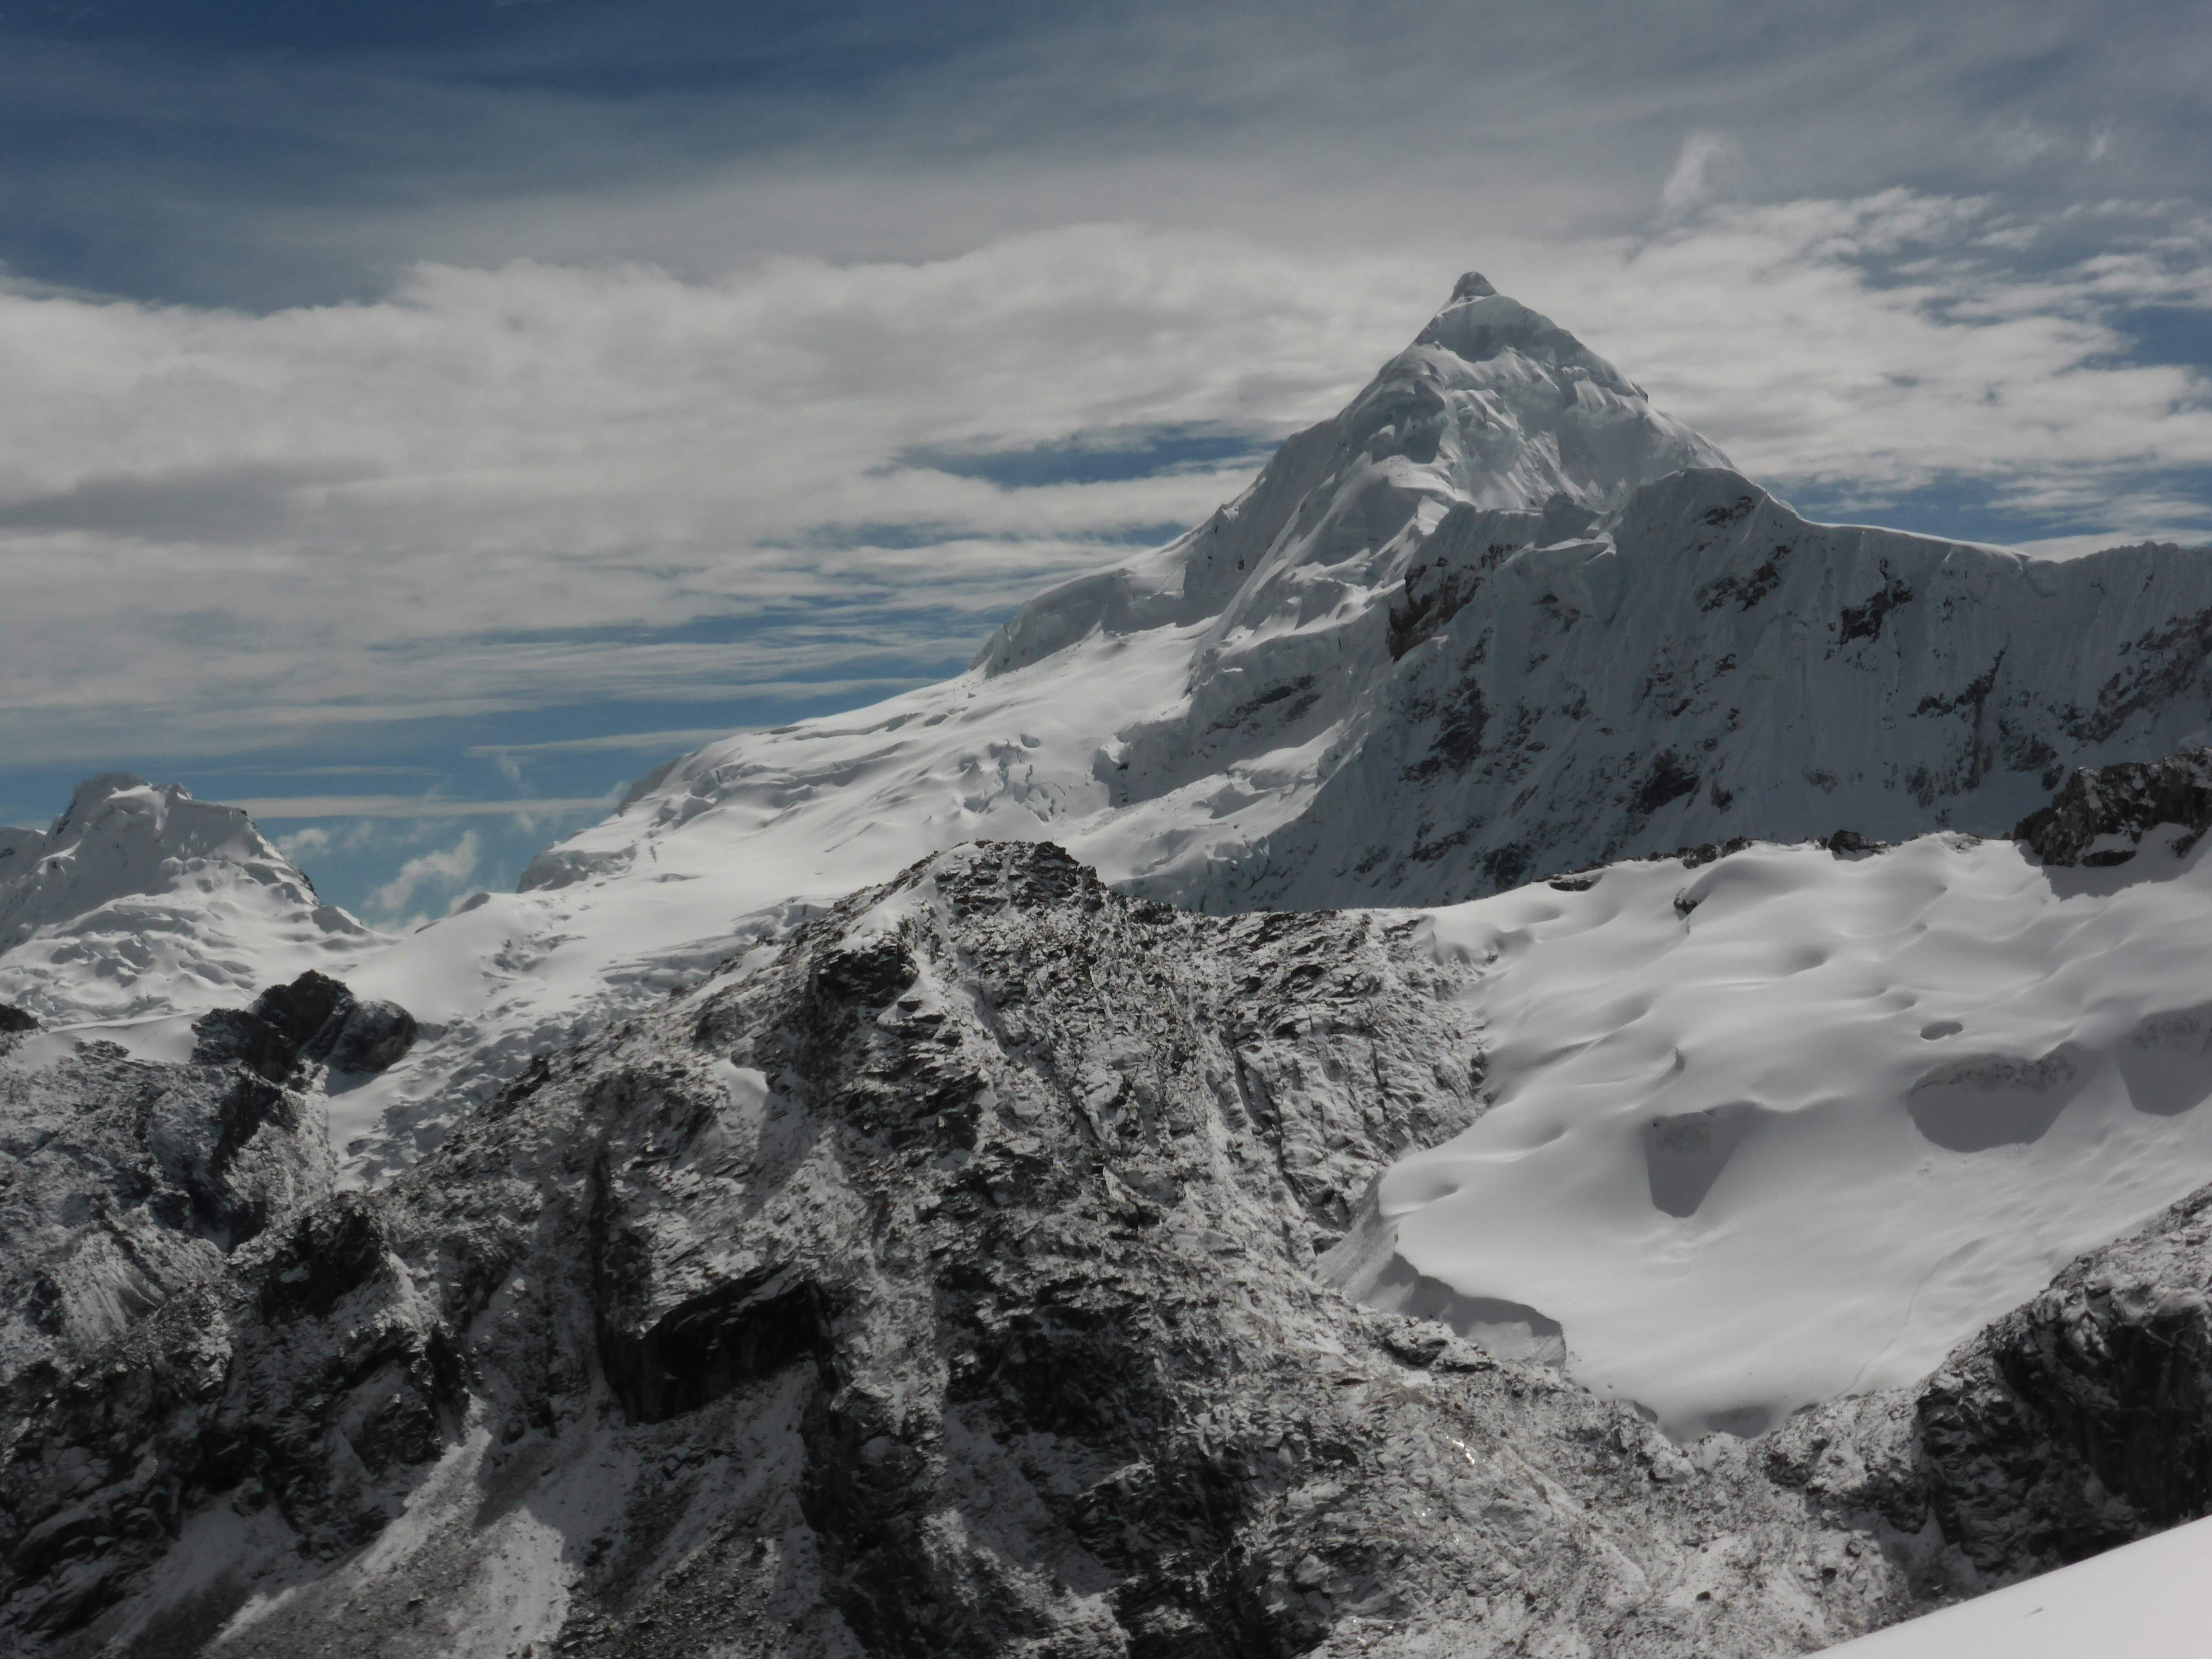
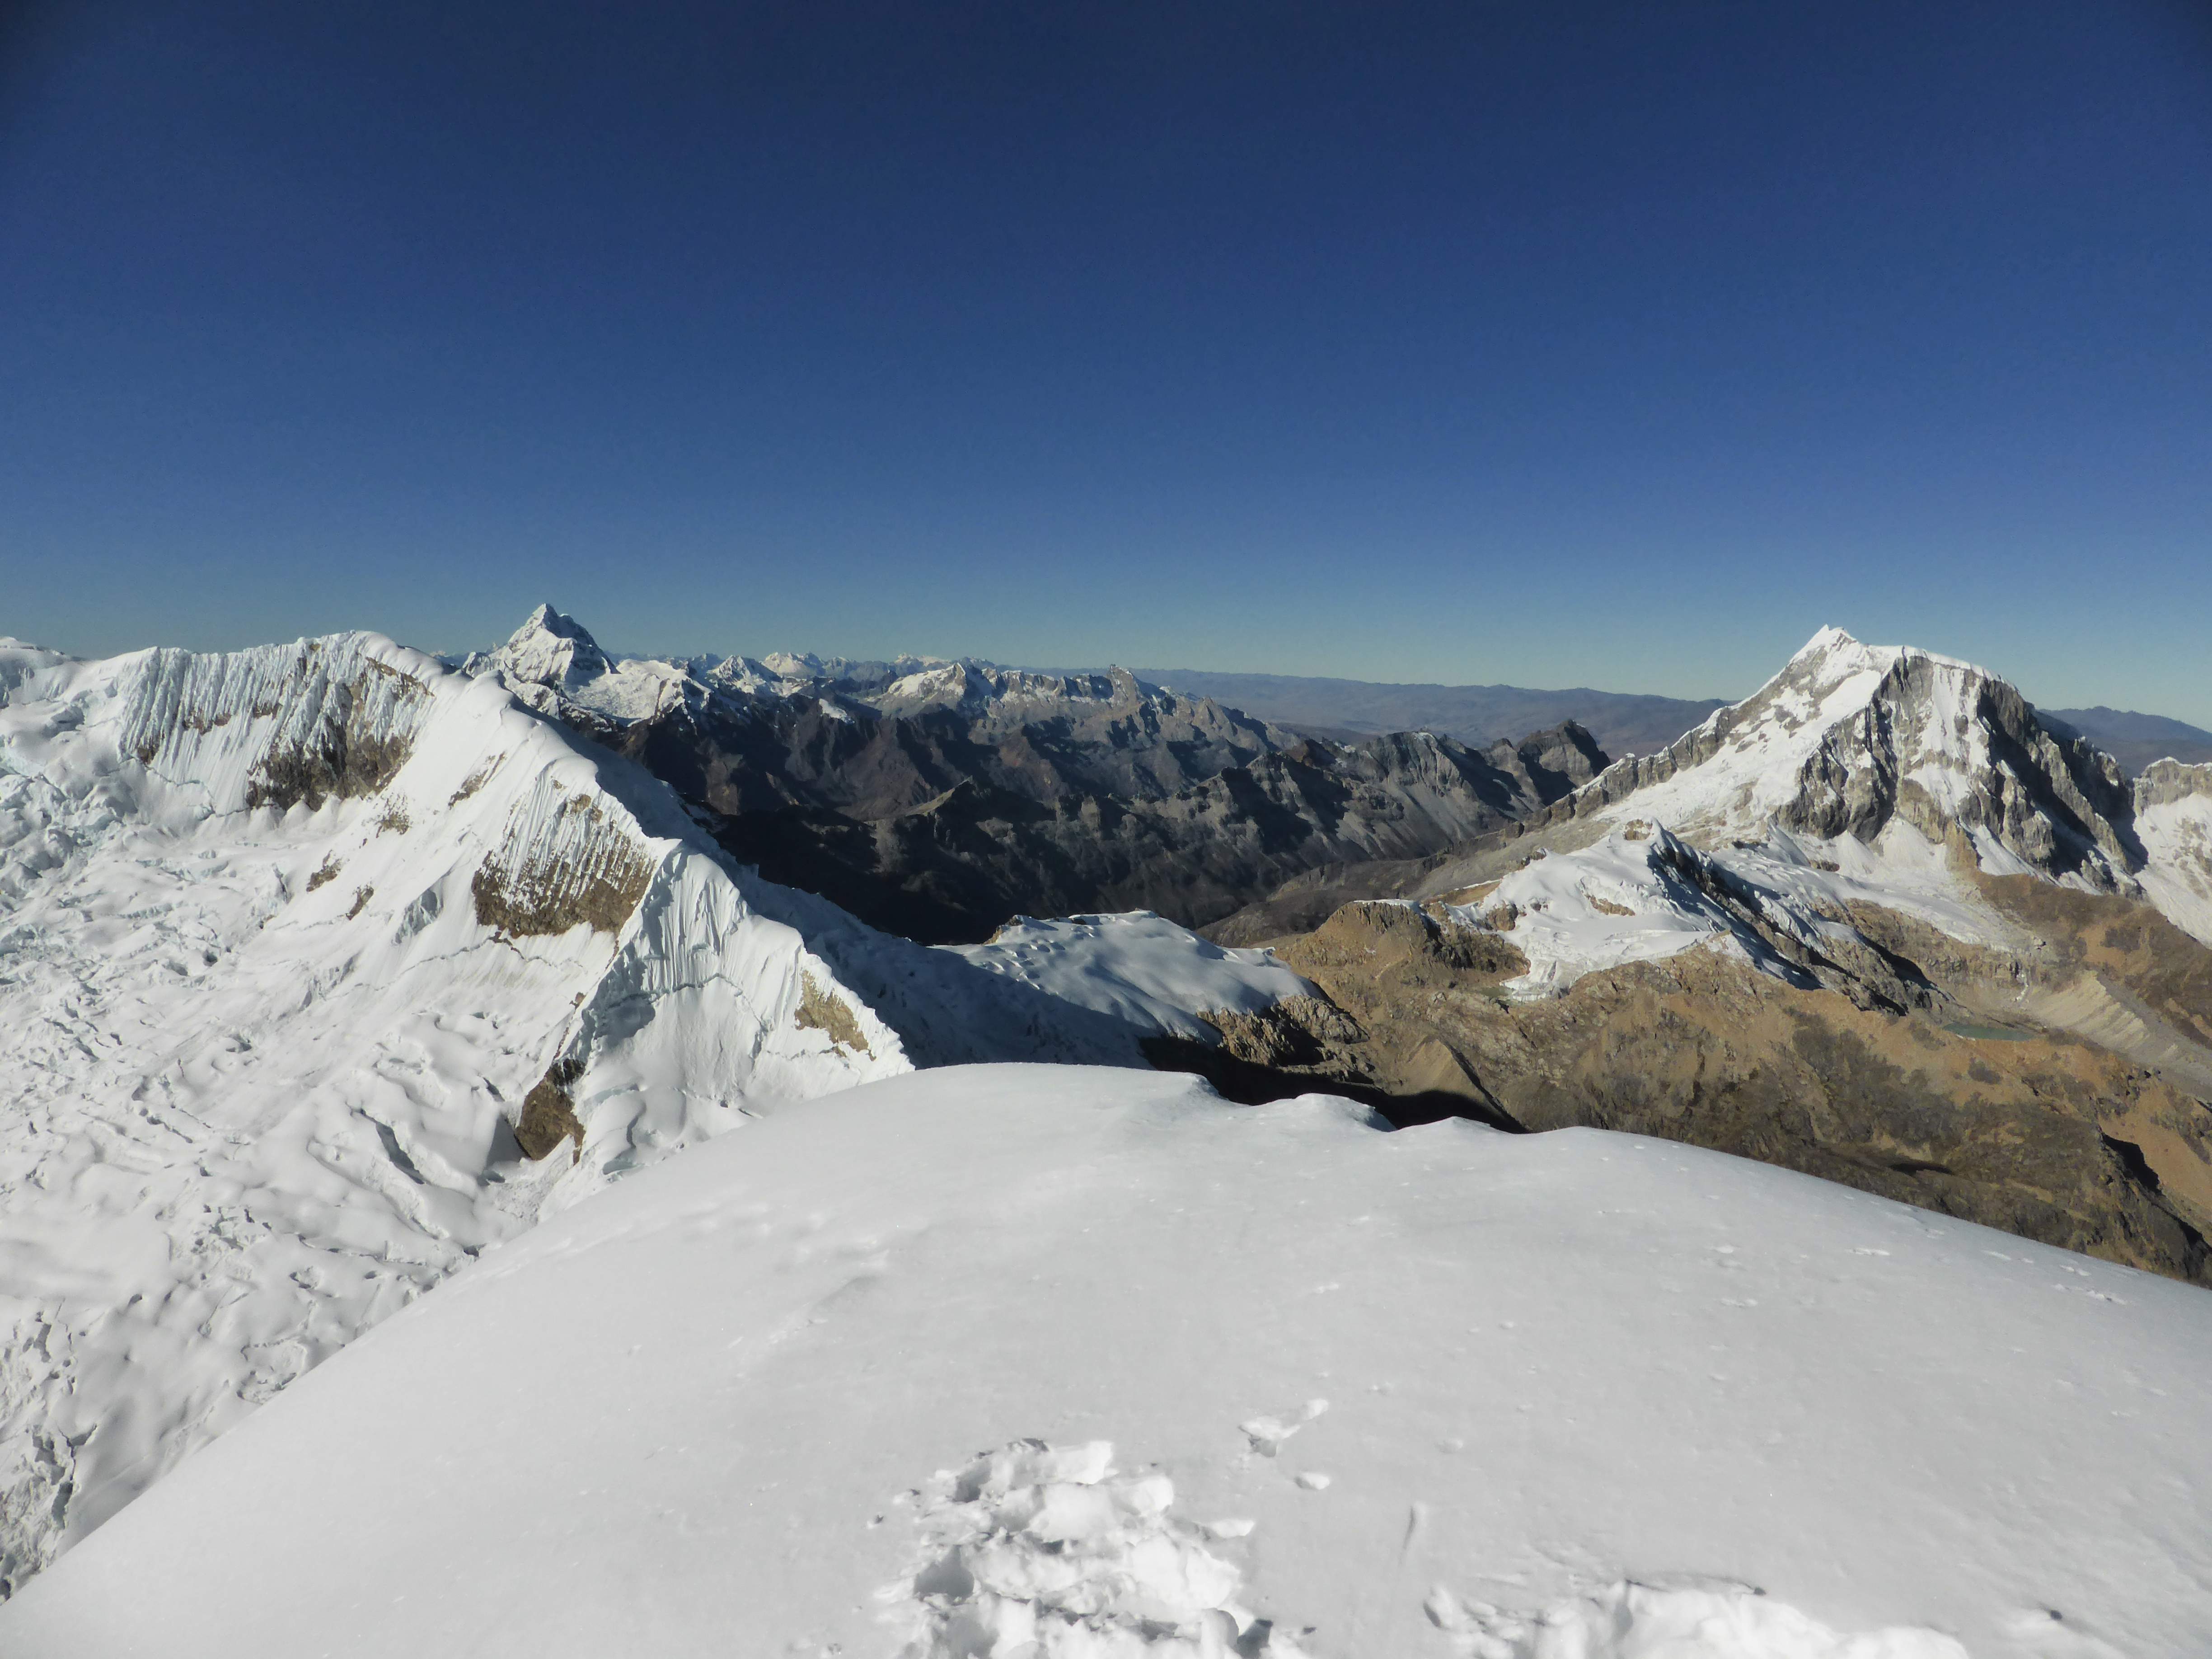
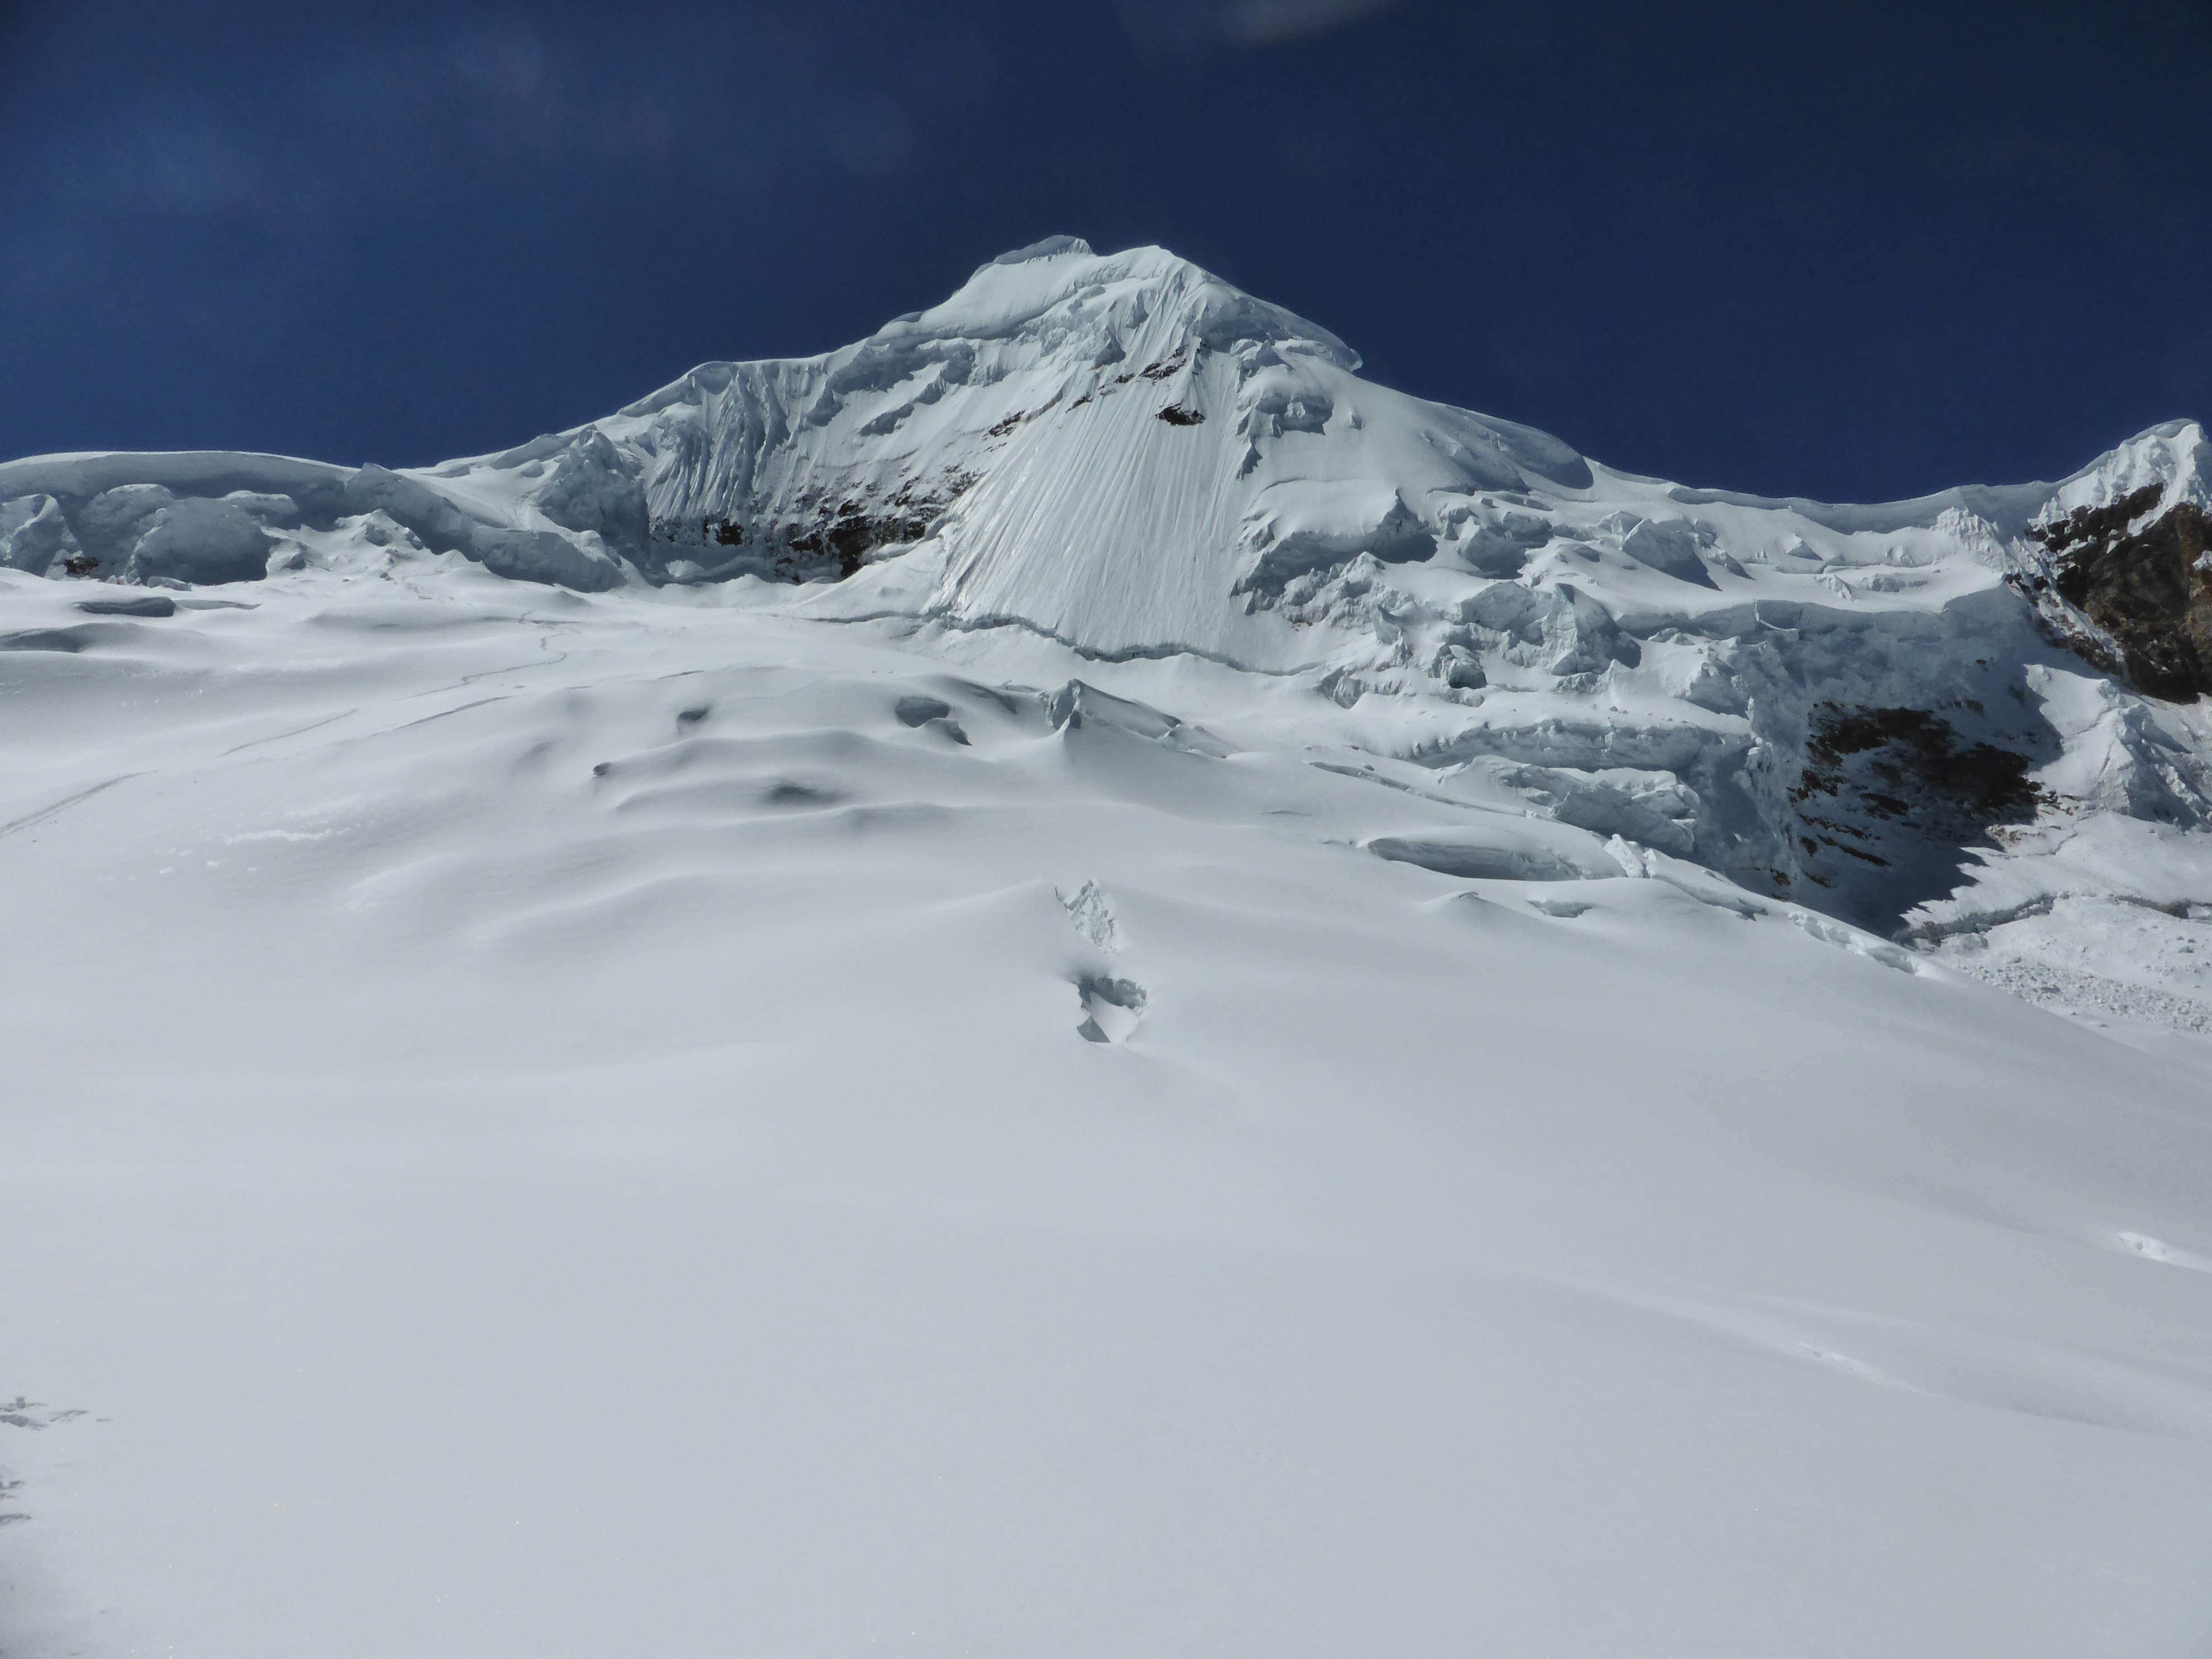
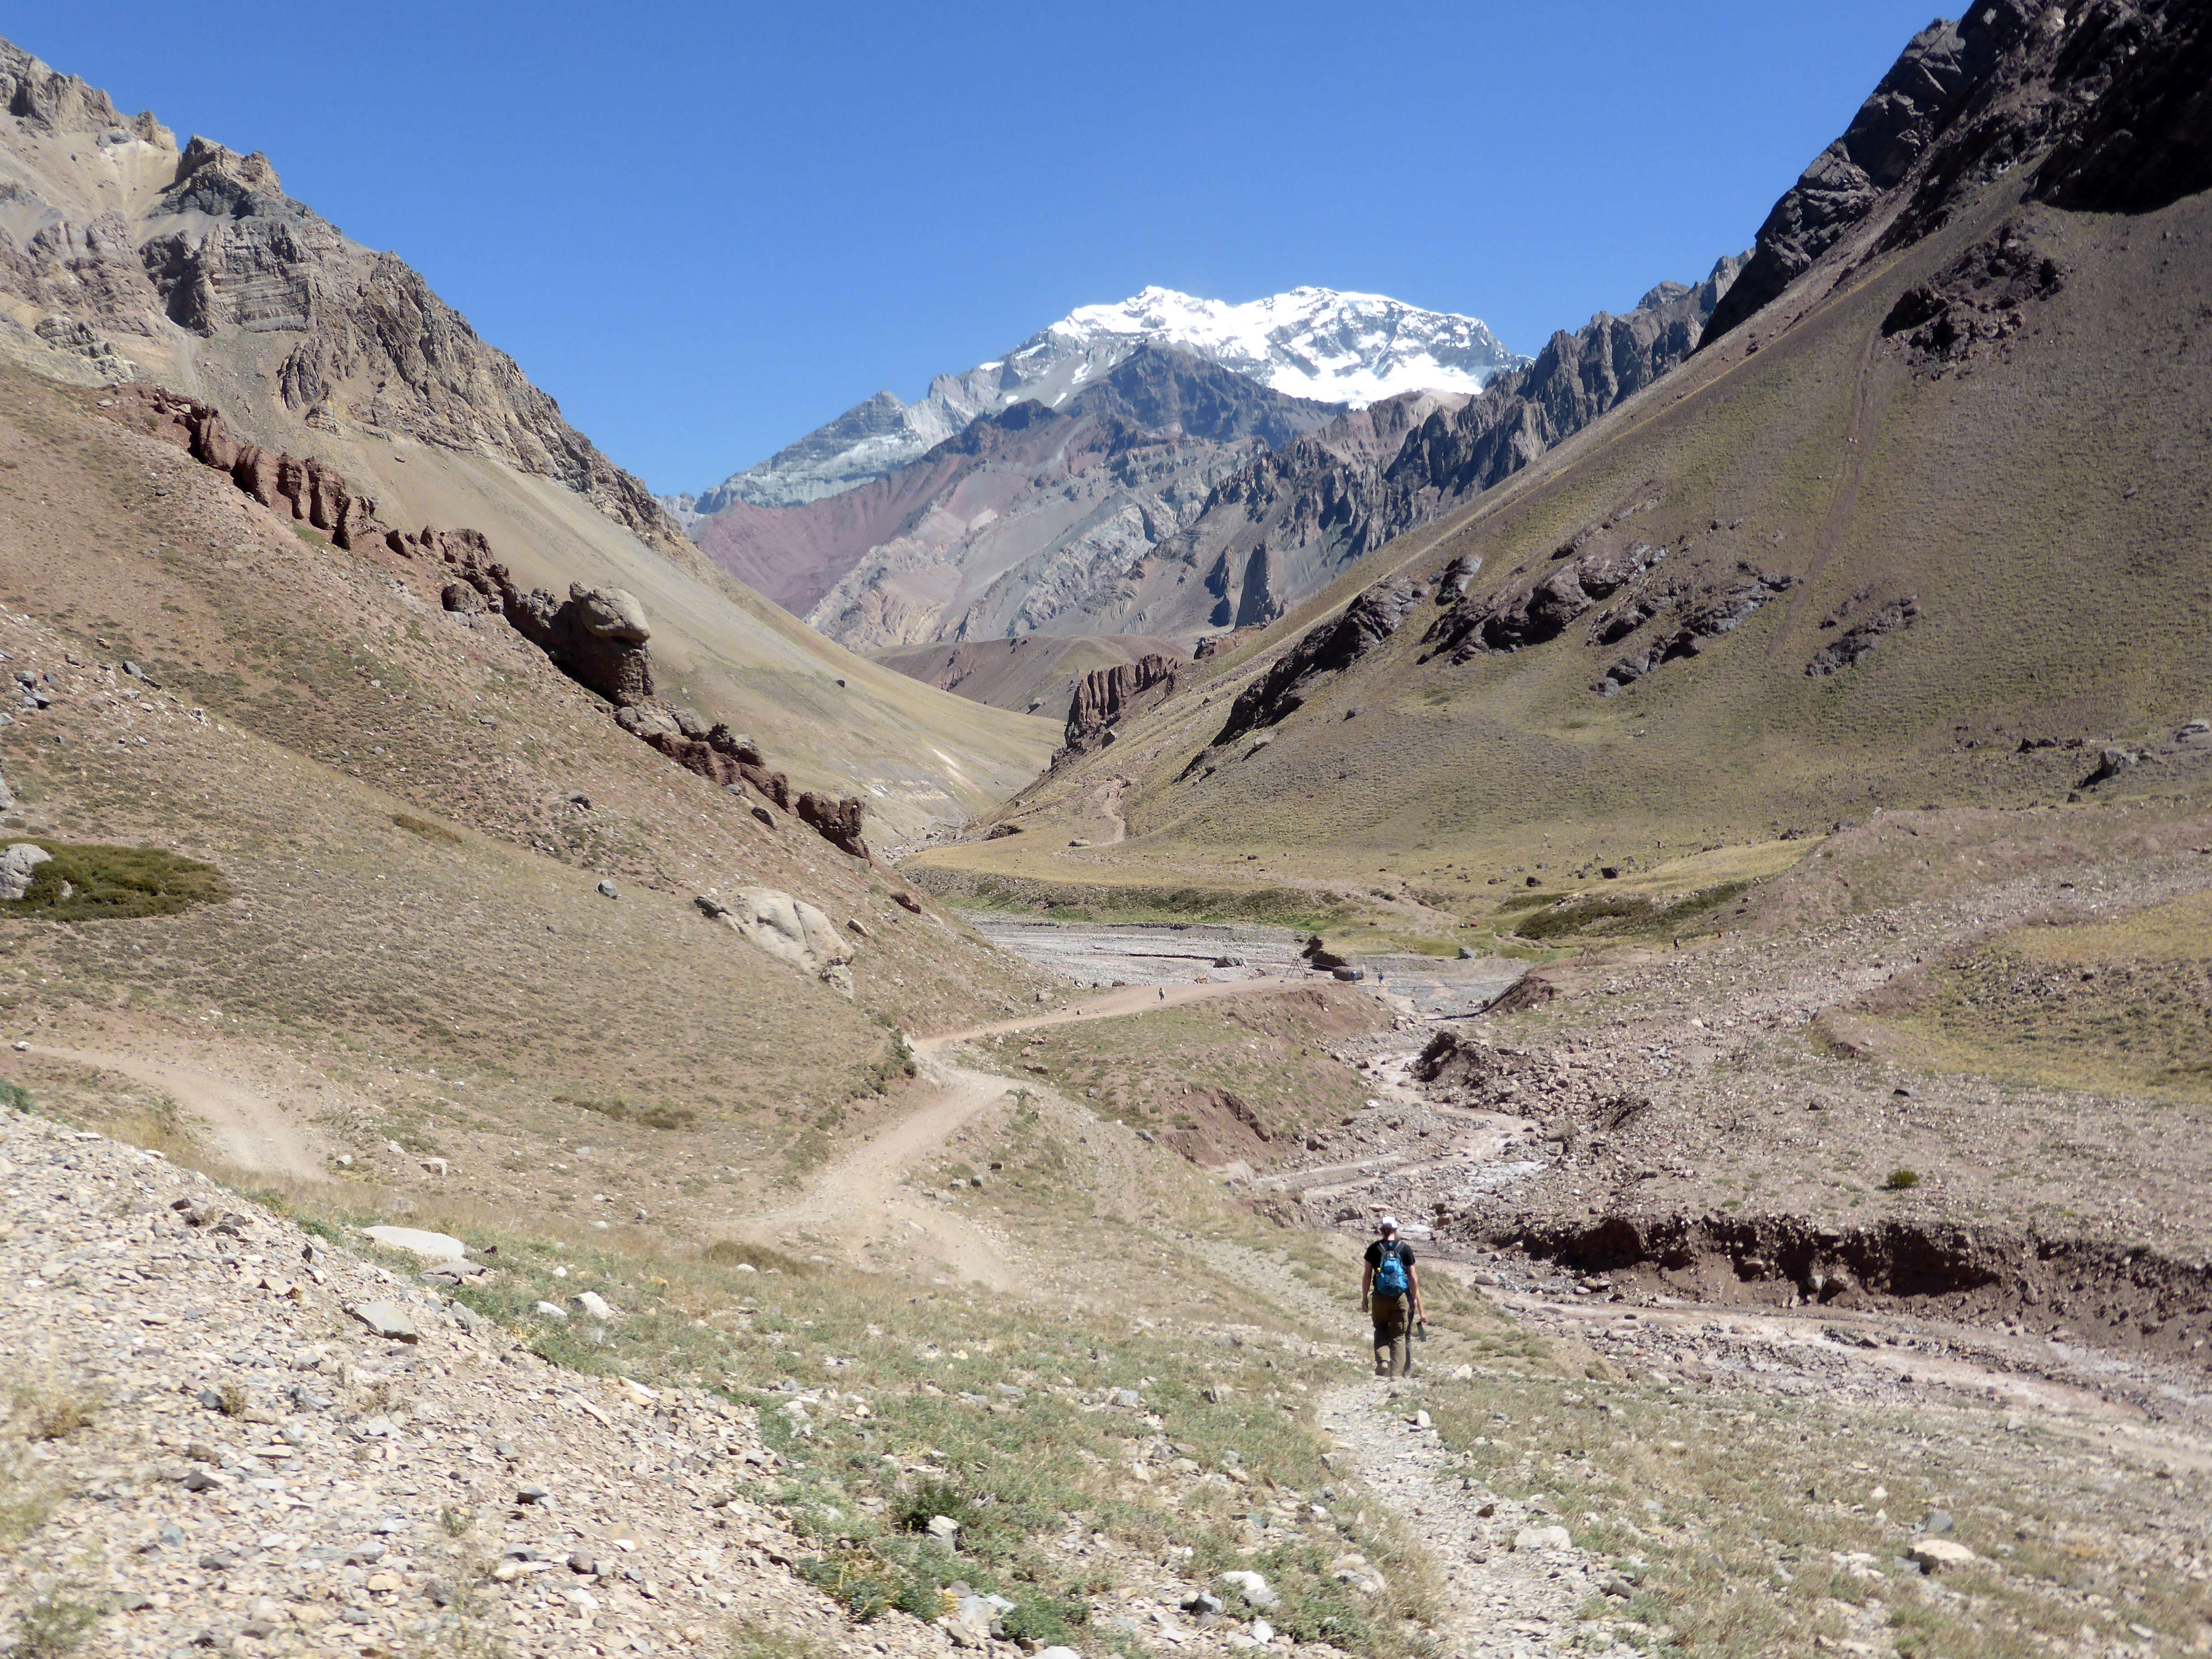
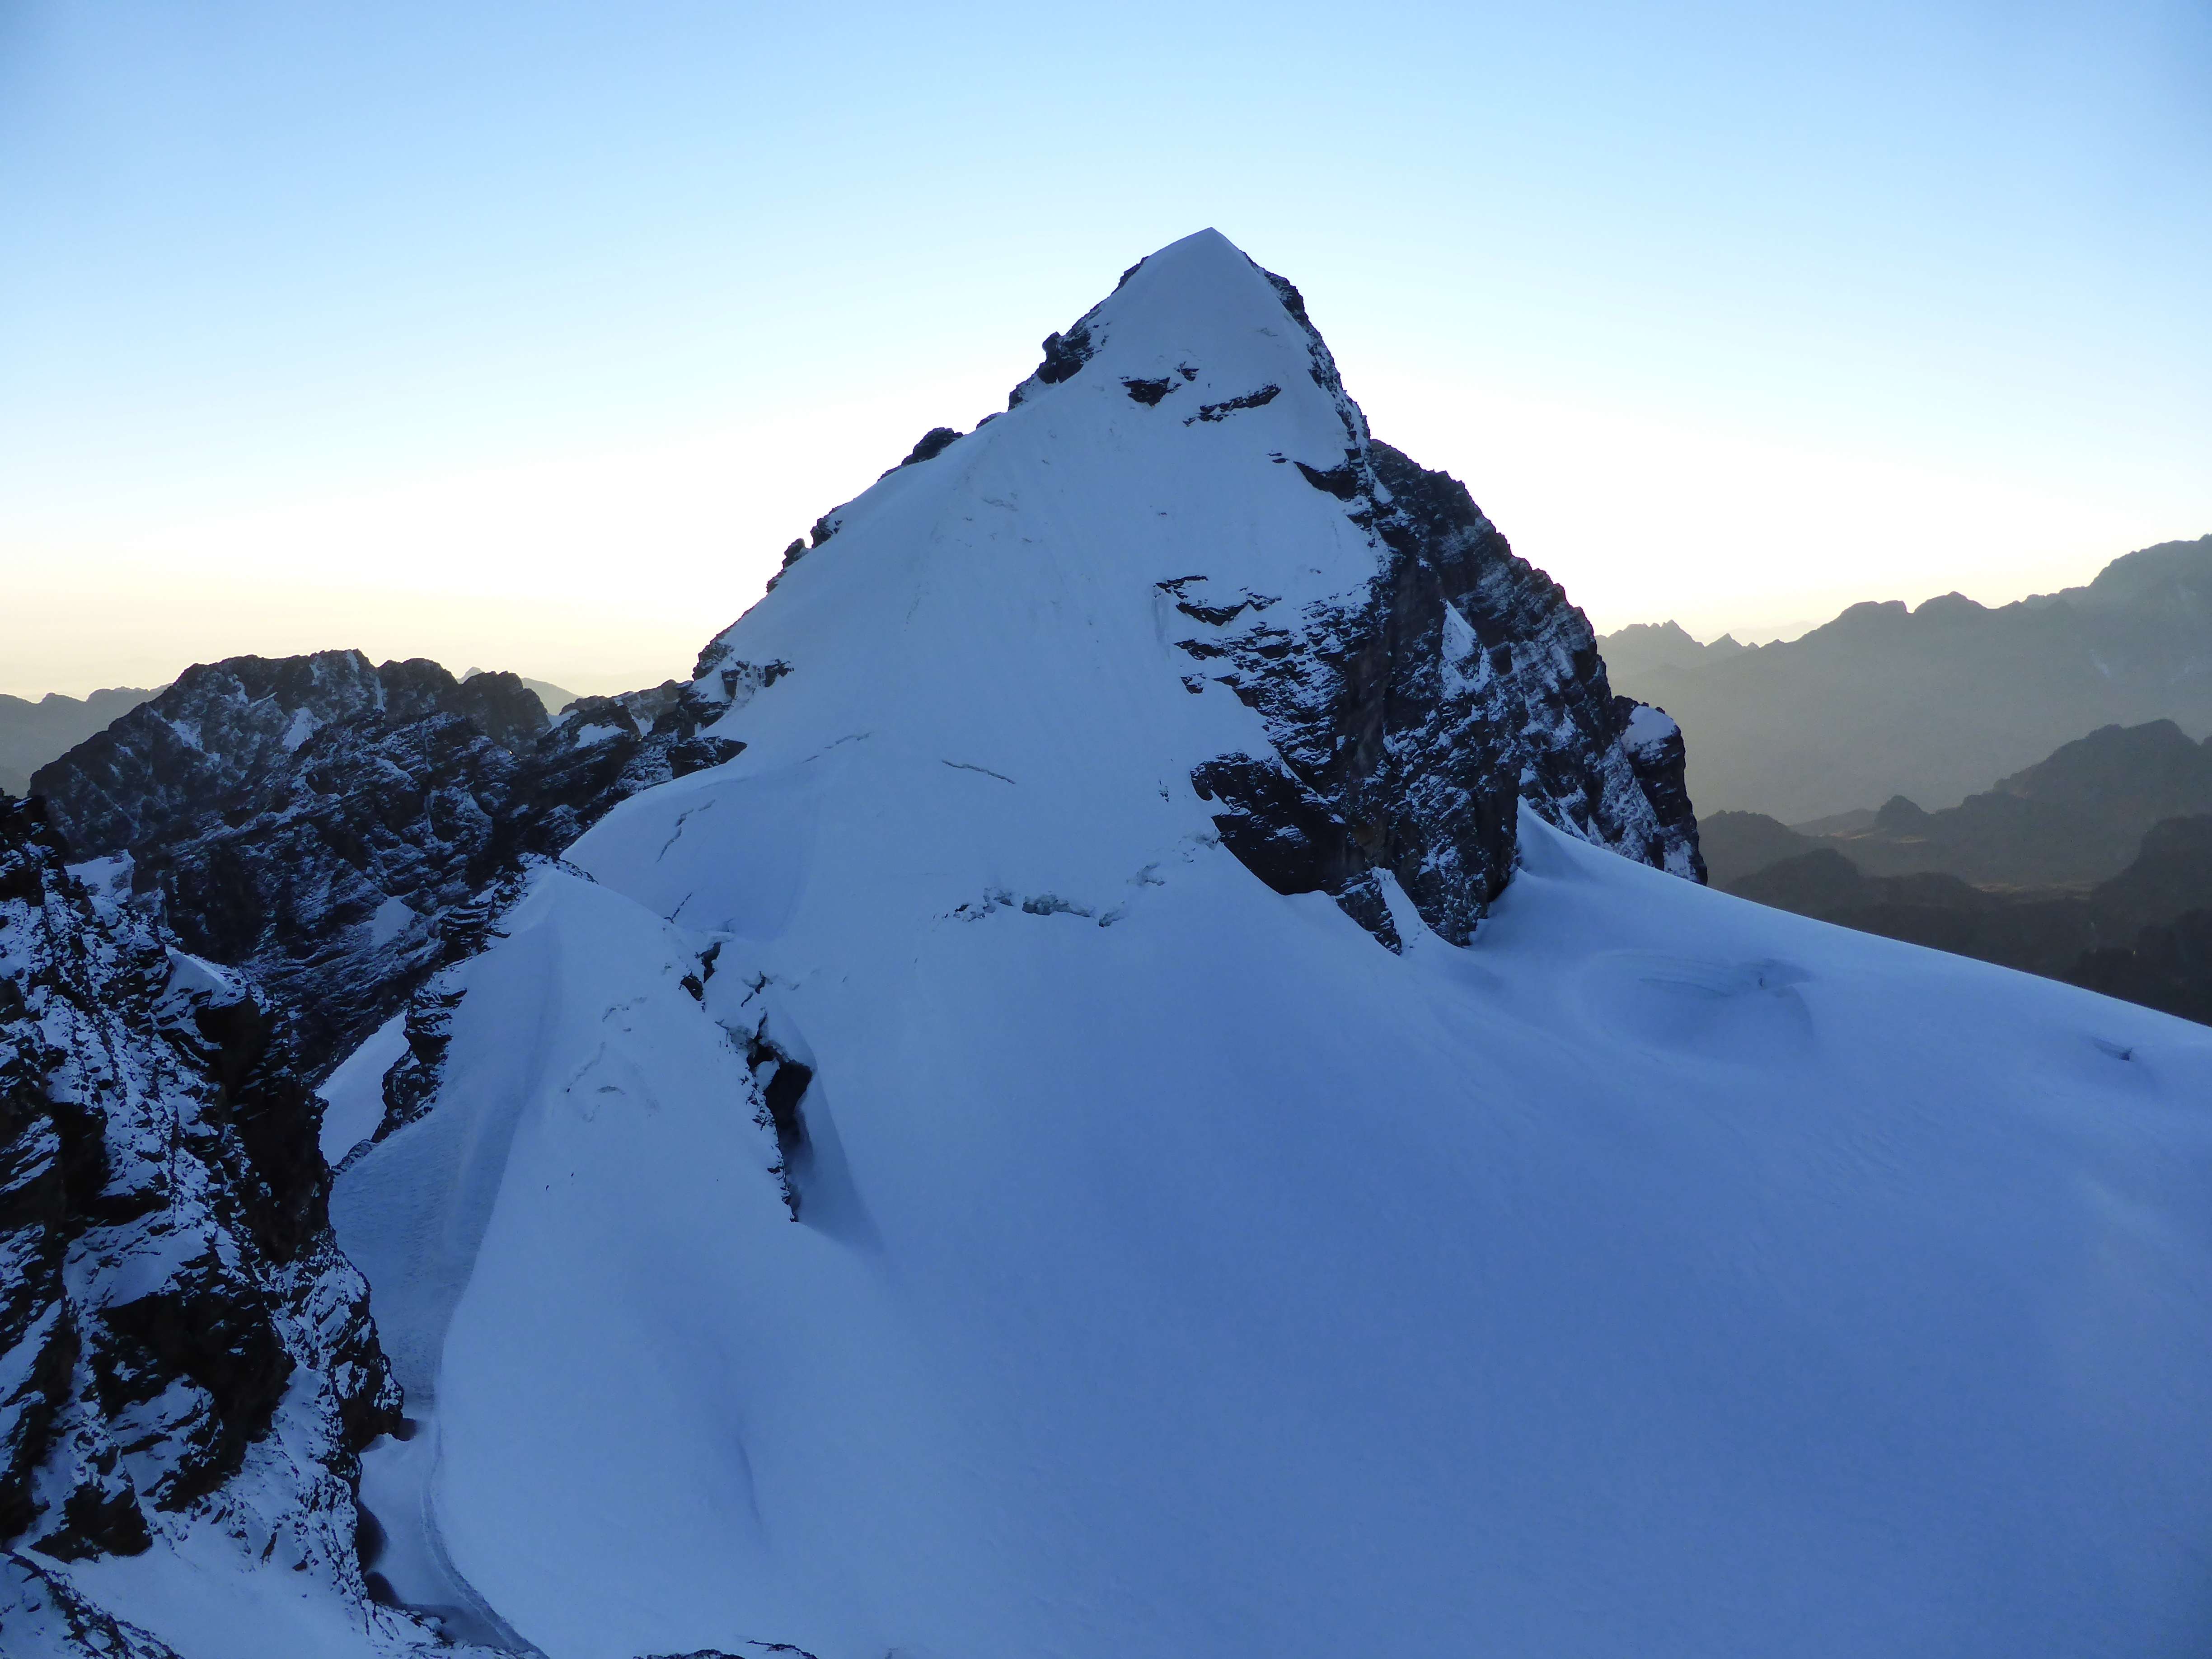
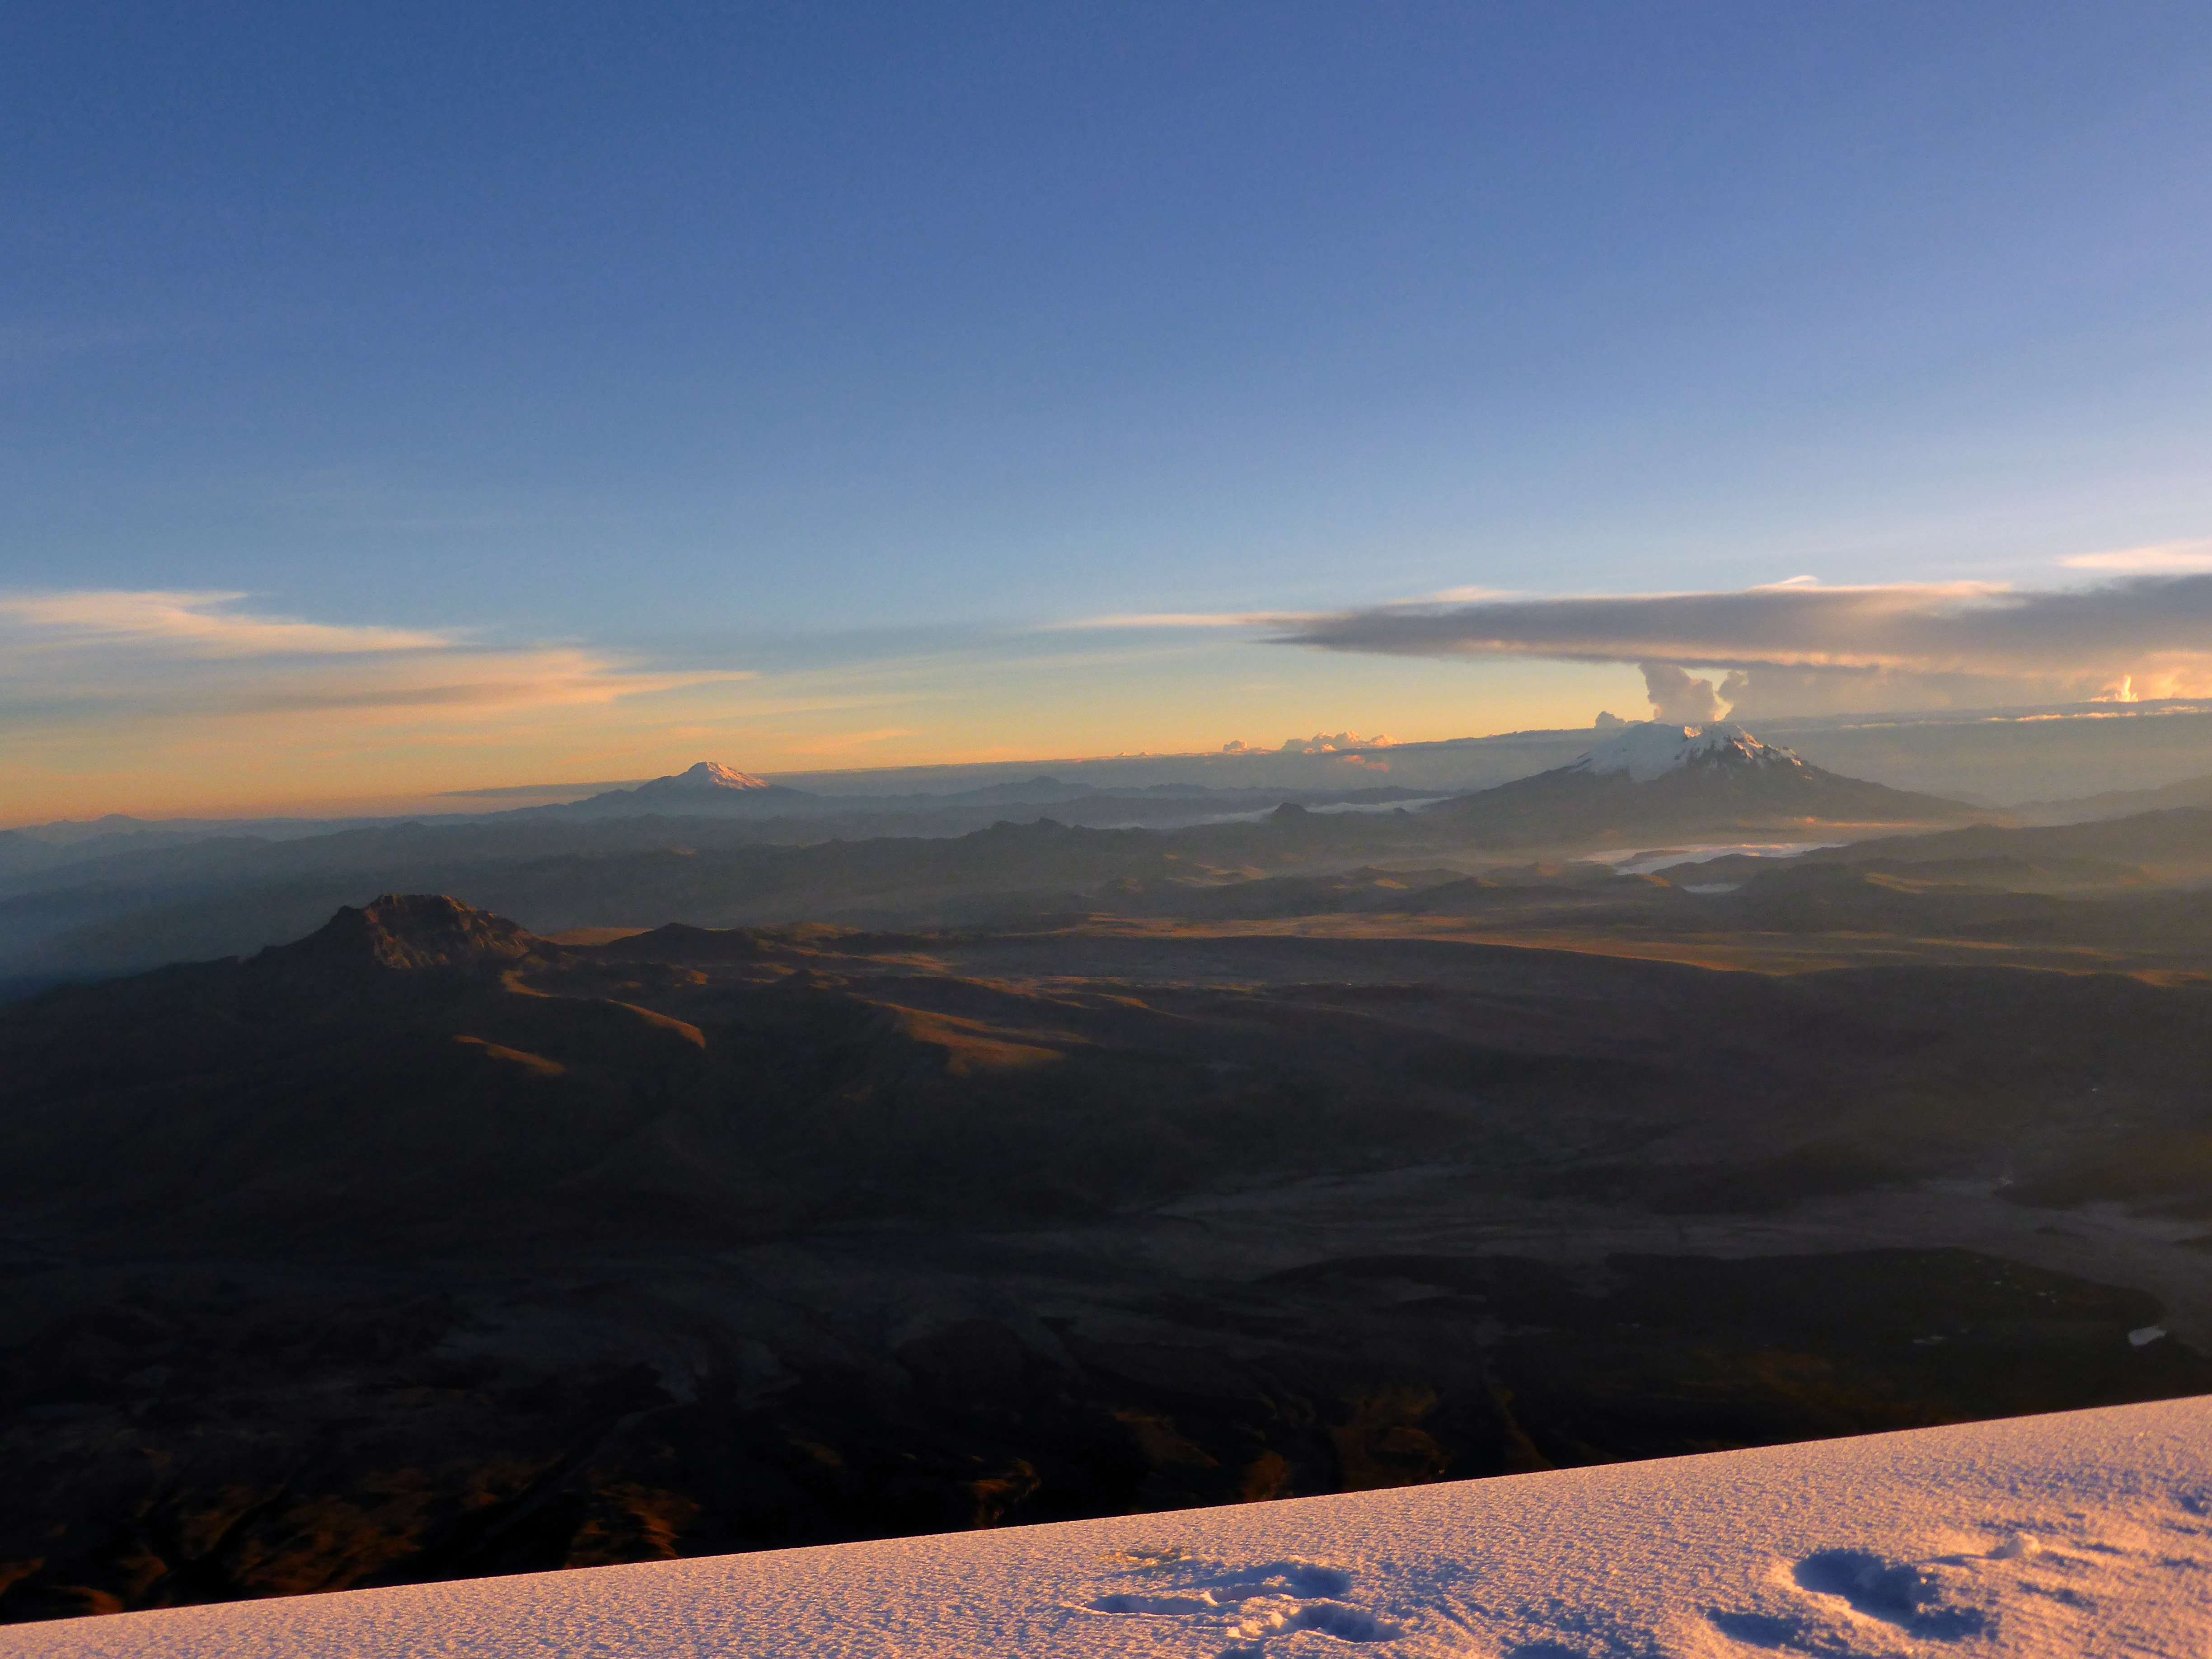
Aconcagua’s Normal Route, from Plaza de Mulas to the north summit, as seen from the summit of Cerro Bonete near the beginning of my climb. Text is centered above each camp location.
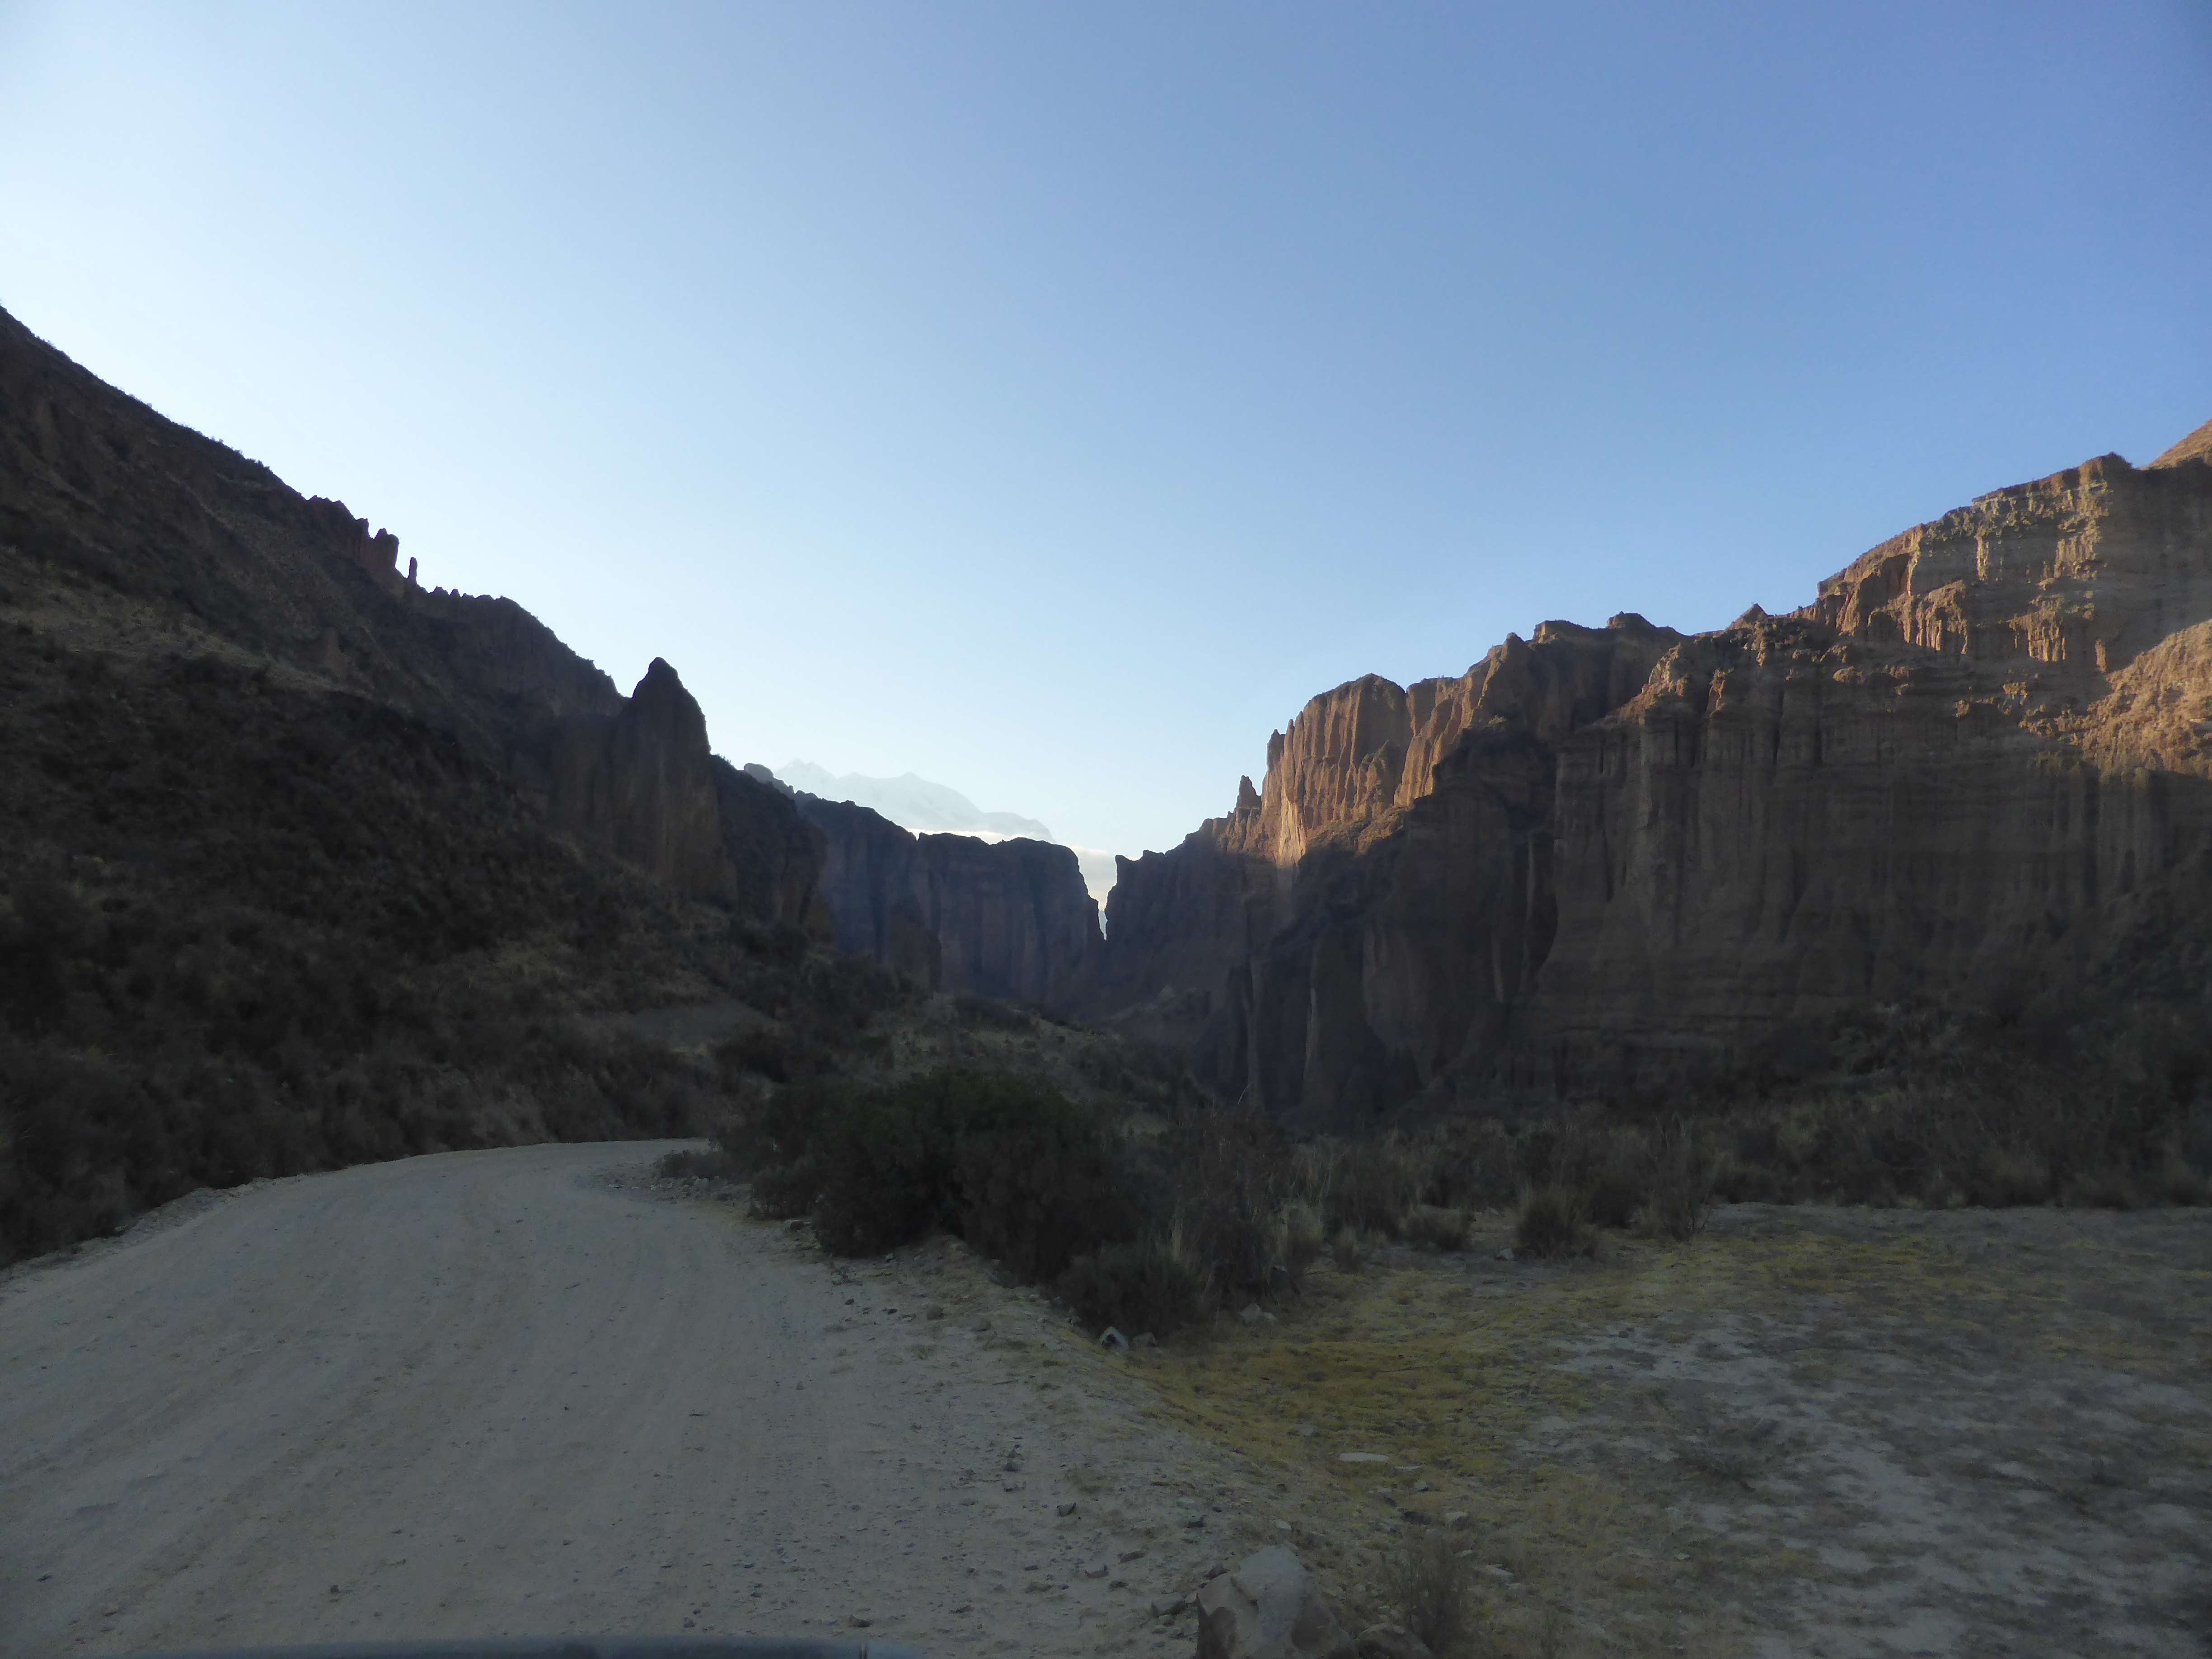
Horcones 2850m to Confluencia 3390m:
A gently sloped hike along the Horcones river. Good views of the mountain waiting ahead.
Confluencia 3390m to Plaza de Mulas 4300m:
Initially gently sloped with several river crossings, about halfway the terrain transitions into rolling hills, scree fields and loose rocks. The 16km hike feels much longer due to the monotonous terrain, deceptive distances, and ~1000m of altitude gain.
Plaza de Mulas 4300m to Camp Canada 4950m:
A scree hike on moderate slopes, following clear boot tracks. Landmarks such as the Conway Rocks and the distinct ridge which Camp Canada lies upon make route finding easy.
Camp Canada 4950m to Nido de Condores 5450m:
A scree hike on moderate slopes. Descent boot tracks are very direct, whereas ascent boot tracks follow gentle switchbacks. The ranger hut at Nido de Condores is visible from the change of slope, Plaza Alaska, and onwards. Rapid descent is possible via the Gran Acarreo.
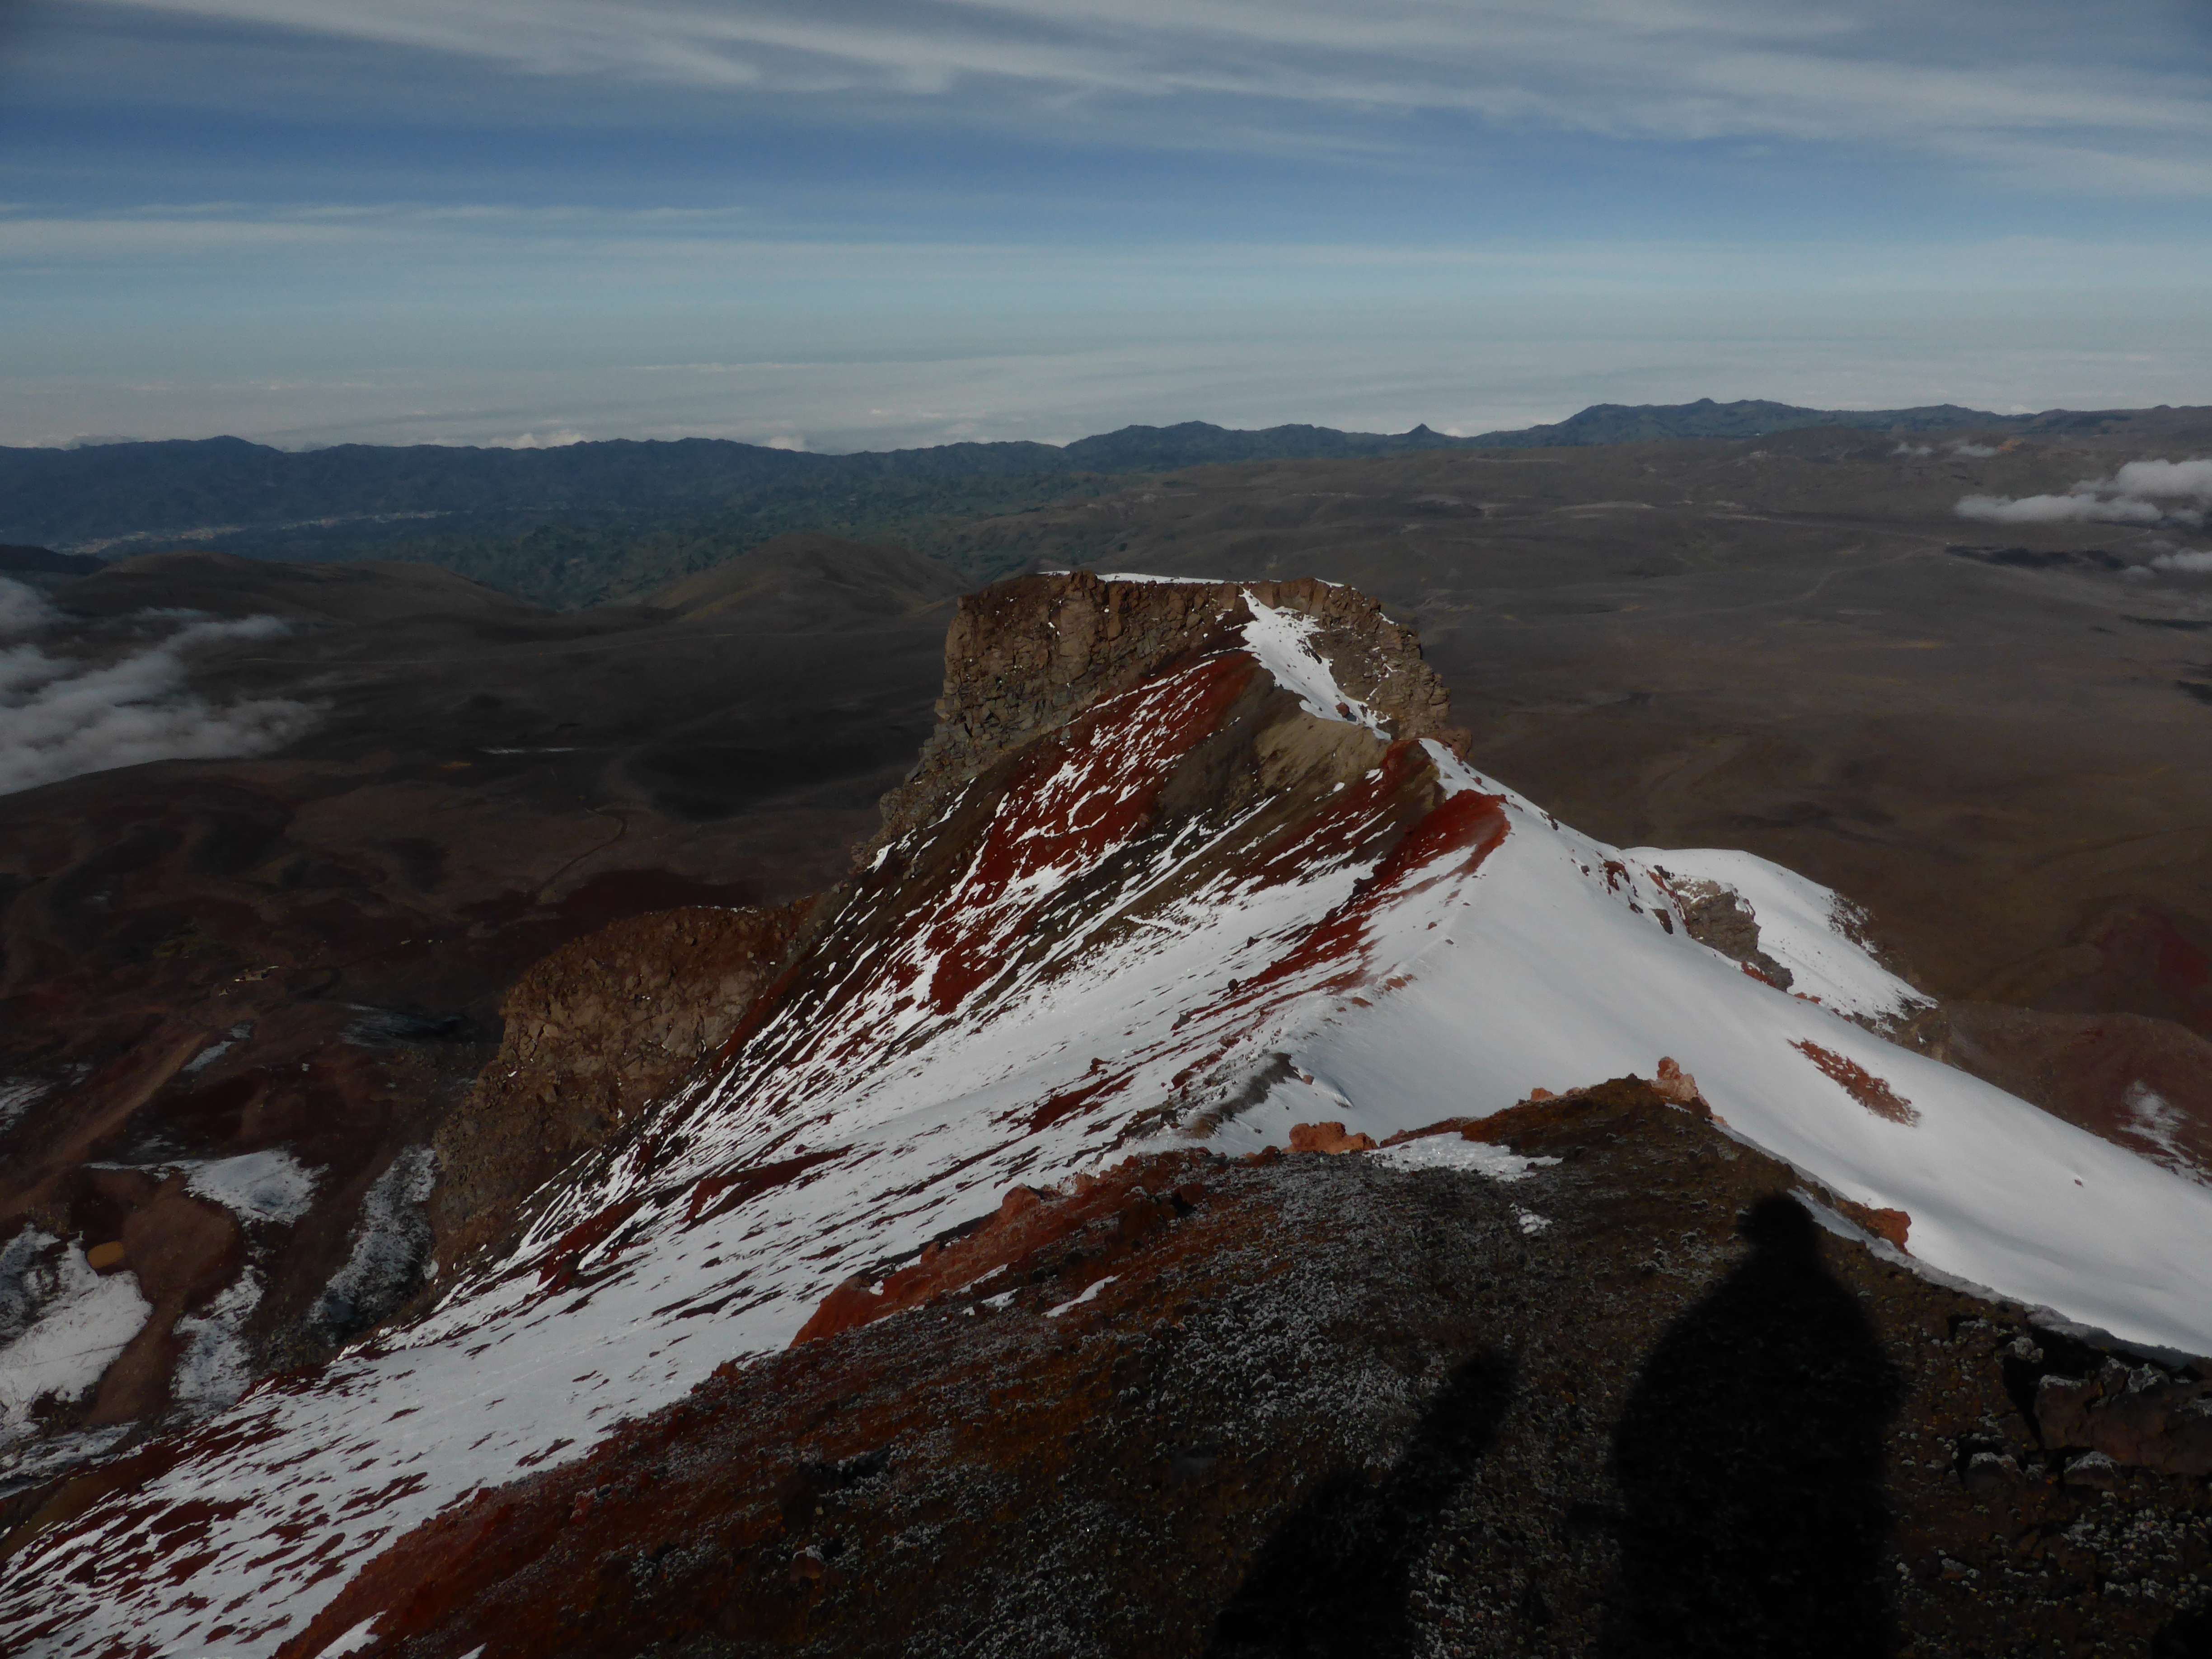
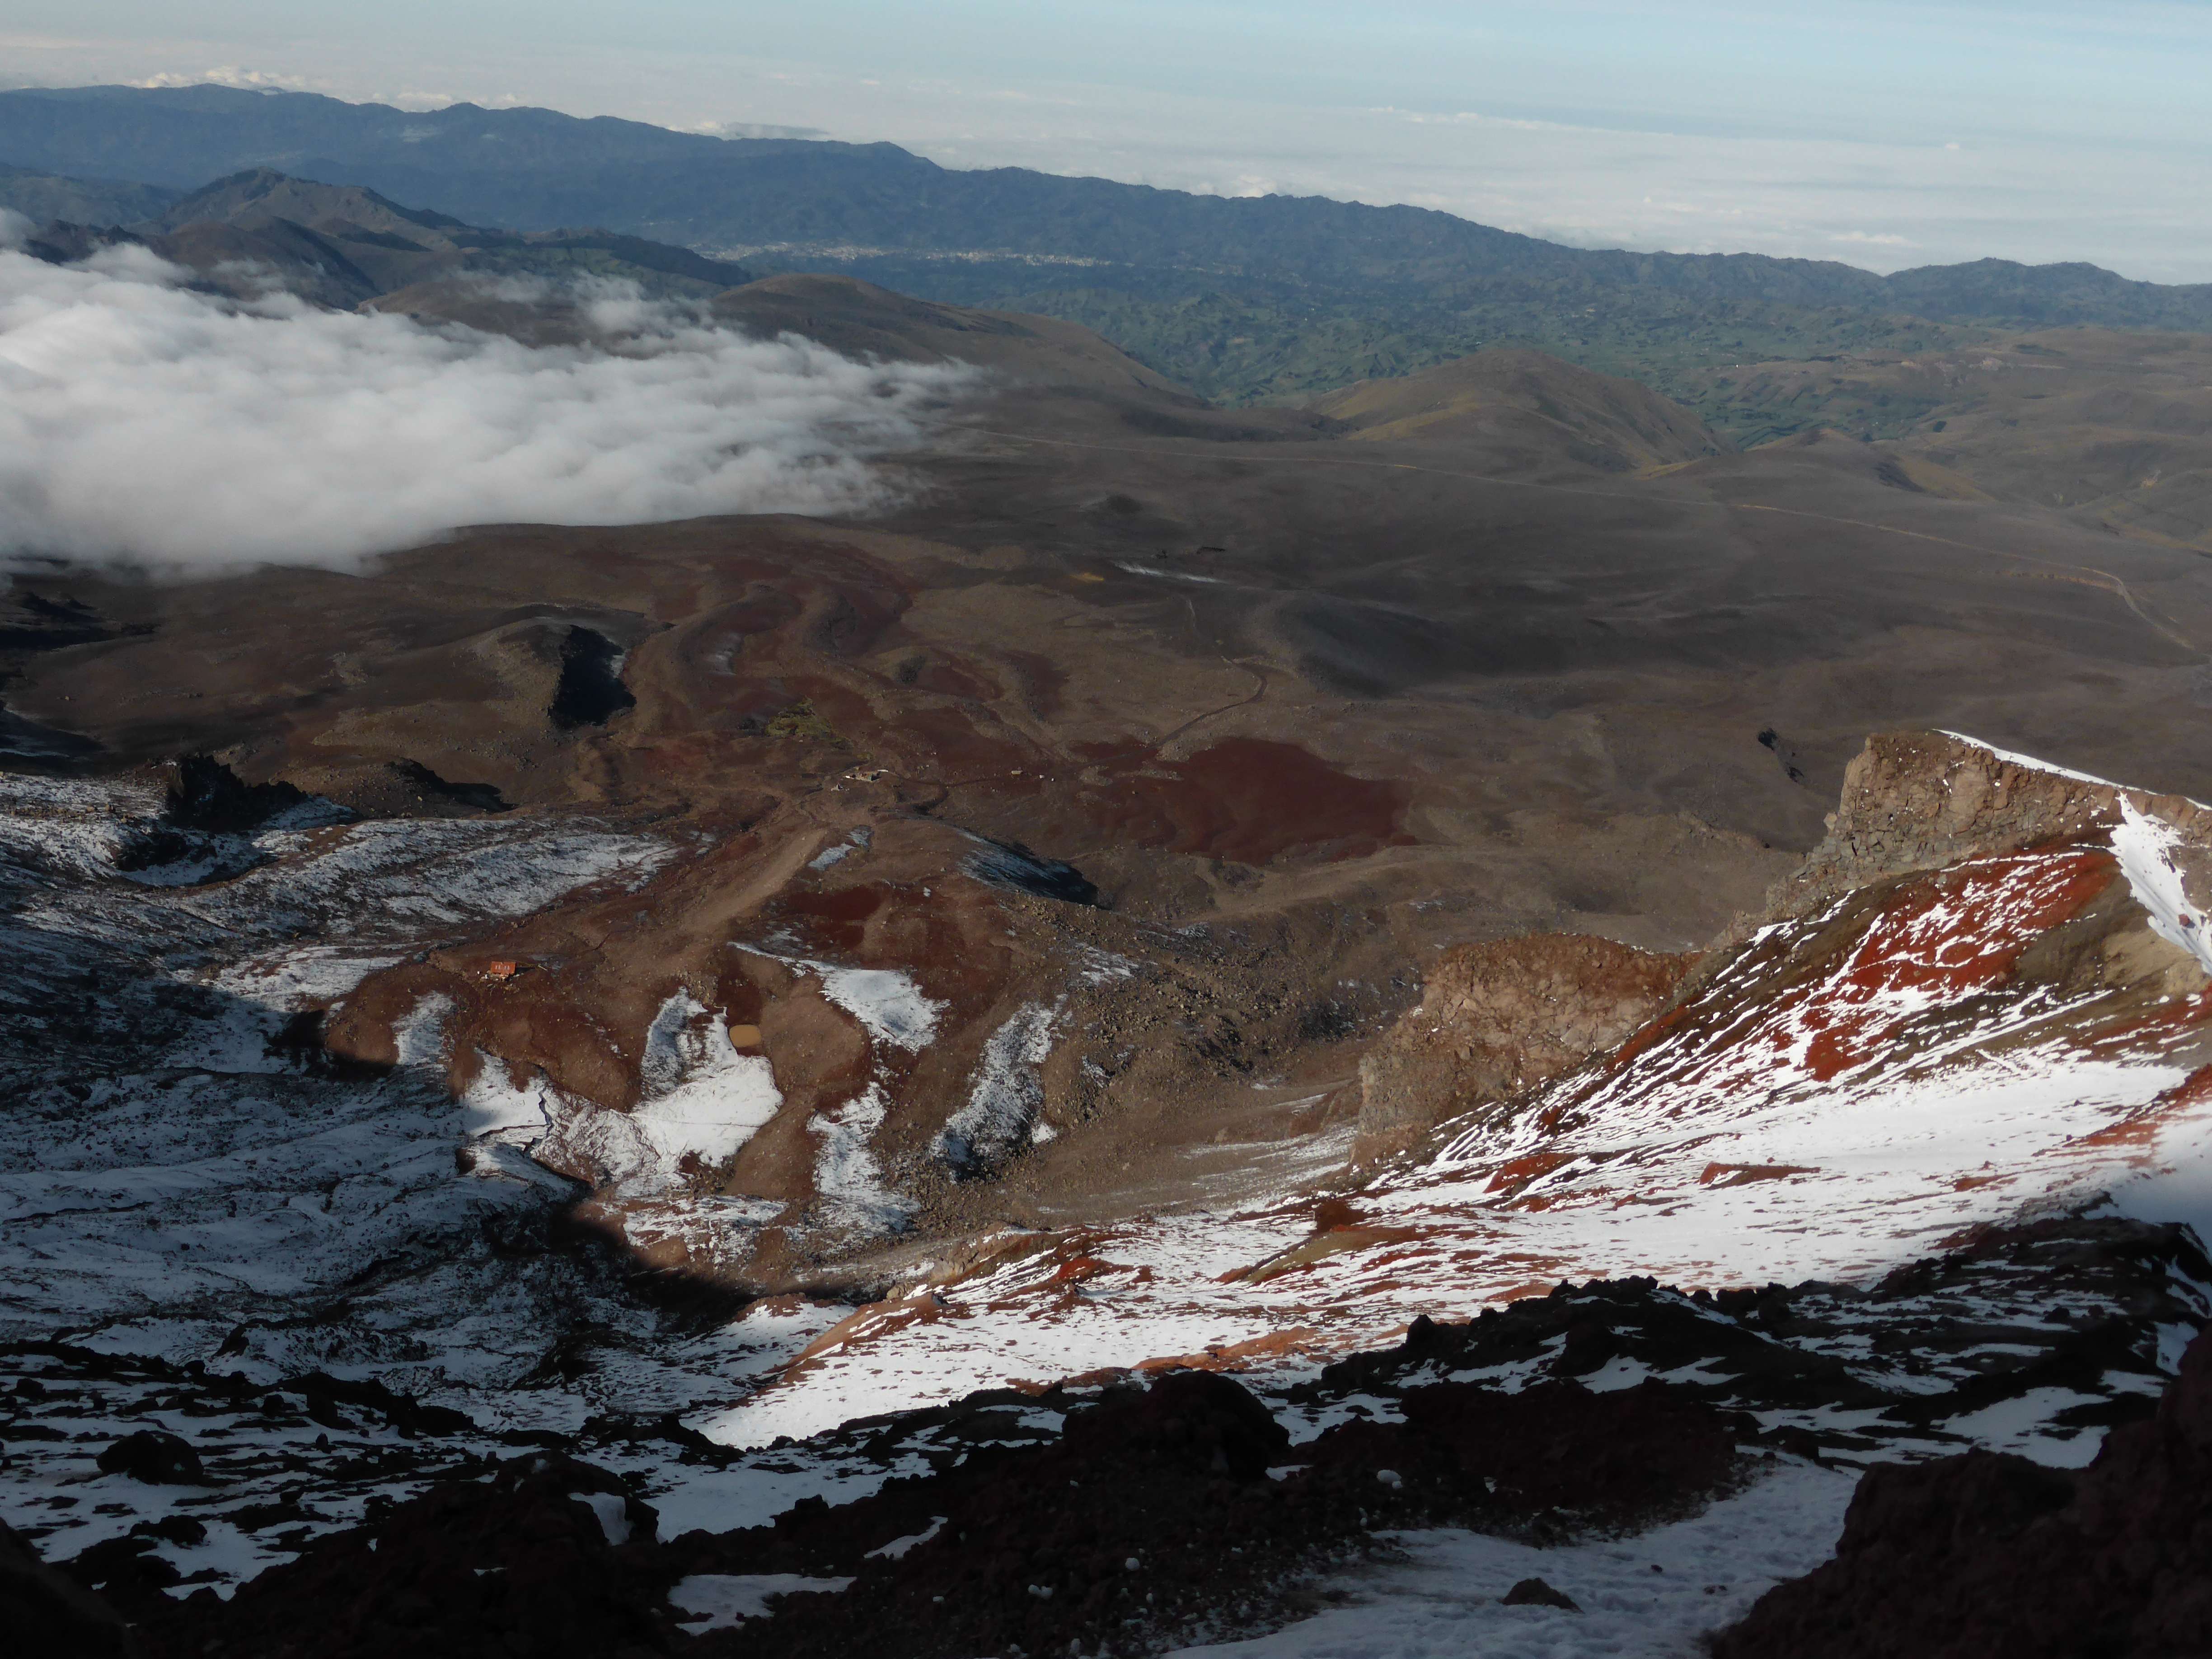
Nido de Condores 5450m to Camp Berlin 5900m / White Rocks 6000m:
The route follows a sheltered ridge alongside the Gran Acarreo. Route finding is fairly easy. The route follows gentle switchbacks upwards across rocks and scree. Berlin camp is smaller, and slightly lower than White Rocks. White Rocks, also known as Camp Colera, is reached from Berlin via a gentle traverse, or directly via a clear variation during ascent. Rapid descent is possible via the Gran Acarreo on the other side of the ridge.
Camp Berlin 5900m / White Rocks 6000m to Aconcagua’s North Summit 6962m:
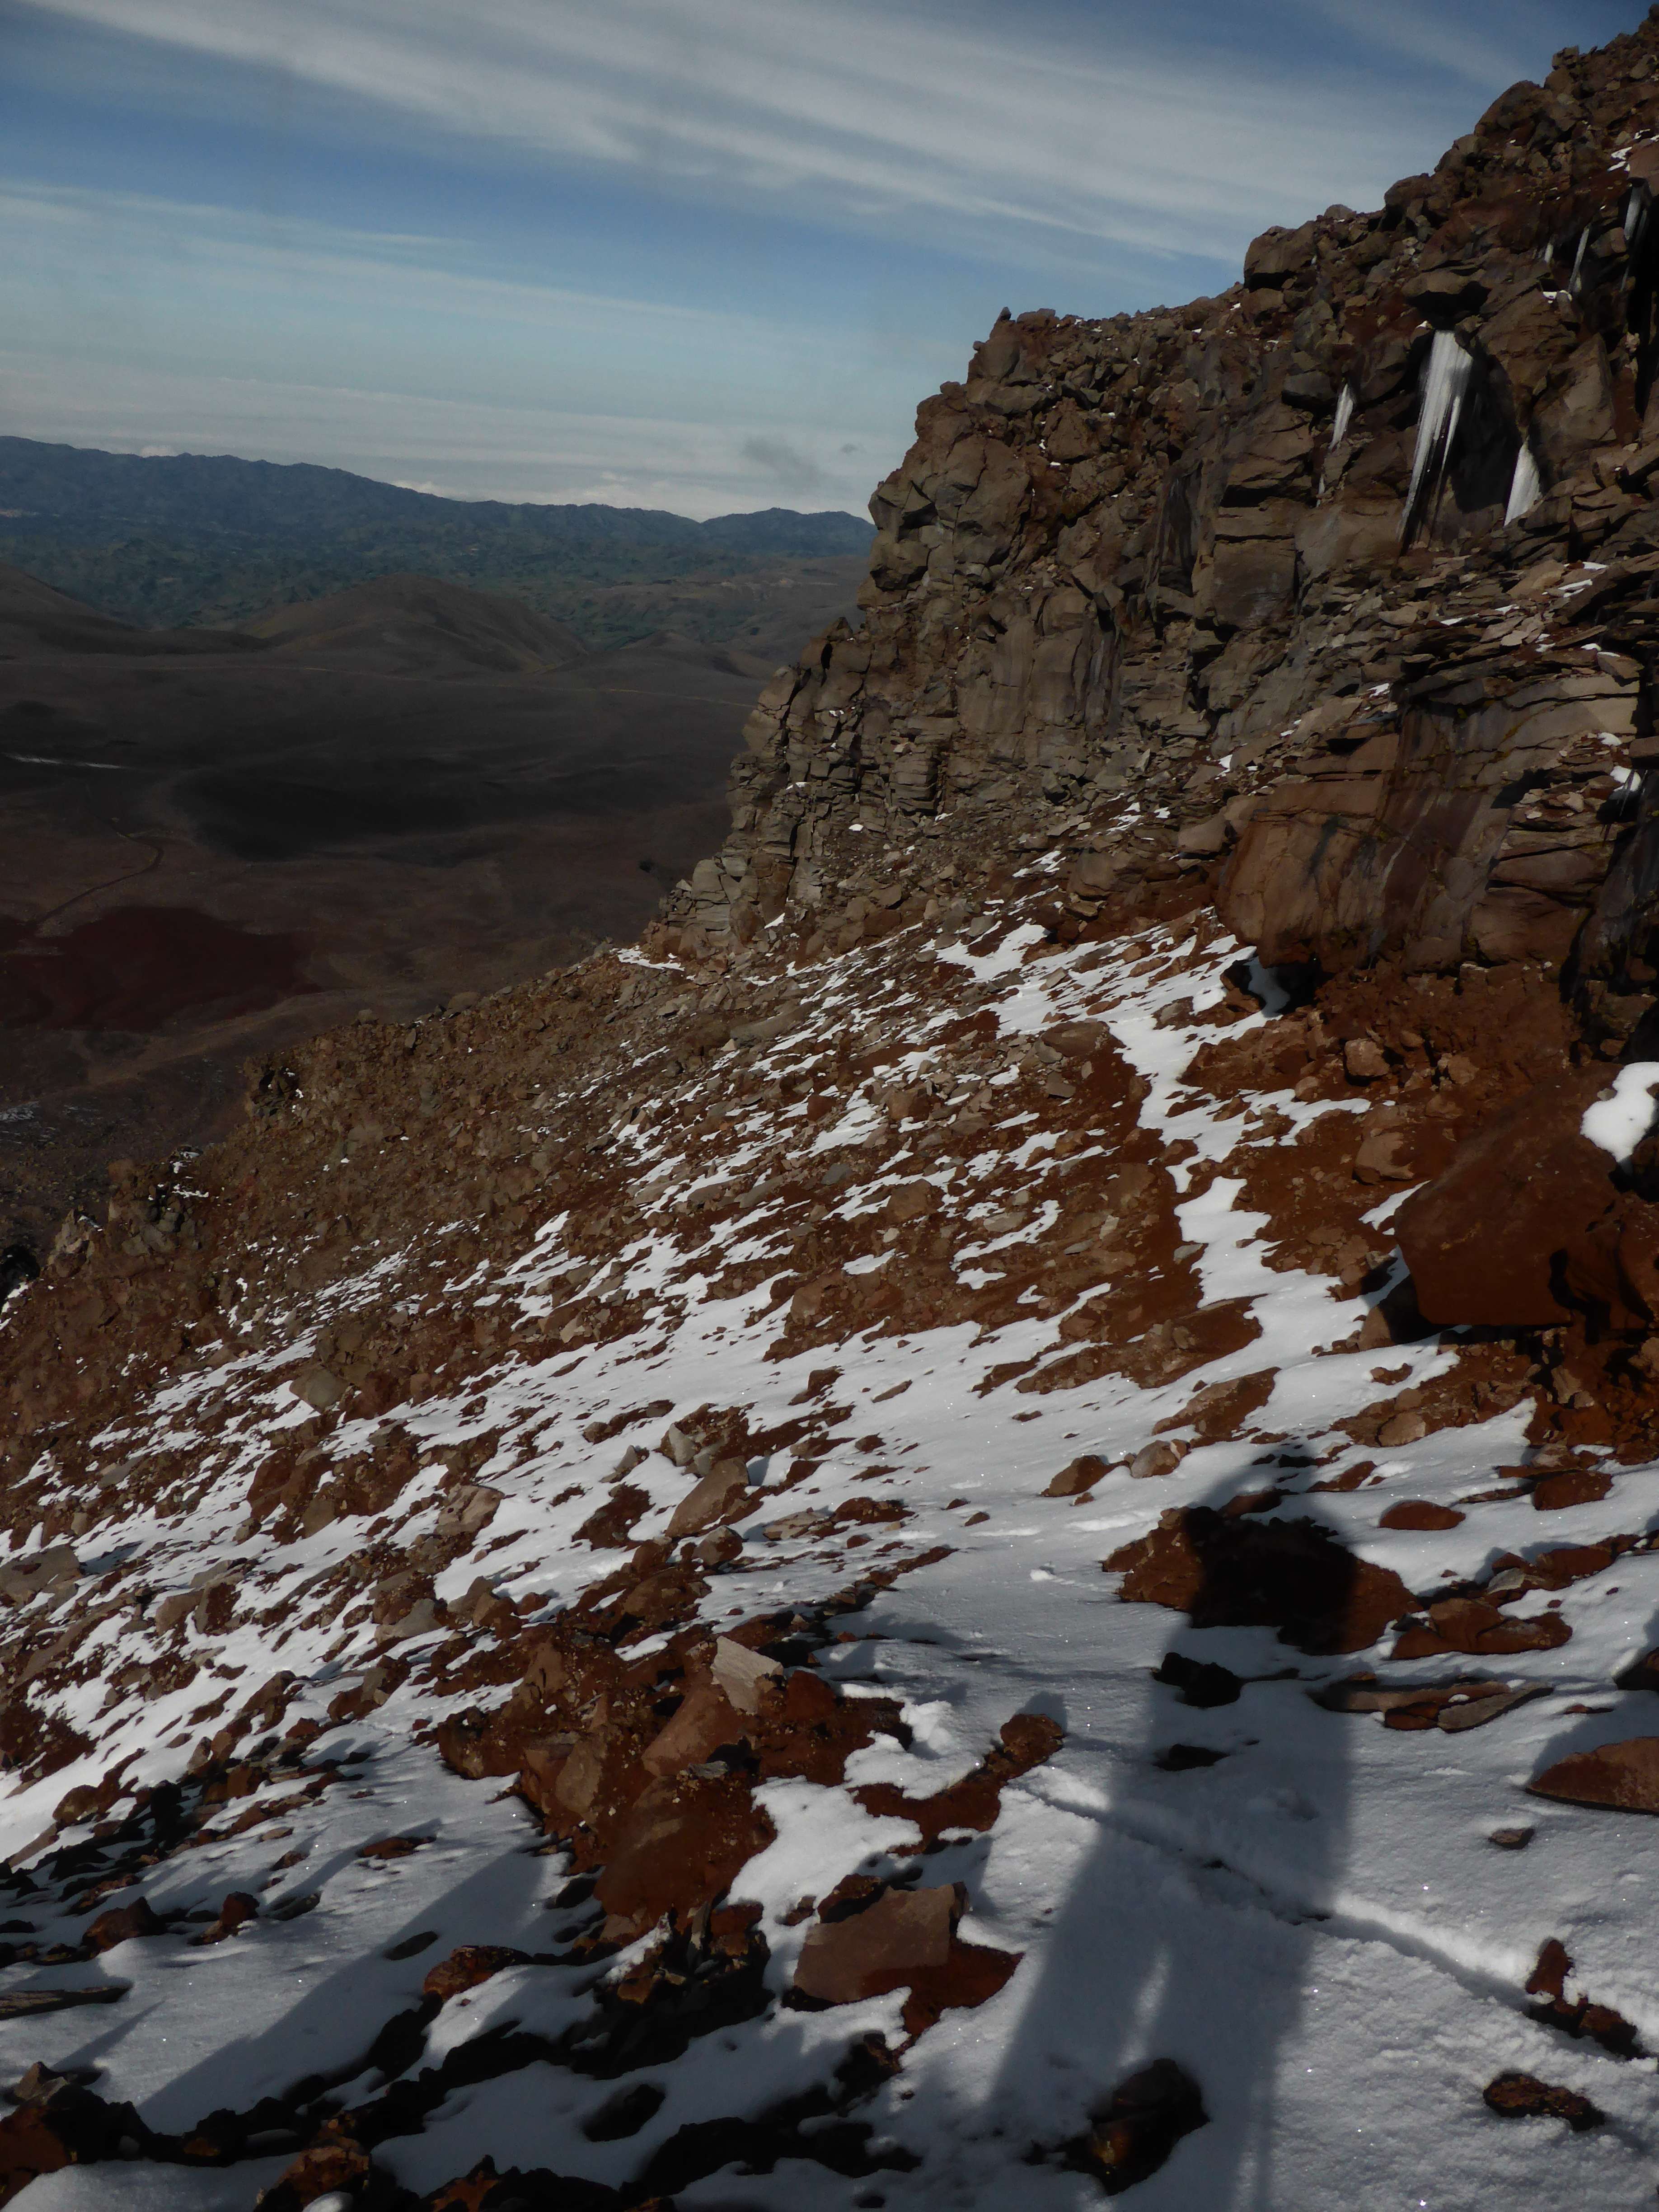
The route first follows a moderate slope of scree above White Rocks, steadily getting steeper until reaching a ridgeline and the ruined Indepencia hut. From Indepencia the route traverses the upper Gran Acarreo and then begins to ascend the Gran Acarreo itself, directly up a steep gulley of scree and all manner of loose rocks called the Canaleta. At the top of the Canaleta a short traverse along the ridgeline separating the north and south summits leads to the north summit, Aconcagua’s highpoint. With plenty of landmarks the route finding is not difficult, but could be tricky in a white-out. From the summit descent can either retrace the route of ascent via White Rocks, or descend directly down the Gran Acarreo.
Schedule and Trip Report
January 28th
I arrived in Mendoza from Santiago de Chile at 4:30 p.m. and took a taxi from the airport to my hostel, Plaza Indepencia Hotel. I opted to fly to Mendoza rather than take a bus from Chile due to Chile’s strict customs regulations: all food items are confiscated. My Taxi driver gave me advice on where to exchange dollars for pesos at a favorable rate. I had arranged mules in advance with Inka Expeditions, a large outfitter which provides all manner of logistics and guiding services on Aconcagua. Their mule service was efficient and my bags easy to pick up once at basecamp. For an extra $10 they did all of my permit paperwork and signed off on the forms needed for a significantly discounted permit fee. Once in Mendoza I walked to the Inka headquarters nearby the hostel, paid them the remainder which I owed for mule service and picked up the permit paperwork, which included the payment ticket. I paid for my permit at the easy pay (“Pago Facil”) in a nearby Carrefour, a total of $400 USD after currency conversion.
January 29th
Found white gas at a nearby equipment store and paid $170 pesos for 2.5L of white gas. I took my permit paperwork and easy pay receipt to the national park headquarters and picked up my ascent permit. Finished buying last minute supplies and organizing luggage for the bus ride to Penitentes. I caught the 3 p.m. bus from Mendoza to Penitentes, at ~2550m, and checked into the Hotel Ayelen at around 7 p.m.
January 30th
2550m to ~3850m. Sleep at 2550m.
I went for a long day hike in the hills behind the Penitentes ski resort. I encountered lots of steep scree and a little bit of route finding. Reached a highpoint of ~3850m where I was stopped from continuing by sheer cliffs. I spent about a half hour resting before descending. I enjoyed a great meal and very comfortable sleep in the Hotel at ~2550m.
January 31st
2550m to ~3400m. Sleep at 2550m.
Went for a relaxed day hike up the trail towards Cerro Penitentes. Stopped at ~3400m and rested in the sun for an hour before descending. Another night in the hotel sleeping at ~2550m.
February 1st – Day one in the park
2550m to 3390m. Sleep at 3390m, Confluencia.
2 Hours hiking.
The first day of park access on my permit. I gave my duffels to Inka, whose baggage drop for mules is located in Hotel Ayelen’s garage. I gave the mules 56kg, including 16L of bottled water. My tent, food, and equipment for the approach hike and single night at Confluencia came to 17kg. The hike to Confluencia was faster than expected, and took exactly two hours from the Horcones trailhead. Arrived at Confluencia at 1 p.m. As I checked into the ranger station I met a team of four friendly Estonians, whom I would continue to see throughout the climb.
February 2nd
3390m to 4300m. Sleep at 4300m, Plaza de Mulas.
6 Hours hiking.
I visited the park doctor at Confluencia to receive permission to ascend to Plaza de Mulas. Blood oxygen saturation was at 92%, more than enough to head higher. I started hiking to Plaza de Mulas at 11:00 a.m., and arrived six hours later at 5 p.m. The 16km hike felt quite long. The first half is very flat and monotonous, with several river crossings. The second section gets much steeper, with several rolling ascents and descents. It was a huge relief to arrive at Plaza de Mulas, roughly 1000m higher than Confluencia at an elevation of 4300m. I collected duffels from the mule company and carefully pitched out my tent. I met a friendly Argentine lawyer and a solo Japanese climber at Plaza de Mulas. Plenty of clean water was available in camp.
February 3rd
4300m to 5004m. Descend and sleep at 4300m, Plaza de Mulas.
2:45 ascent, 1:30 descent.
Feeling strong and well acclimatized, I decided to skip a planned rest day and go for an acclimatization hike up Cerro Bonete, a nearby trekking peak. The Argentine lawyer I had met the day prior joined me for the hike, and was excellent company. I left Plaza de Mulas at 11:00 a.m., and at a leisurely pace took 2:45 to reach the summit of Bonete at 5004m. Spent about 45 minutes on the summit taking photographs and looking at the route up Aconcagua, visible in its entirety from this vantage point. A relaxed descent to Plaza de Mulas took 1:30.
February 4th
4300m to 4950m. Descend and sleep at 4300m, Plaza de Mulas.
2:45 ascent, 1:00 descent.
Had a good breakfast and visited the doctor at Plaza de Mulas where I tested at a blood oxygen saturation of 92%, and then went back to sleep. Woke up at 11 a.m., ate lunch, and sorted out a heavy pack for a carry to Camp Canada at ~4950m. Started hiking at 12:45 p.m., and took 2:45 to ascend. Today was an intentionally heavy carry with ten days worth of food, crampons, down pants and parka, warm heavy baselayers, 5.5L of water, and 1.6L of white gas. At Camp Canada I met a solo German climber who had pre-acclimatized in the Cordon del Plata area. Once the equipment and supplies were cached at Camp Canada I hiked a bit higher towards a ridge of black rocks just below the “change of slope”, or Plaza Alaska. In the rocks I found a stream of moving, fresh looking water at ~5200m, and I rested for about half an hour before starting down. Descending from Camp Canada to Plaza de Mulas took 1 hour. In Plaza de Mulas I checked the weather forecast and learned that a large storm was inbound, likely to hit around Monday the 9th.
February 5th
4300m to 4950m. Sleep at 4950m, Camp Canada.
2:30 ascent.
After breakfast, a nap, and a good lunch I finished packing up my campsite and began hiking to Camp Canada, beginning at 1 p.m. The ascent only took 2:30 today, in part due to a lighter pack. I finished getting my tent and campsite organized by around 6 p.m. After anchoring my tent securely I spent 30 minutes hiking to get water. I started cooking dinner at 8 p.m., which was a bit too late due to the rapidly dropping temperature as the sun sets. I felt very lethargic and sleepy after arriving at Camp Canada, and had a very low appetite. This was the first (and only) day that I was unable to eat at least 2200 calories. At Camp Canada and above eating became a constant struggle due to the effects of altitude on my appetite, and I had to make a concentrated effort to track my caloric intake and force down enough food. I met a pair of friendly Polish climbers whom I had briefly spoken with at Plaza de Mulas. At 4950m, Camp Canada is more exposed, windier and colder than Plaza de Mulas, and I made a mental note to start my cooking earlier in the day.
February 6th
4950m to 5450m. Descend and sleep at 4950m, Camp Canada.
2:15 ascent, 0:30 descent.
After a poor night’s sleep I woke up with a moderate headache. The water I had gathered the day prior had a very bitter taste, which made eating and hydrating unpleasant. I had to choke my breakfast down, and only managed to get 500 calories in for breakfast. The solo German climber moved up to Nido de Condores, while I found myself questioning if I should even make a carry today. I rested all morning and into the early afternoon. The Estonian team arrived at around 1 p.m. and I got up to greet them. Getting up and chatting with the Estonians improved my state, so I packed a small carry for Nido de Condores: four days worth of food, crampons, my hardshell, and a full bottle of gas, only around ~8kg. I left Camp Canada at 2:15 p.m., taking 2 hours and 15 minutes to reach Nido, where I cached my gear in the rocks. At Nido I chopped two large blocks of ice out of a frozen pond, wrapped them in garbage bags, and packed them to bring back down with me. I felt awful at Nido de Condores, and descended after resting only ten minutes. Descending back to Camp Canada took just 30 minutes on the scree, and once back in my tent I found myself feeling pretty good. I melted the ice for water and discovered that it tasted much, much better than the stream water I had gathered the day before. I ate a large dinner, hydrated thoroughly, and got to bed well before 8 p.m. Talking with other climbers the word was that the storm was on schedule, and still likely to hit on Monday the 9th.
February 7th
4950m to 5450m. Descend and sleep at 4950m, Camp Canada.
1:45 ascent, 0:22 descent.
I slept very well, and woke up with an appetite. I ate a large breakfast, and then snoozed until 1 p.m., when I got up to talk with a solo Argentine climber. I left for Nido de Condores at 3 p.m. to make my final carry: food, double plastic boots, ax, altitude mitts, and some extra clothing for a total of around 10kg. As the weather wasn’t too cold, I wore my light running shoes to ascend, and took only 1:45. I felt fantastic, likely due to my returned appetite. I met the solo German descending; he had made a summit attempt the night prior and turned back at around 6300m. I cached my gear and spent about 45 minutes exploring Nido, checking out the views and route to Berlin/White Rocks behind the large, flat area which the camp lies on. I hung out with the solo Argentine I had talked to the day prior and enjoyed good conversation. I felt very strong at Nido, and descended to Camp Canada in only 22 minutes, sprinting and scree-skiing down the mountain in my runners. I cooked and managed to eat a good sized dinner, greeted the Estonian team and a pair of Argentine brothers as they arrived at Camp Canada, and went to sleep early.
February 8th
4950m to 5450m. Sleep at 5450m, Nido de Condores.
1:40 ascent.
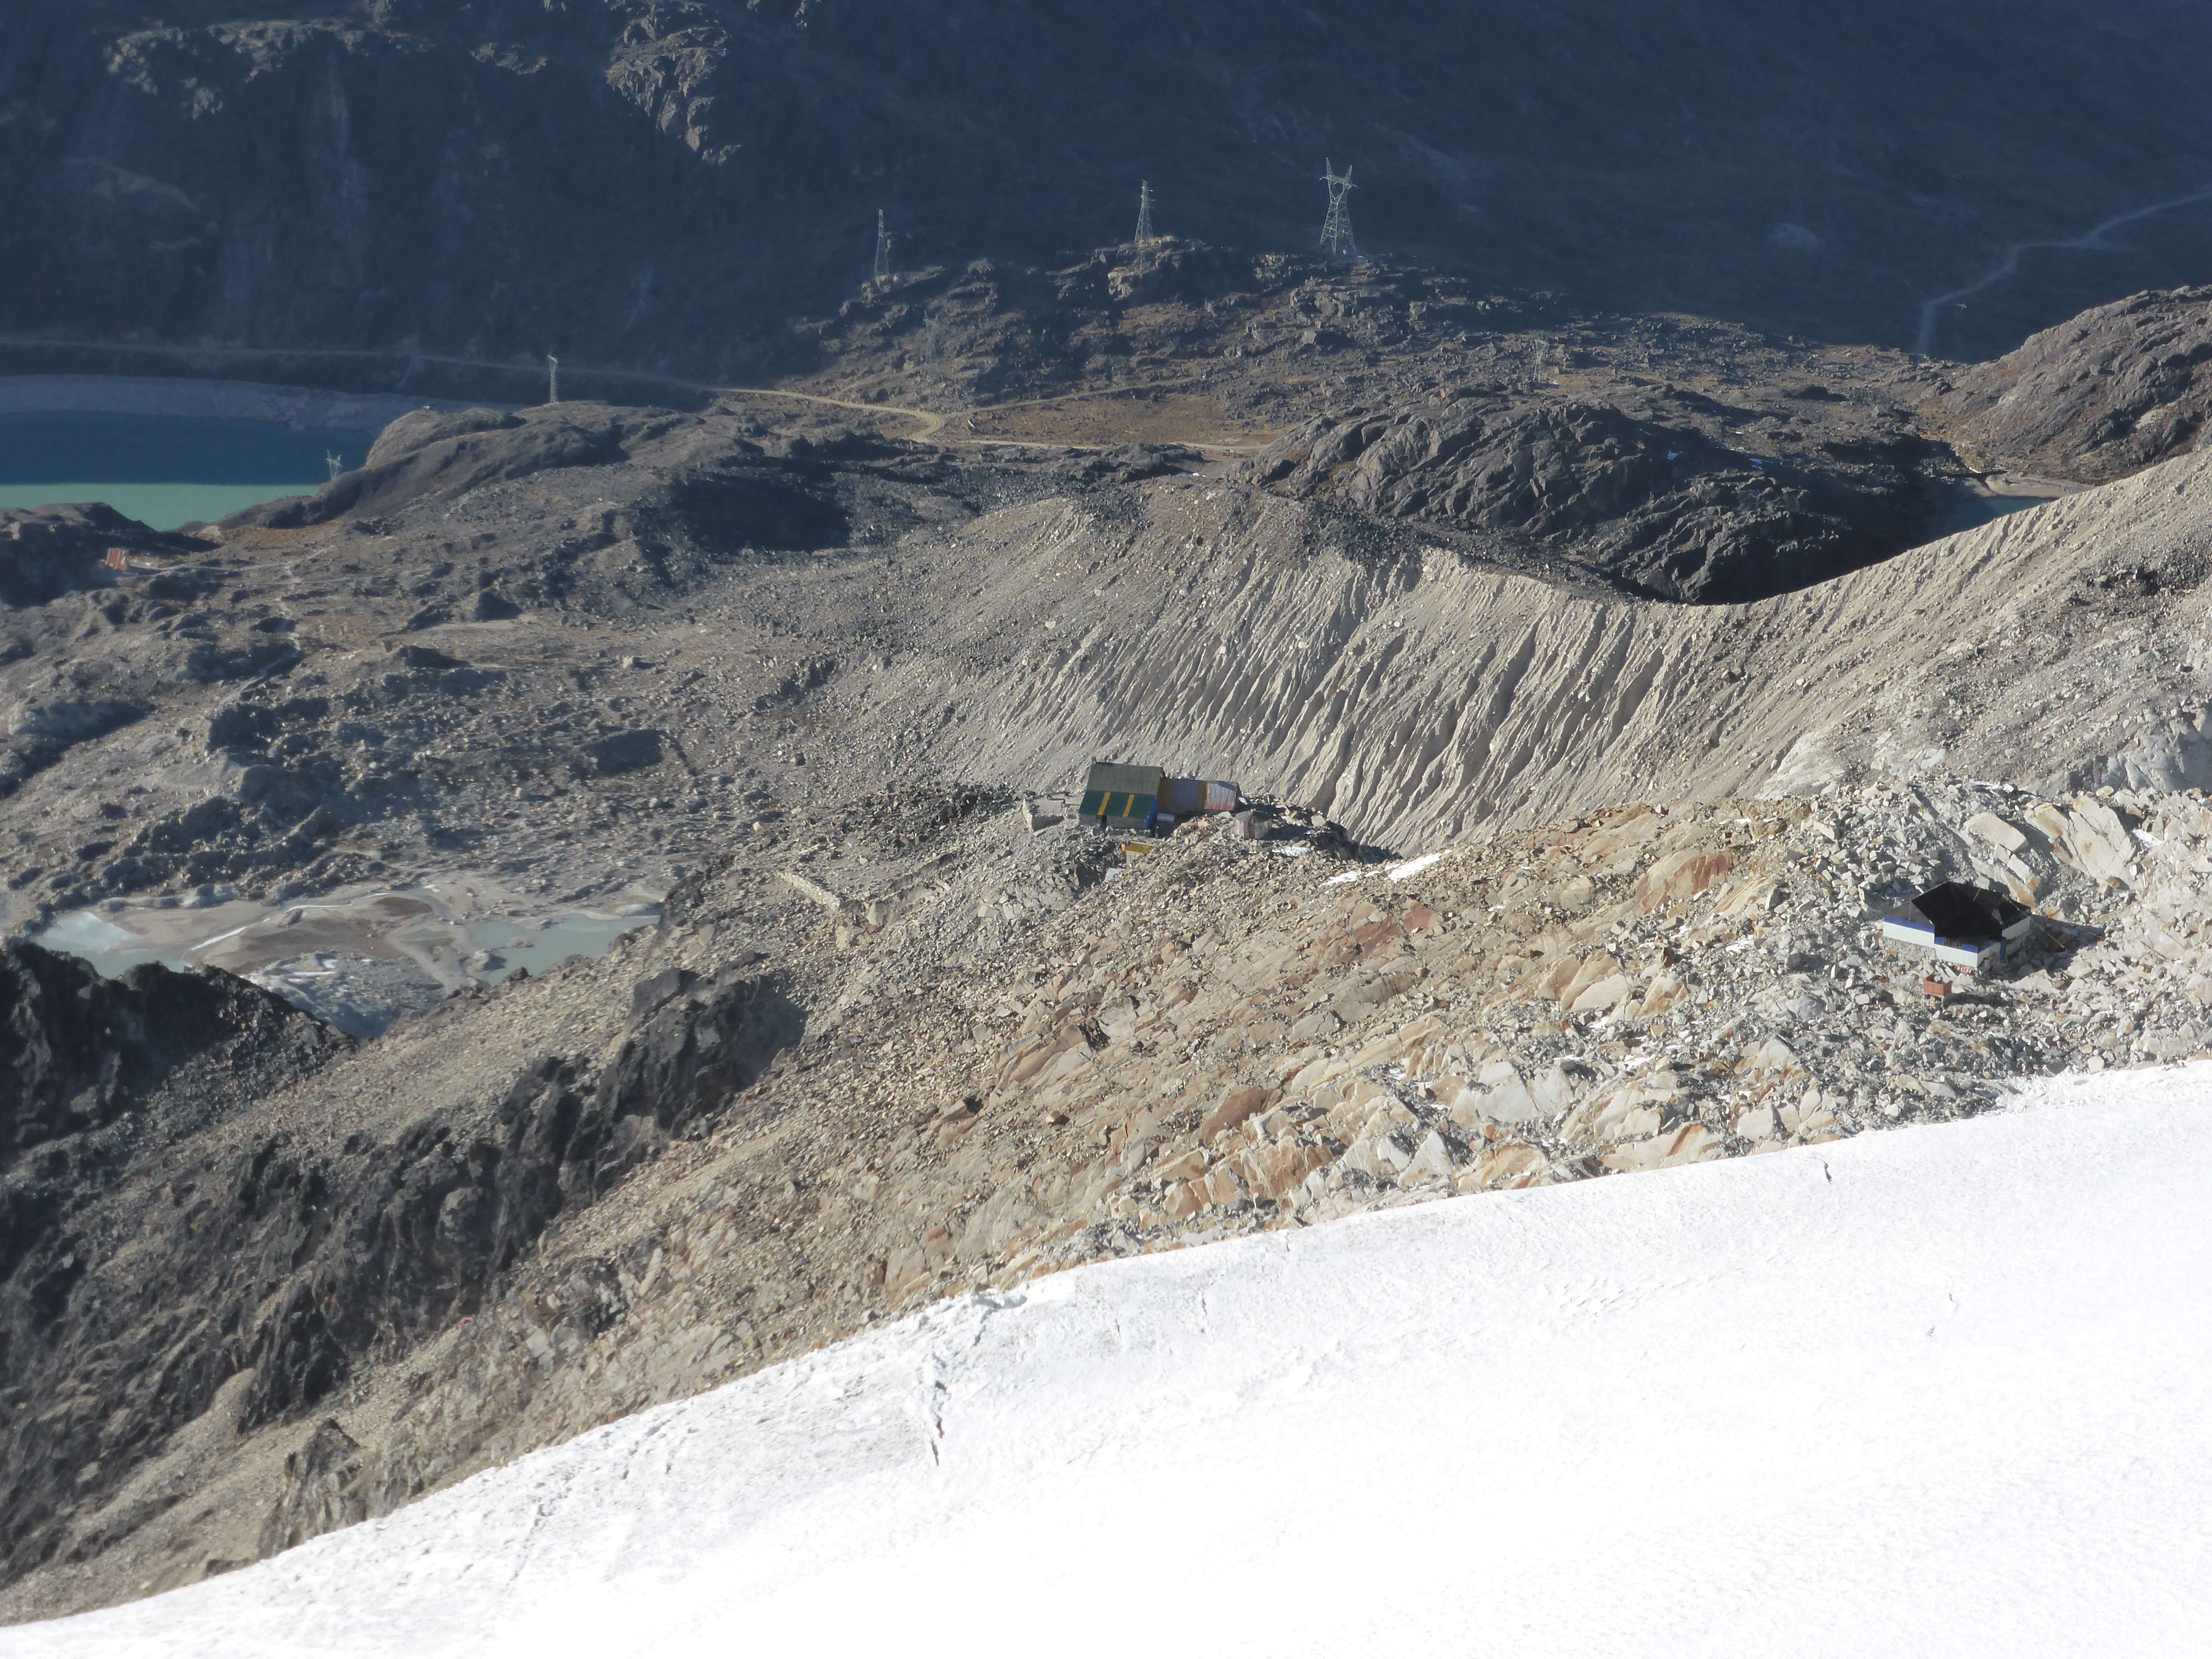
I slept very well again and woke up at 8:30 a.m. I had carried all of my freeze-dried eggs up to Nido, so I had mashed potatoes with chicken and energy bars for breakfast. I felt a little bit out of sorts as I packed up my camp in preparation for the move to Nido de Condores. I took my time getting ready, and left at 12:00 p.m. There were many large guided teams hiking to Nido today, and the trail was crowded with the conga-lines of groups, making it a bit tough for me to find a rhythm for my pace. Regardless, it took only 1:40 to get to Nido, and I arrived feeling pretty good. Nido was extremely windy when I arrived, and I initially chose a very poor location for my tent pitch. I quickly rectified this when I realized I was in a natural wind tunnel, moving the tent into the relative shelter of a small wall of stones left behind by other climbers. This turned out to be a very nice spot. As I was planning on spending several nights at Nido and leaving my tent unattended, I spent several hours building up the wall to protect my tent from the south-west where the wind generally comes from. I ended up with a great wall of rocks and really bomber anchors for all six guy-lines. I took an hour long nap after finishing my work, and after waking up had some snacks and Advil before heading out to get water. I gathered water from a clear, frozen pond, and boiled a supply for drinking and cooking. I forced down a full meal, and felt great settling into my tent for the night. Nido de Condores was windy, very dry, and a lot dirtier (human waste) than the other camps I had stayed at.
February 9th
5450m to 5900m. Descend and sleep at 5450m, Nido de Condores.
1:30 ascent, 0:30 descent.
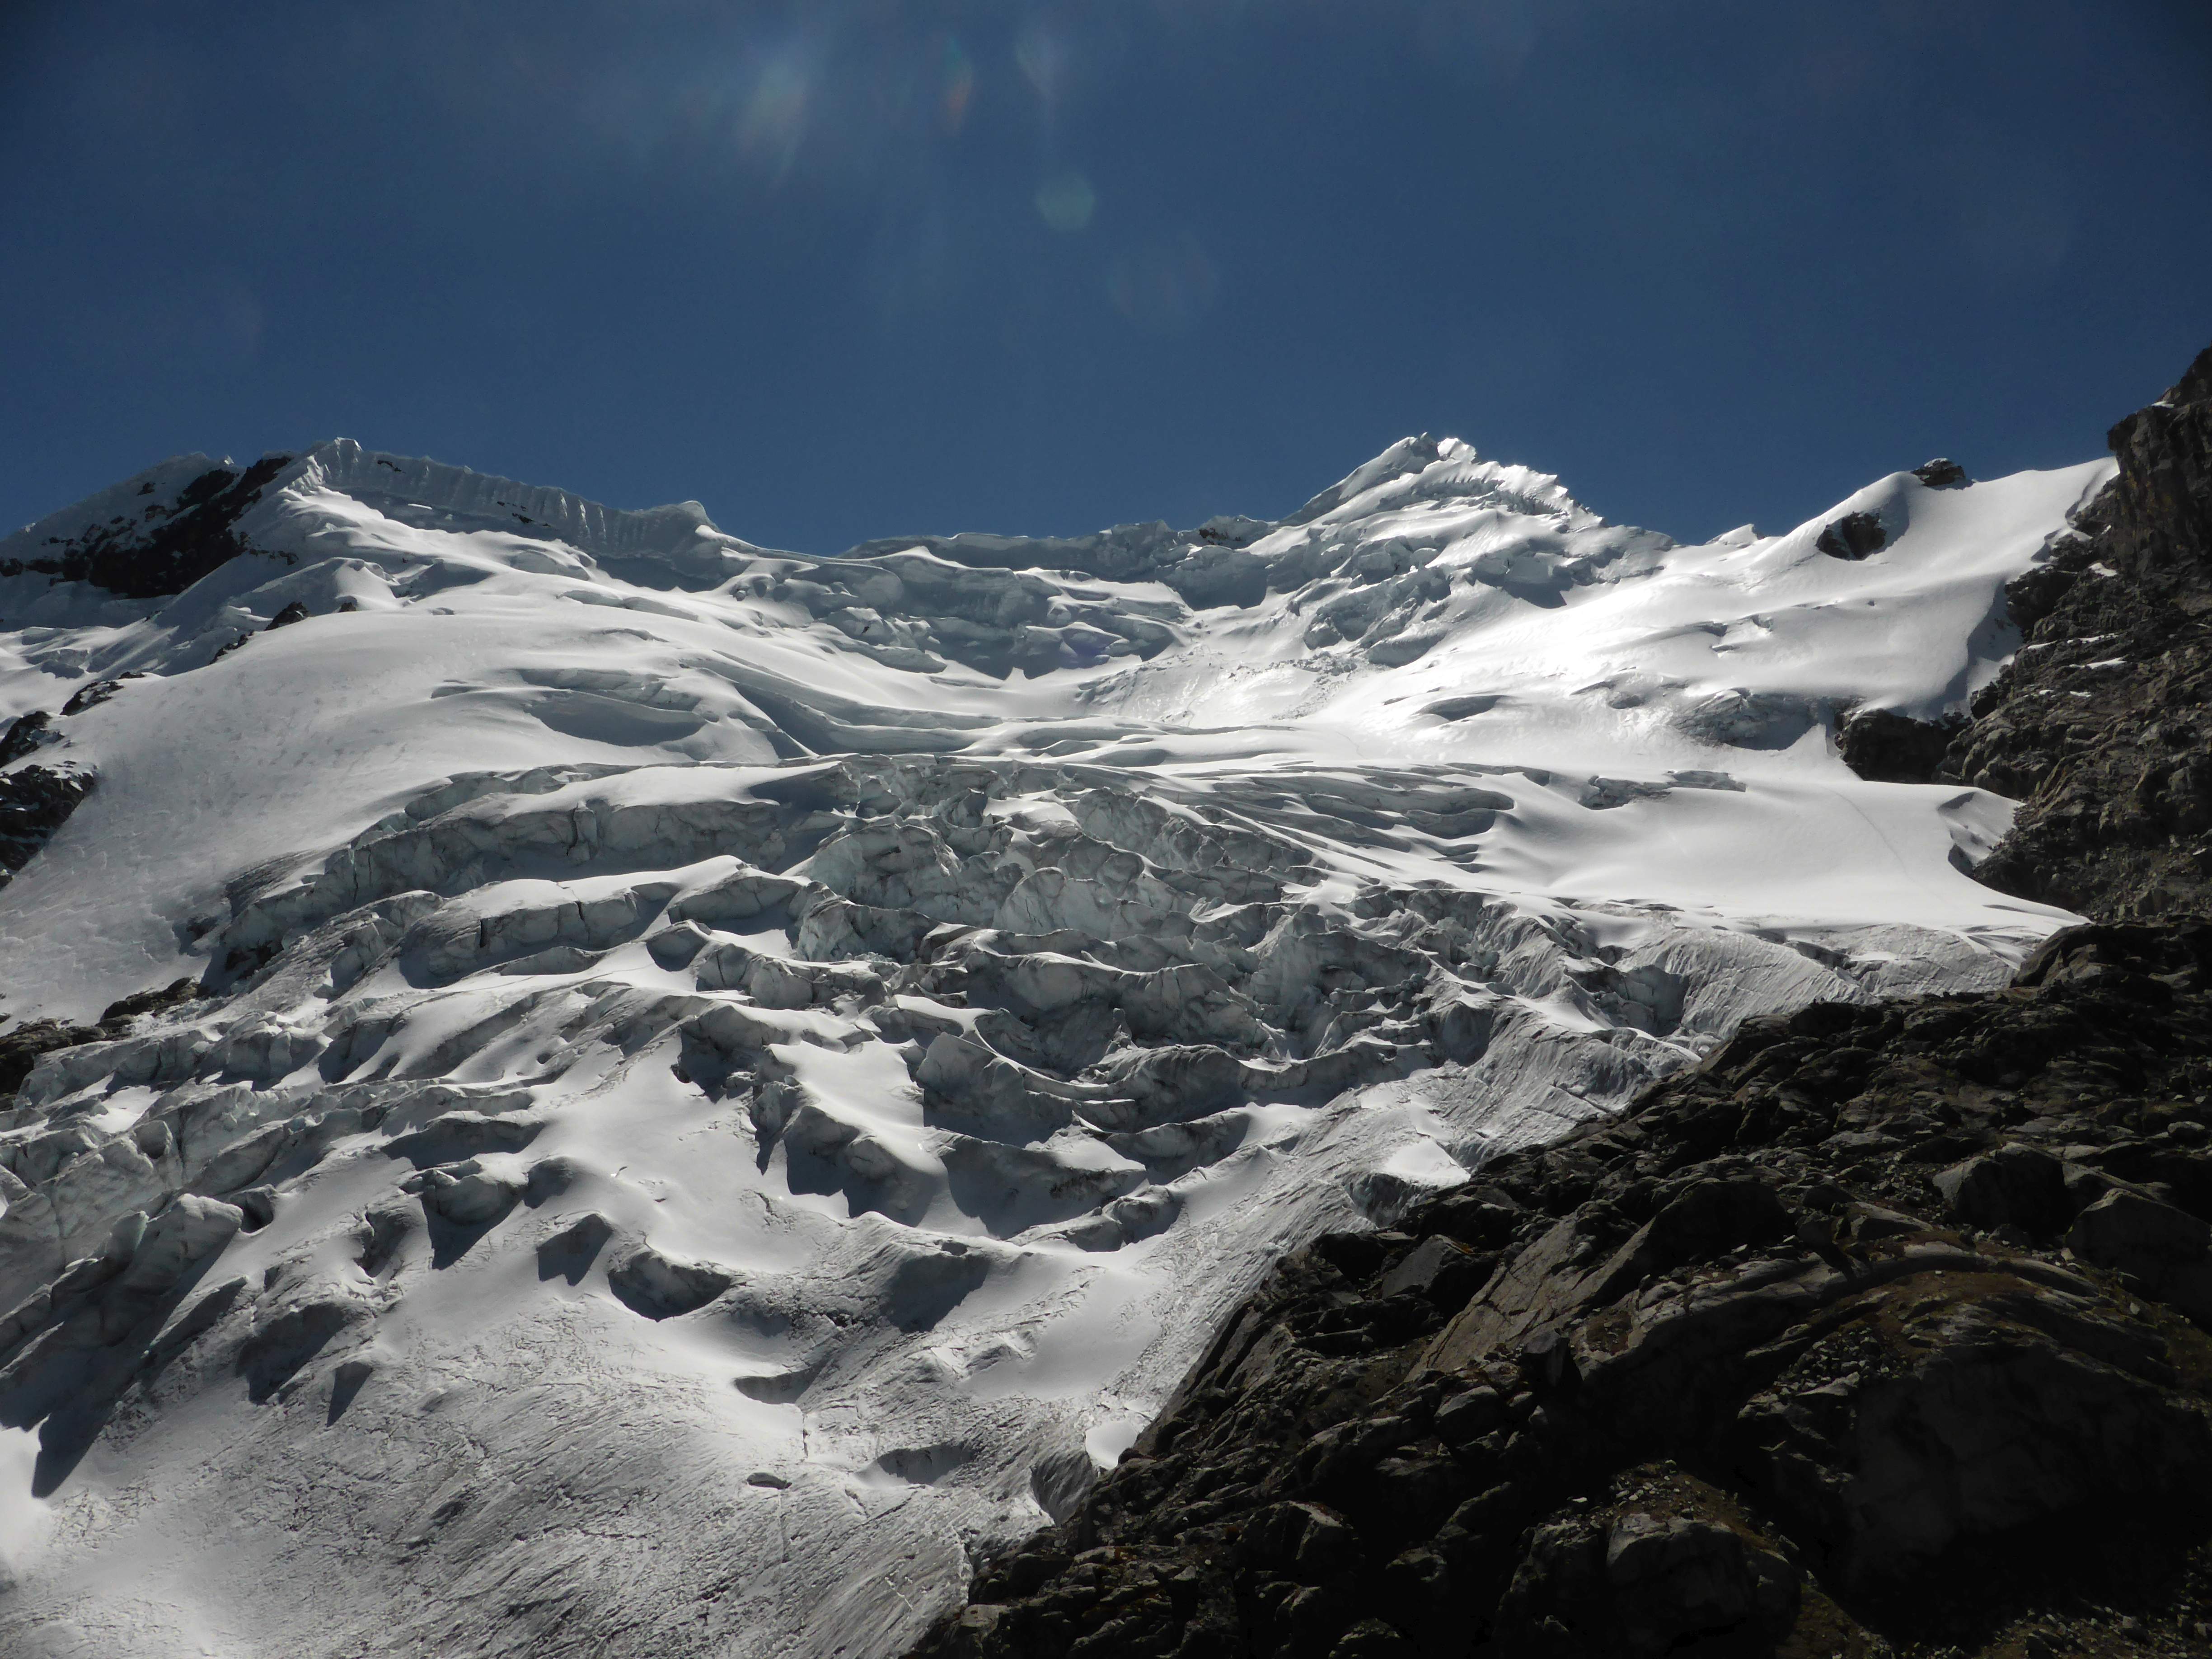
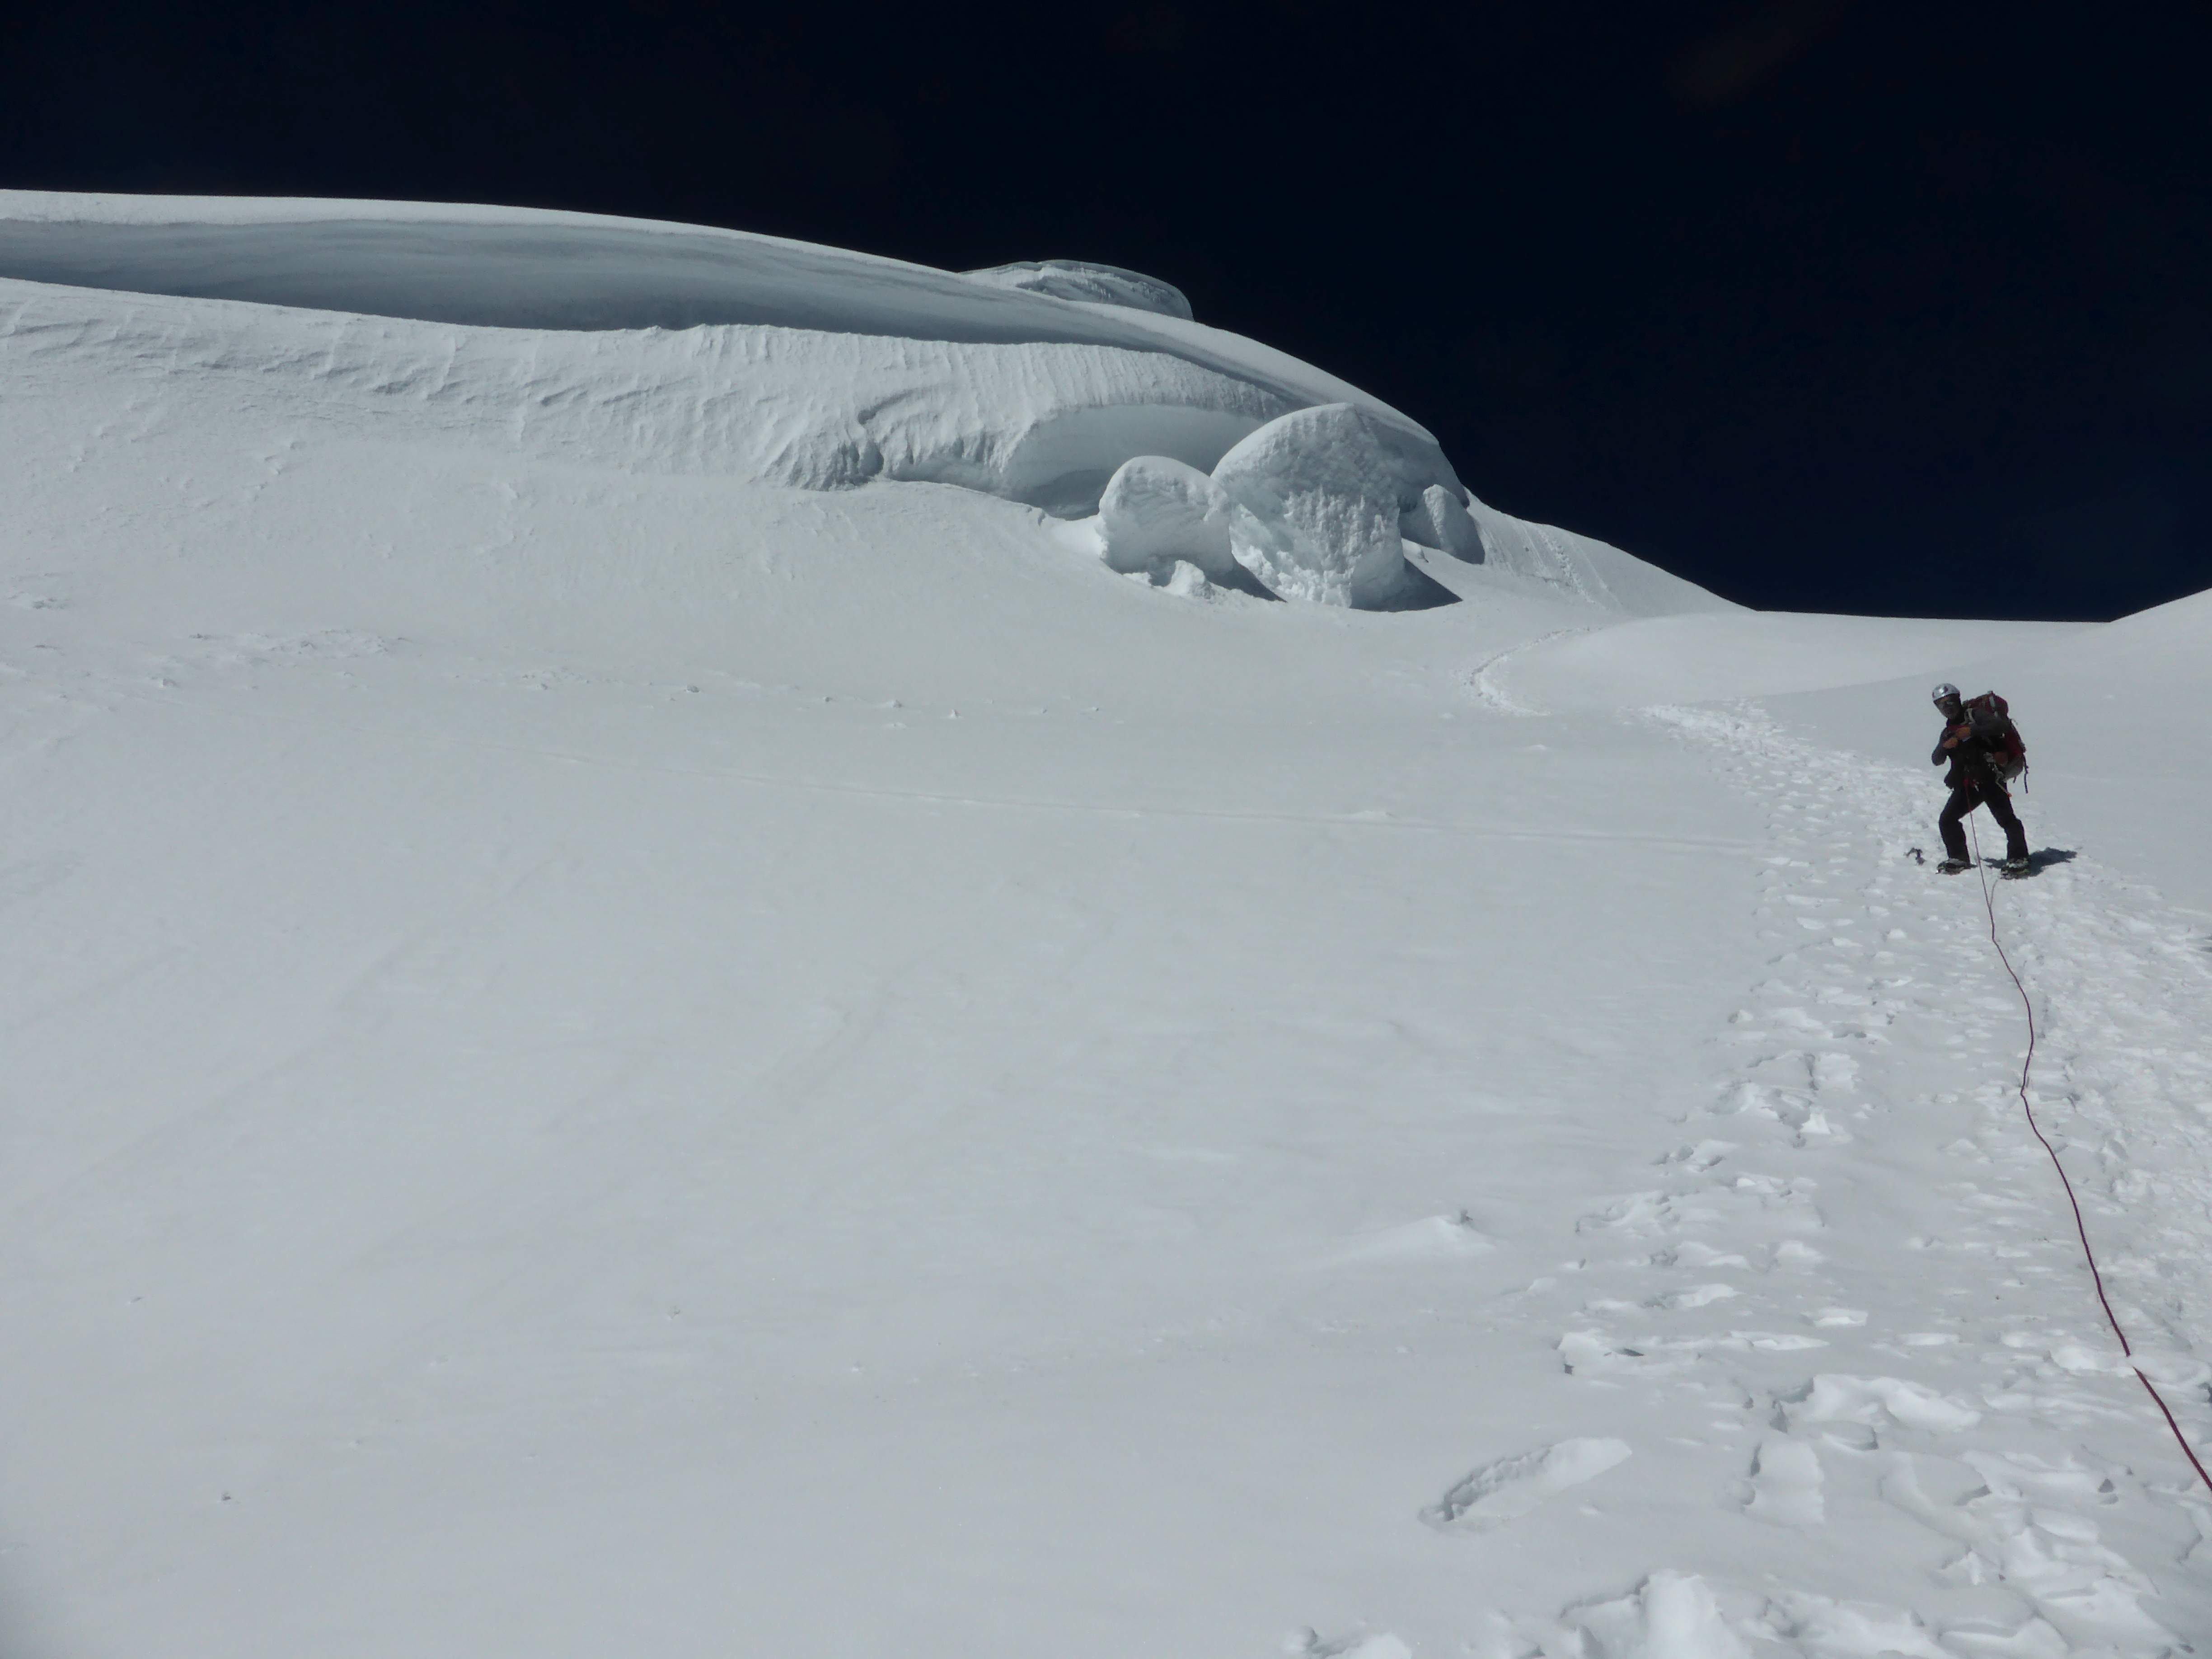
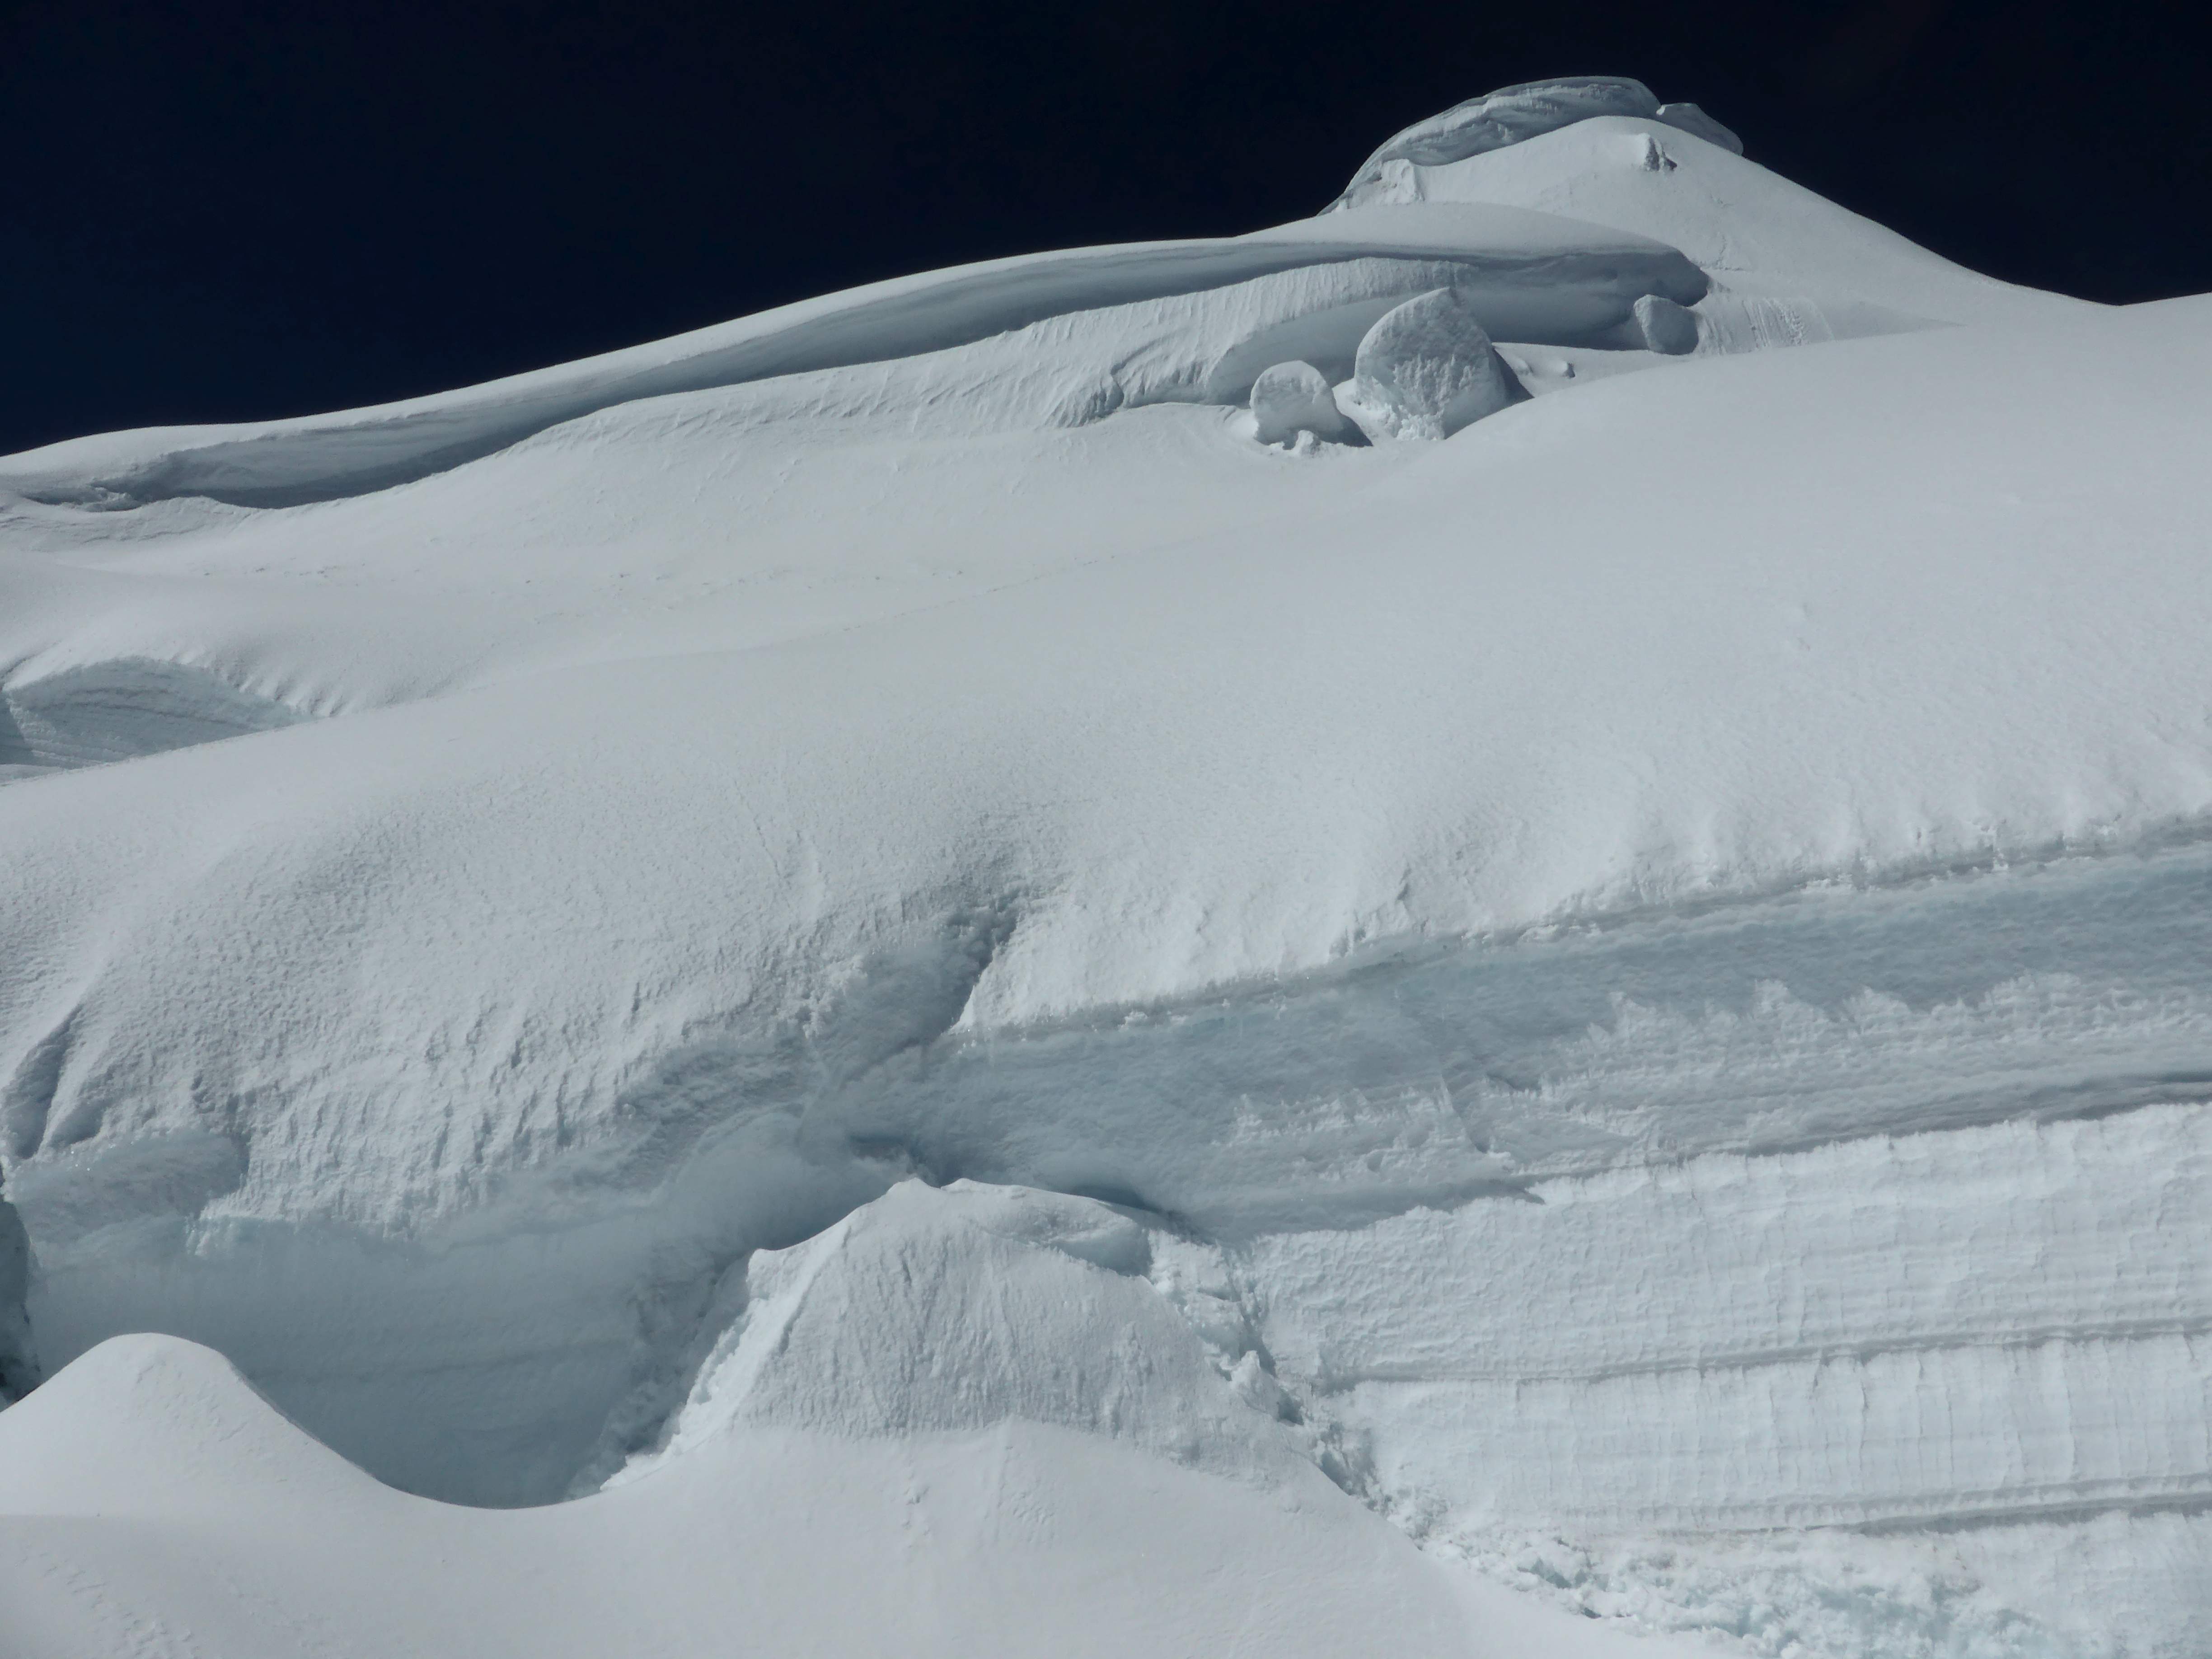
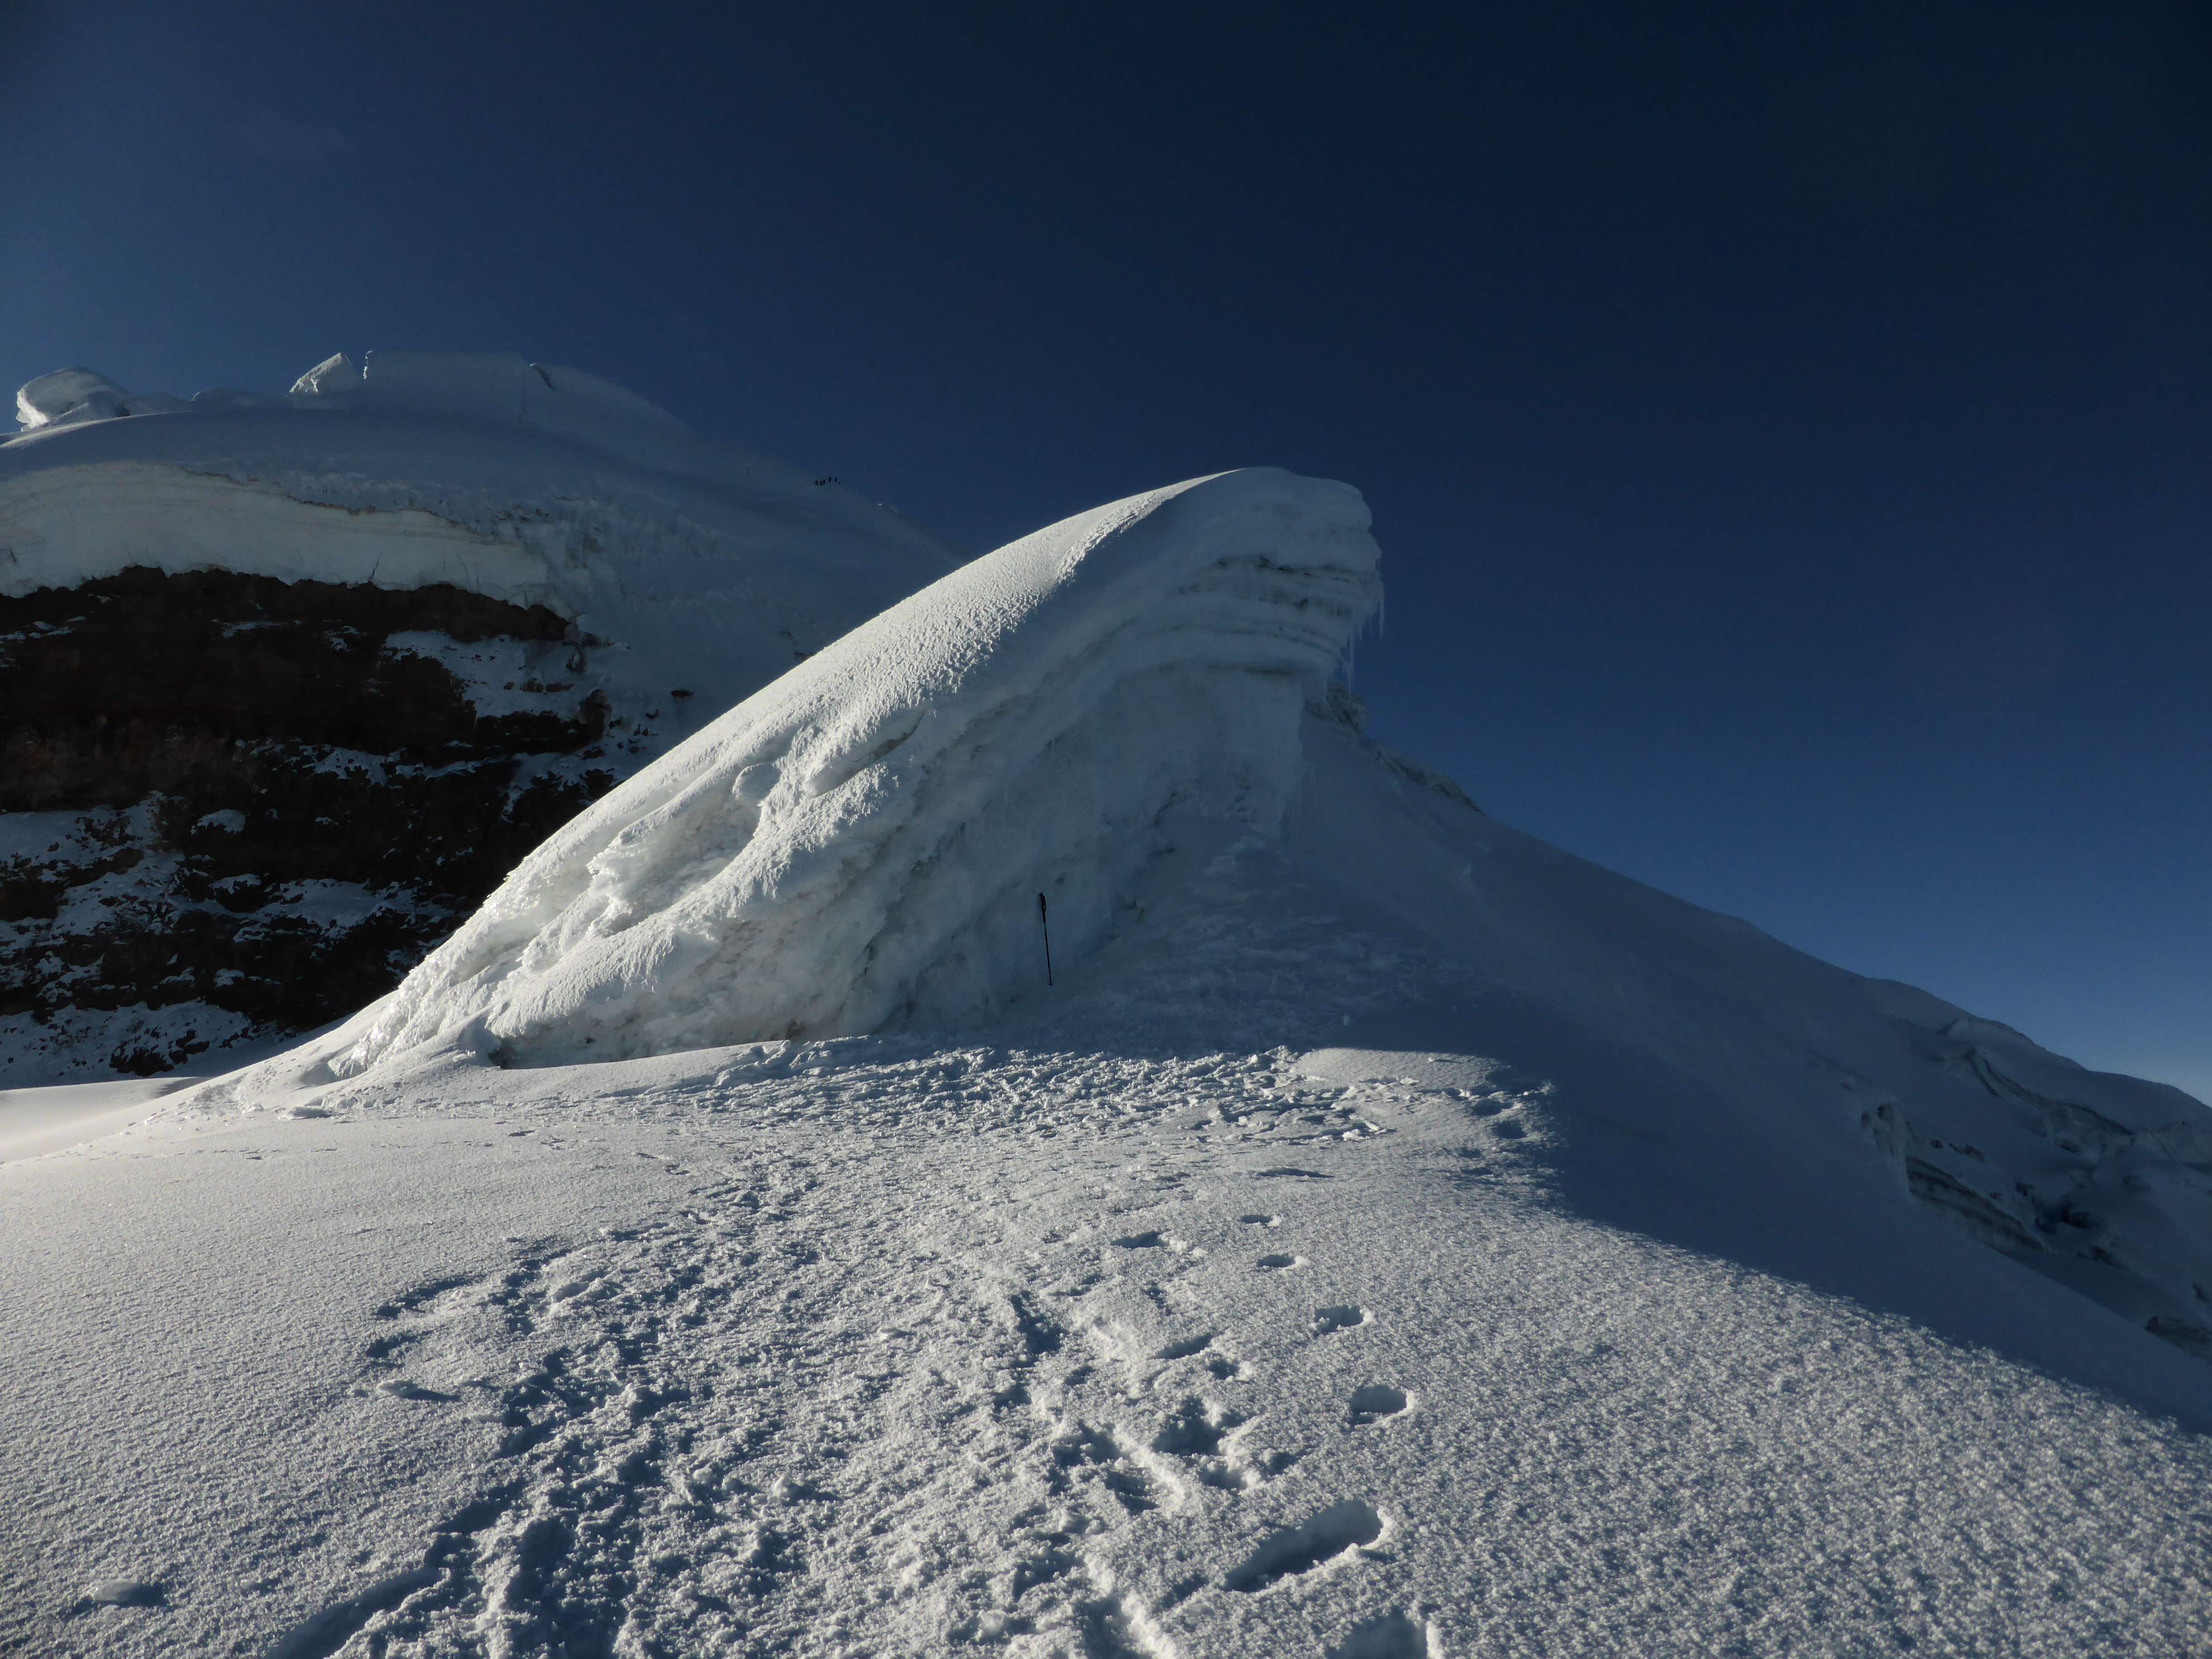
I slept well, a good sign given that this was my first night sleeping at ~5500m. After breakfast I visited the park ranger to test my blood oxygen saturation, and given how good I felt was very surprised to test at only 72%. The ranger advised that a storm would come in overnight, with high winds and snow continuing until the night of Tuesday the 10th. When the storm lifted, a short weather window with low winds and clear skies was forecasted for the morning of Wednesday the 11th. I subsequently took a slow, lazy day. I decided to go for an acclimatization hike to Camp Berlin at around 5900m, and I left my tent at 2:00 p.m. An hour into my hike the winds began to pick up, and a light snowfall began. The route from Nido de Condores to Berlin is quite easy to follow, and feeling strong I decided to continue heading up. I reached Berlin at 3:30 p.m., and stopped for a few minutes to take some photographs of the ruined huts and check out the terrain. By this point the winds had increased, with heavier snowfall. Exploring the ridge which separates Berlin from the Gran Acarreo, the huge screen slope which runs the height of the mountain from the summit all the way to Plaza de Mulas, I observed fierce wind blowing snow up the mountain, causing an effect resembling a white wall of turmoil: Aconcagua’s famous Viento Blanca (white wind) in person. I began descending, and made great speed on the way down, getting back to camp in just thirty minutes. The storm had really picked up by the time I finished preparing water and making dinner, and I was happy to have invested time and energy into my solid tent pitch. Eating was very, very difficult throughout the day. Despite my low appetite I felt quite strong, and given my good pace to Berlin I decided that if I still felt solid I would attempt the summit from Nido de Condores on Wednesday morning.
February 10th
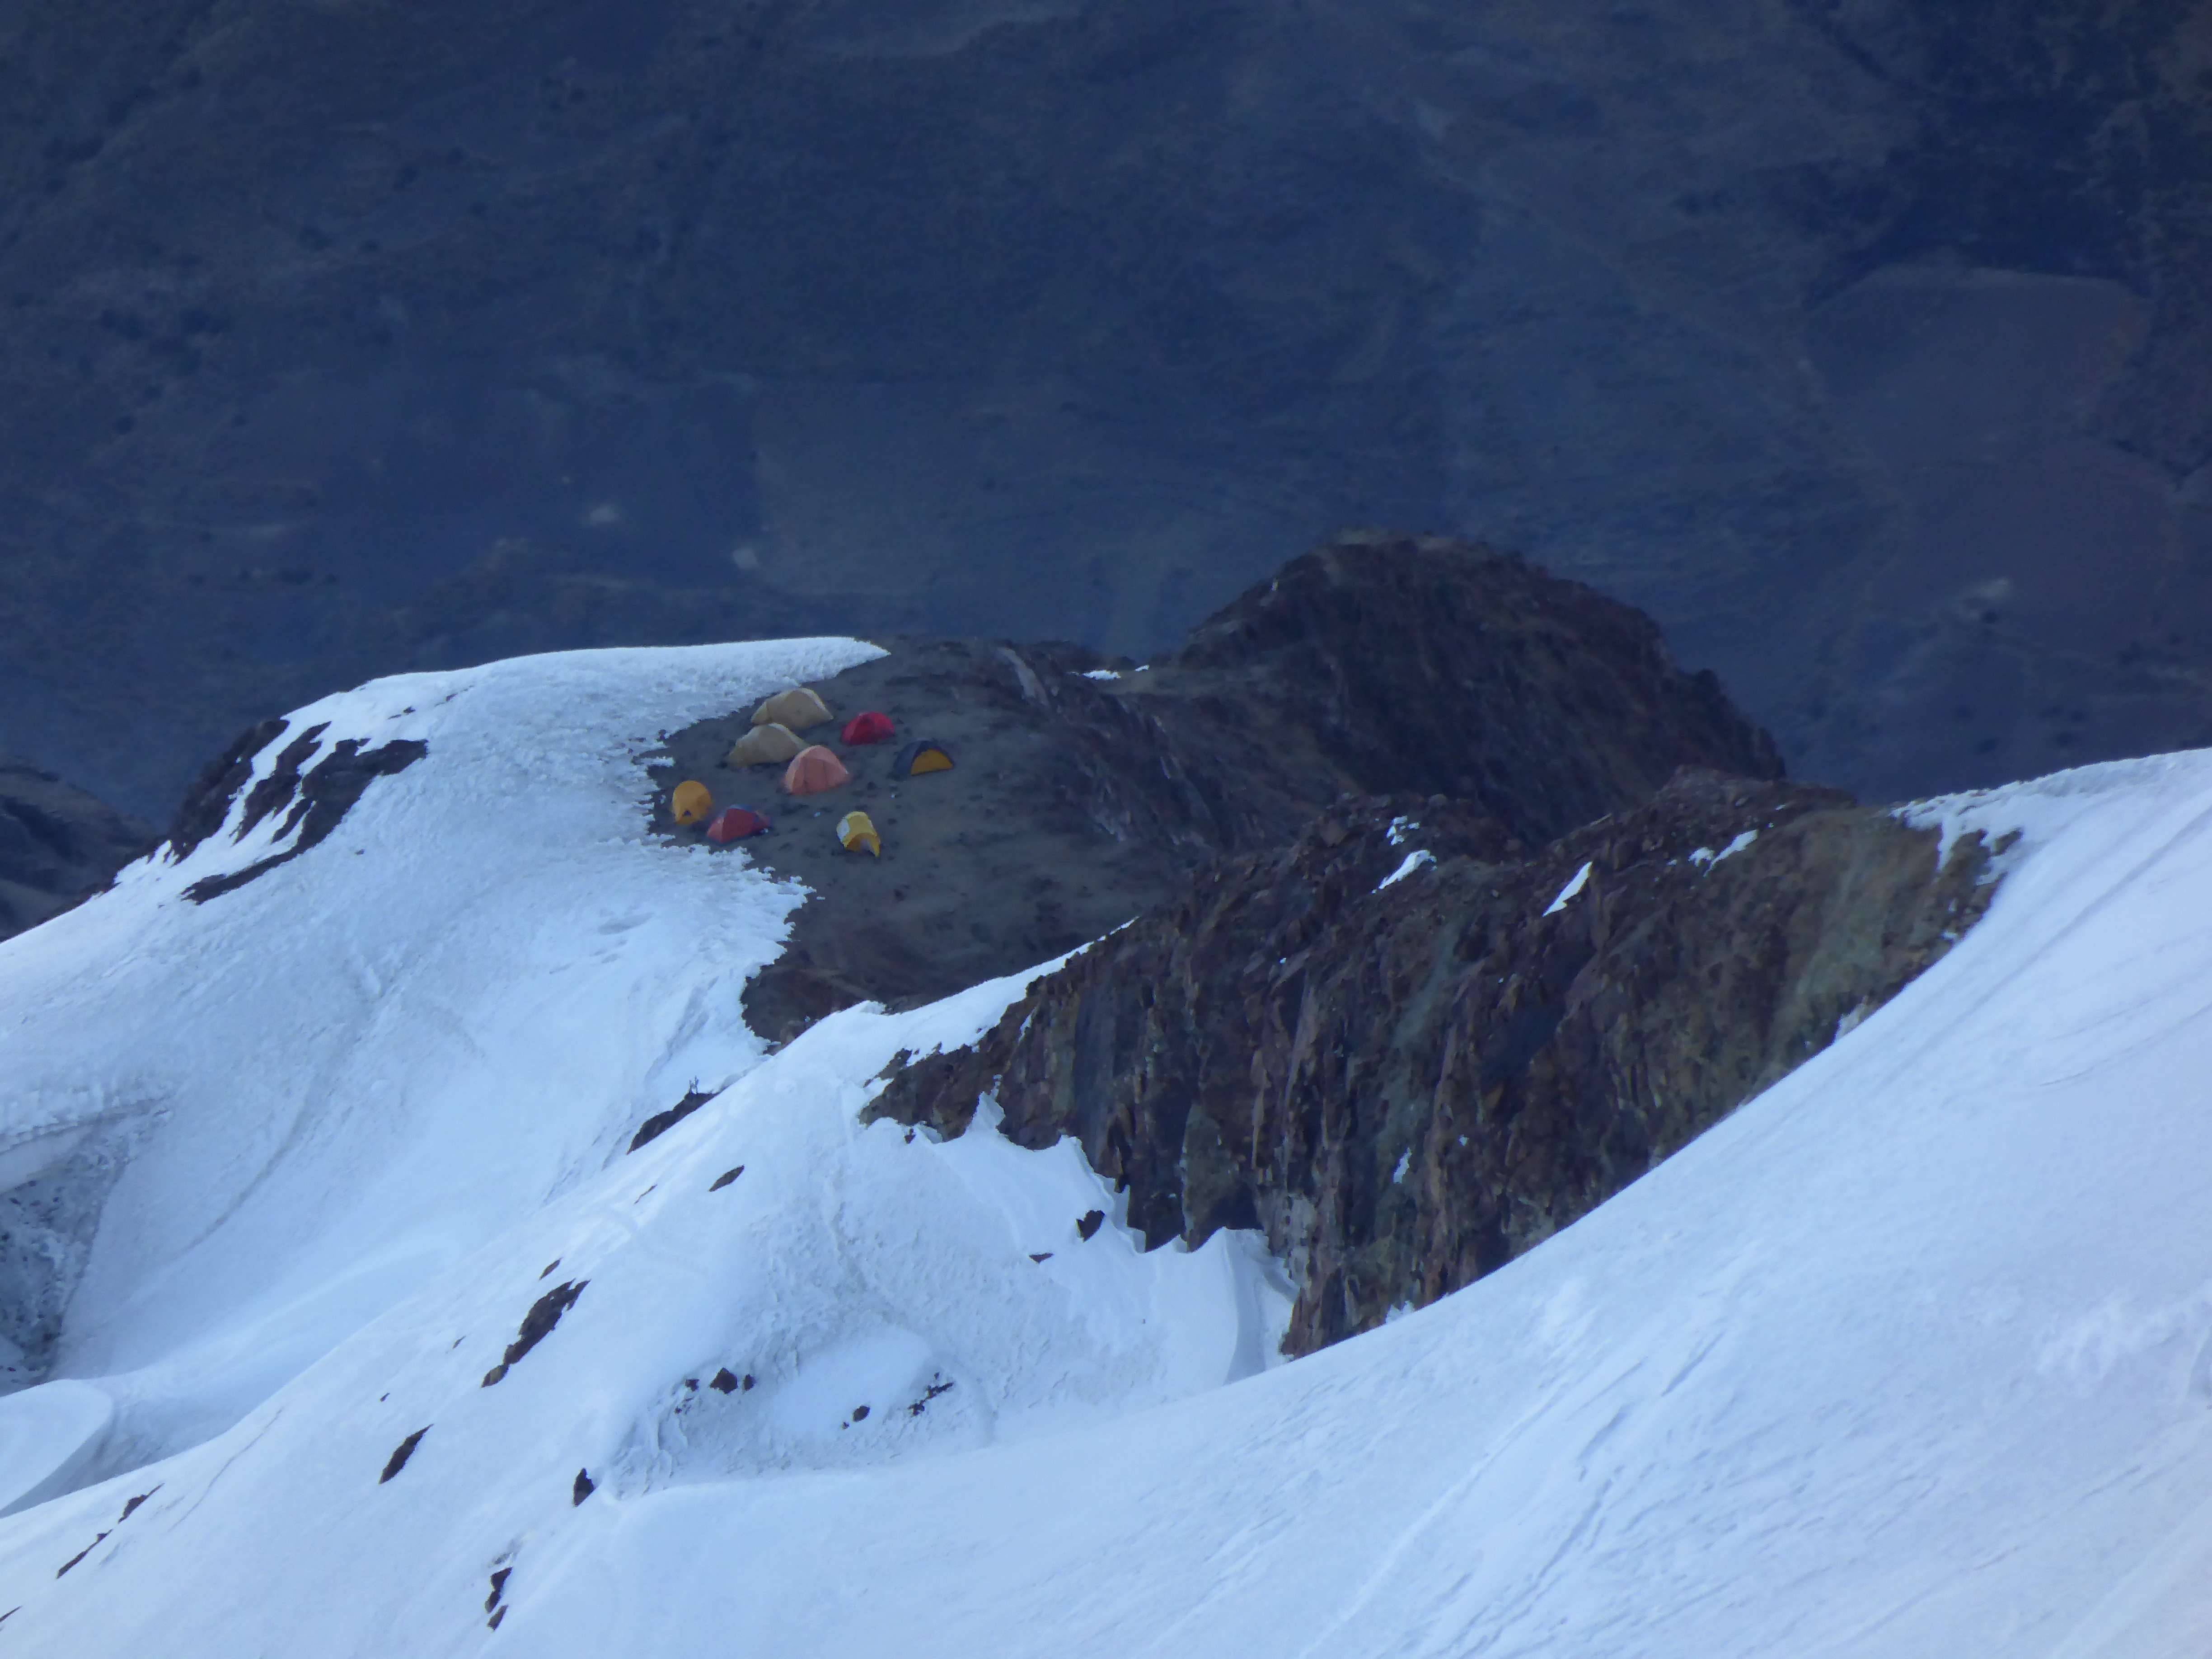
5450m to 6000m. Descend and sleep at 5450m, Nido de Condores.
1:25 ascent, 0:30 descent.
I took a lazy day today, and after getting water and cooking breakfast I went back to sleep. Many large teams of climbers were headed up to Berlin and White Rocks this morning, likely planning to take advantage of the weather window forecasted for the next morning. I took my time resting and hydrating, eating a late lunch and beginning an acclimatization hike upwards at 3:15 p.m. It was overcast and snowy, but I made good time ascending and reached the White Rocks campsite, slightly higher than Berlin at 6000m, in 1:25. White Rocks is reached either by a short traverse from Berlin, or by a variation of the ascent route one takes to reach Berlin. White Rocks was very crowded, with around 20 tents, mostly large guided groups. I spent about half an hour at White Rocks taking photos and talking with the pair of Polish climbers, who had moved up earlier in the day. Still feeling strong back at Nido de Condores, I decided I would make my summit attempt early the next morning. I ate as much as I could and went to sleep early.
February 11th
5450m to 6962m. Descend and sleep at 4300m, Plaza de Mulas.
3:00 a.m. to 11:30 a.m.; 8:30 ascent to summit.
~12:15 p.m. to 3 p.m., ~2:45 descent to Nido de Condores.
1:00 descent from Nido de Condores to Plaza de Mulas.
I woke up at 1 a.m. and began to prepare for my summit attempt. I took some ice from a nearby frozen pond and melted water both for the climb and for cooking breakfast. Nido de Condores was silent and still. While eating I sat with my double plastic boots in my sleeping bag, to warm up the boot shells, and then finished getting dressed. I debated whether or not to bring my down pants with me, and finally decided to take them – it would prove to be a wise decision. I prepared a light summit pack with 1L of water, a few snacks, my down pants, and crampons. I took a second 1L Nalgene of water in the pocket of my hardshell jacket, worn underneath my down parka. I opted to use two trekking poles, and left my ice ax in camp. Although I carried my crampons to the summit, it turned out that I never felt the need to use them. The sky above was crystal clear, the stars and moon bright enough to cast distinct shadows. I left my tent at 3 a.m. and began heading towards the beginning of the route to Camp Berlin. Berlin was quiet when I reached it, and it appeared that nobody was awake yet.
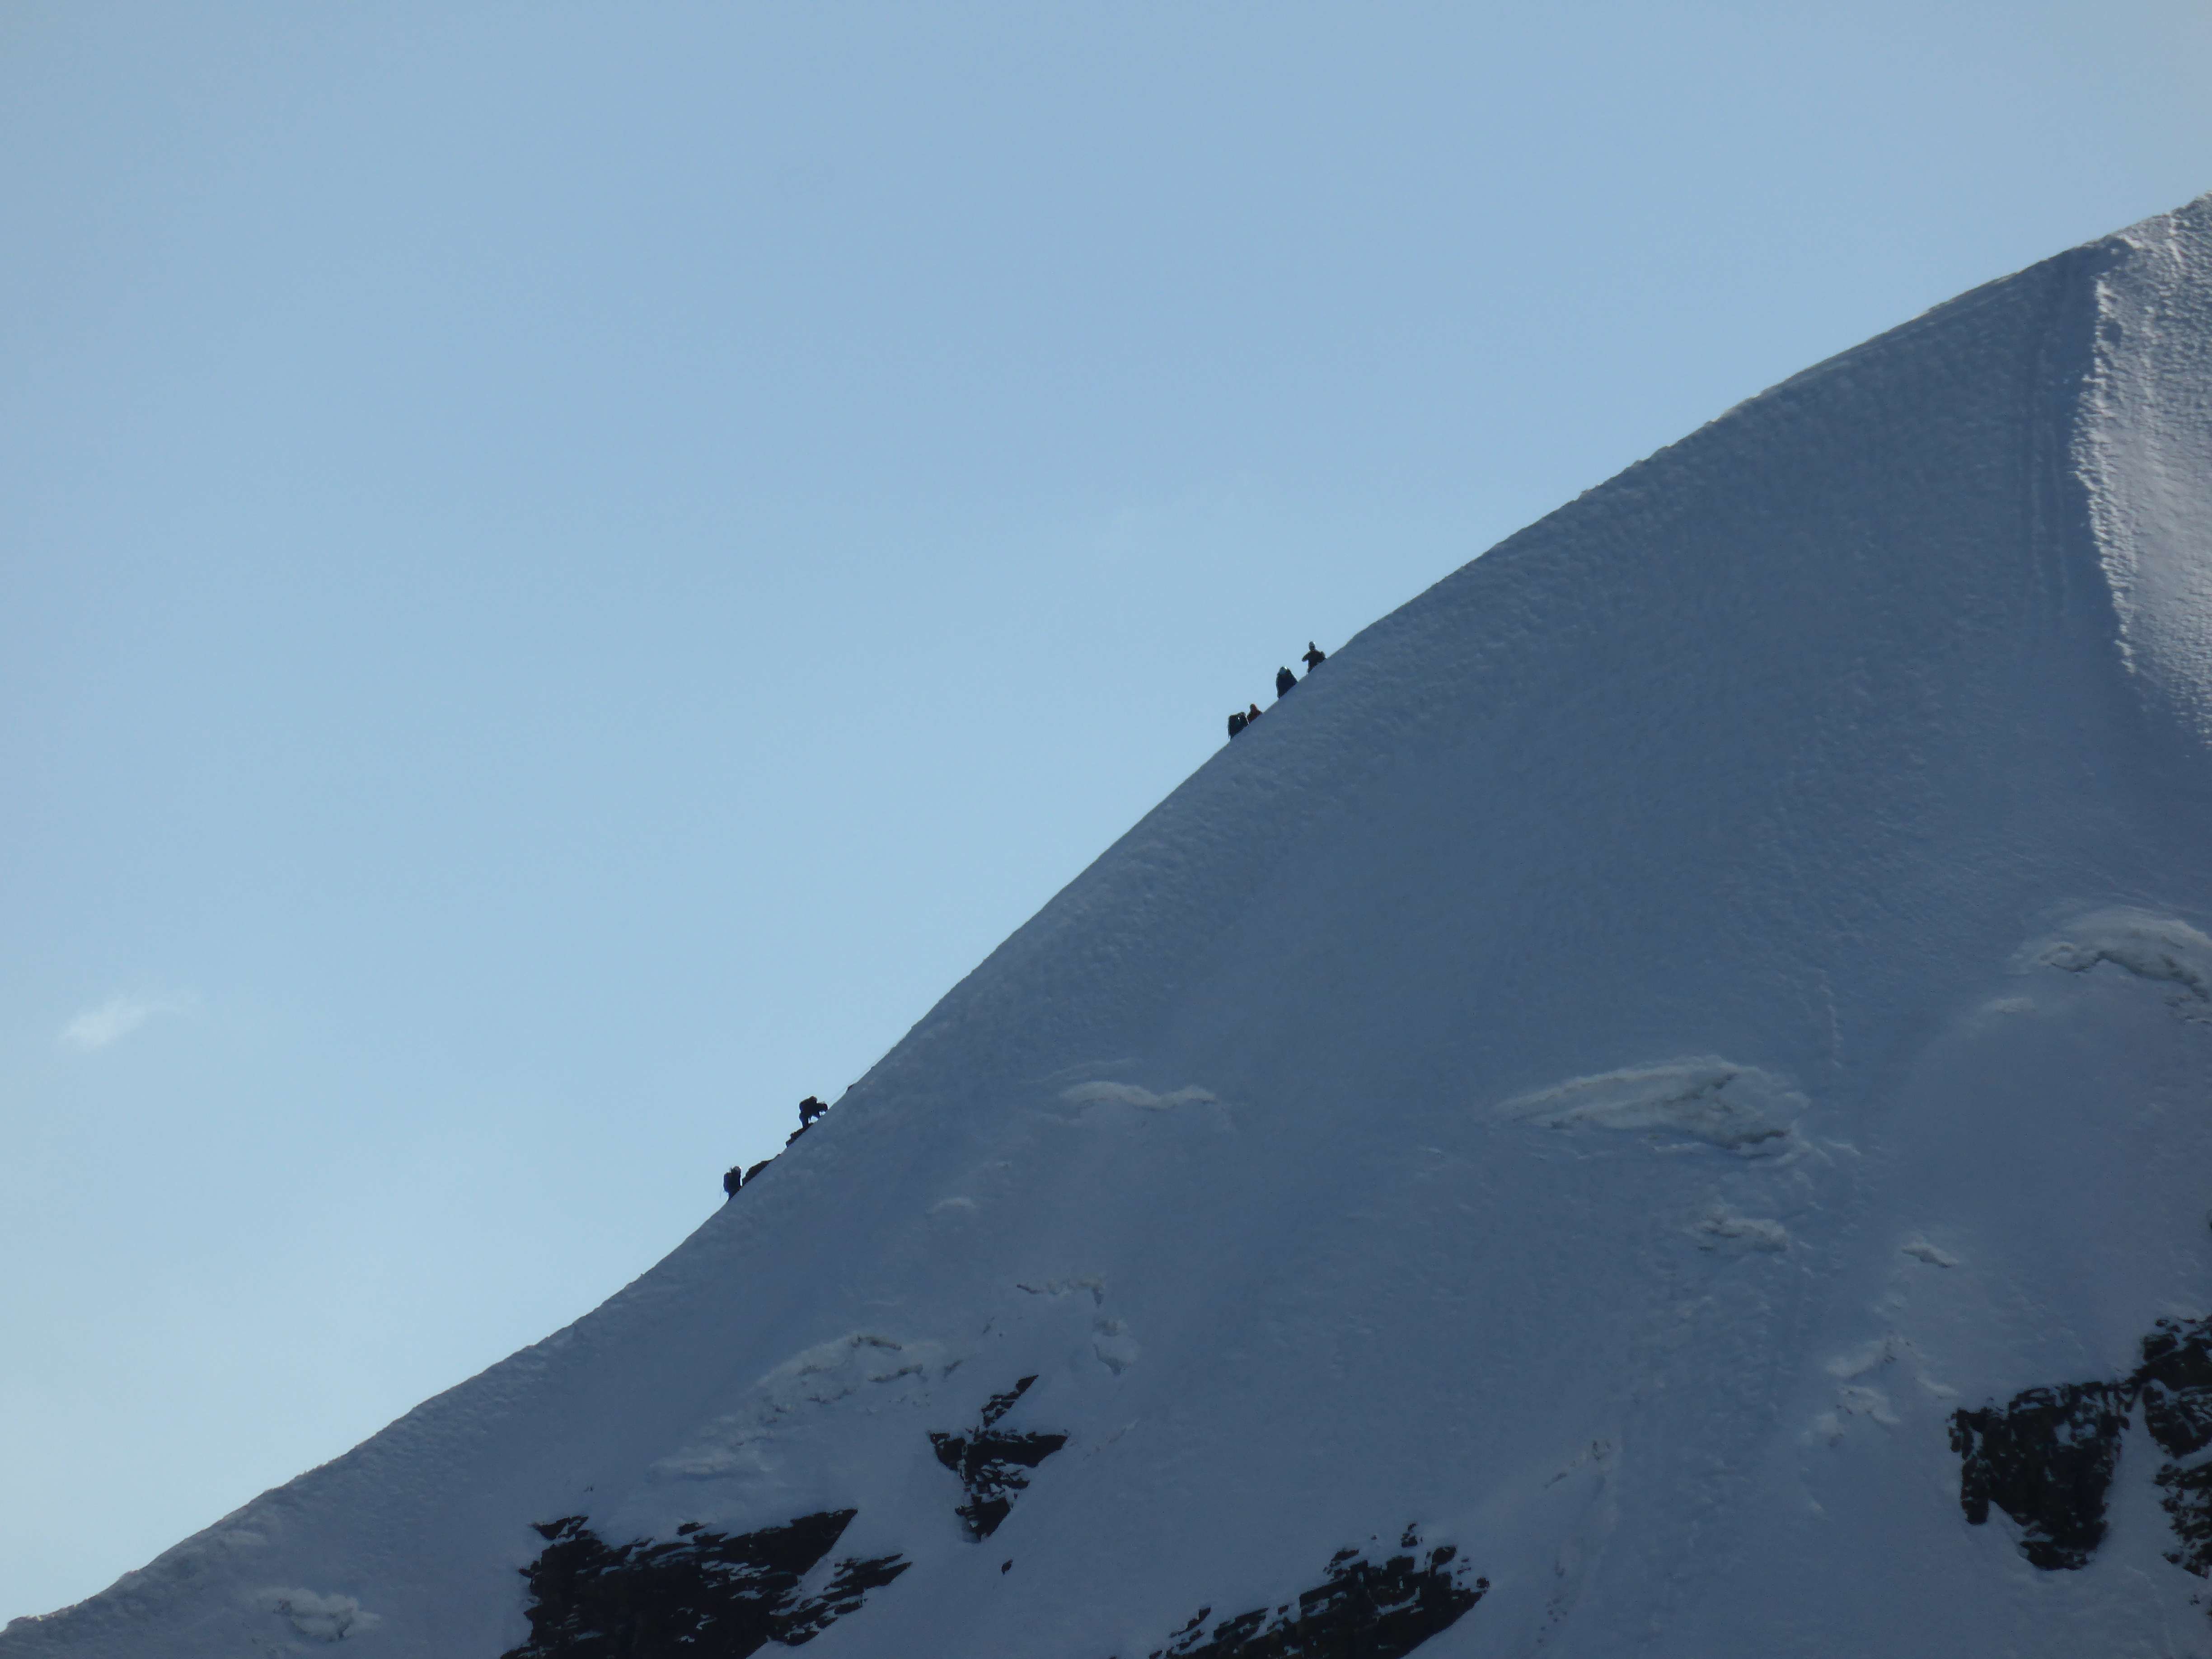
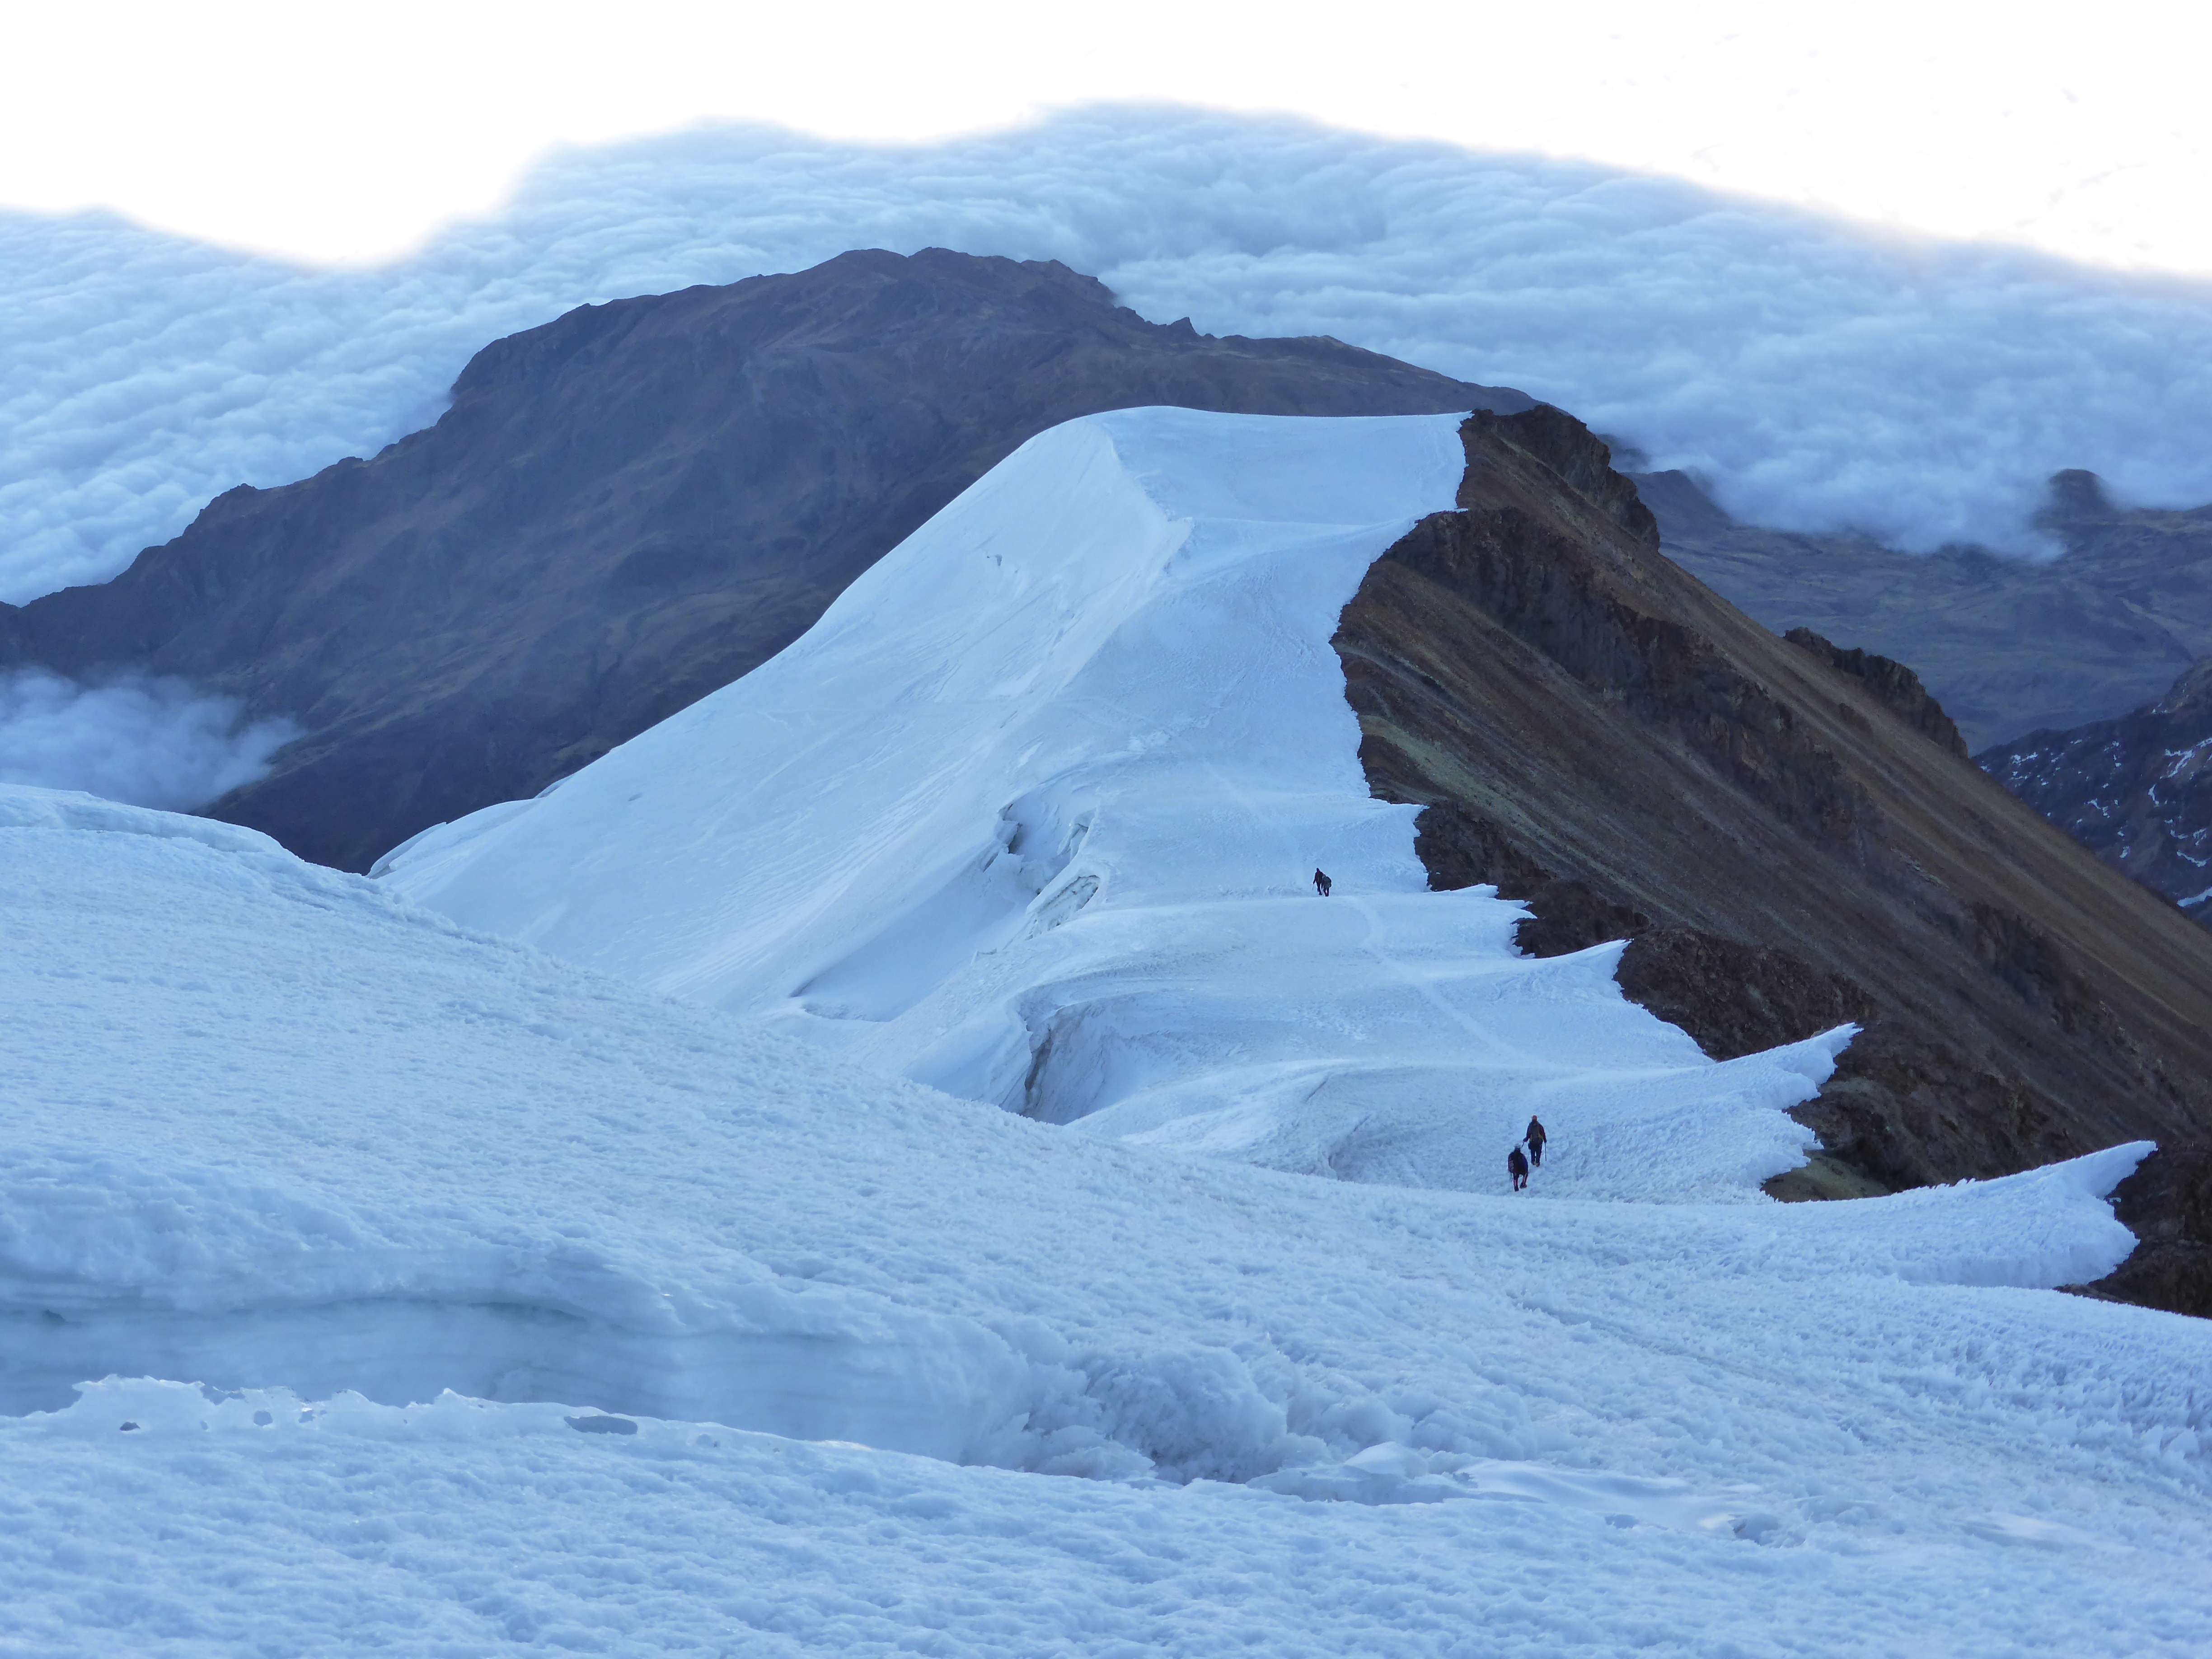
I reached White Rocks at around 5:00 a.m., where the numerous tents were illuminated by the headlamps of climbers getting ready. I stopped briefly to wish the Polish pair good luck, and then began ascending upwards. I set a comfortable pace, rest-stepping and focusing on my breathing. The slope immediately above White Rocks wasn’t too steep, and fresh snow helped make the scree easier to ascend. After about half an hour up the slope above White Rocks I began to see the headlights of other climbers below me. Soon the lights passed out of view, and I found myself climbing alone in the darkness. I followed switchbacks upwards, clear to see and not particularly strenuous. It was very cold, but with almost no wind. I passed the junction, where the Polish traverse route meets the normal route, and began ascending the slope towards ‘windy ridge’ and the ruins of Indepencia hut.
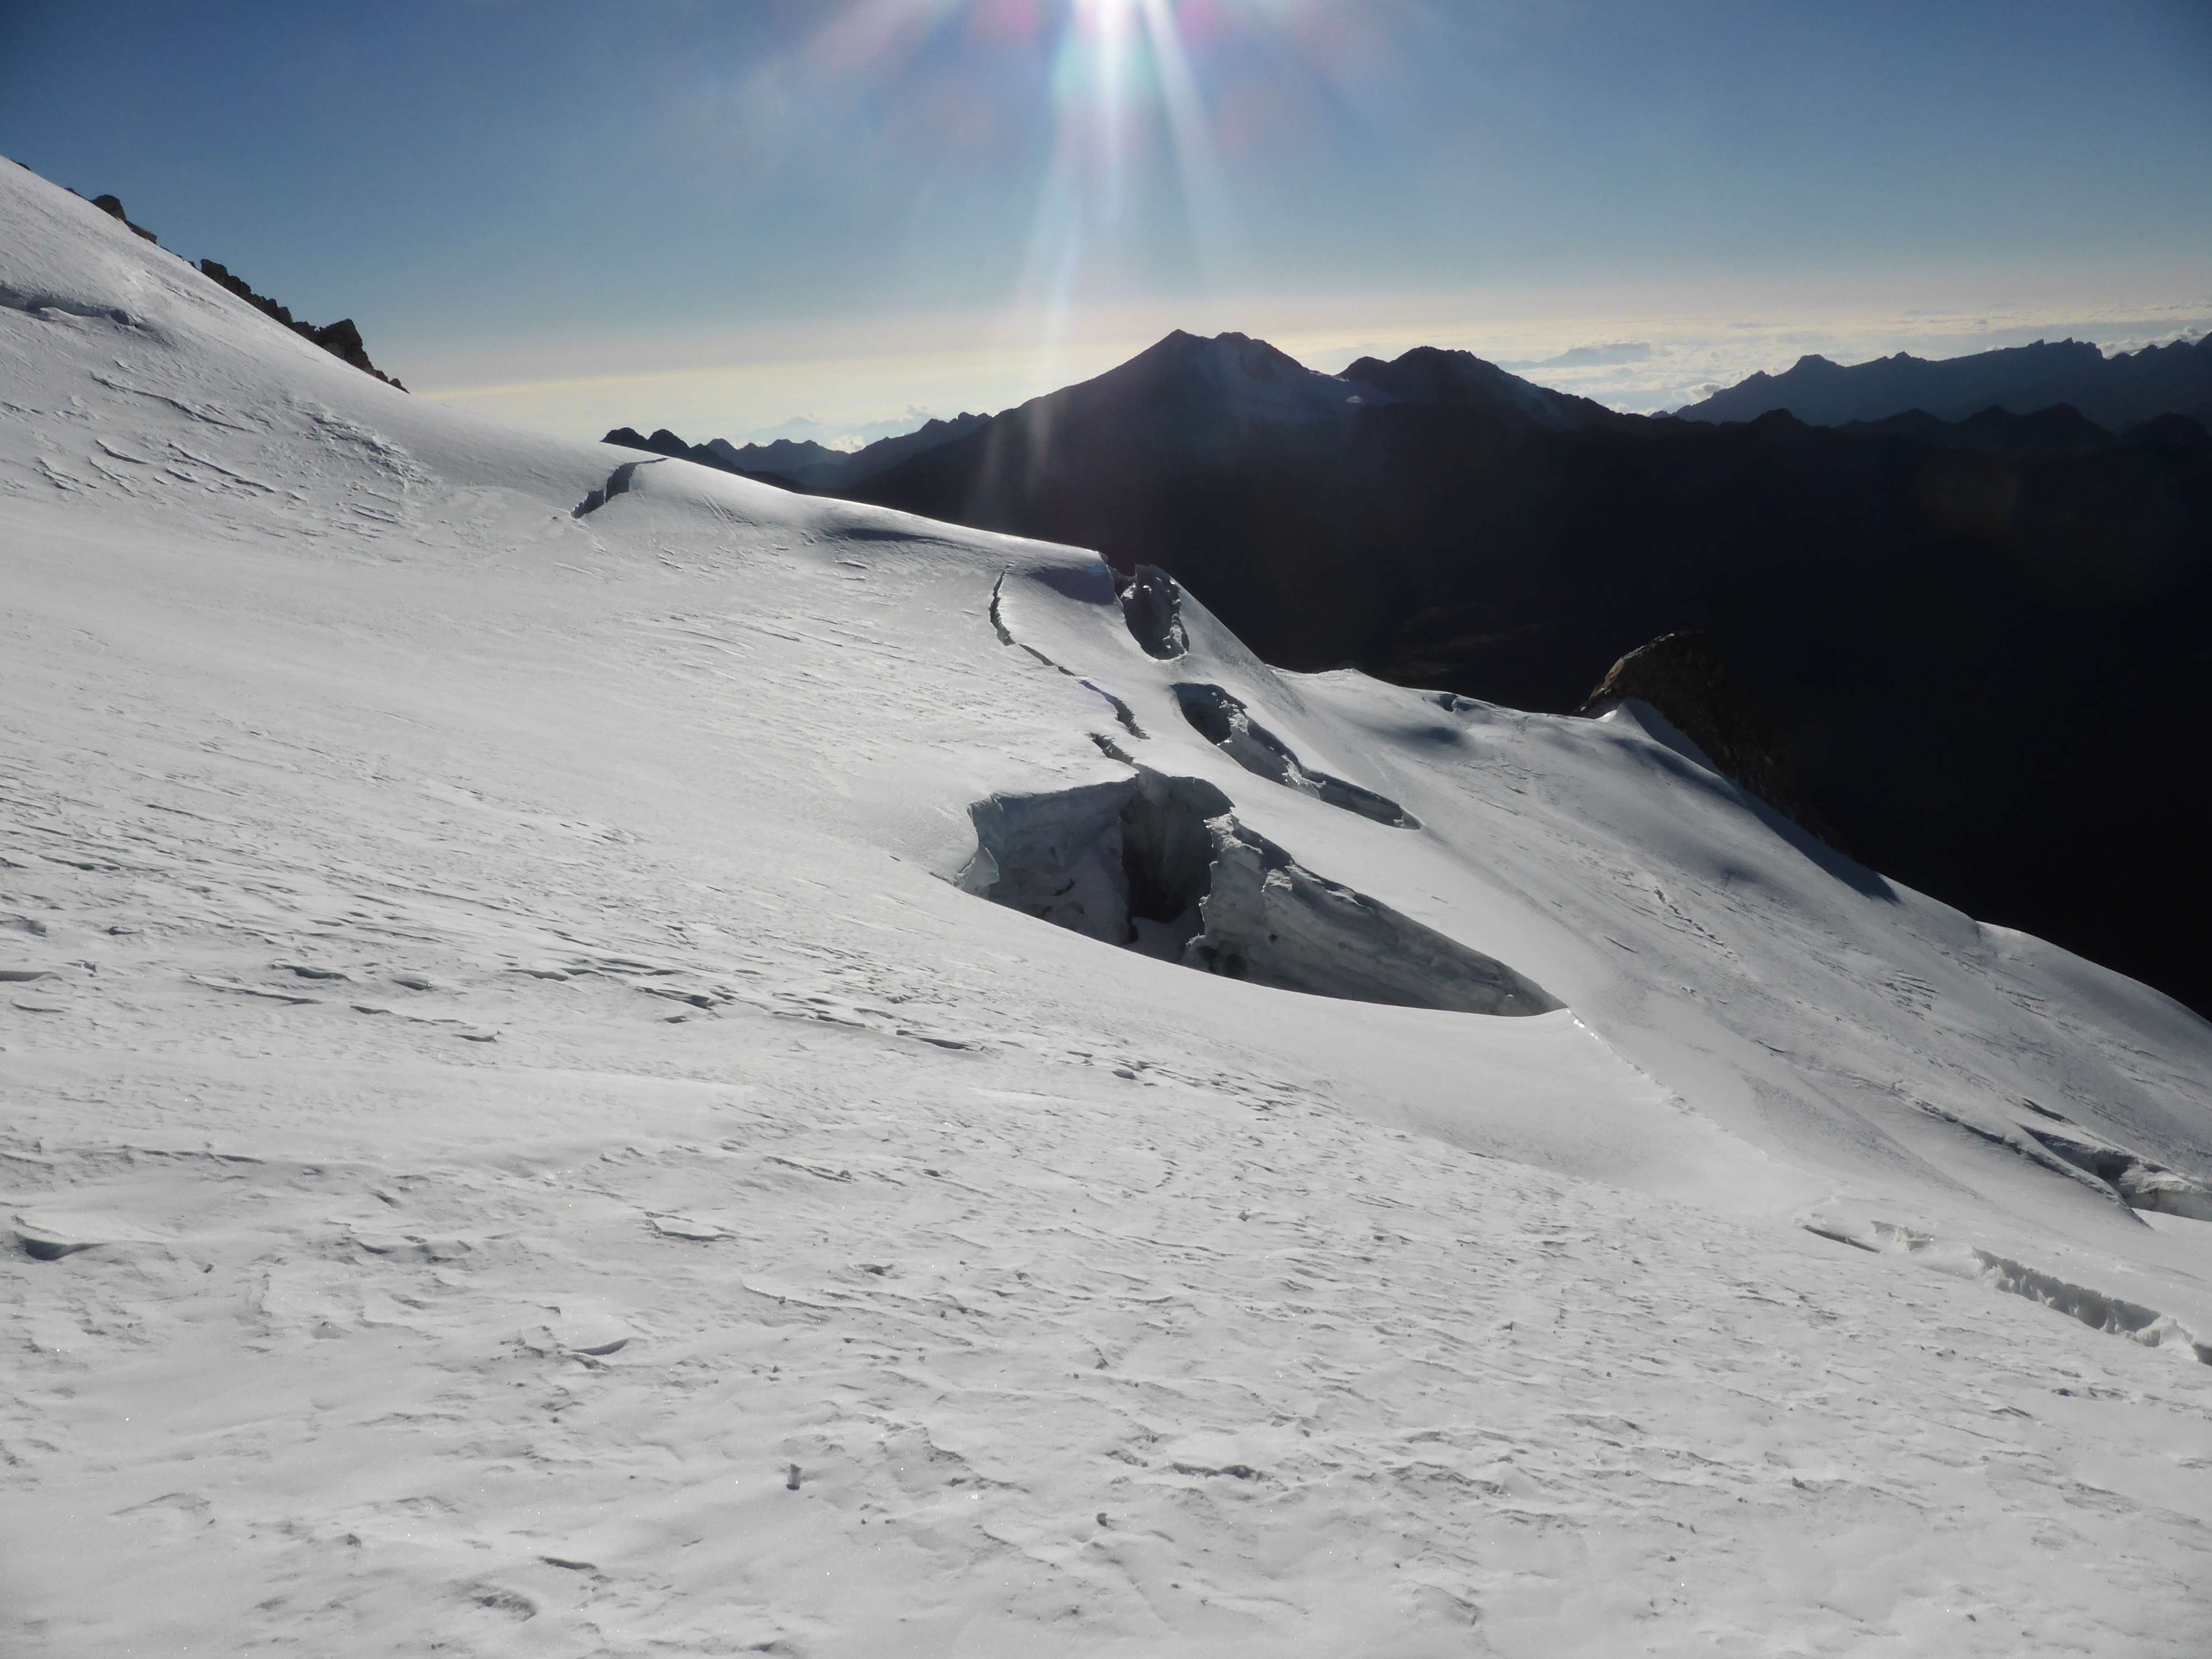
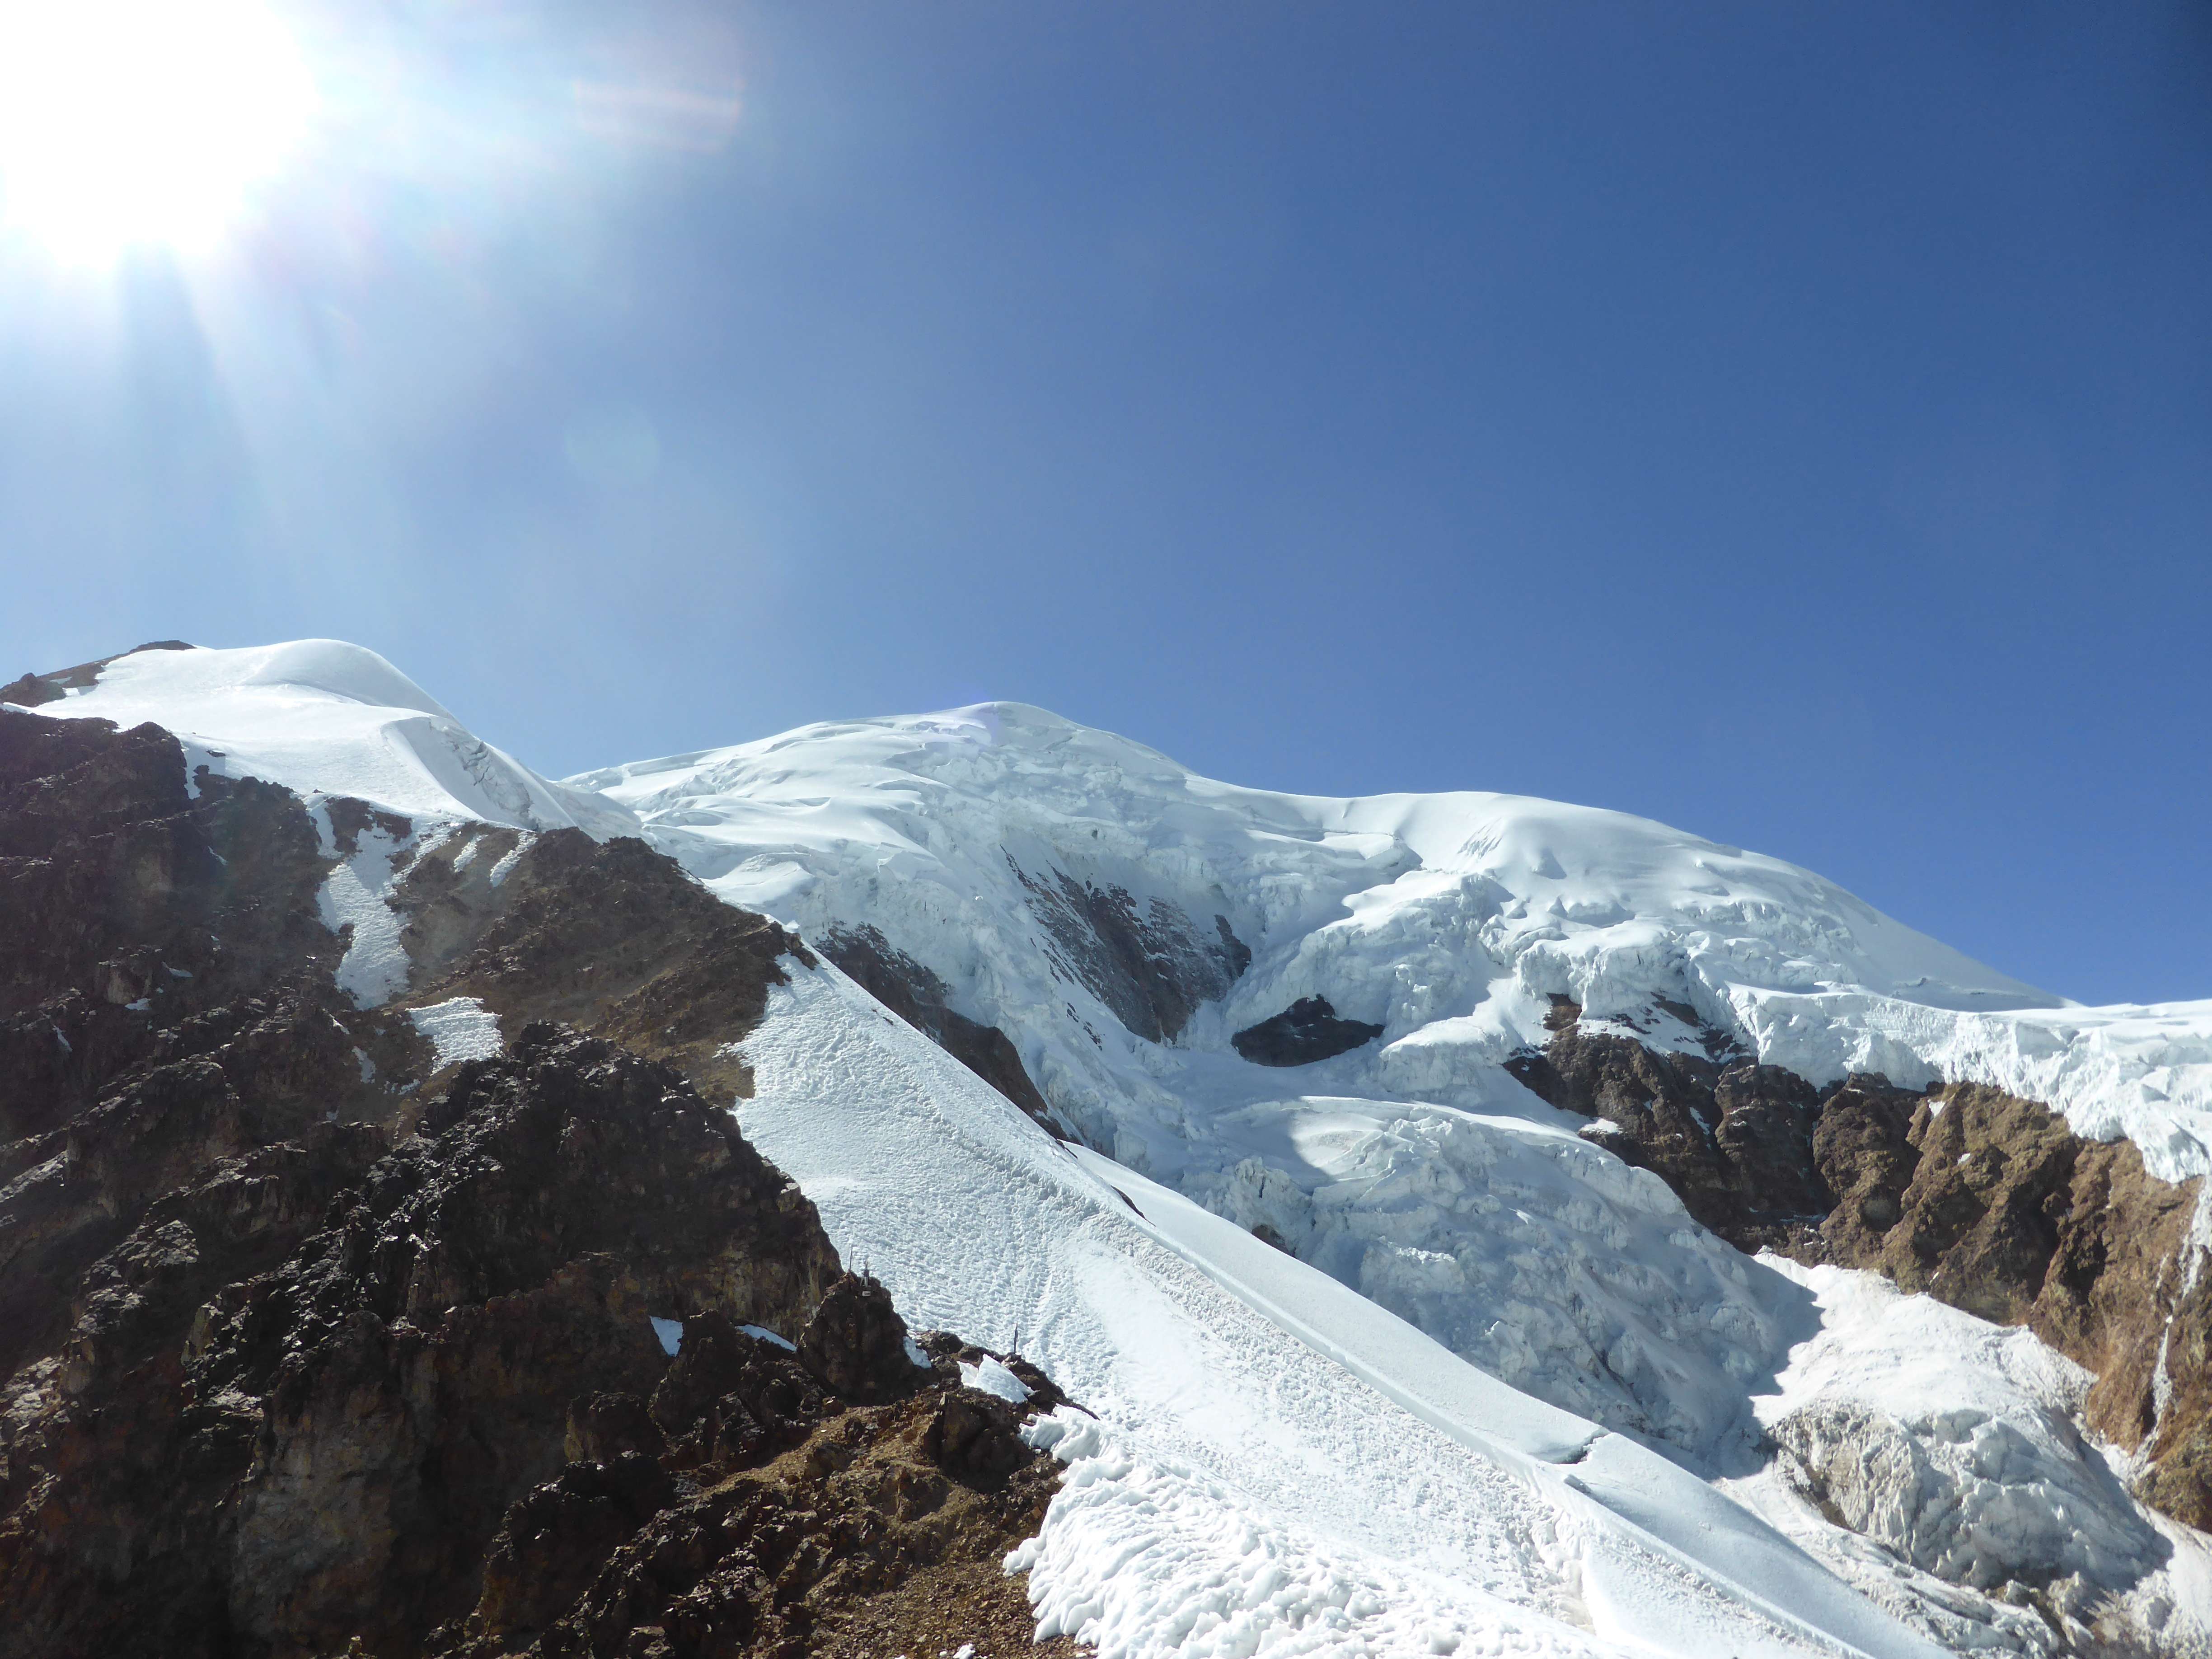
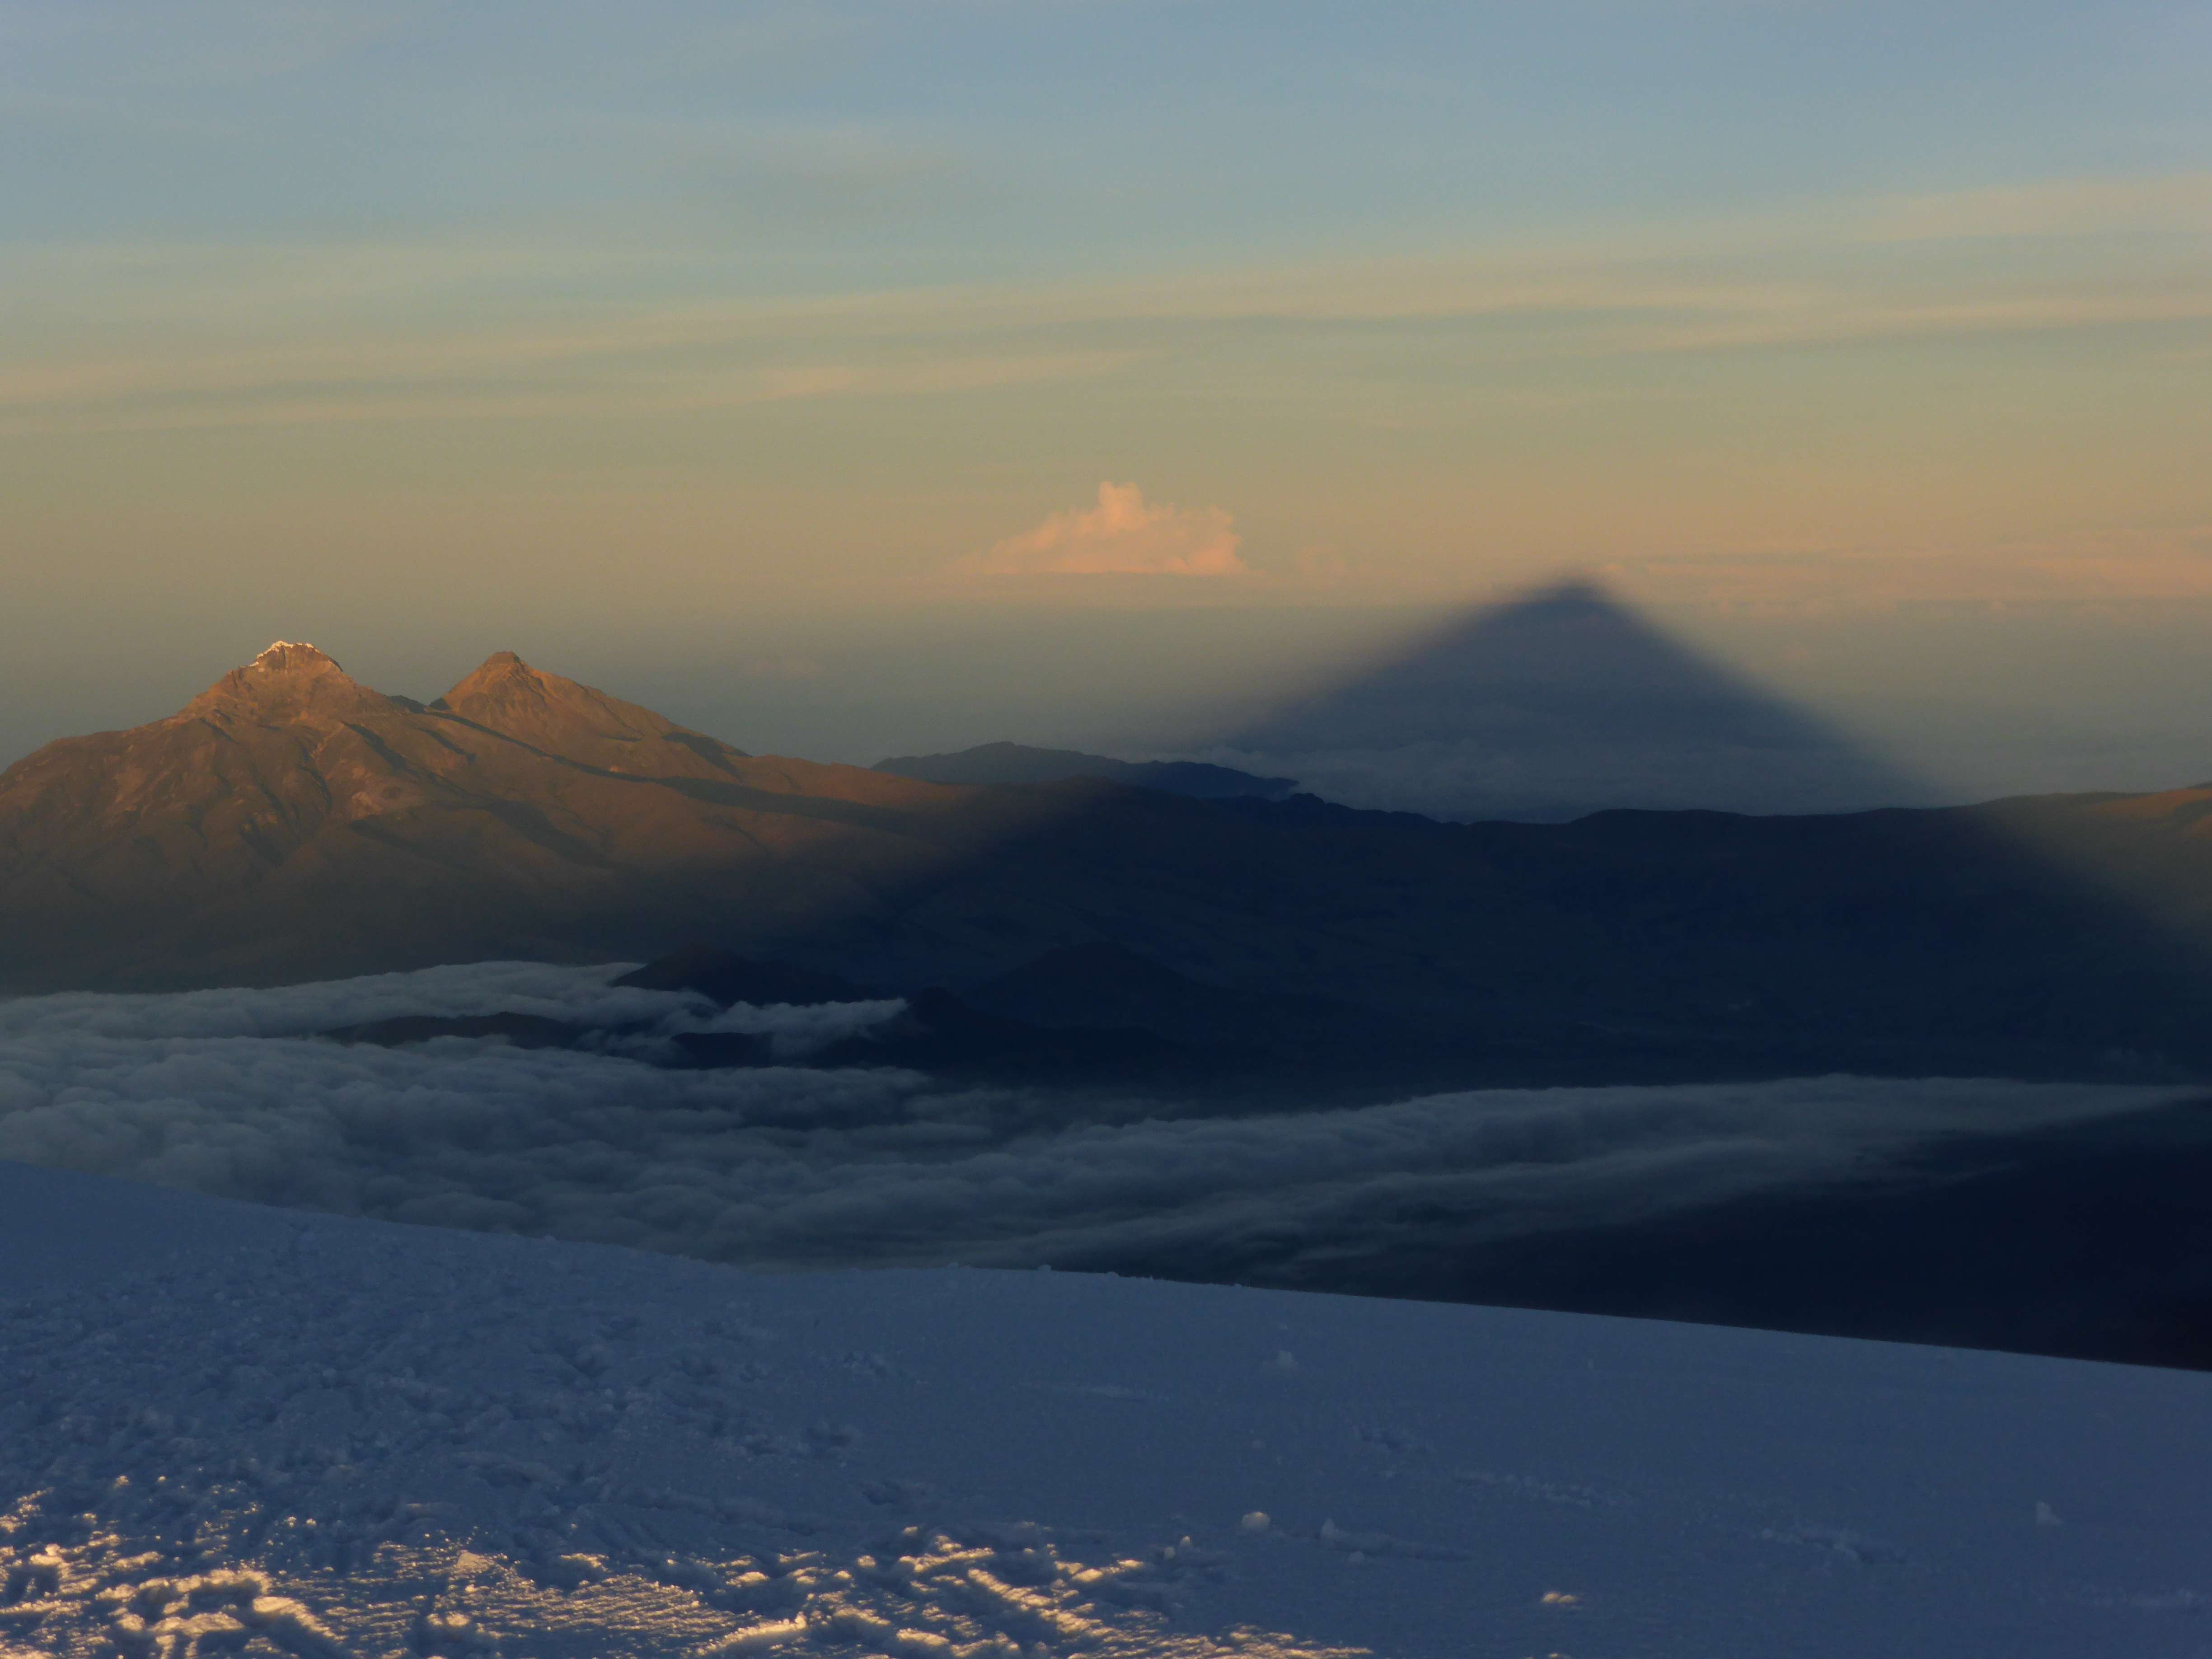
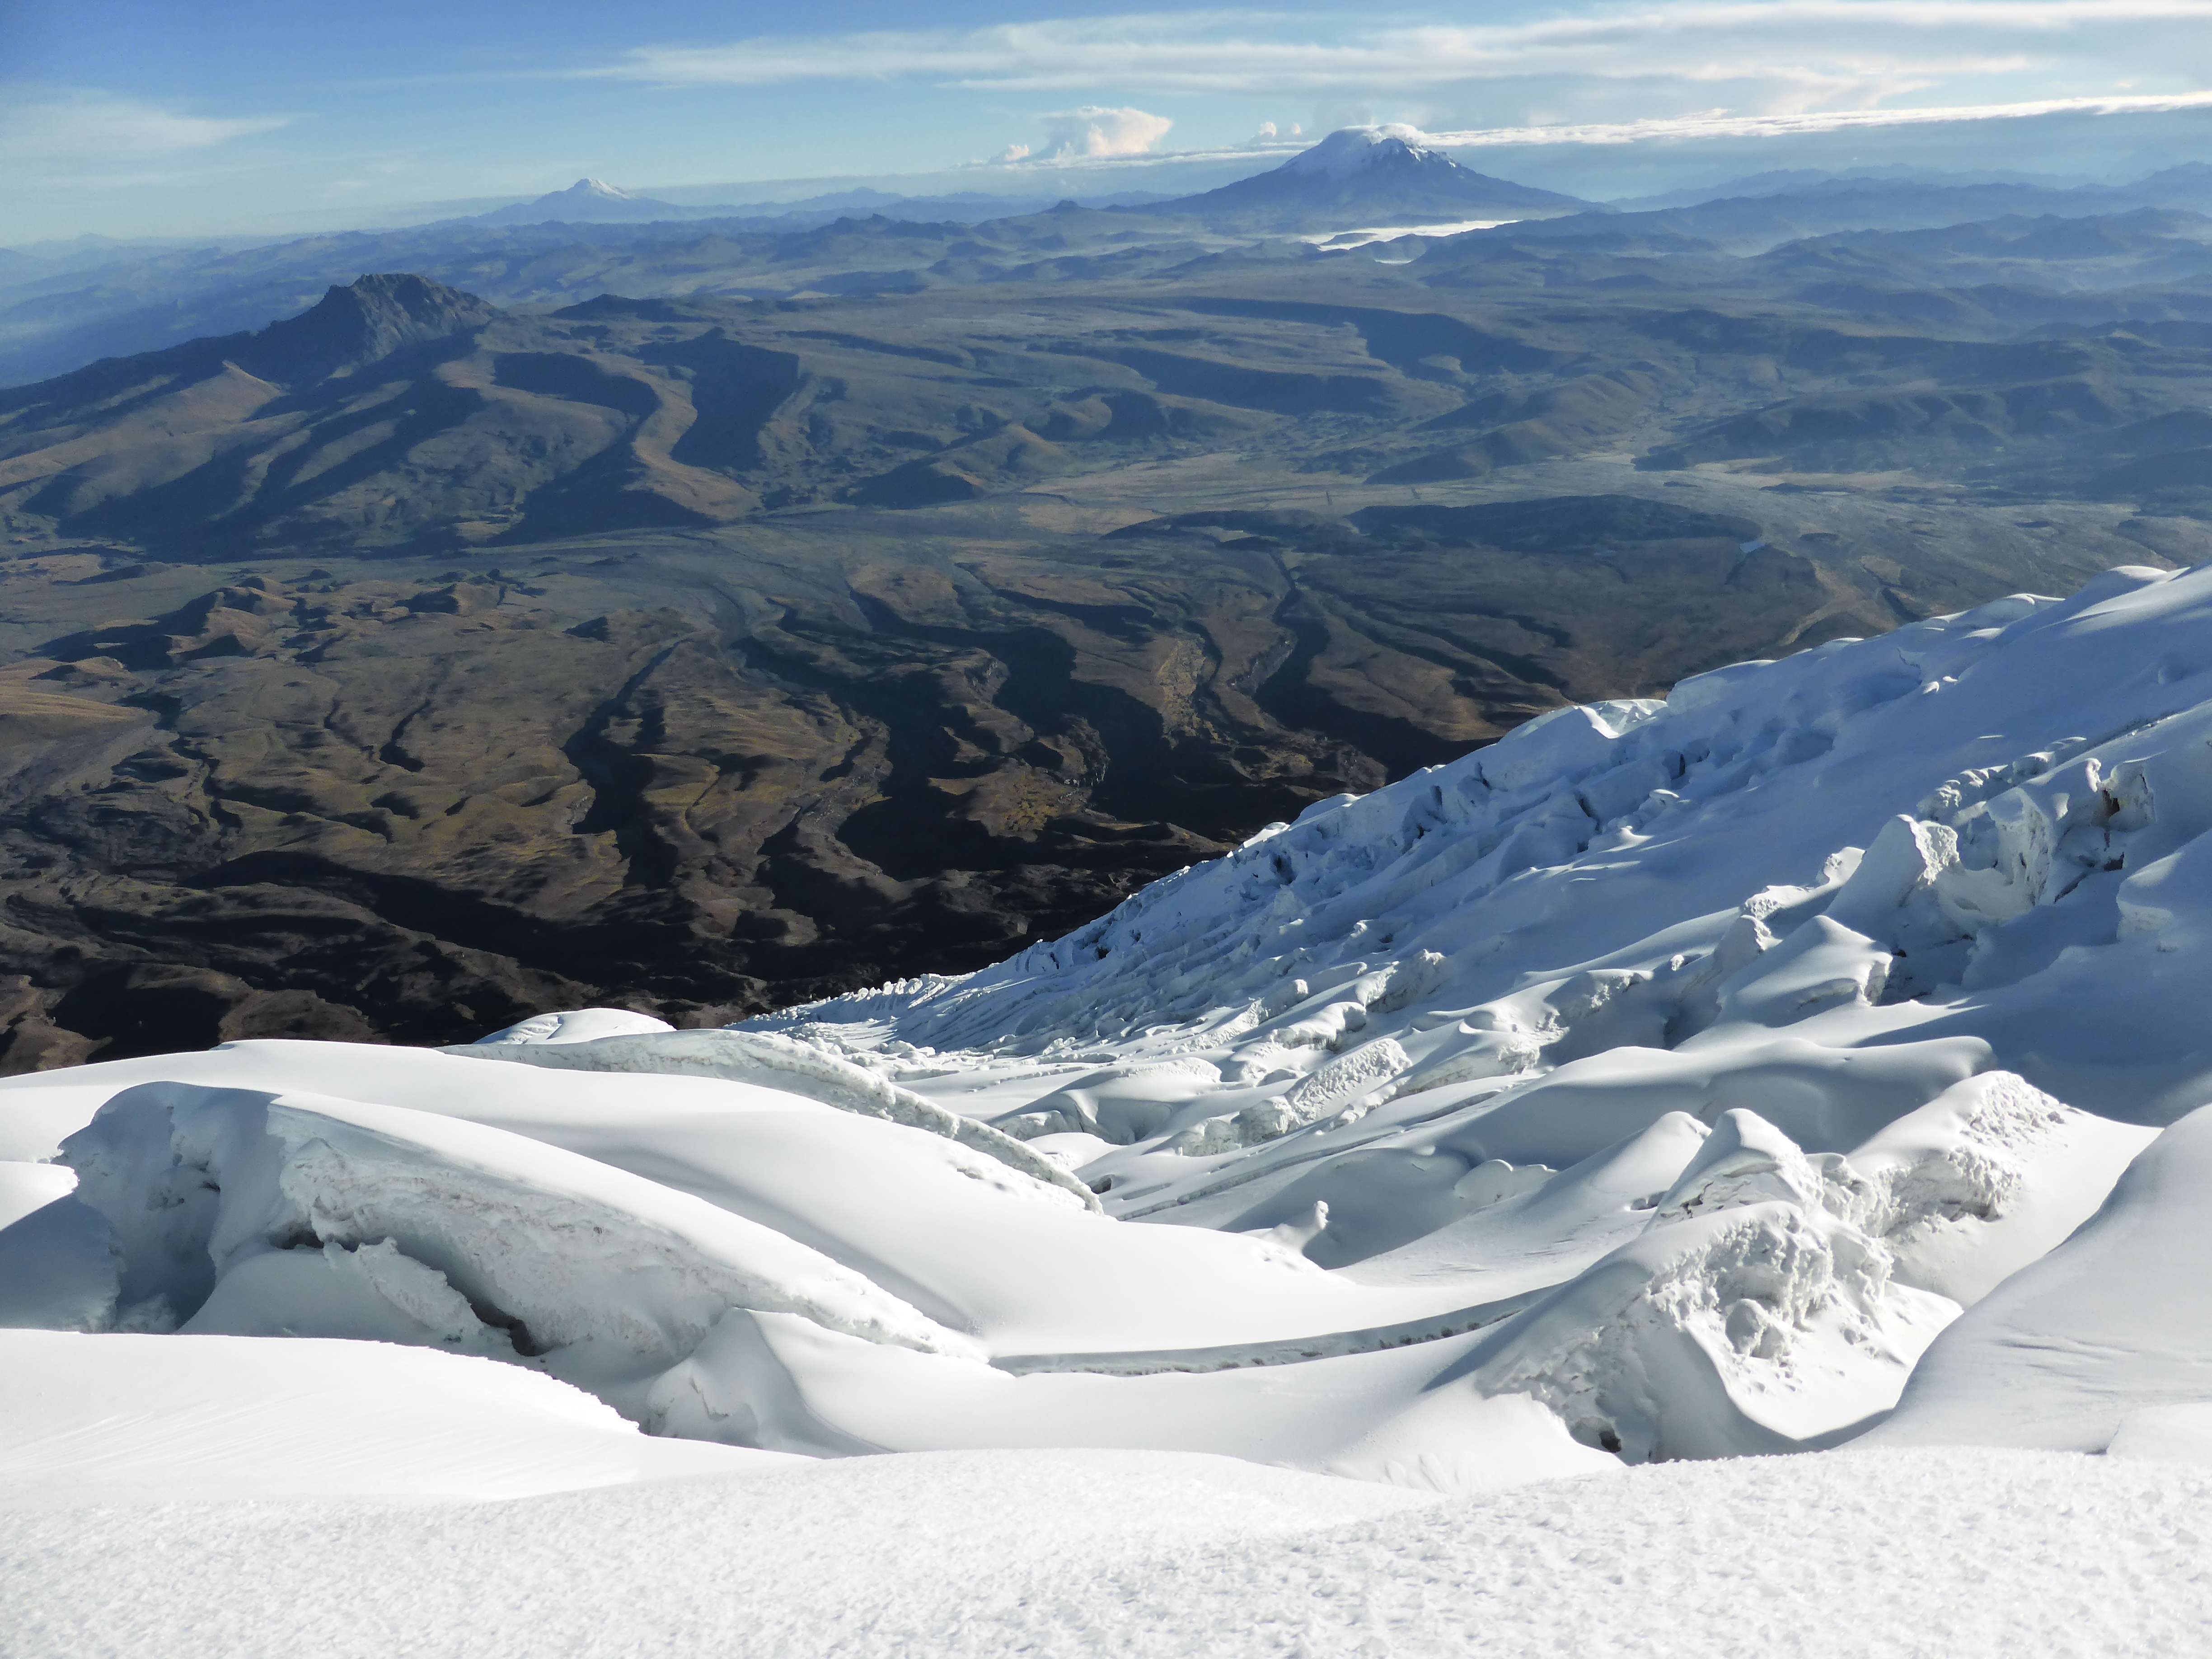
The sun began to rise, and I enjoyed a lovely view down Aconcagua and across the Andes, glowing in the sunrise. Here I realized that there must be another climber ahead of me, as I would occasionally see what appeared to be fresh tracks in the snow. I would not meet him until much later. The section below Indepencia was steep, and the air temperature so cold that I absolutely needed to put my down pants on. Getting them on was a minor annoyance for the nearly euphoric warmth which they immediately provided. Comfortably warm, I reached Indepencia hut and took a fifteen minute break to drink some water and eat some energy chews. Above Indepencia I began the traverse of the Gran Acarreo, heading towards and past ‘El Dedo’, the finger, a clear landmark. The traverse was wide and level, with no real exposure or objective risk.
Above the traverse I began ascending the Canaleta, the wide final gulley of loose rock and scree which rises to the summit. I made an effort to stick to the snow, which helped provide better purchase, but still found the Canaleta to be a horribly miserable finish to the climb. Fresh snow helped somewhat, but every step dislodged rocks and caused me to slide downwards. The Canaleta is only moderately steep at about 40 degrees, but so slippery and unstable that climbing it required concentration and careful balance. The Canaleta in its entirety took the bulk of the ascent time, and felt somewhat dangerous due to the unpredictability of the loose rocks. About an hour into the Canaleta I saw a figure above me descending, and greeted him when he reached me. It was the climber who had been in front of me, a solo Argentine. He couldn’t speak English, nor I Spanish, but he communicated that he had left too early and was incredibly cold. I congratulated him on his summit, and he wished me good luck.
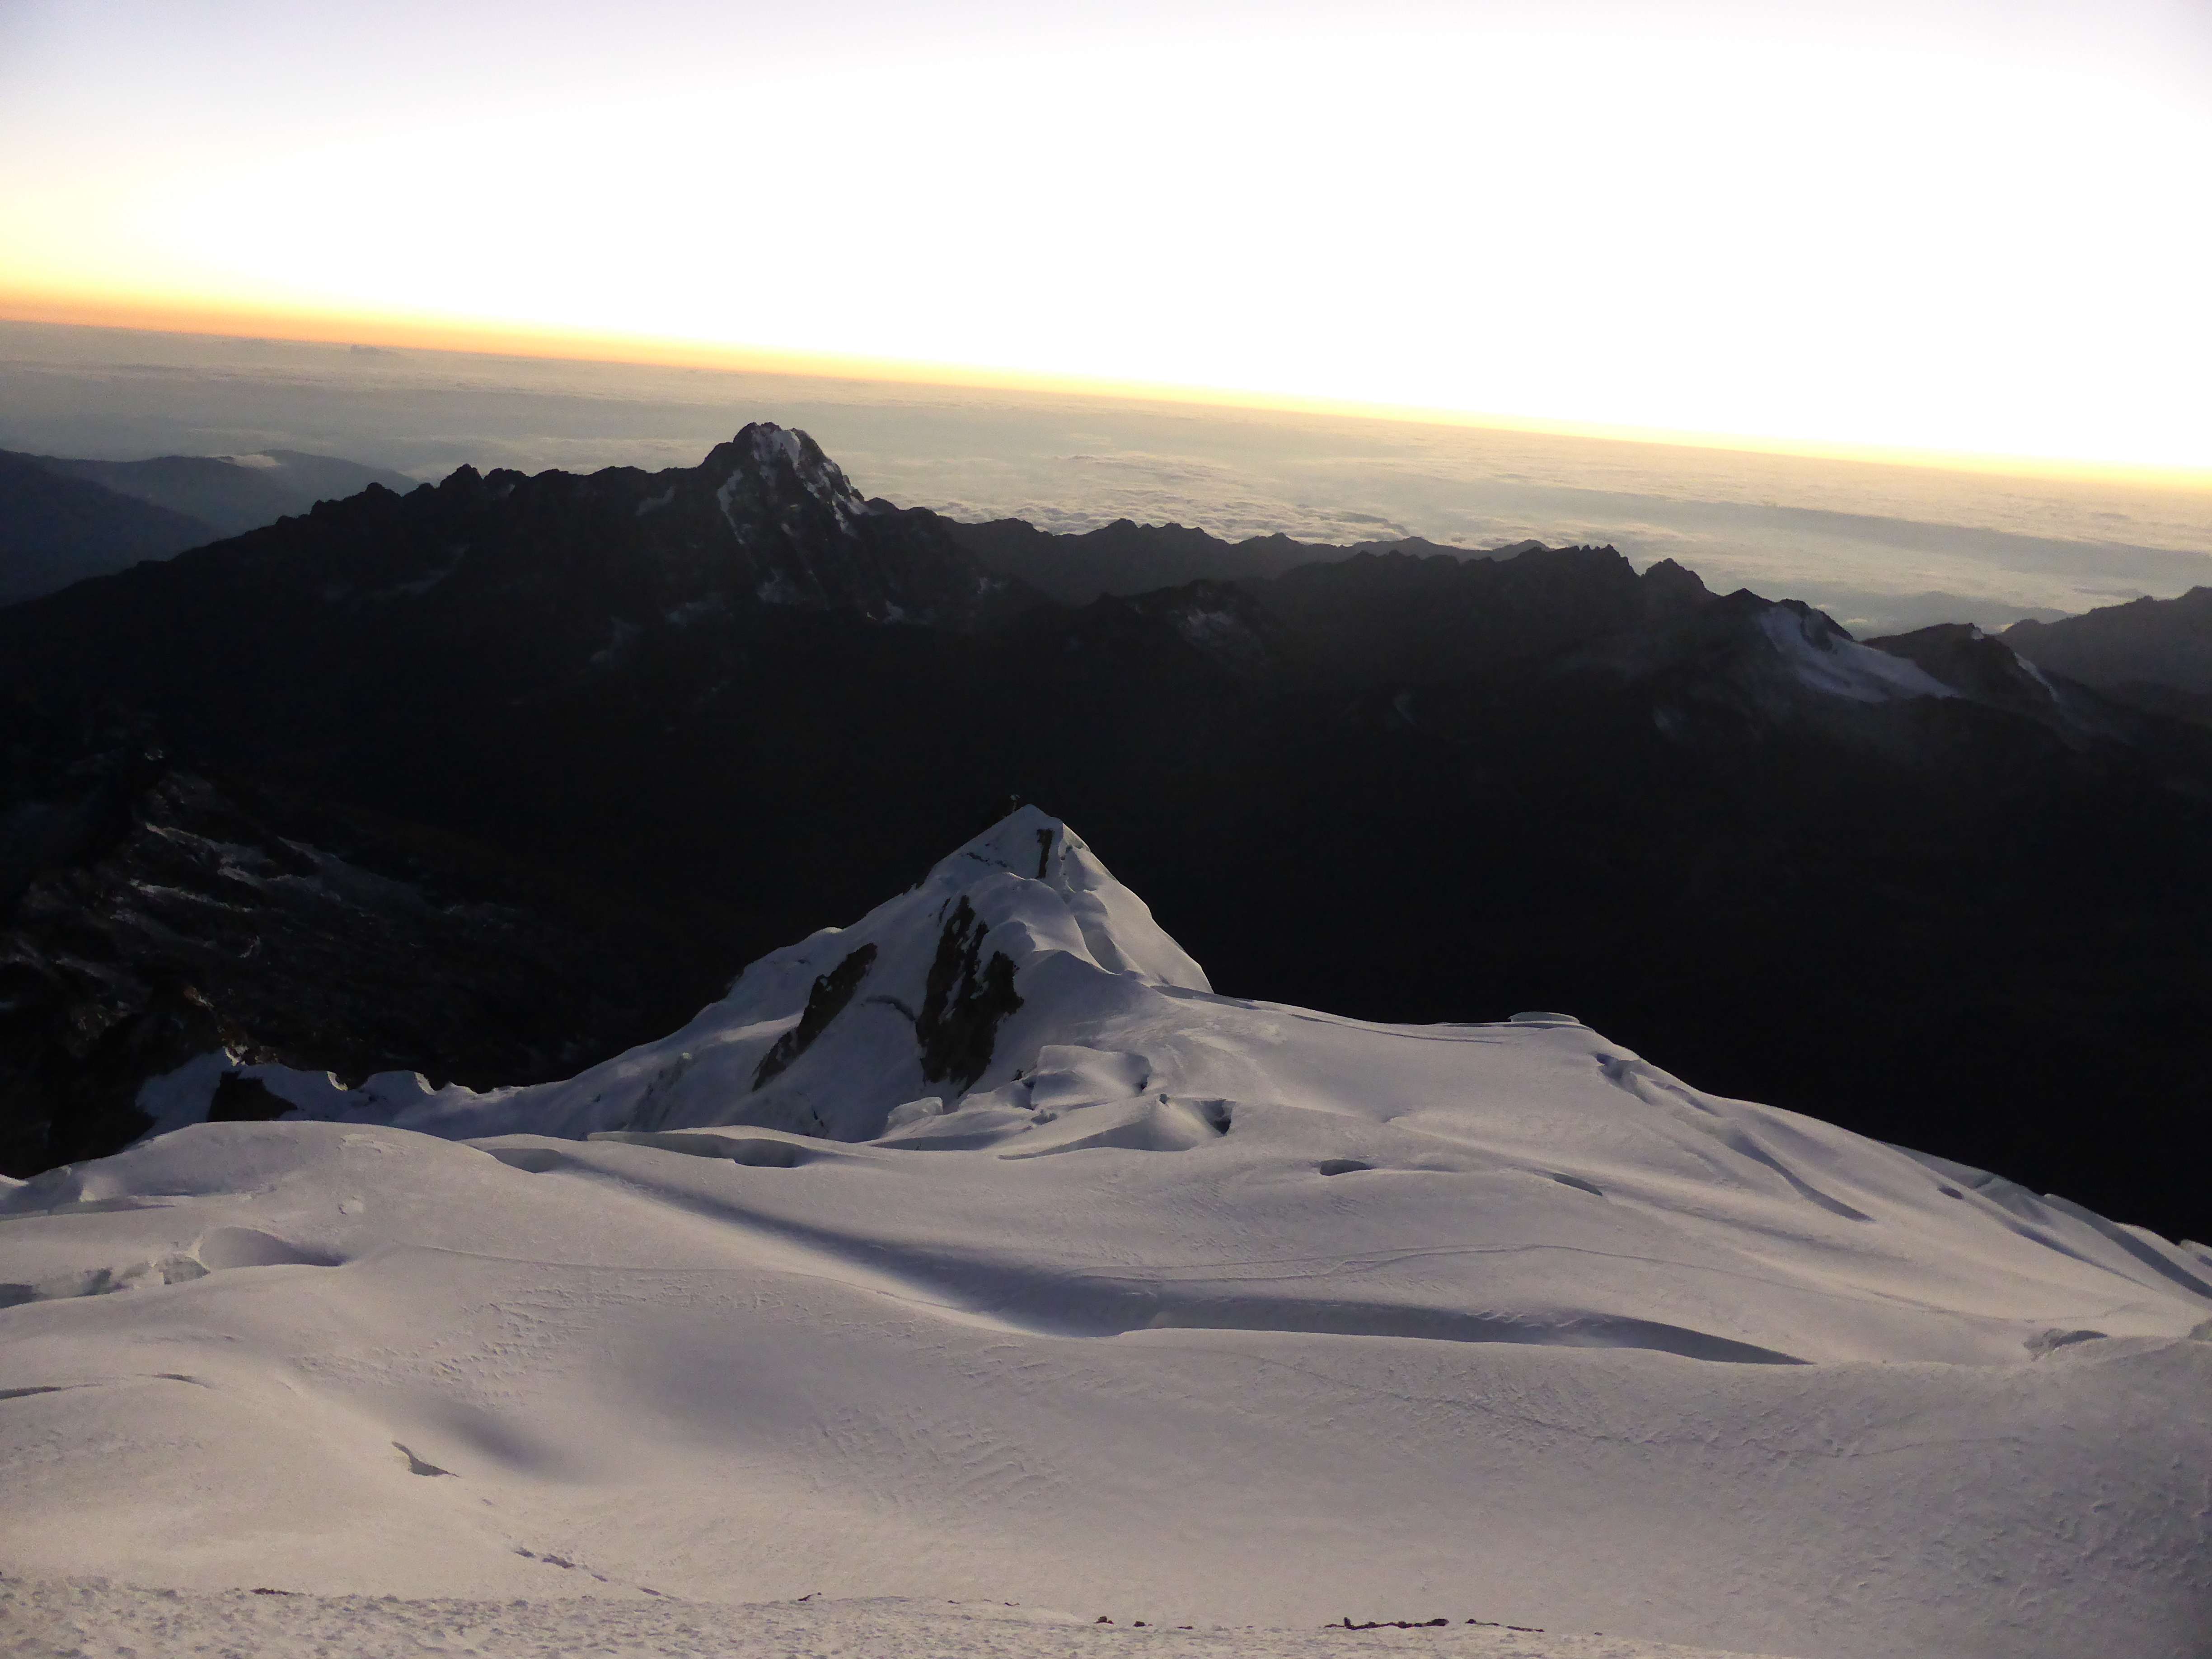
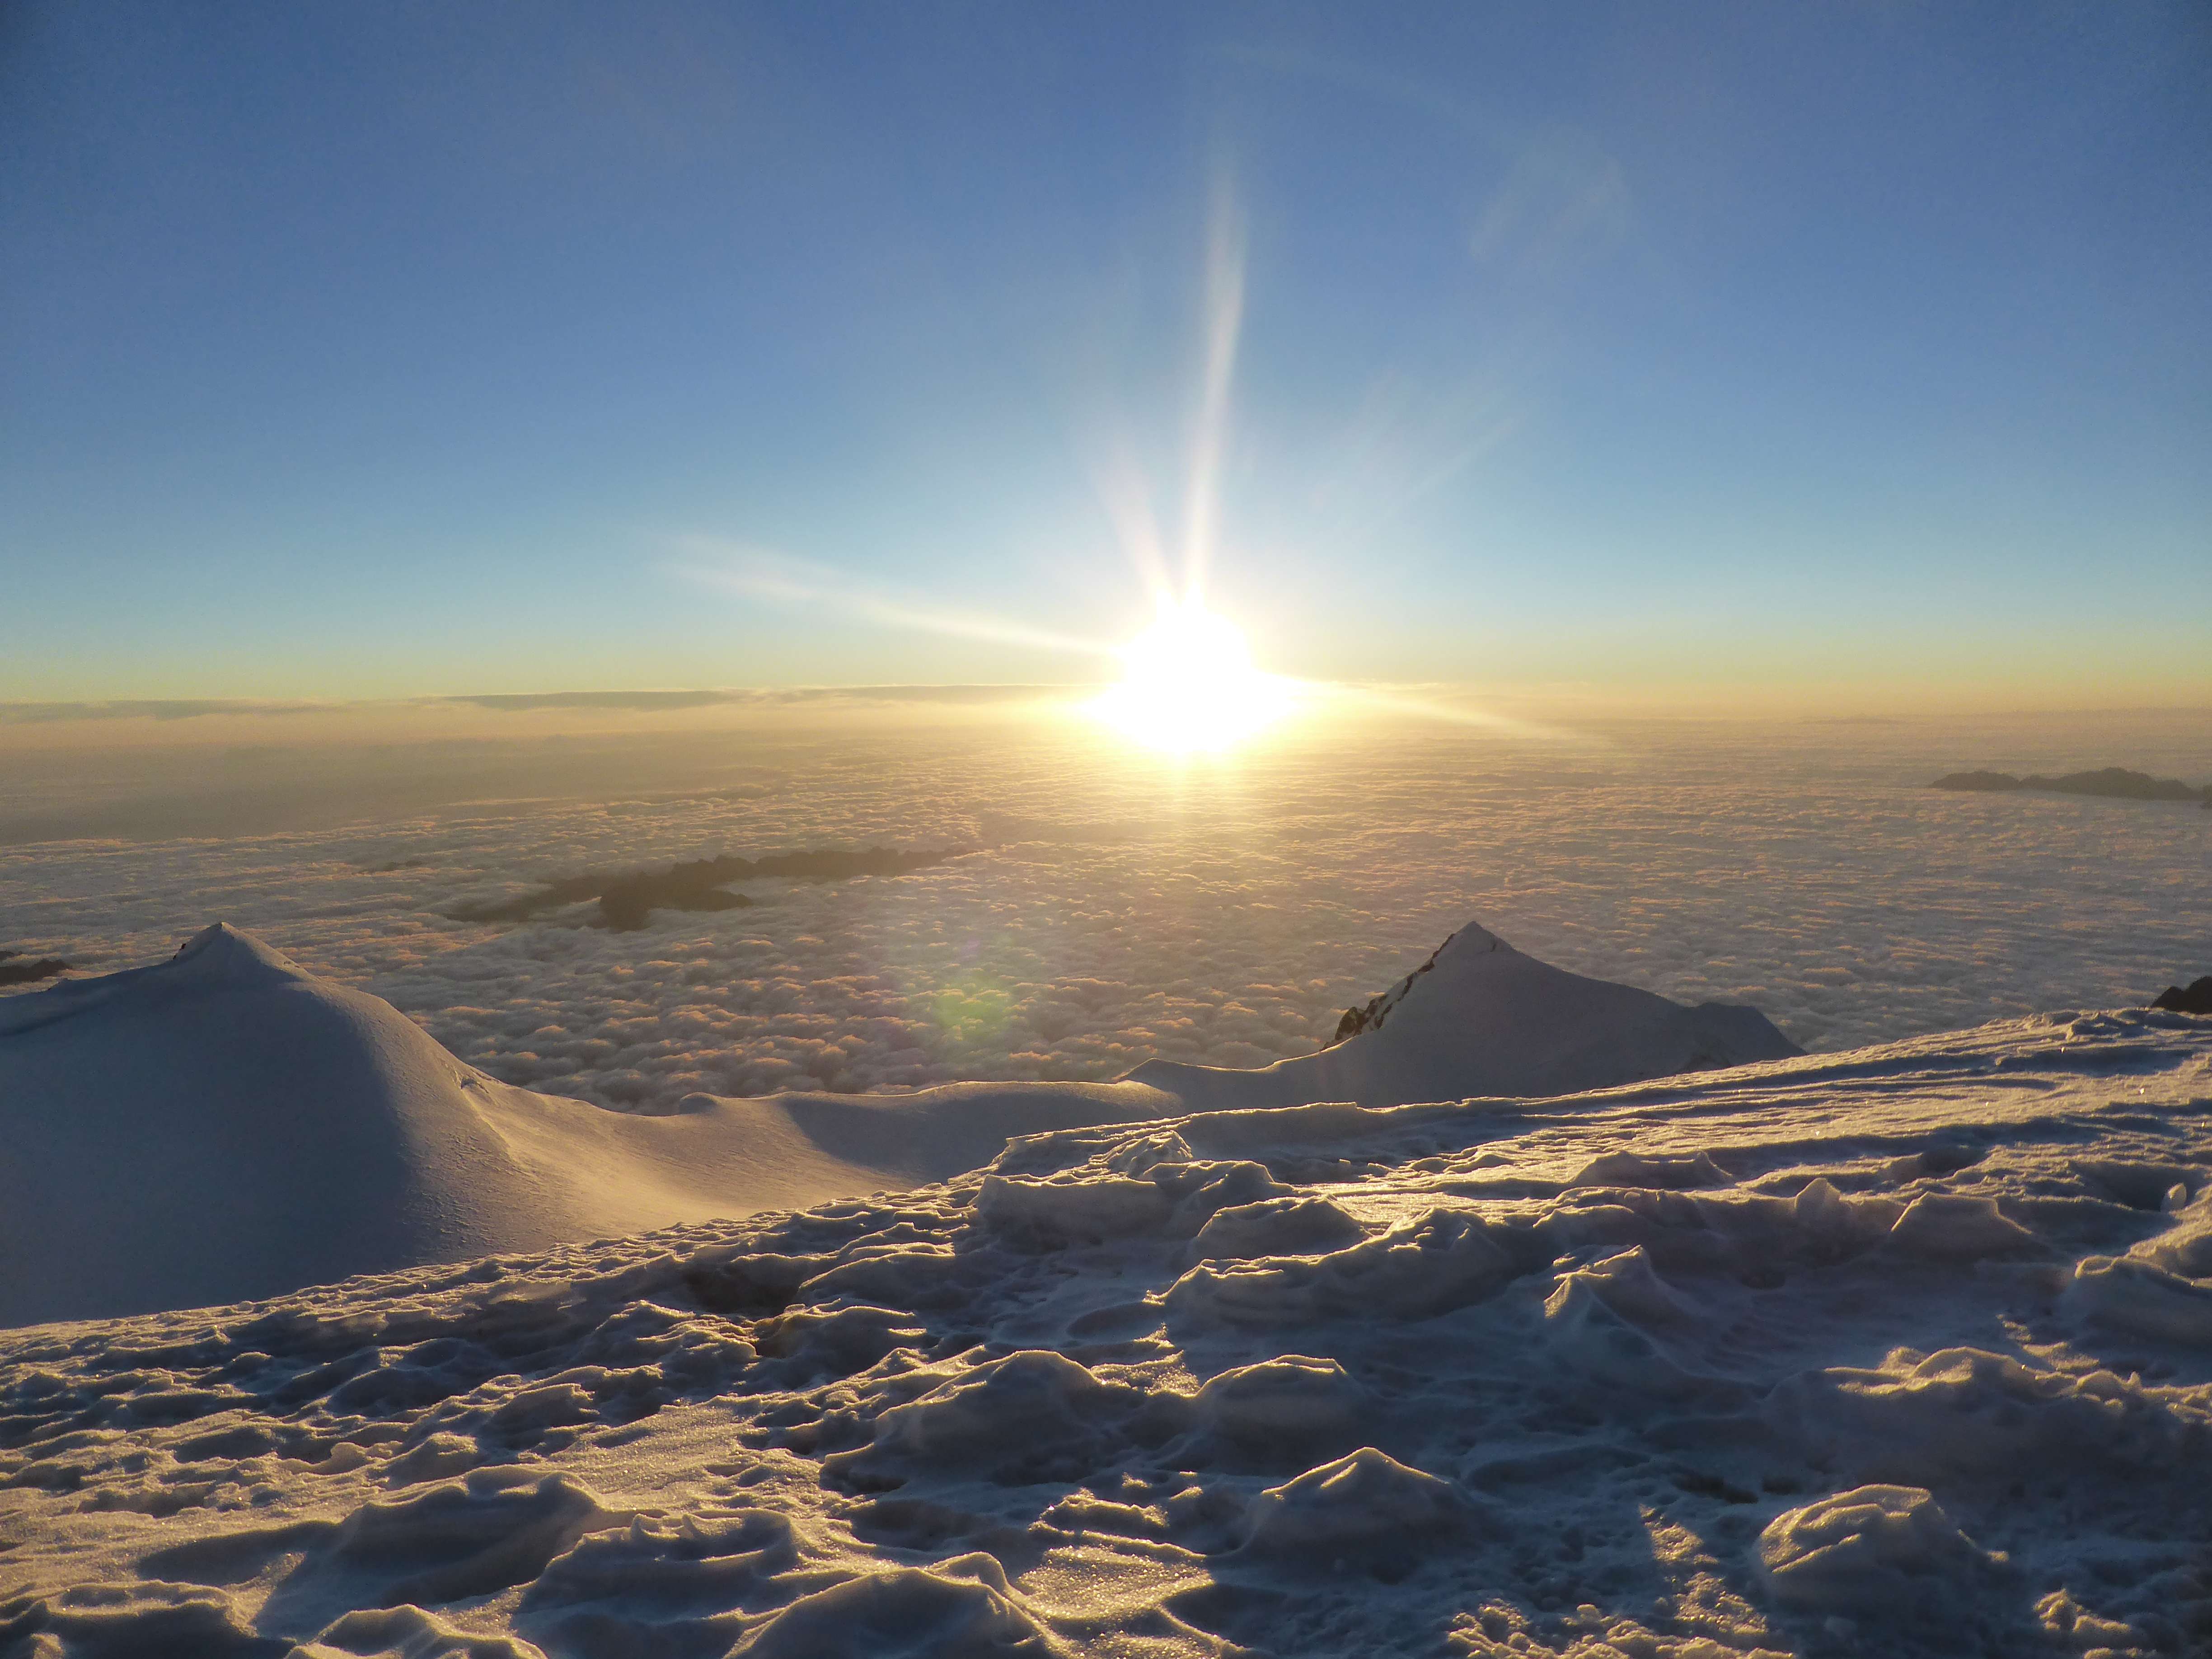
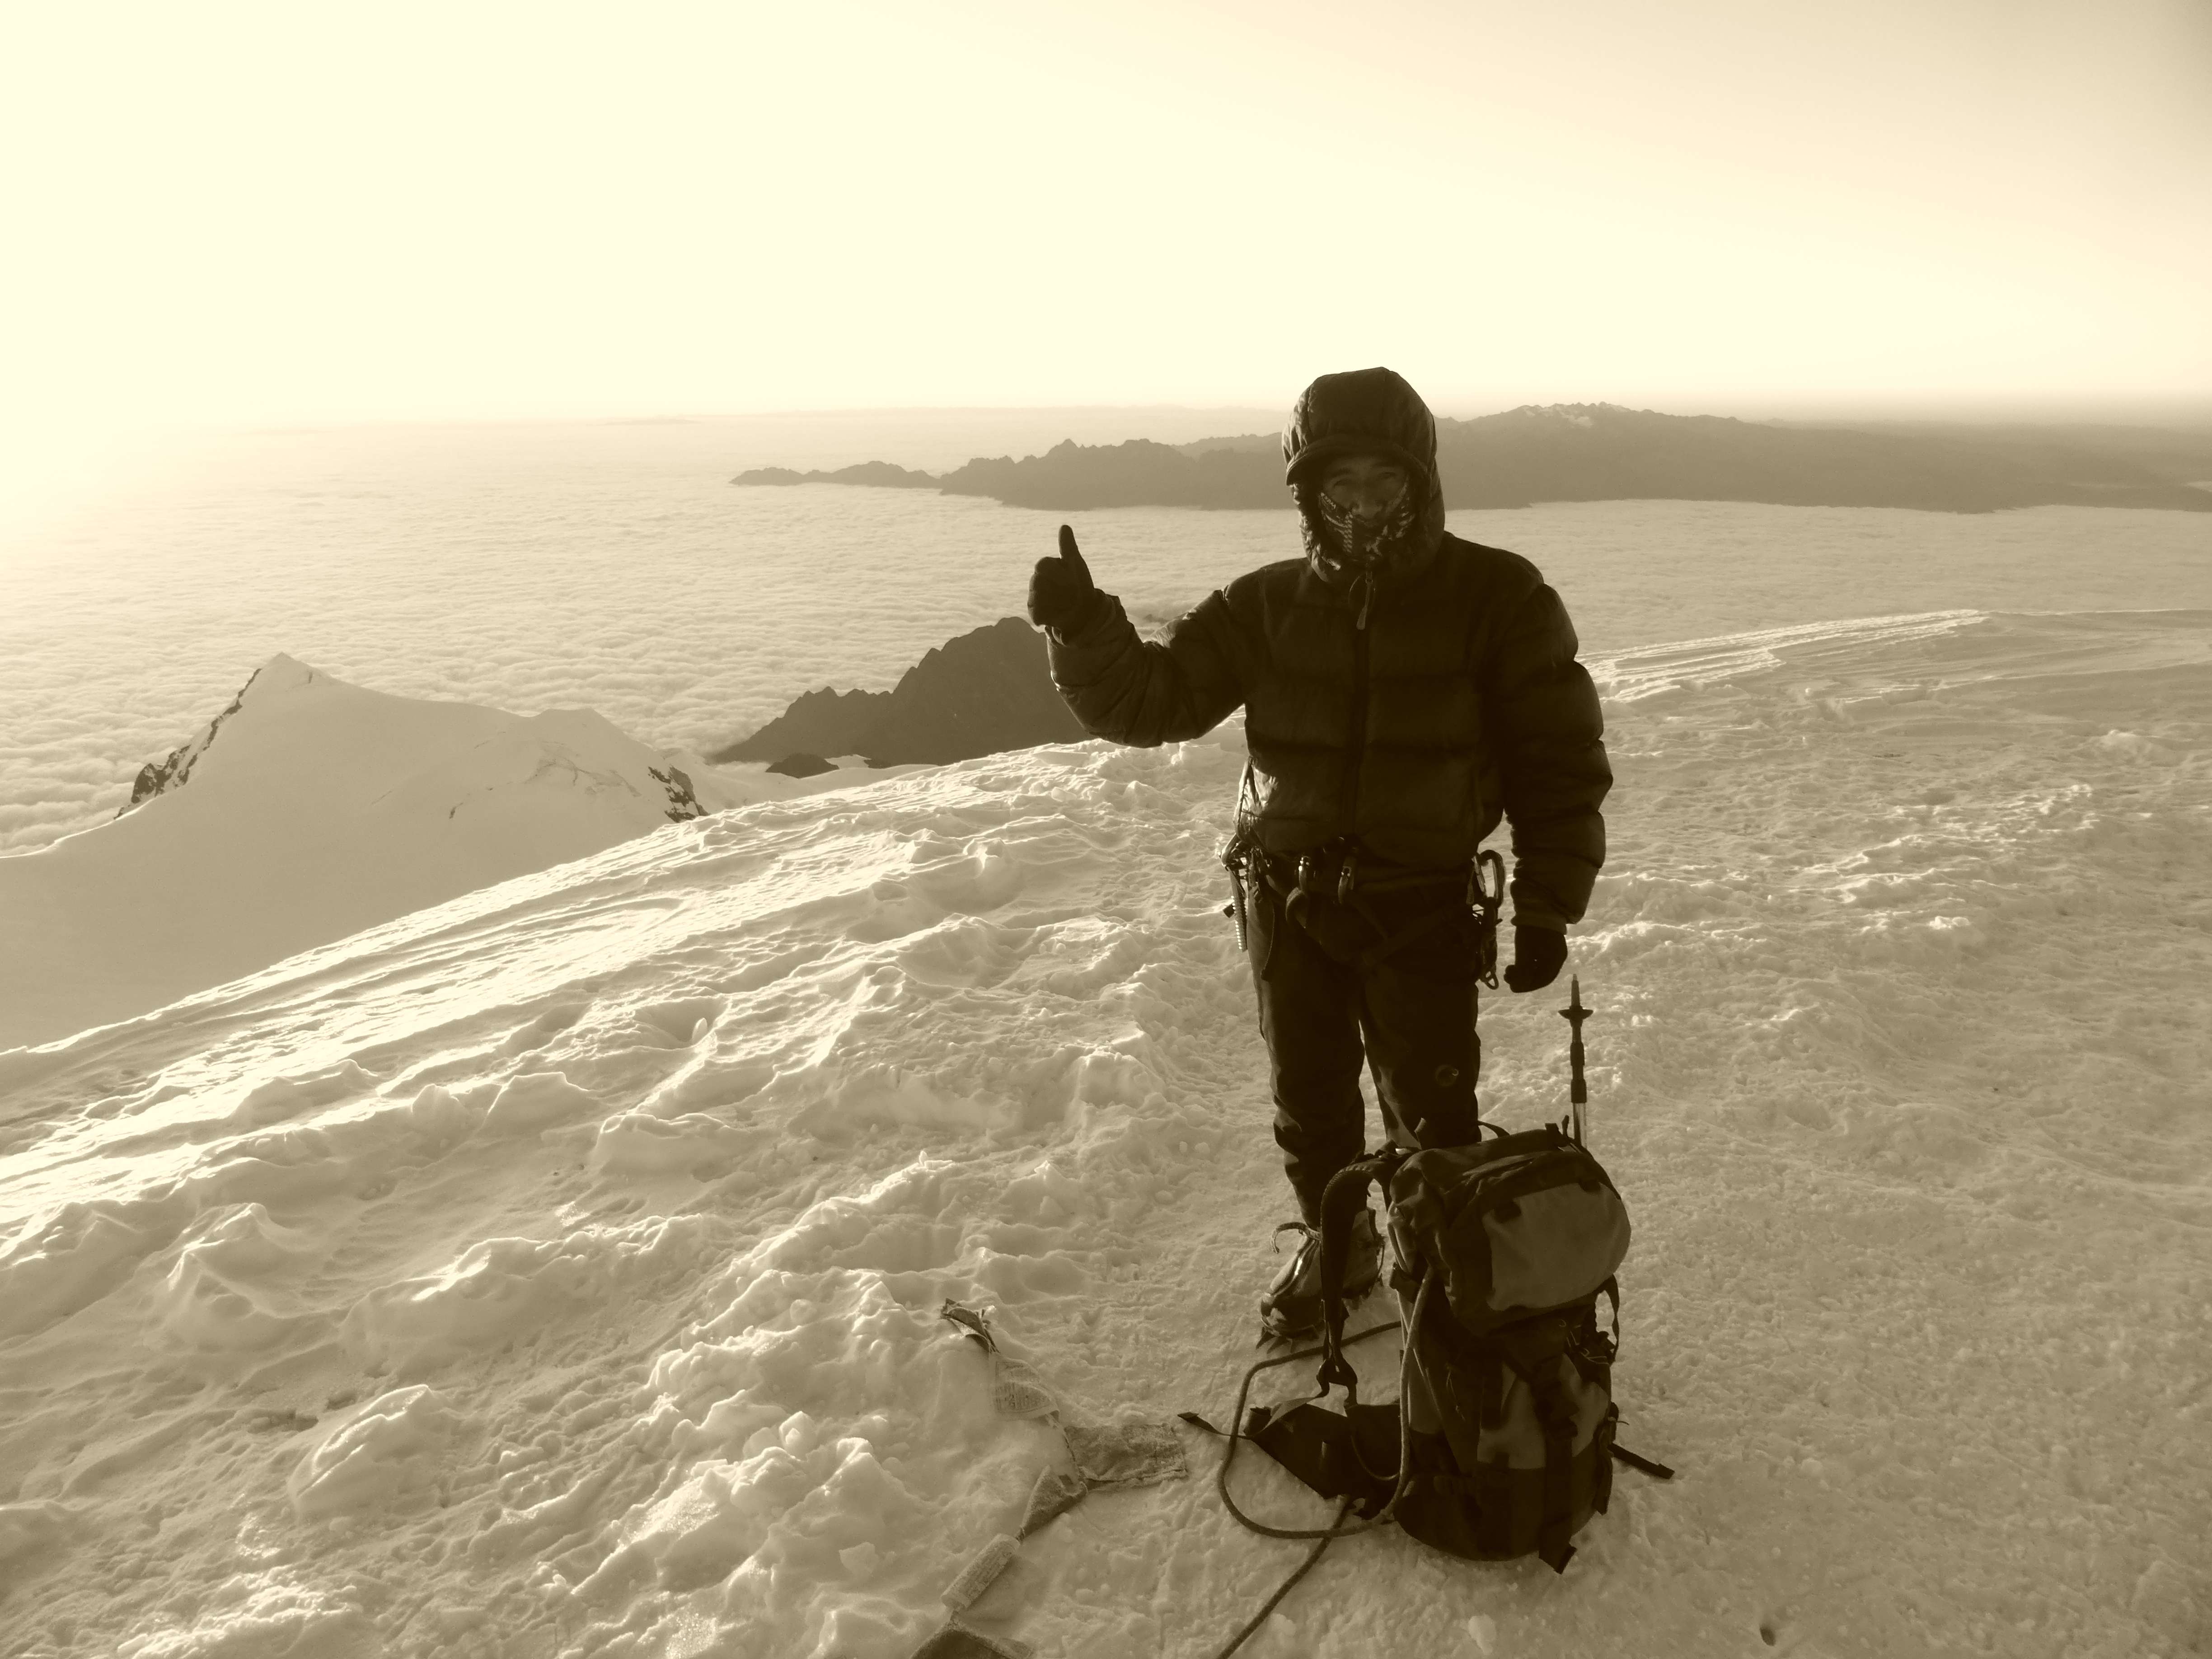
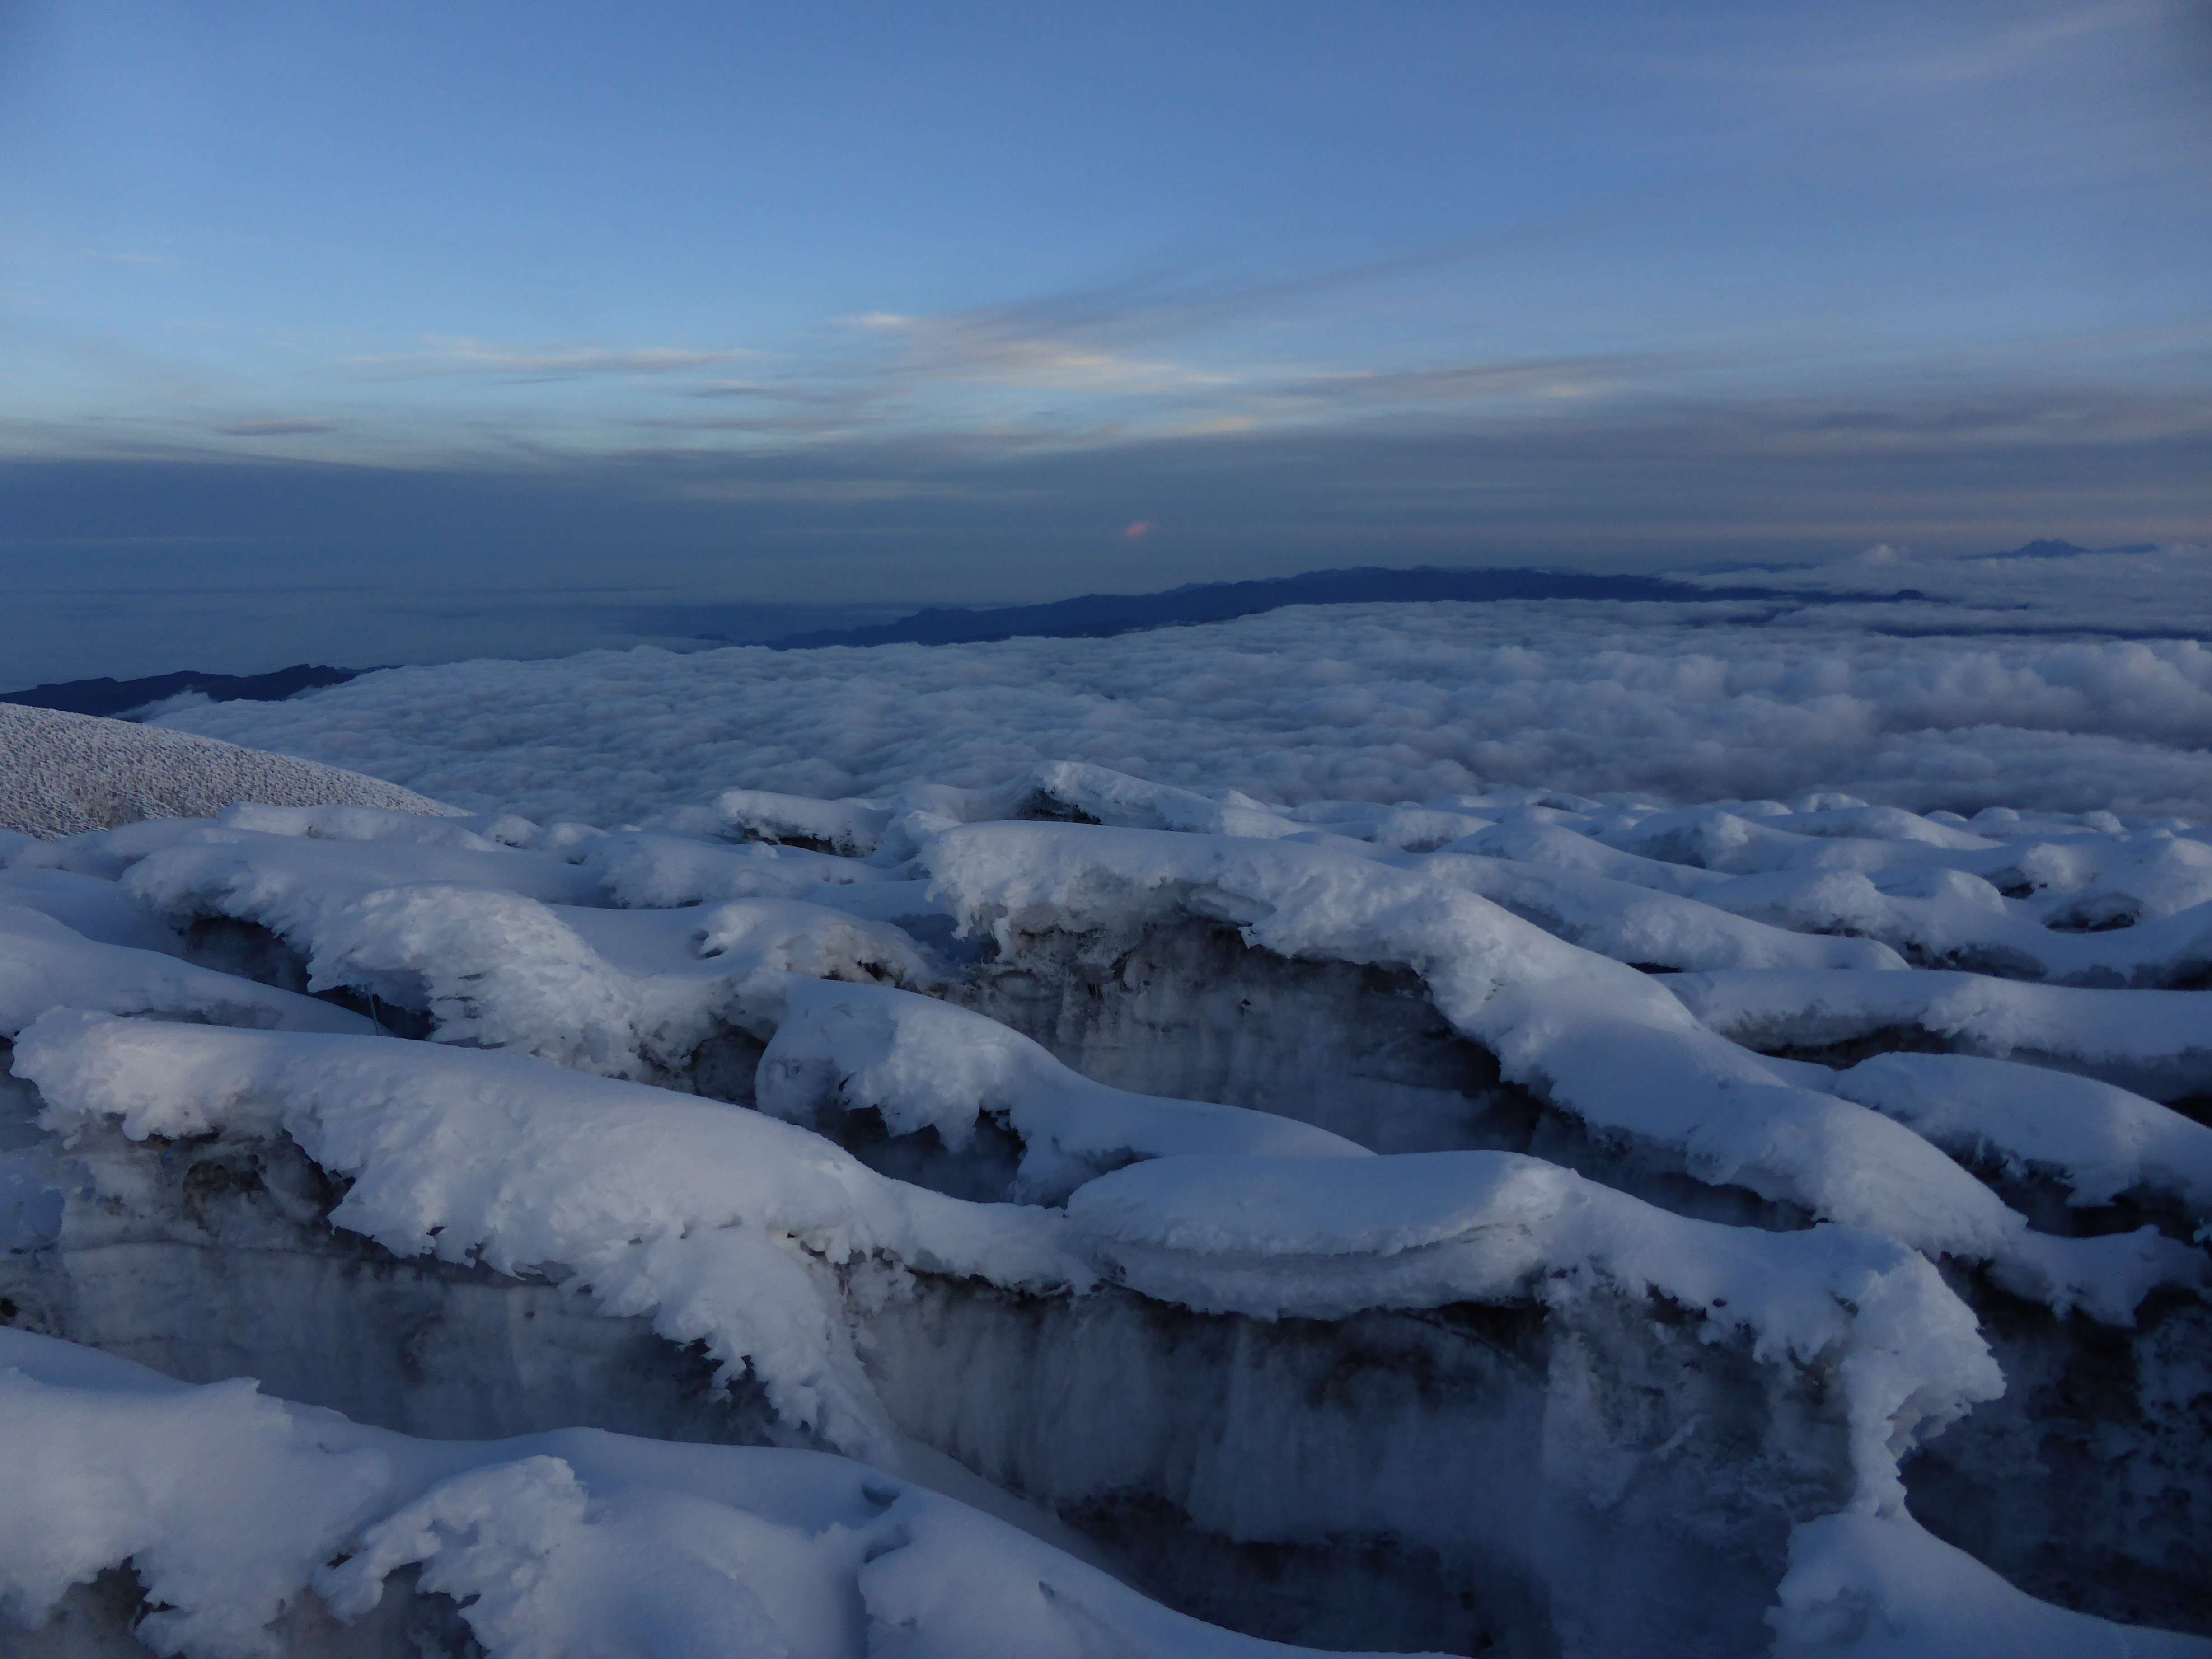
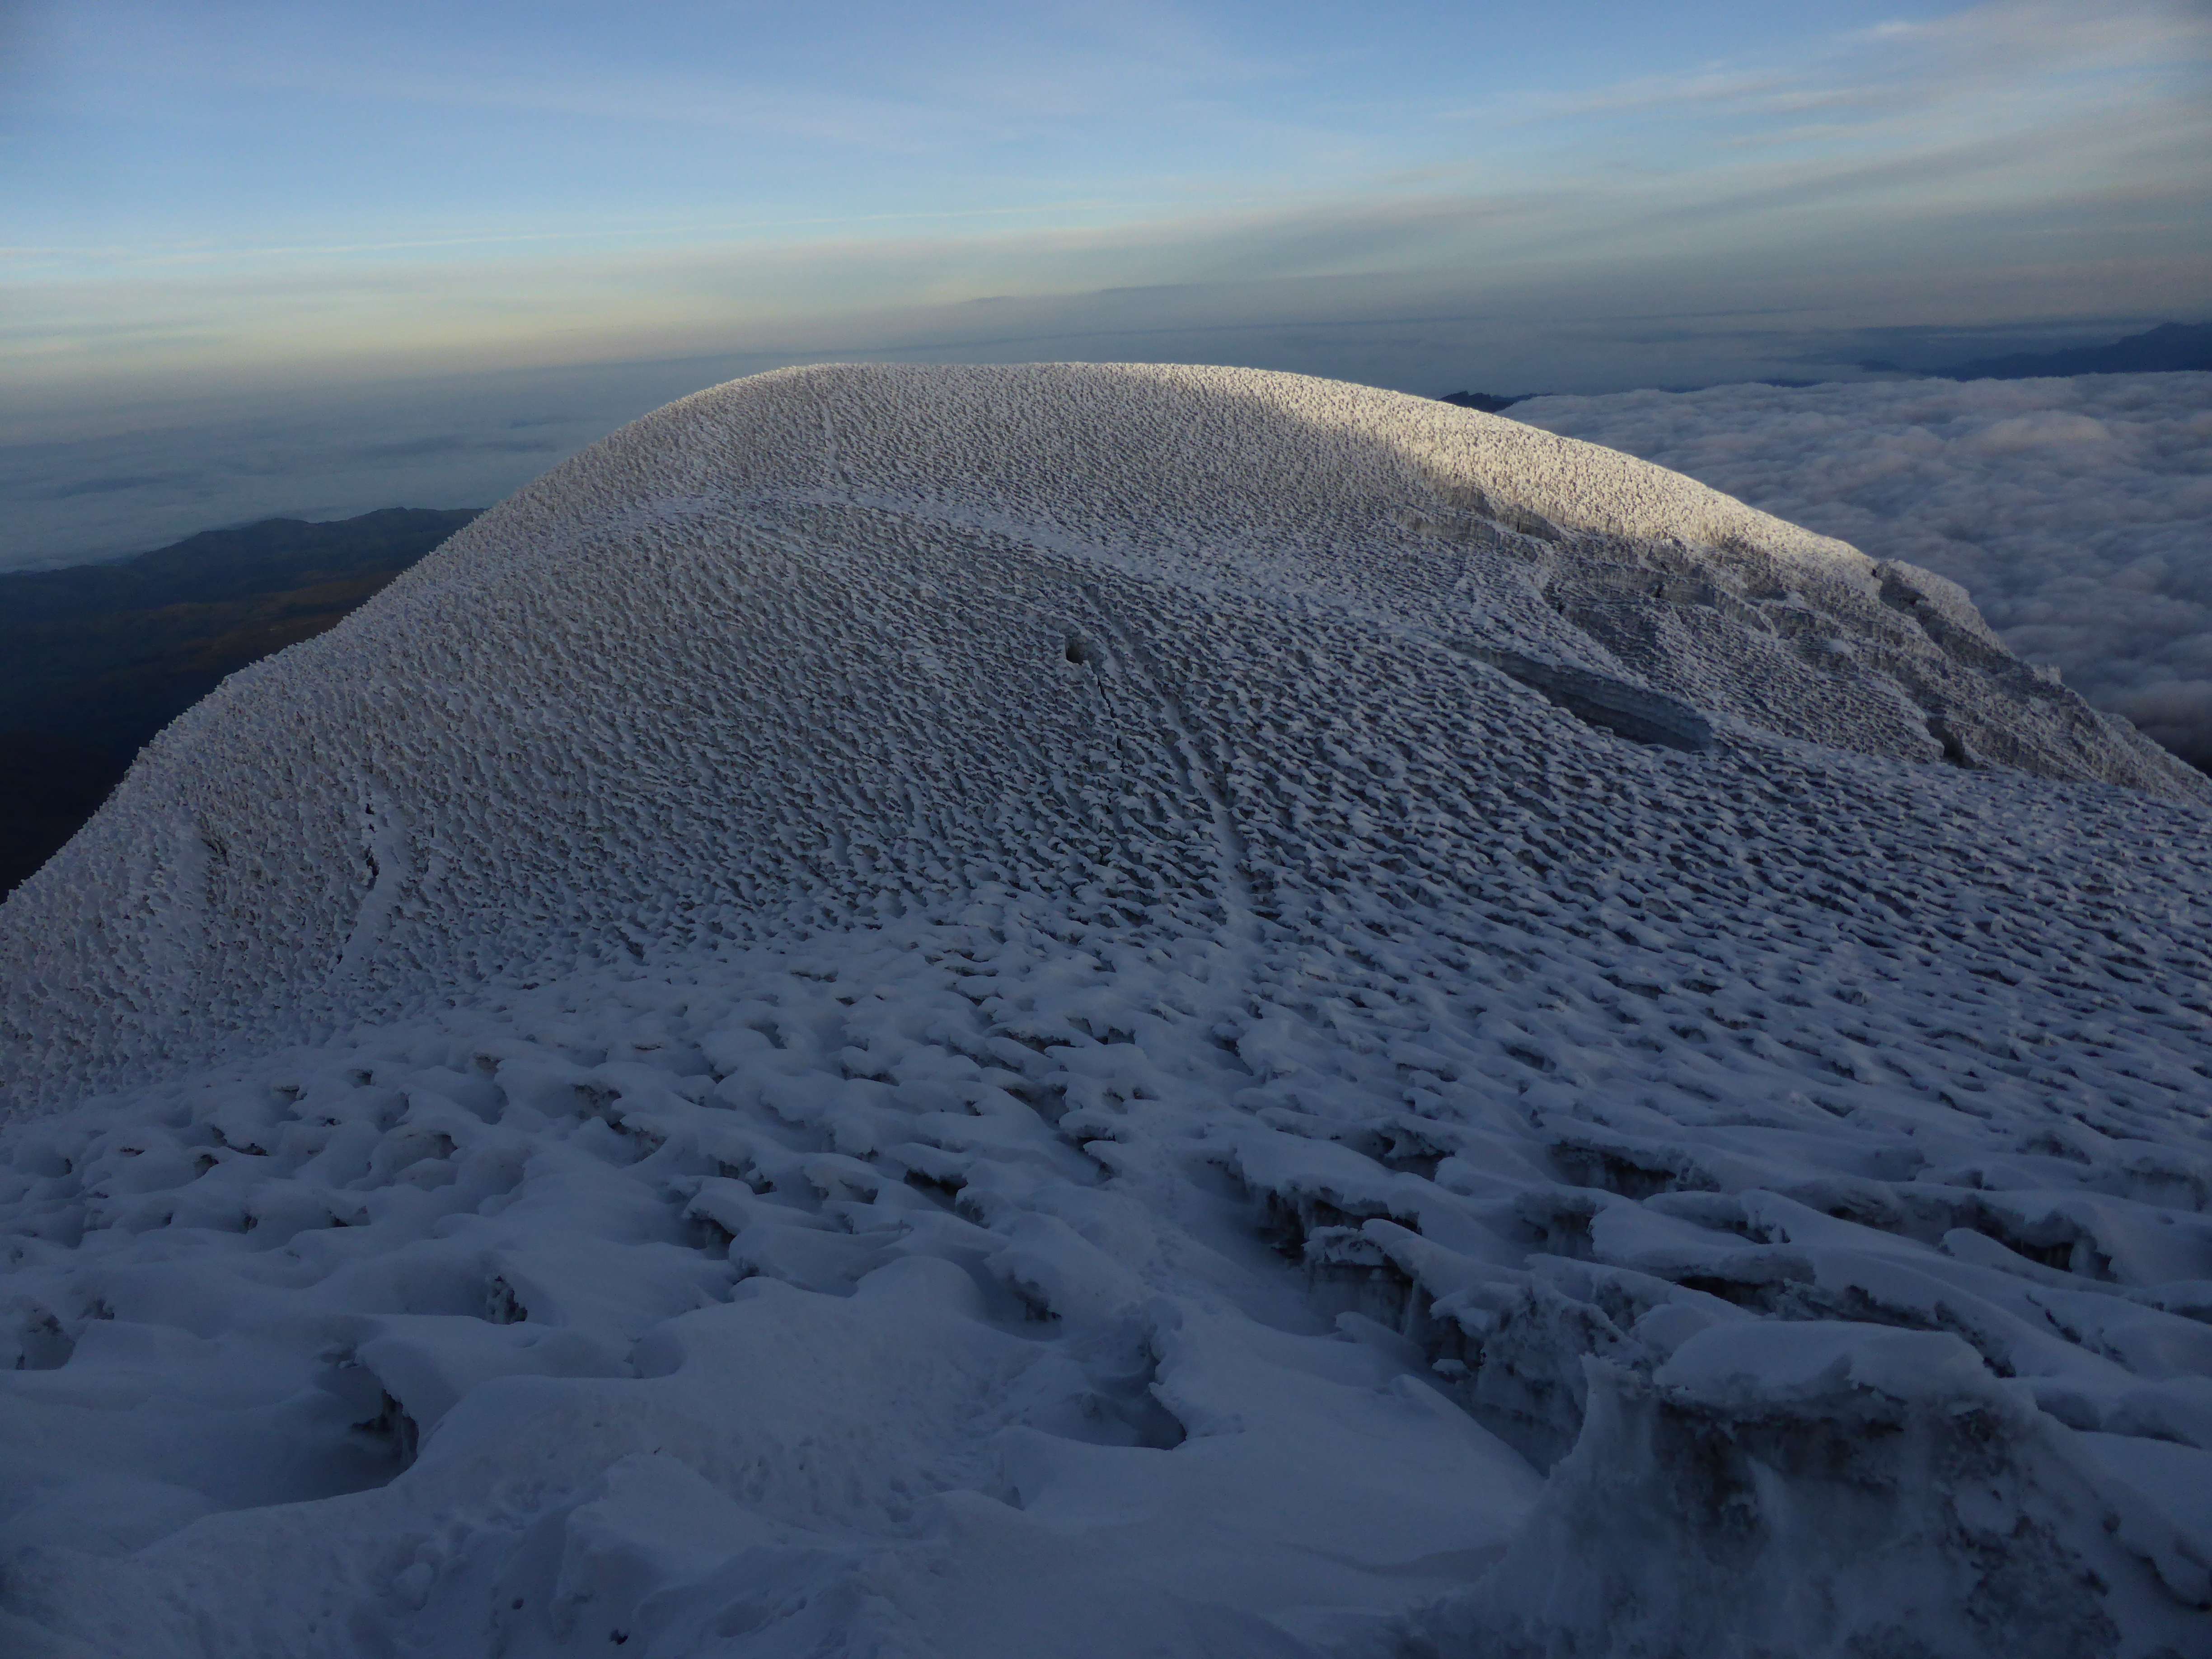
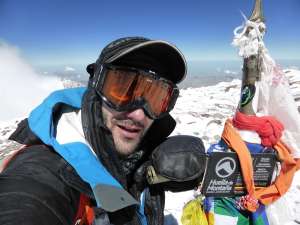
The upper Canaleta was difficult, largely due to altitude and the energy-wasting loose rocks. Fresh snow higher up covered the rocks, making it tough to spot good foot placements, and every step caused significant movement underneath. Despite this, I felt no need to use my crampons. I settled into a rest-stepping pace of two full pressure breaths per step, and in this manner continued making good progress. Near the top I observed a climber below me, making good speed. I pushed myself to maintain my pace, and at 11:30 a.m. found myself standing on the large, slightly sloped plateau of Aconcagua’s summit. The sky was clear and the winds low, but clouds were rapidly building up along the ridge between Aconcagua’s north and south summits. The climber below arrived soon after me, and his partner followed a few minutes later. Their names were Nicolas Miranda and Karl Egloff, a team of Ecuadorians training to break the Aconcagua speed record set by Kilian Jornet just weeks earlier. These two had ascended at an incredible pace and were wearing lightweight trail running equipment, making me feel quite strange in my down suit and double boots! Despite their incredible achievement their first action was to congratulate my solo ascent – very classy guys. I would later learn that Karl Egloff was successful in setting a new speed record for the entire route, Horcones trailhead to summit and back. The two were interesting to talk with, and I helped them take some photographs and video. They quickly departed due to the cold, and I had the summit to myself.
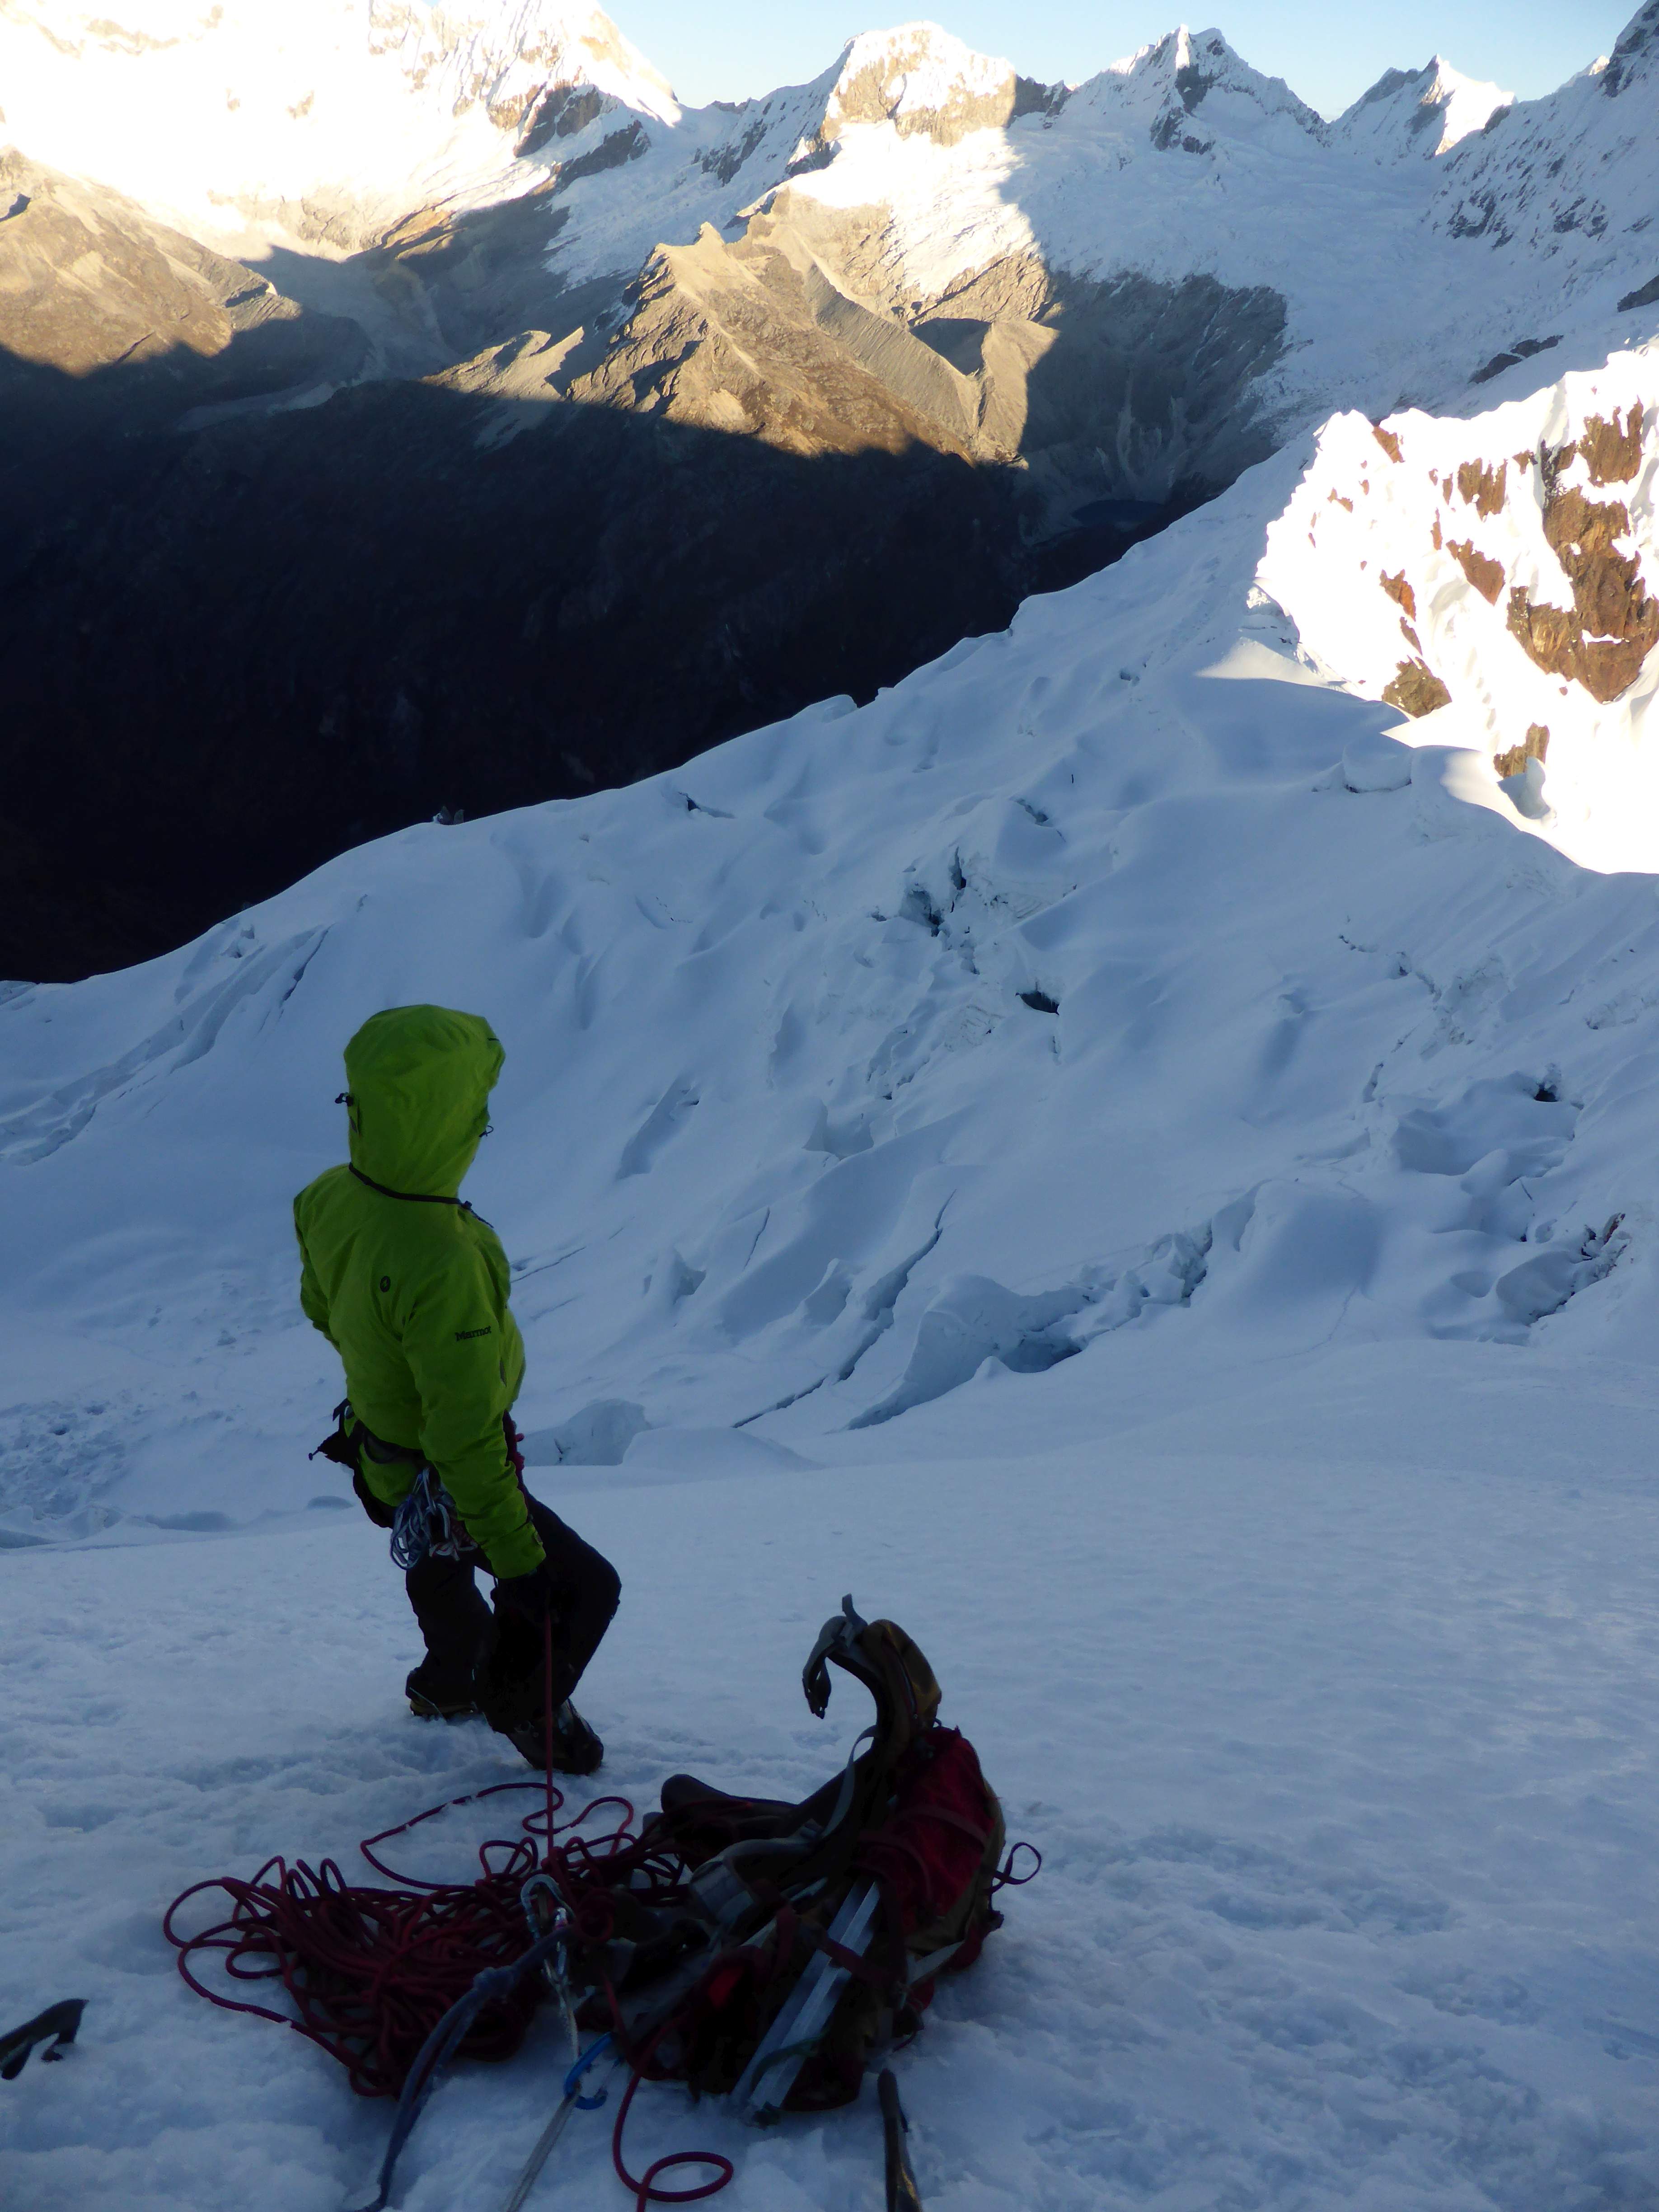
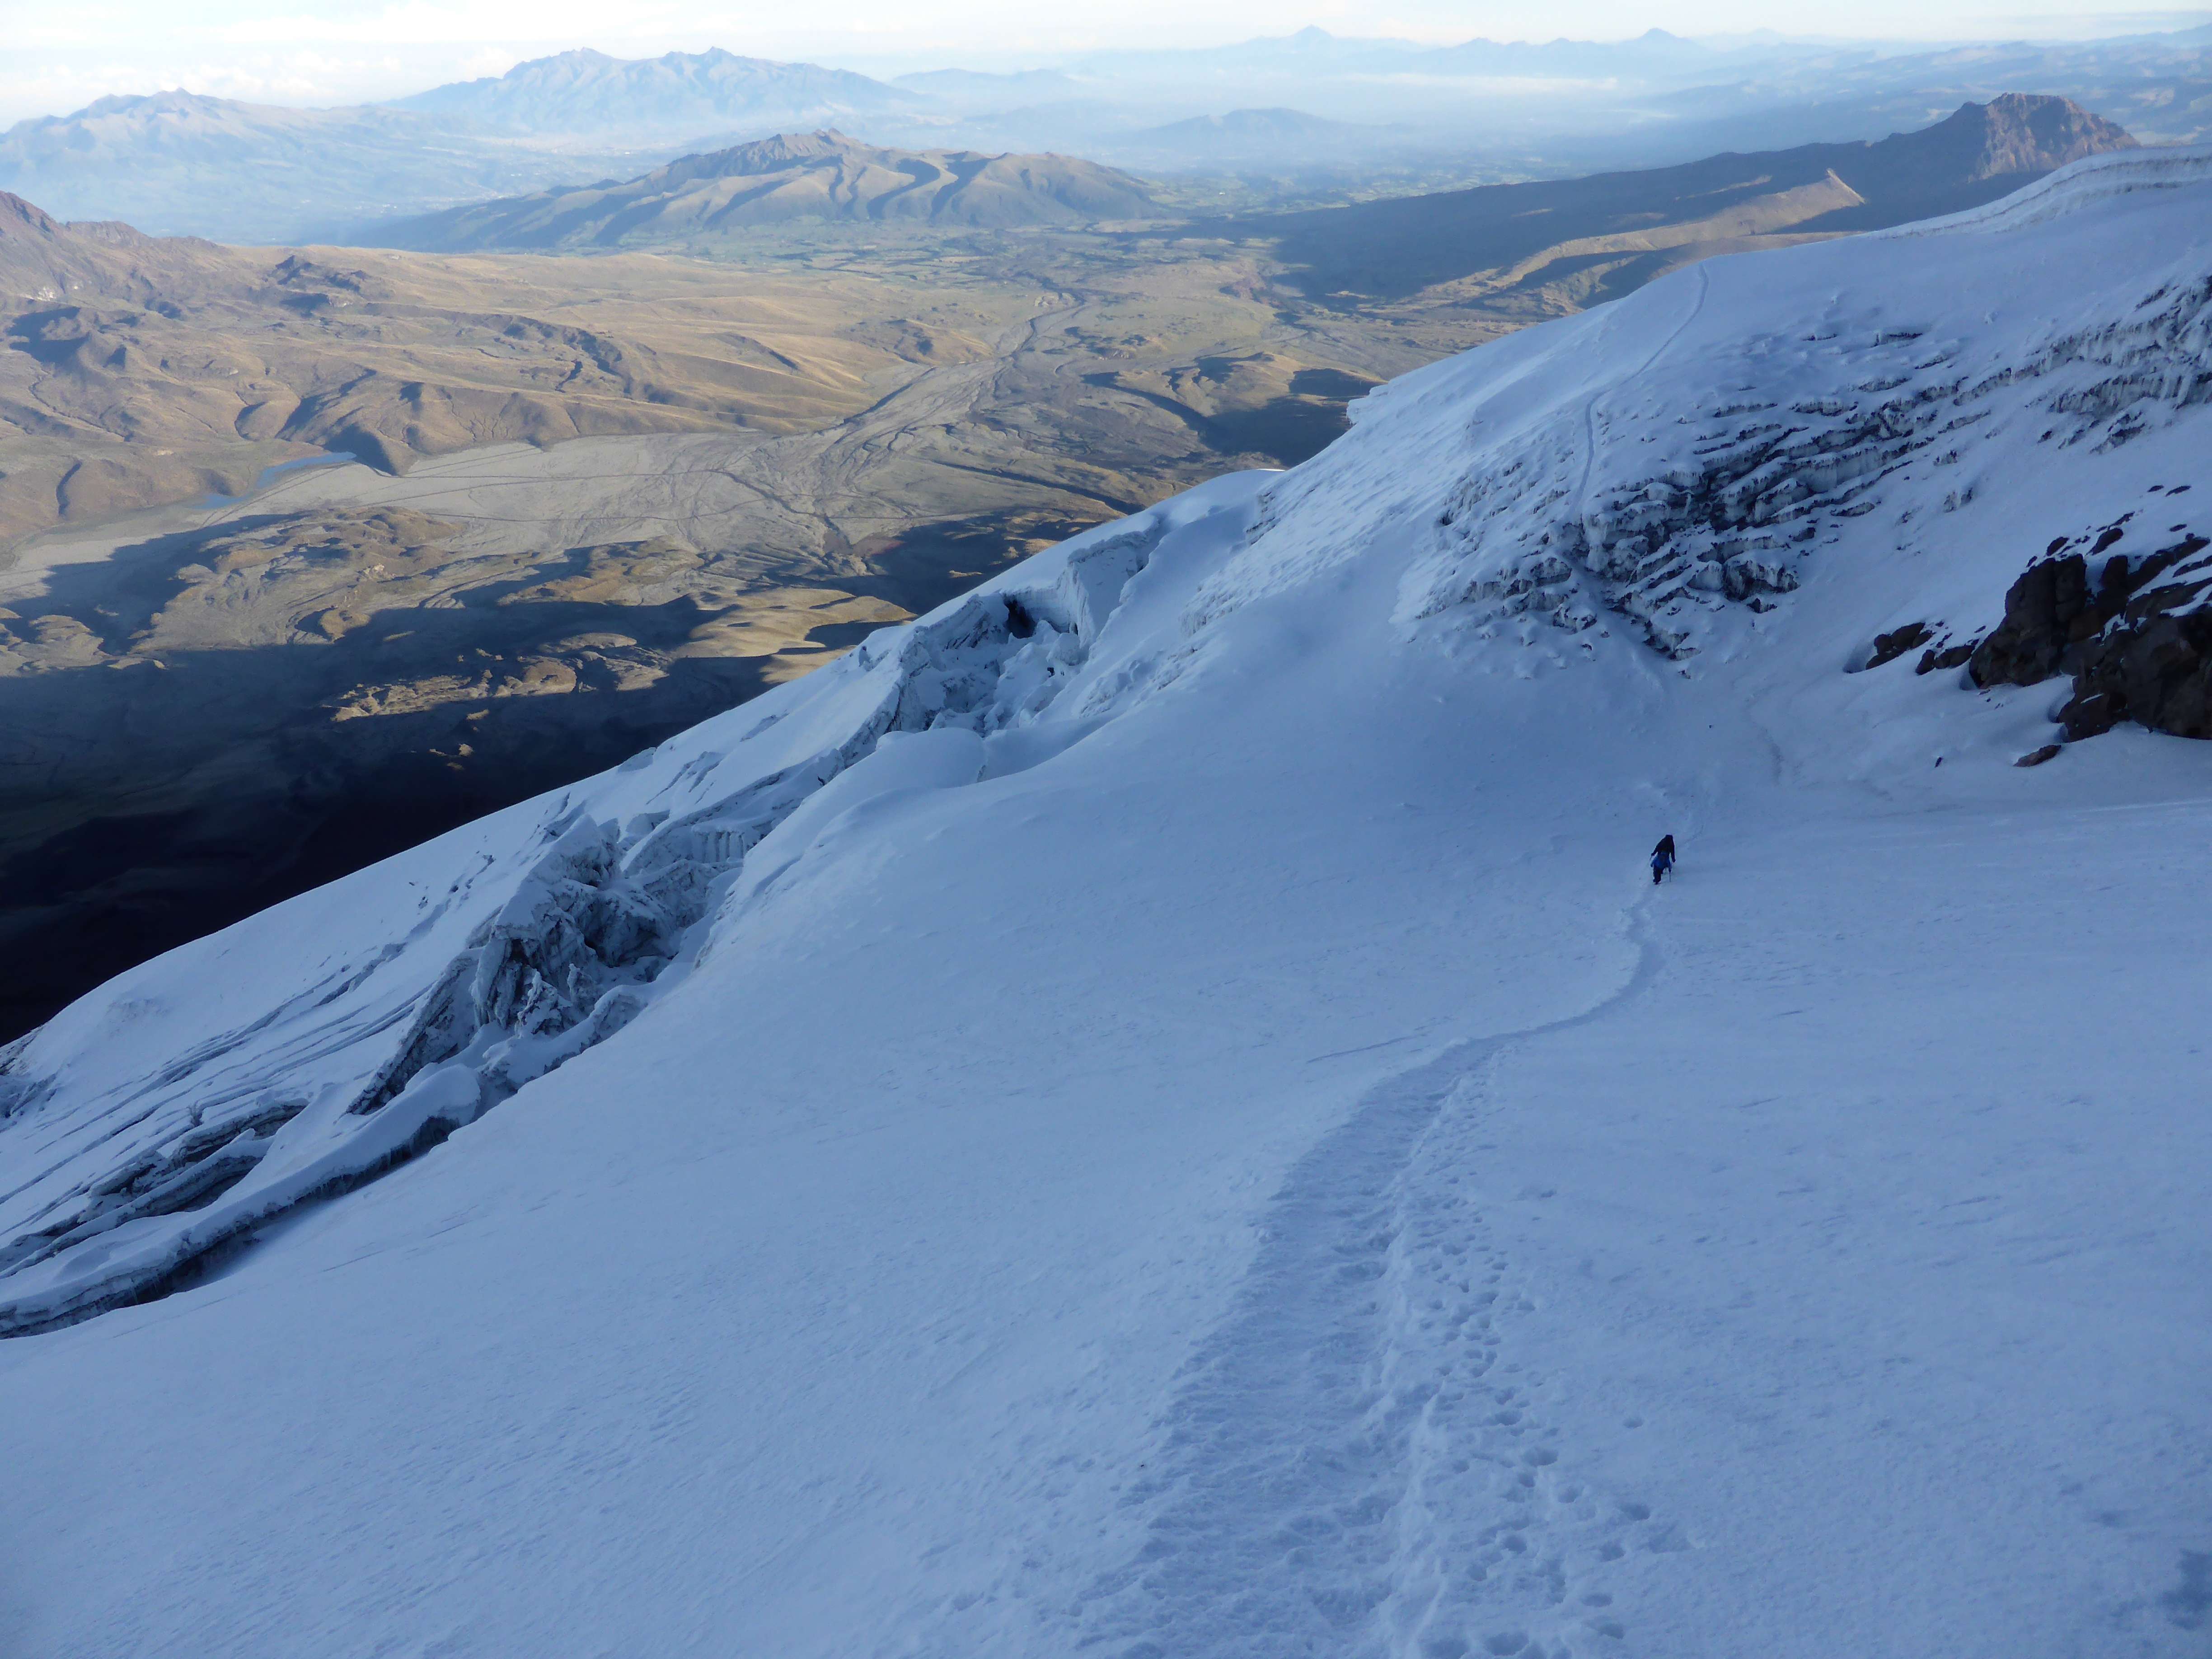
I stayed on the summit for almost an hour, taking photographs and enjoying the views before beginning to descend. As I began to descend the clouds which had been building along the Guanacos Ridge were beginning to spill over, and the wind was picking up. The descent went much faster than the ascent, made easier by the loose rock and scree which had made the Canaleta such a hassle on the way up. On the way down I began to encounter other climbers still ascending. Some were in very poor condition, exhausted and barely making progress upwards. At the base of the Canaleta I met the Polish pair taking a rest and gave them some encouragement. I met them again later and learned that they reached the summit late in the afternoon, in terrible weather conditions. Once I reached the traverse of the Gran Acarreo I diverged from my ascent route, and cut off of the traverse headed straight down. In planning to ascend from Nido de Condores this easy line of direct descent had been a factor, in that it makes the descent far faster than returning to White Rocks / Berlin and retracing the route of ascent.
Descending the Gran Acarreo was fast but tiring as I focused on keeping my balance while scree skiing down in big, leaping steps. I managed not to fall, but came close several times as I did my best to balance speed and stability. Nido de Condores was visible below me, as were the ridges and distinctive rocks which I had noted earlier as landmarks should I need to descend in poor visibility. Descending in this manner, I reached my tent at Nido de Condores at exactly 3 p.m., 12 hours after leaving. I was feeling quite well at Nido and didn’t fancy the idea of staying, as it would entail eating more freeze dried food and spending another night in my tent. I decided to descend to Plaza de Mulas both to use the satellite internet service and to rent a bunk bed and hot meal from the mule company. I drank some of my remaining water, had a light snack, and rested for 20 minutes before changing into my running shoes, packing my sleeping bag and some extra clothing, and beginning to descend. I practically ran back to Plaza de Mulas, moving directly down the Grand Acarreo, and only took 1 hour to descend. In Plaza de Mulas I emailed my family, ate fresh meat for dinner, and went to bed early in a bunk rented from Inka.
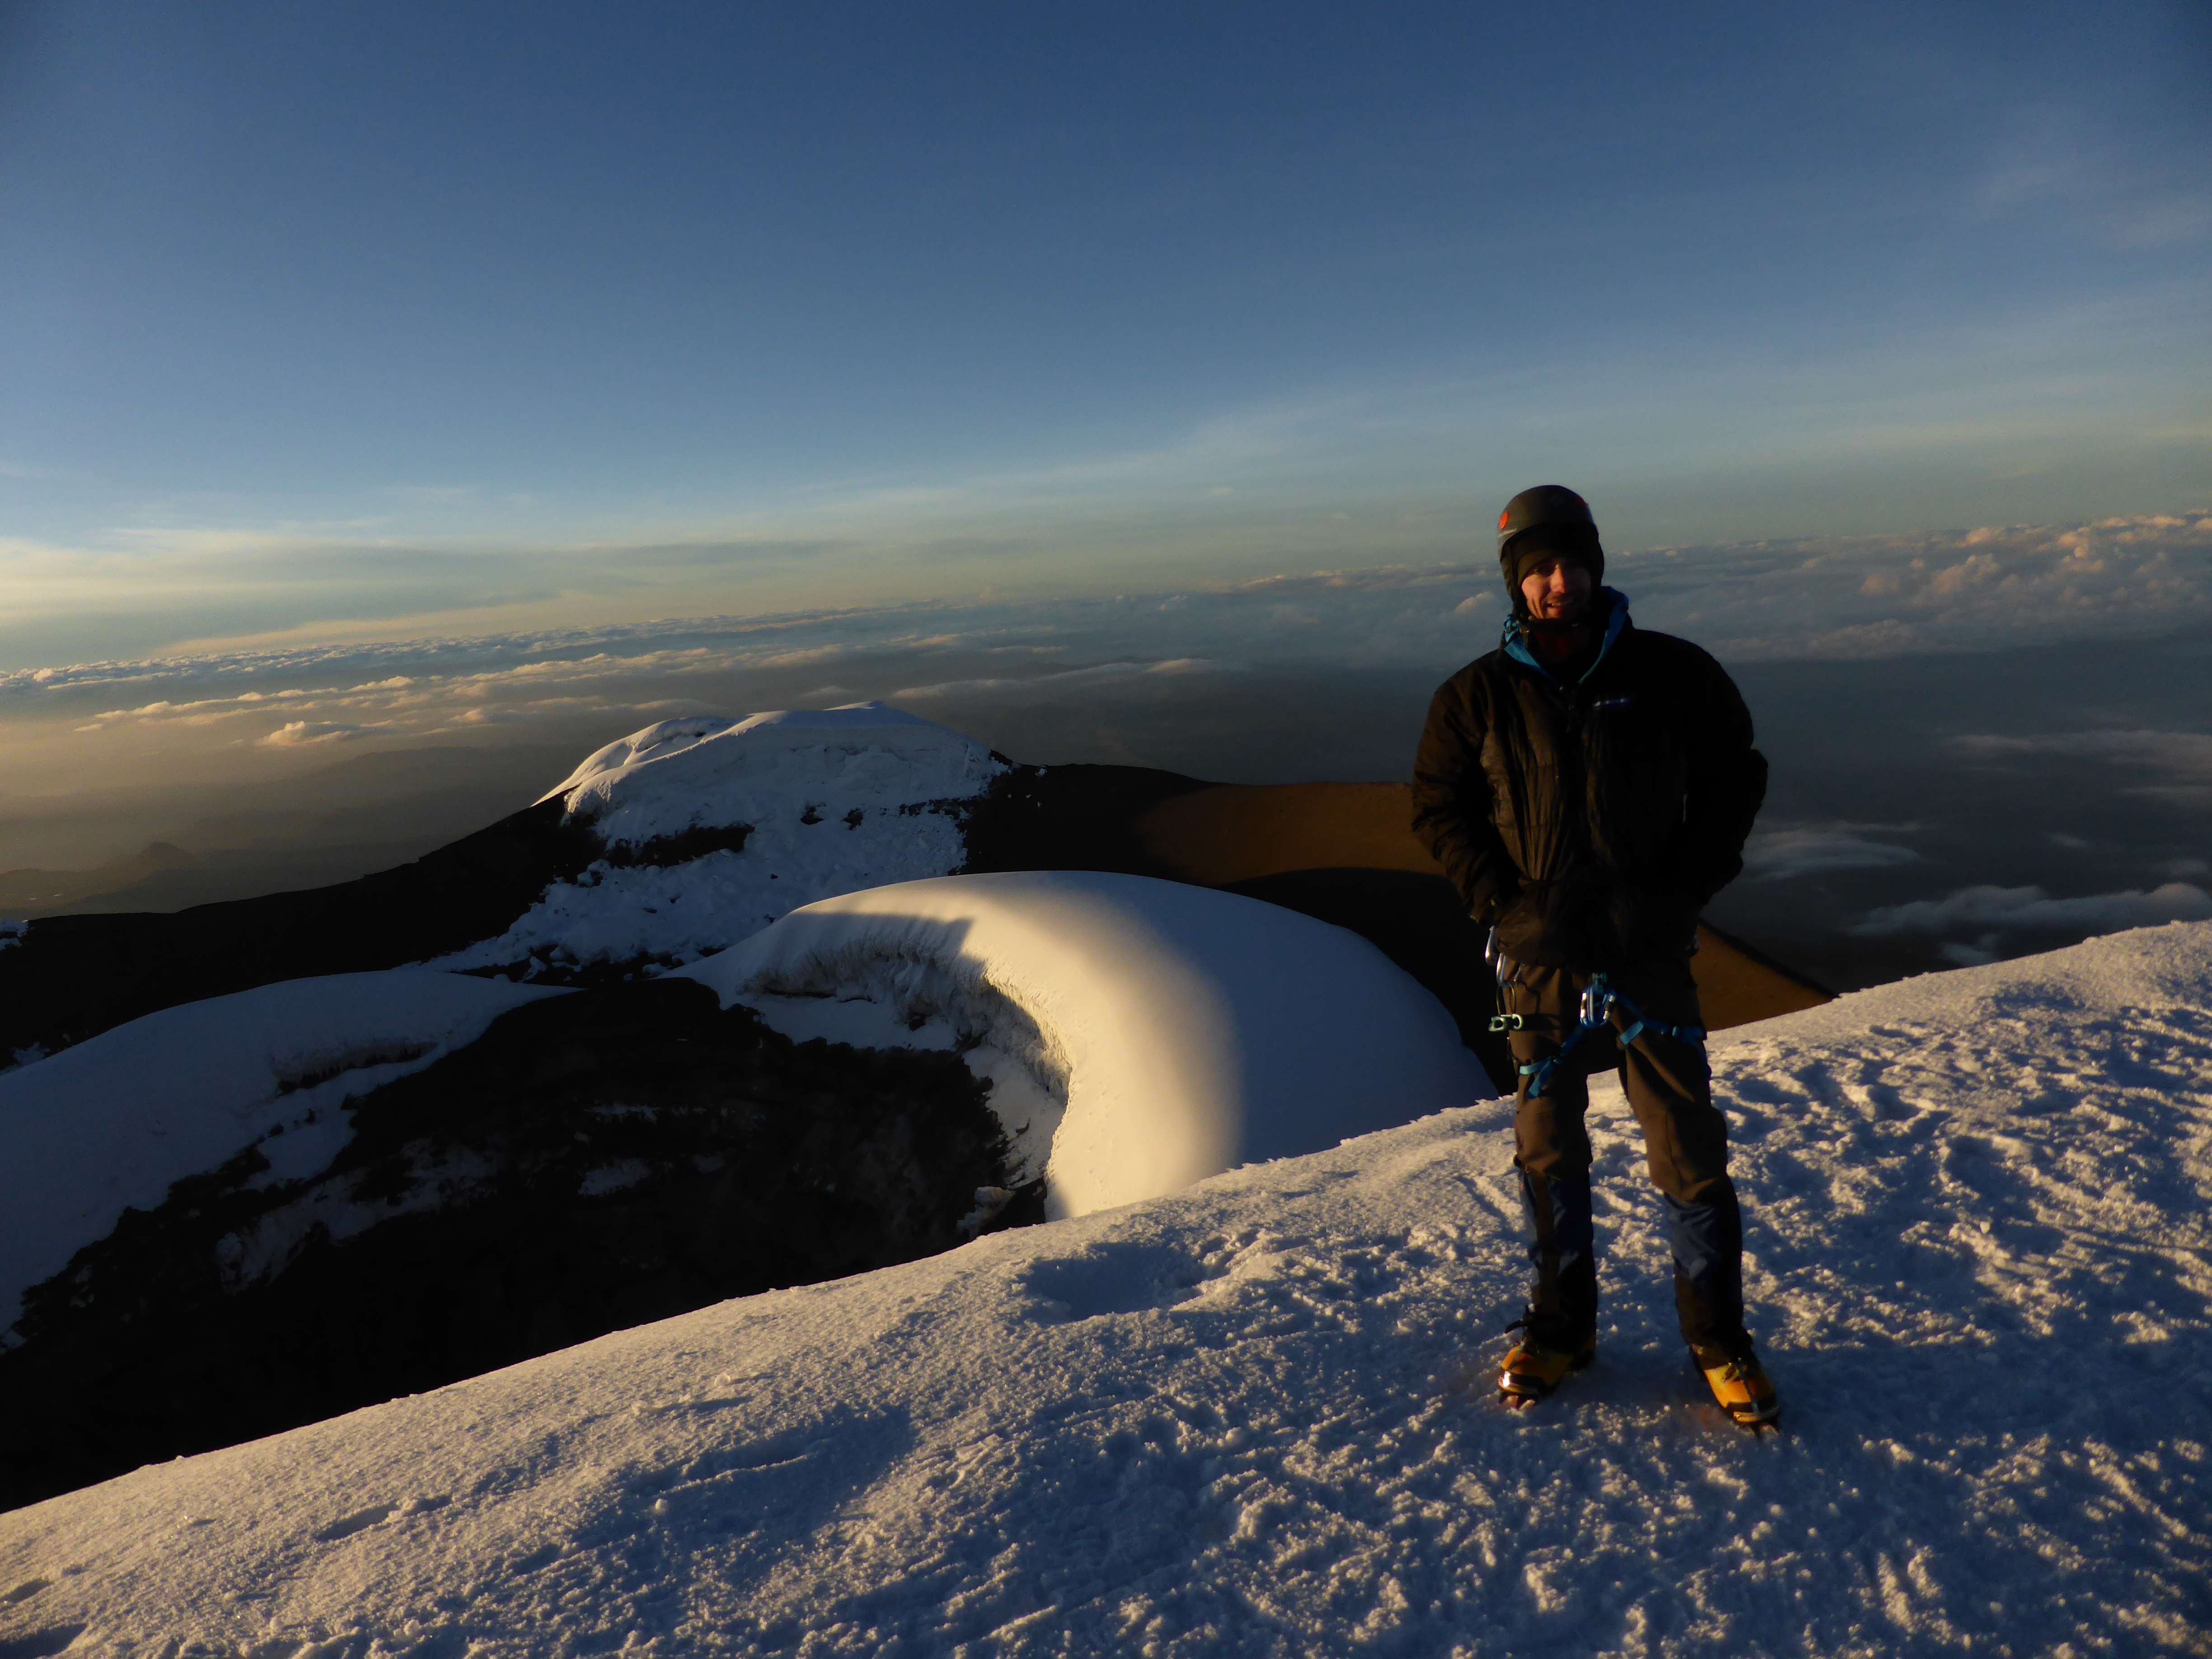
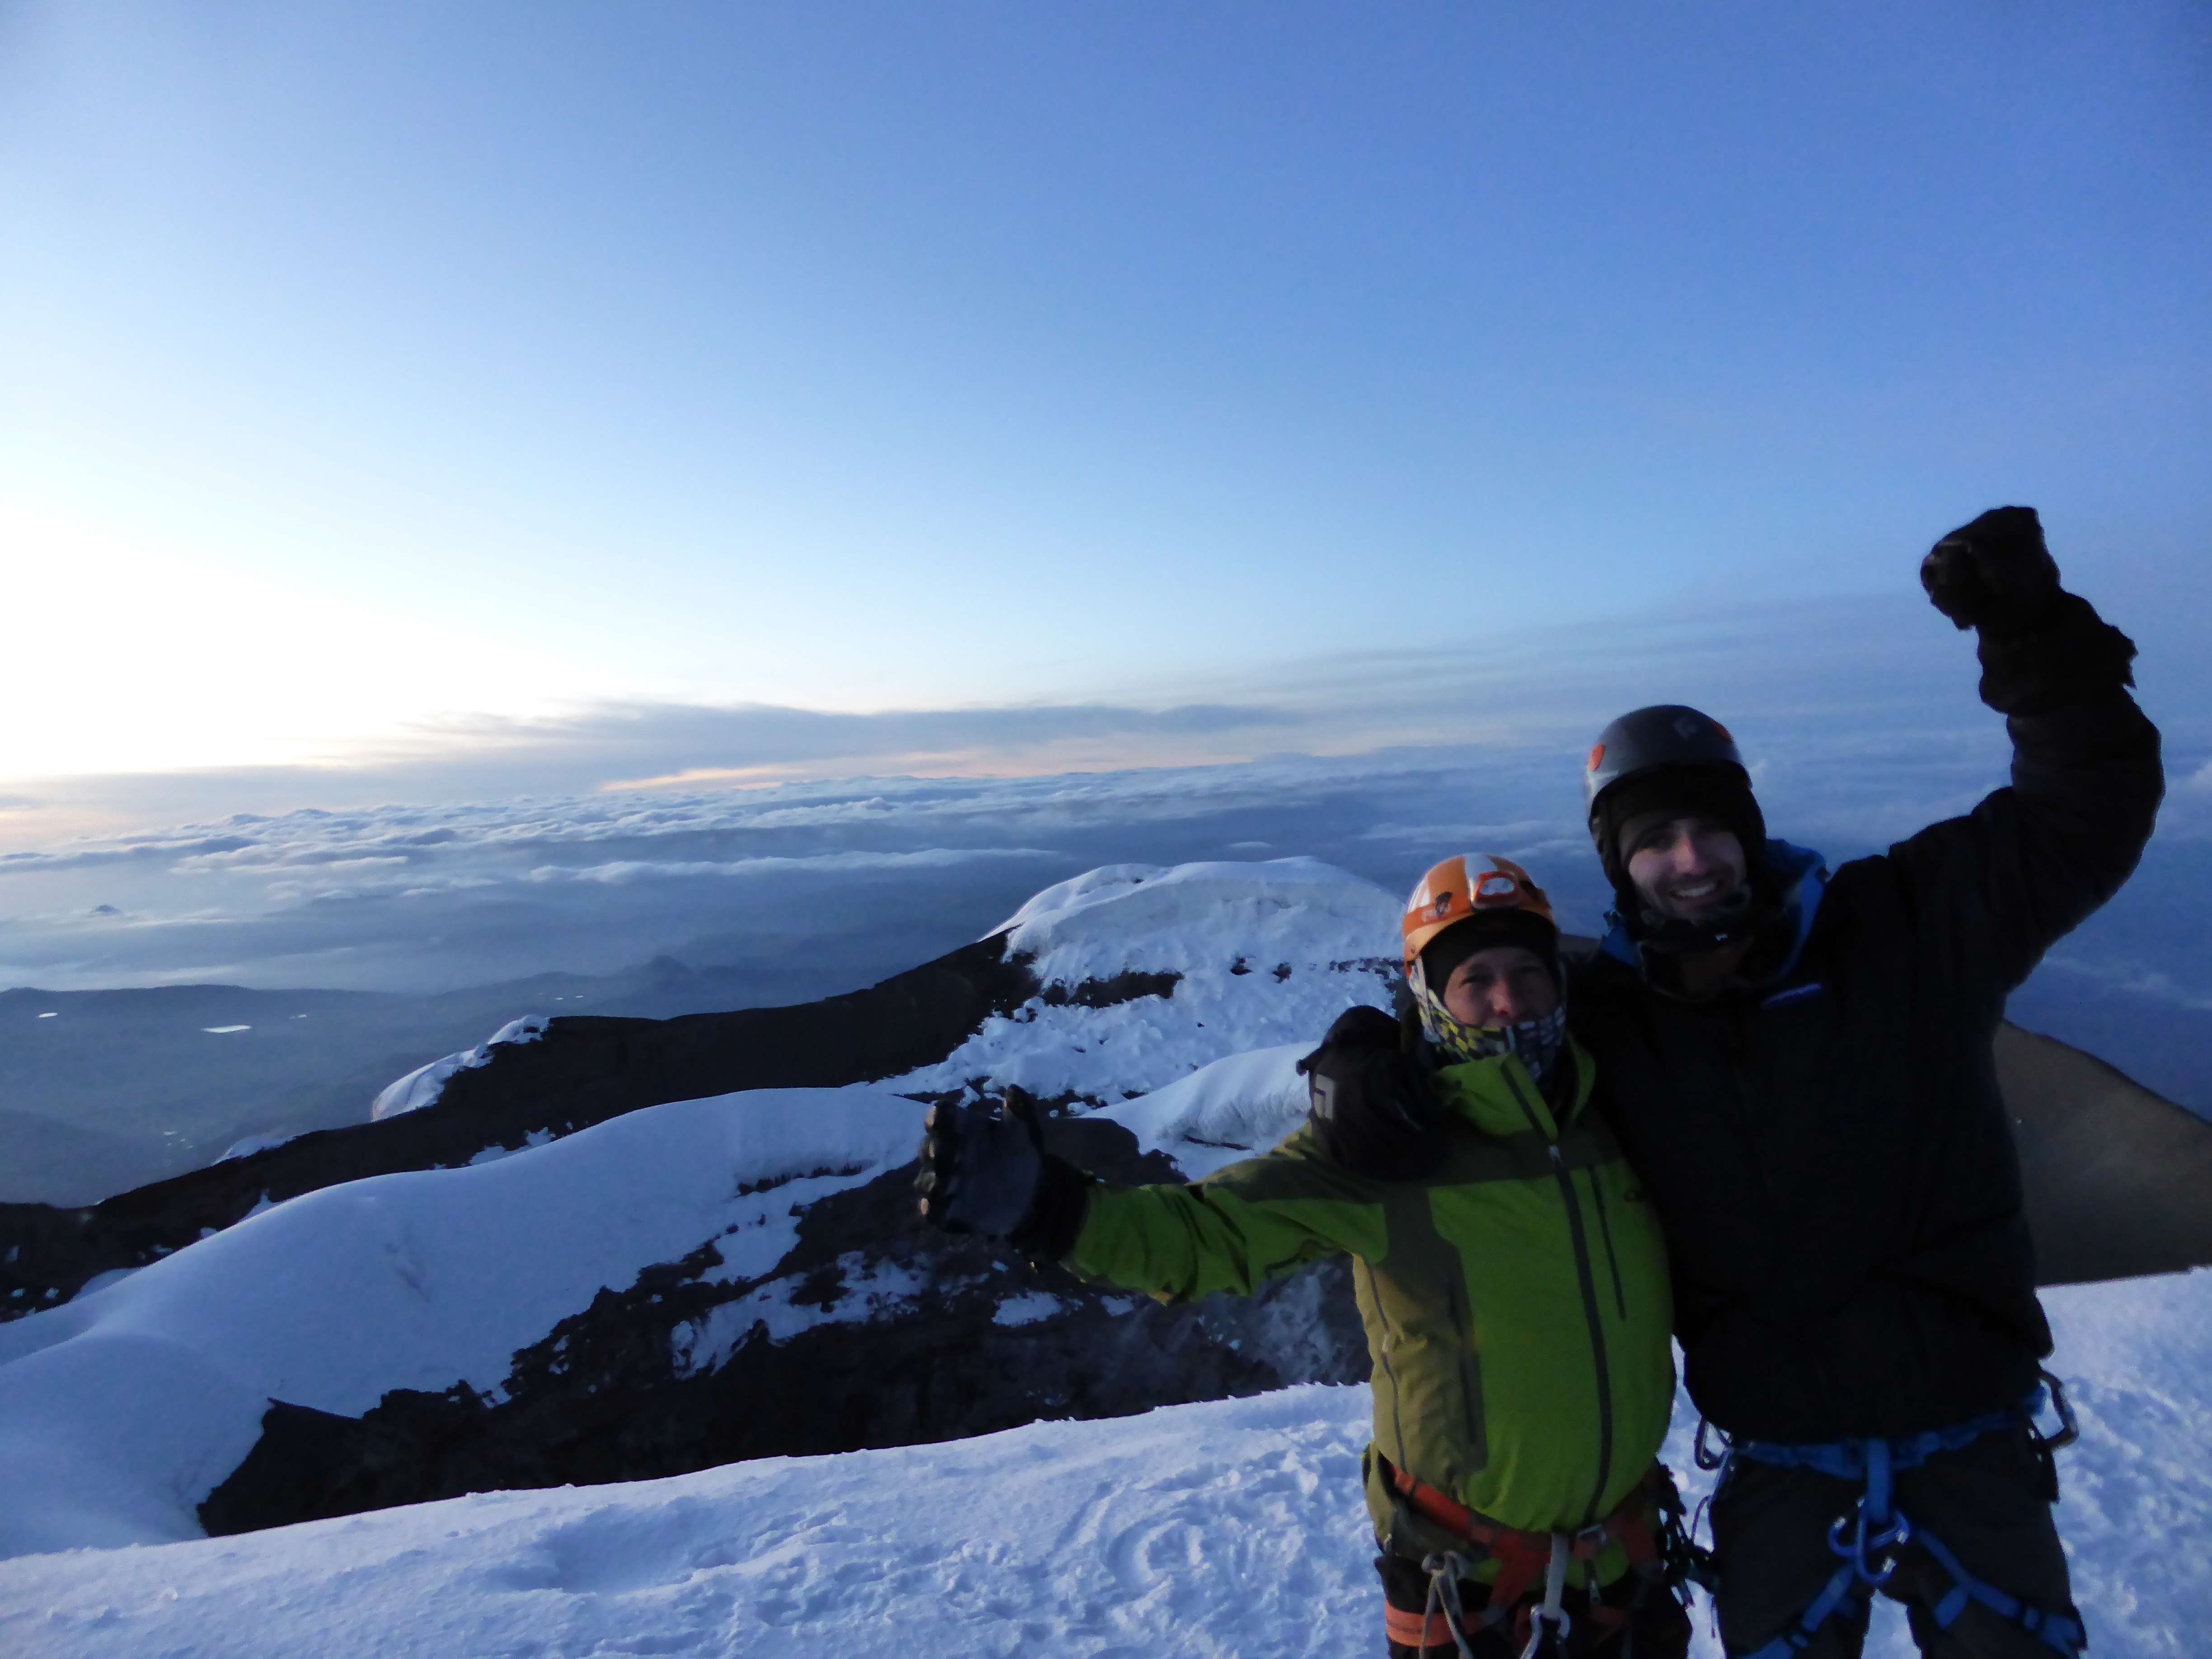
-

-
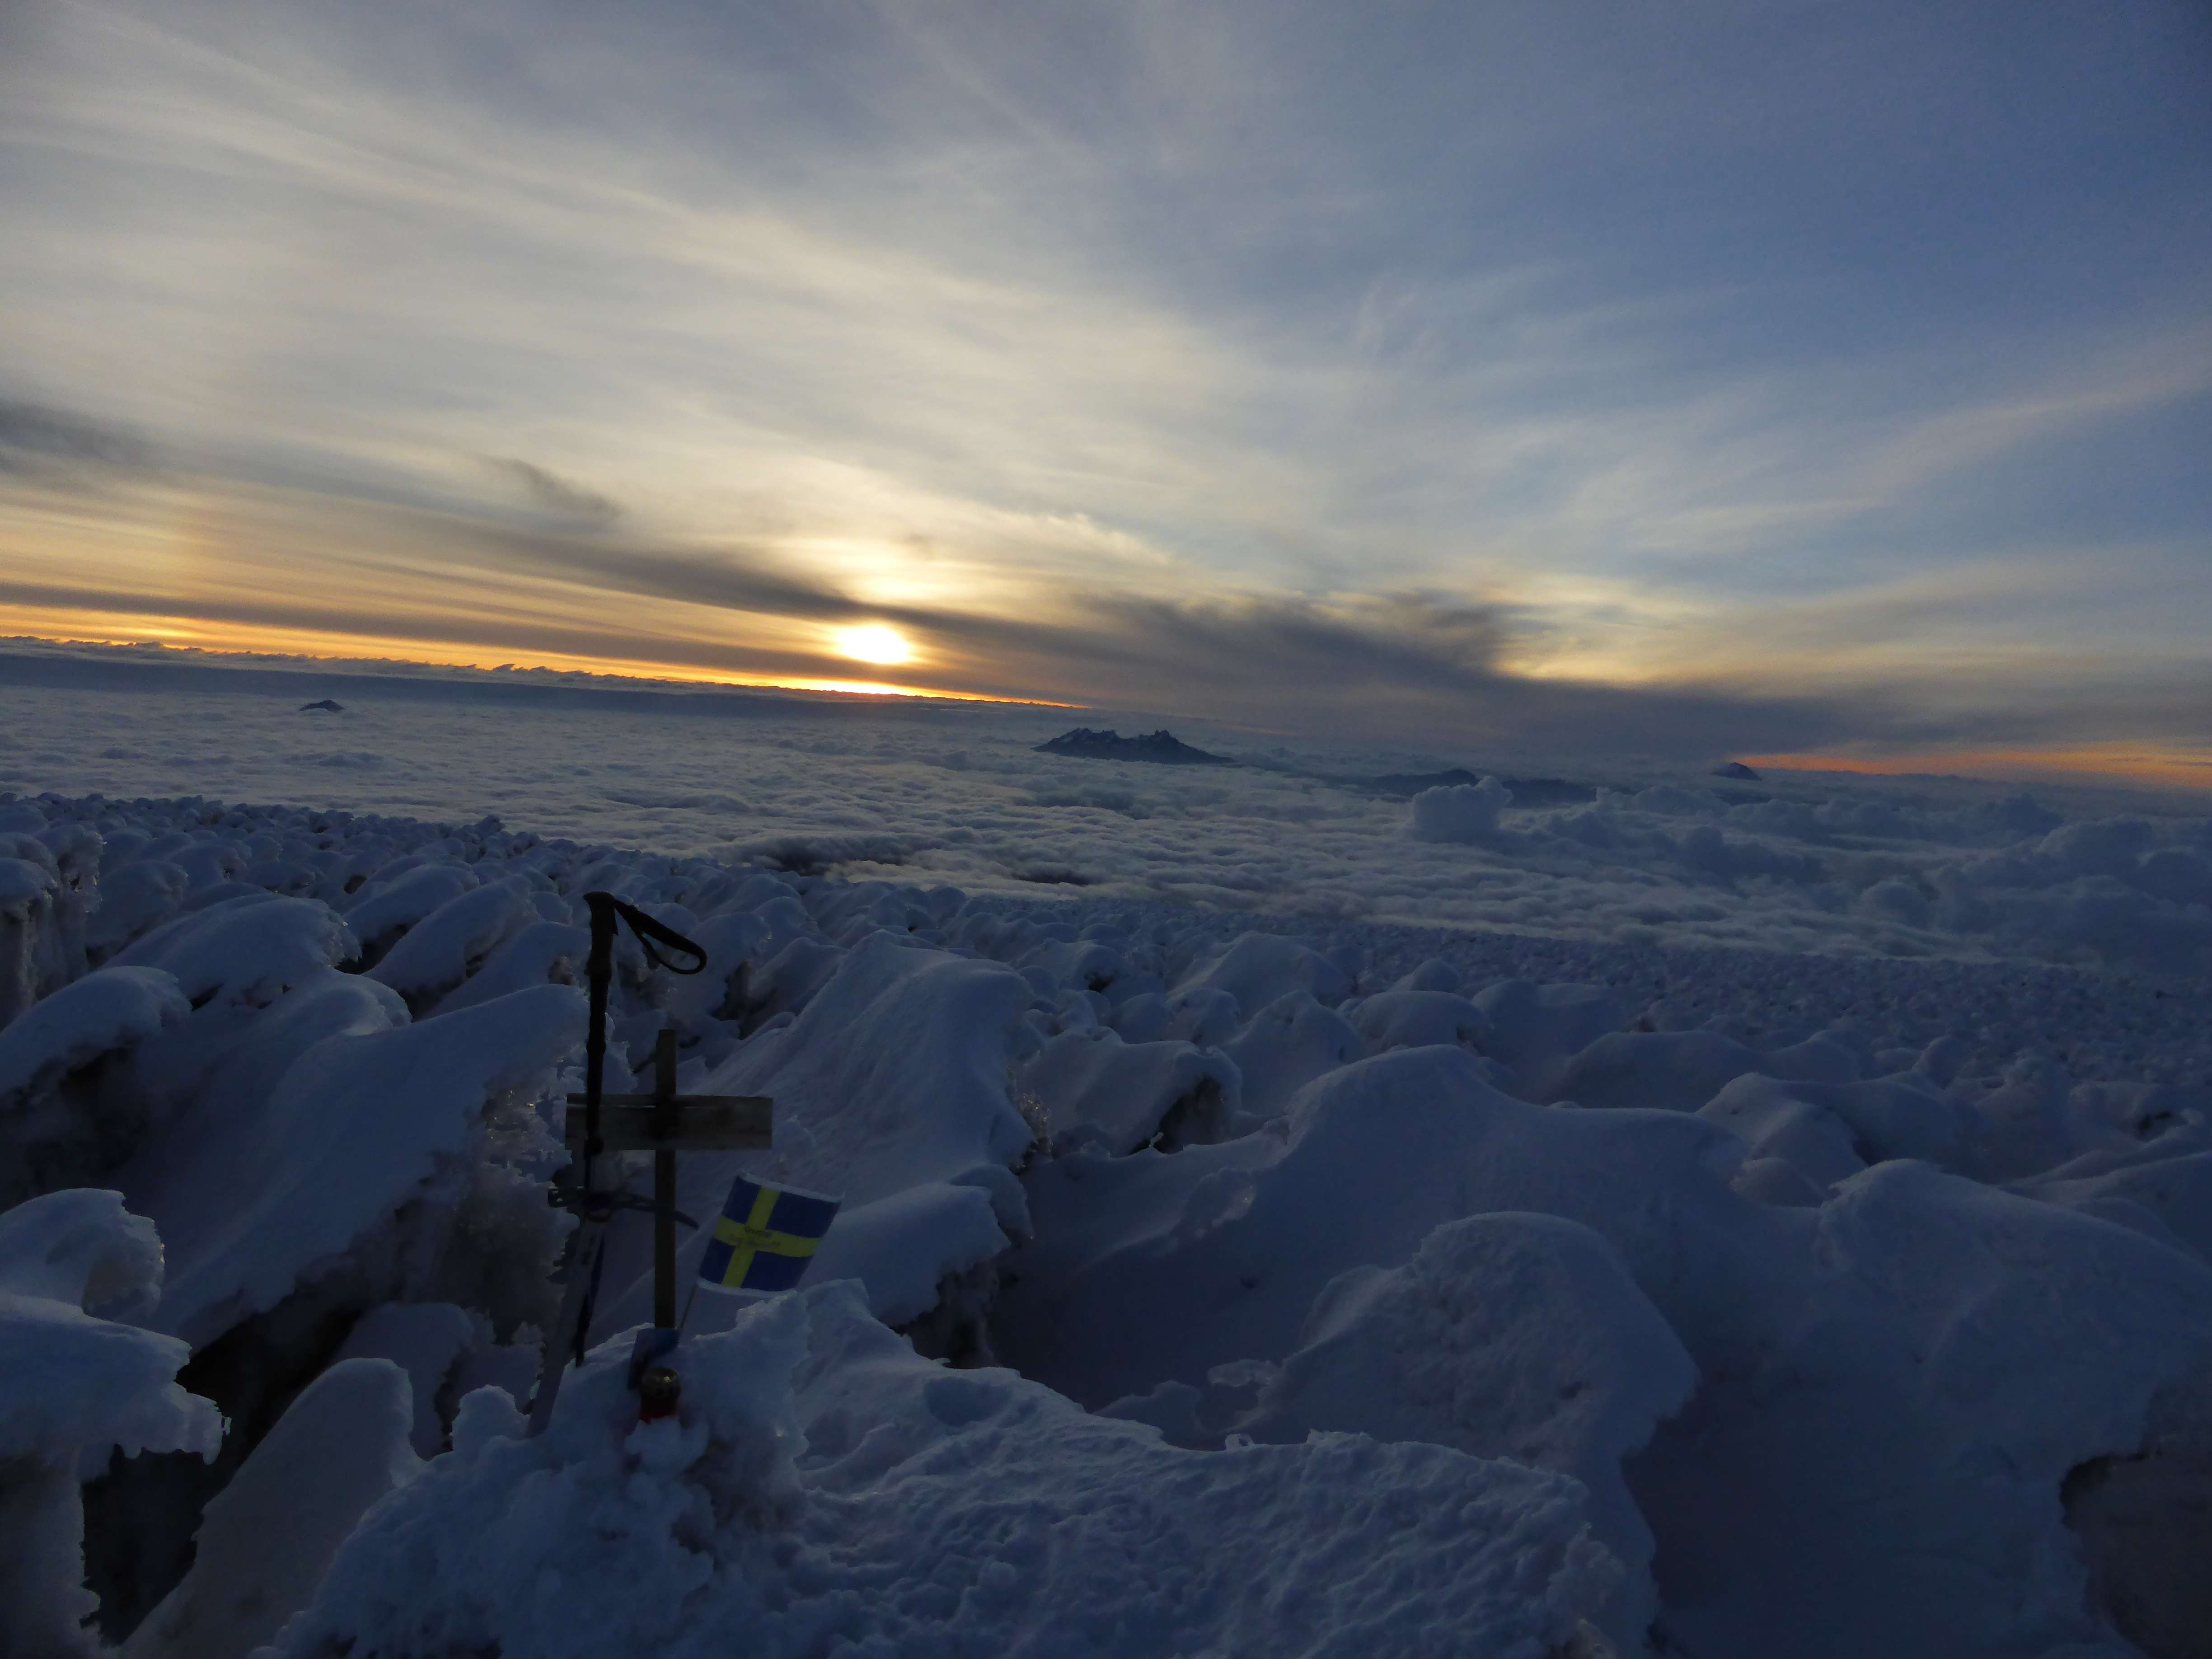
Aconcagua’s summit cross, the south summit behind.
-
-
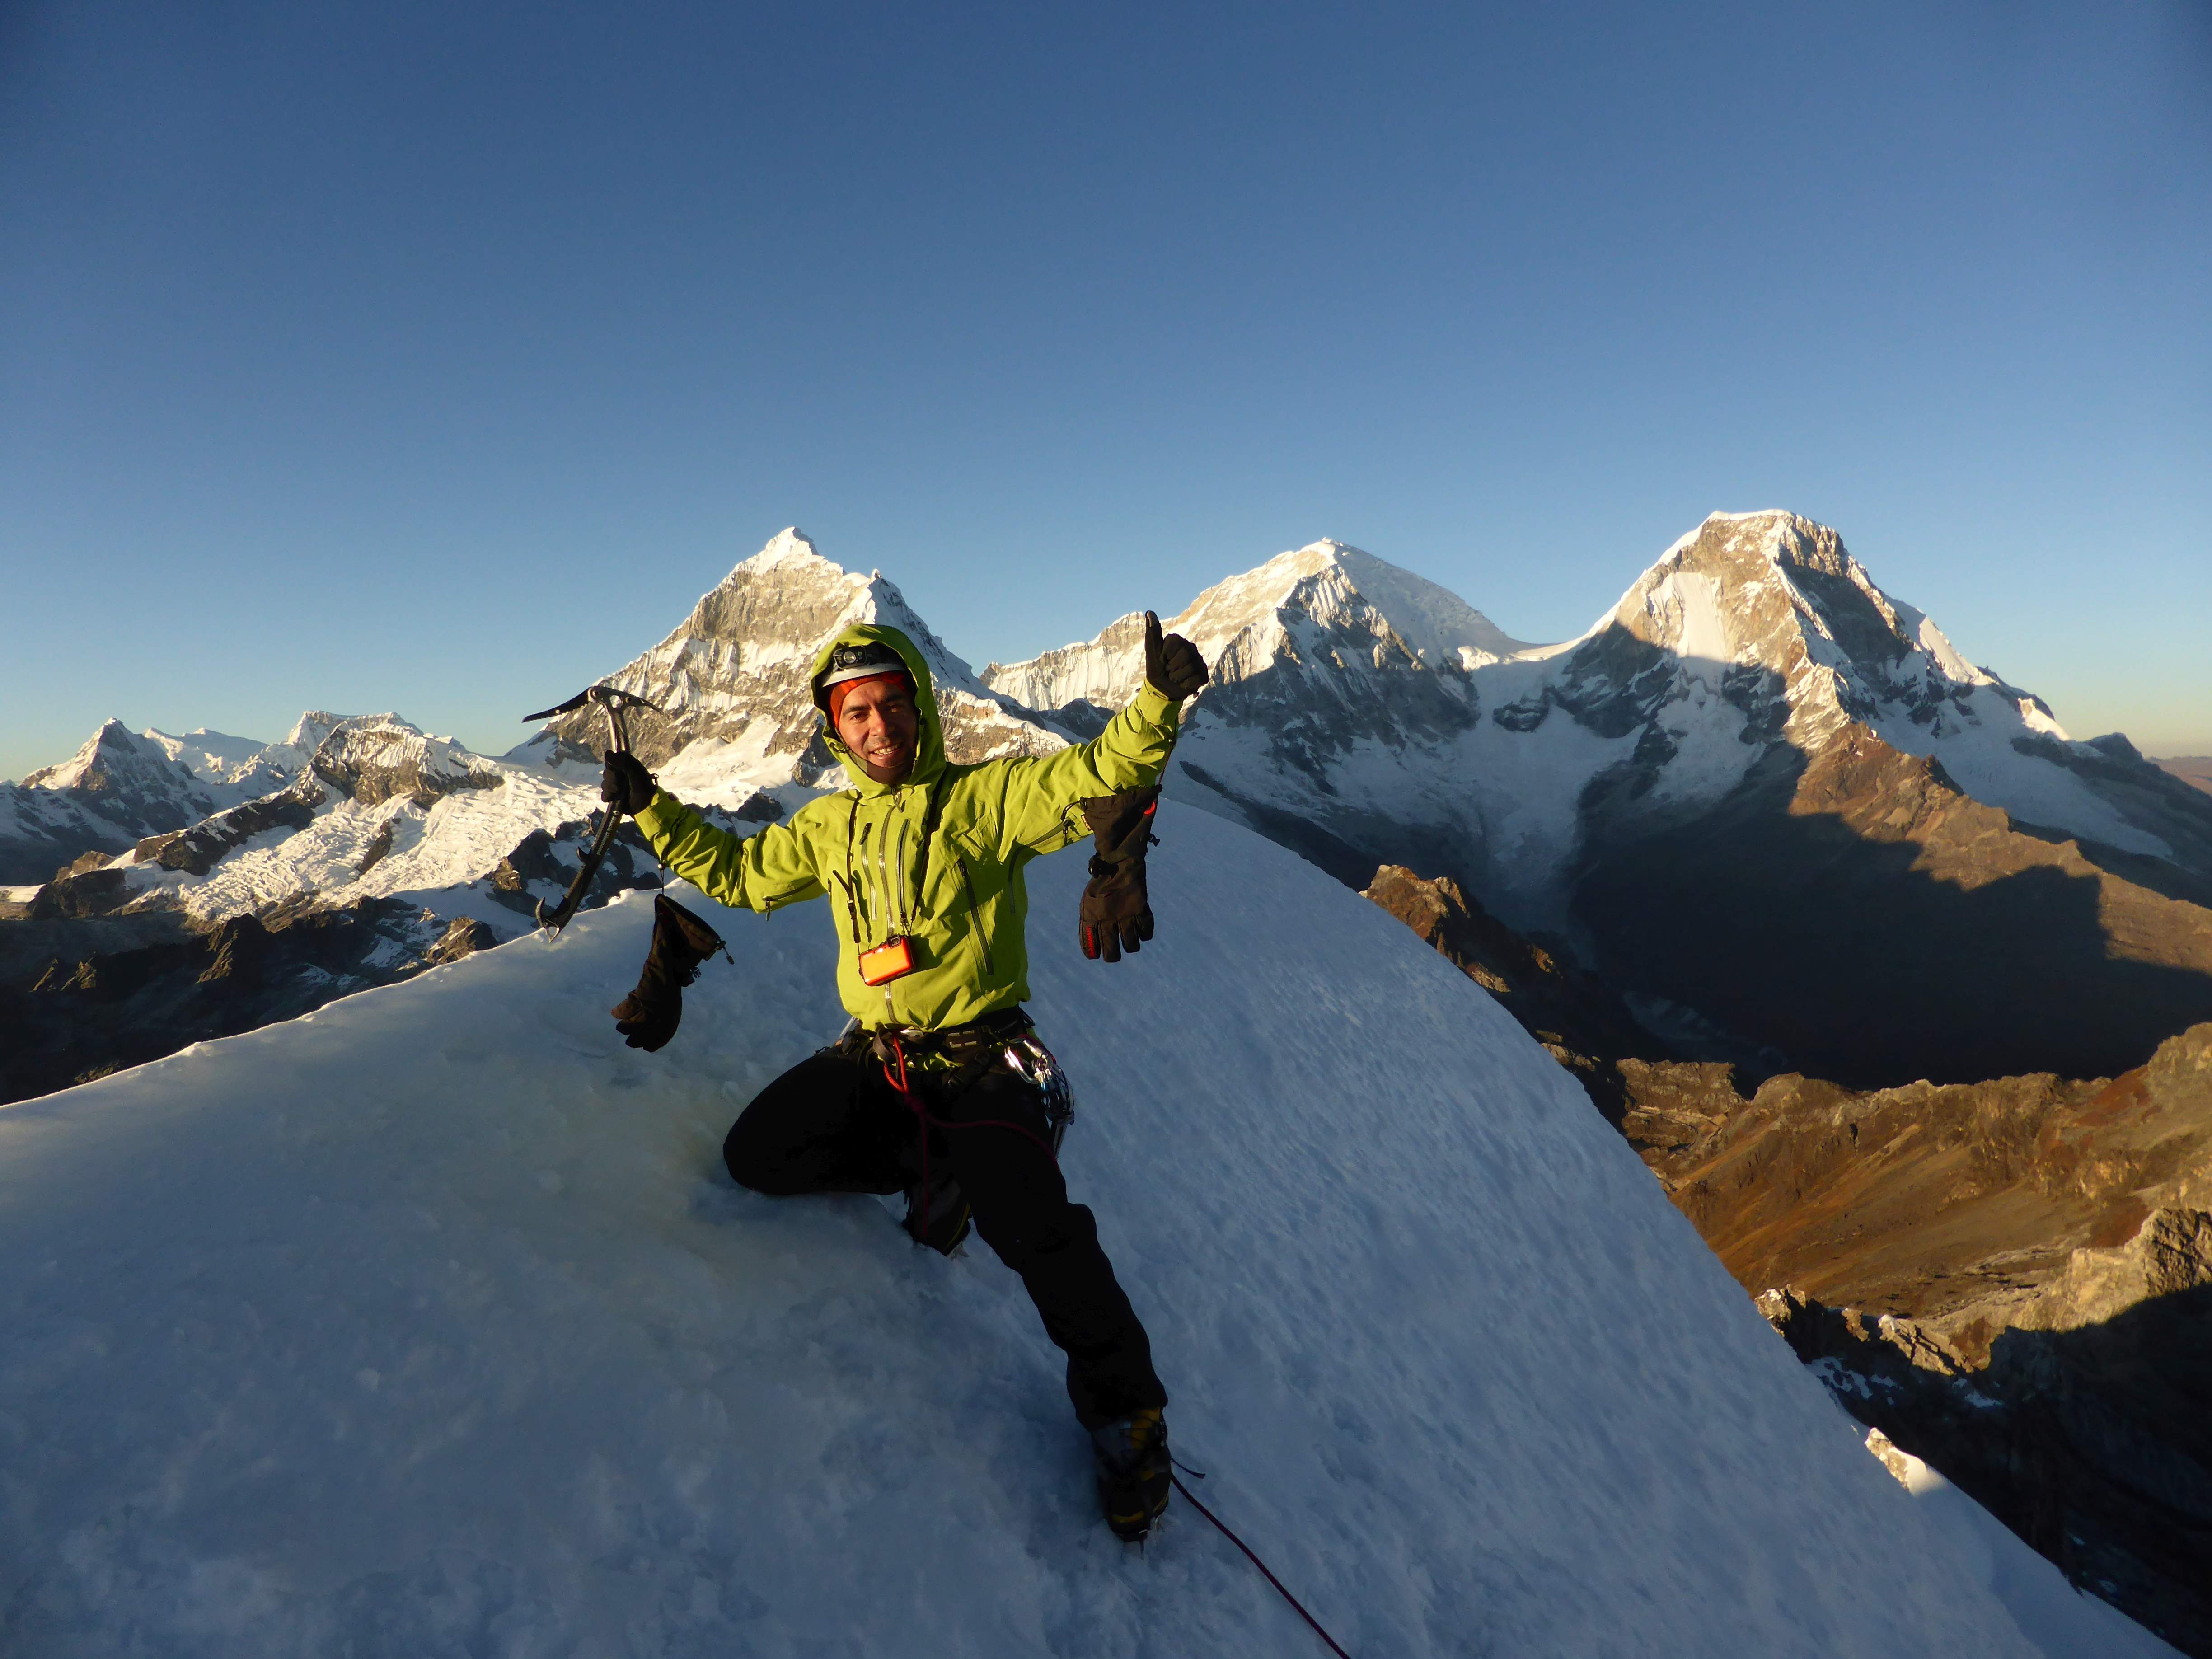
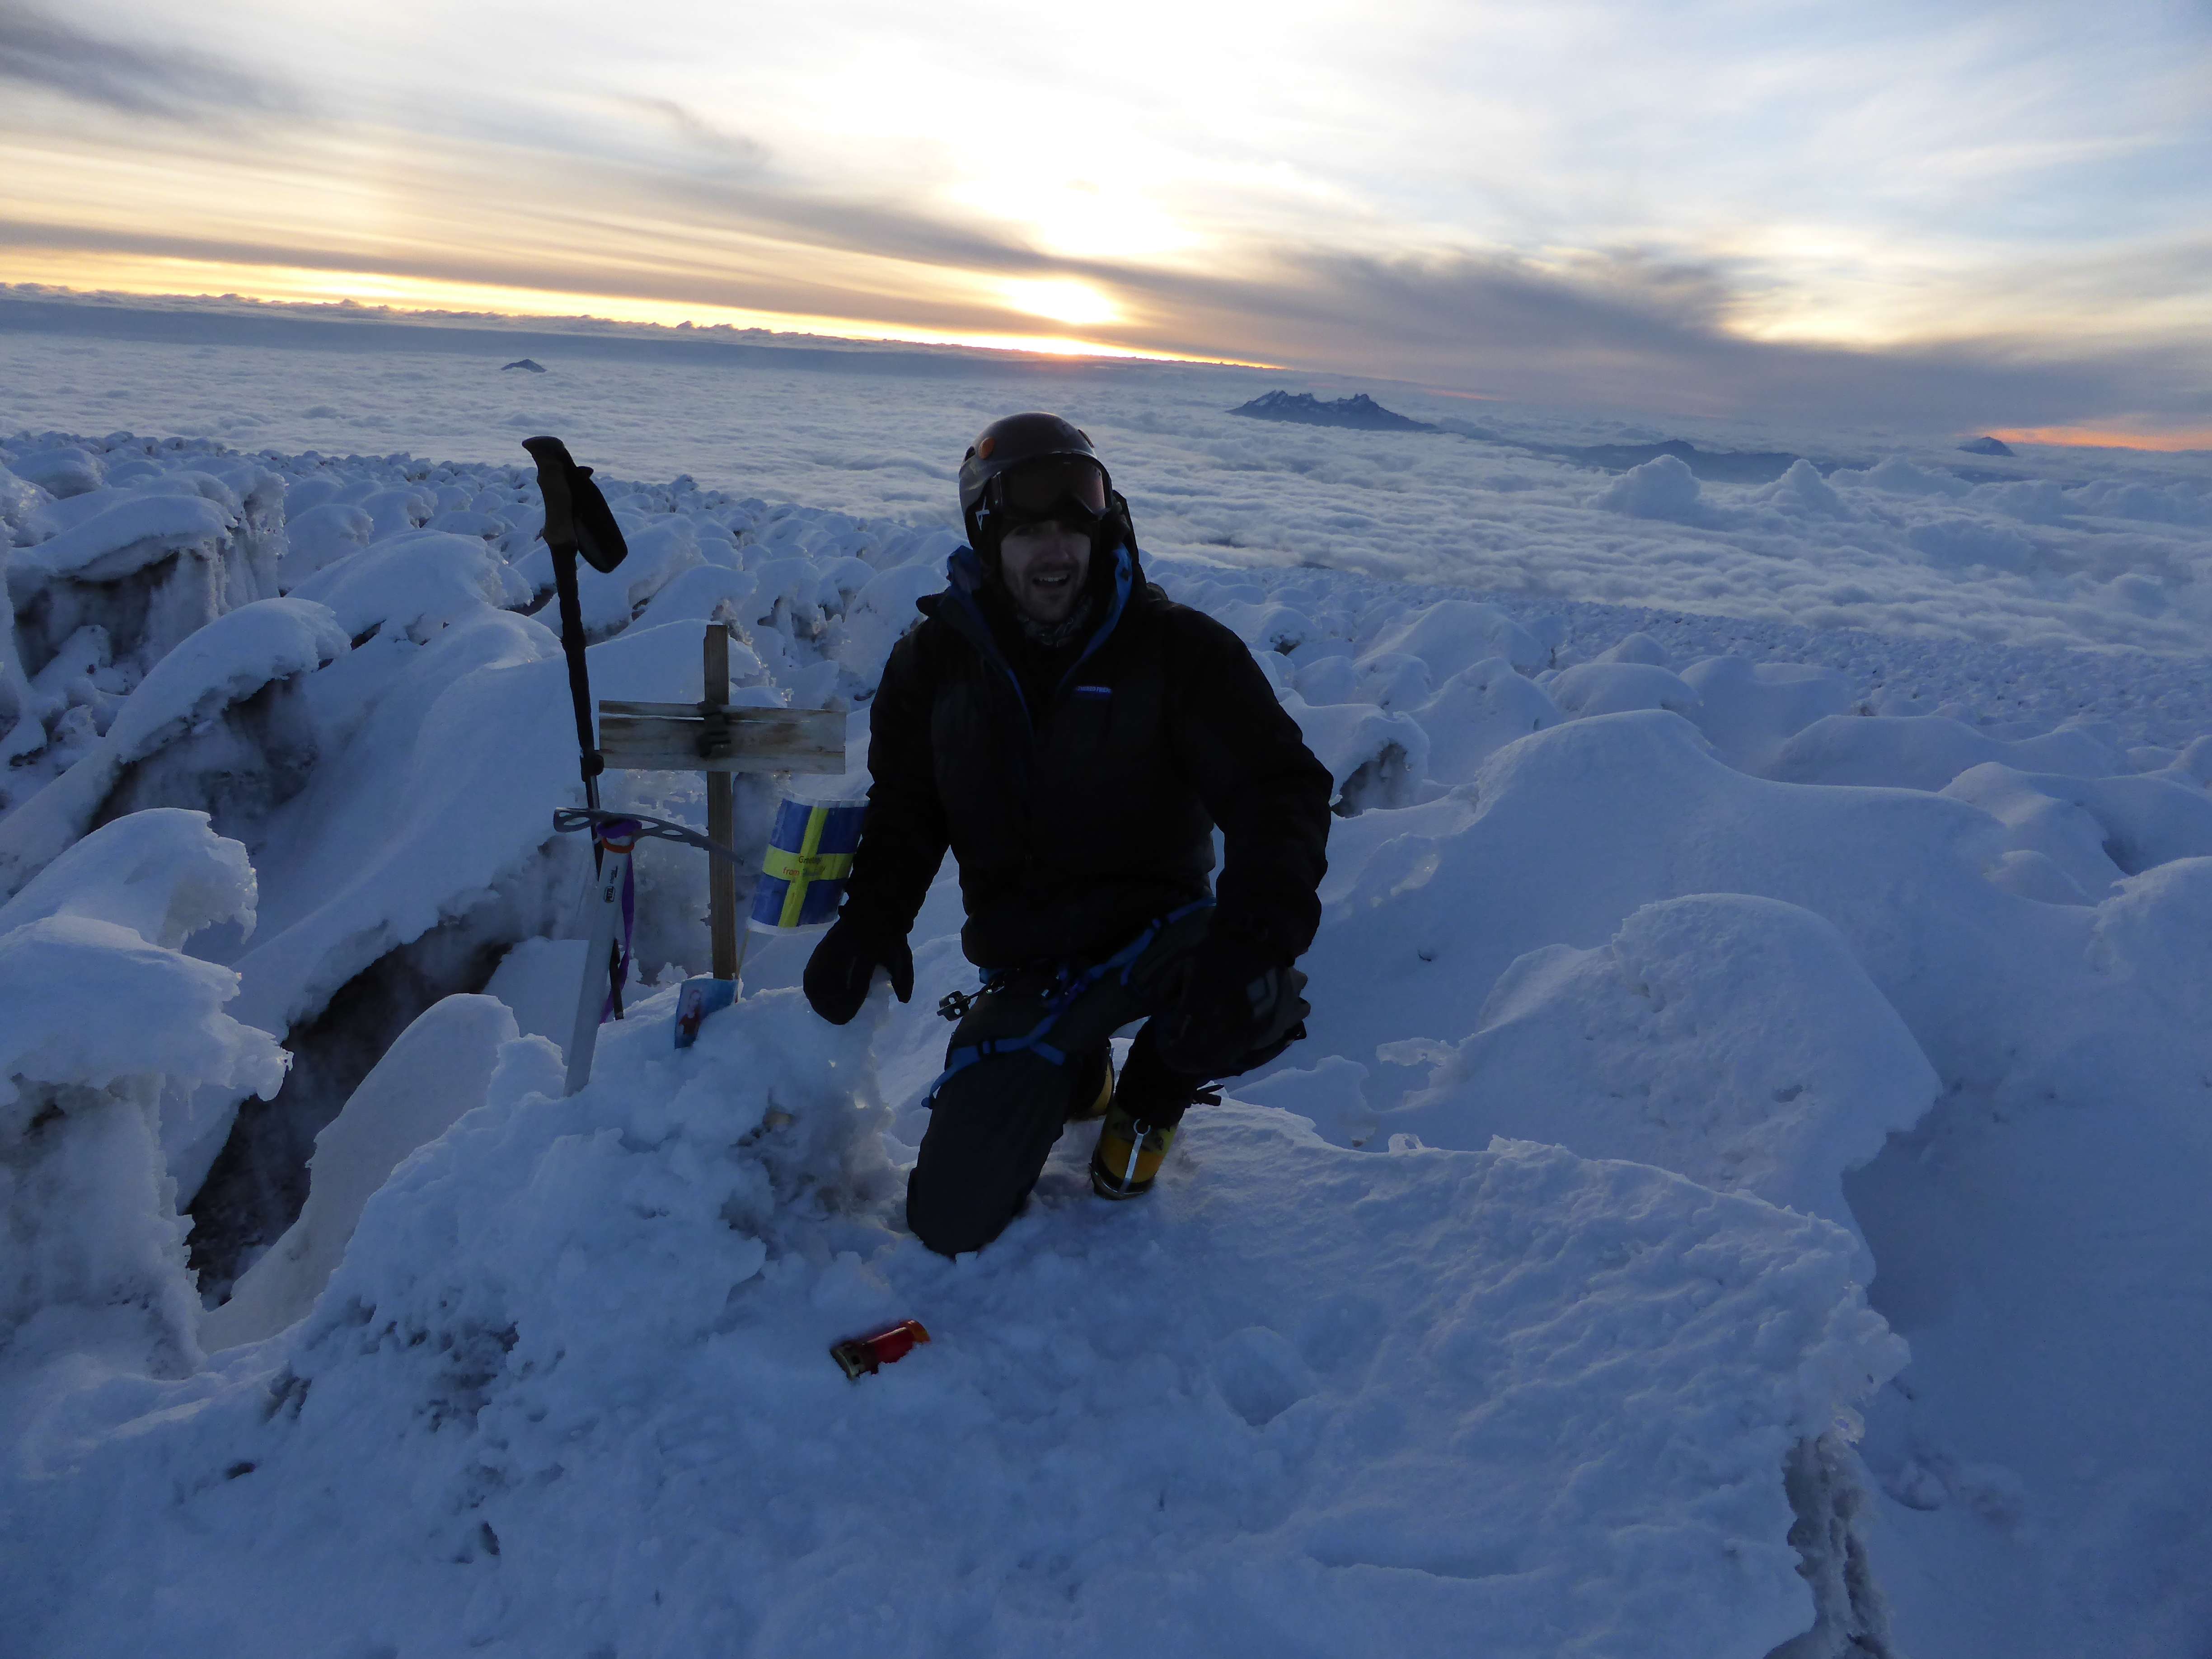
On the summit of Aconcagua.
February 12th
4300m to 5450m. Sleep at 5450m, Nido de Condores.
After sleeping eleven hours, I took my time preparing to re-ascend to Nido de Condores. I ate some snack food, repacked my bag, and after socializing with other climbers and rehydrating began heading back up the mountain at around 2 p.m. With a light pack the ascent went very quickly, and I soon found myself at Camp Canada, now quite crowded with ascending teams. Just above Camp Canada the wind began to pick up and light snow began falling. I had packed extra clothing, and despite the cold weather was quite comfortable ascending in my running shoes. Between Plaza Alaska and Nido de Condores I met a man descending very slowly, stumbling and clearly suffering from ataxia, wearing only a heavy flannel shirt and trekking pants, without gloves or a hardshell. I stopped to ask him if he was O.K., and quickly decided that indeed he was not. He told me that he had been separated from his group, and intended to descend to Plaza de Mulas. The weather was quickly turning and he appeared to be suffering severe AMS, so I persuaded him to accompany me back to Nido de Condores where there is a park ranger. I took his pack for him, and helped him back towards Nido, taking almost 40 minutes. At Nido the ranger gave him some hot tea and snacks, and got on the radio to try and figure out who and where the man’s team was. After hydrating and eating the man recovered somewhat, and was immediately quite angry that his guide and team had abandoned him high on the mountain. I departed for my tent, where I cooked some dinner and began packing up my leftover food. The Estonian team had ascended to Nido, and I spent some time visiting with them before heading to bed.
February 13th
5450m to 4300m. Sleep at 4300m, Plaza de Mulas.
3:05 descent.
Having made the summit several days earlier than planned, my initial idea was to spend this day doing some hiking on the mountains north of Nido de Condores. After breakfast I got dressed, packed a day bag, and headed across Nido to the downslope which leads to the various peaks behind Nido. I reached the top of the downslope and descended partway, then stopped and sat down to take in the scenery. Some ~200m descent on scree separated me from the nearby peaks, all of which would involve another ~200 to ~400m of scree ascent to summit. I enjoyed the view and pondered my options. I was still feeling physically tired from the summit, and mentally uninspired by the thought of slogging up yet more scree. In the end it was the prospect of more scree which put me off, and I headed back to my tent to begin packing up. Between my garbage, human waste, equipment, and almost a week’s worth of leftover food I ended up with a massive backpack which must have weighed close to 40kg. The descent back to Plaza de Mulas was slow and uncomfortable due to the weight, taking me 3 hours with frequent breaks. In Plaza de Mulas I repitched my tent, and was happy to meet the Solo Argentine I had explored Nido de Condores with several days prior. He had reached the summit the day after me, and we shared dinner to celebrate.
February 14th
4300m to 2850m. Sleep at 2550m, Hotel.
5:45 descent.
My final day on the mountain. I took my time in the morning, preparing my duffels for the mule and packing a light load to carry. I handed my trash over to the mule company, and disposed of my human waste in the receptacle provided by the park. My exit load for the mule came to only 26kg, and Inka let me save some money and only pay for the use of half a mule load. The hike out was long and monotonous, but far more pleasant than it had been on the way in. I reached Confluencia quickly, but only stopped to refill my water bottles before continuing to descend. When I reached the trailhead and starting point I realized that I wasn’t finished yet – I still had to descend another few kilometers down the access road to the Horcones park entrance. At the park entrance I checked out with the rangers, who called the mule company to come and pick me up. They drove me back to the Hotel Ayelen at Penitentes, where I celebrated my summit by enjoying a hot shower, a cold beer, an enormous meal, and good conversation with the hotel owner.
February 15th
I caught the noon bus from Penitentes back to Mendoza, and arrived at around 4 p.m. I caught a taxi from the bus station back to Plaza Indepencia Hotel, changed into lightweight clothing appropriate for summer Mendoza weather, and headed out for steak and beer.
February 16th
Spent the day relaxing in Mendoza. The Plaza Indepencia Hotel is inexpensive and in a central location, making it easy to explore the city.
February 17th
Another day relaxing in Mendoza. I was delighted to hear familiar voices in the hostel, and discover that the friendly Estonian team was also staying there and had just arrived.
February 18th
After a great grocery store lunch shared with the leader of the Estonian team, I caught my flight out of Mendoza at 5:25 p.m.
Thoughts on Aconcagua
Aconcagua was a rewarding, engaging experience for me. In deciding to attempt the hike solo I approached Aconcagua as a test of my physical training, planning capabilities, and prior experience. The climb went very well in every aspect, with no significant difficulties. I remained mentally focused throughout, emotionally invested in safely succeeding, and more than adequately prepared physically. Organizing and executing 14 days on the mountain taught me much more about trip planning, especially in regards to nutrition, scheduling, and training.
Aconcagua is not a particularly pleasant mountain to spend a lot of time on. It is very dry, dusty, and dirty, and high winds are a constant presence. The views can be aesthetic, but generally Aconcagua is lacking the raw beauty found on big glaciers. The terrain on Aconcagua is predominantly loose scree, which does not make for enjoyable hiking, and the Canaleta is a thoroughly unpleasant finish to the climb. The normal route is non-technical, and although I carried them to the summit I never saw the need to use my crampons. My ice ax remained at Nido de Condores on summit day. Despite all of this Aconcagua is not a mountain to be taken lightly and cannot realistically be described as “easy” – it was a worthy, highly rewarding challenge which I am glad to have undertaken. Aconcagua is anything but safe. At almost 7000m the altitude presents difficulties and can be dangerous. There were deaths while I was on the mountain. A man whom I greeted as I descended from the summit later died there. Argentina is a very friendly country, and many of the Argentine climbers I met were delightful, interesting people. Argentina has a wealth of high peaks (although many are scree slogs) and is a country I intend to revisit for more hiking, perhaps in the remote northern mountains.