Mount Goode – June 2013

...

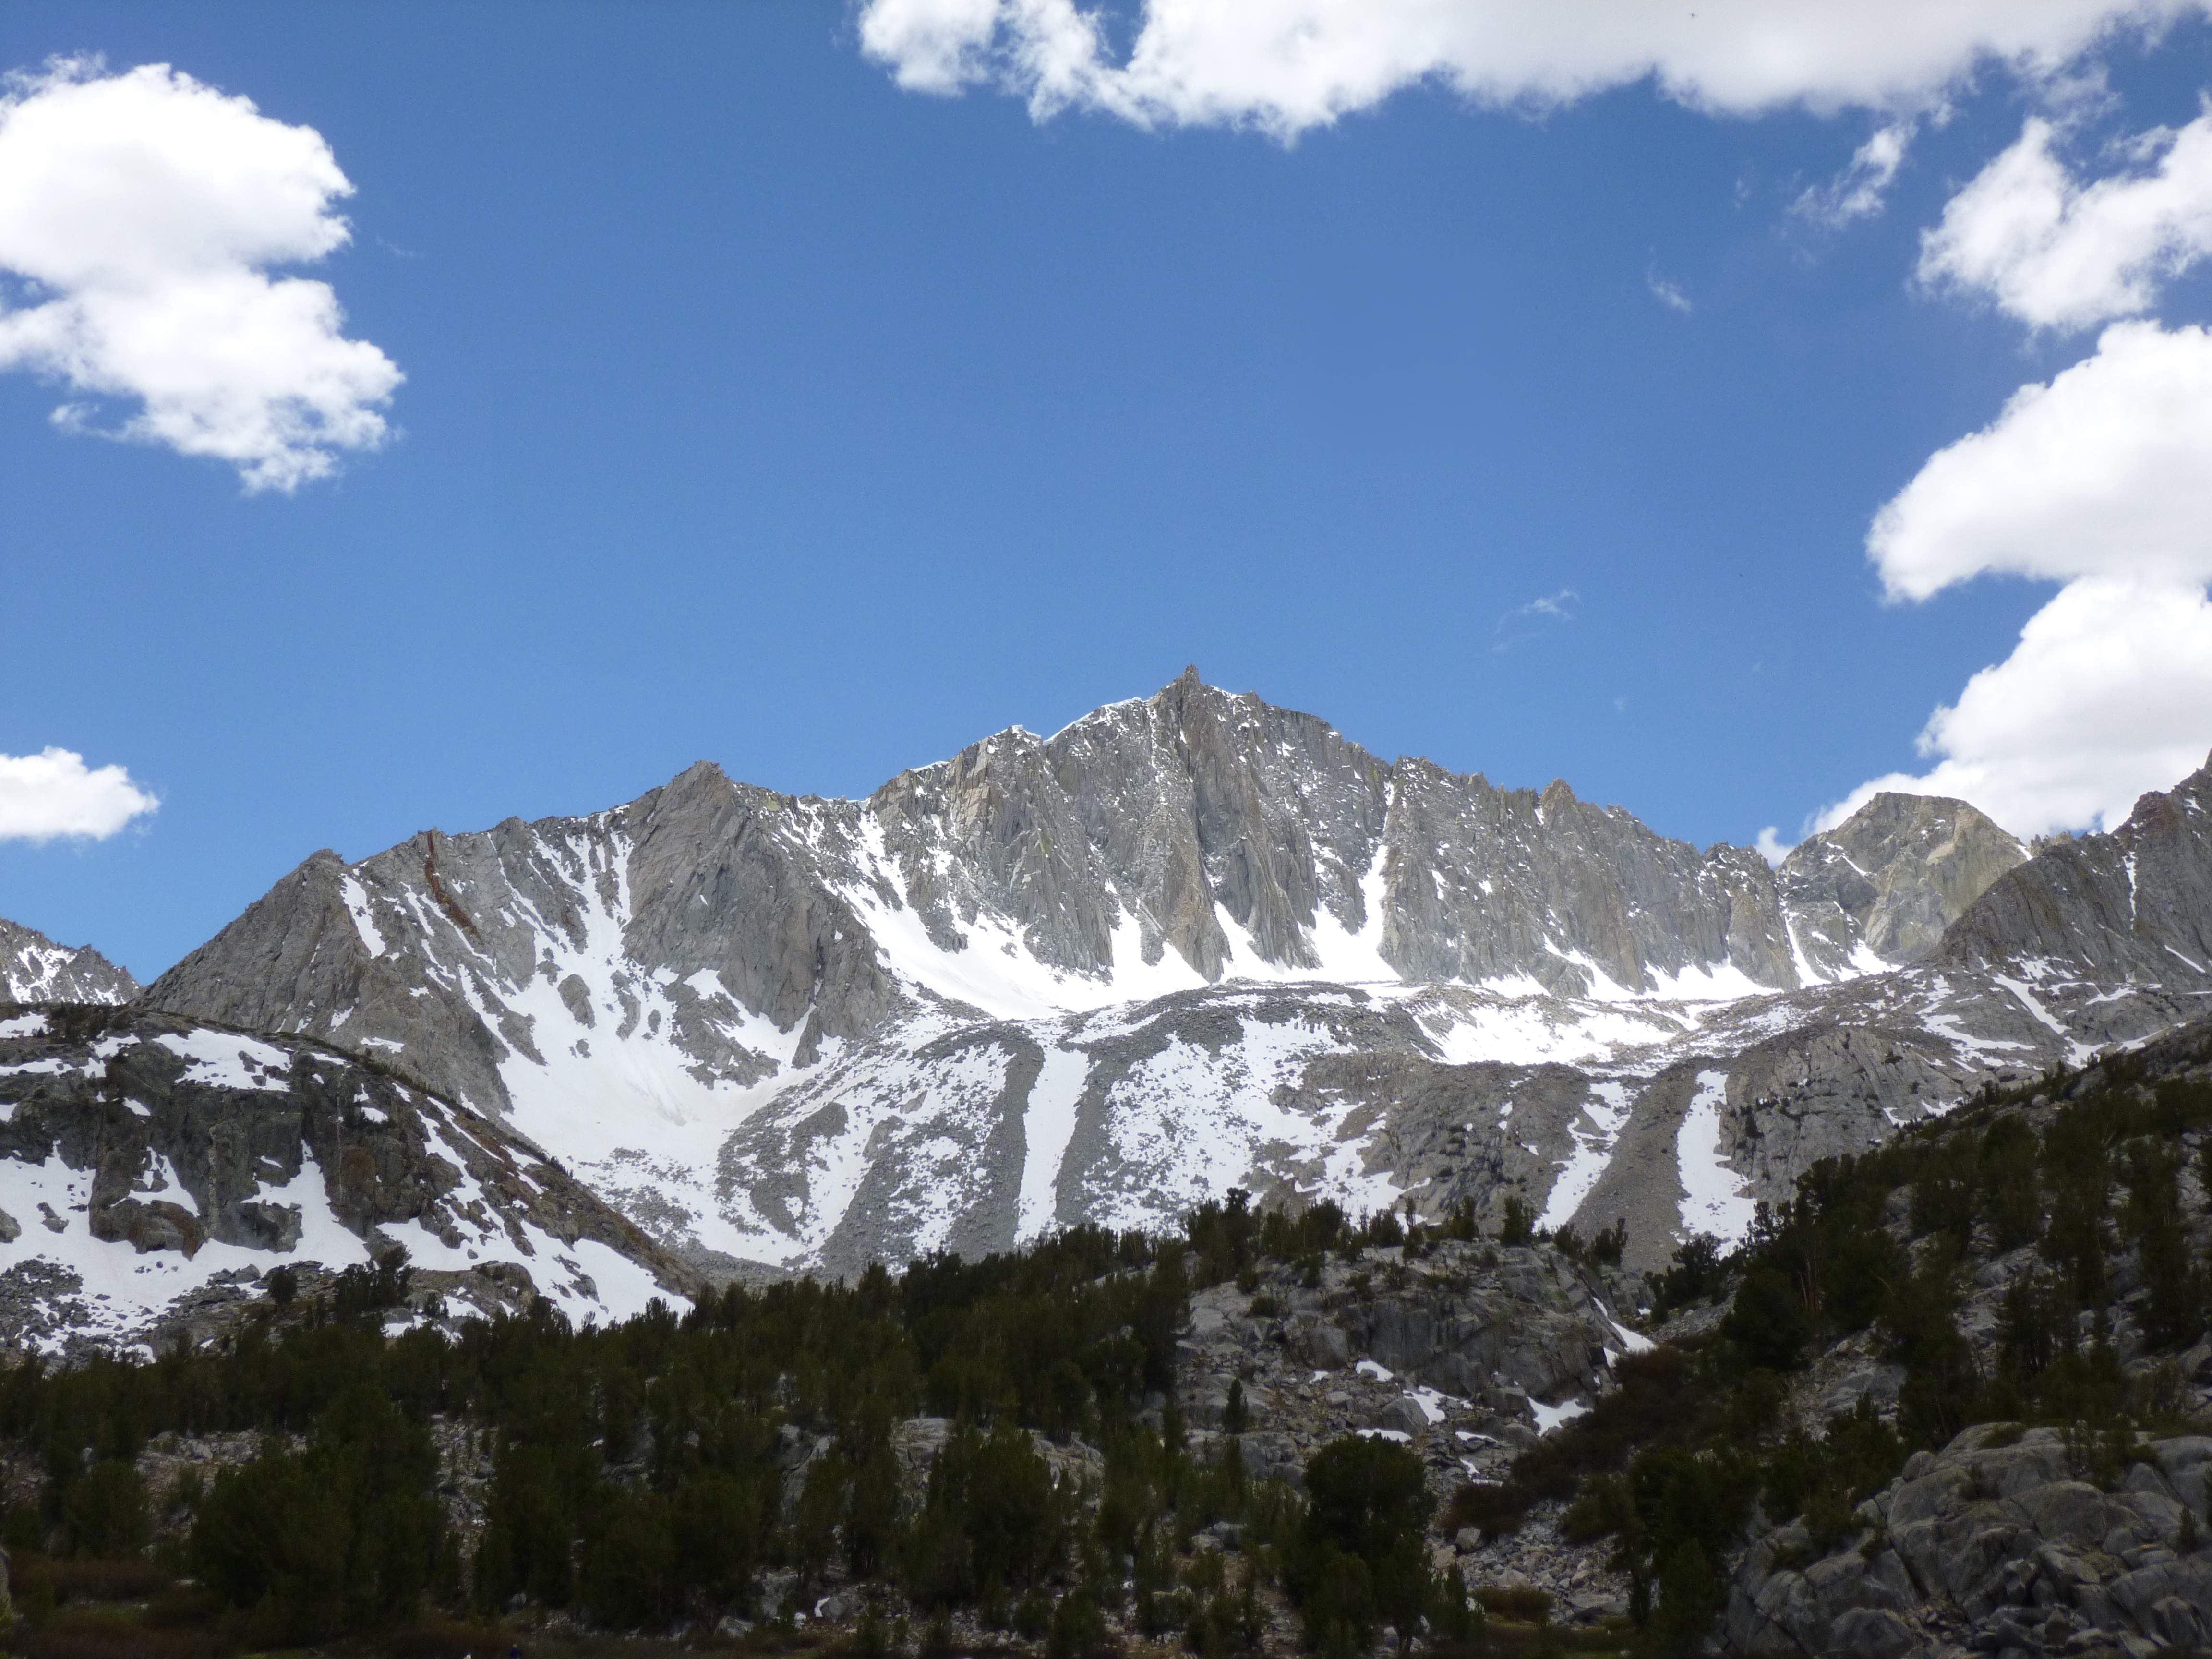
Mount Goode, from near Long Lake.

Keen to enjoy some hiking and camping in California’s Sierra Nevada, our trip began at the White Mountain Ranger Station in the town of Bishop, where my friend Don and I stopped to pick up our overnight permits and rent a bear canister.  The rangers in Bishop told us that the trail was in great condition, with all of the lakes at least partially thawed.

...

The White Mountain Ranger Station in Bishop.

Having already acquired a map at the REI in Sacramento, and with the promise of good early summer weather, we left the ranger station promptly and began driving to the South Lake trailhead.  We had a rough plan to try and hike two or three 13,000 foot peaks in the Bishop Pass area, but ended up just hiking one, 13085 foot / 3988 meter Mount Goode.

...

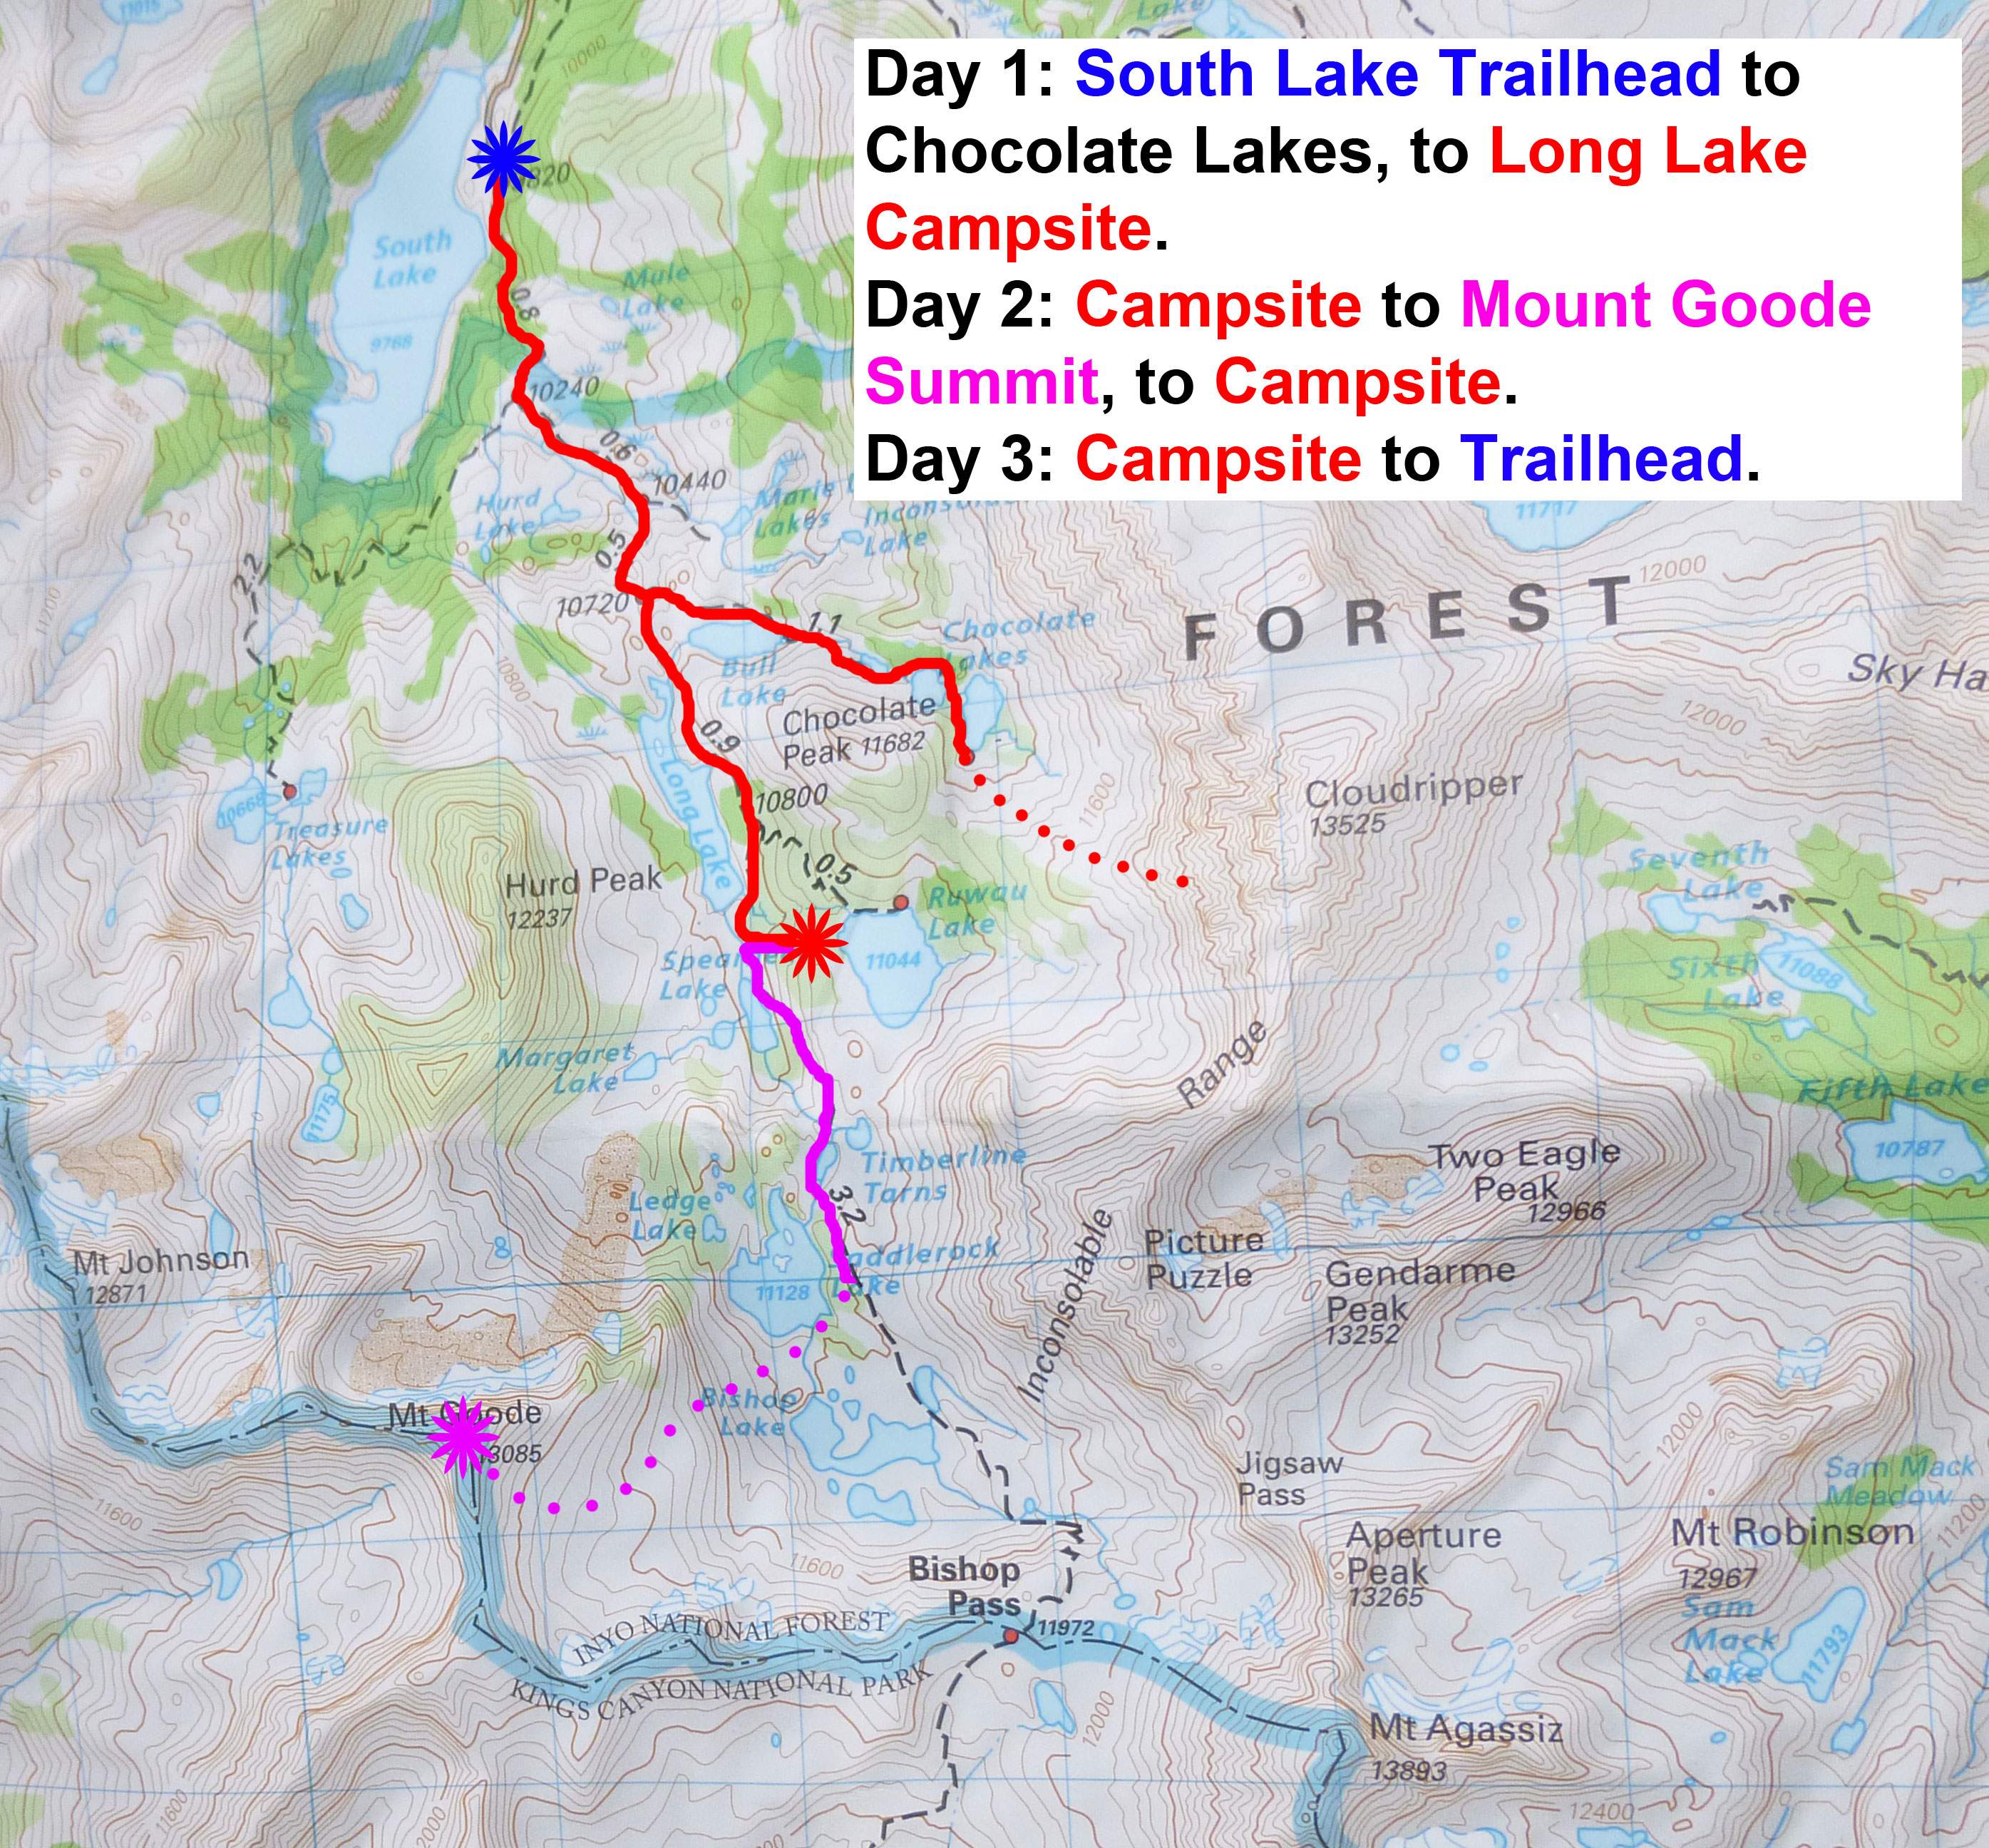
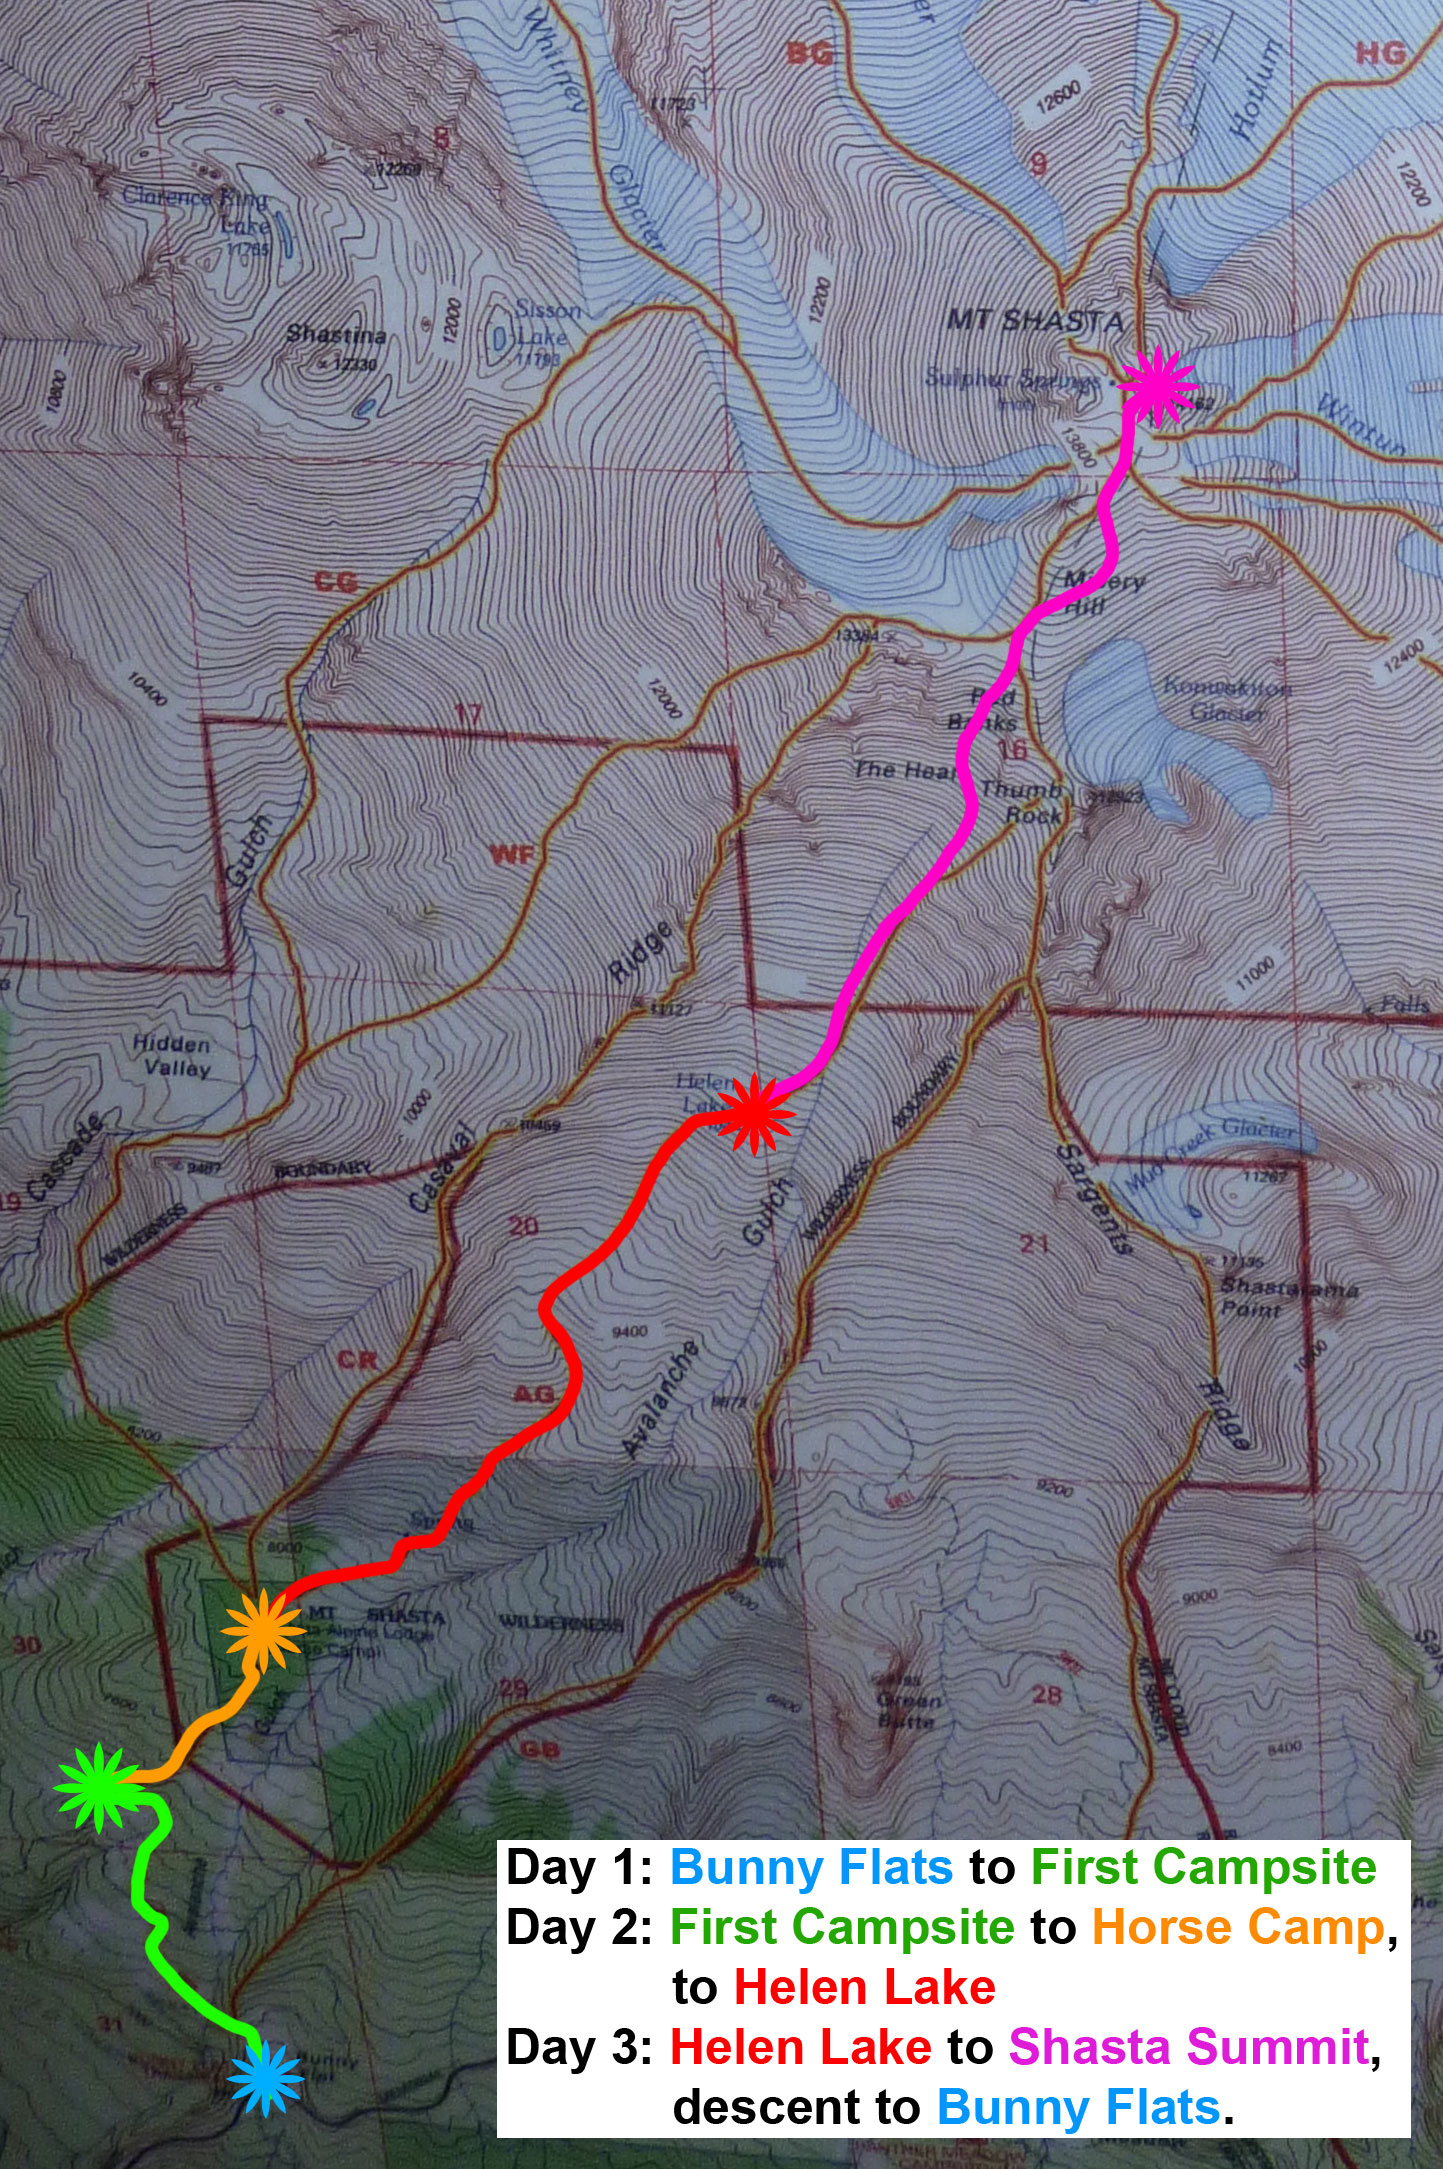
A map of our three day hiking trip.

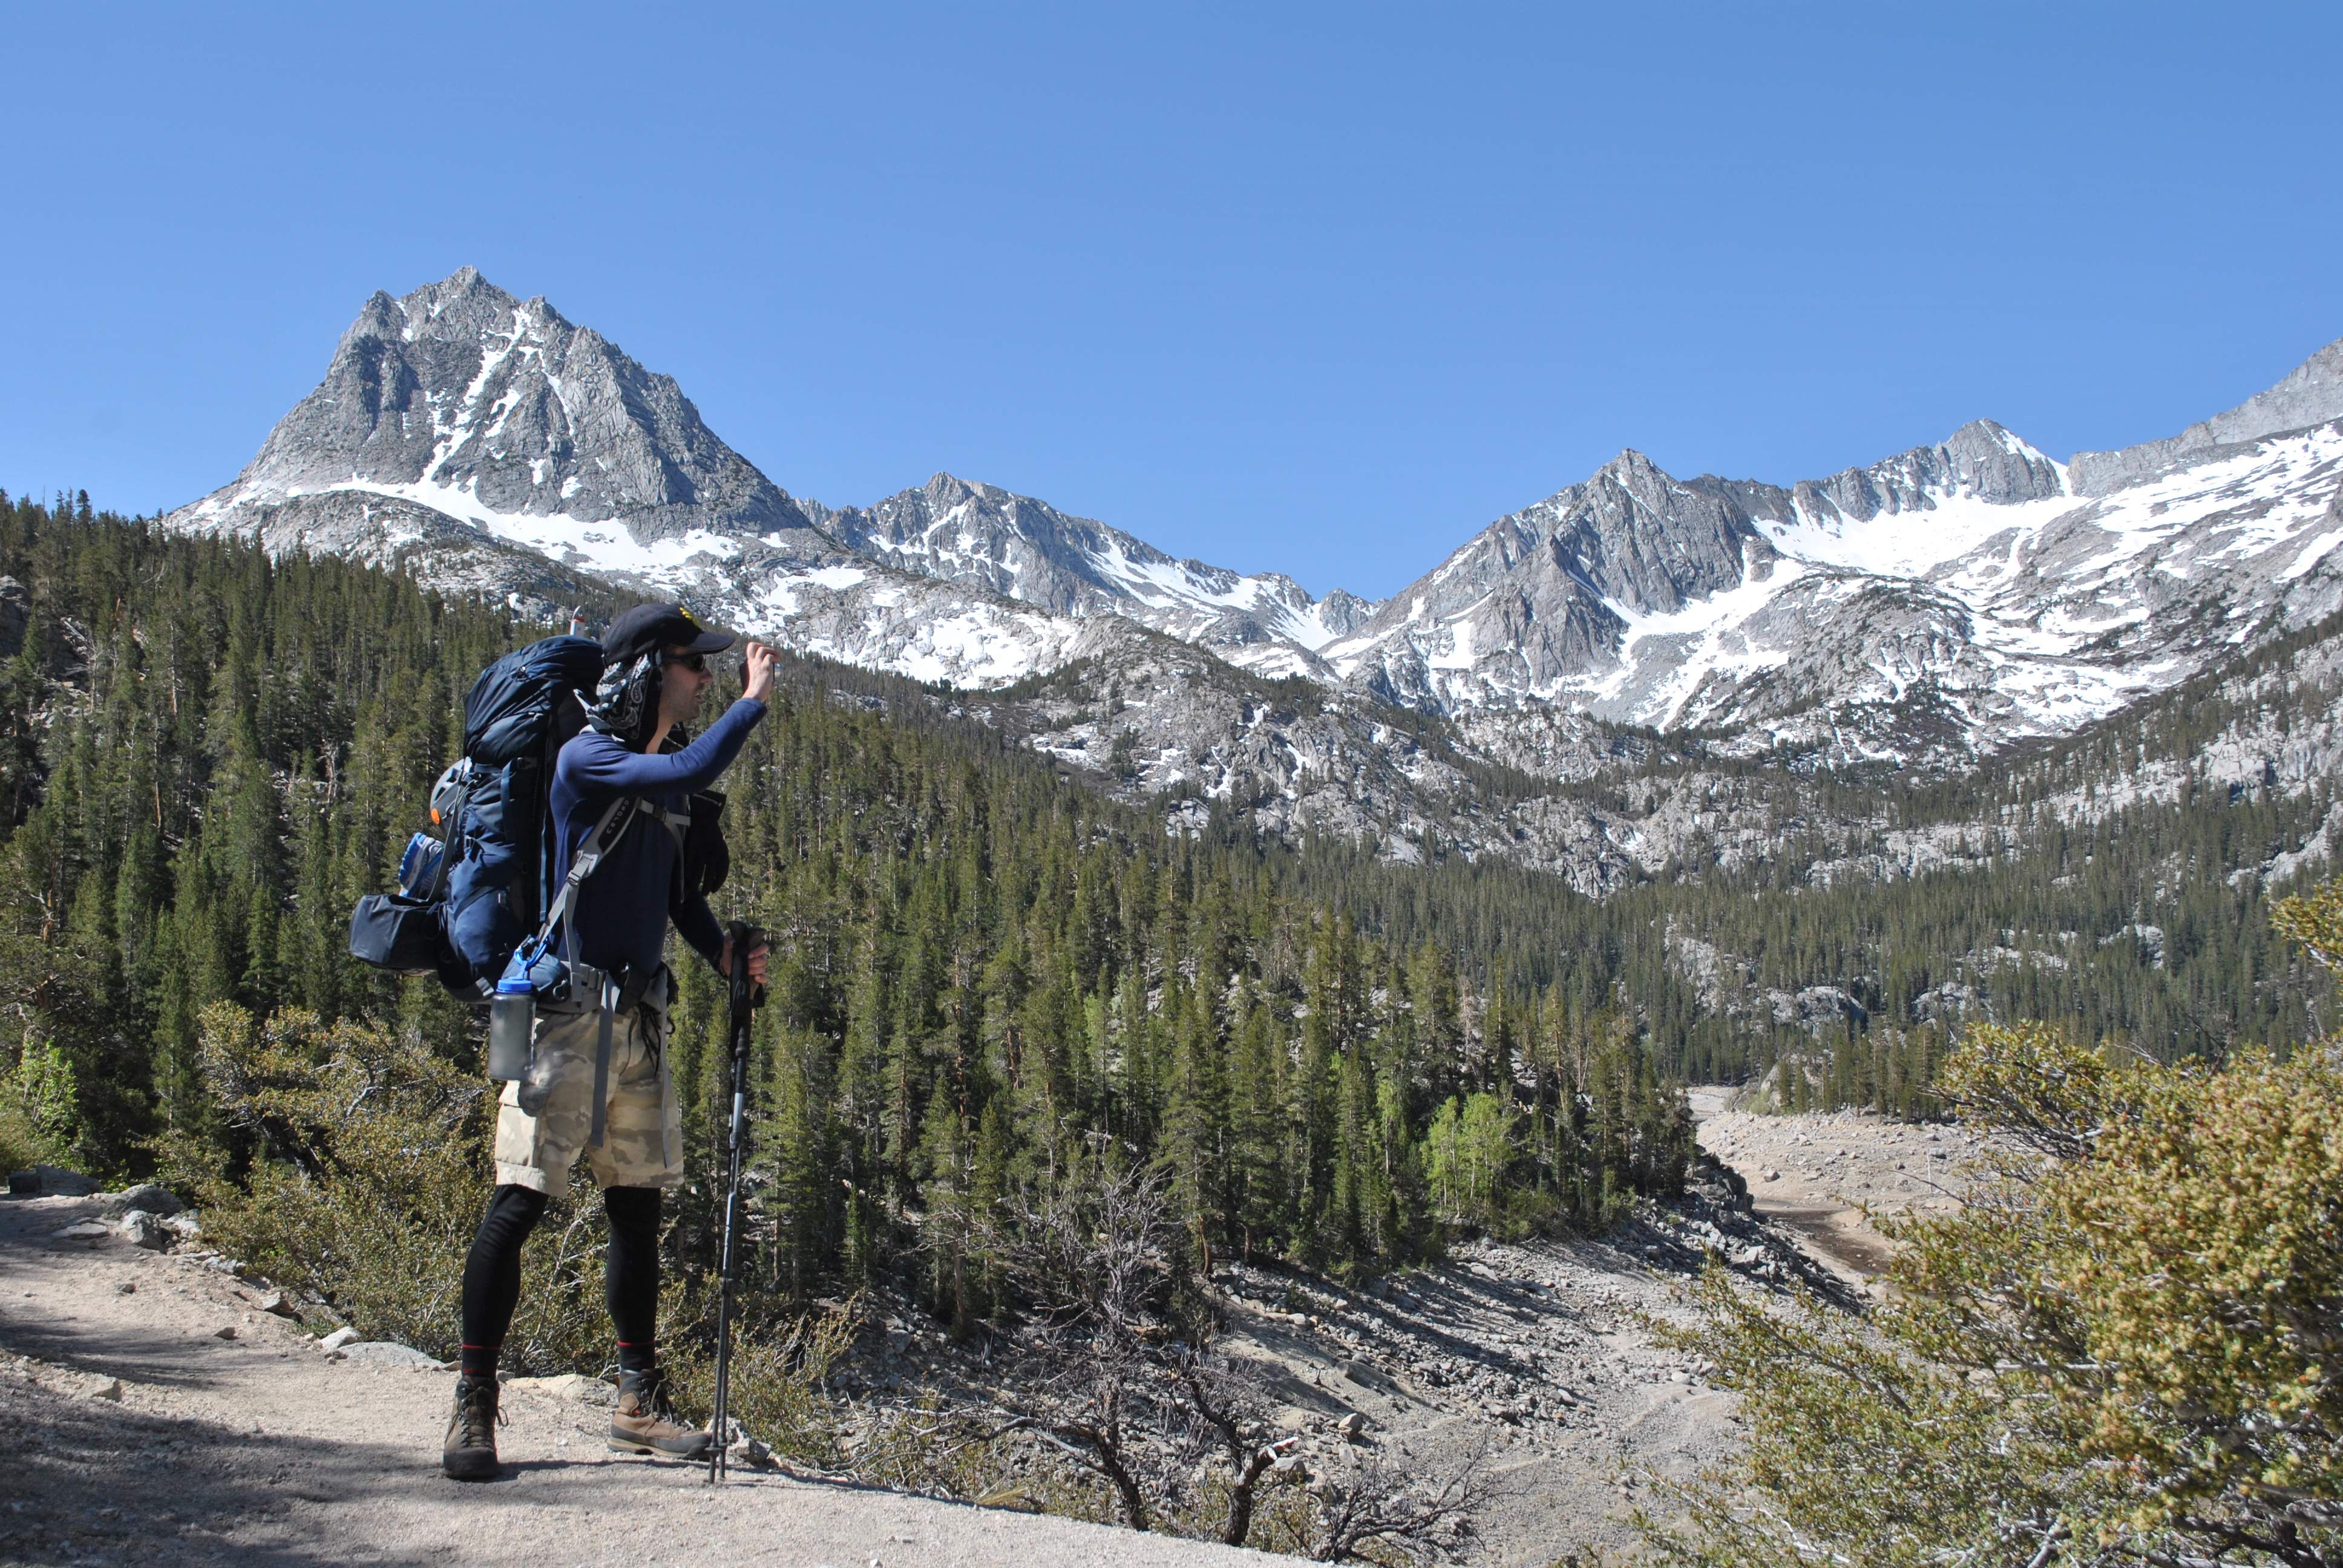
Day 1: On arrival at the South Lake trailhead a short drive later, we were greeted with distant views of Hurd Peak, the first of many impressive granite mountains on our route.

...

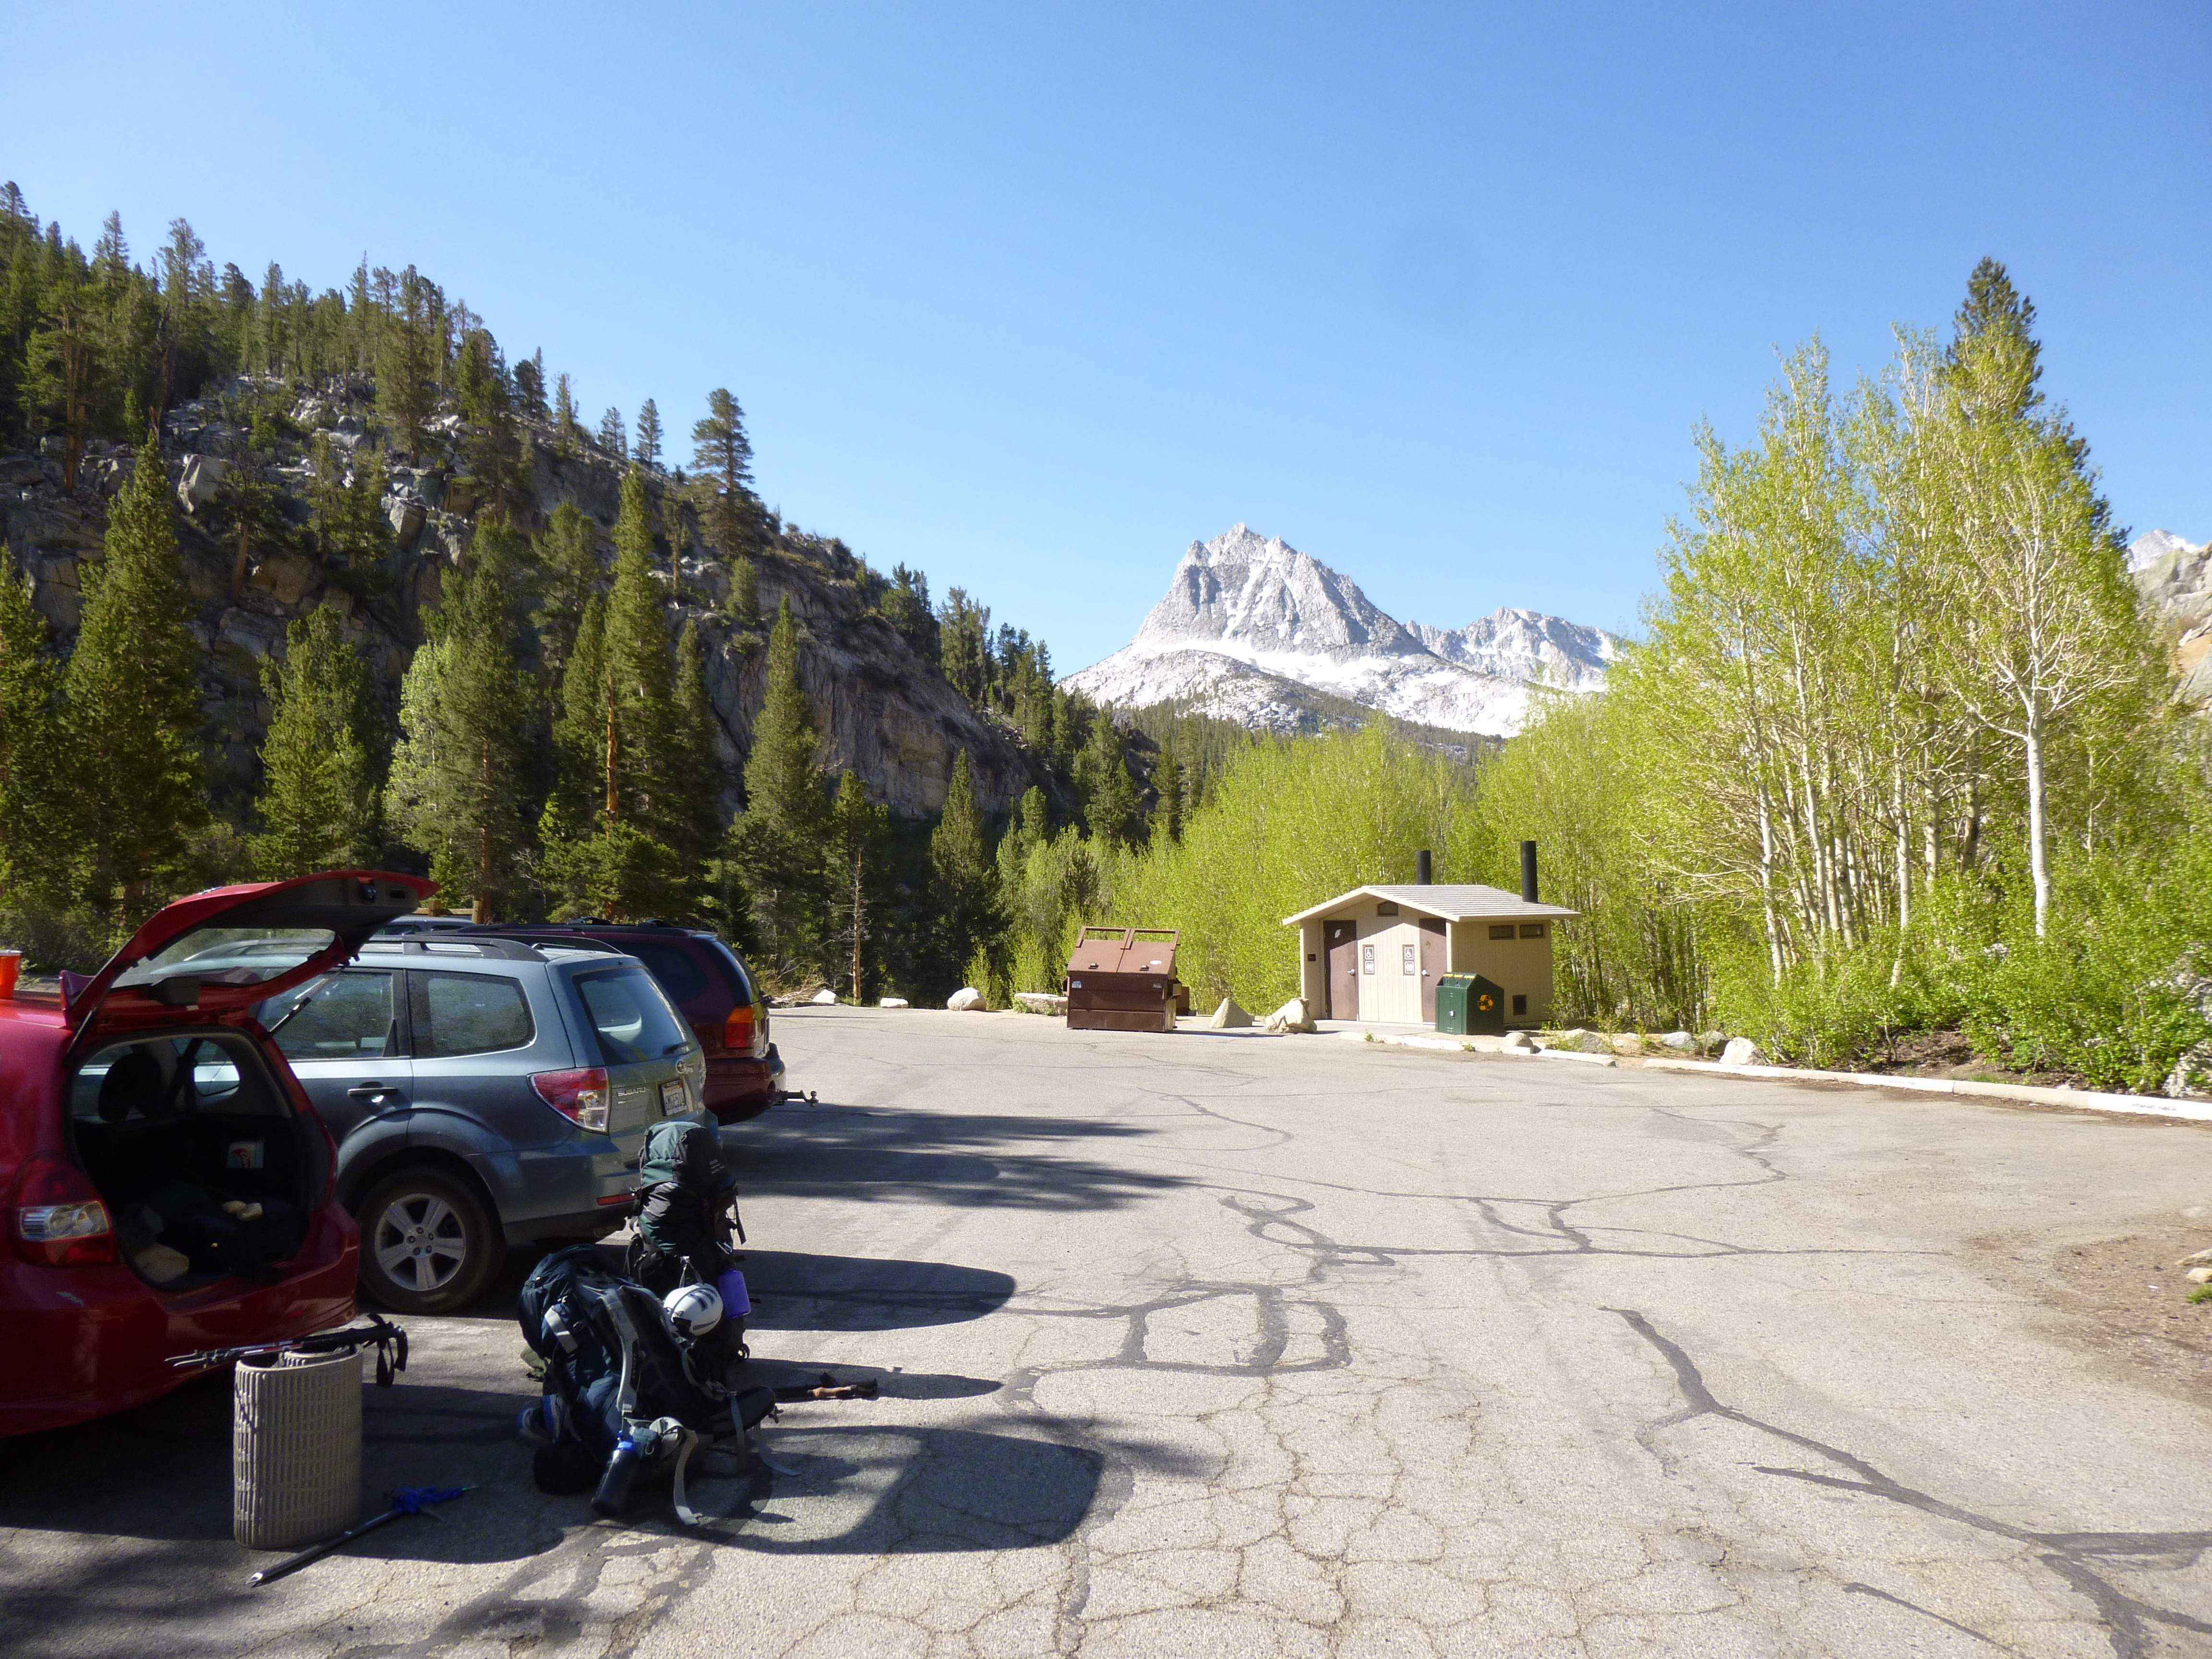
The South Lake parking lot, Hurd Peak in the distance.

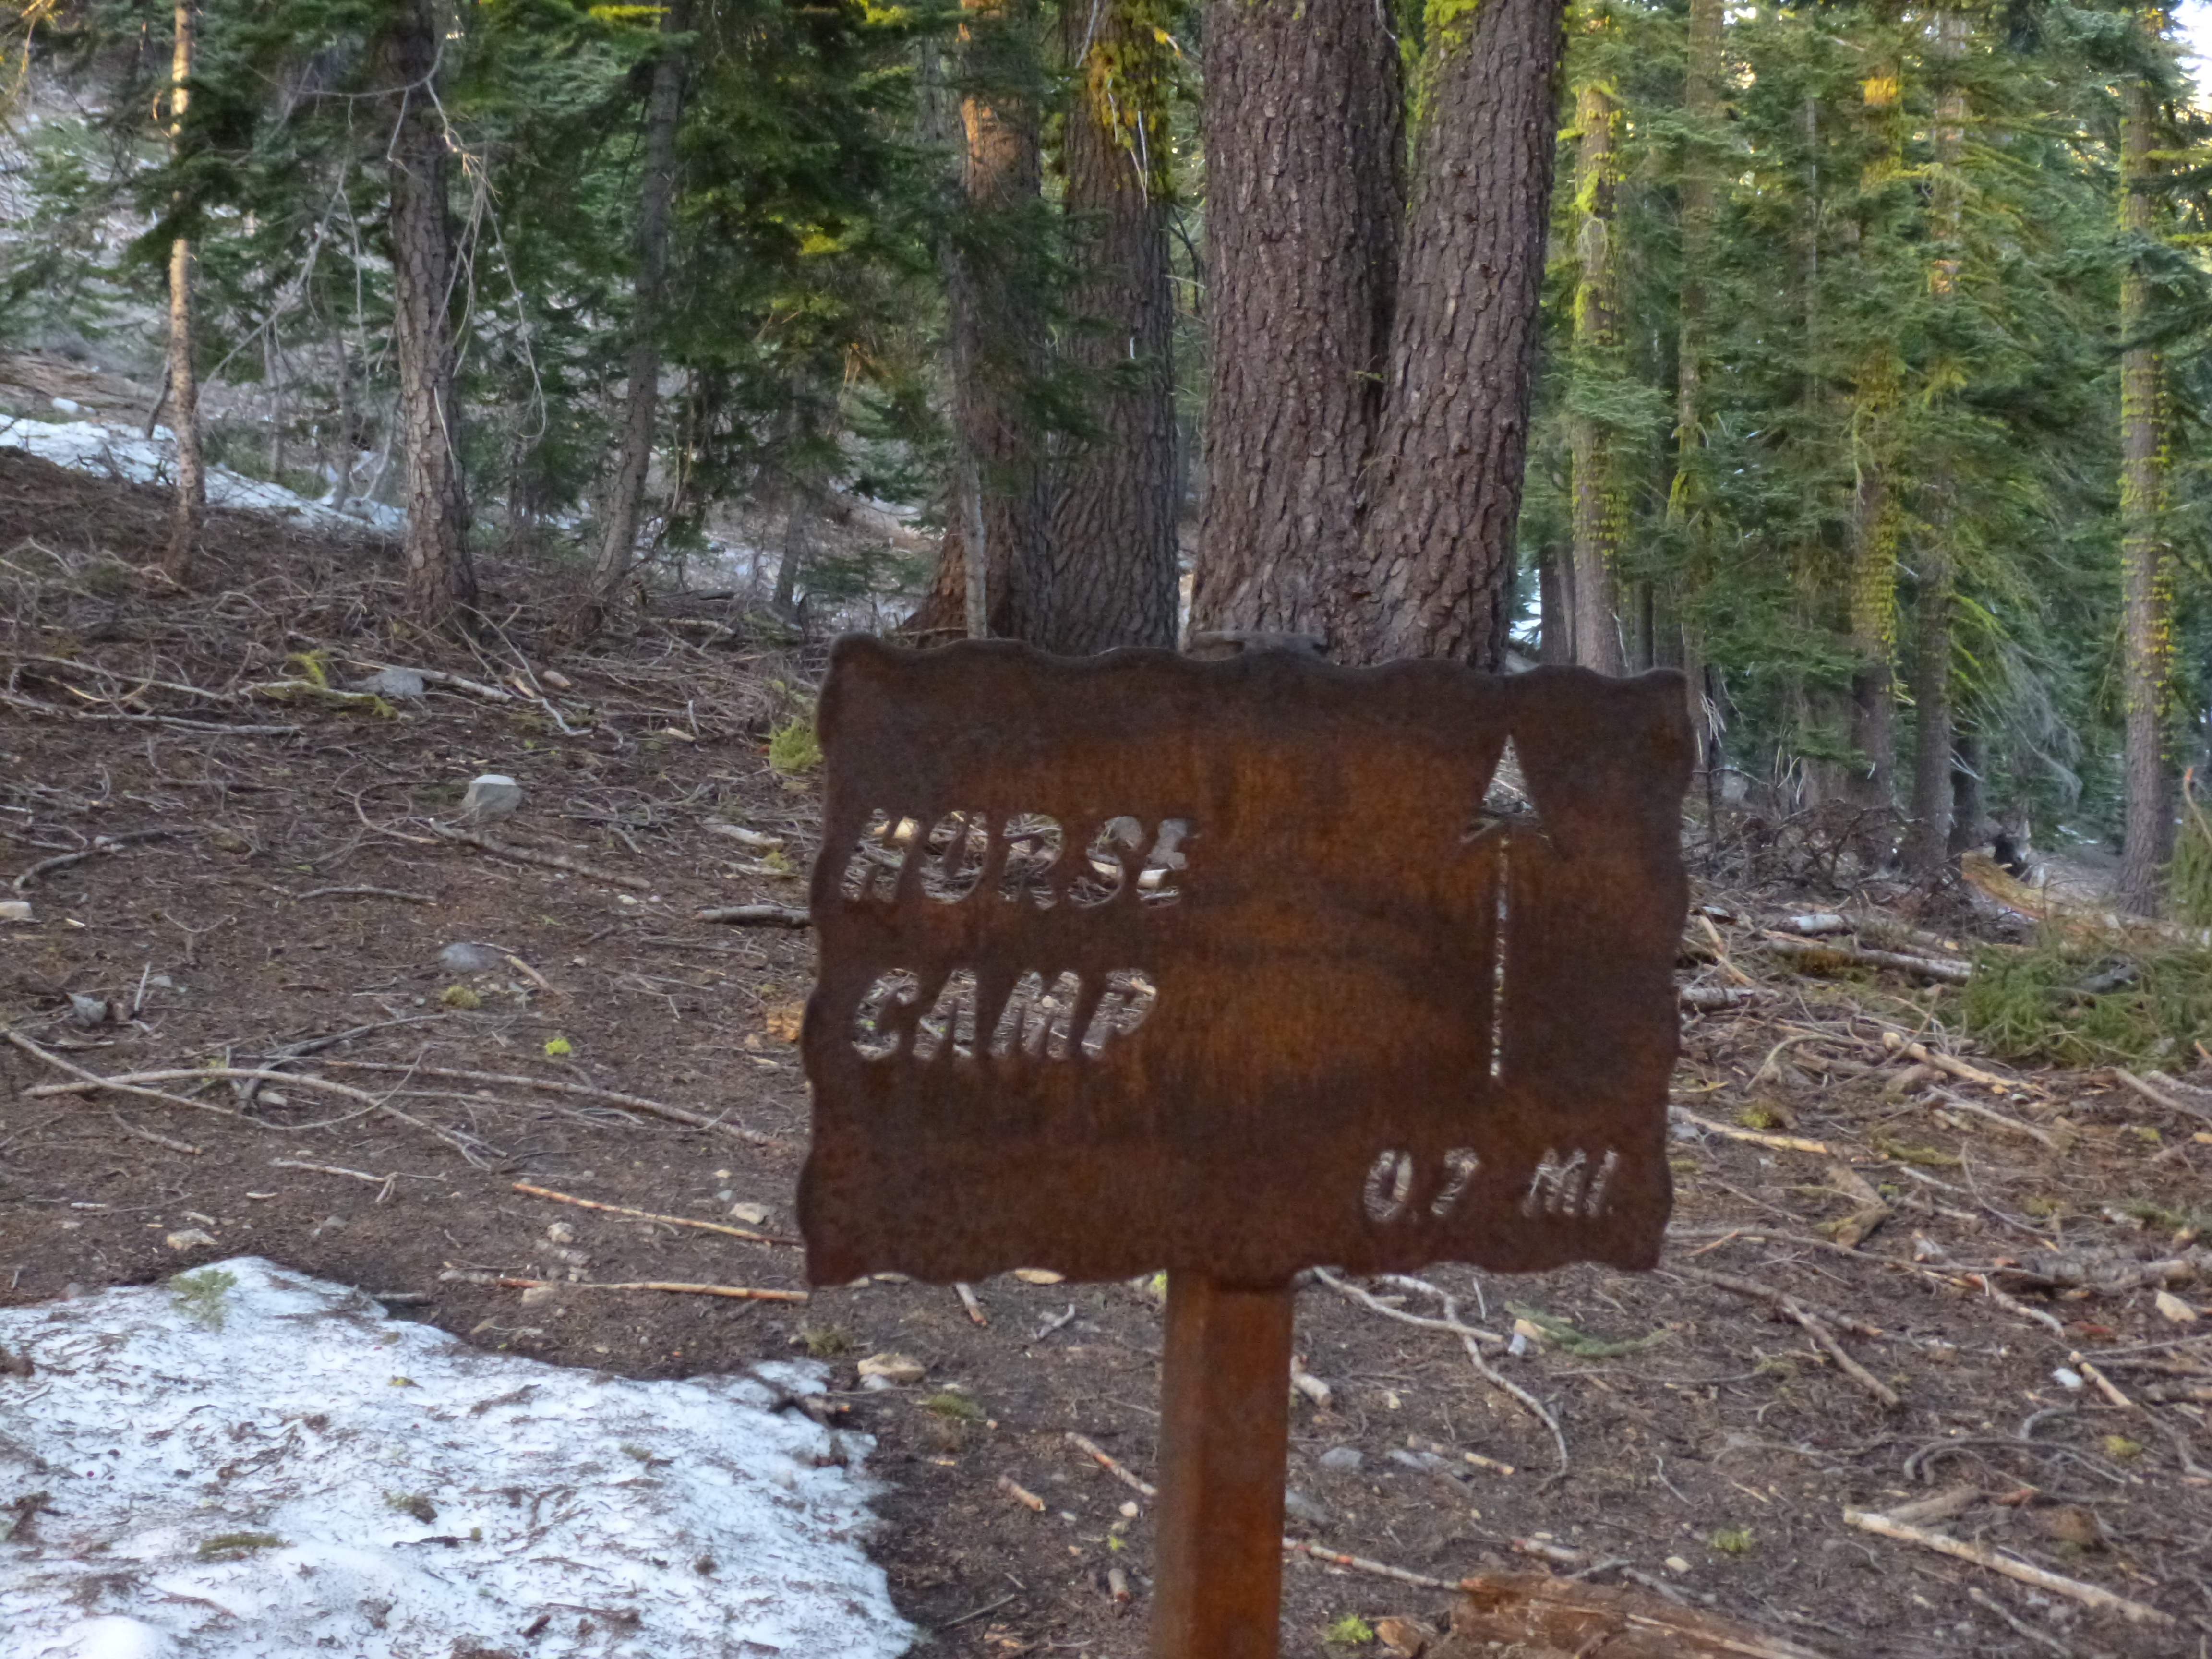
After getting our bags ready and bear-boxing spare food, we began heading down the trail towards Bishop Pass.  The trail is well maintained and easy to follow, with signposts marking the way.  Near the trailhead we encountered a few people out fishing for the day, looking relaxed in the lovely weather and fantastic scenery.

...

South Lake.

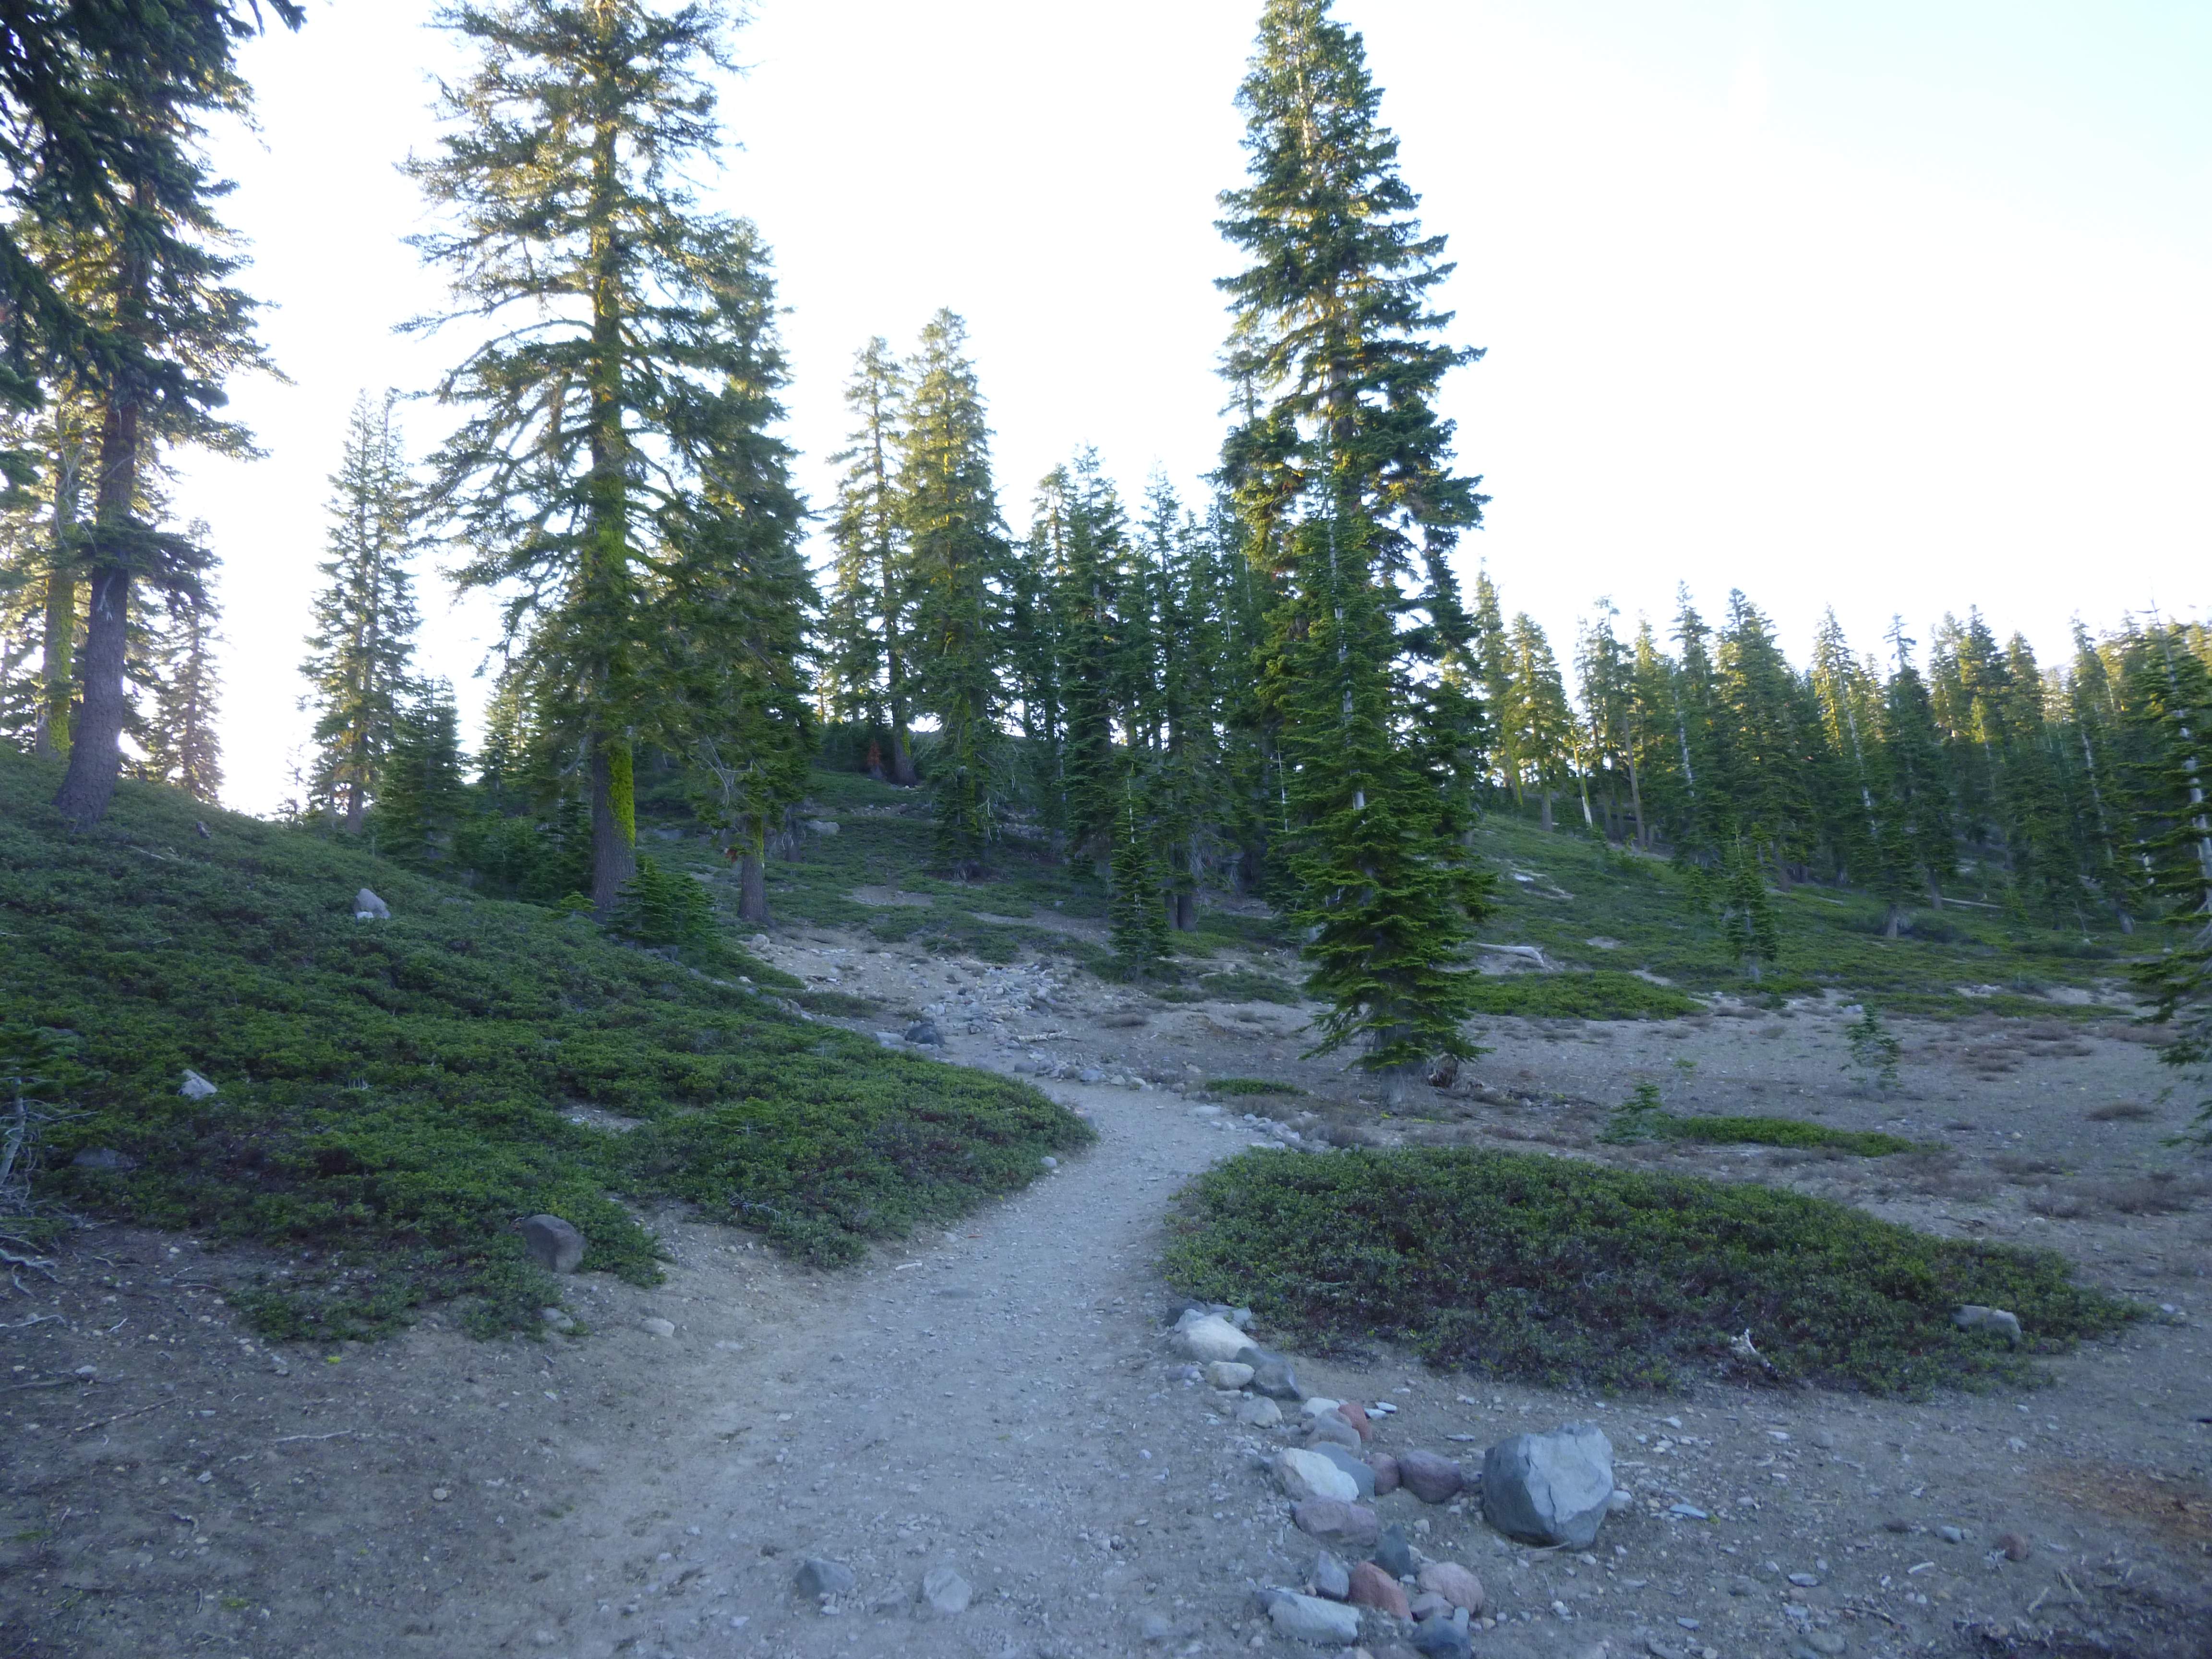
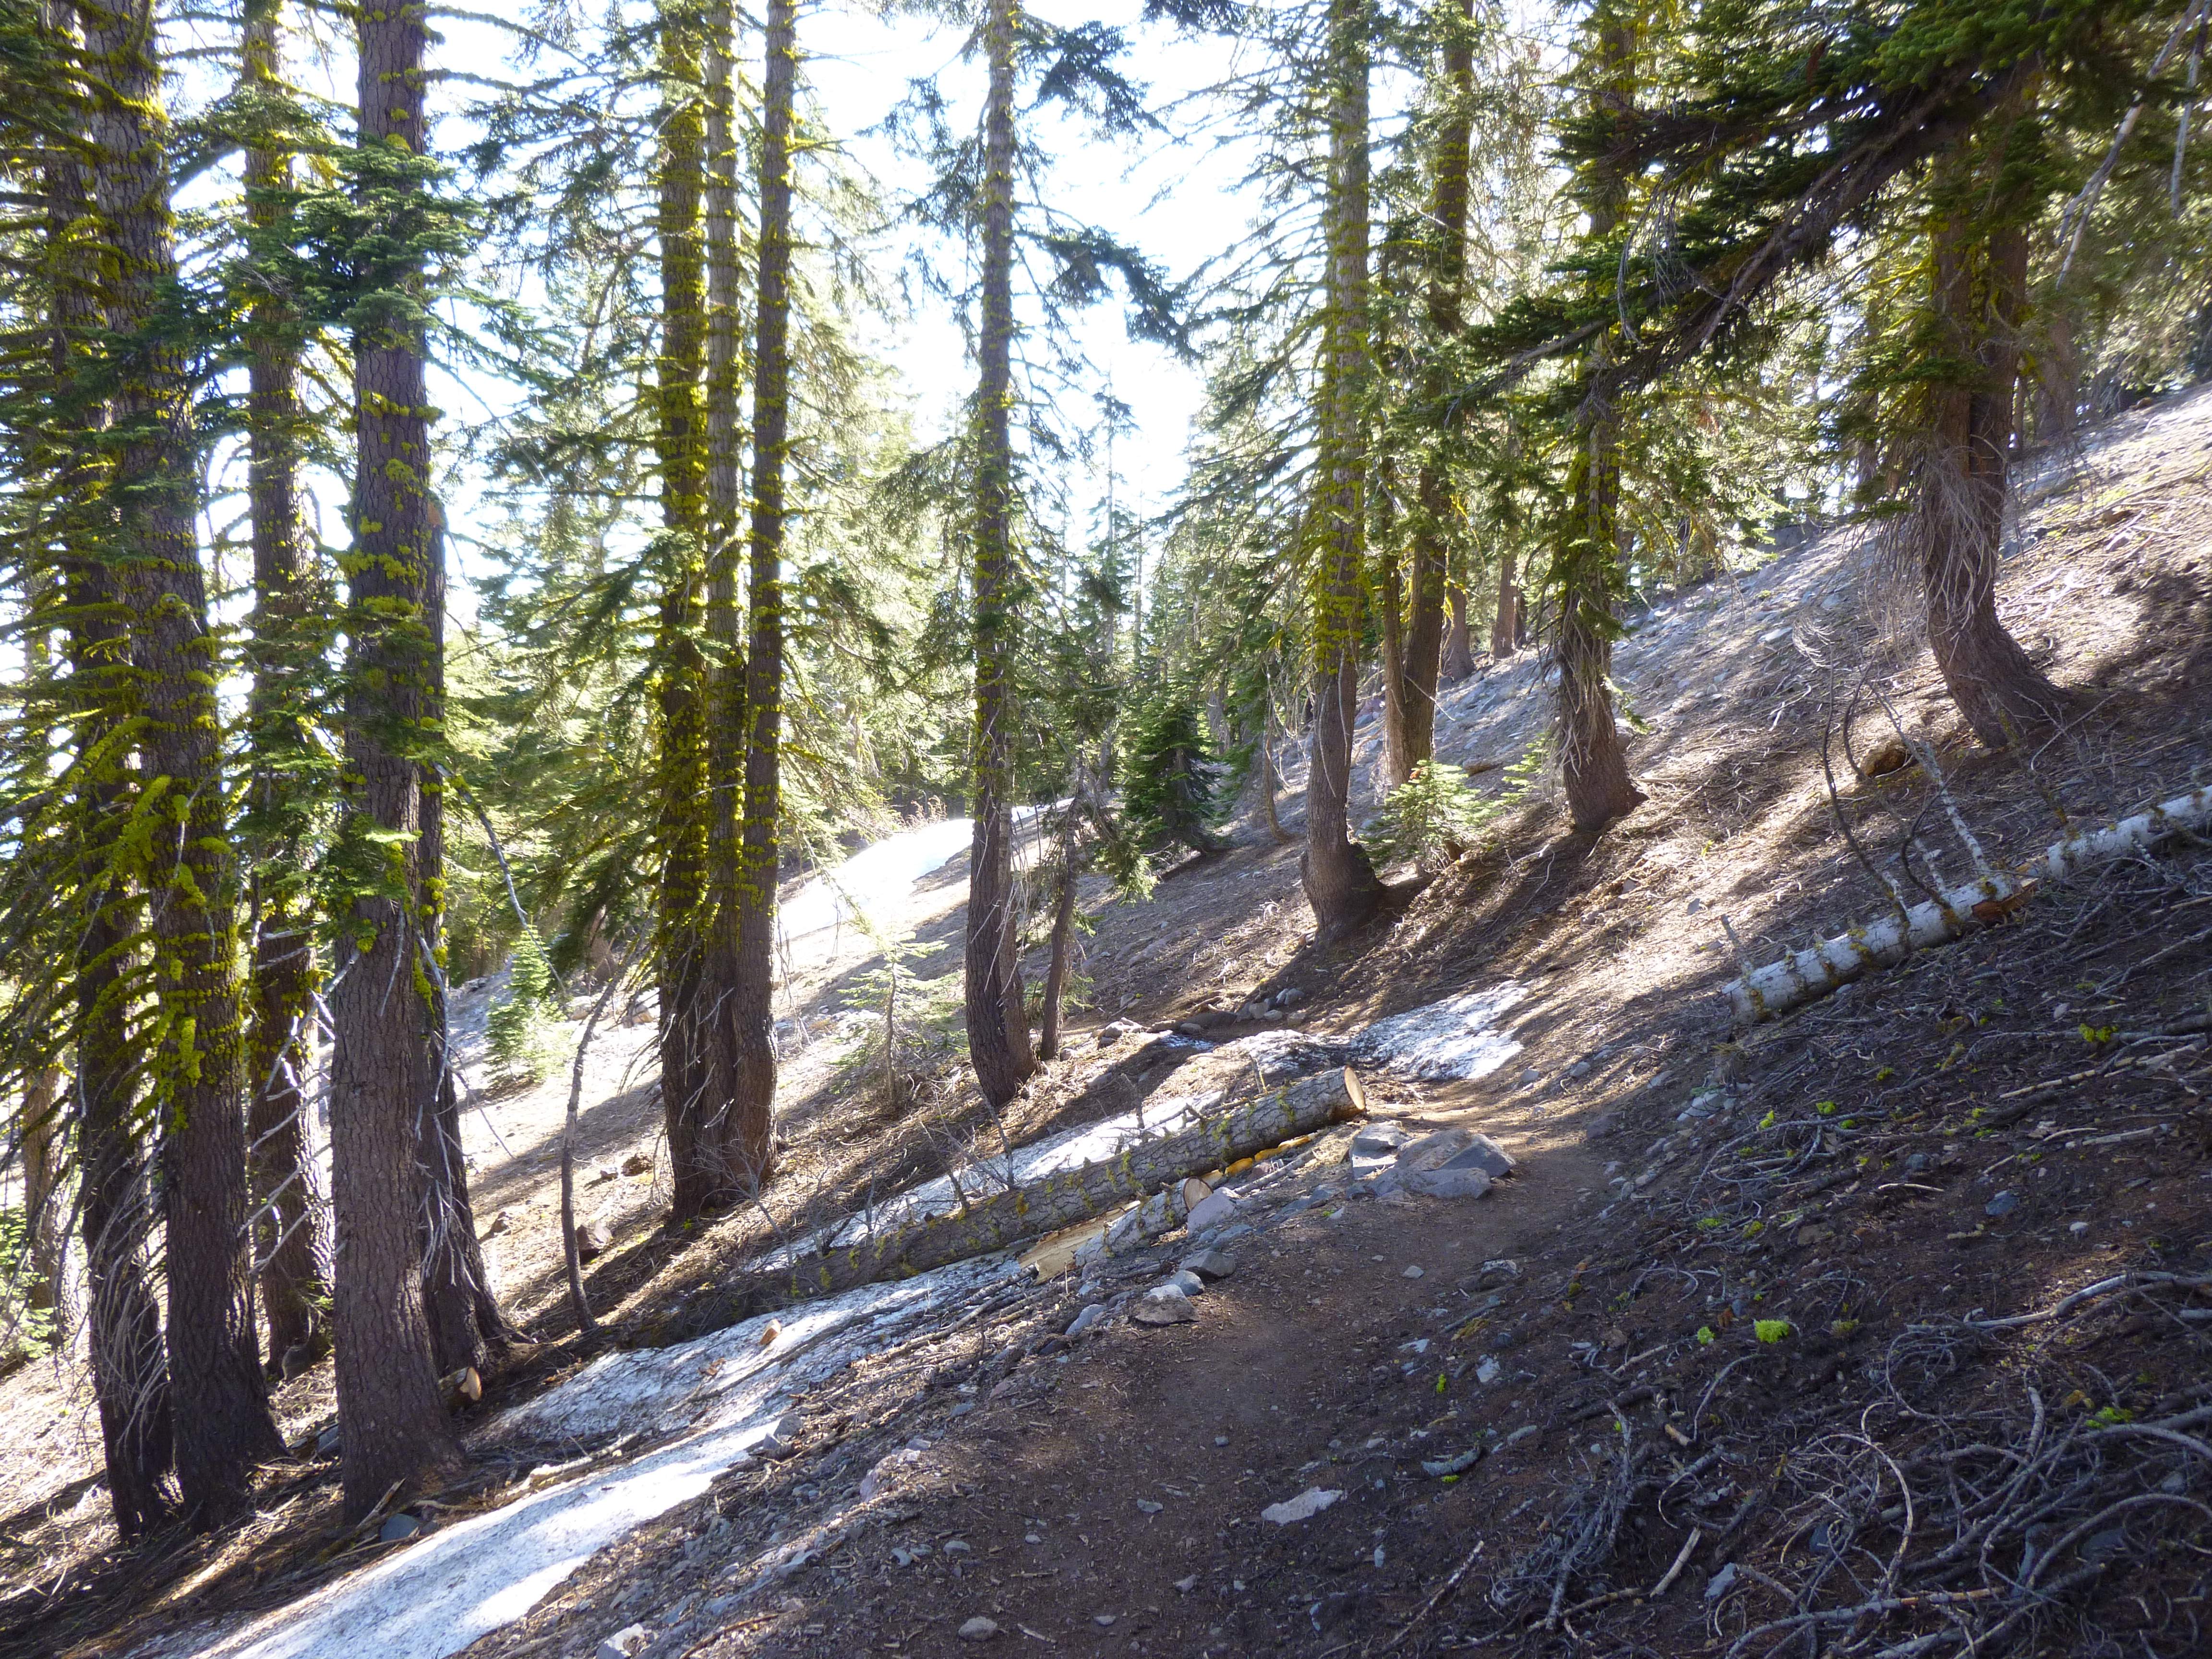
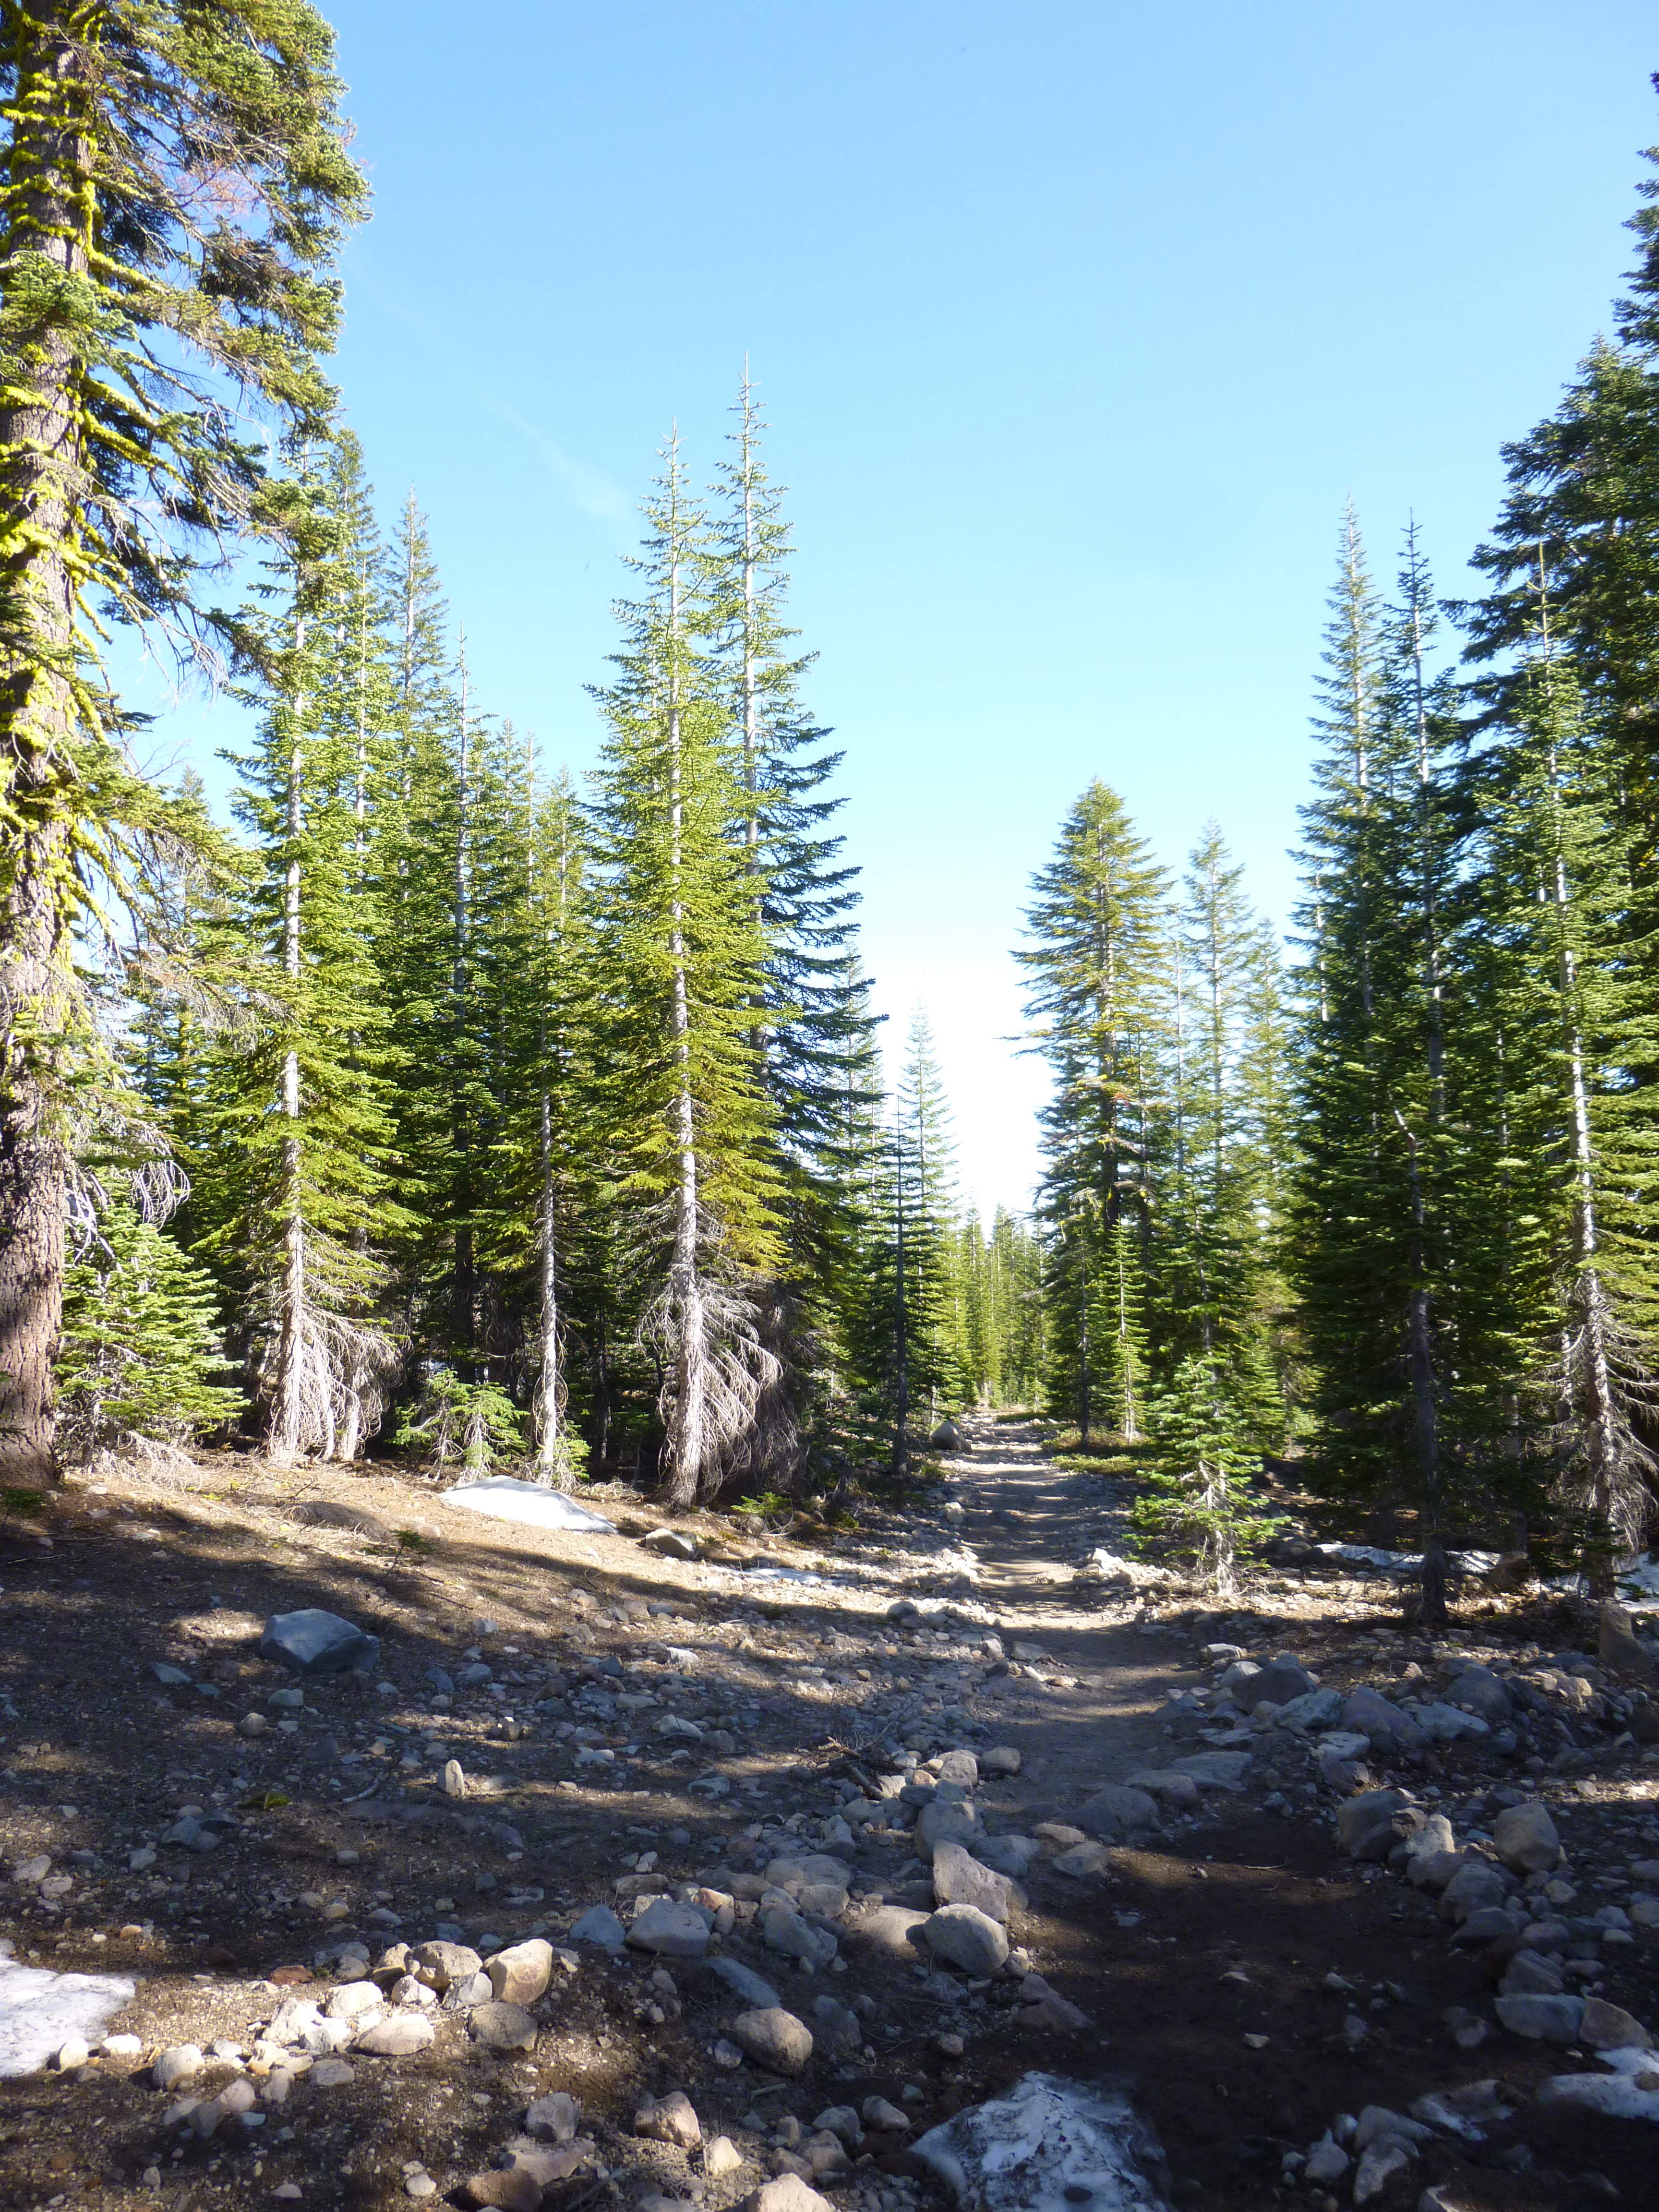
Past South Lake the trail moved through forest.

...

The Bishop Pass trail.

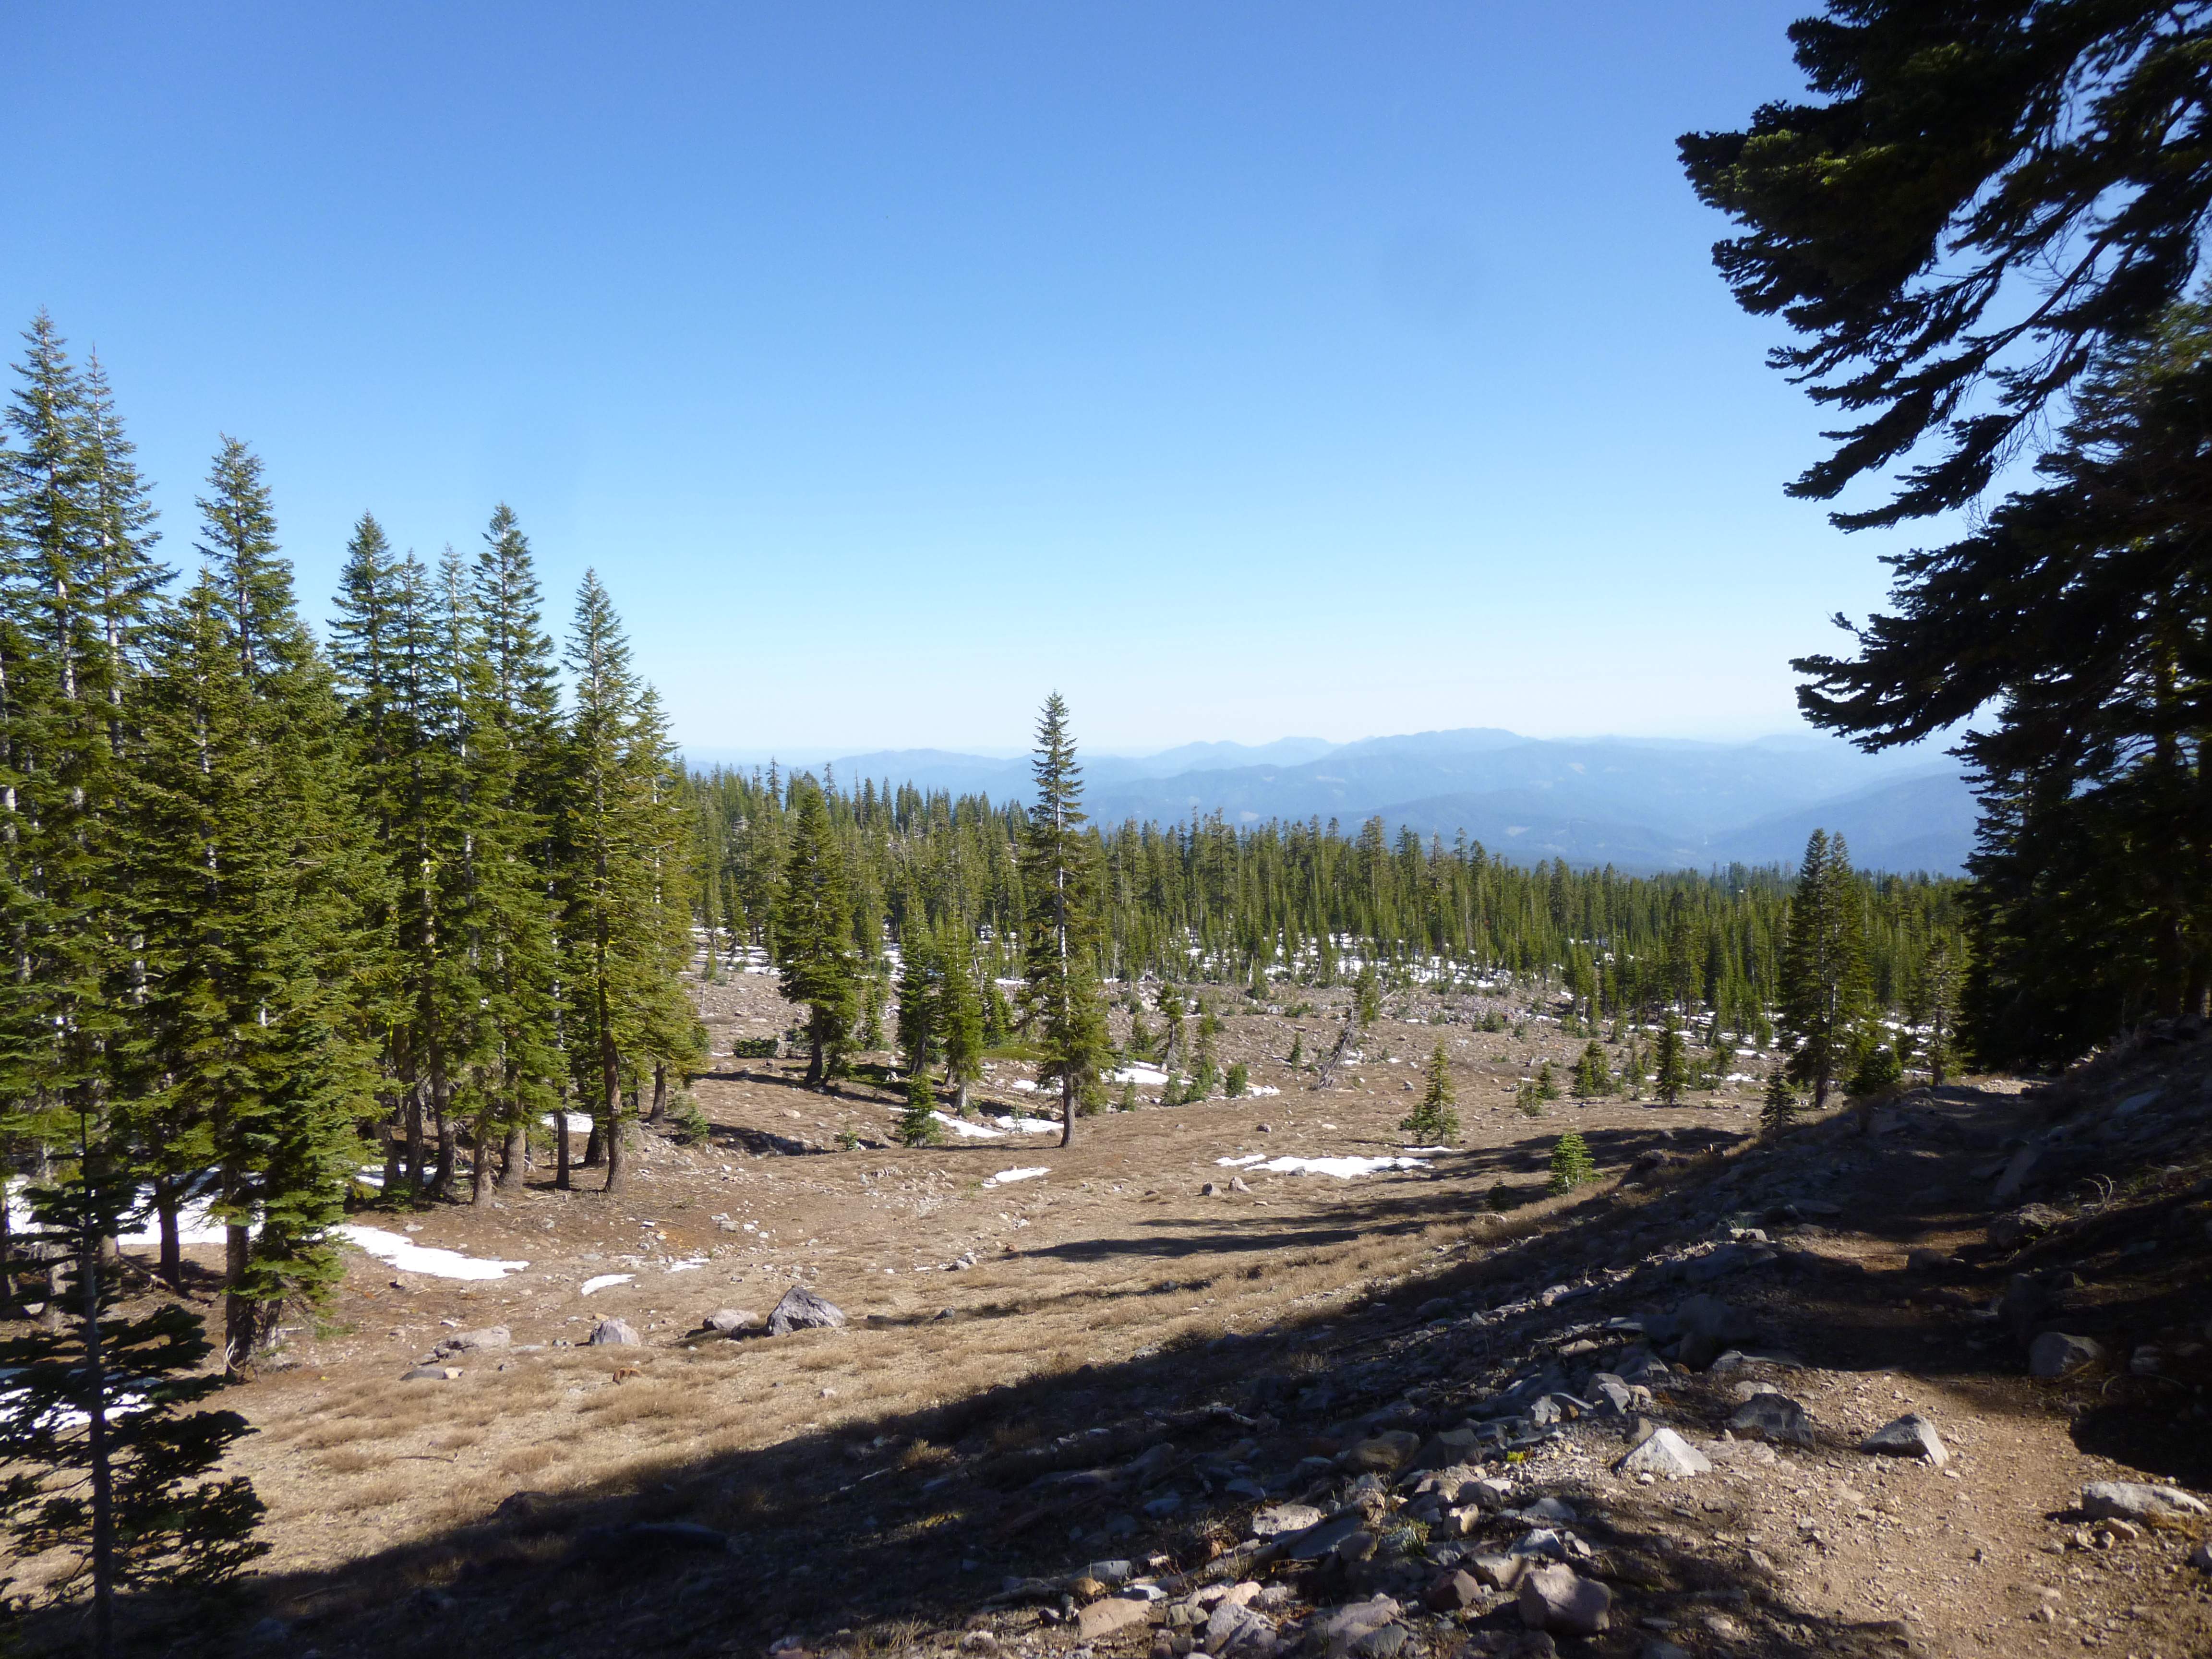
Once above the trees the views were fantastic, and we couldn’t help but take our time stopping for photographs and enjoying the weather.

...

On the the Bishop Pass trail.  Hurd Peak in the background.

We reached a fork in the path, splitting east to Chocolate Lakes and south to Bishop Pass.  We decided to stash our camping gear, switch to light packs, and head in towards Chocolate Lakes.  To the east waited 13525 foot Cloudripper, one of the peaks we intended to take a shot at.  In front of us, appropriately named Chocolate Peak reflected off of Bull Lake below it.

...

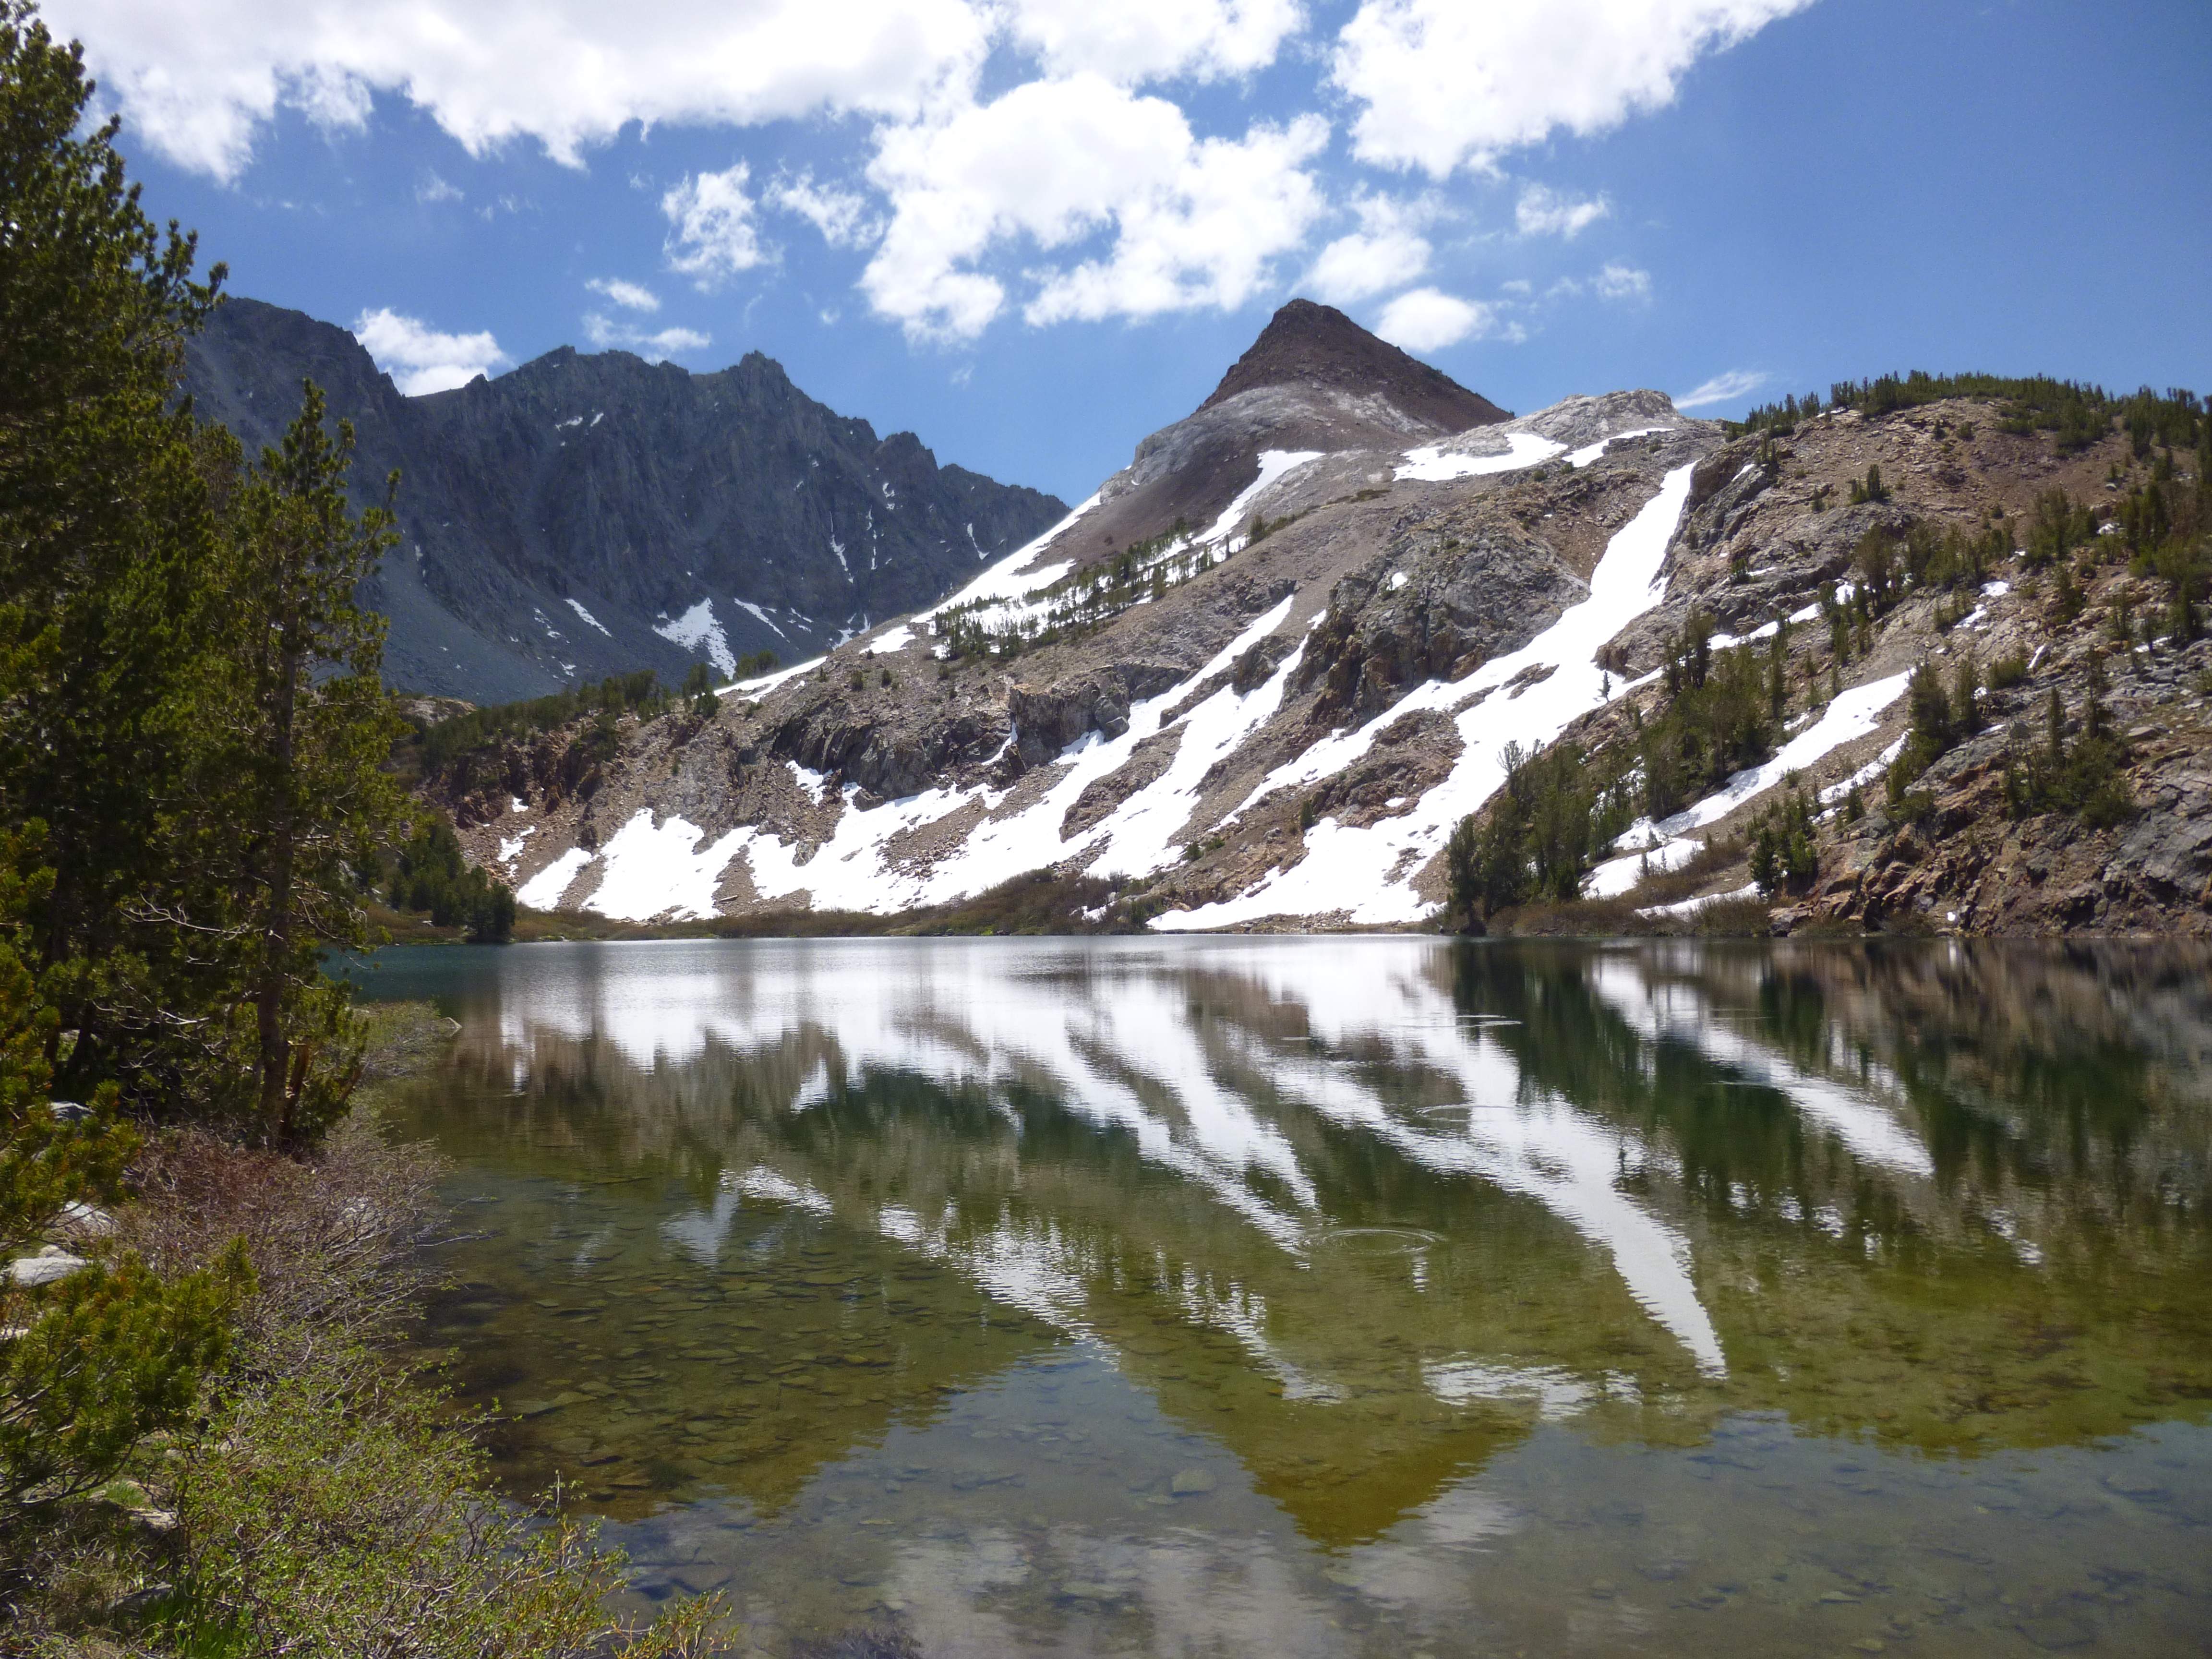
Chocolate Peak and Bull Lake.

Further in, Cloudripper stood above us.  We could not make out the straightforward hiking/scrambling route which our guidebook described, so we chose to try ascending near the wide scree slope located just to the right of the peak in the below picture, with no idea whether or not it would offer us a way up.

...

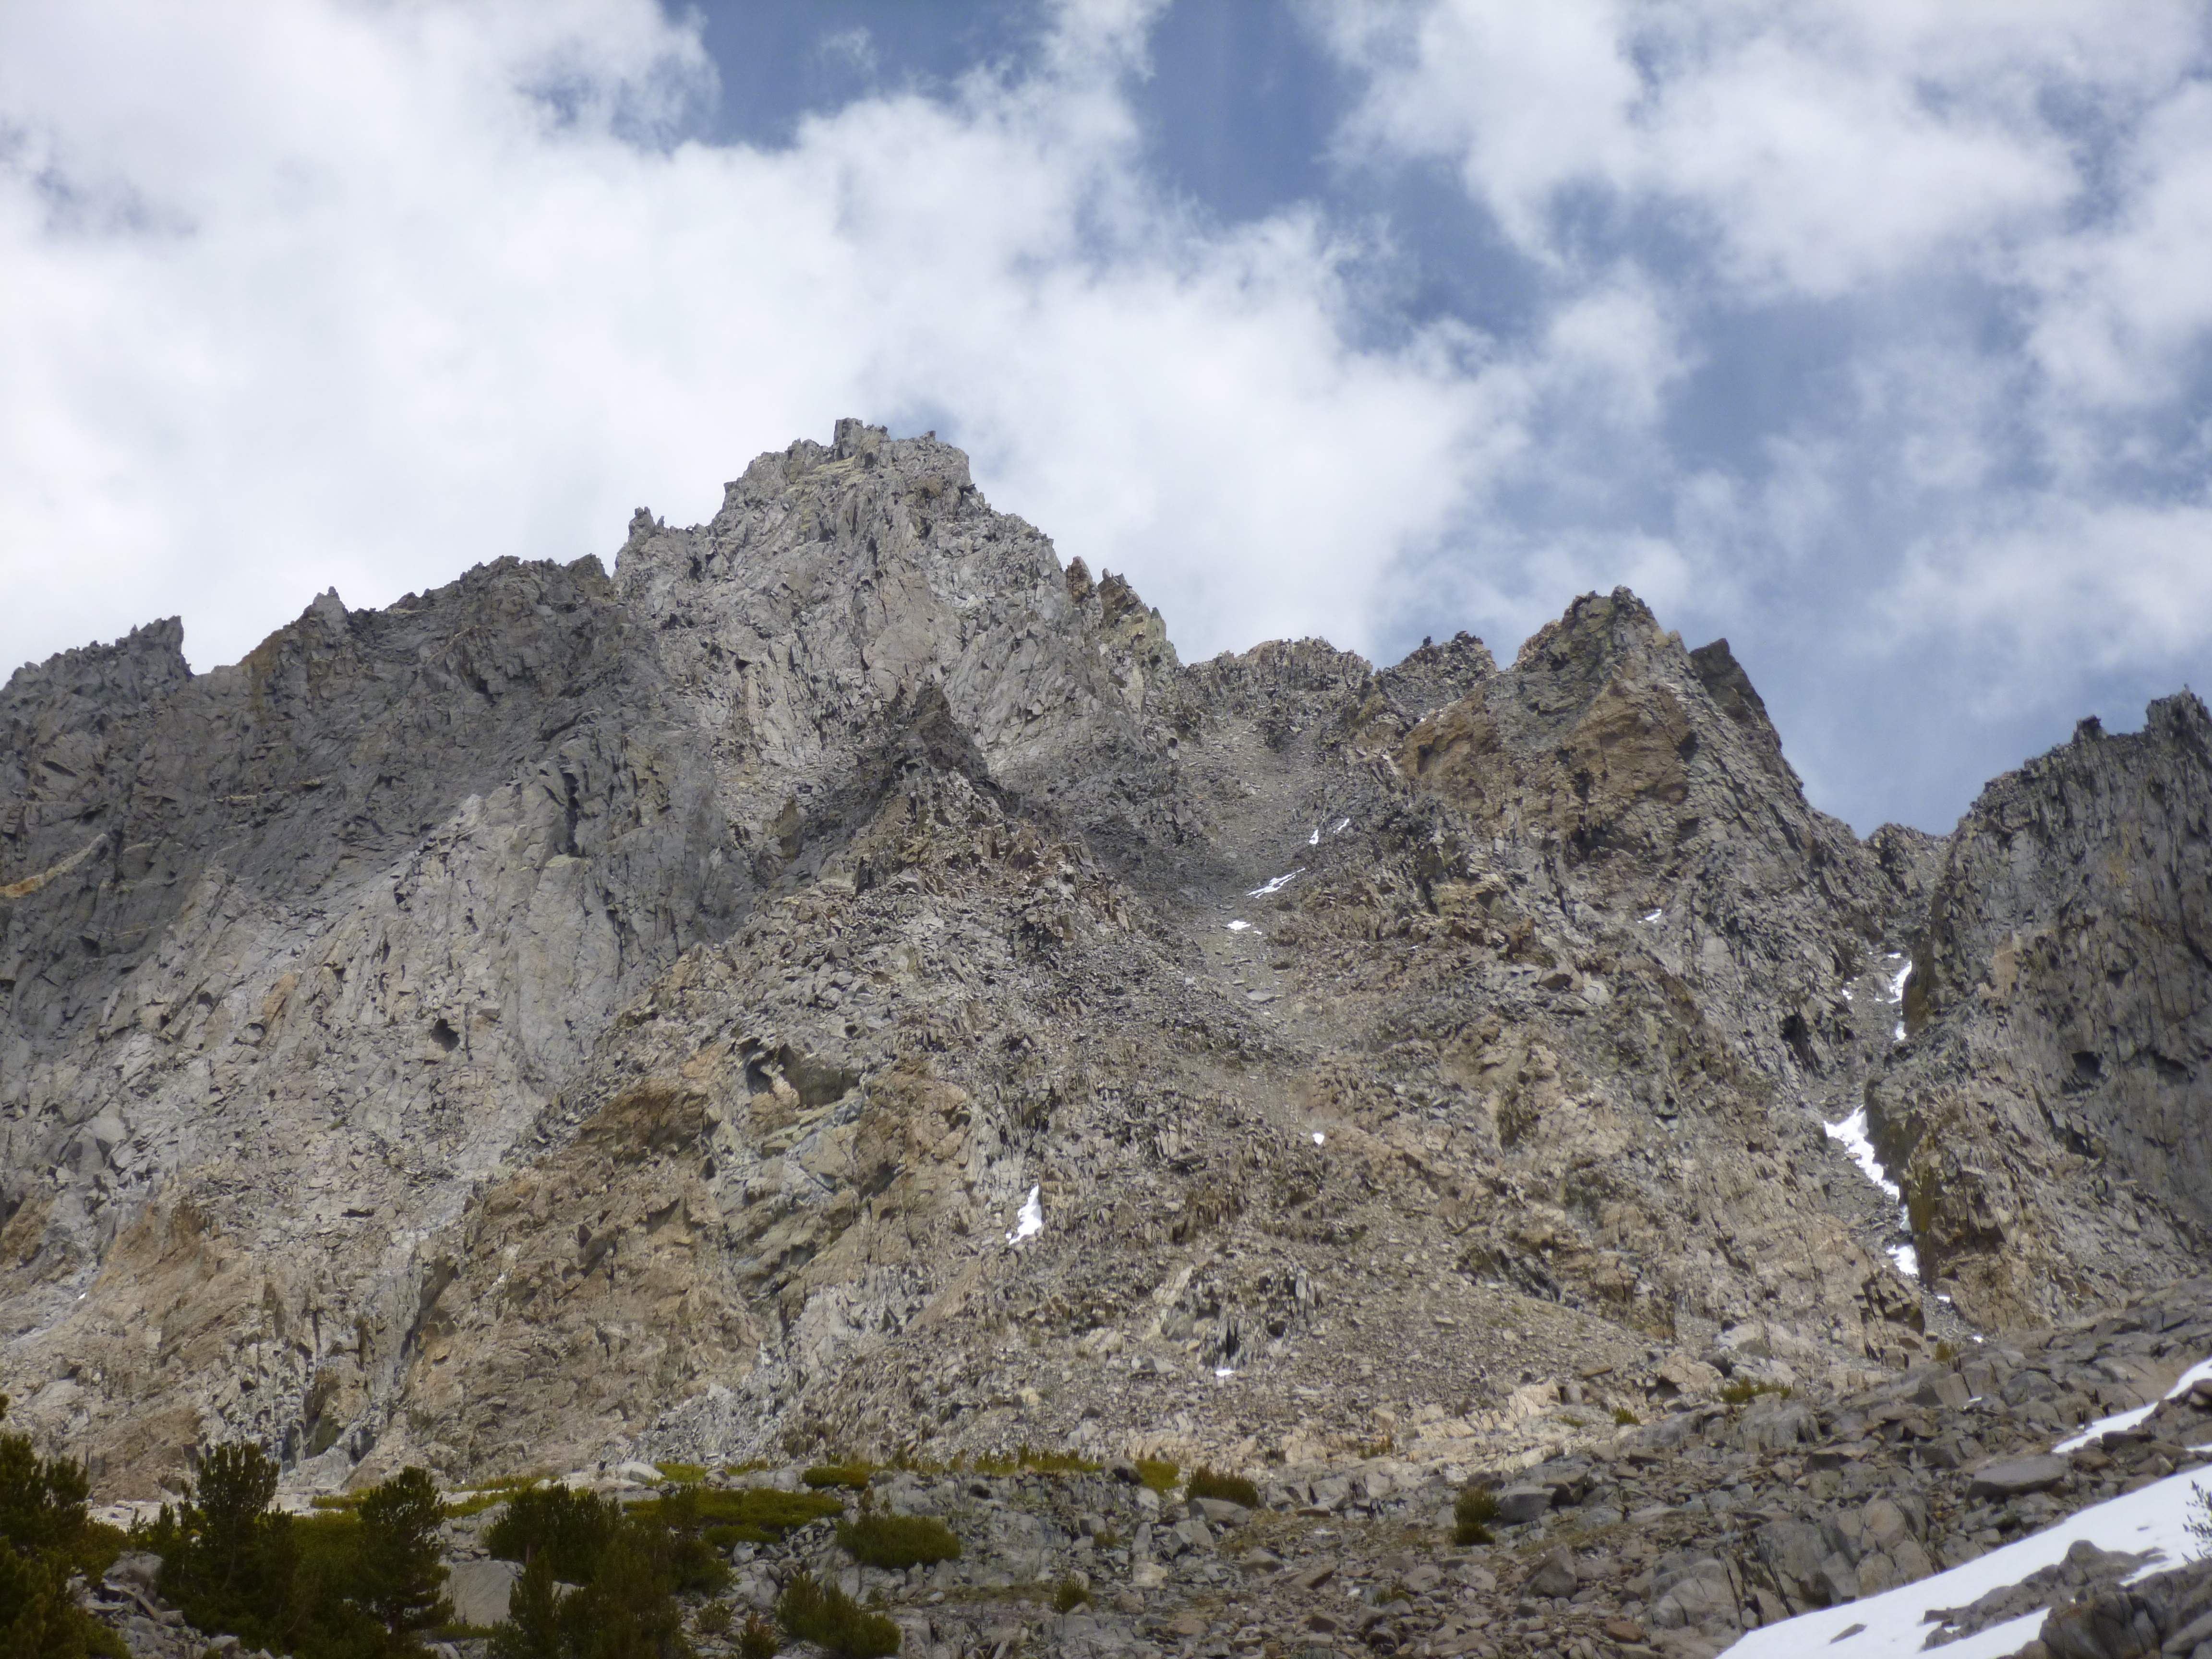
Cloudripper, from Chocolate Lakes.

We began climbing over the big rocks and talus beside the scree slope, enjoying the scrambling upwards.  Soon we were above Chocolate Peak, and had some great views of nearby lakes and mountains.

...

Looking down on Chocolate Peak.

As we climbed higher route finding became more involved.  Equipped with only our hiking poles, we stuck to moderately sloped scrambling as much as possible.

Climbing up the rock and talus on Cloudripper.

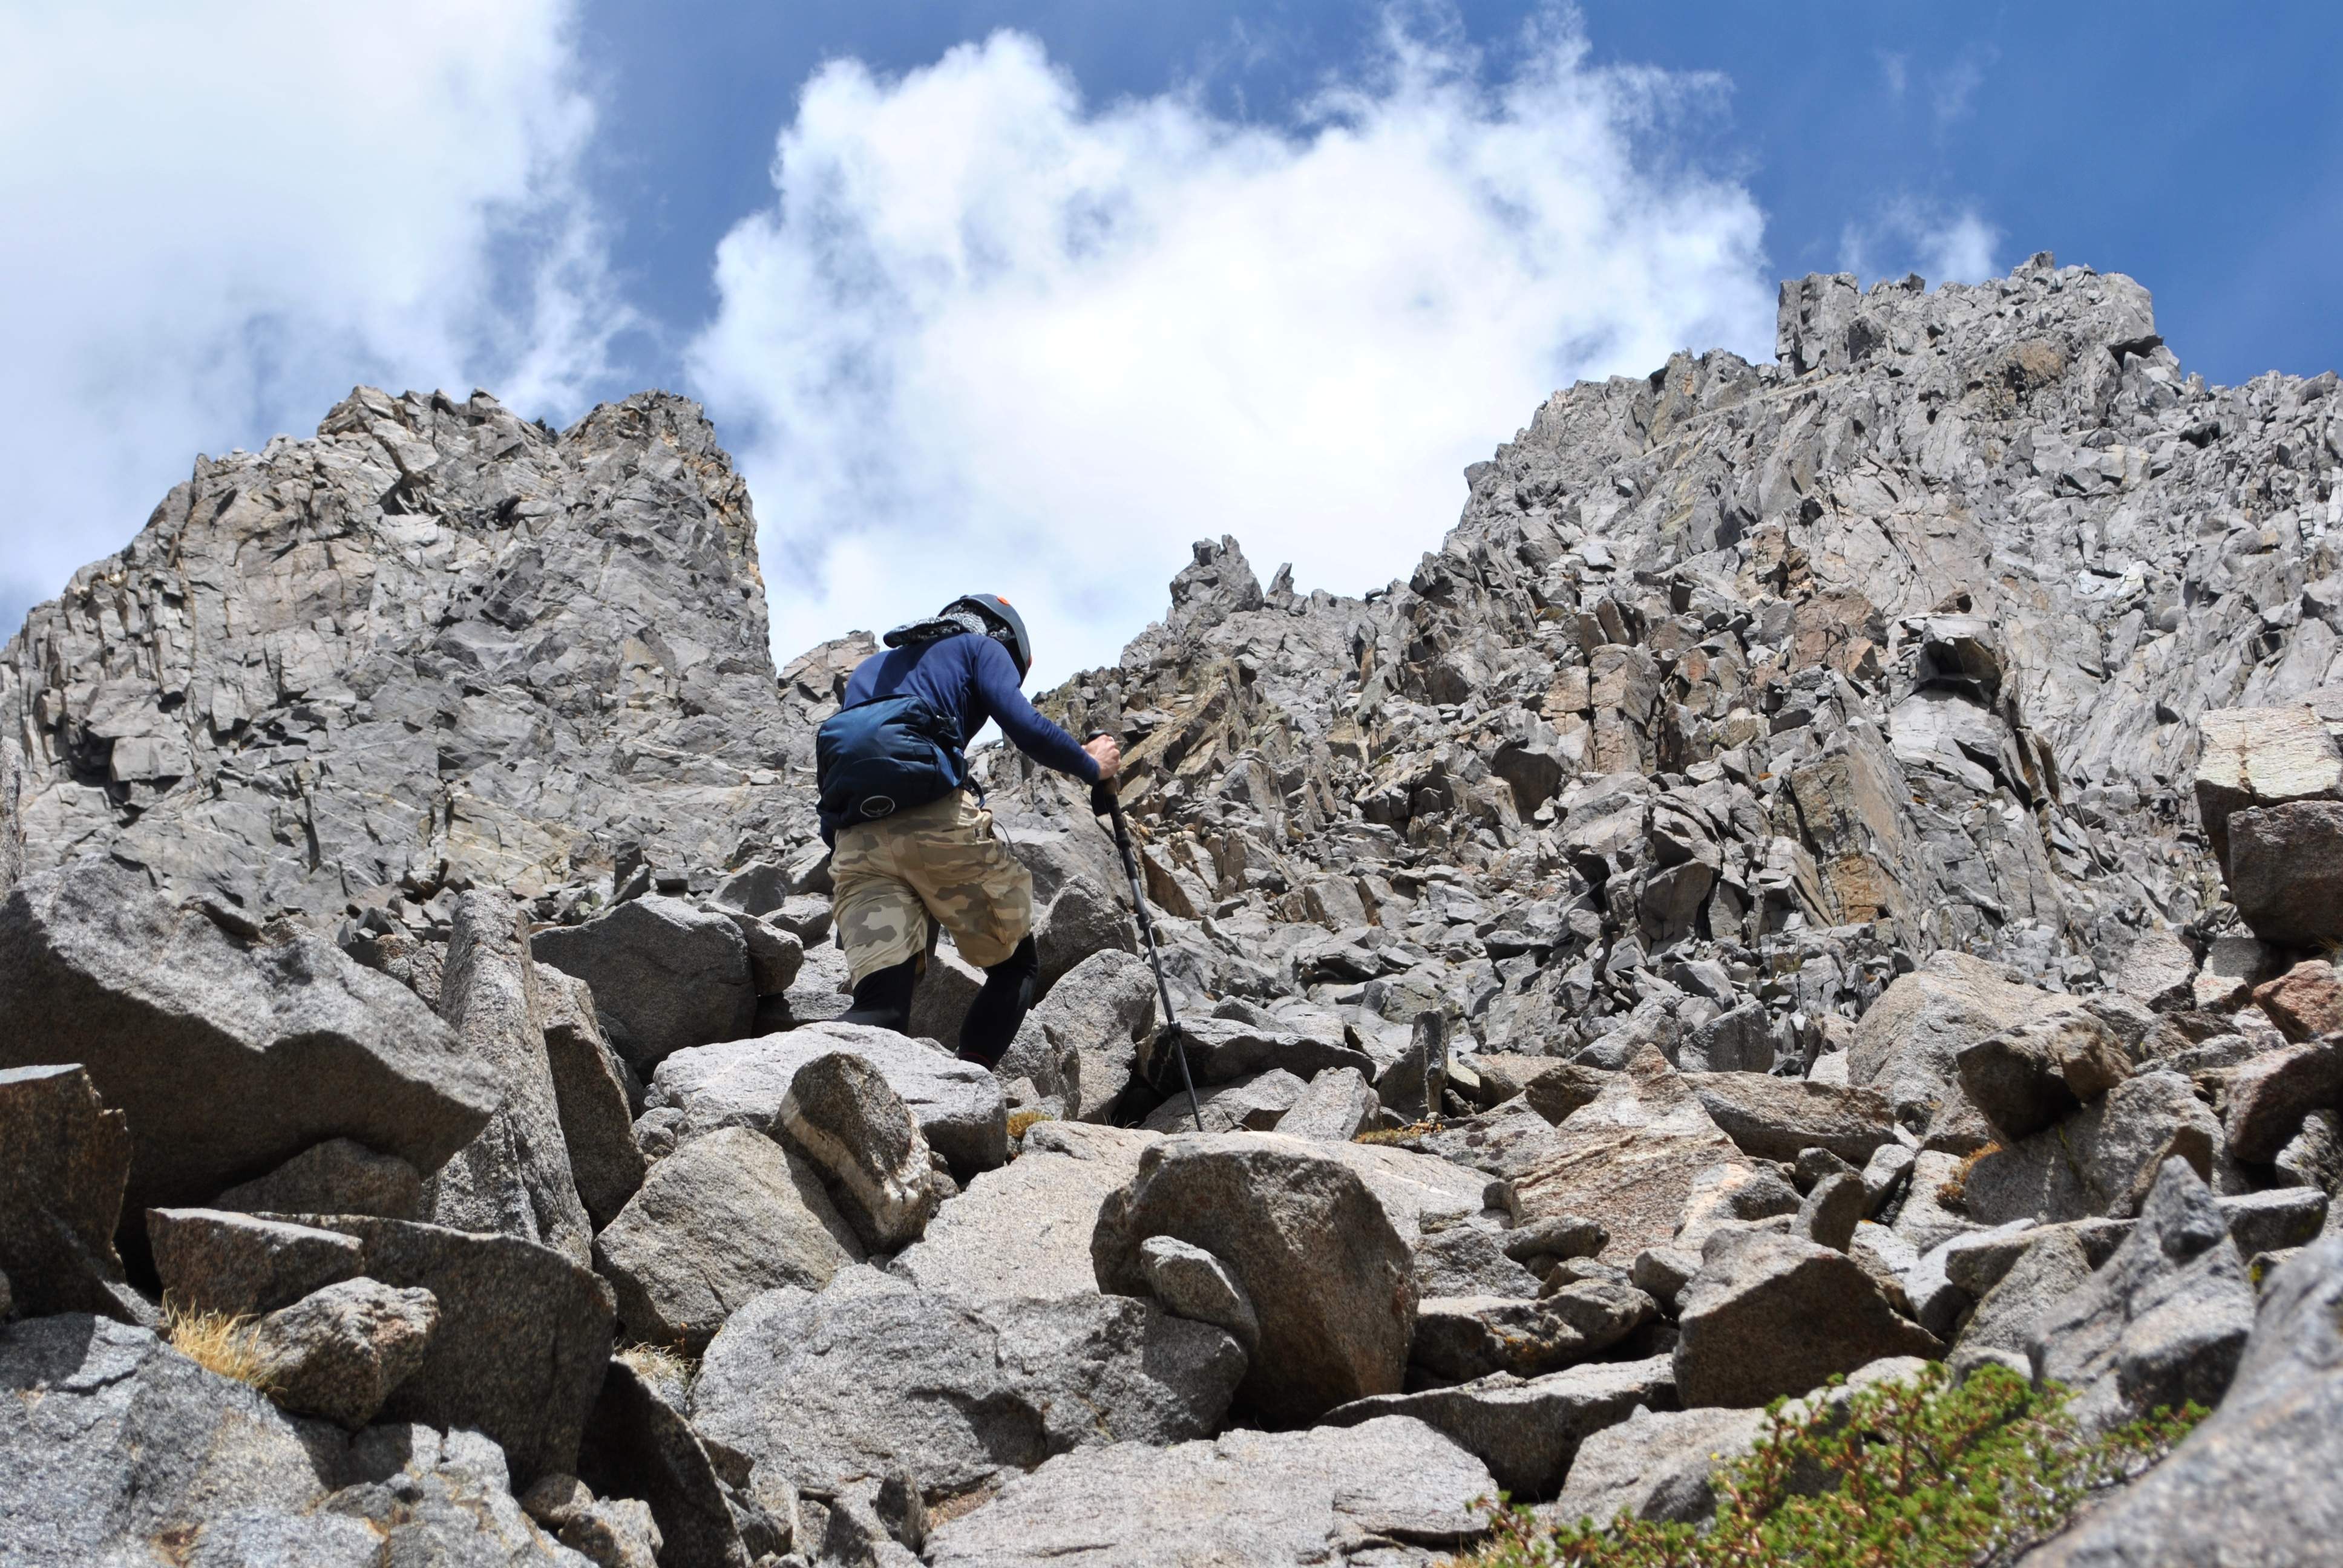
Hiking up the rock and talus on Cloudripper.

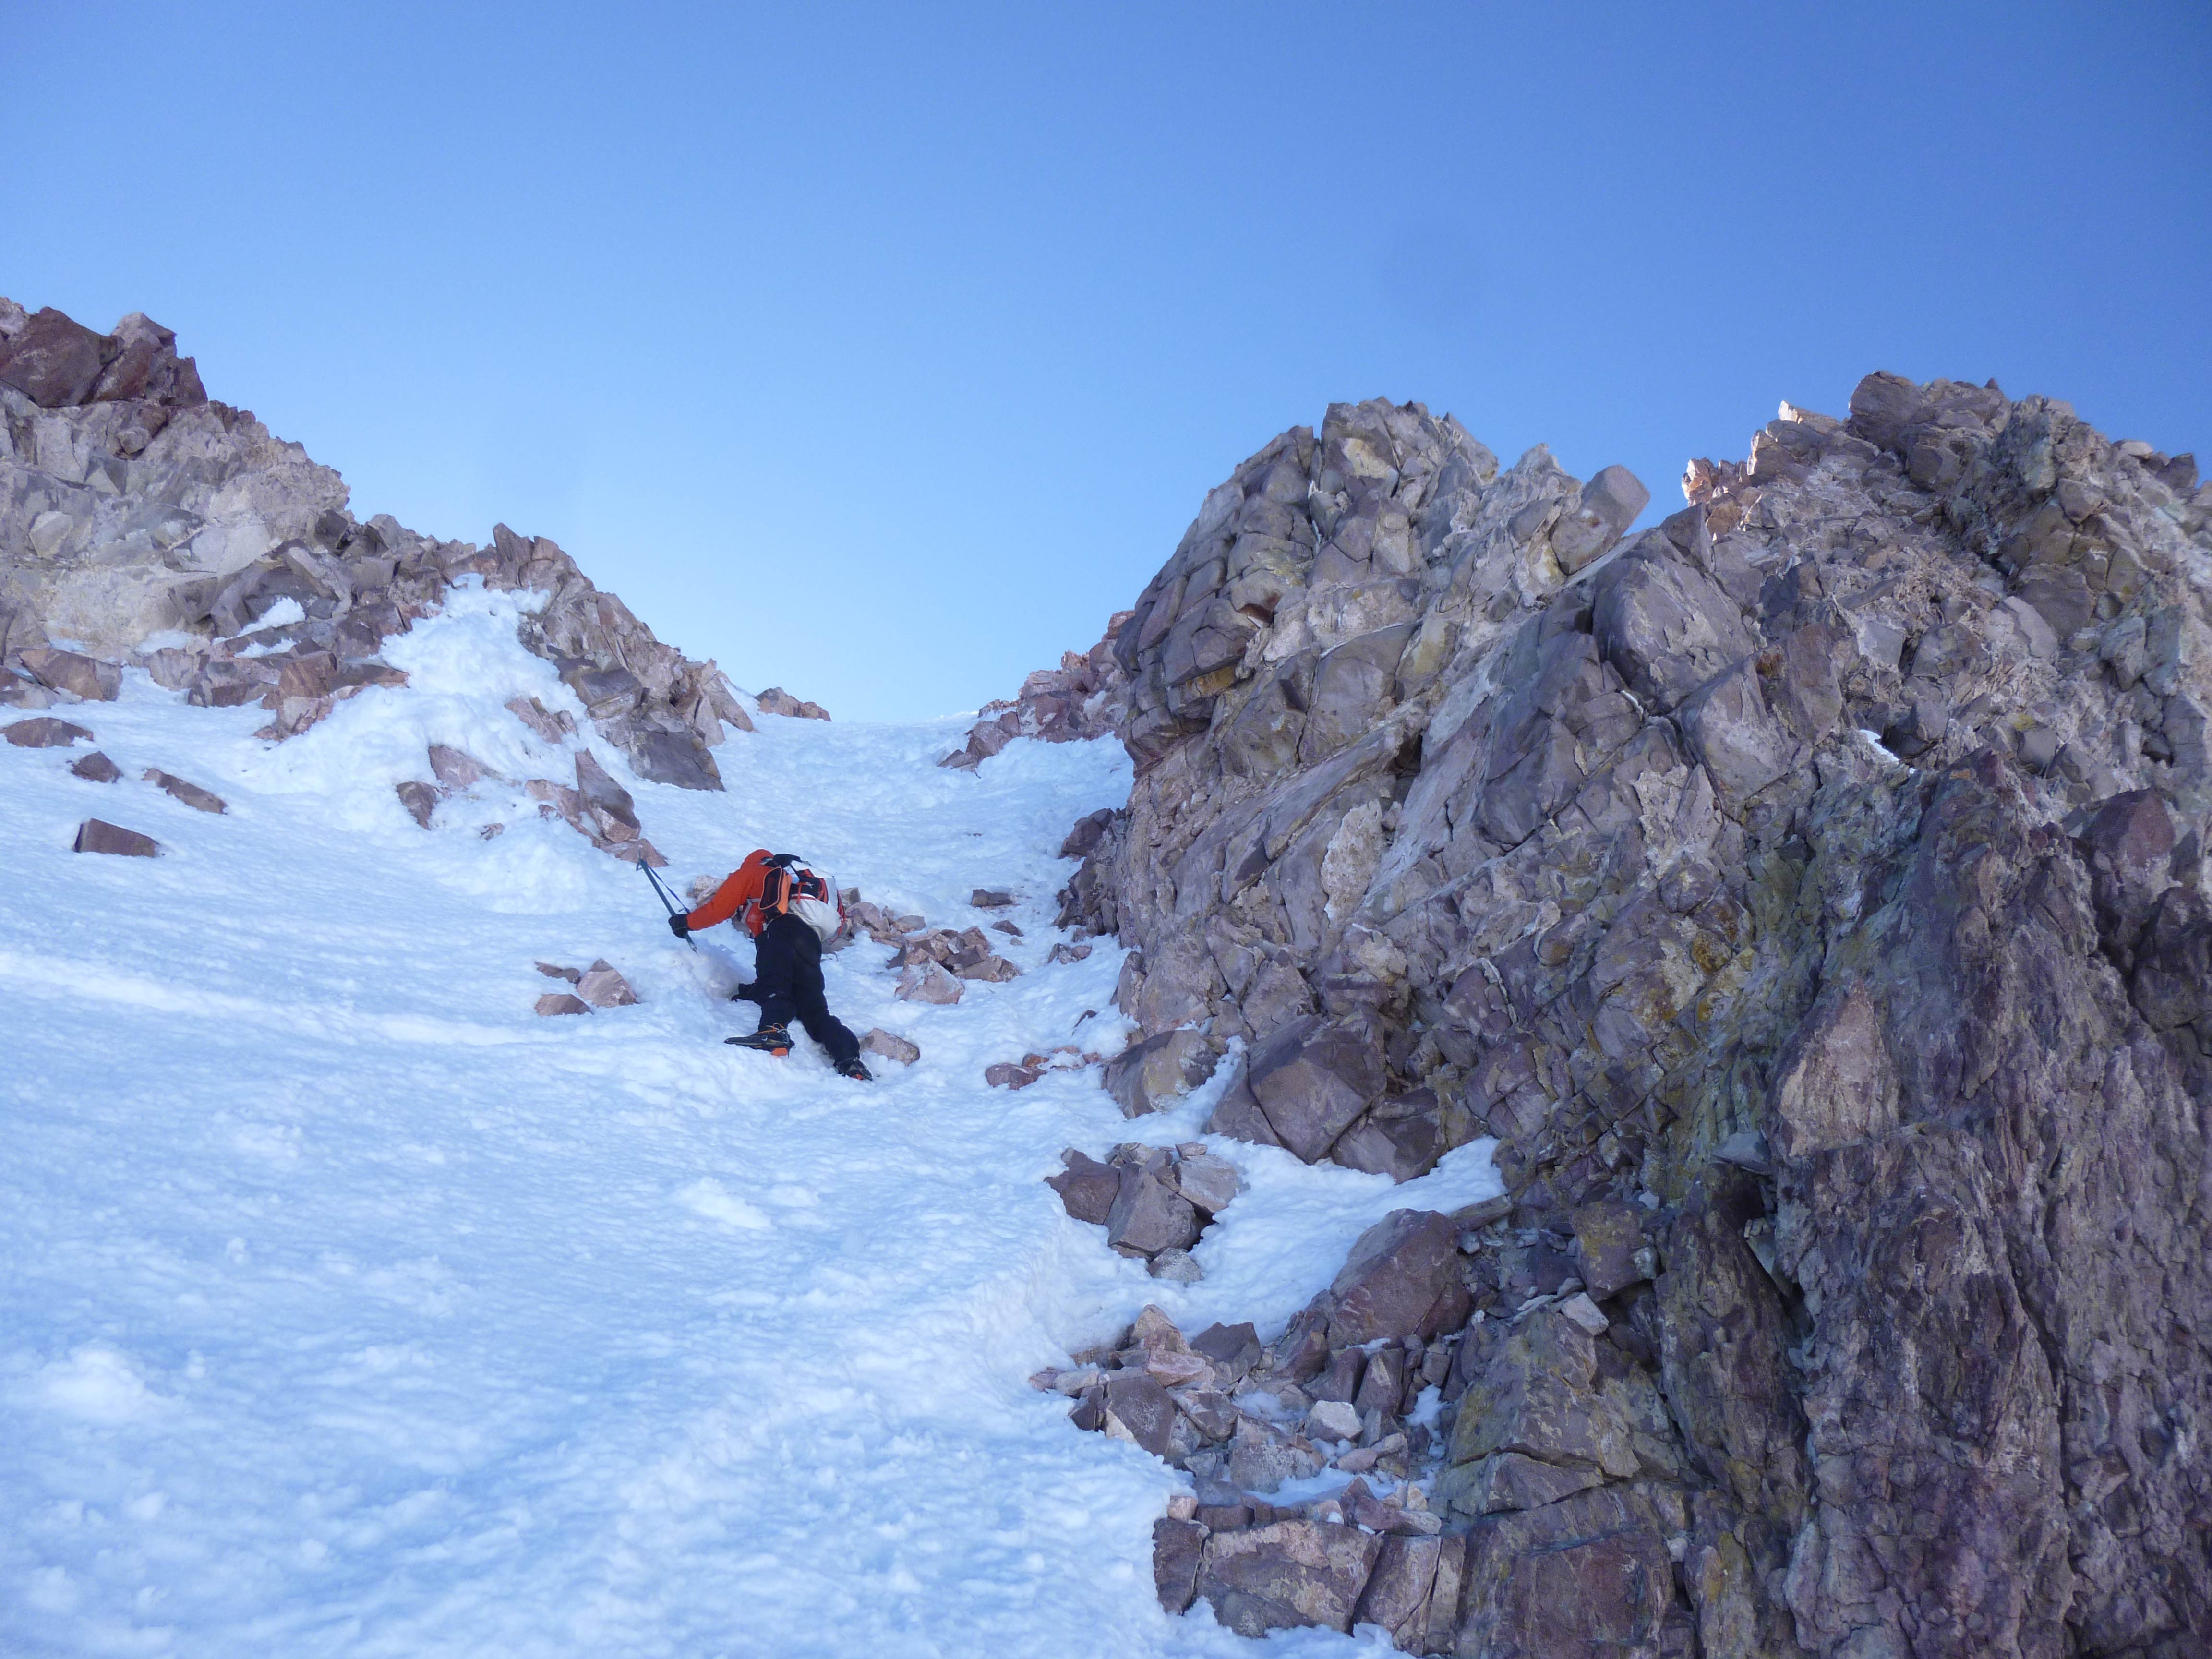
Soon we were above the talus and scree and found ourselves faced with big granite slabs.  Climbing past two fairly straightforward but hazardously exposed pitches it became evident that the terrain above only became more difficult and dangerous.  We realized that the route we had chosen would probably not yield us an accessible way up.

The scrambling quickly transitioned into exposed climbing.

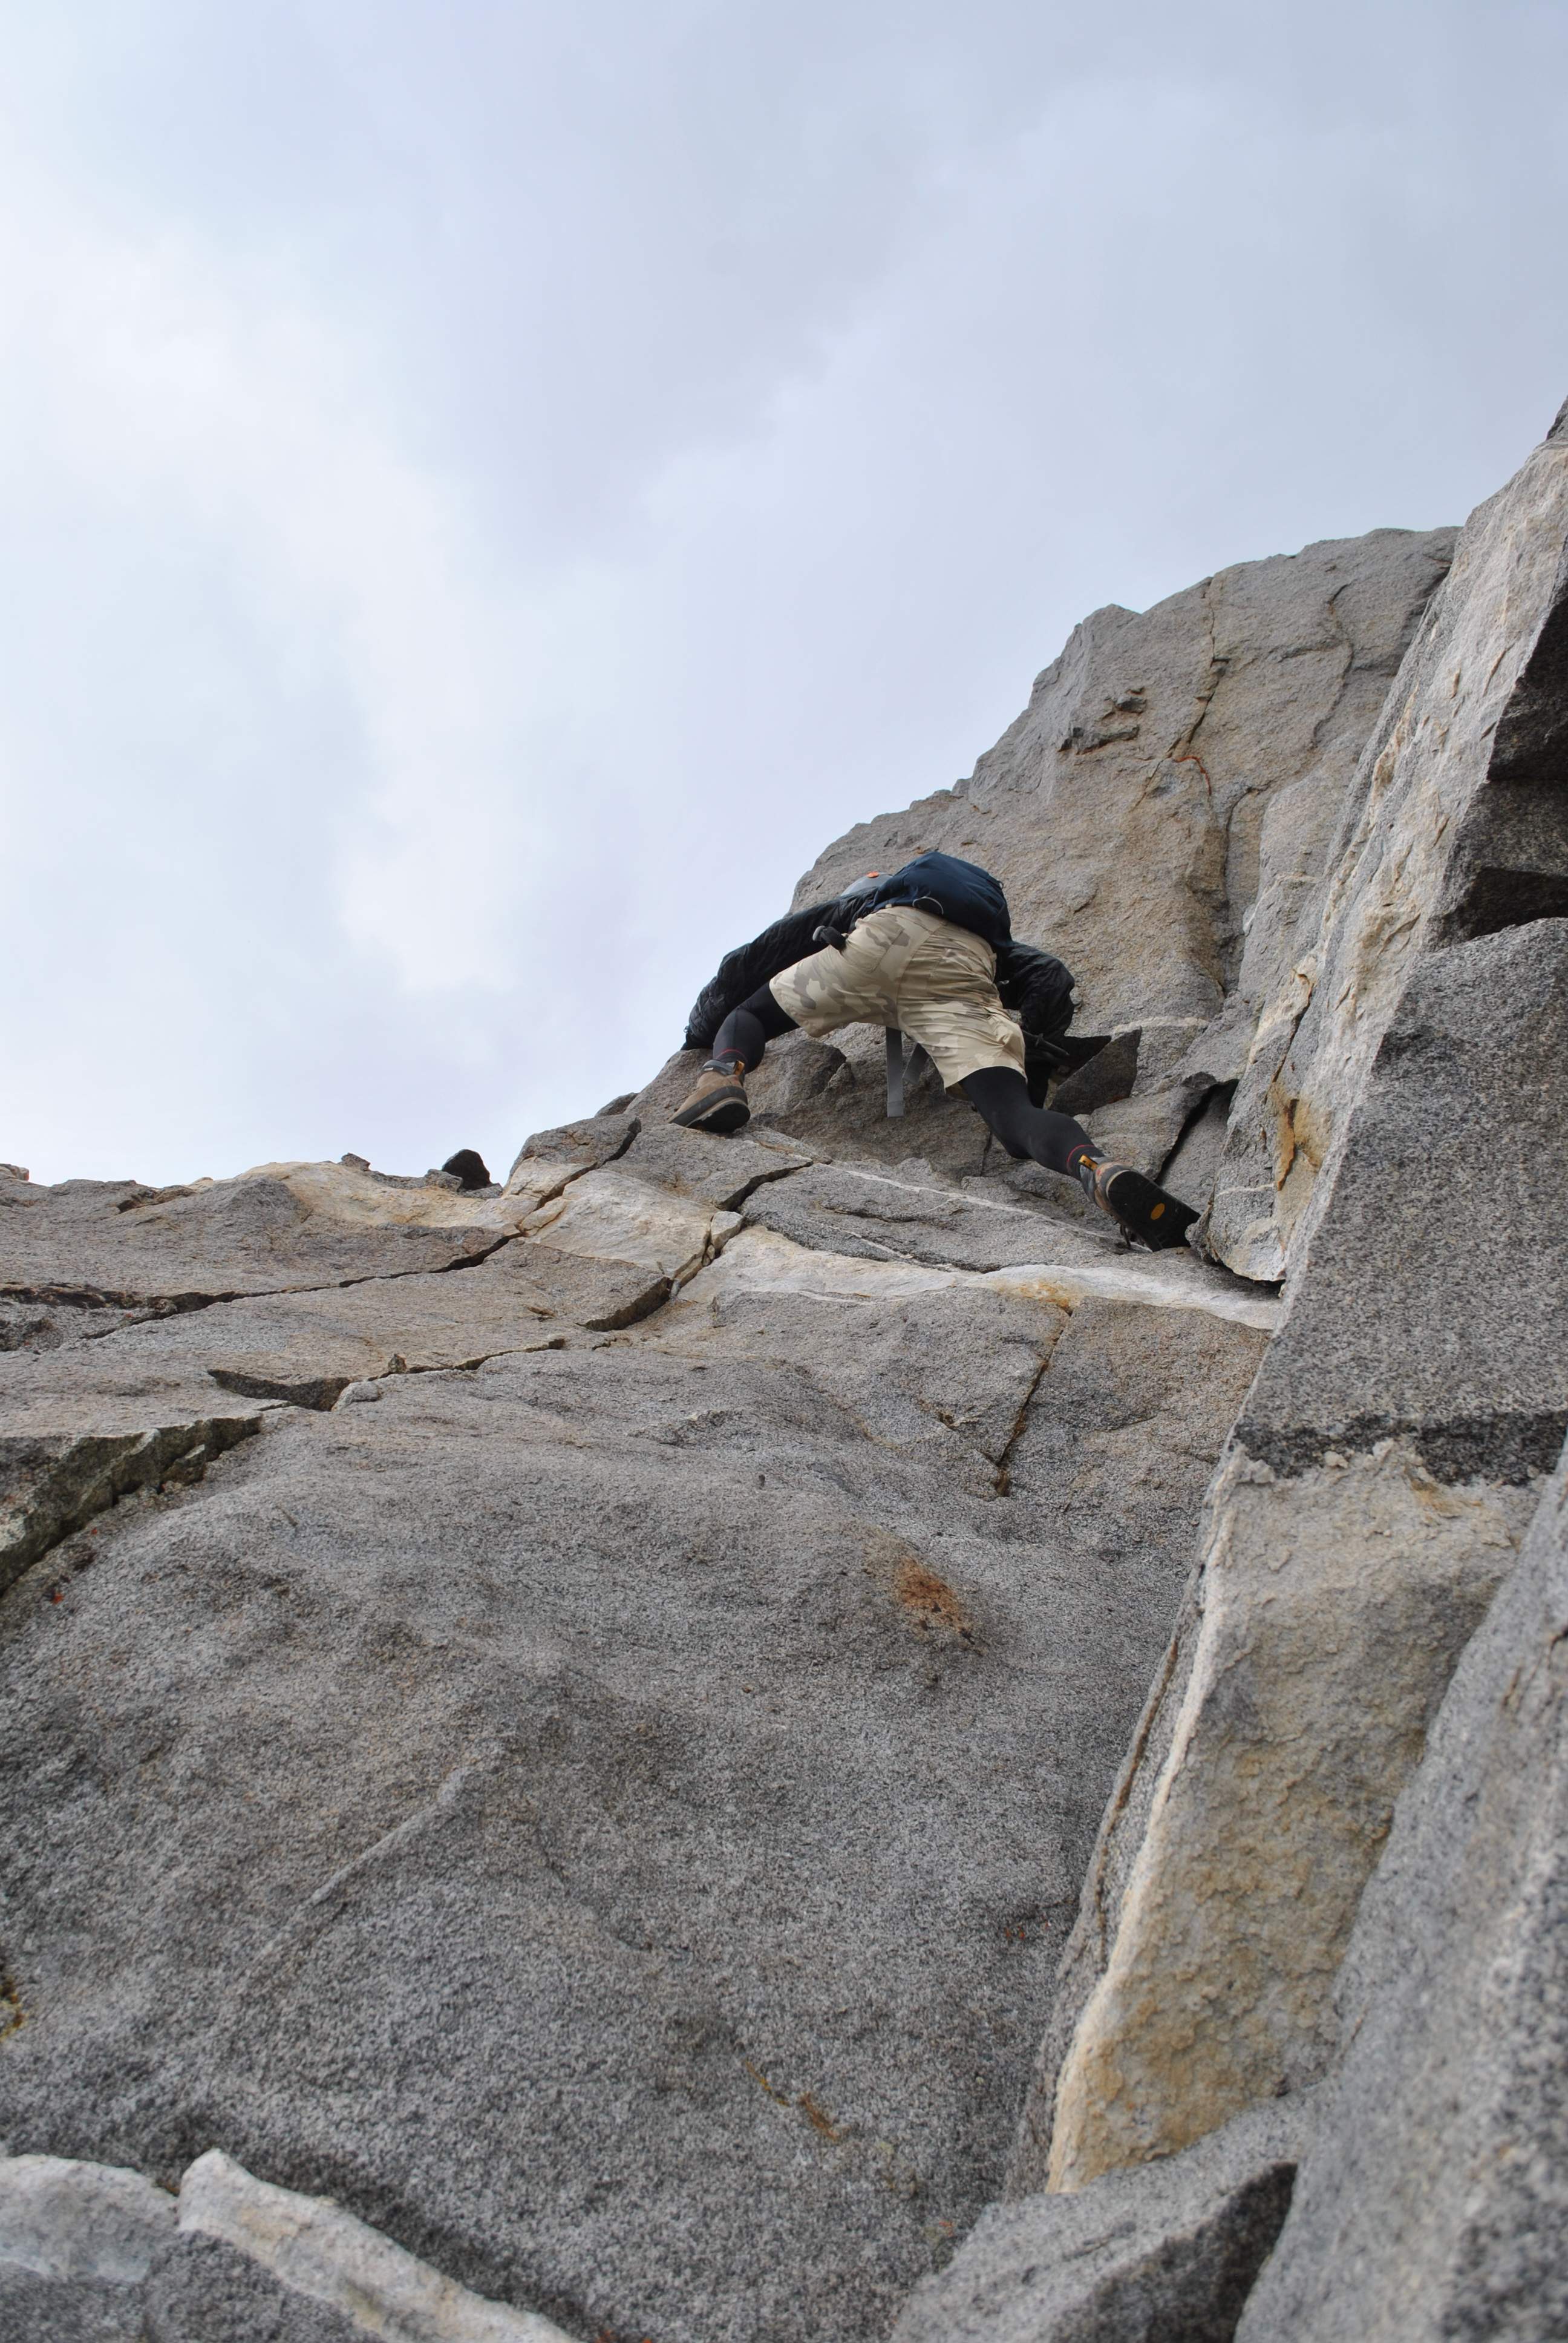
The scrambling transitioned into exposed climbing.

Faced with considerable exposure to serious fall on nearly vertical rock, equipped with no rope, and knowing we would have to down-climb any further progress to return to our bags, we decided to descend.

...

Trying to find a route up.

As we turned around a light snow began.  We felt disappointed, but grounded in the reality that we were unprepared to safely continue.  Later we found pictures better illustrating the standard route up the west side of Cloudripper, which follows a chute to the left of the peak – next time!  As consolation we enjoyed great views of the whole area below us, including the north and east slopes of the next day’s objective, Mount Goode.

...

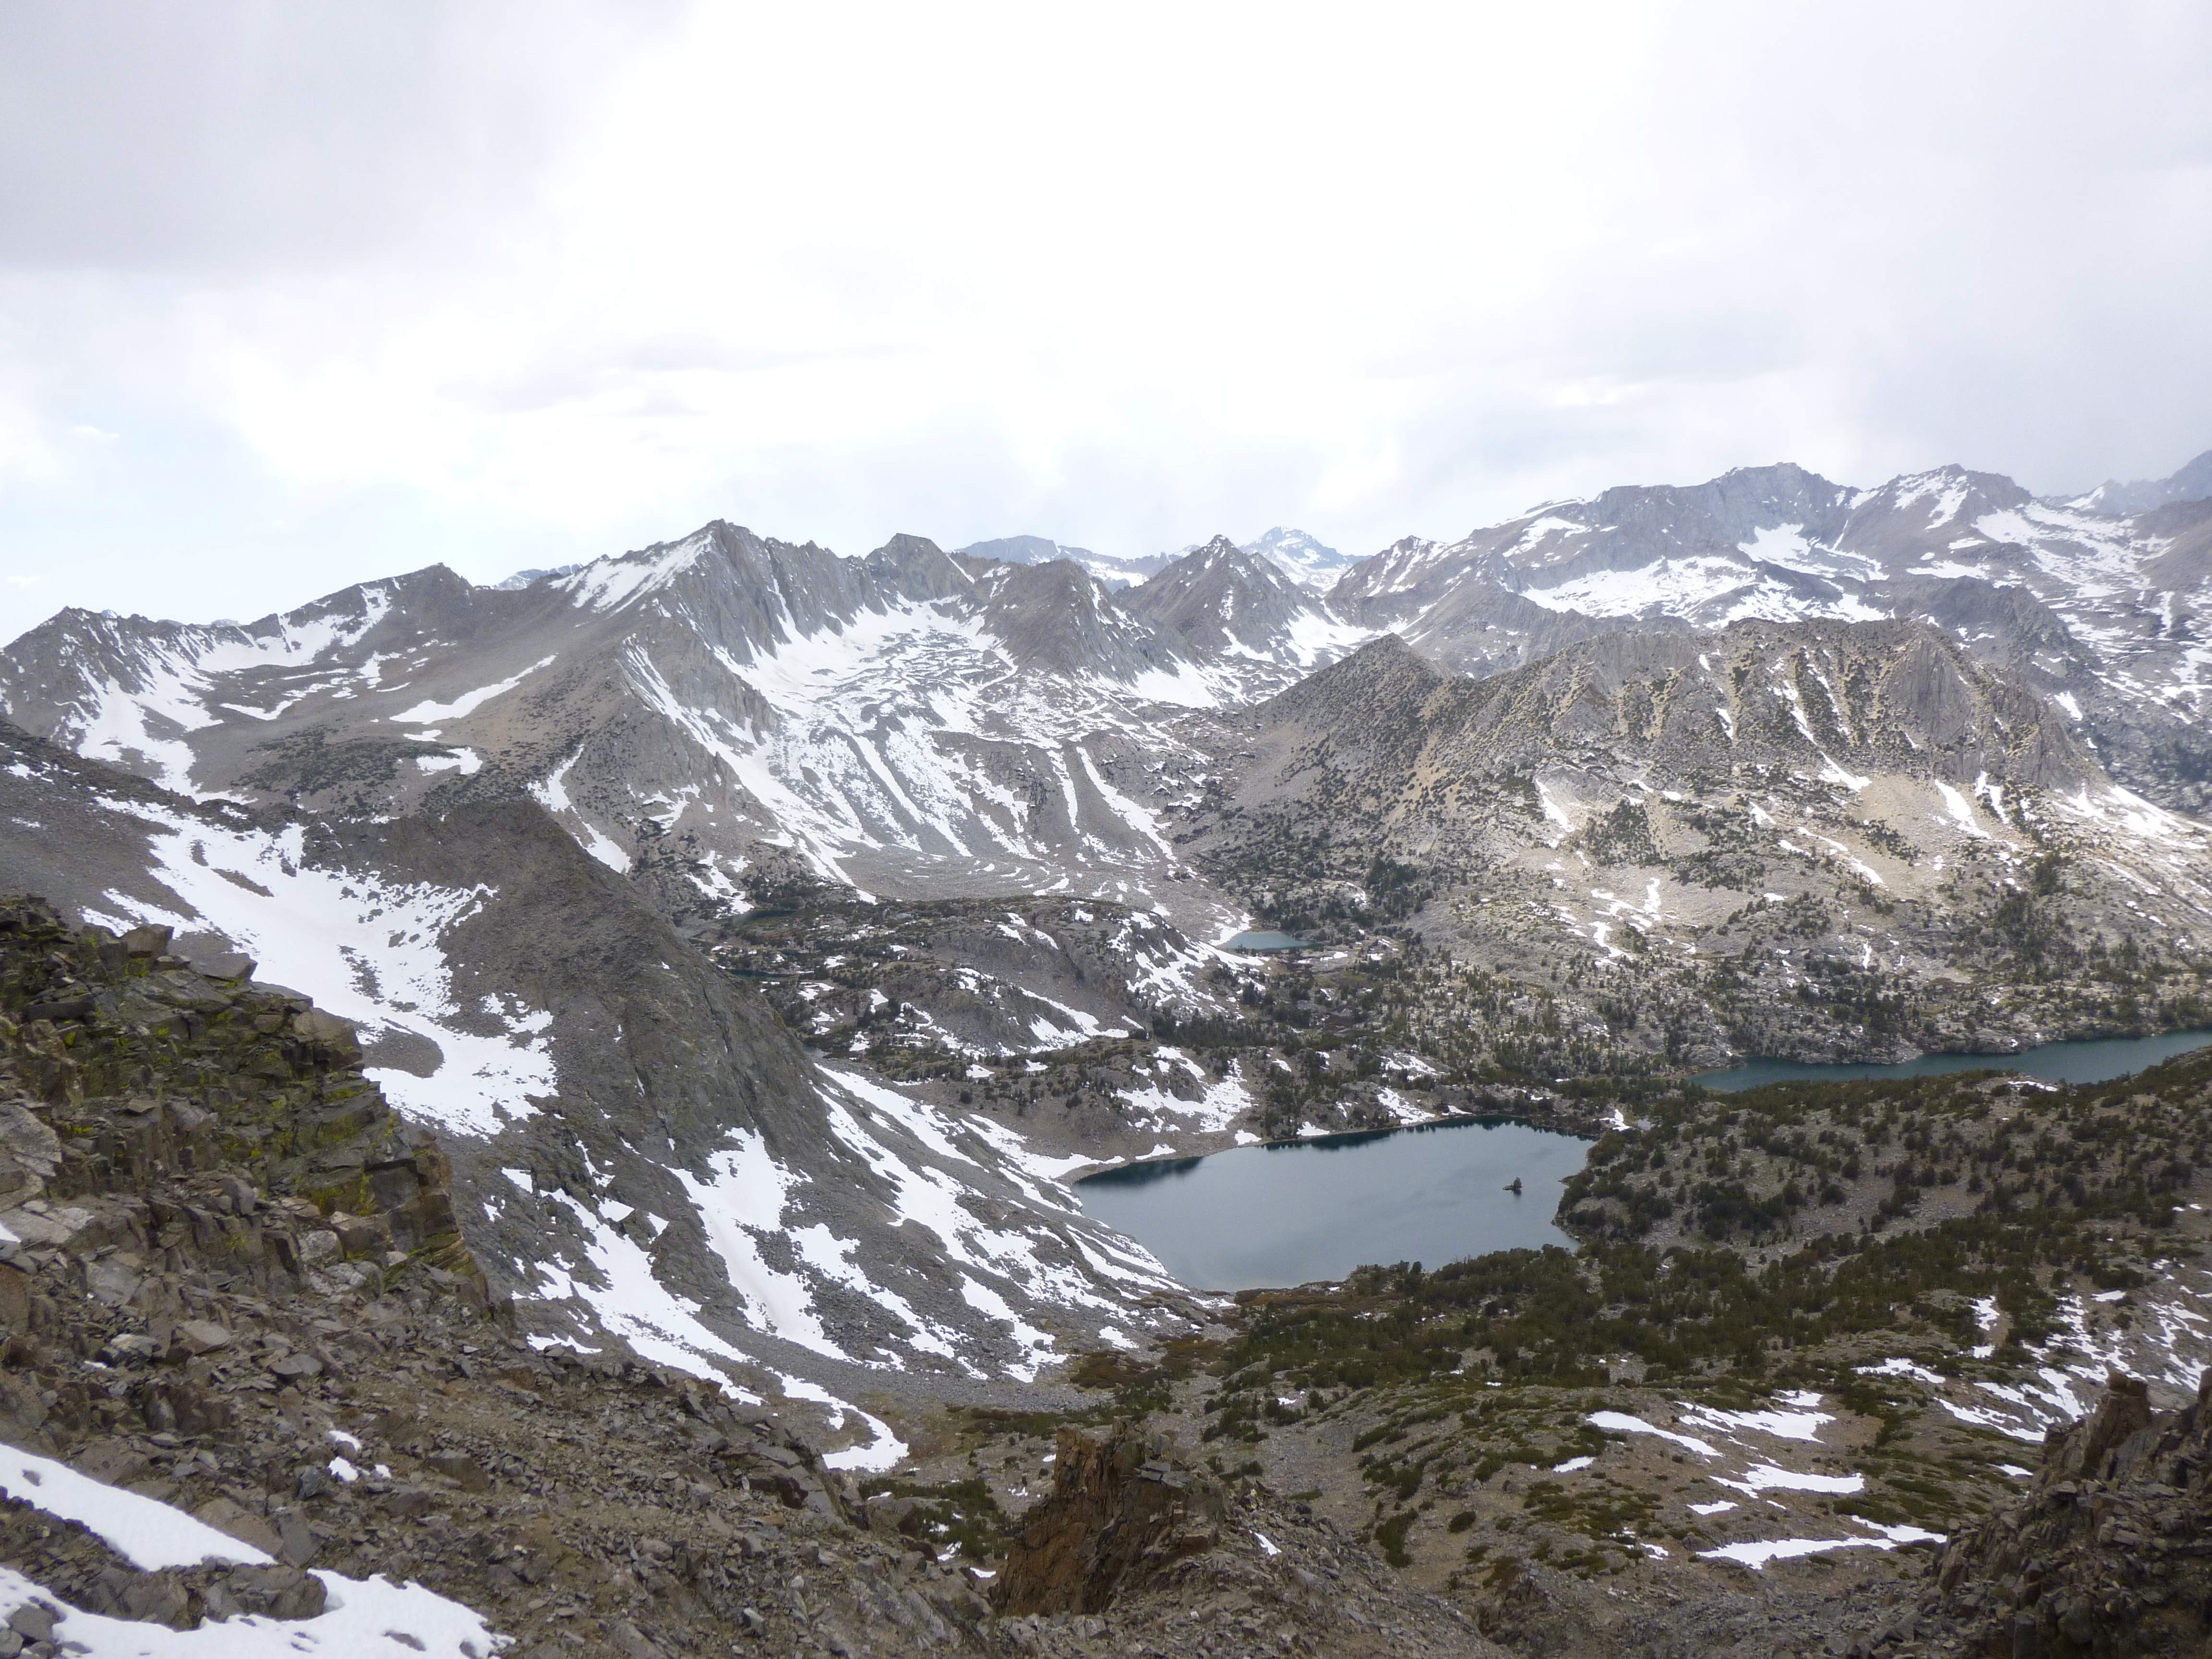
Looking down from high on Cloudripper, Mount Goode is the highest peak in the top left corner.  Mount Goode’s south-east slope, used for hiking ascent, is to the left of the peak.

Once off of Cloudripper we slowed down to enjoy the easy hike back through the Chocolate lakes area, reuniting with our heavy overnight packs and continuing south towards Long Lake.  Soon Mount Goode stood in front of us, a commanding, aesthetically pleasing fortress of granite.

...

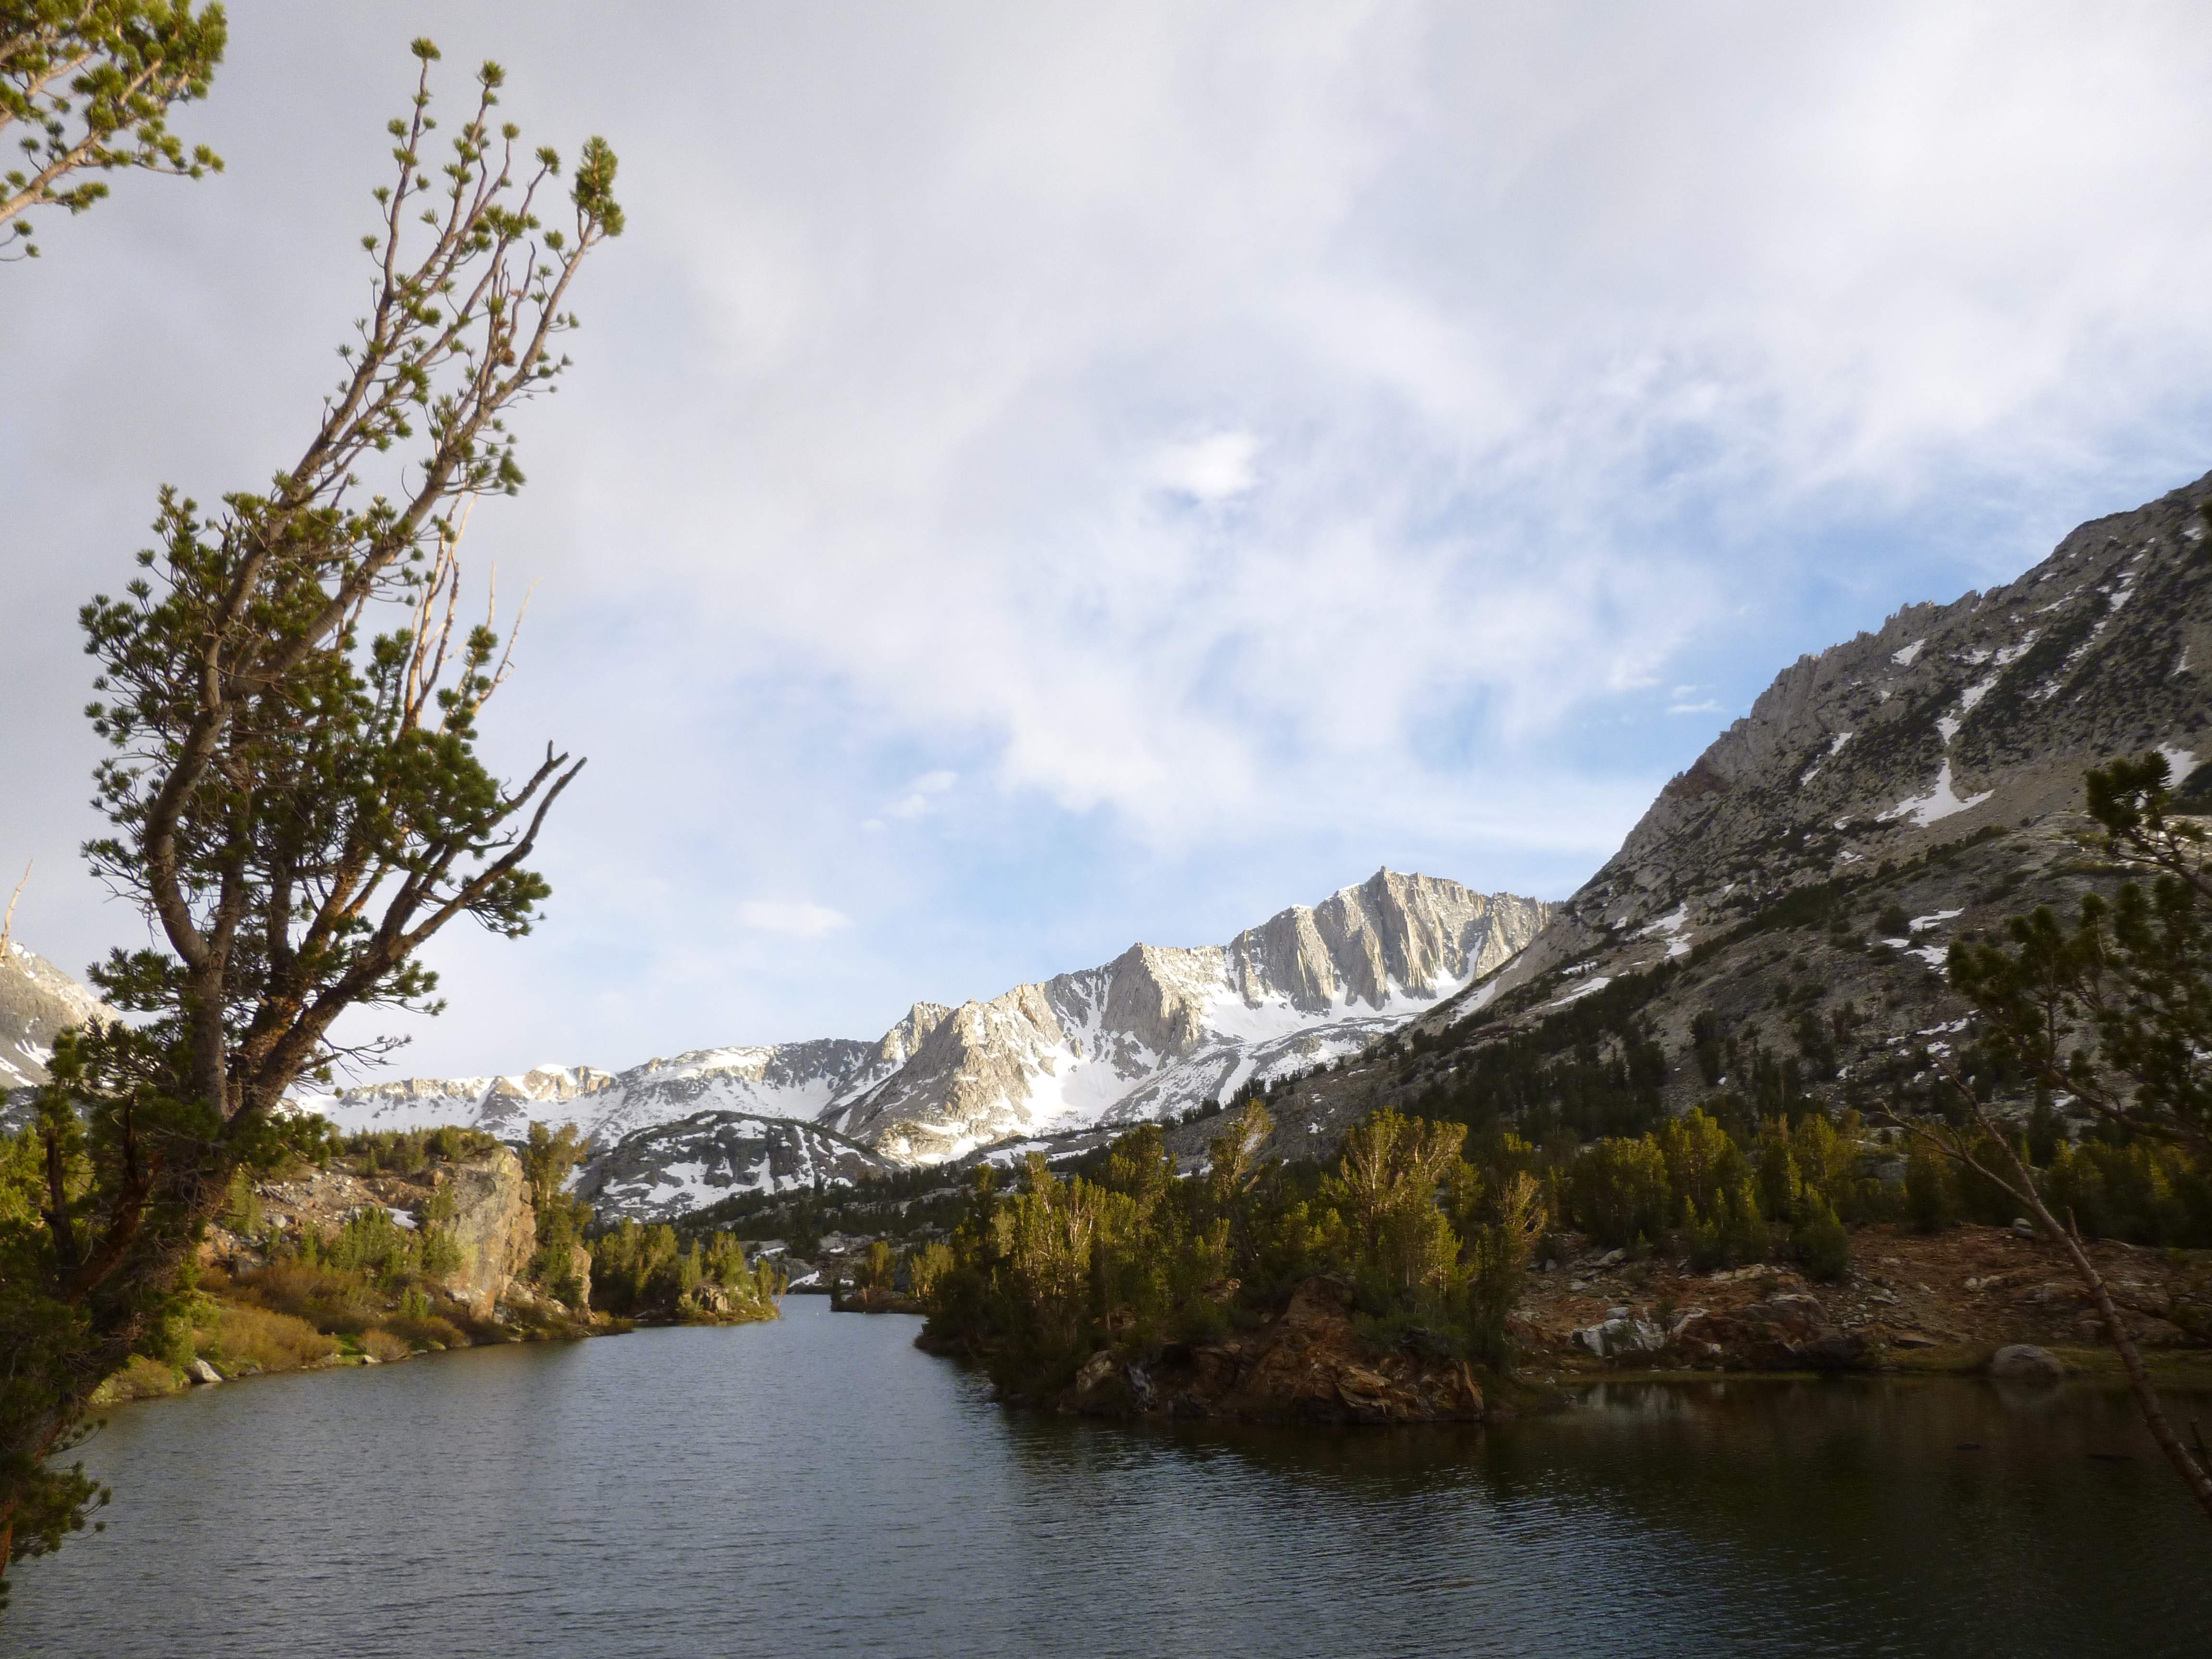
Mount Goode in the distance.

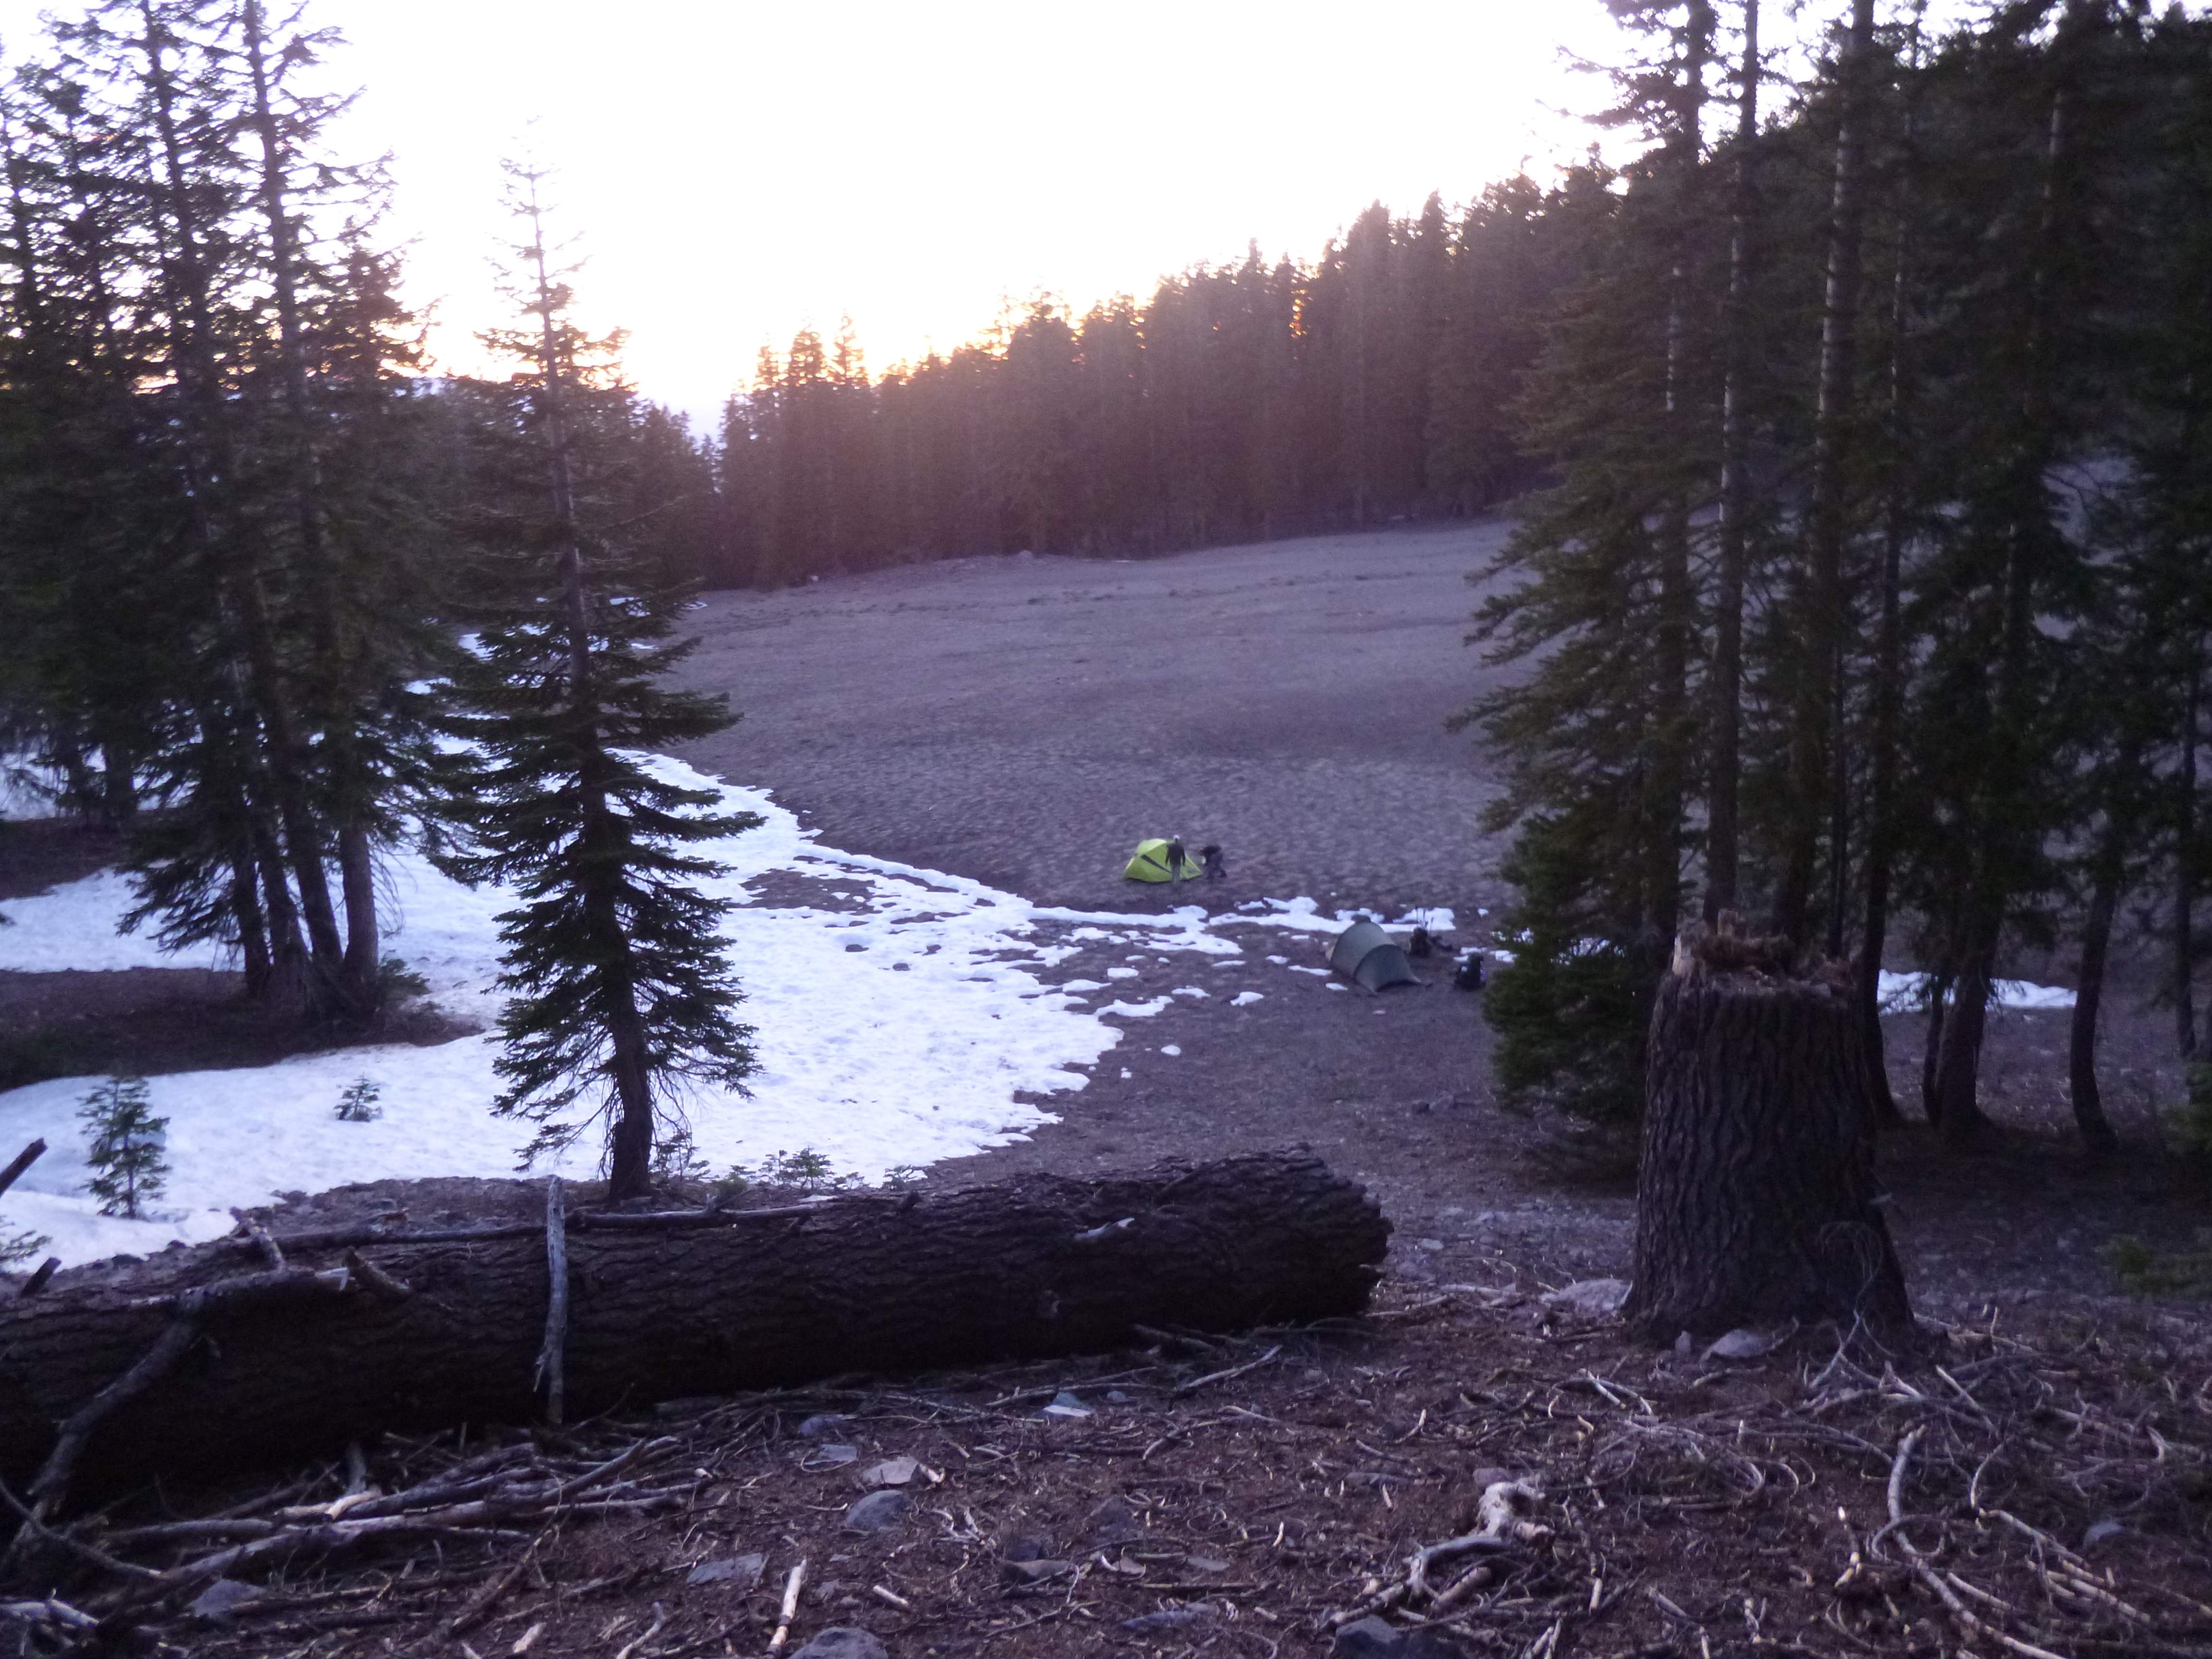
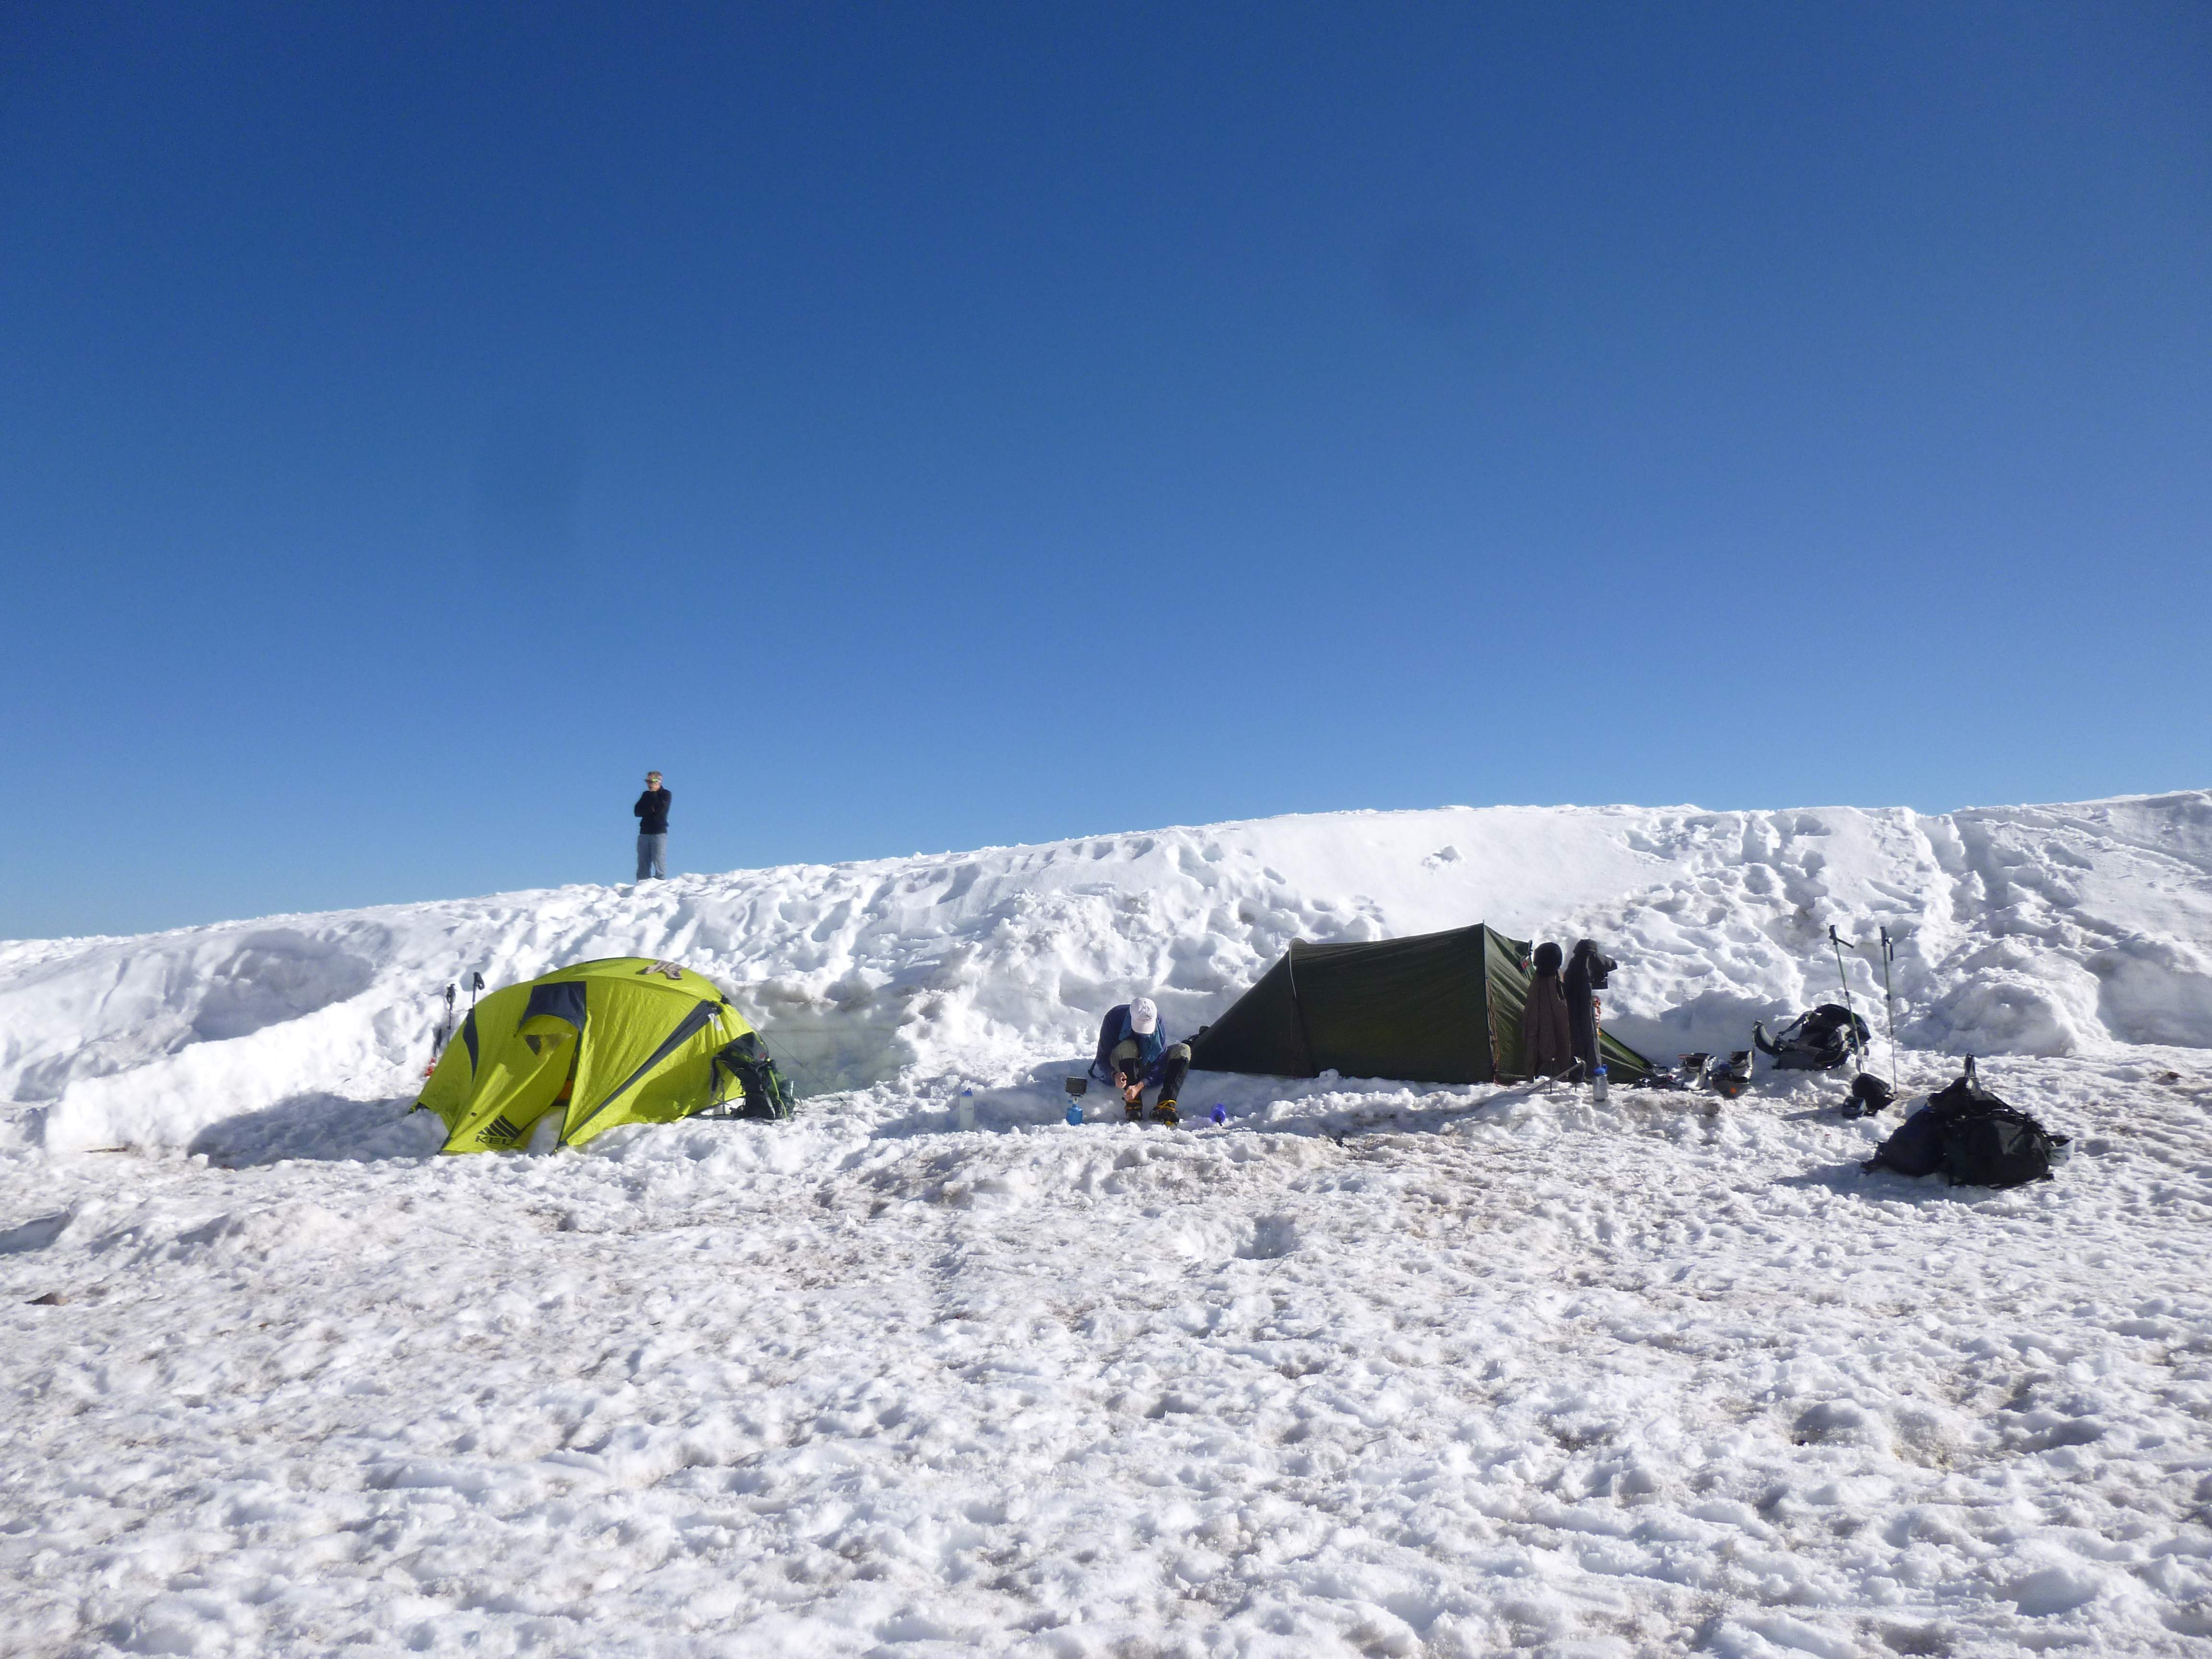
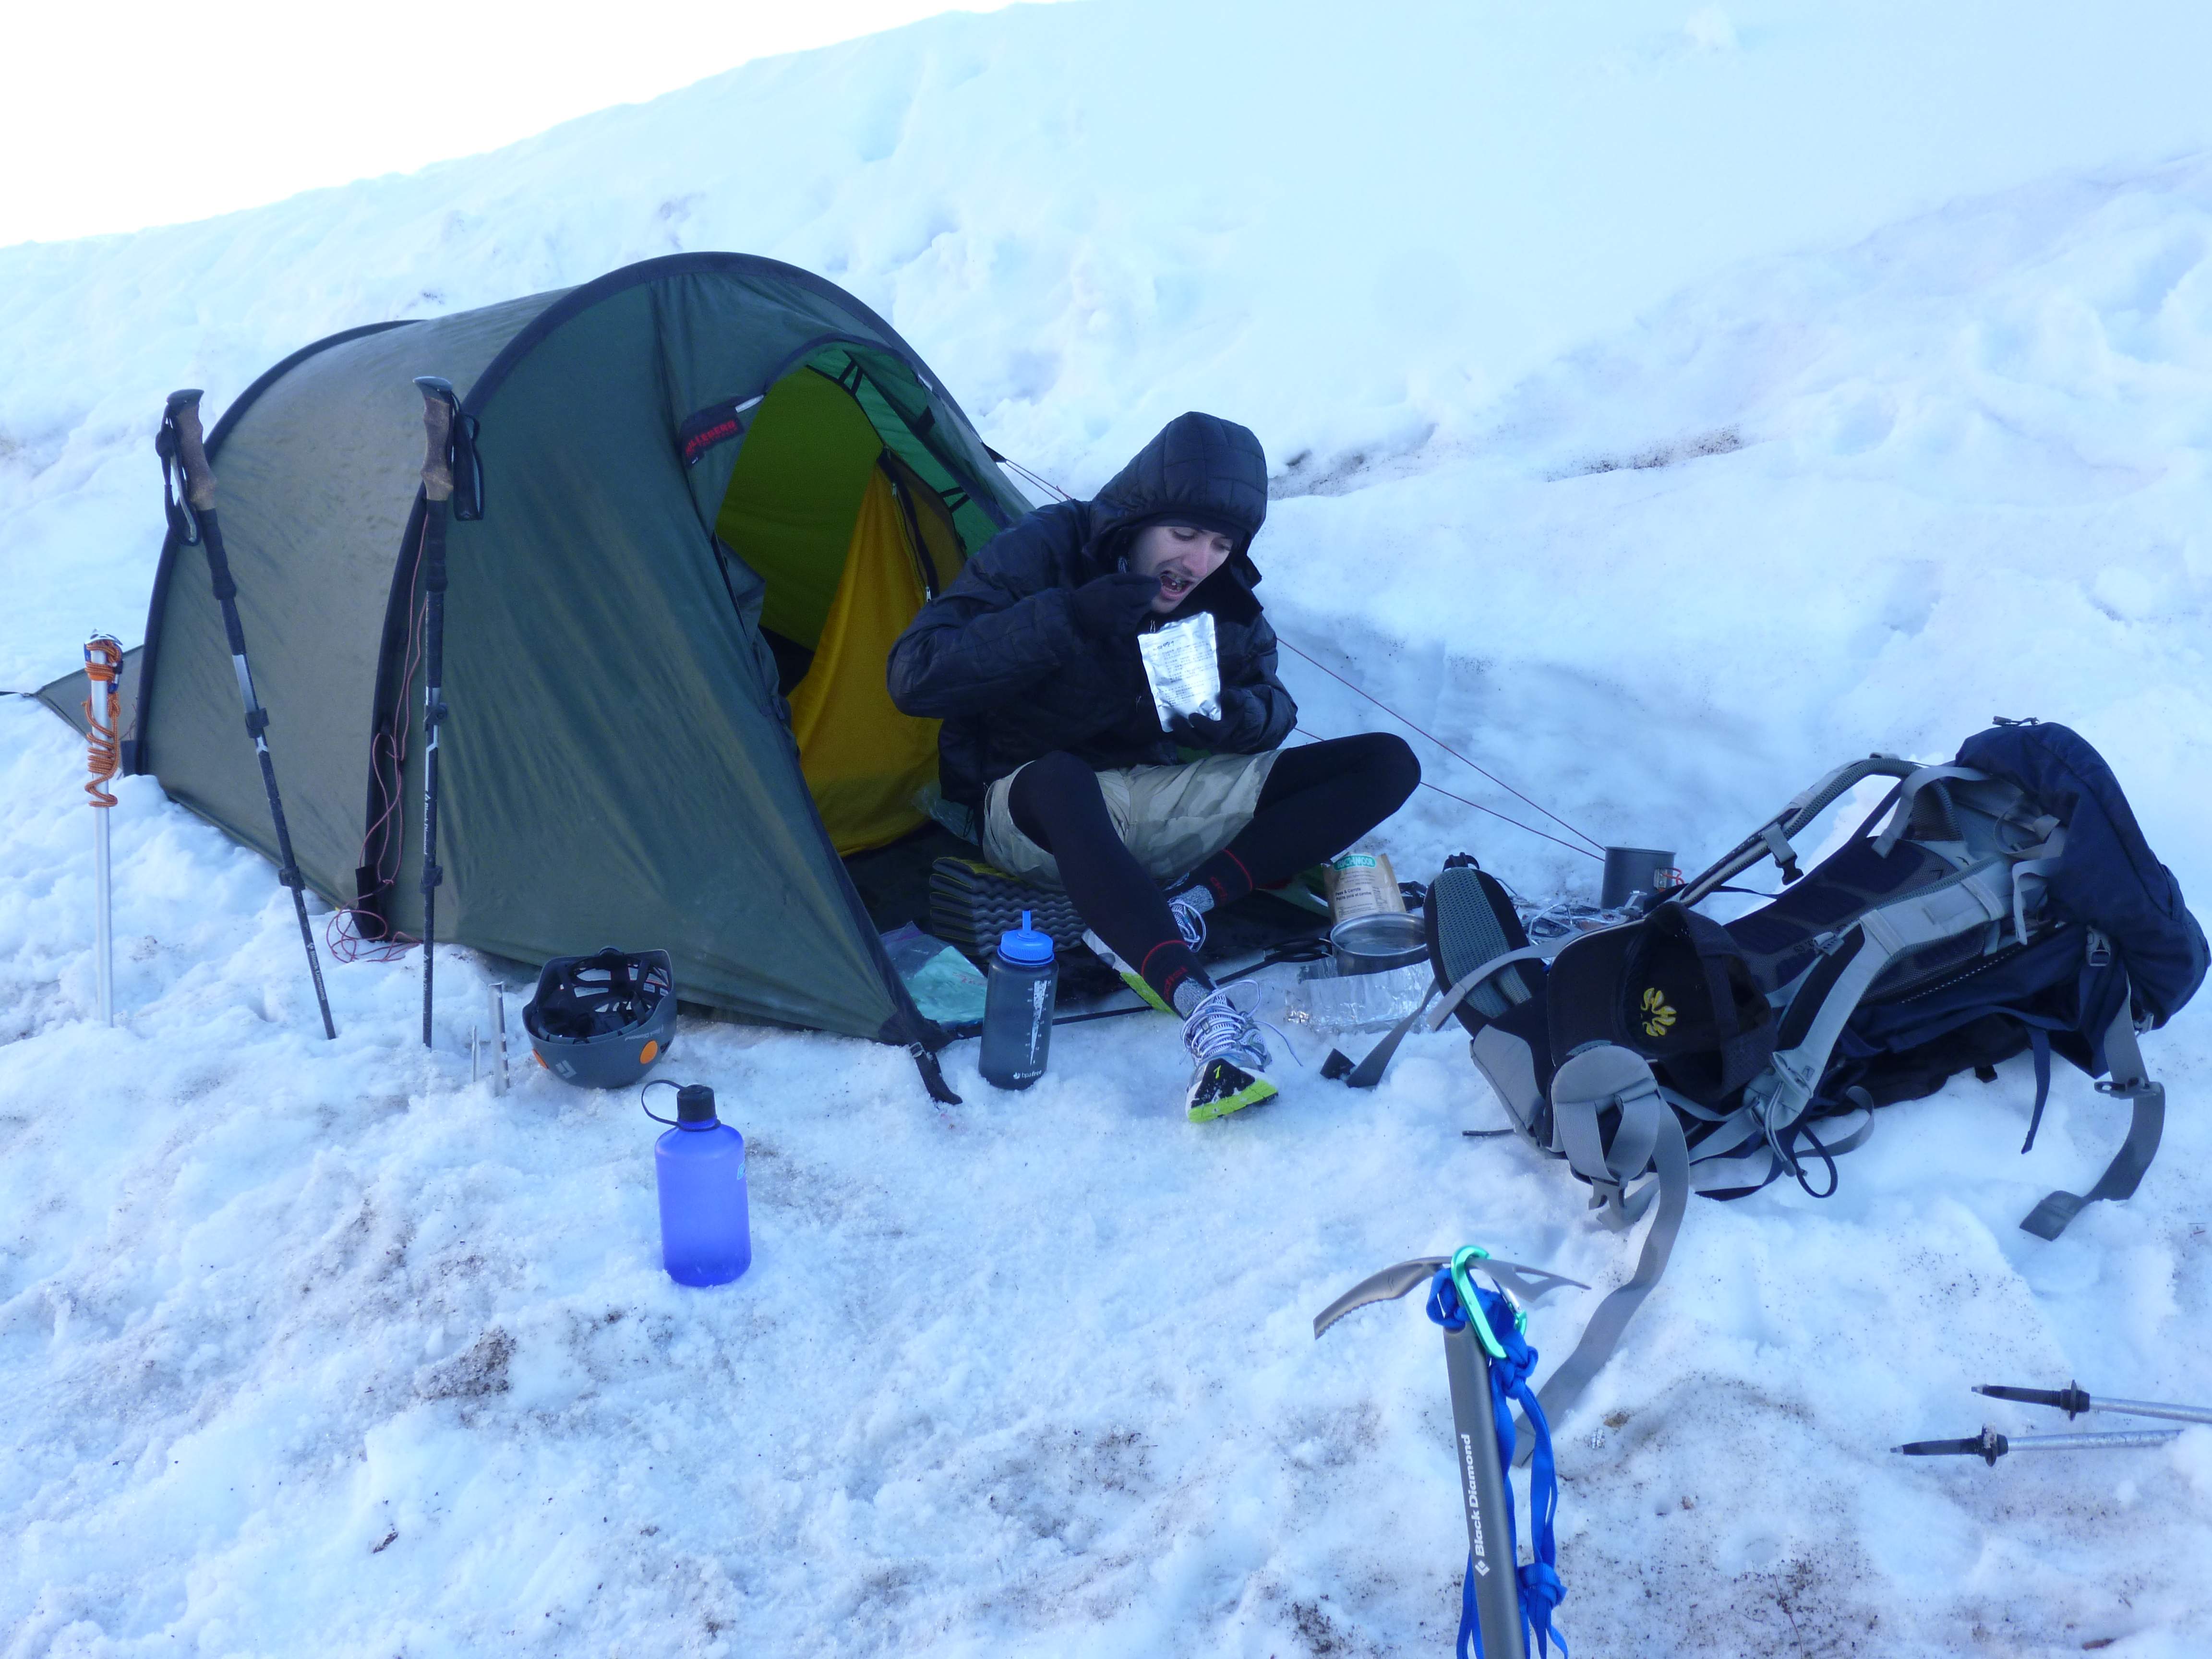
Slightly south of Long Lake we turned off of the trail and pitched camp in a sheltered, quiet little area at the top of a small hill.

...

Our campsite near Long Lake.

We enjoyed a fiery sunset as we cooked dinner and drank Californian IPA beer.

...

First night’s sunset.

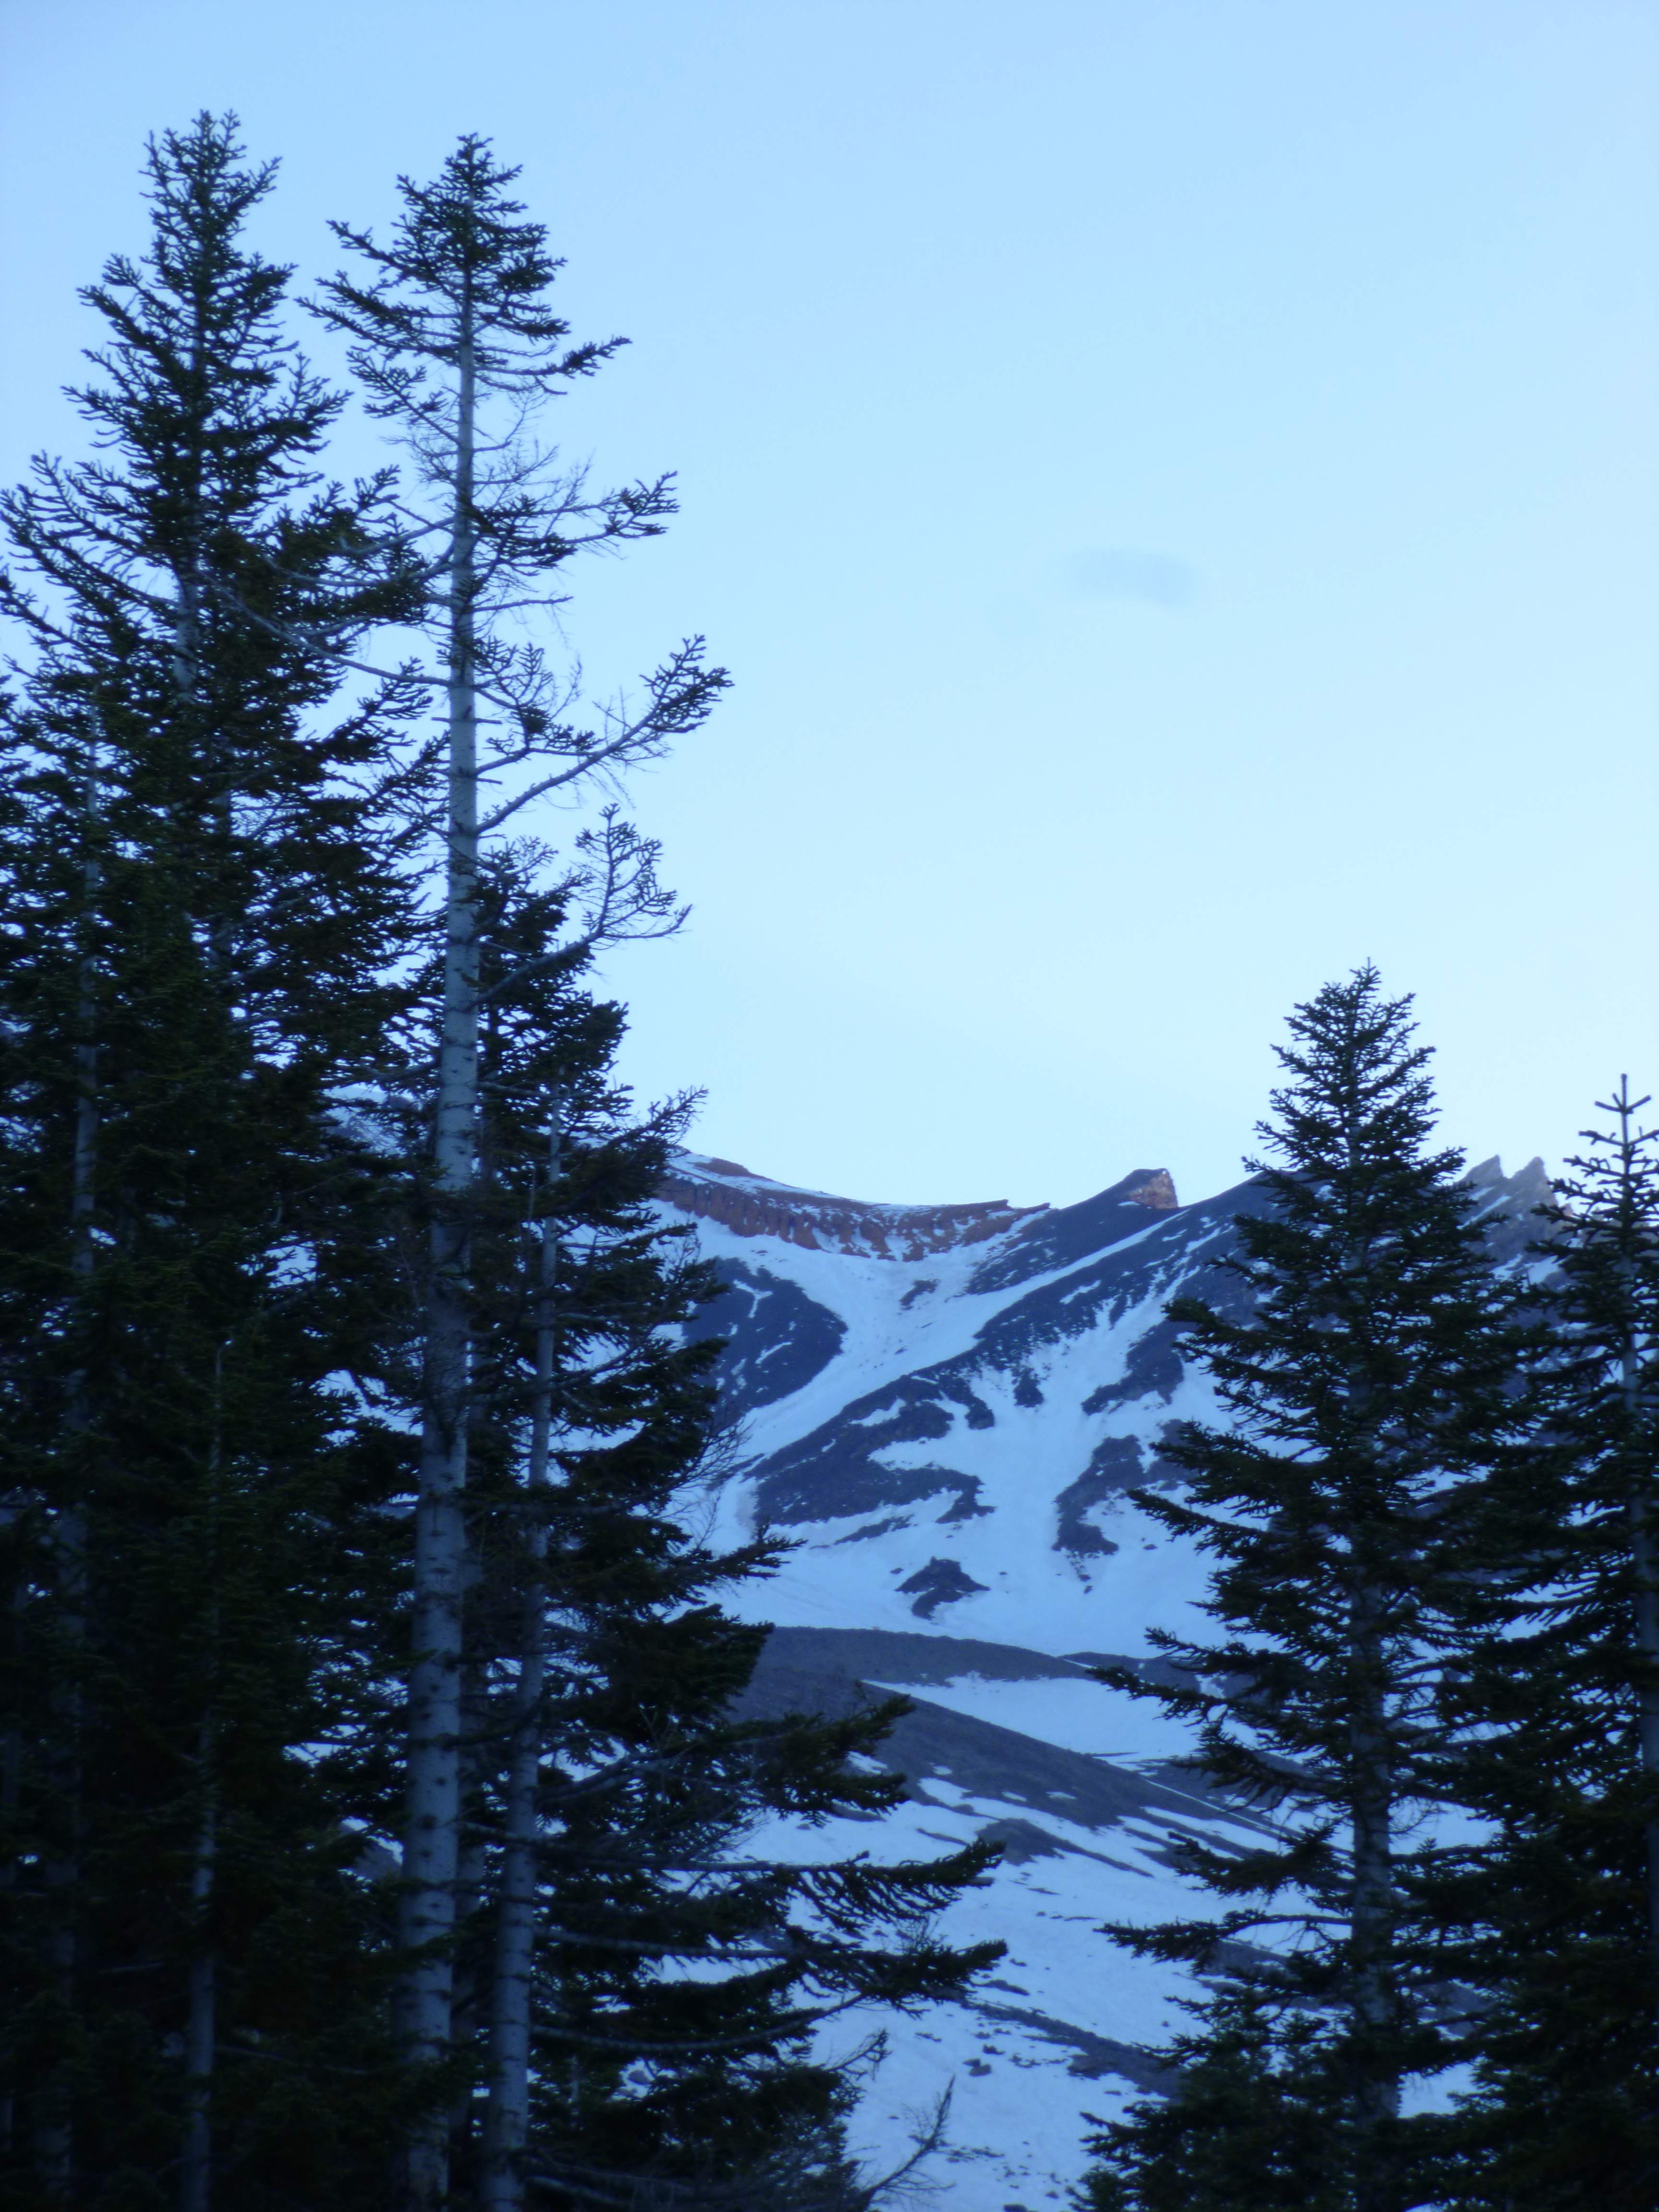
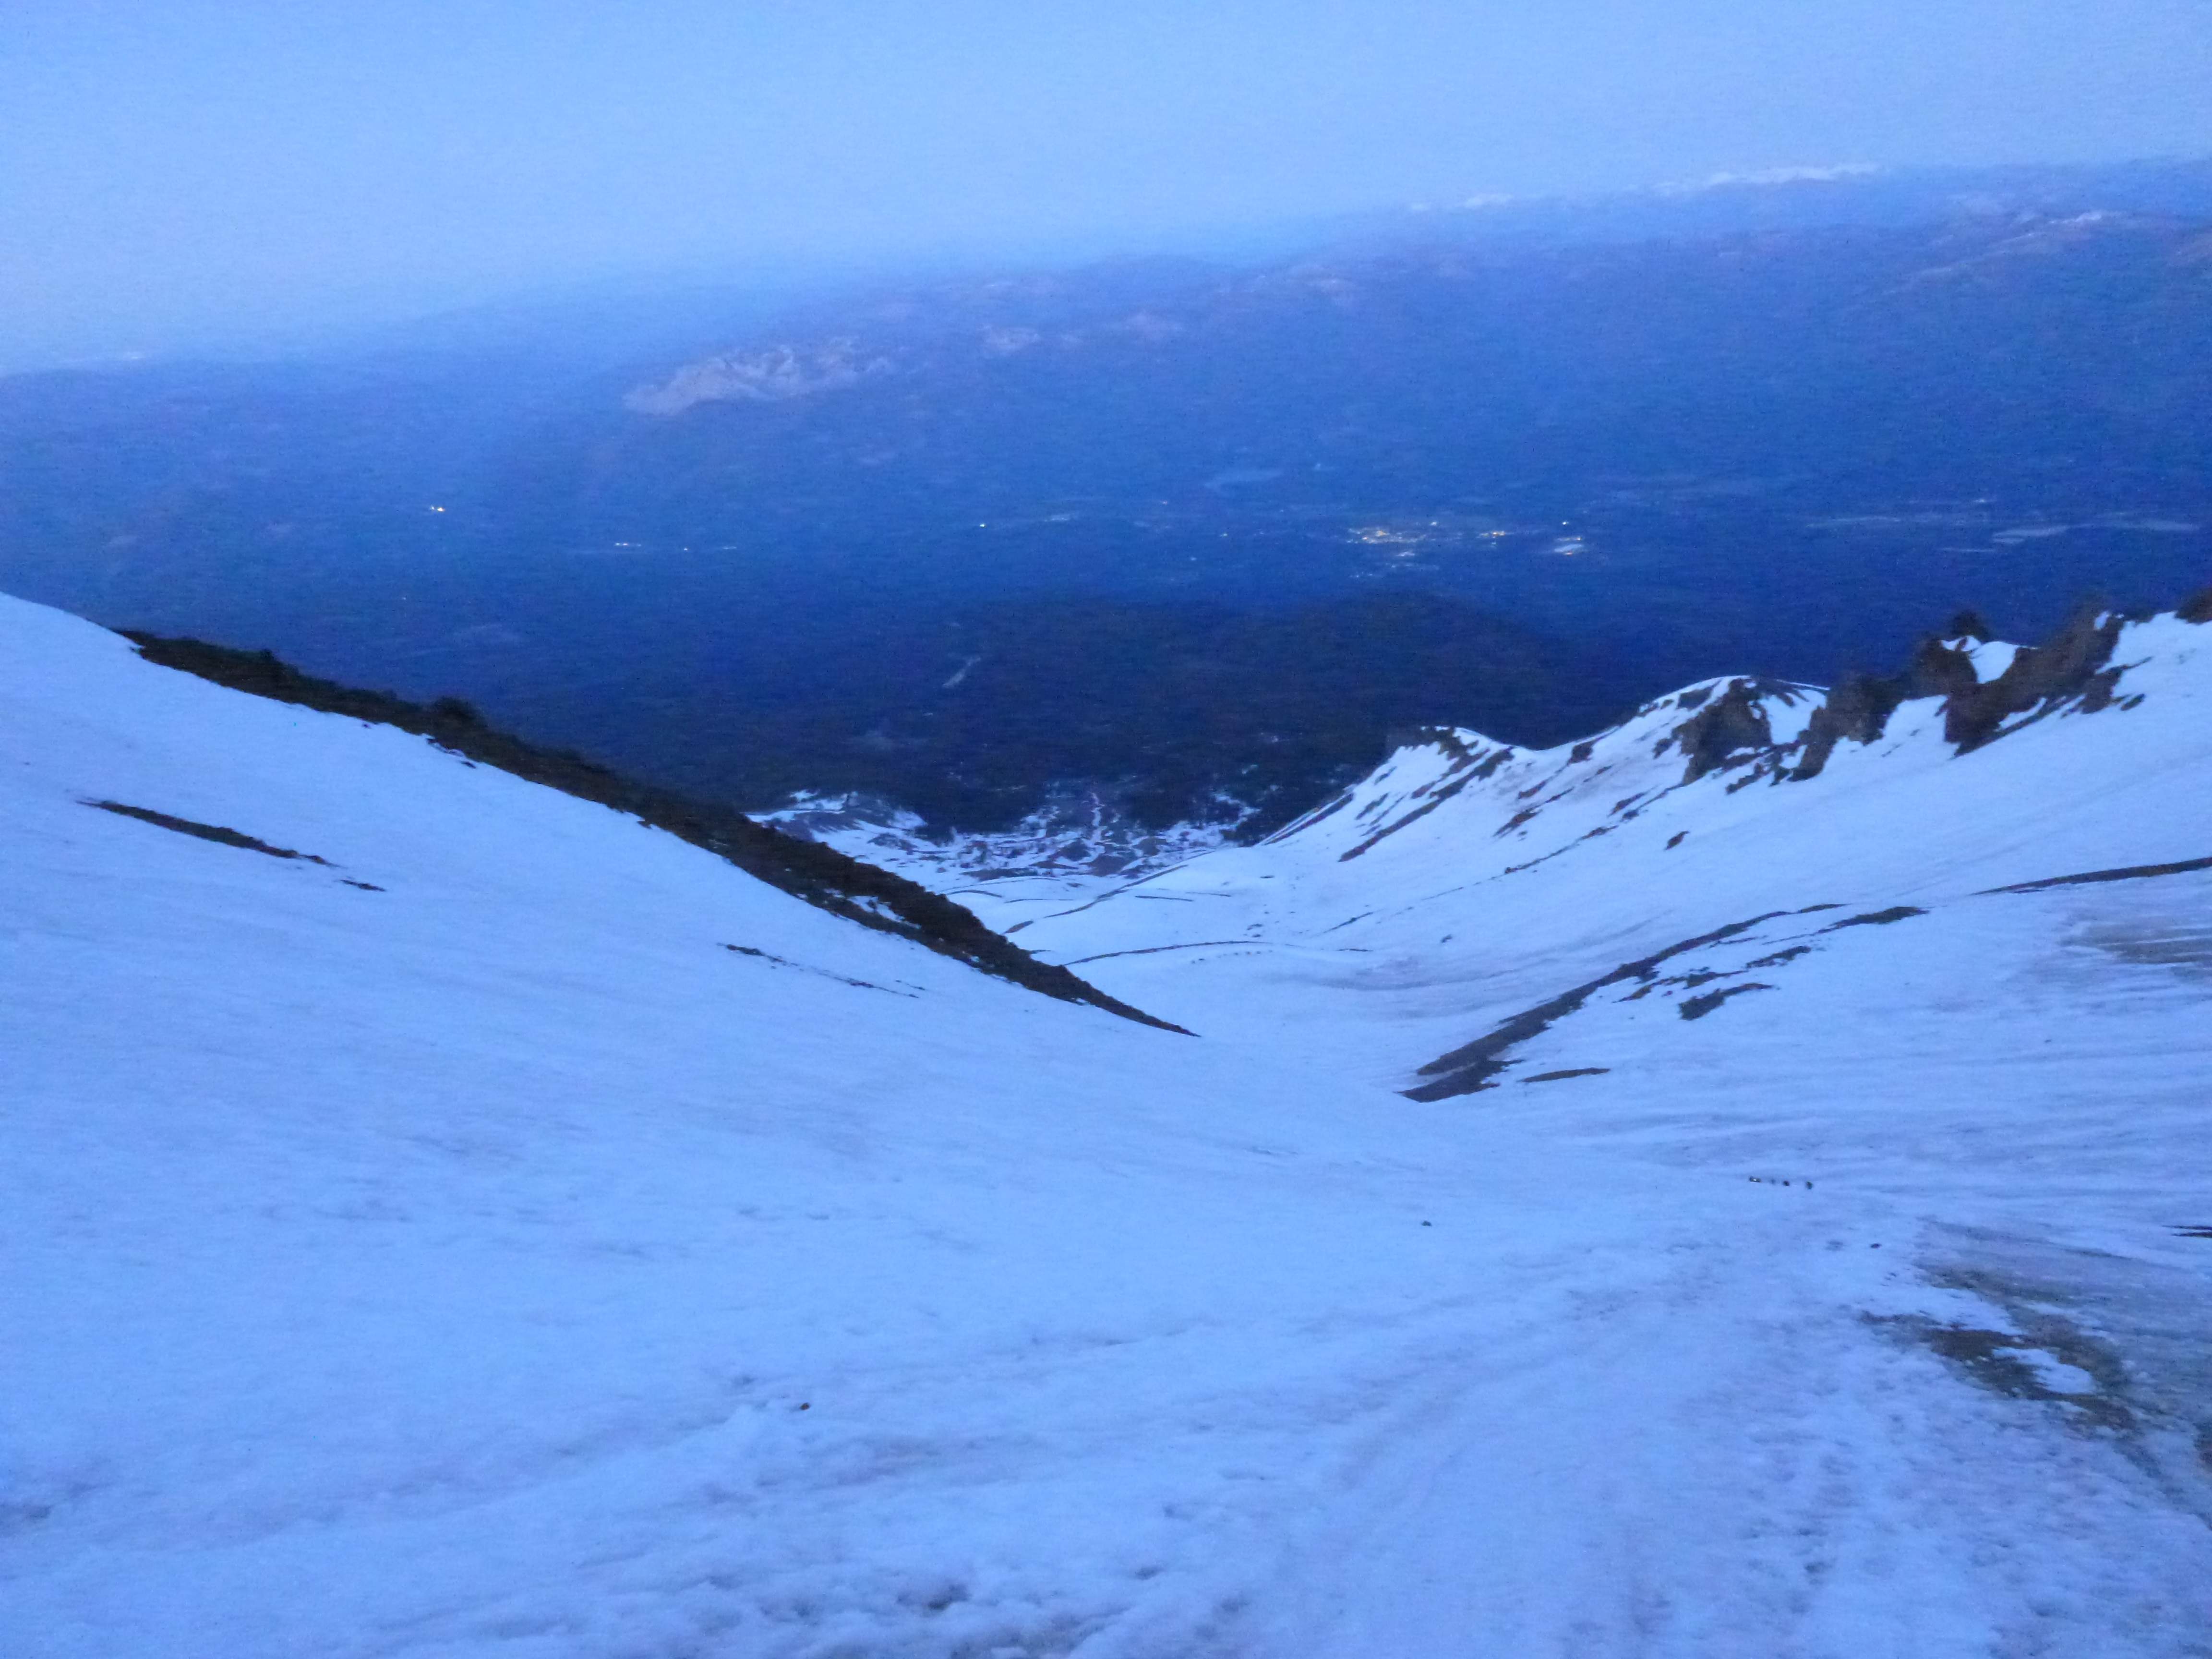
Day 2: Up before the sun, we began hiking south towards Bishop Pass, and the southeast slope of Mount Goode.

...

Mount Goode’s north side.

Once we reached Saddlerock Lake we cut west, off of the trail and overland between Saddlerock Lake and Bishop Lake.  The terrain here was pretty, with lots of rolling granite, shrubs, and snow banks.

...

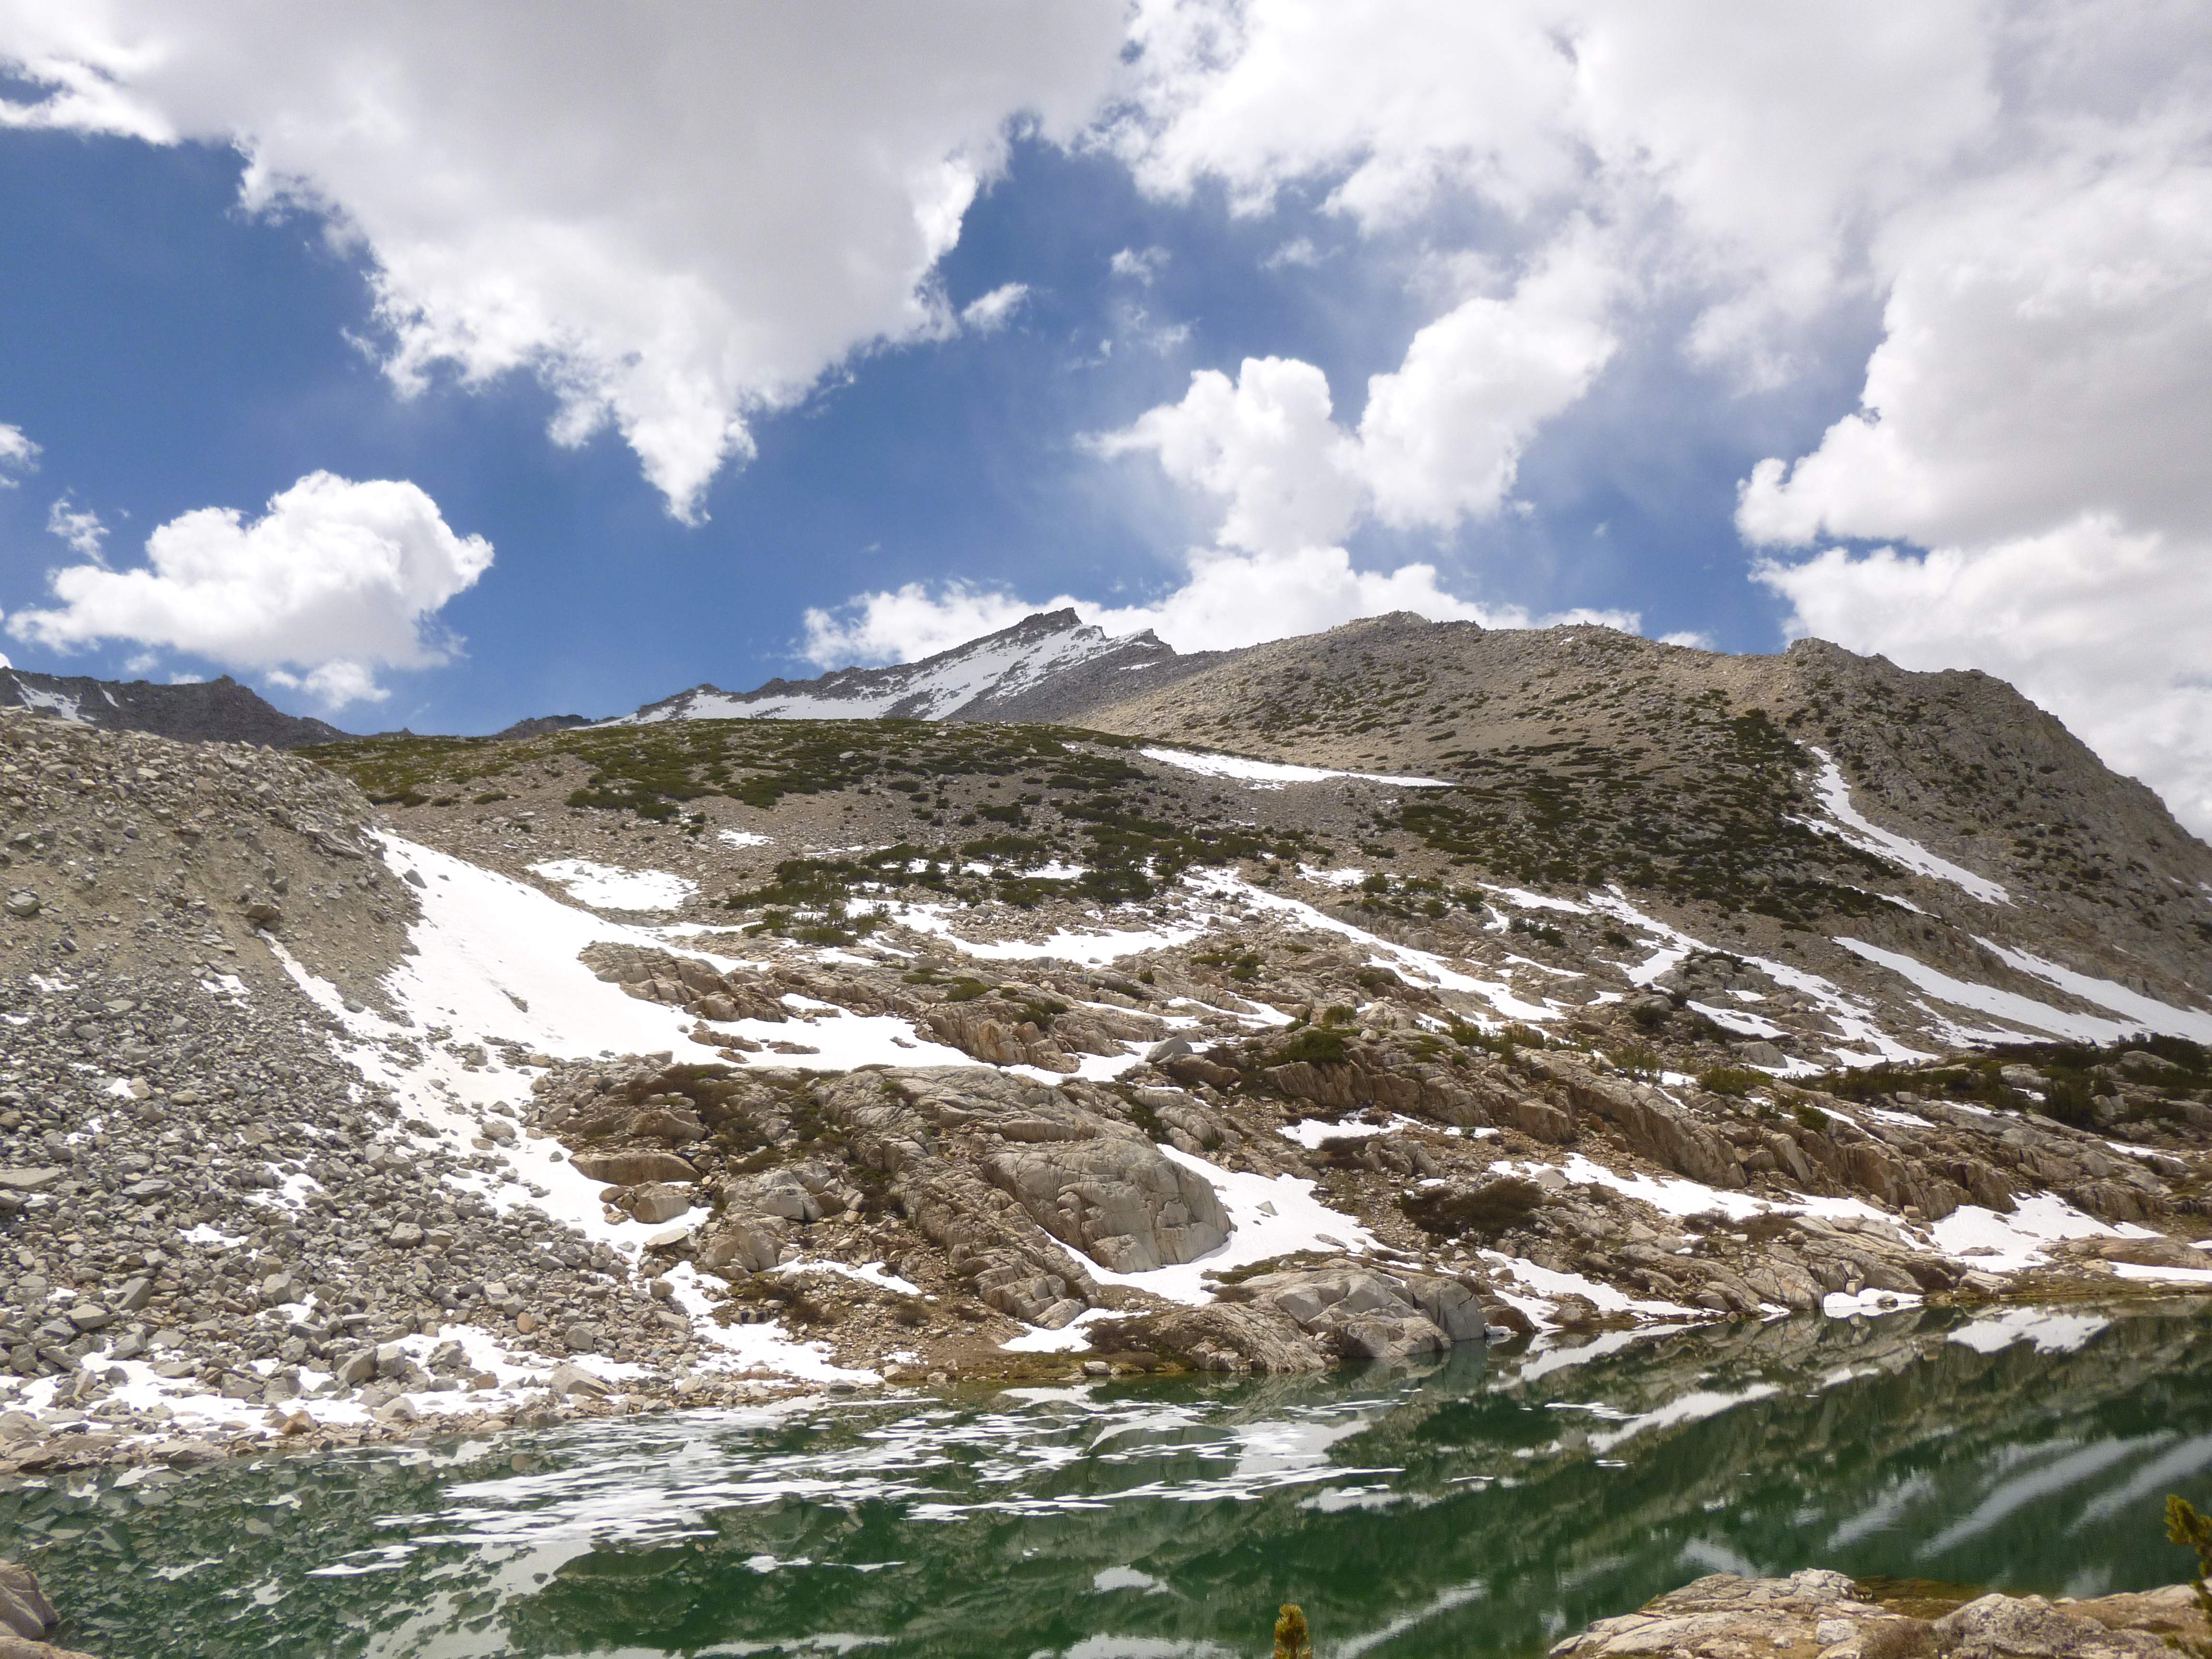
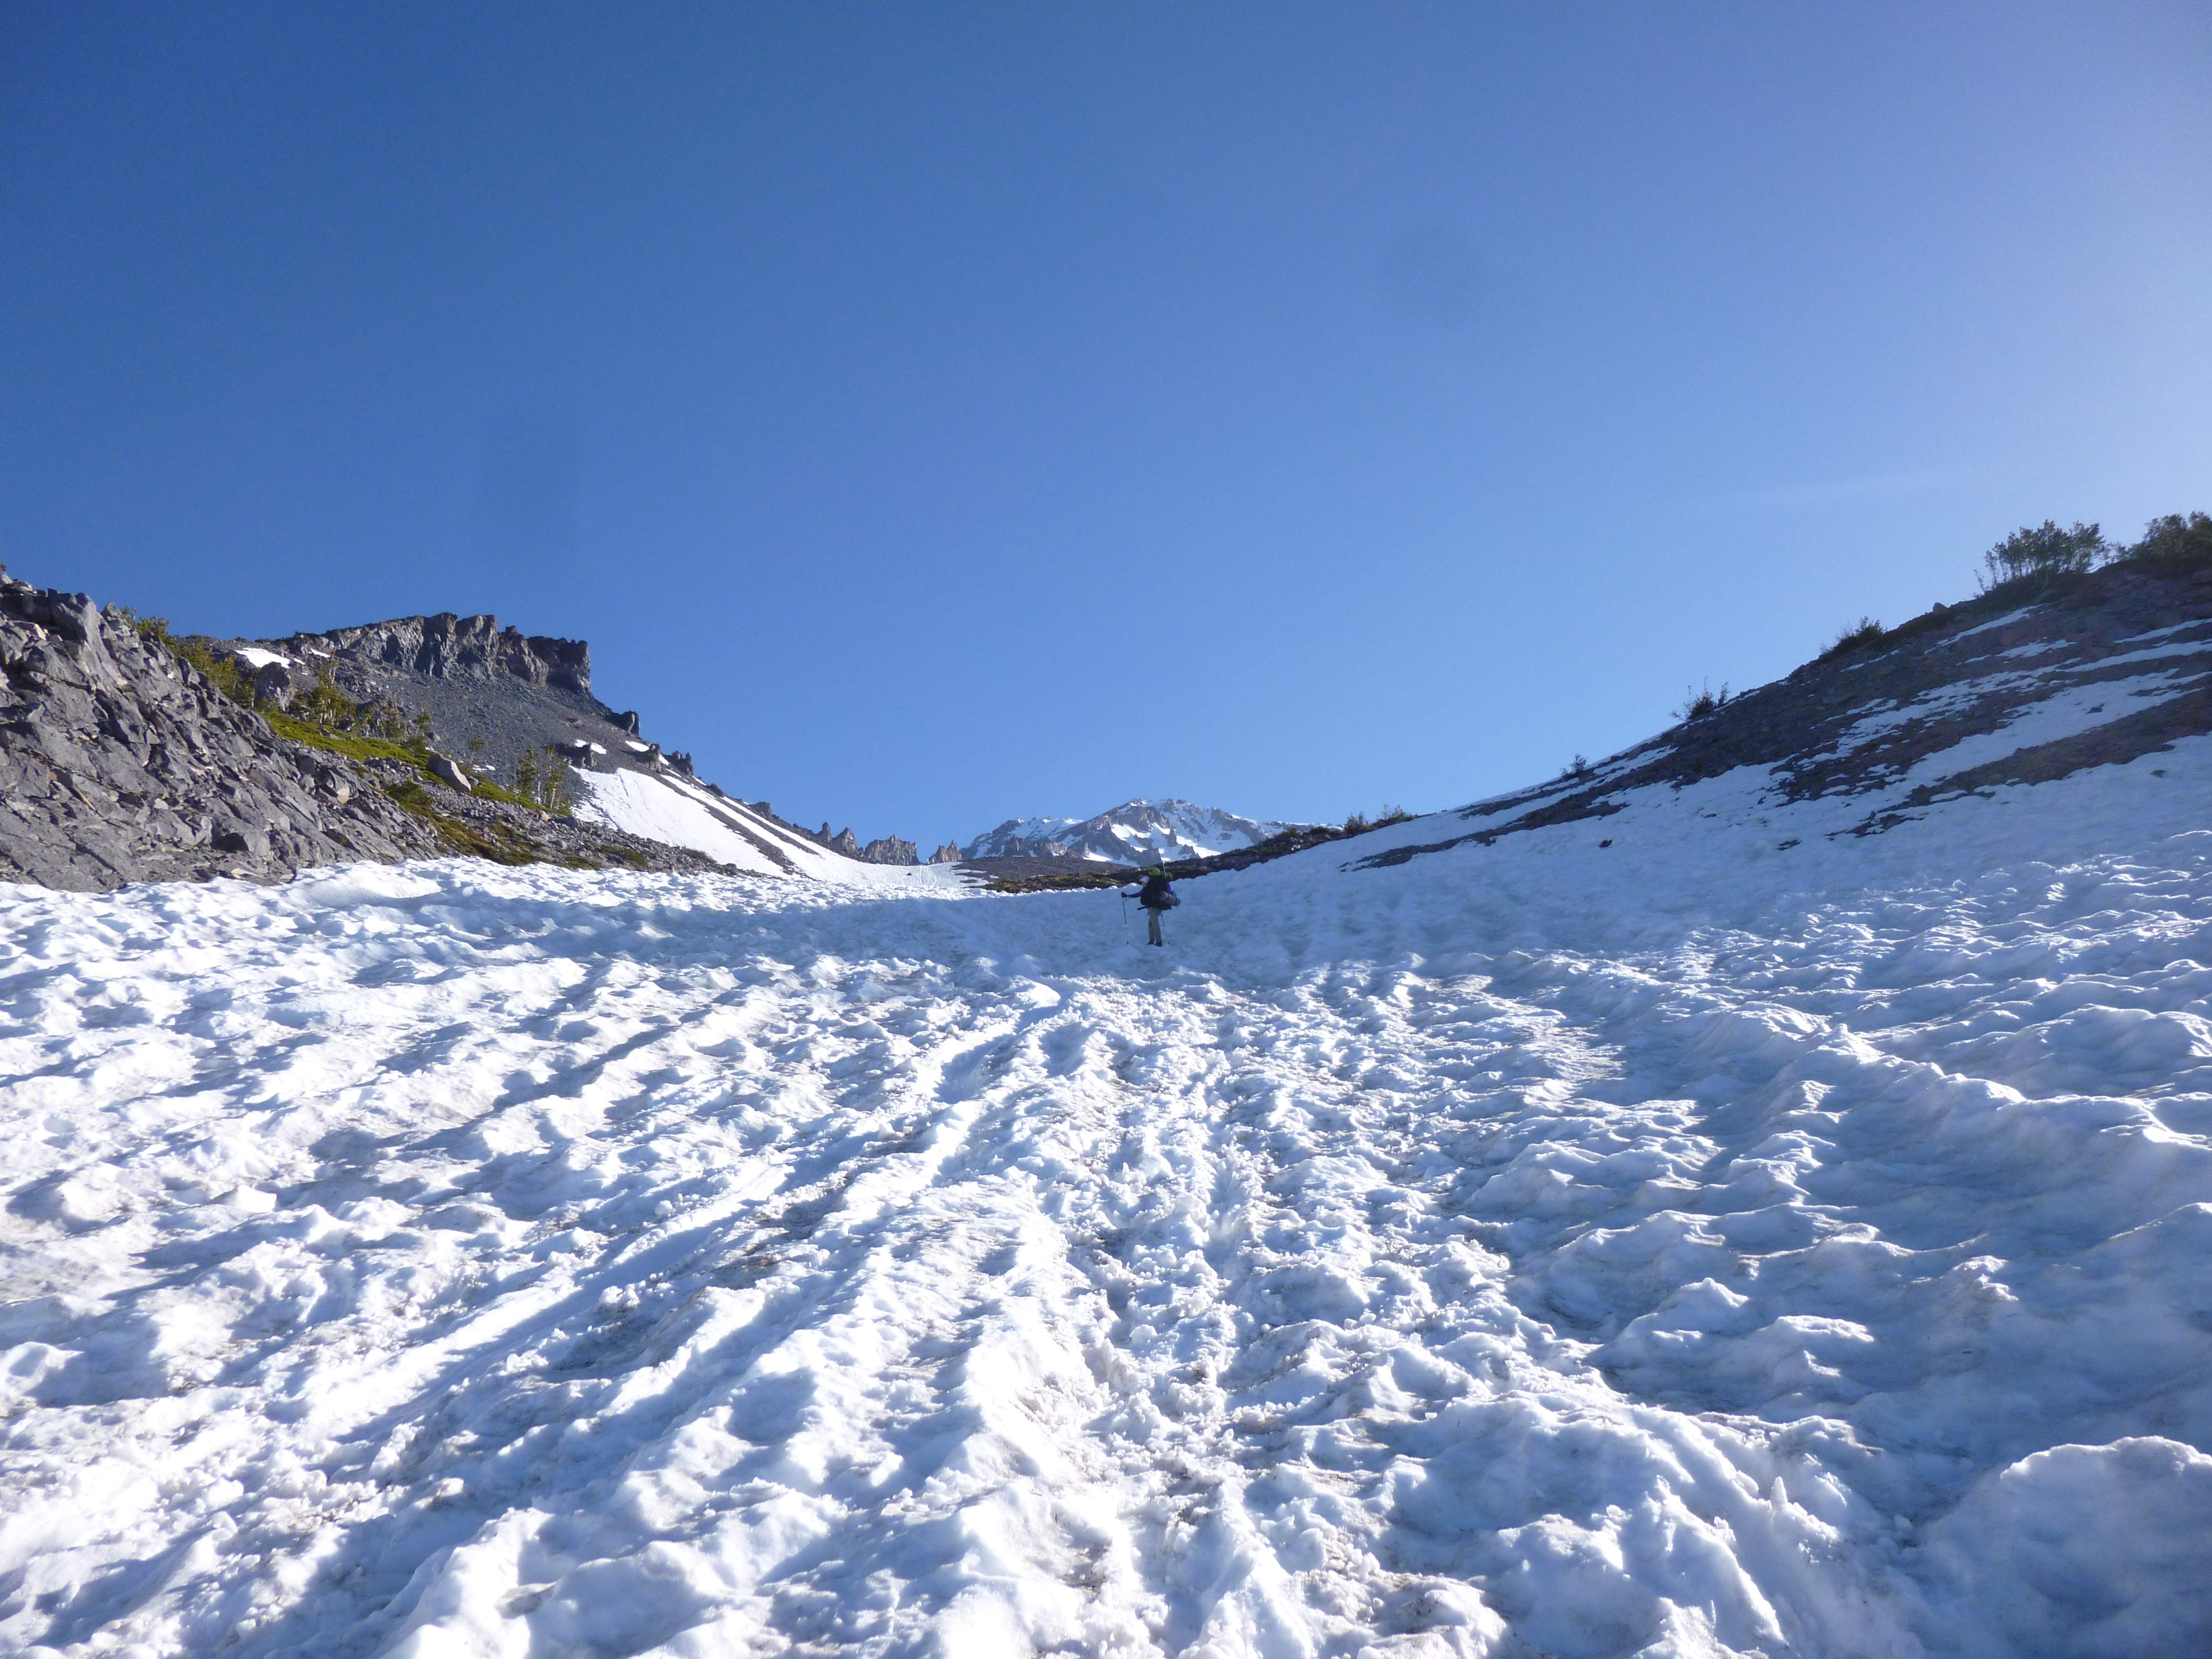
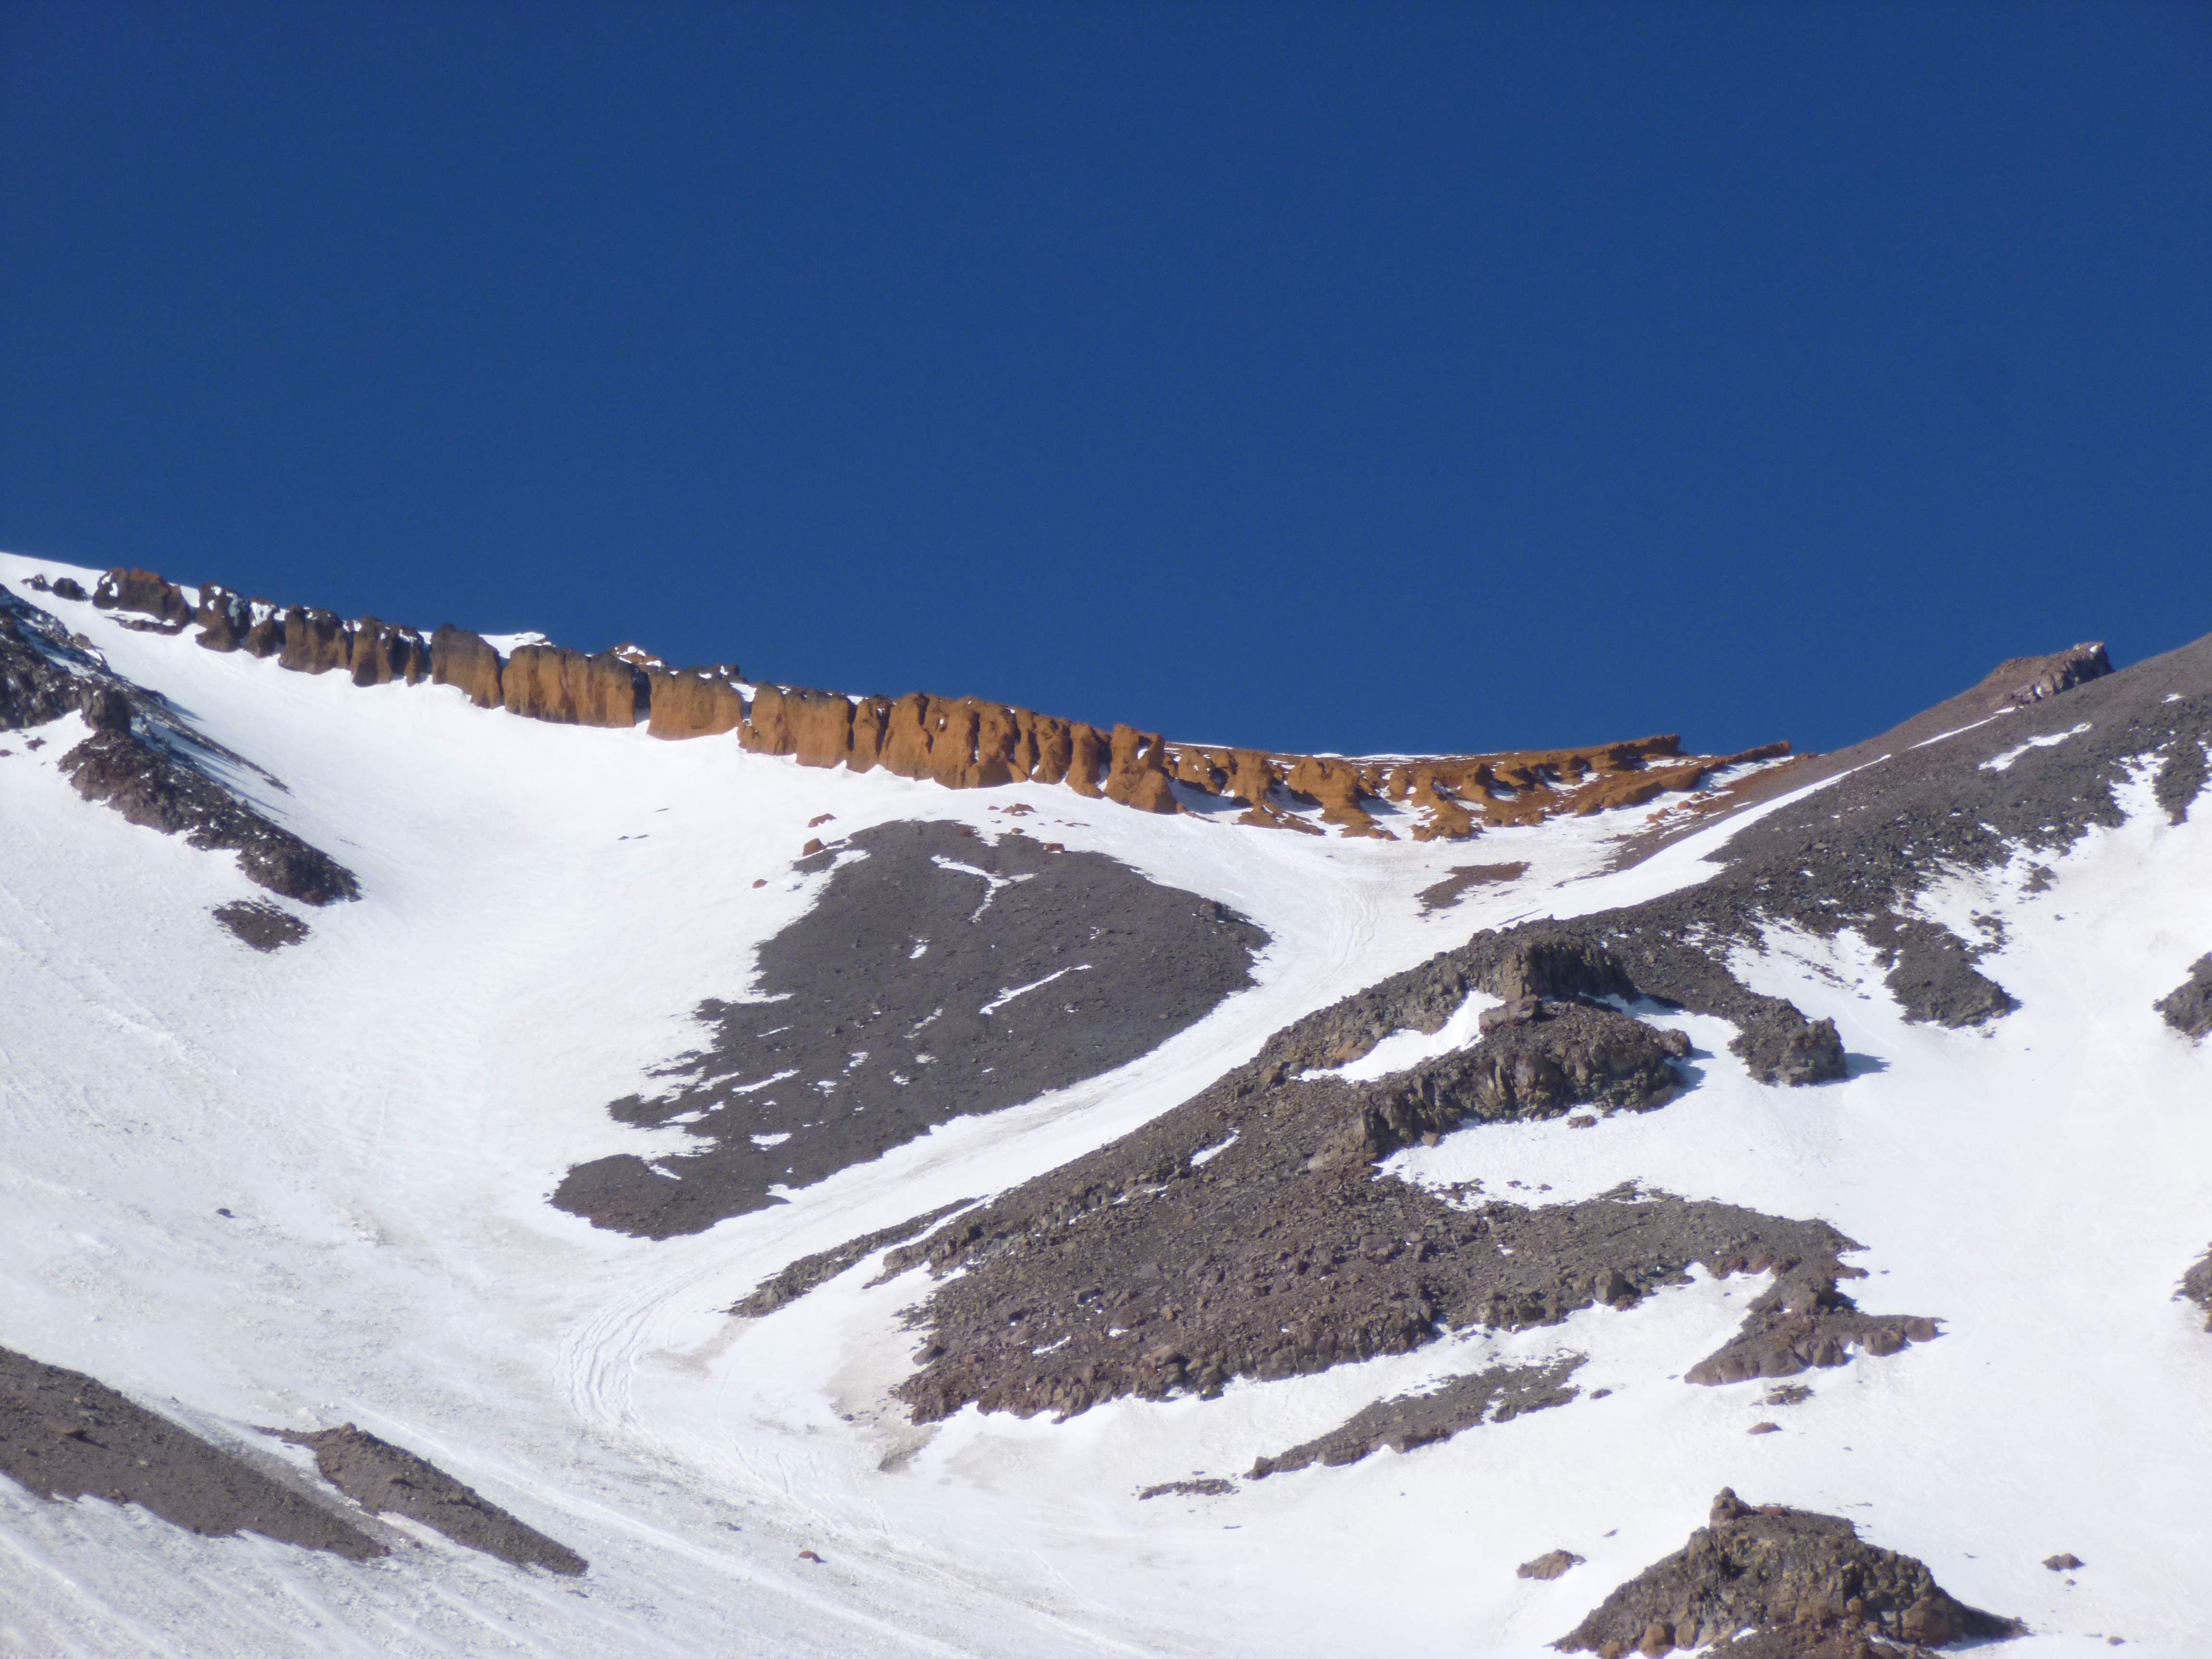
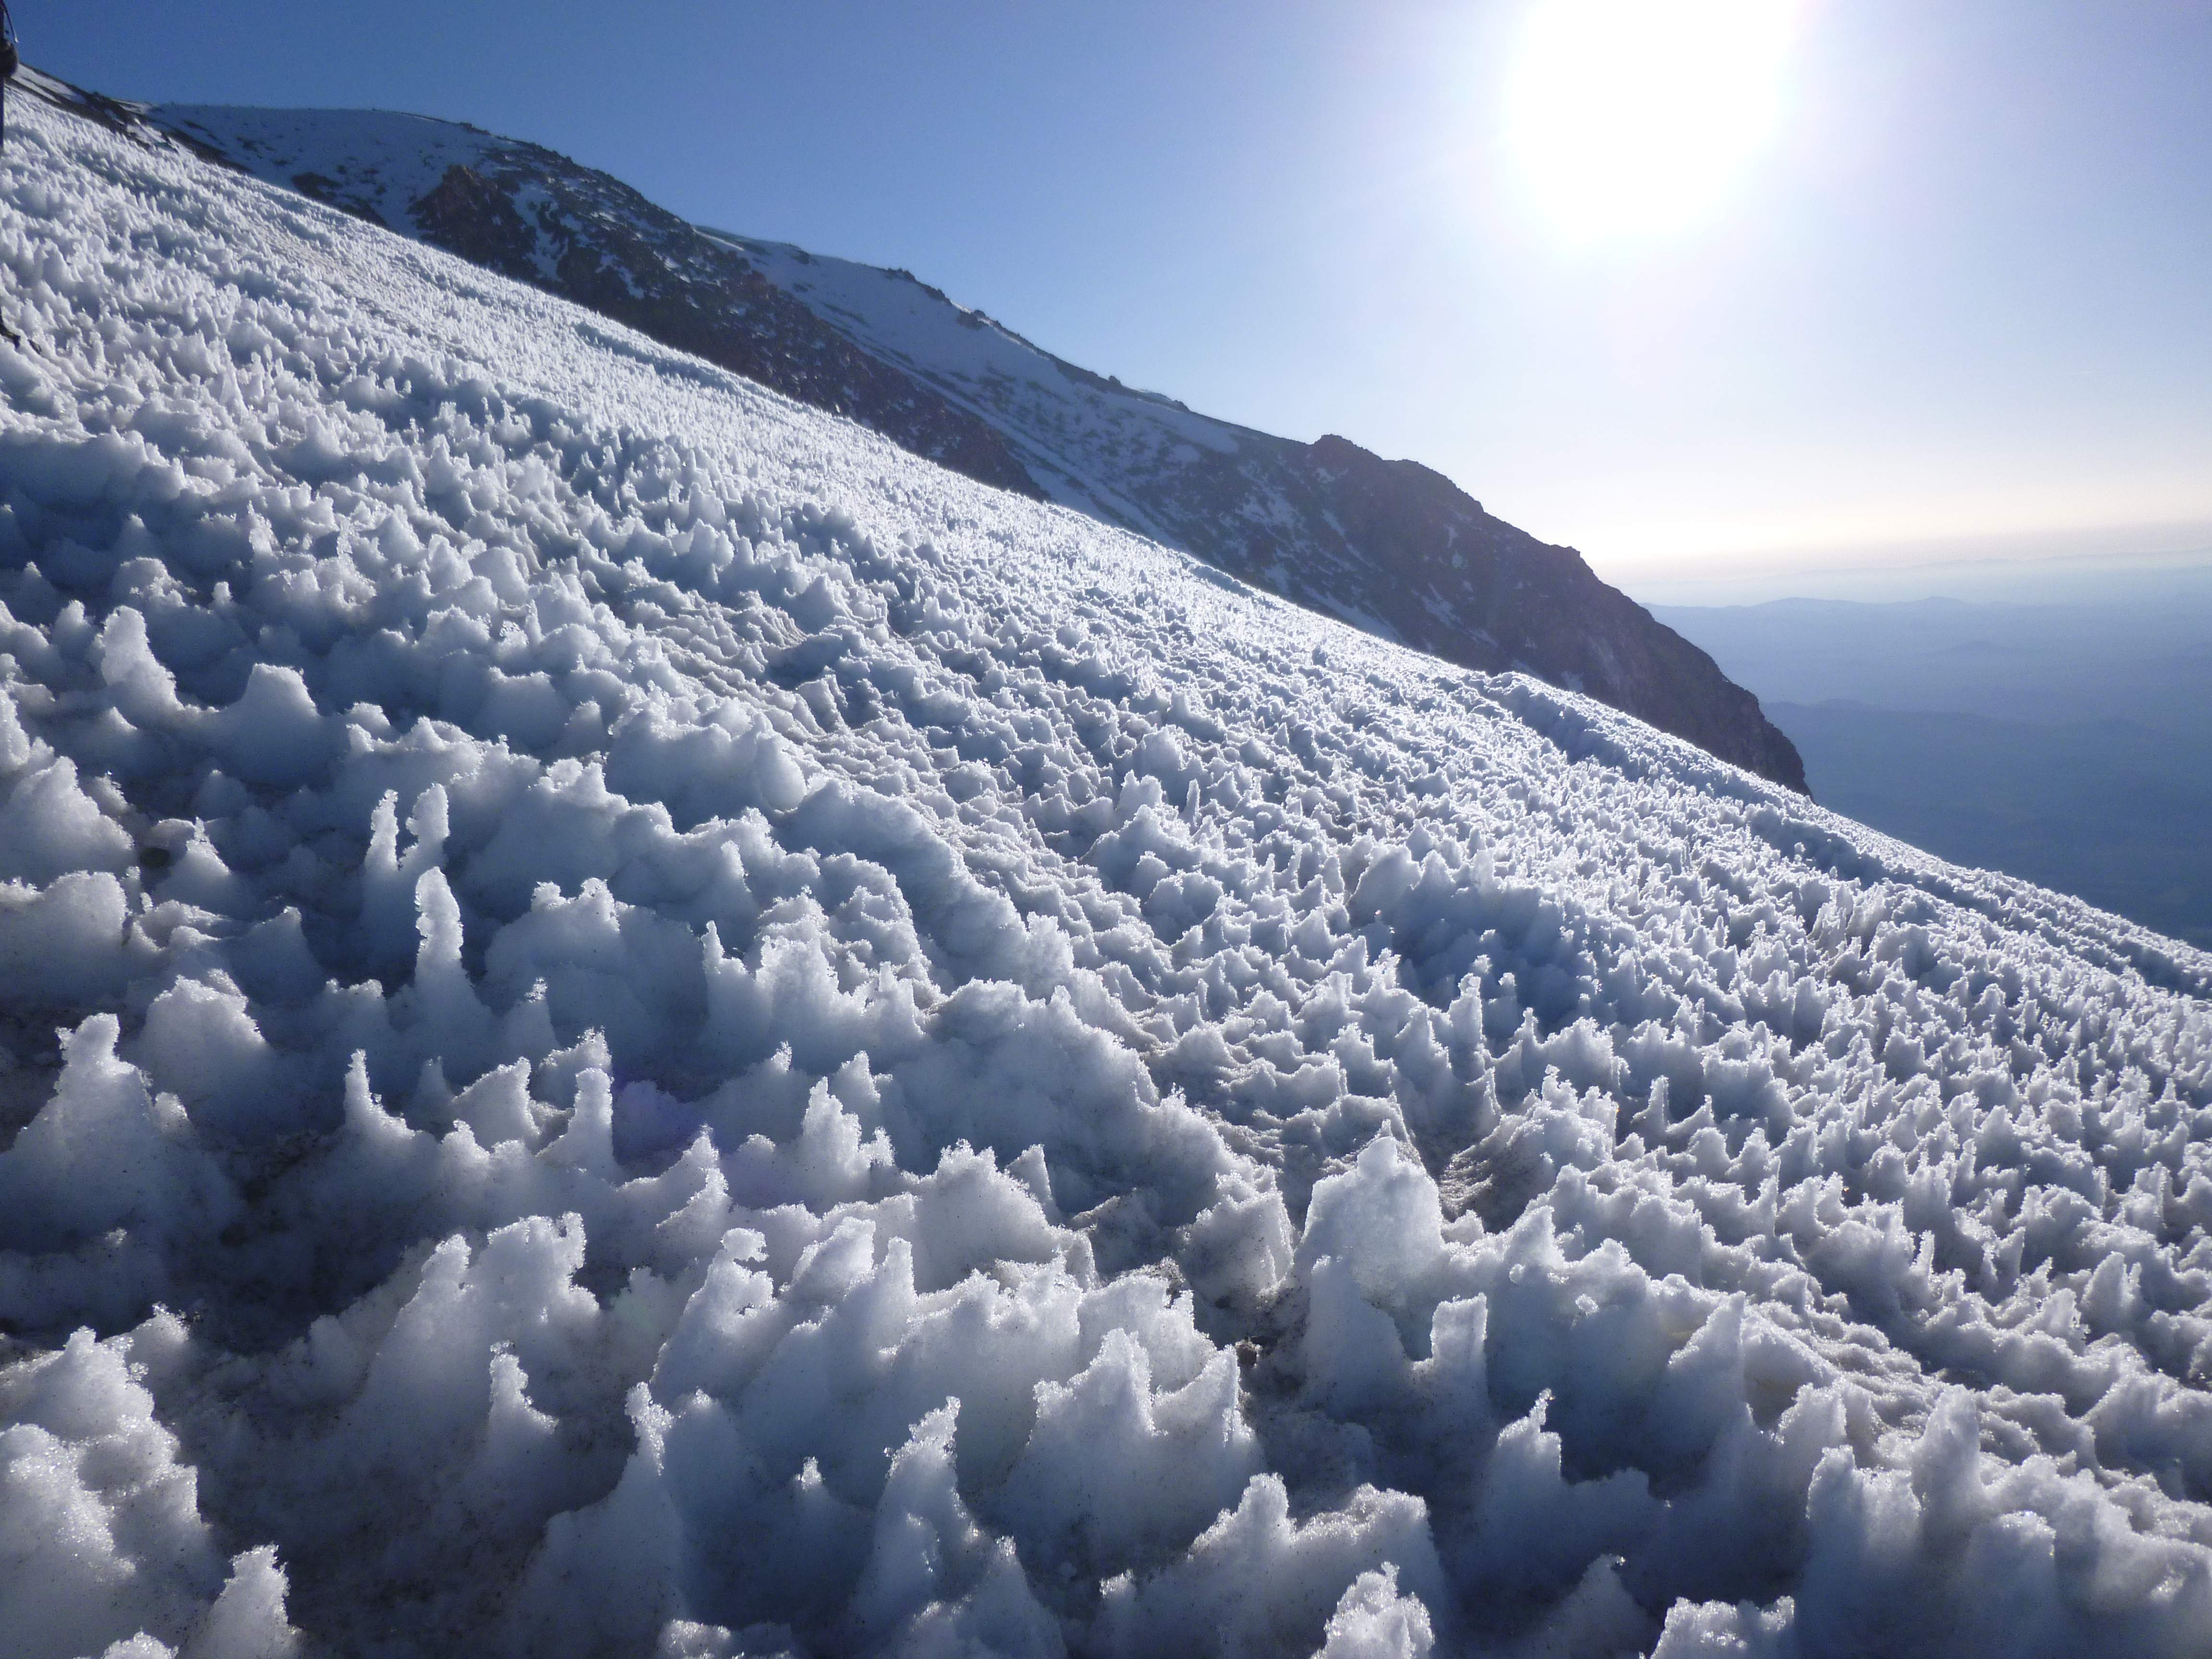
Looking up Mount Goode’s southeast slope.

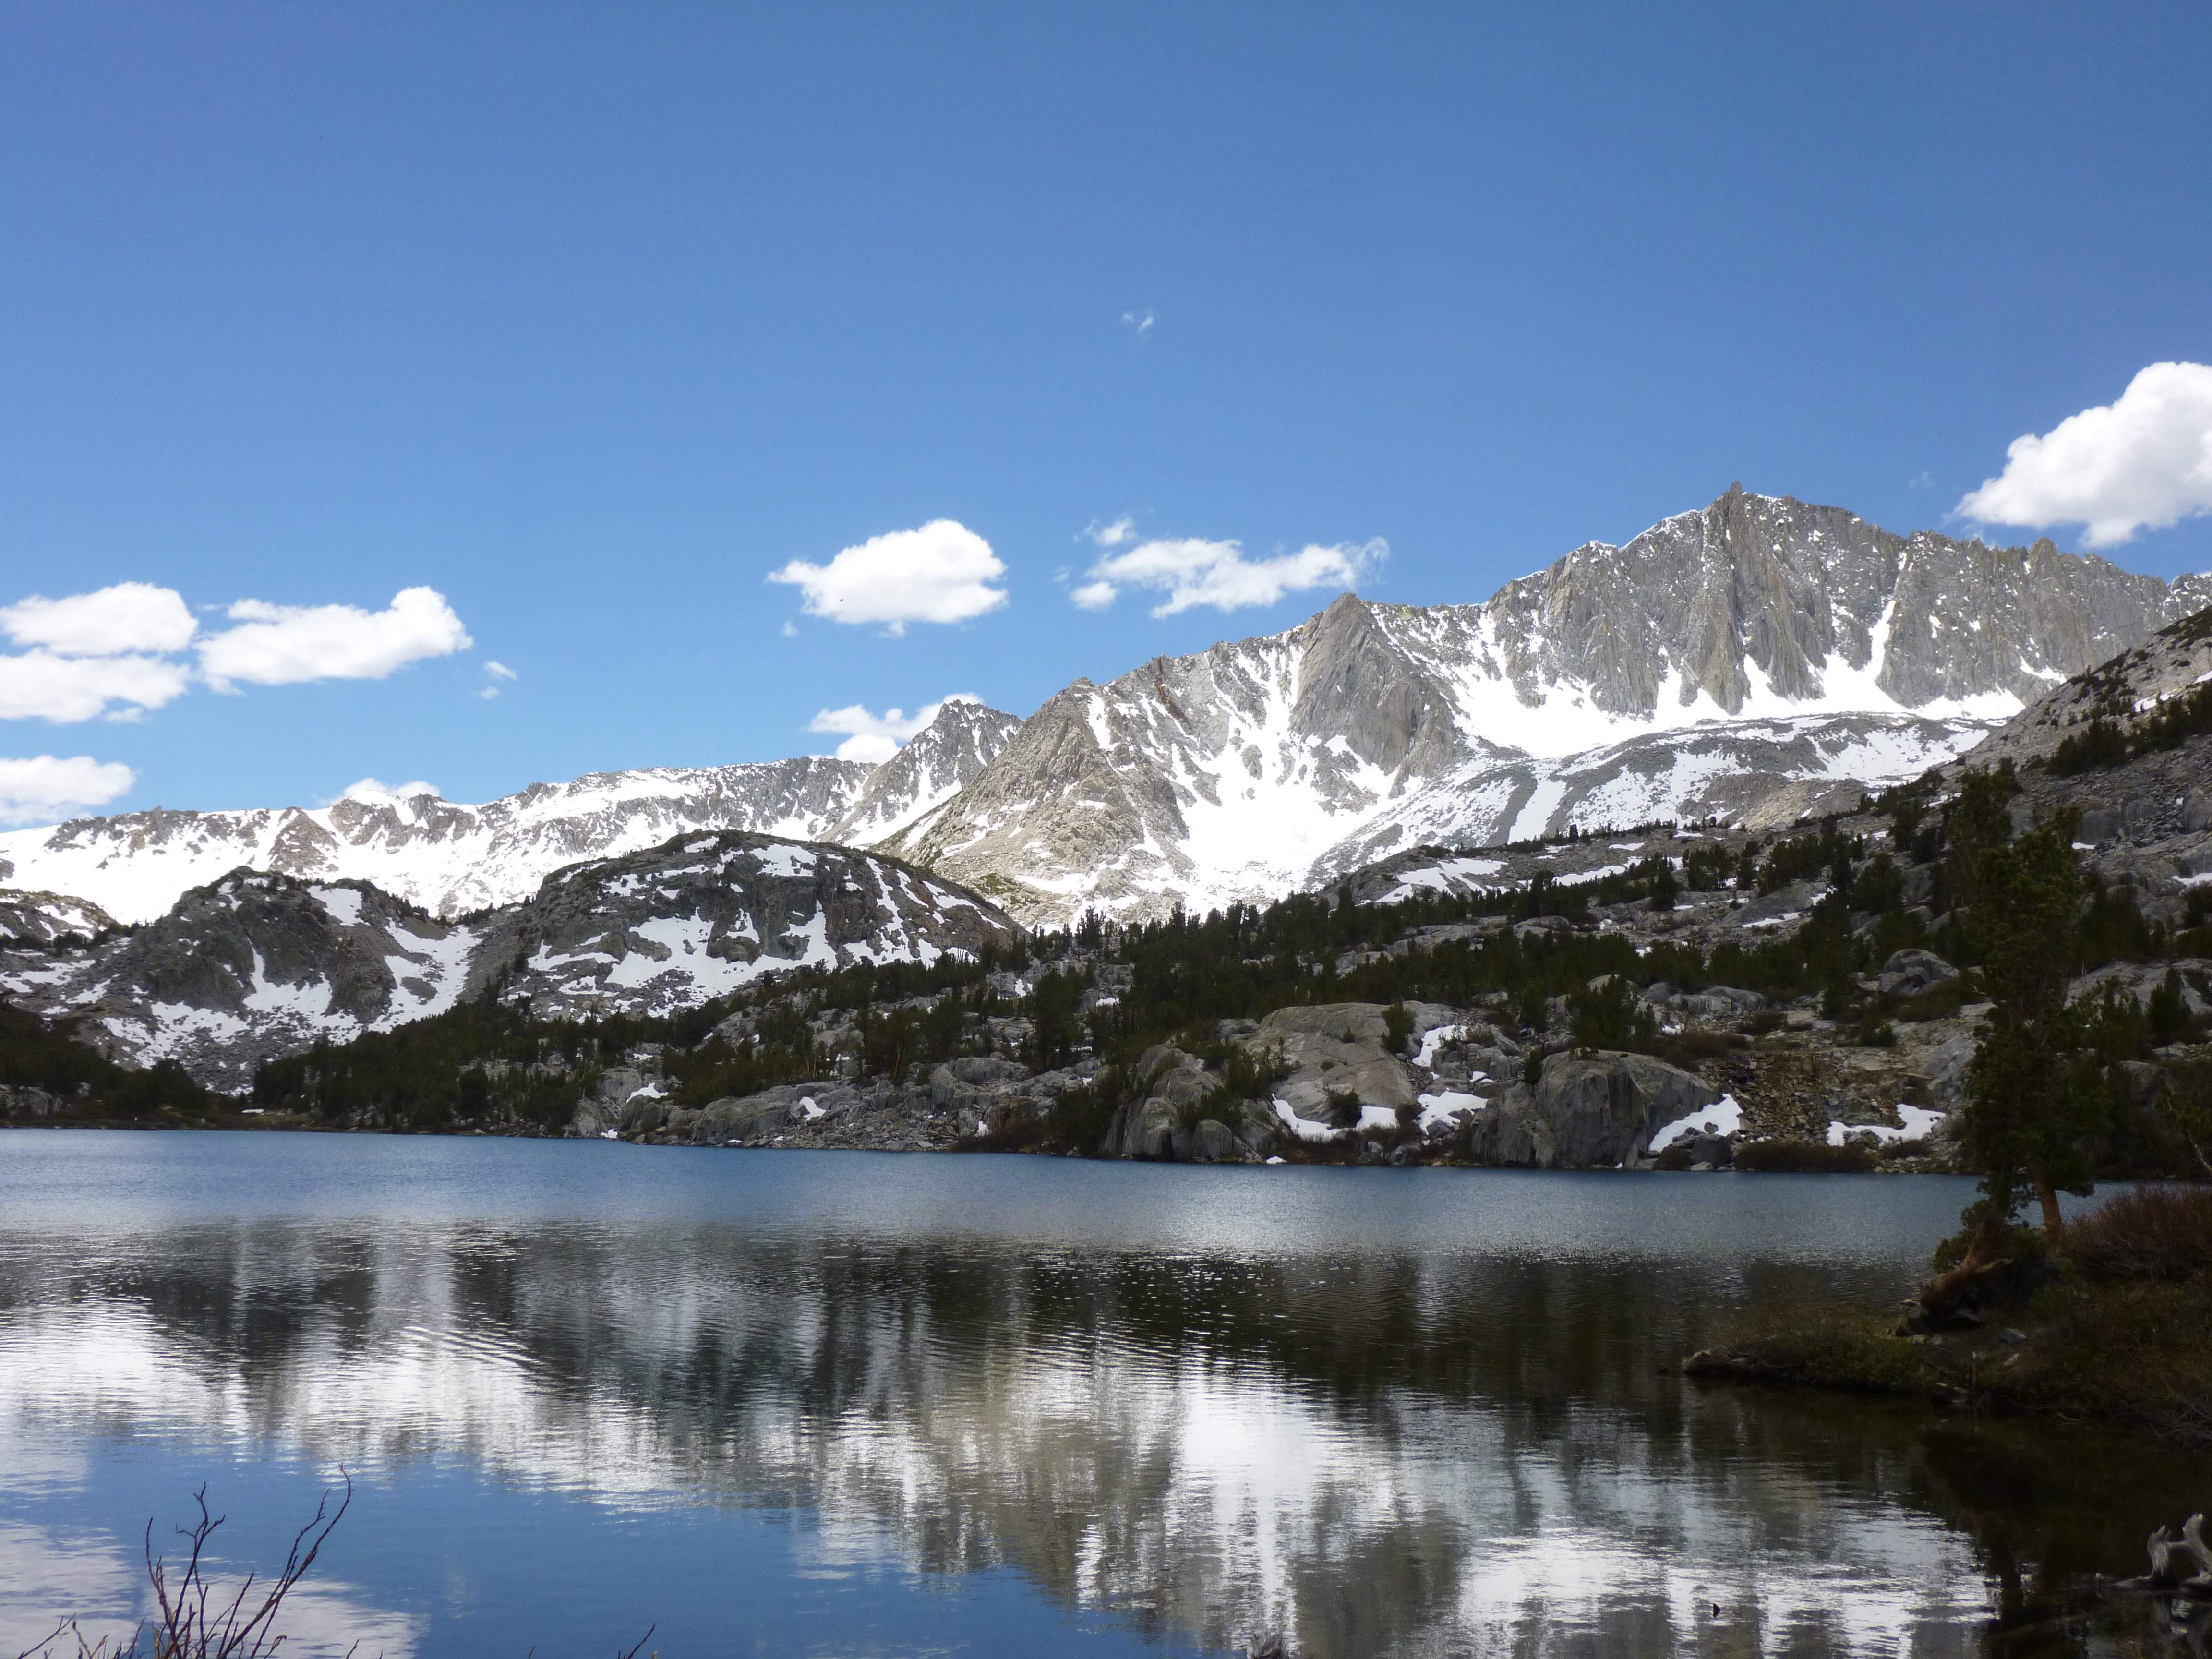
To the southwest, Mount Aggassiz stood mirrored by Bishop Lake below it.

...

Mount Agassiz and Bishop Lake.

...

Looking back at Saddlerock Lake and Bishop Lake from the southeast slope.

Initially the route took us over rock and brush, but soon changed to sand and scree.

...

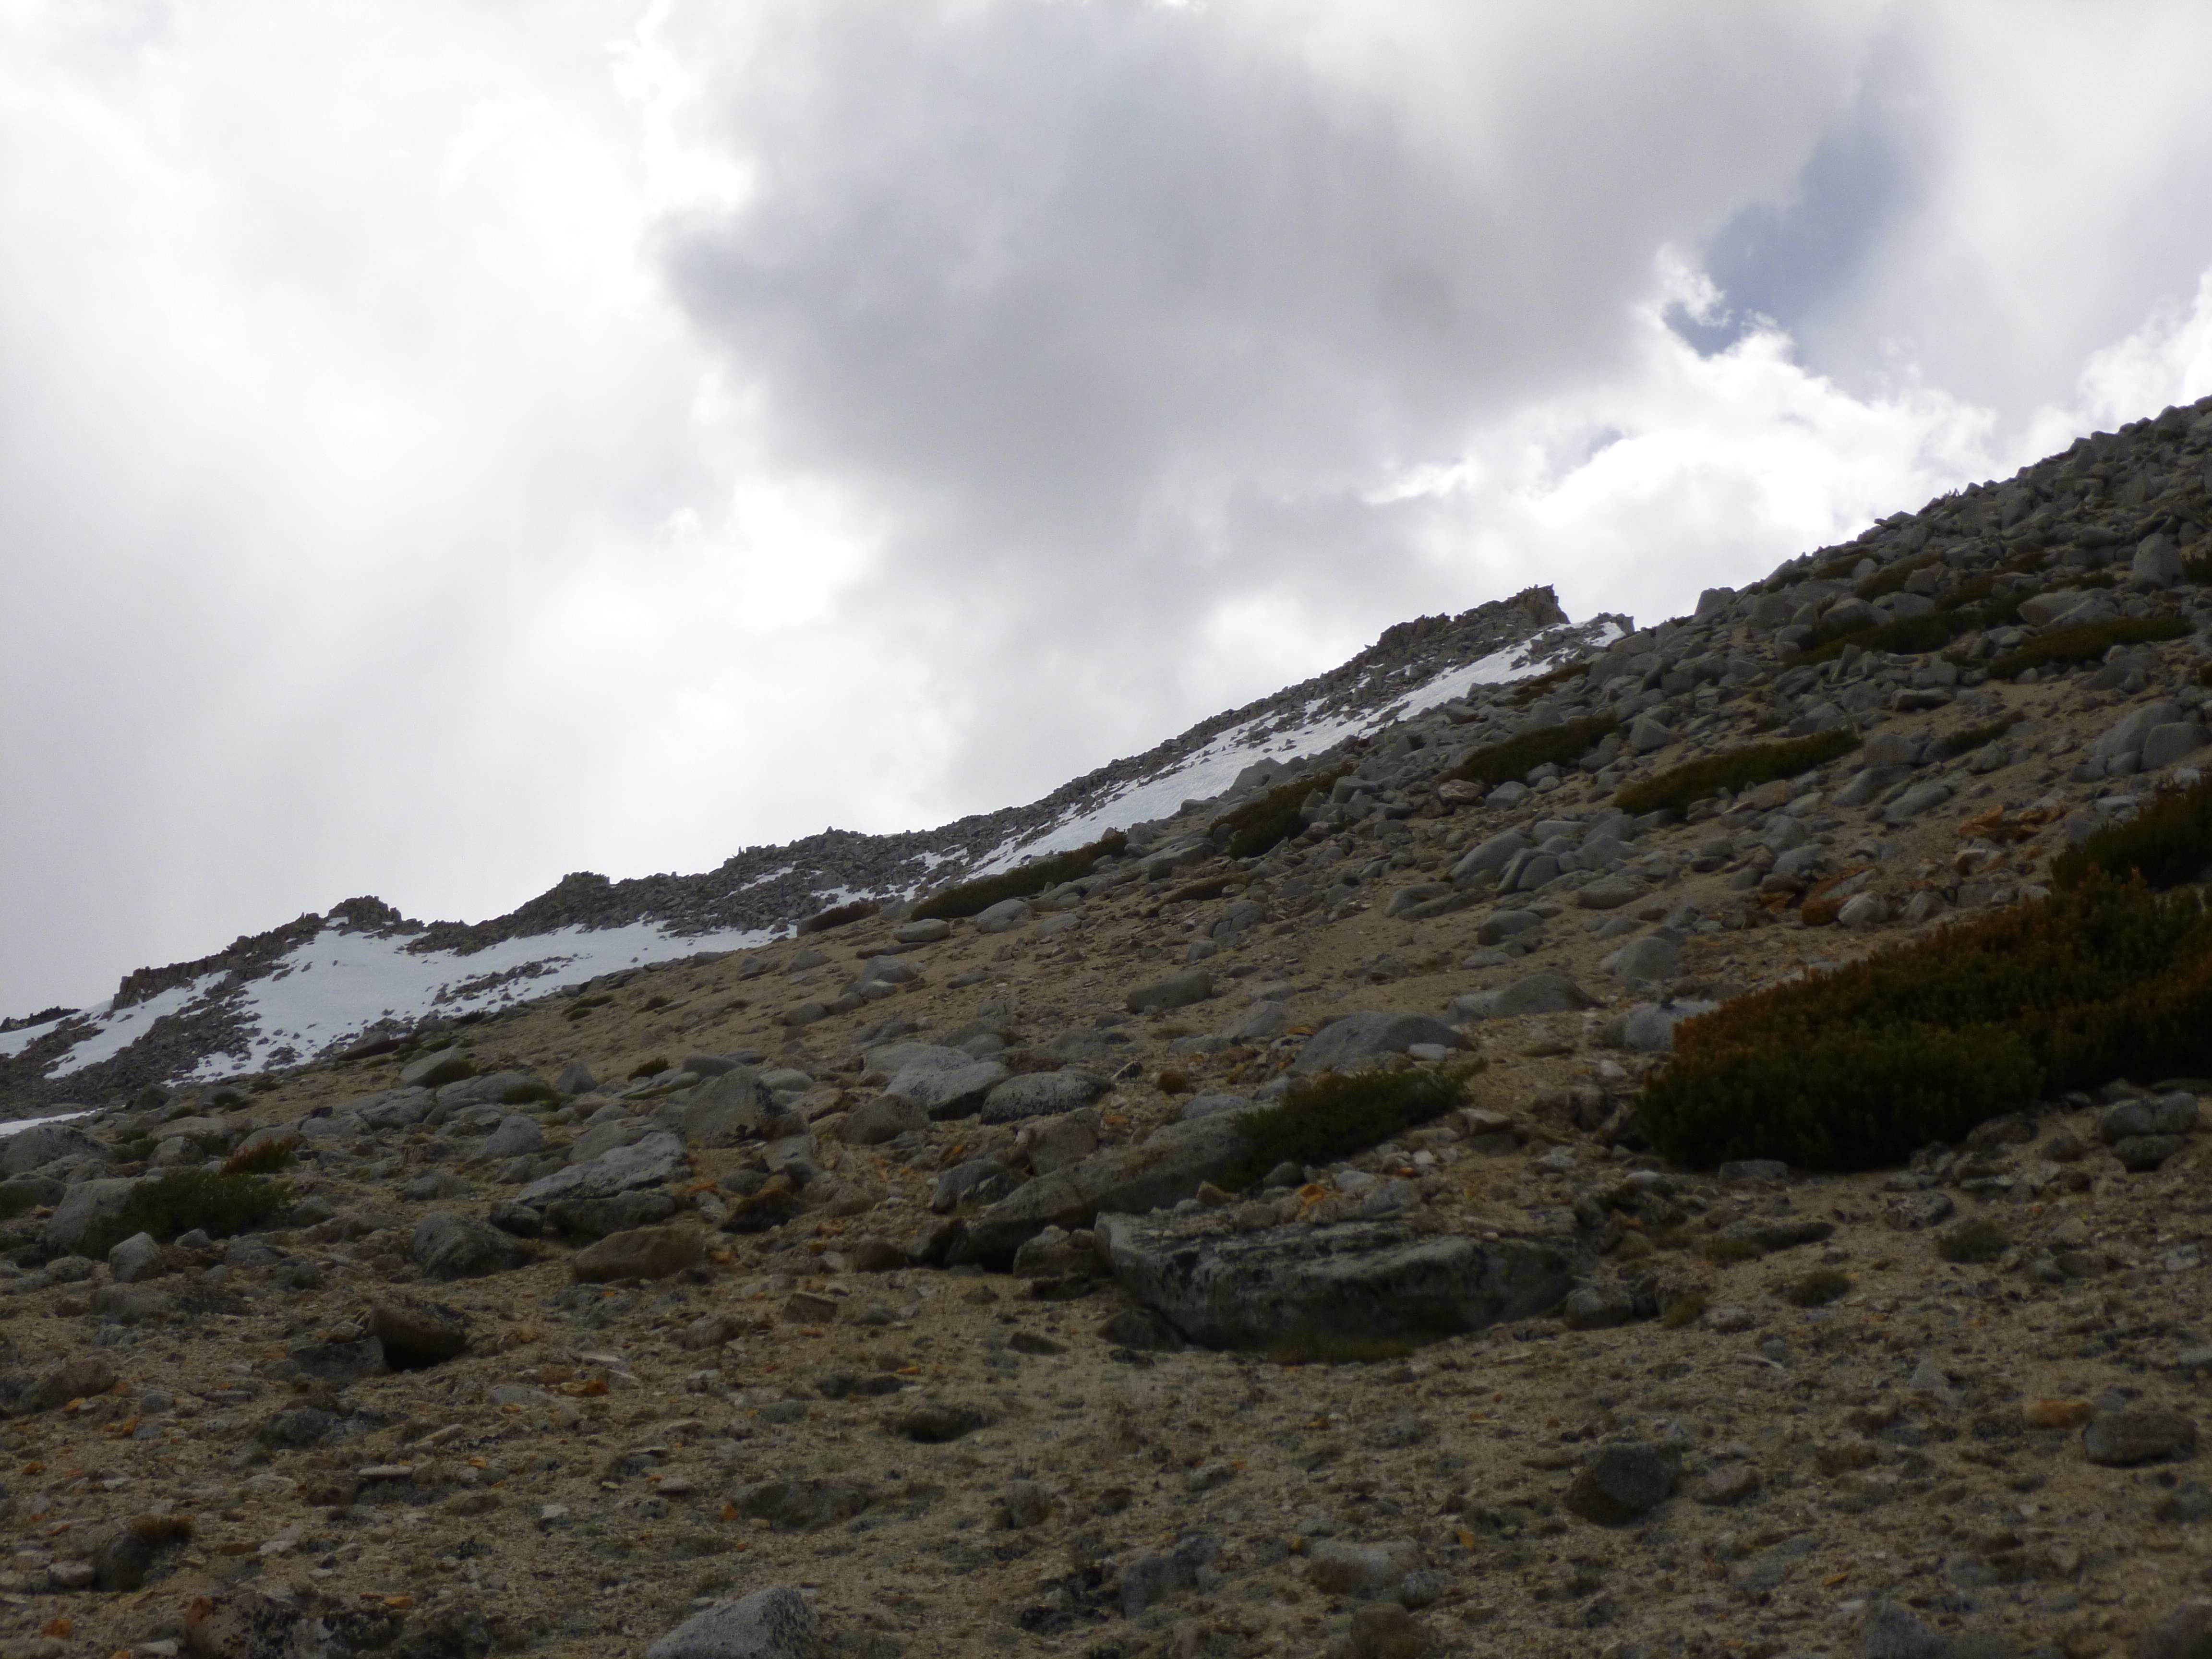
The sandy lower slope.

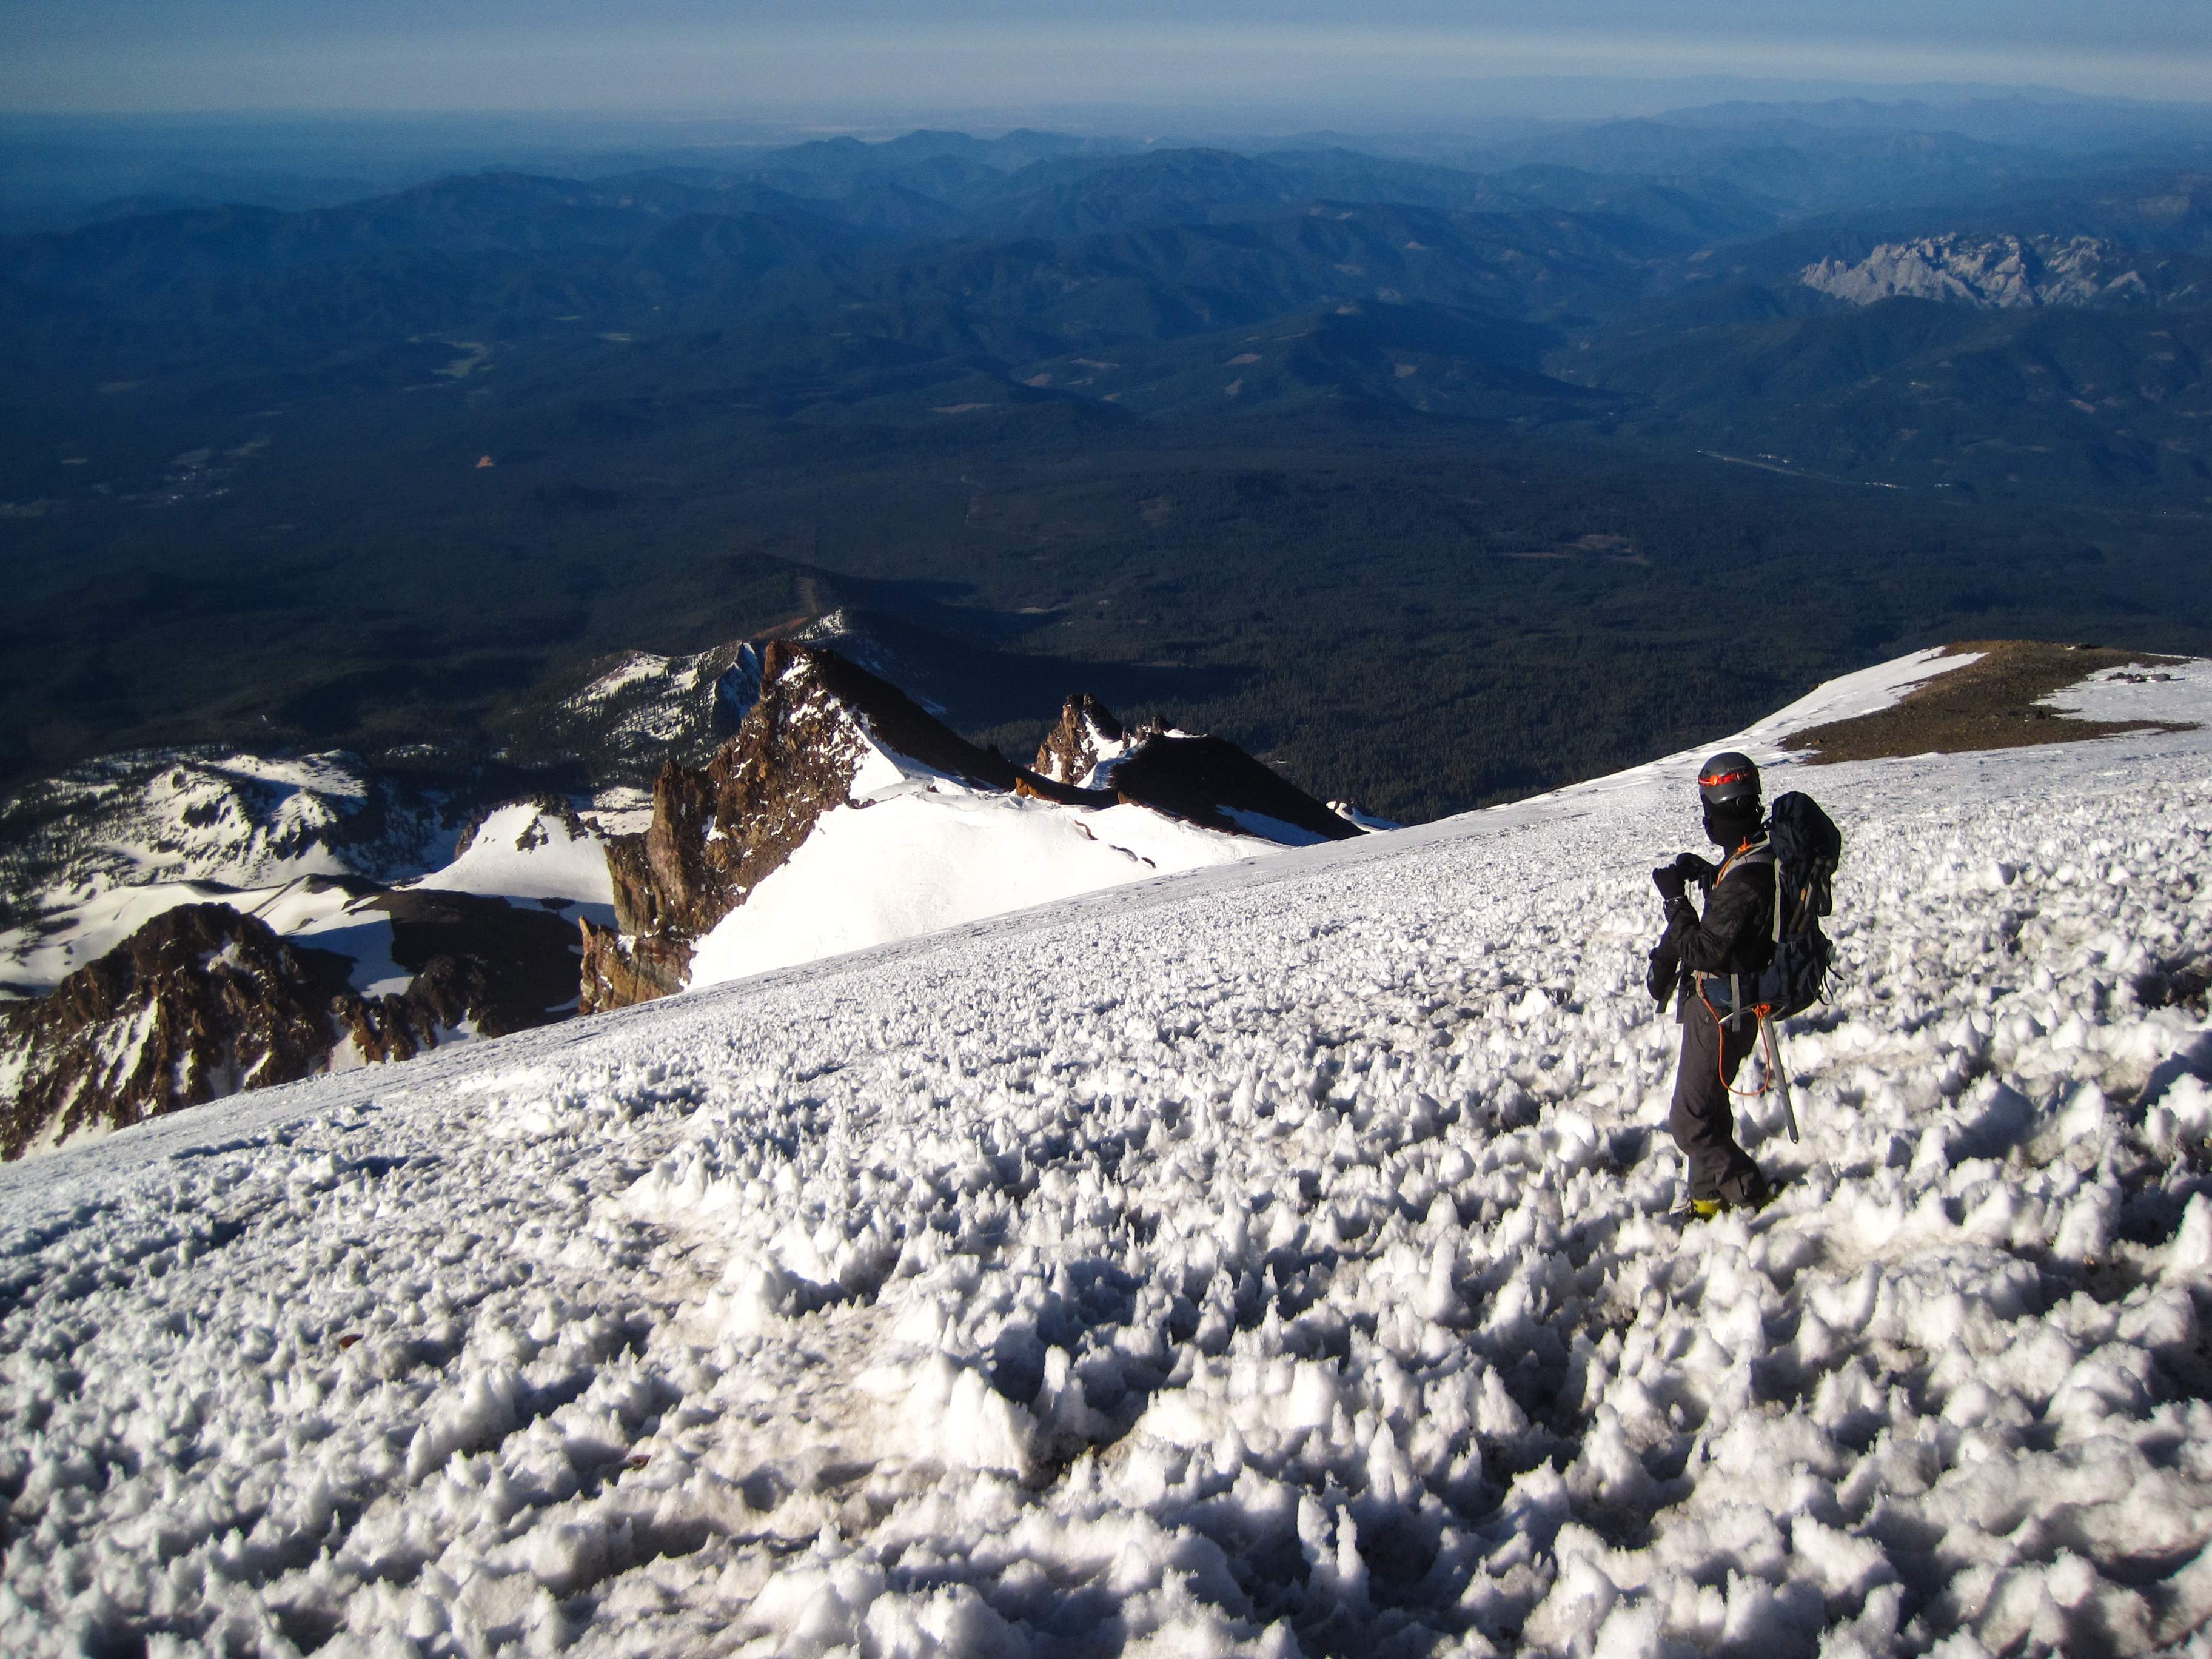
Not too bothersome due to the gentle angle, we were soon through the worst of the sand and moving over big rocks.

...

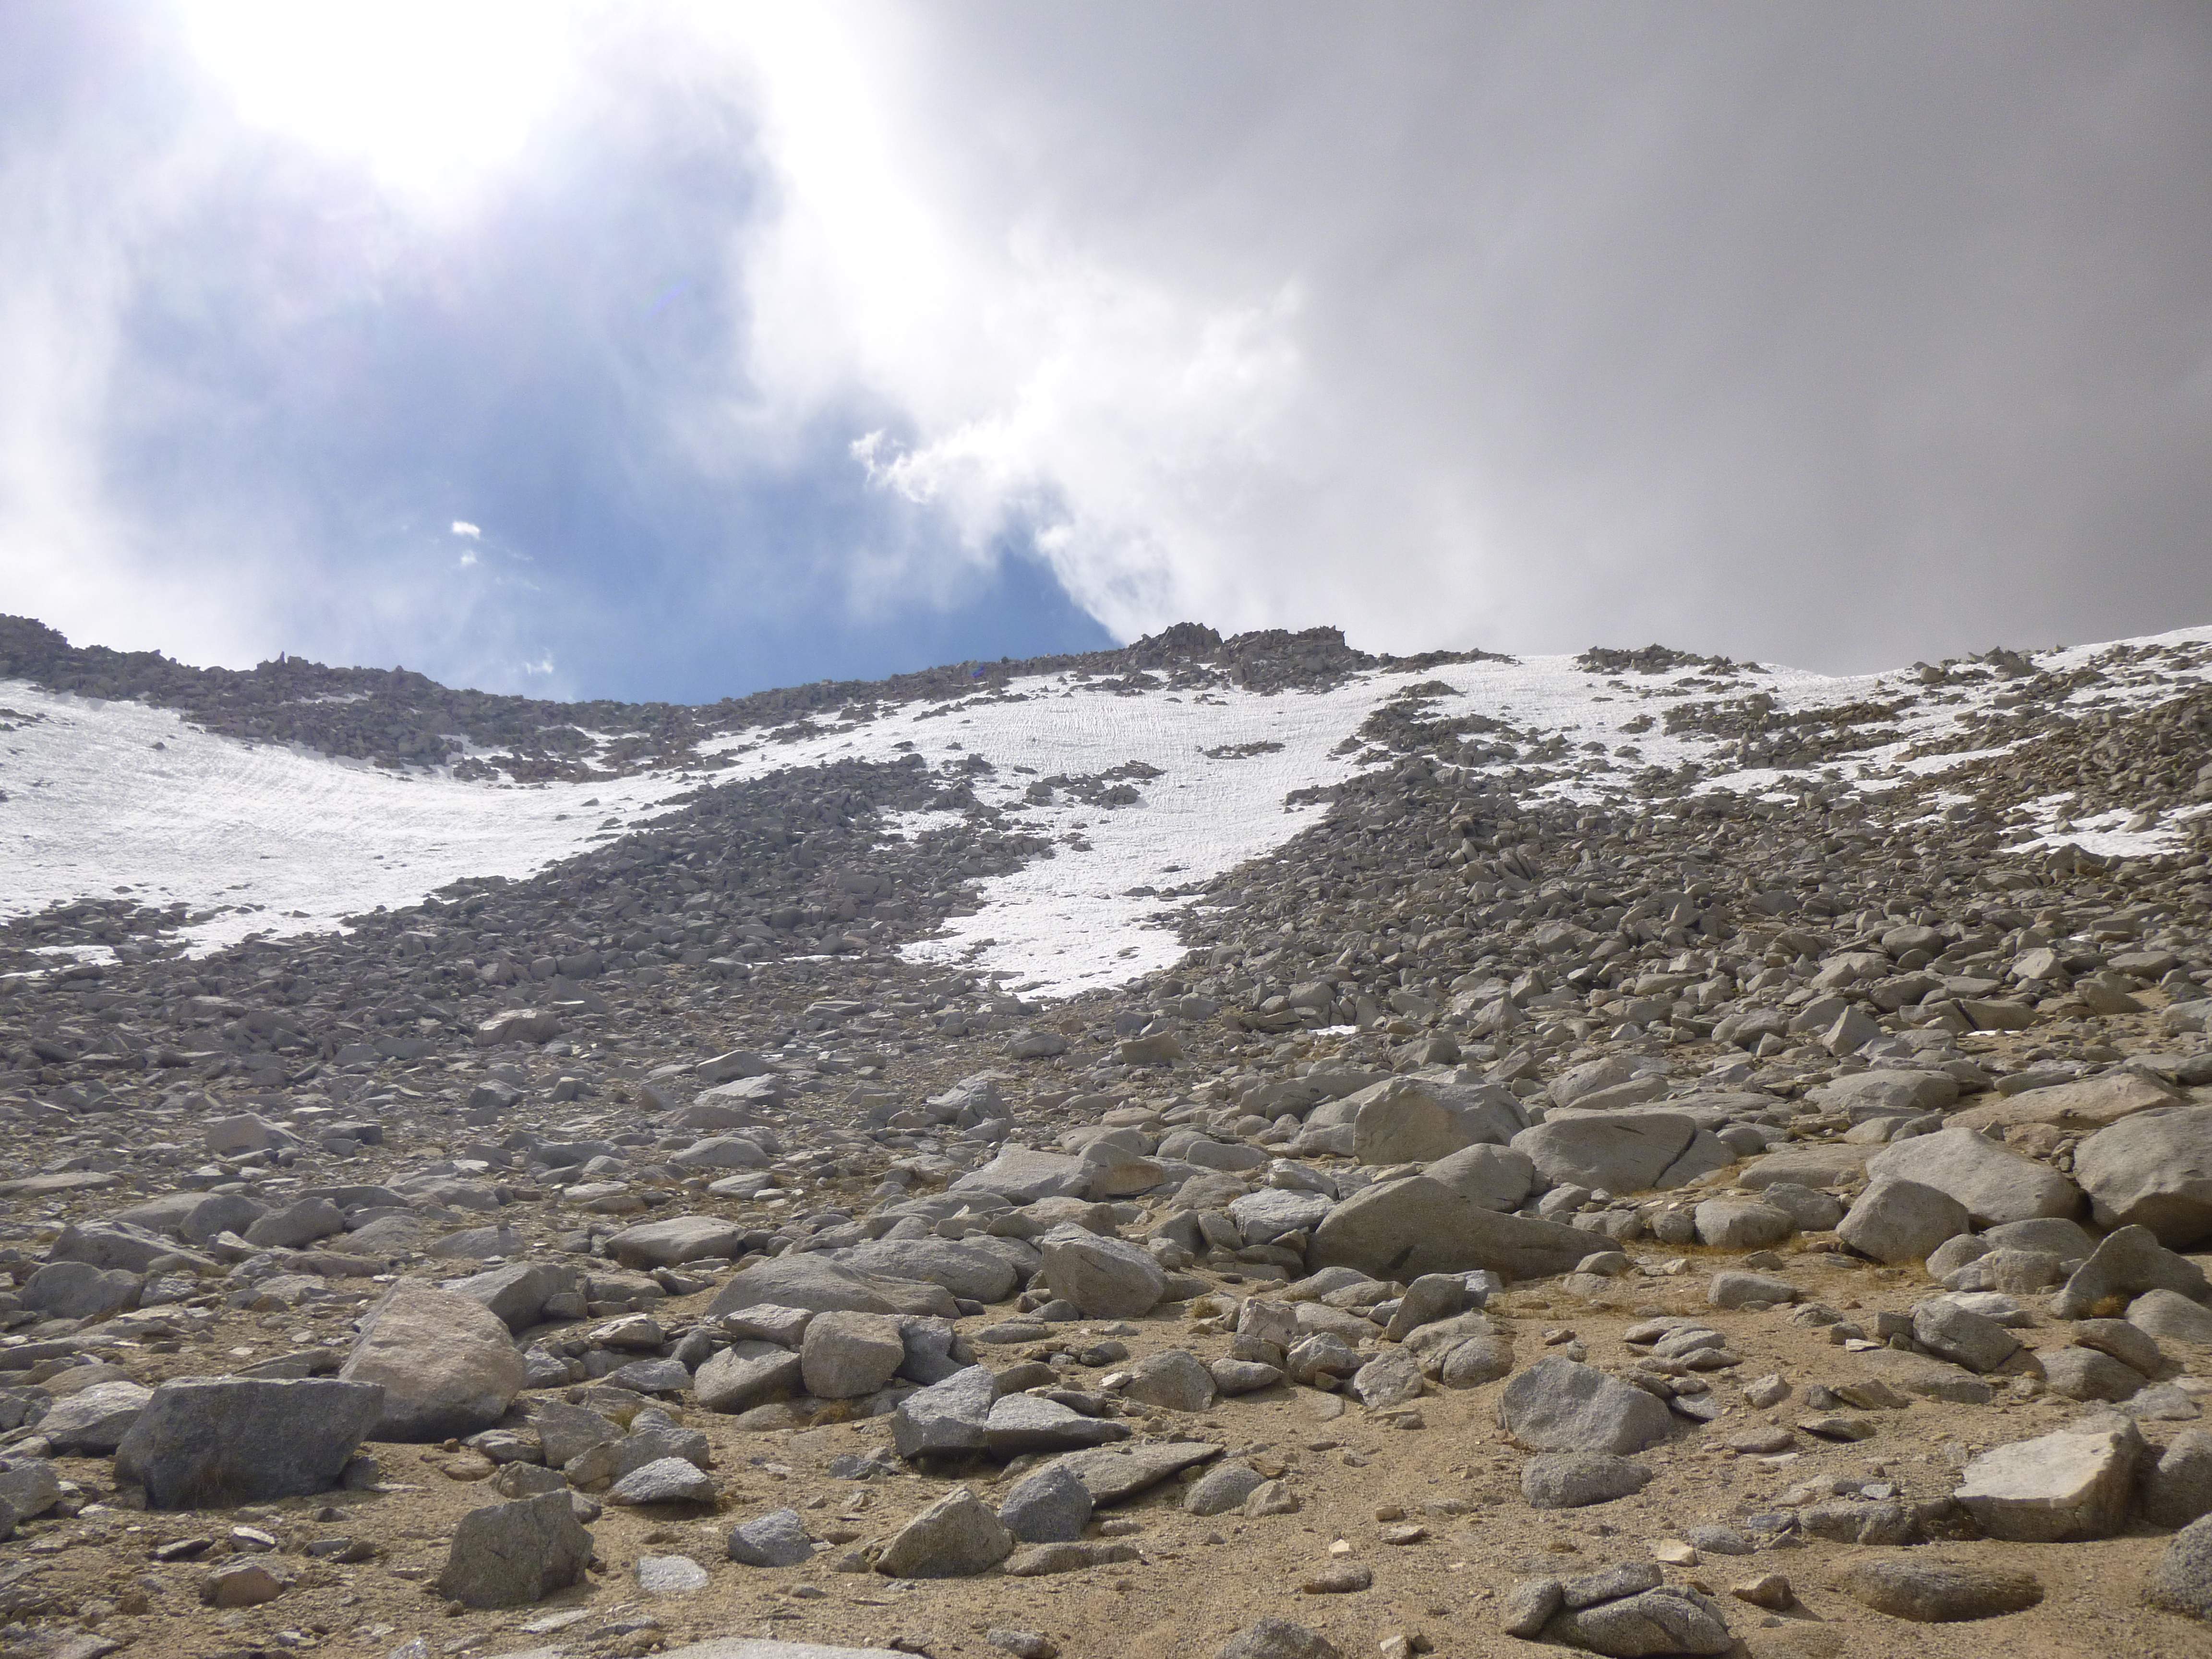
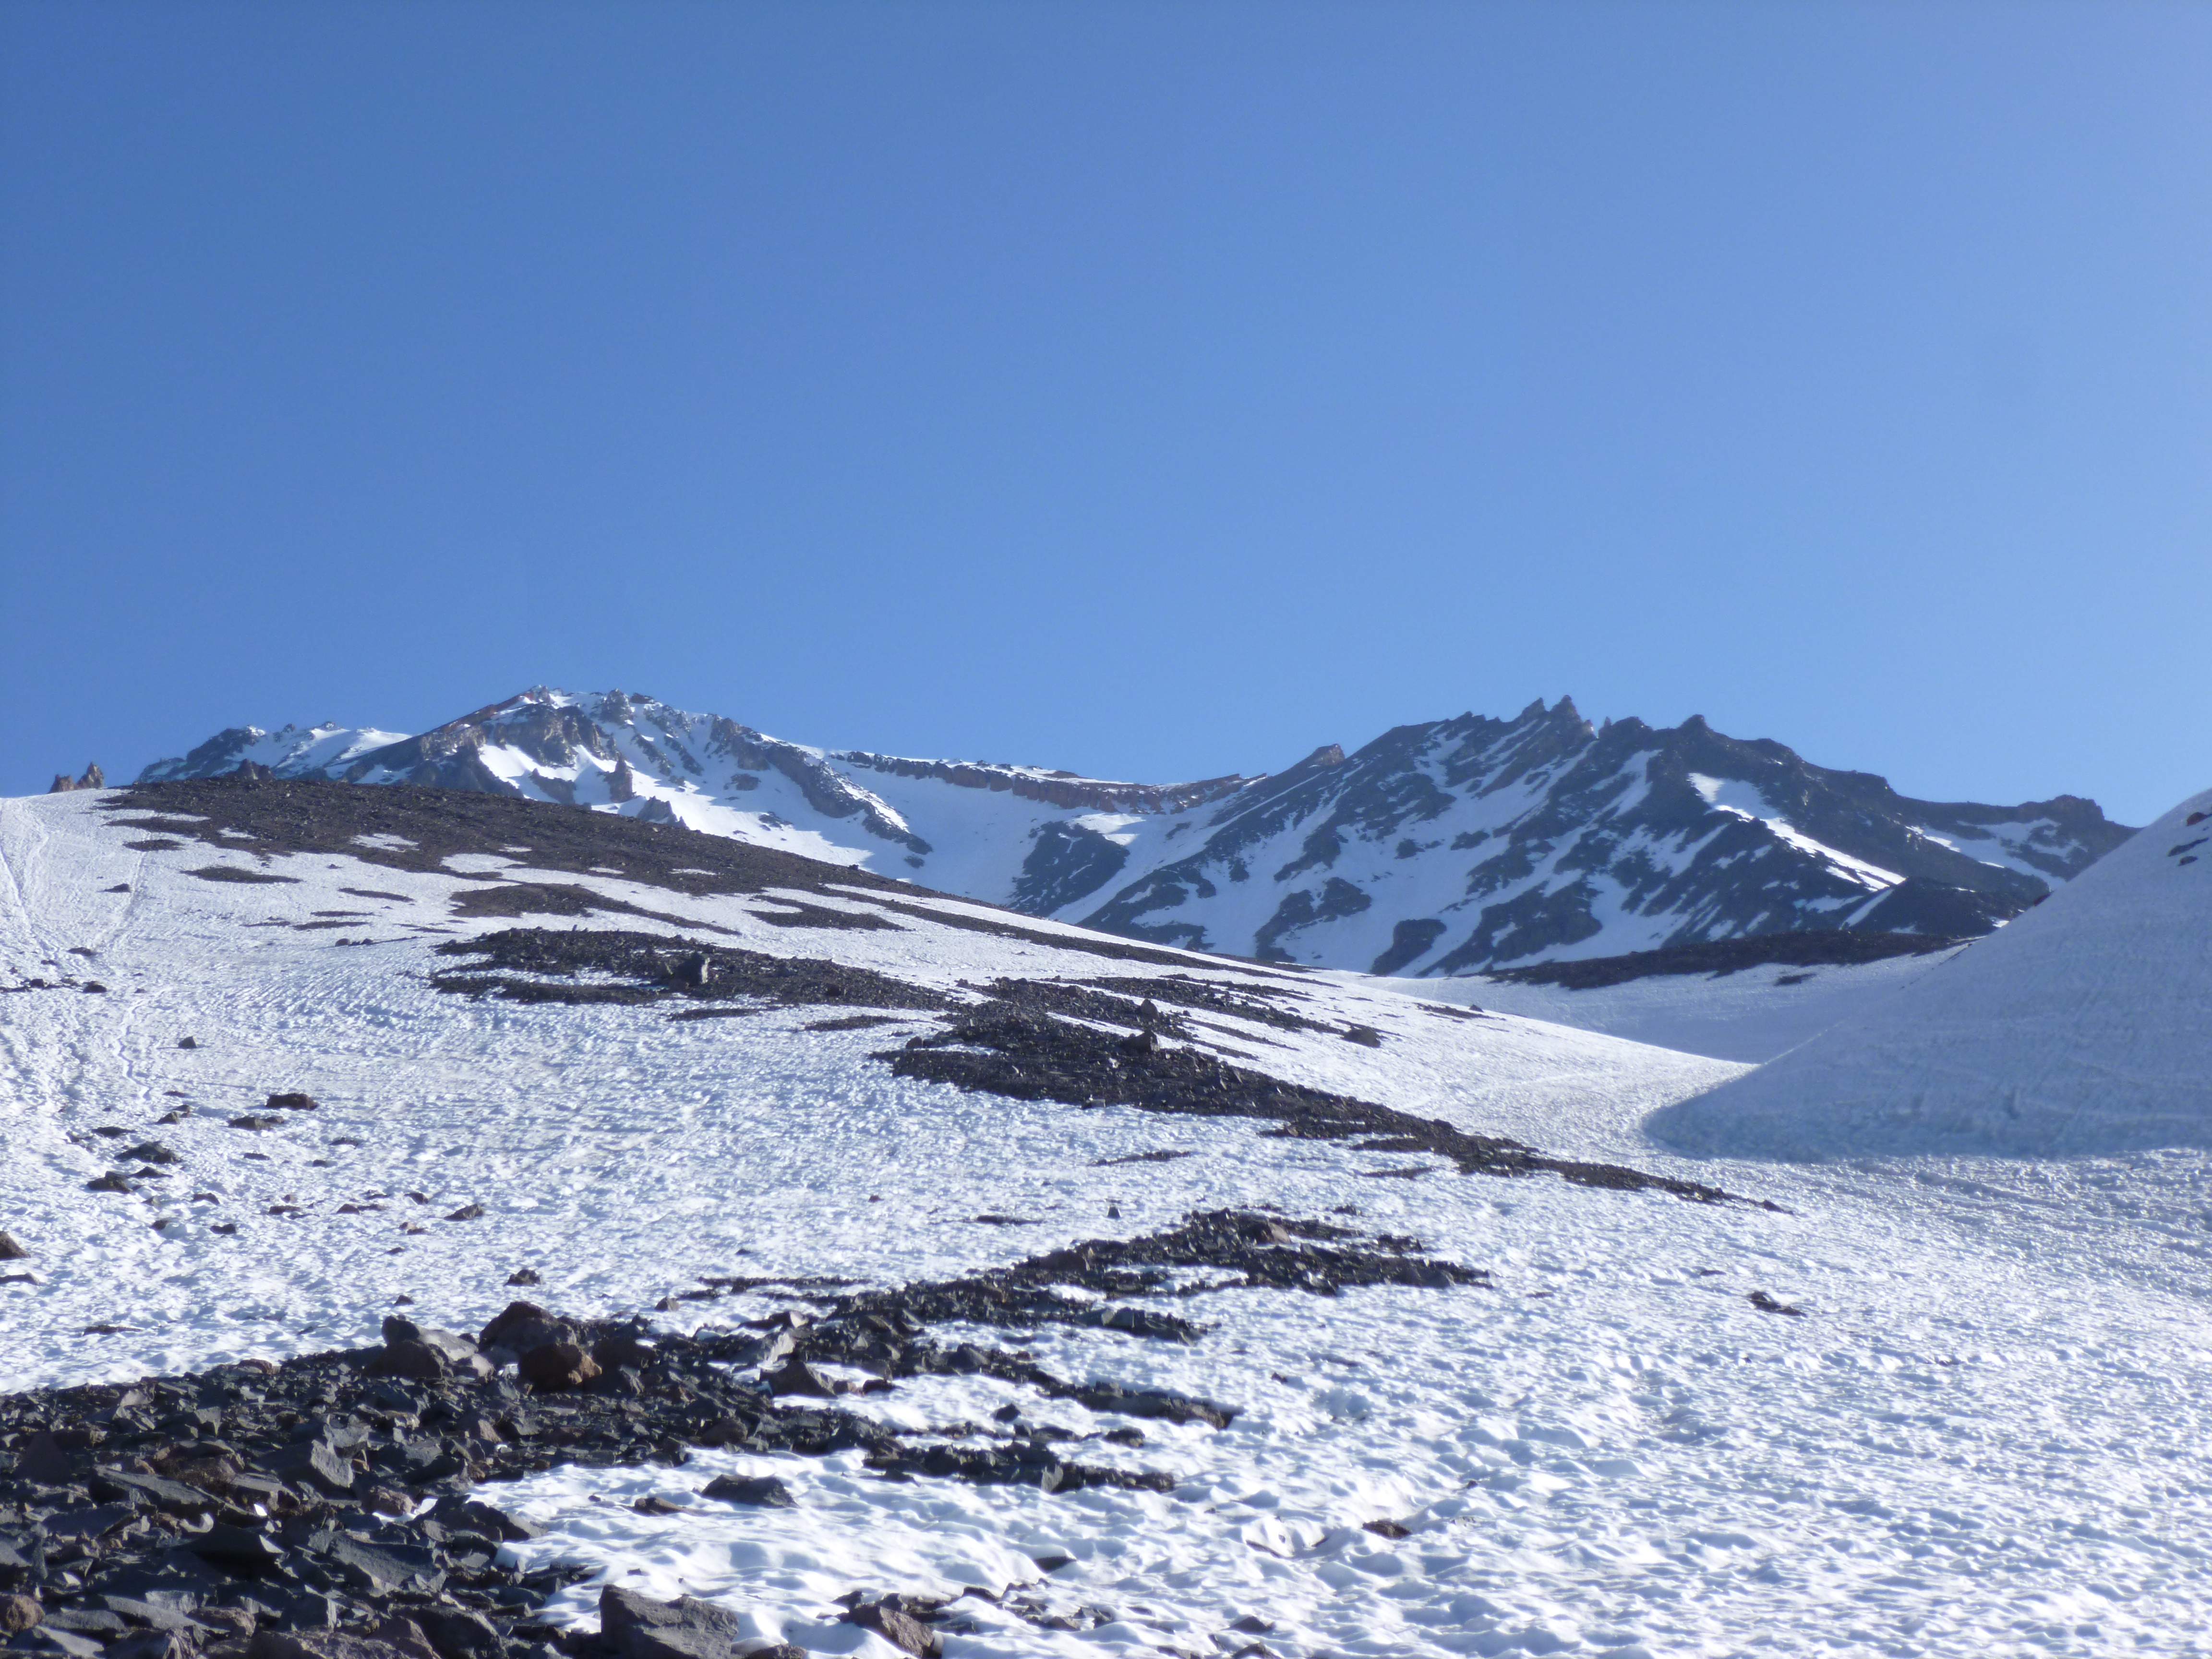
Looking up the southeast slope, almost above the sand.

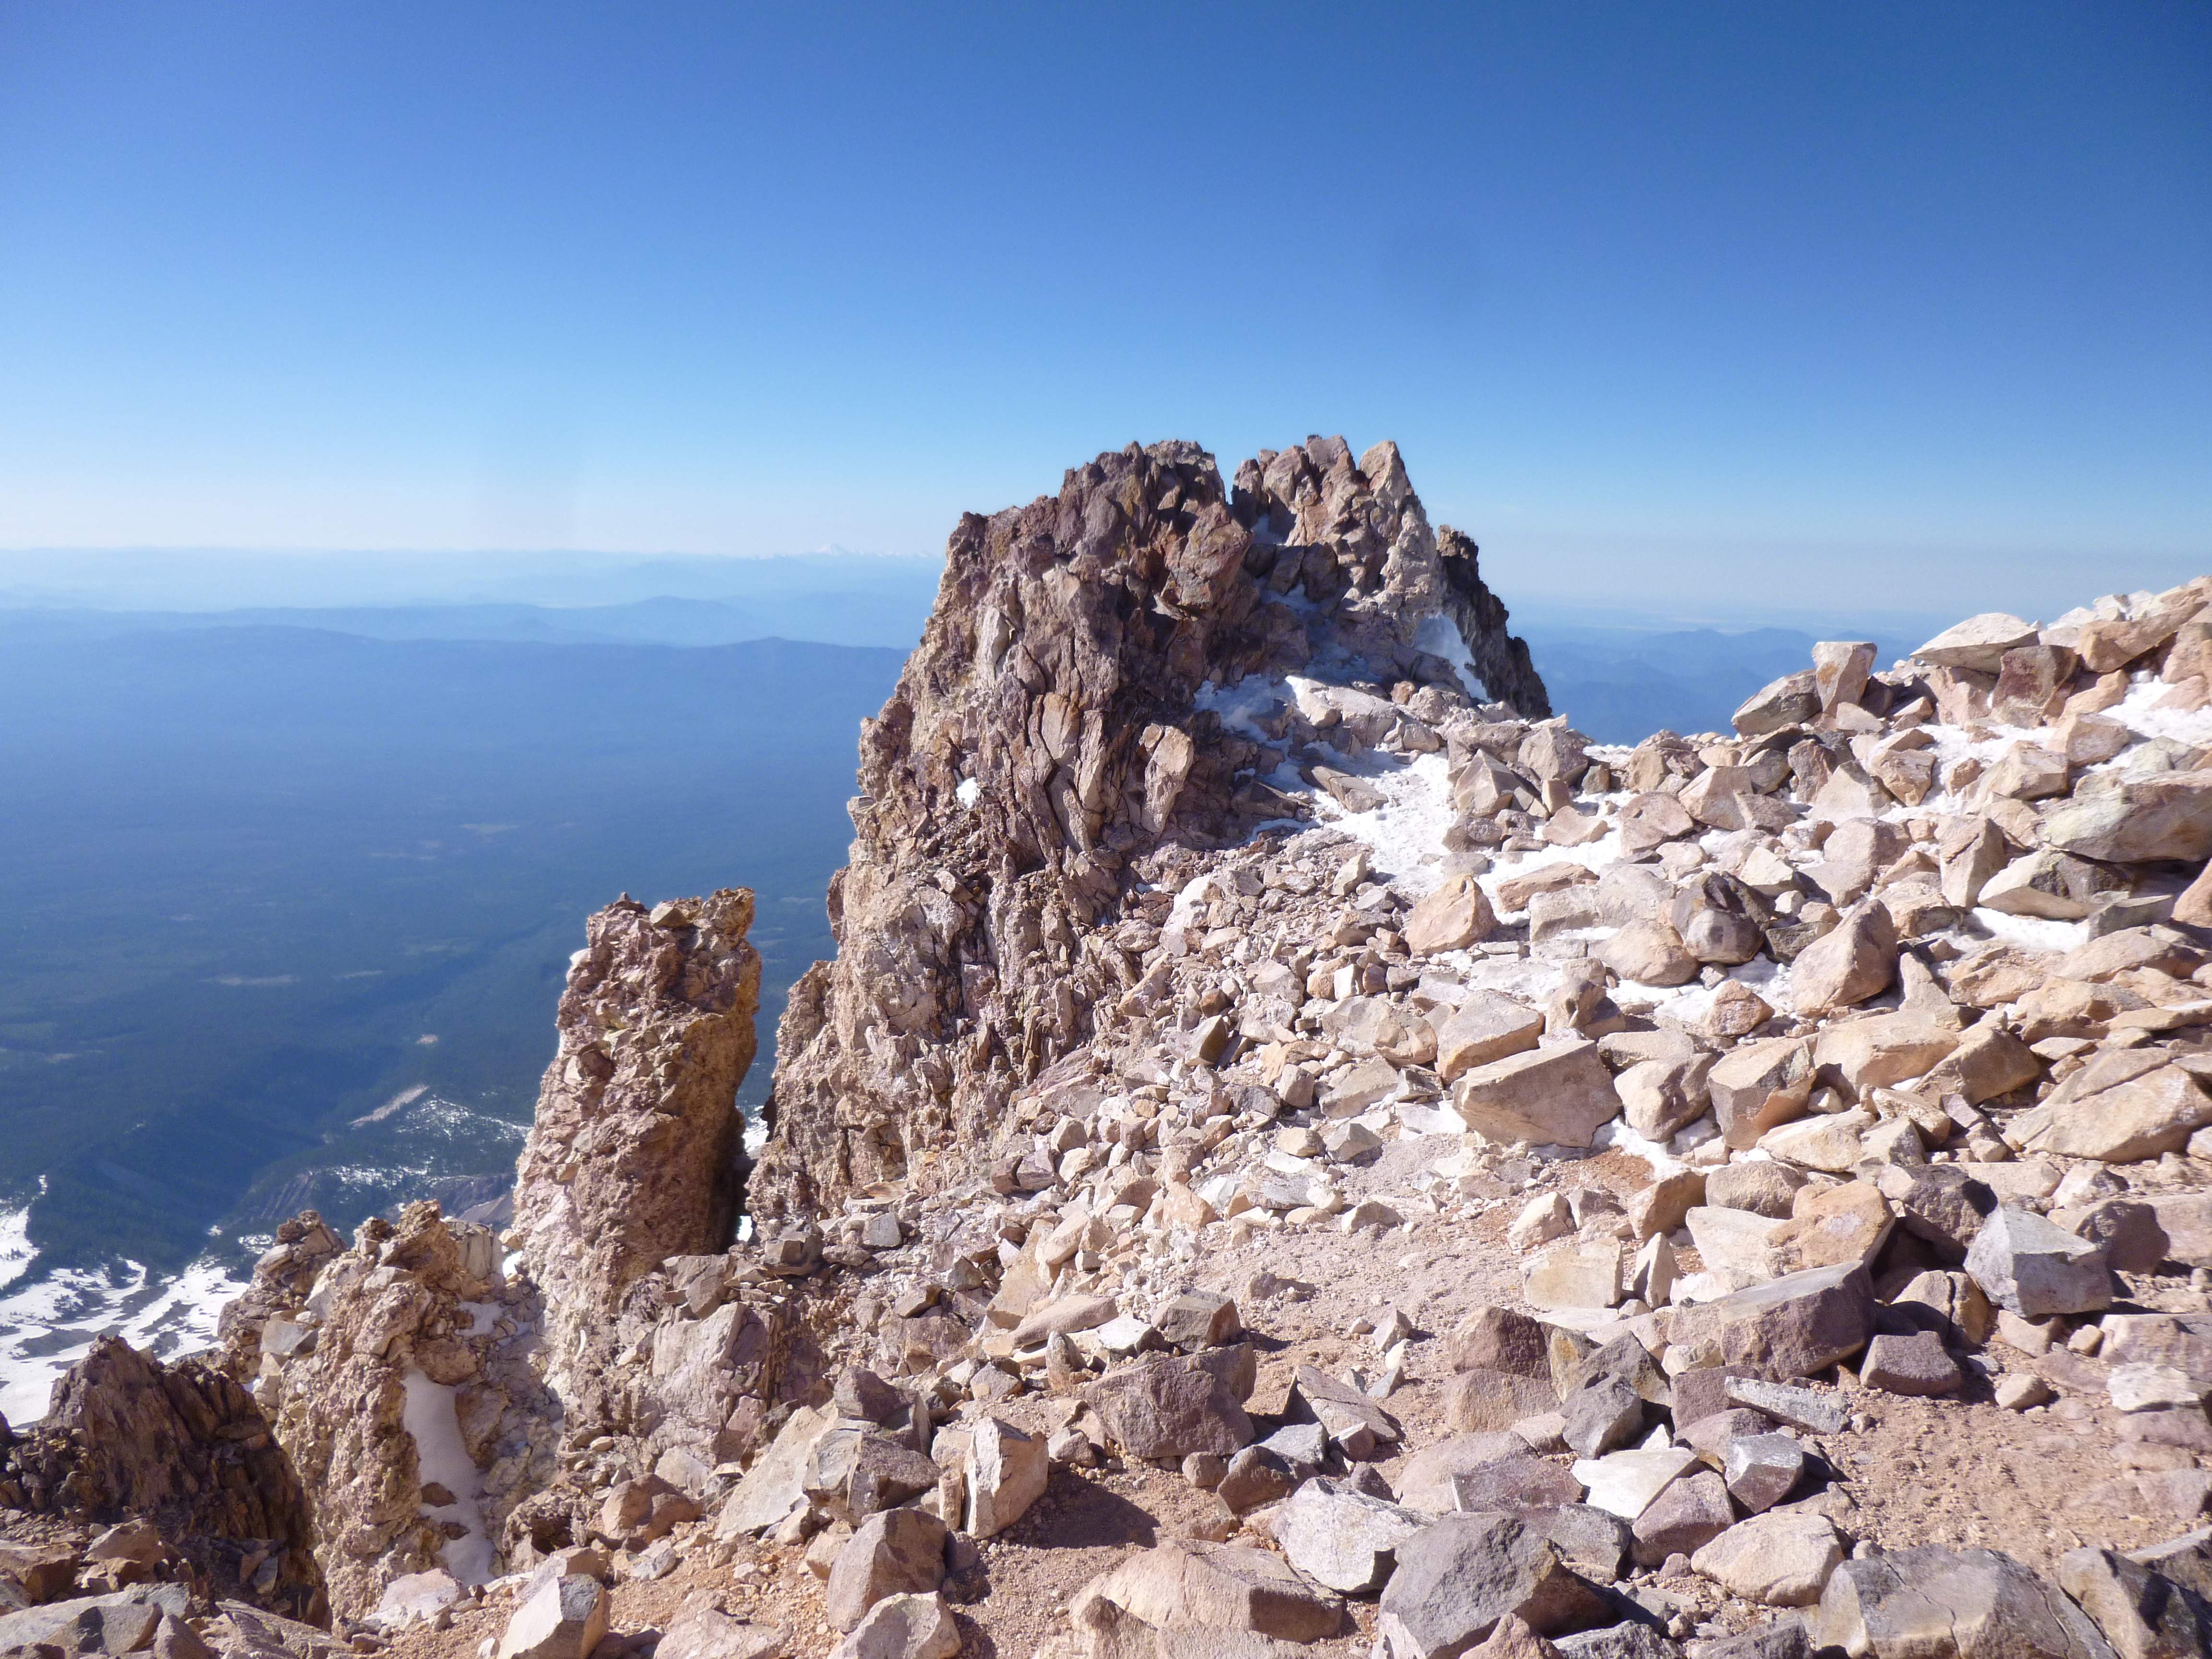
We chose a direct route straight up over the rocks and enjoyed some scrambling as we reached the top, where we were met with a sharp drop off down Goode’s north face.  We were west of the summit, and could see the highpoint jutting out from the ridge.

...

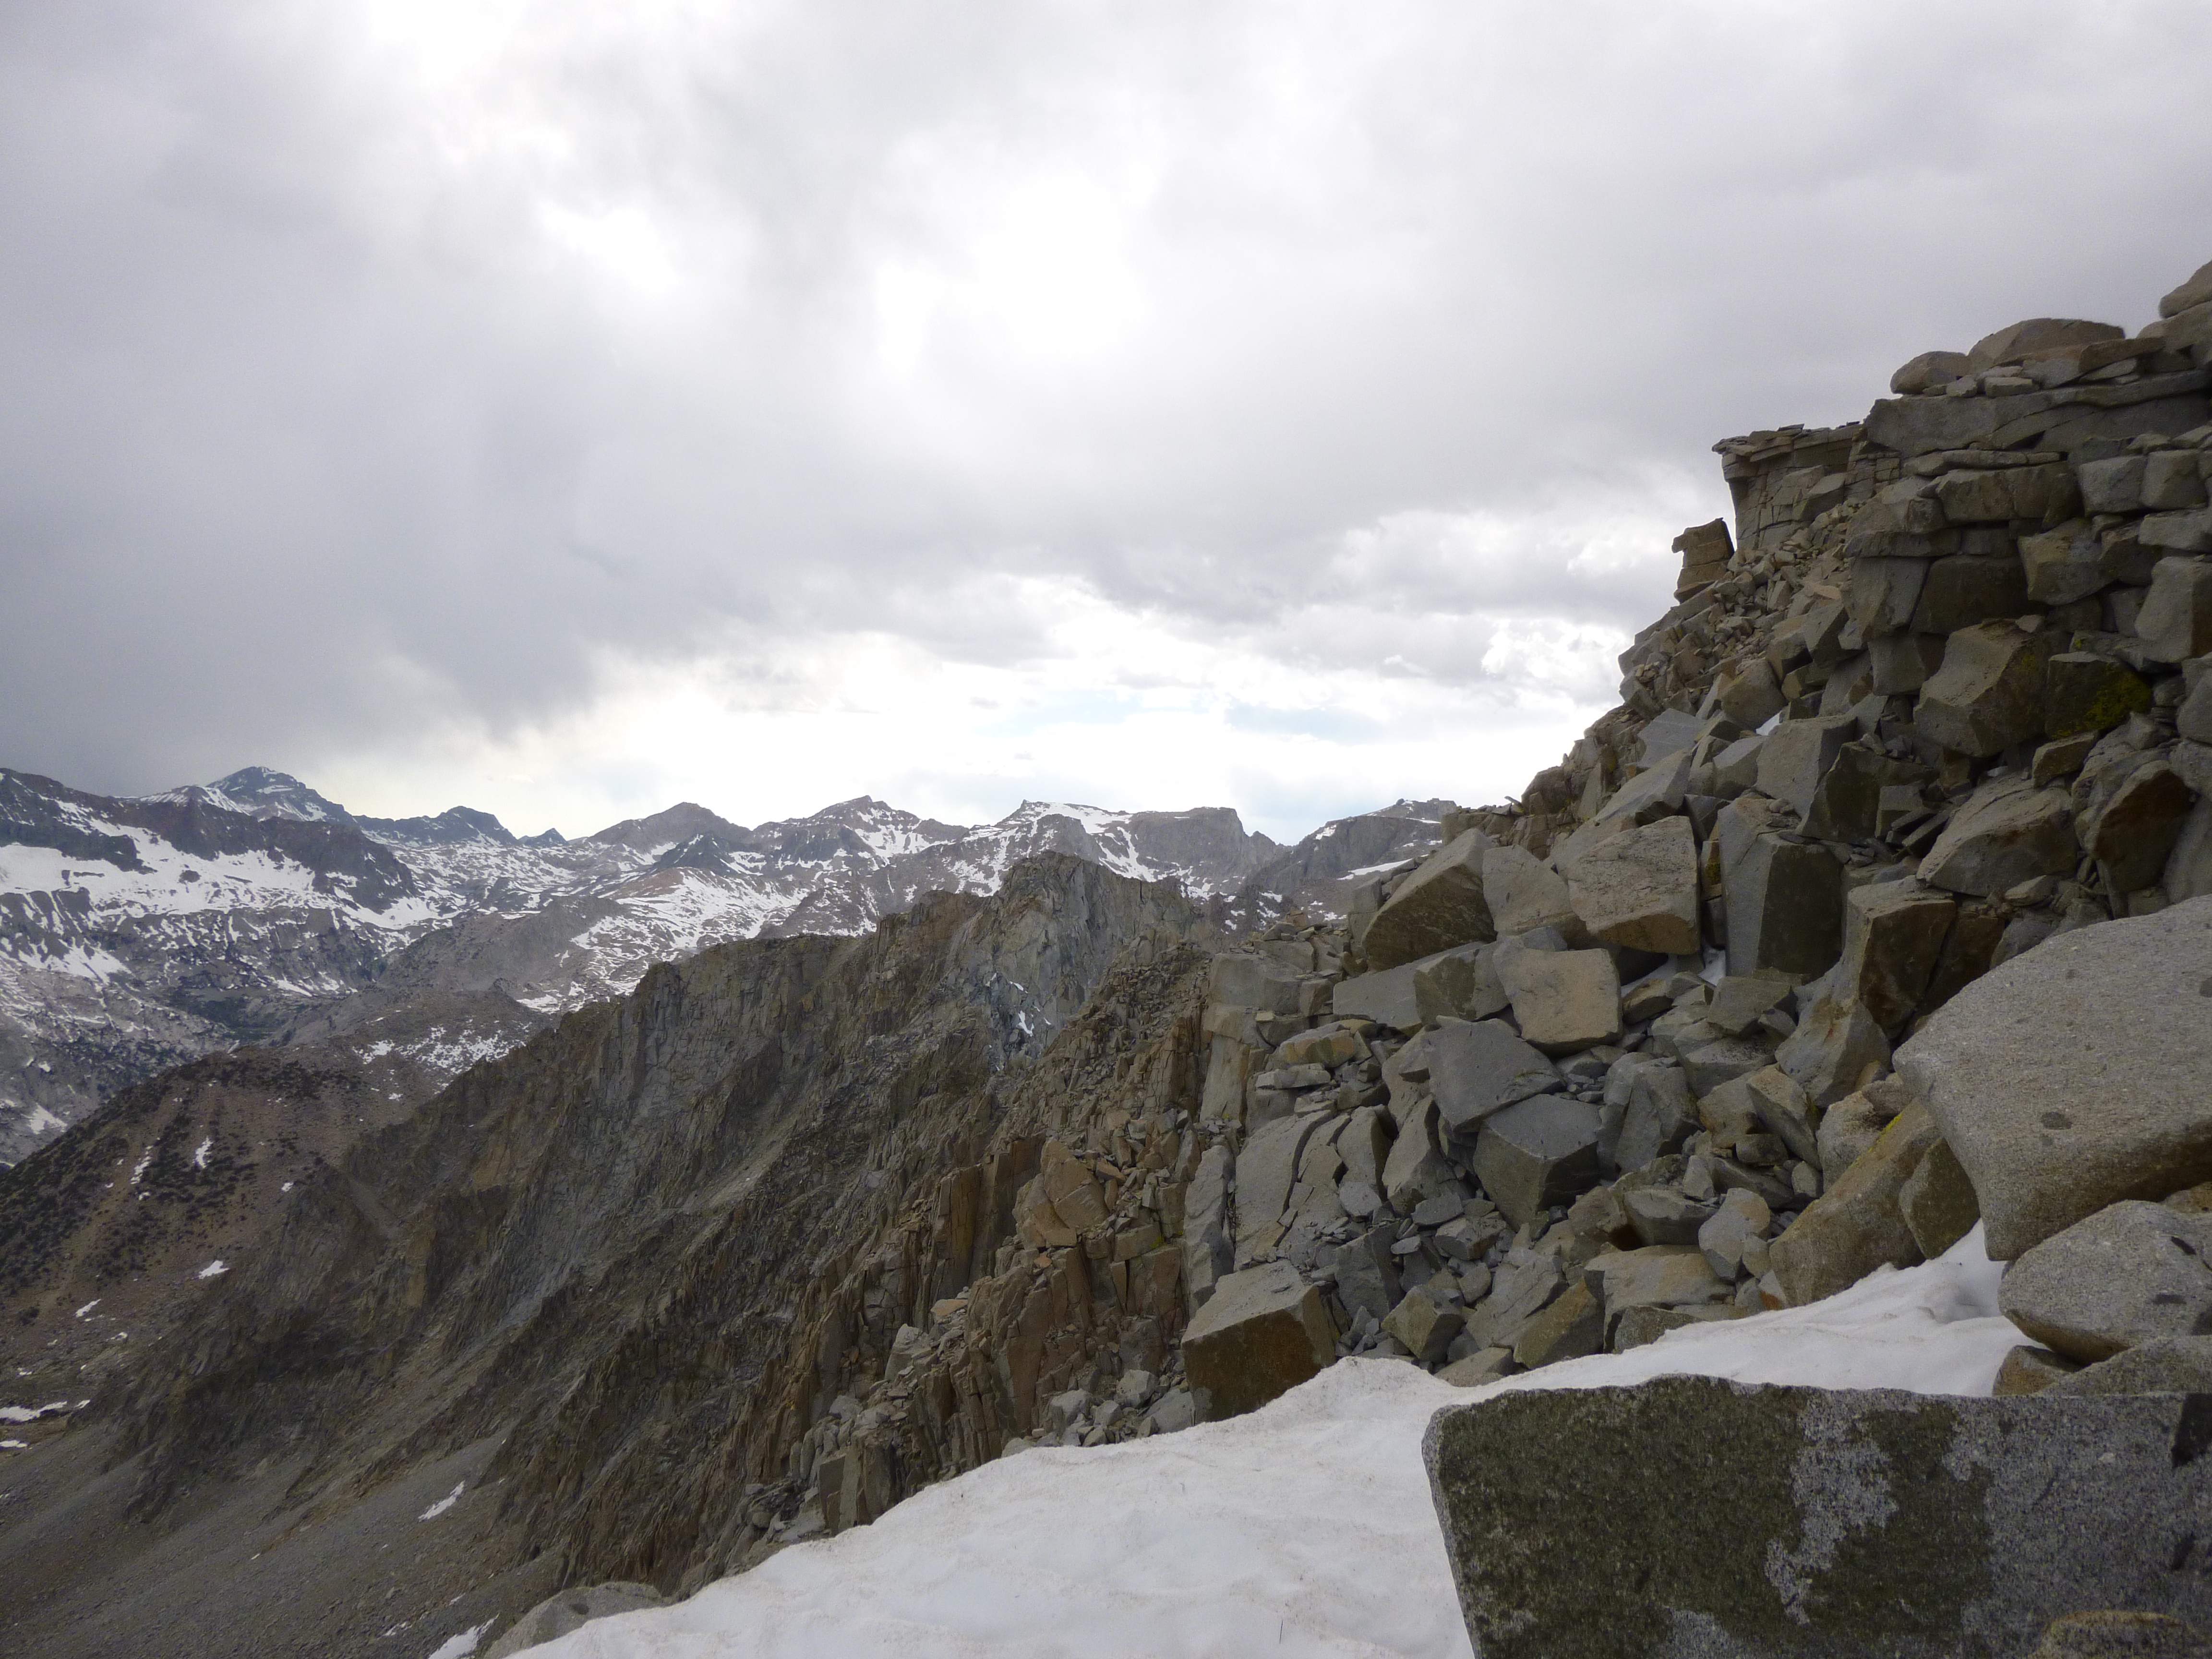
Looking east along Mount Goode’s north face, the summit ahead of us.

...

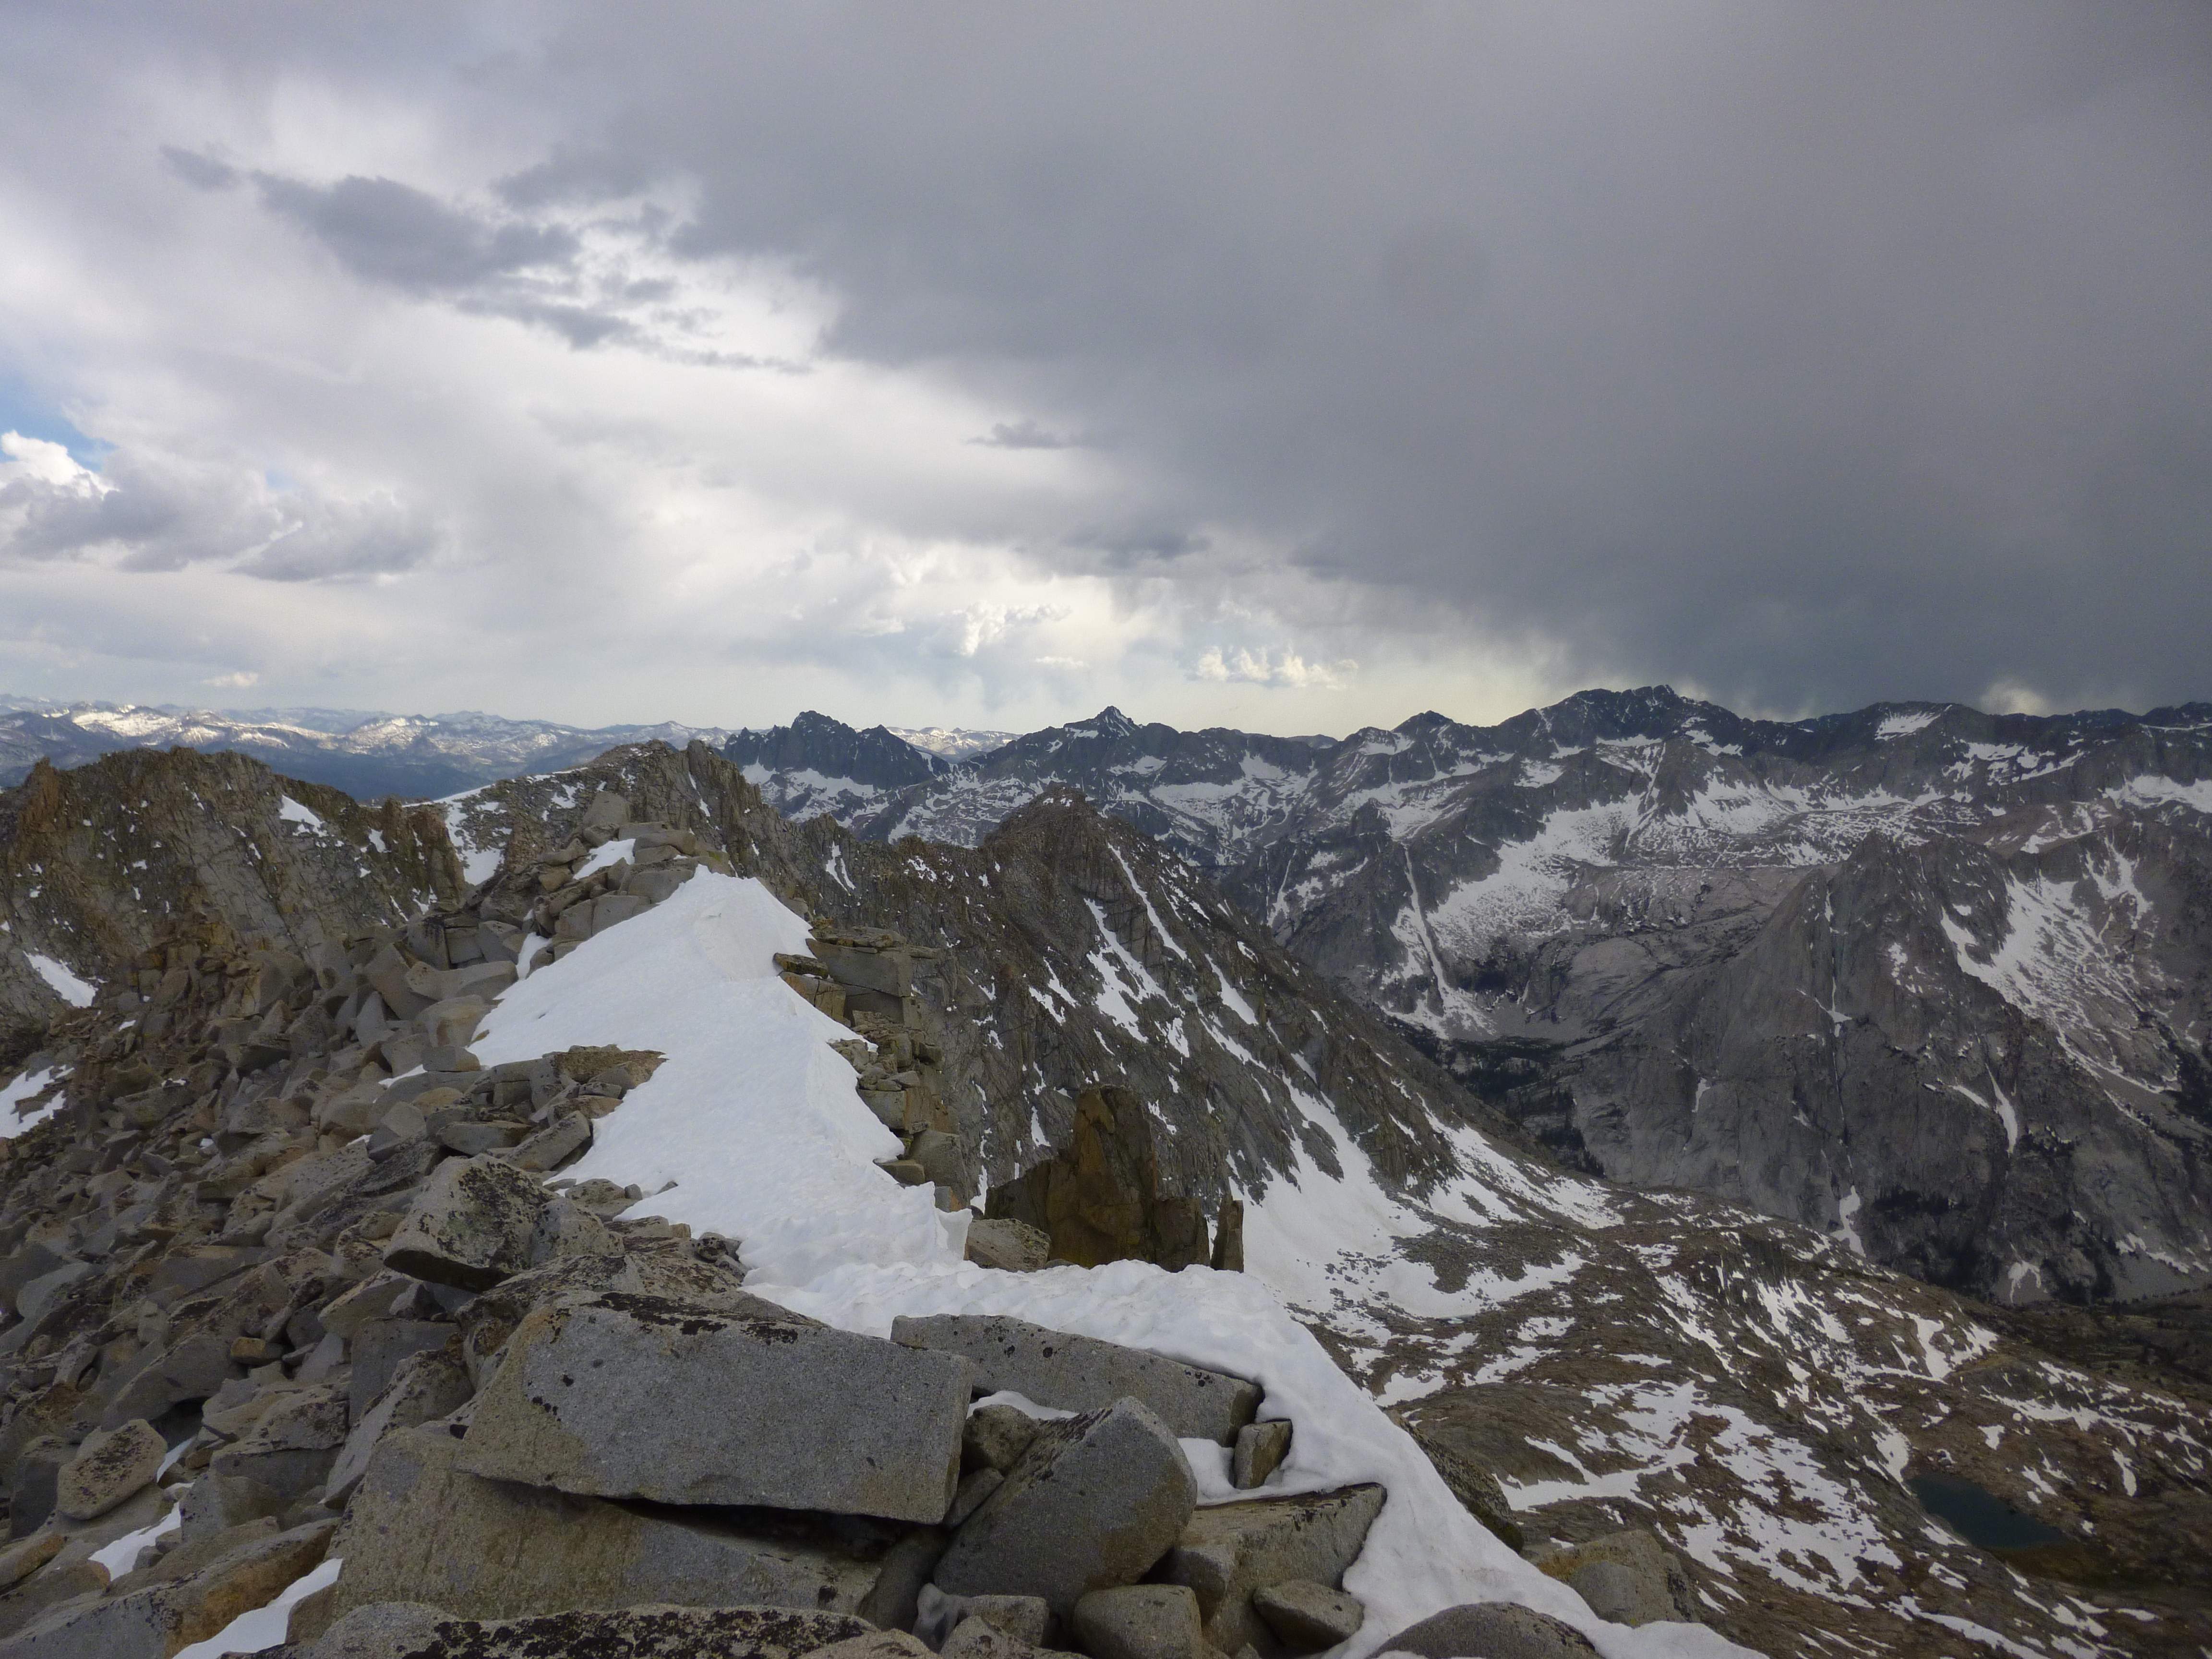
West of the summit, looking west.

...

Looking East, towards Mount Agassiz and Thunderbolt Peak (right).  Bishop Pass is below Mount Agassiz.

We climbed east, moving along the edge, passing over snow and big rocks to what appeared to be the very top, where we stopped to snap some photographs and take in the views.  This area was surprisingly large and flat.  This was unexpected, as viewing the mountain from the north we had earlier marveled at the narrow, jutting apex of the north buttress.

...

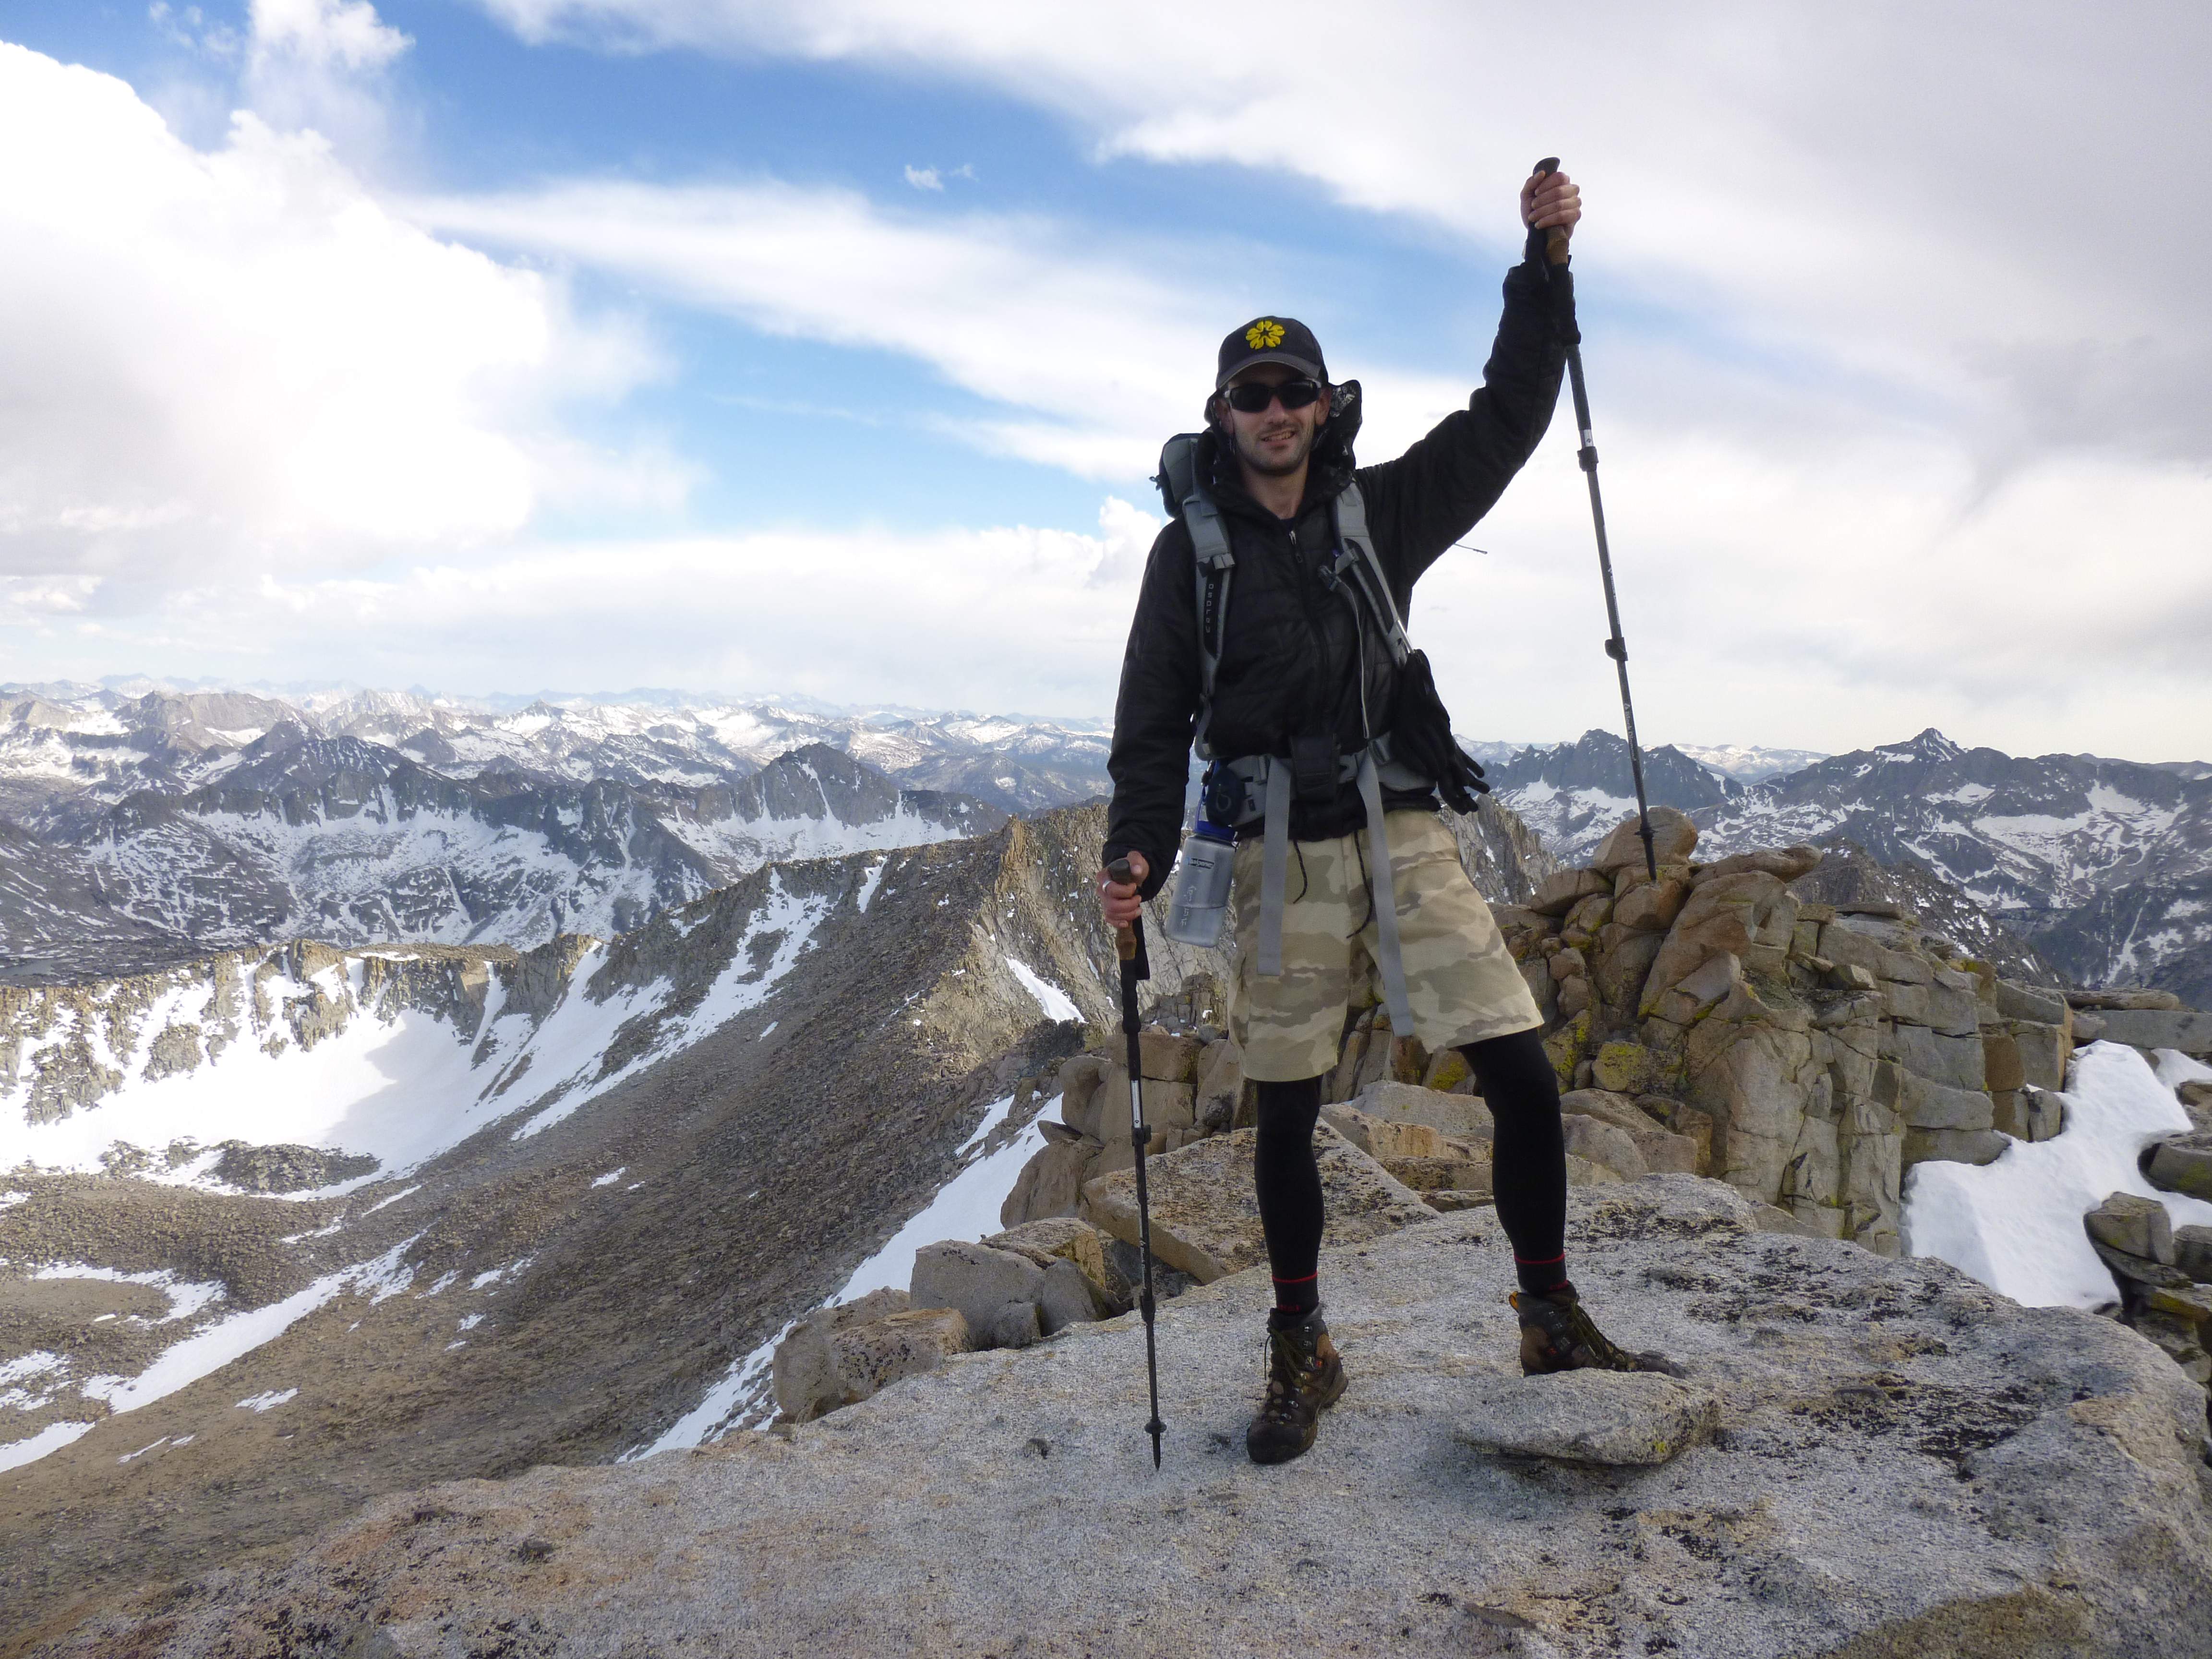
The summit of Mount Goode.

...

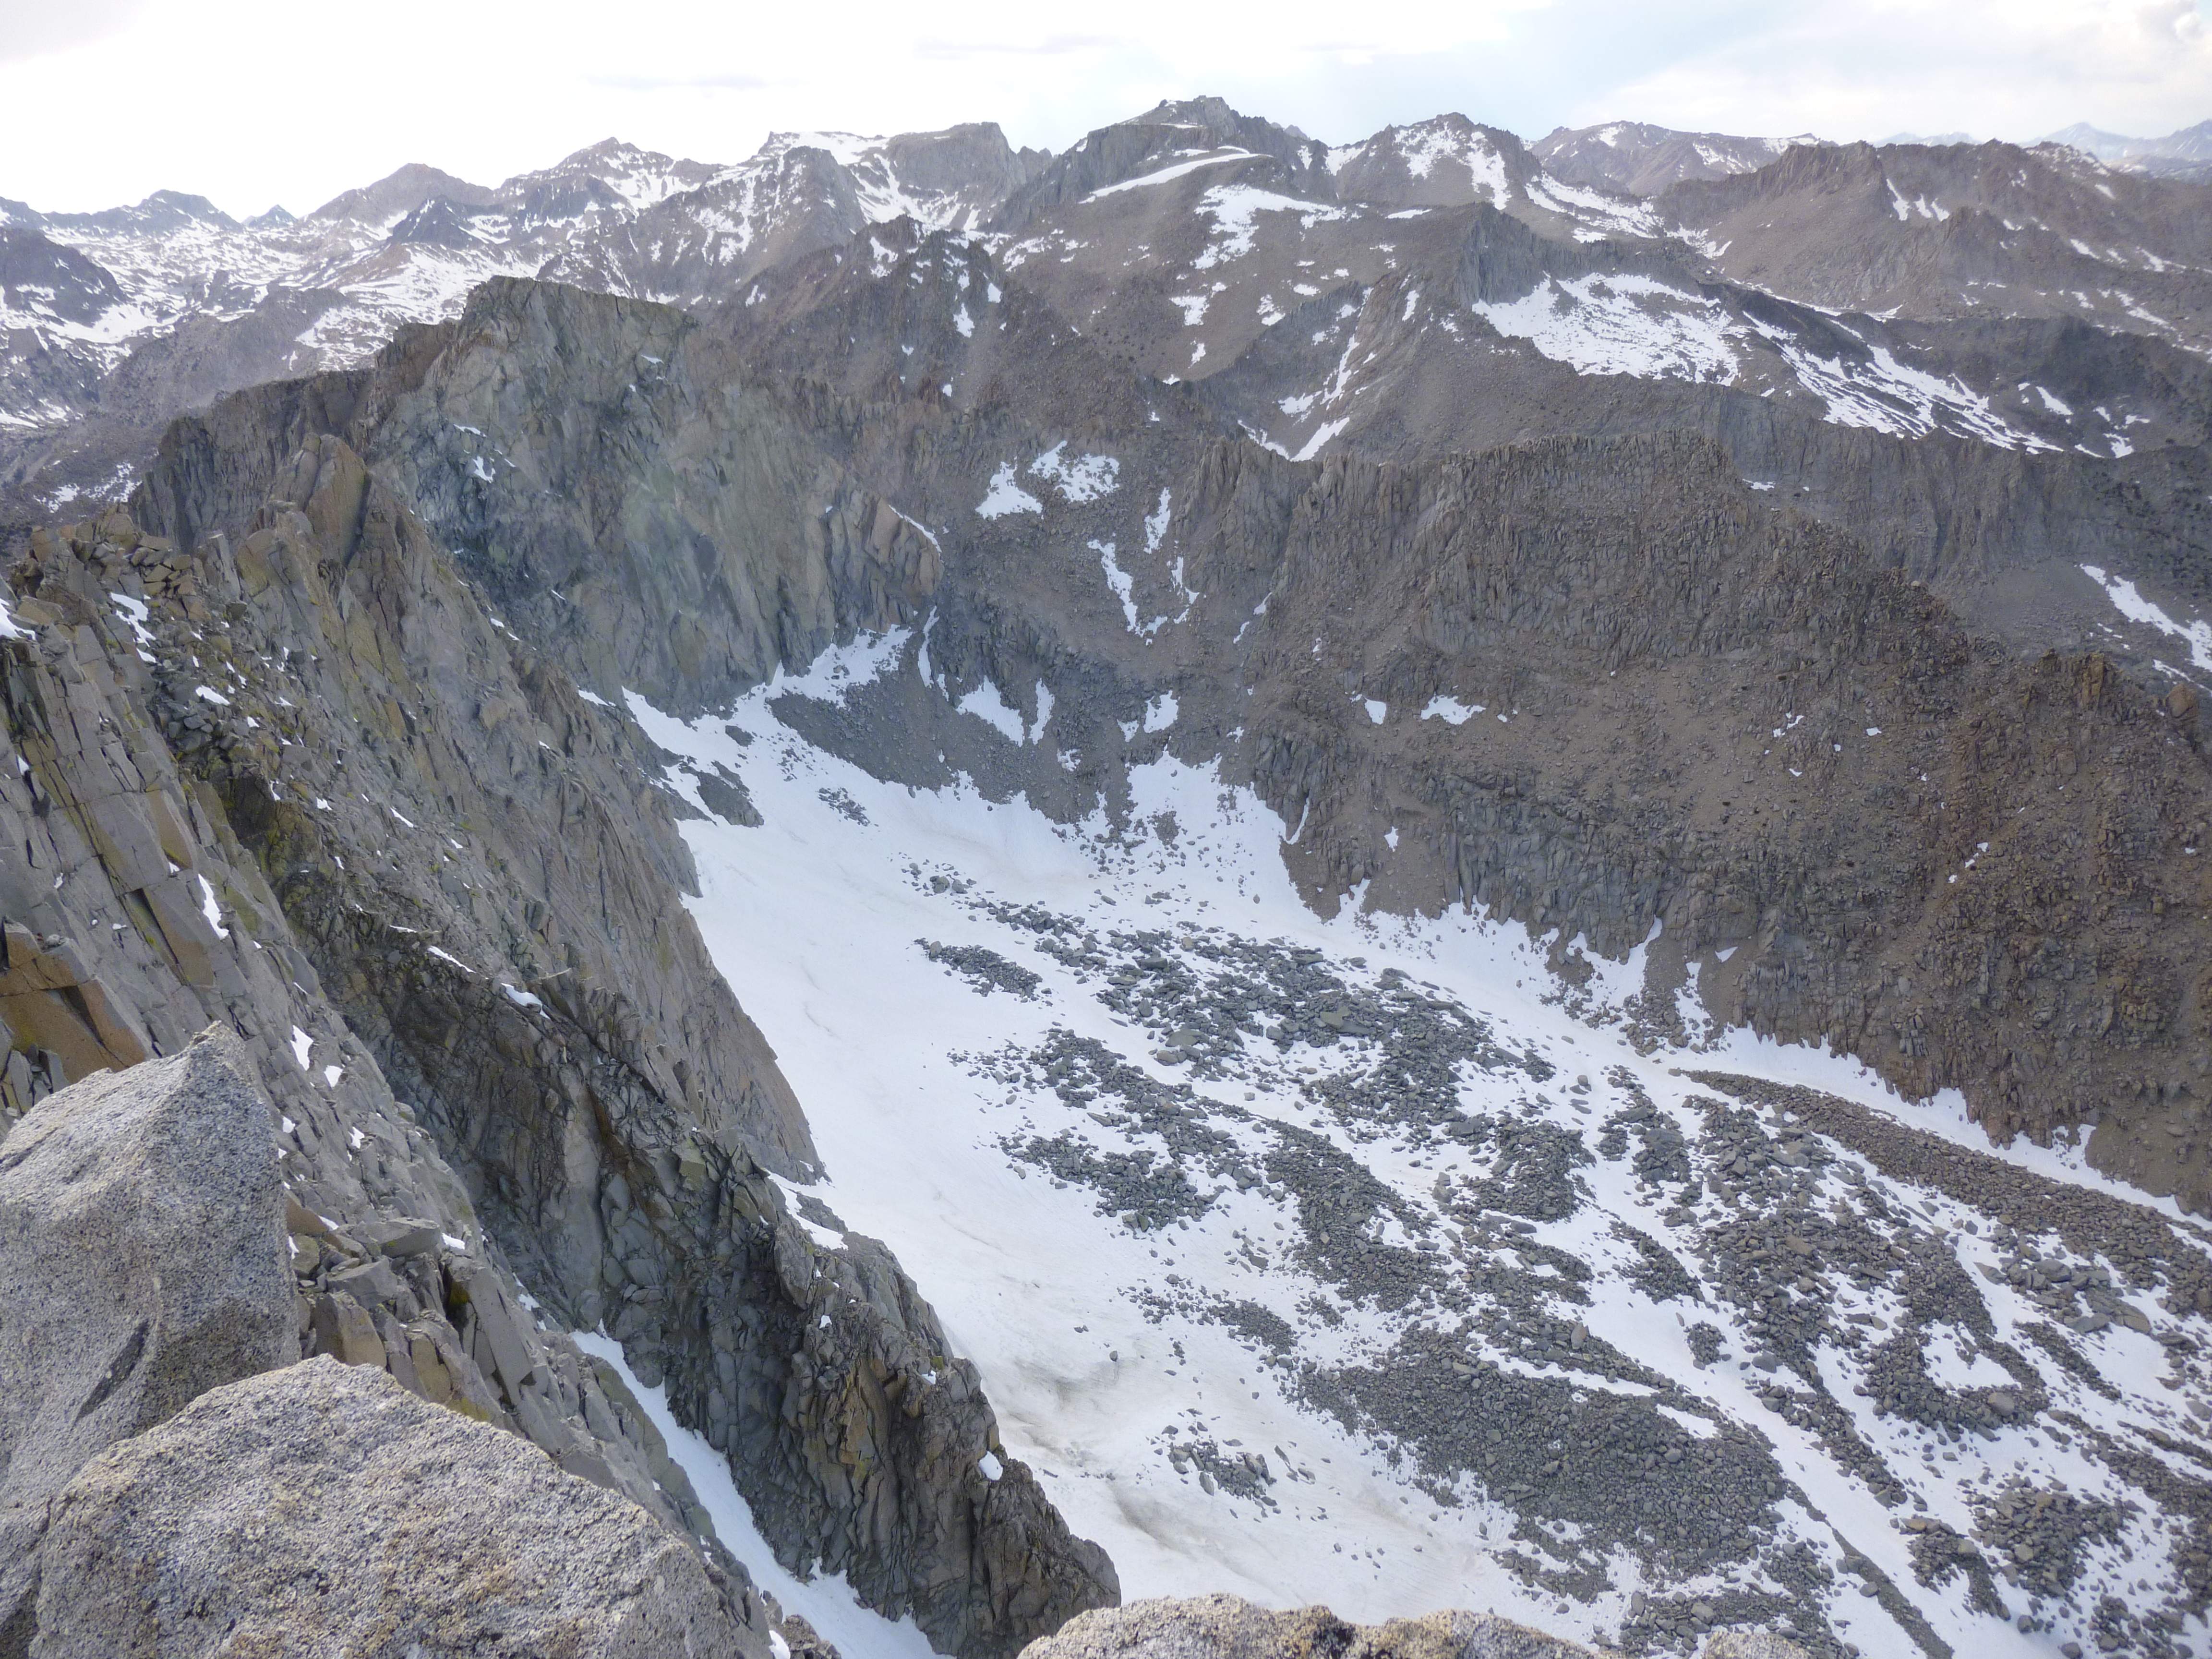
Looking down the north face.

Far below we could see the winding trail and many lakes we had passed earlier.

...

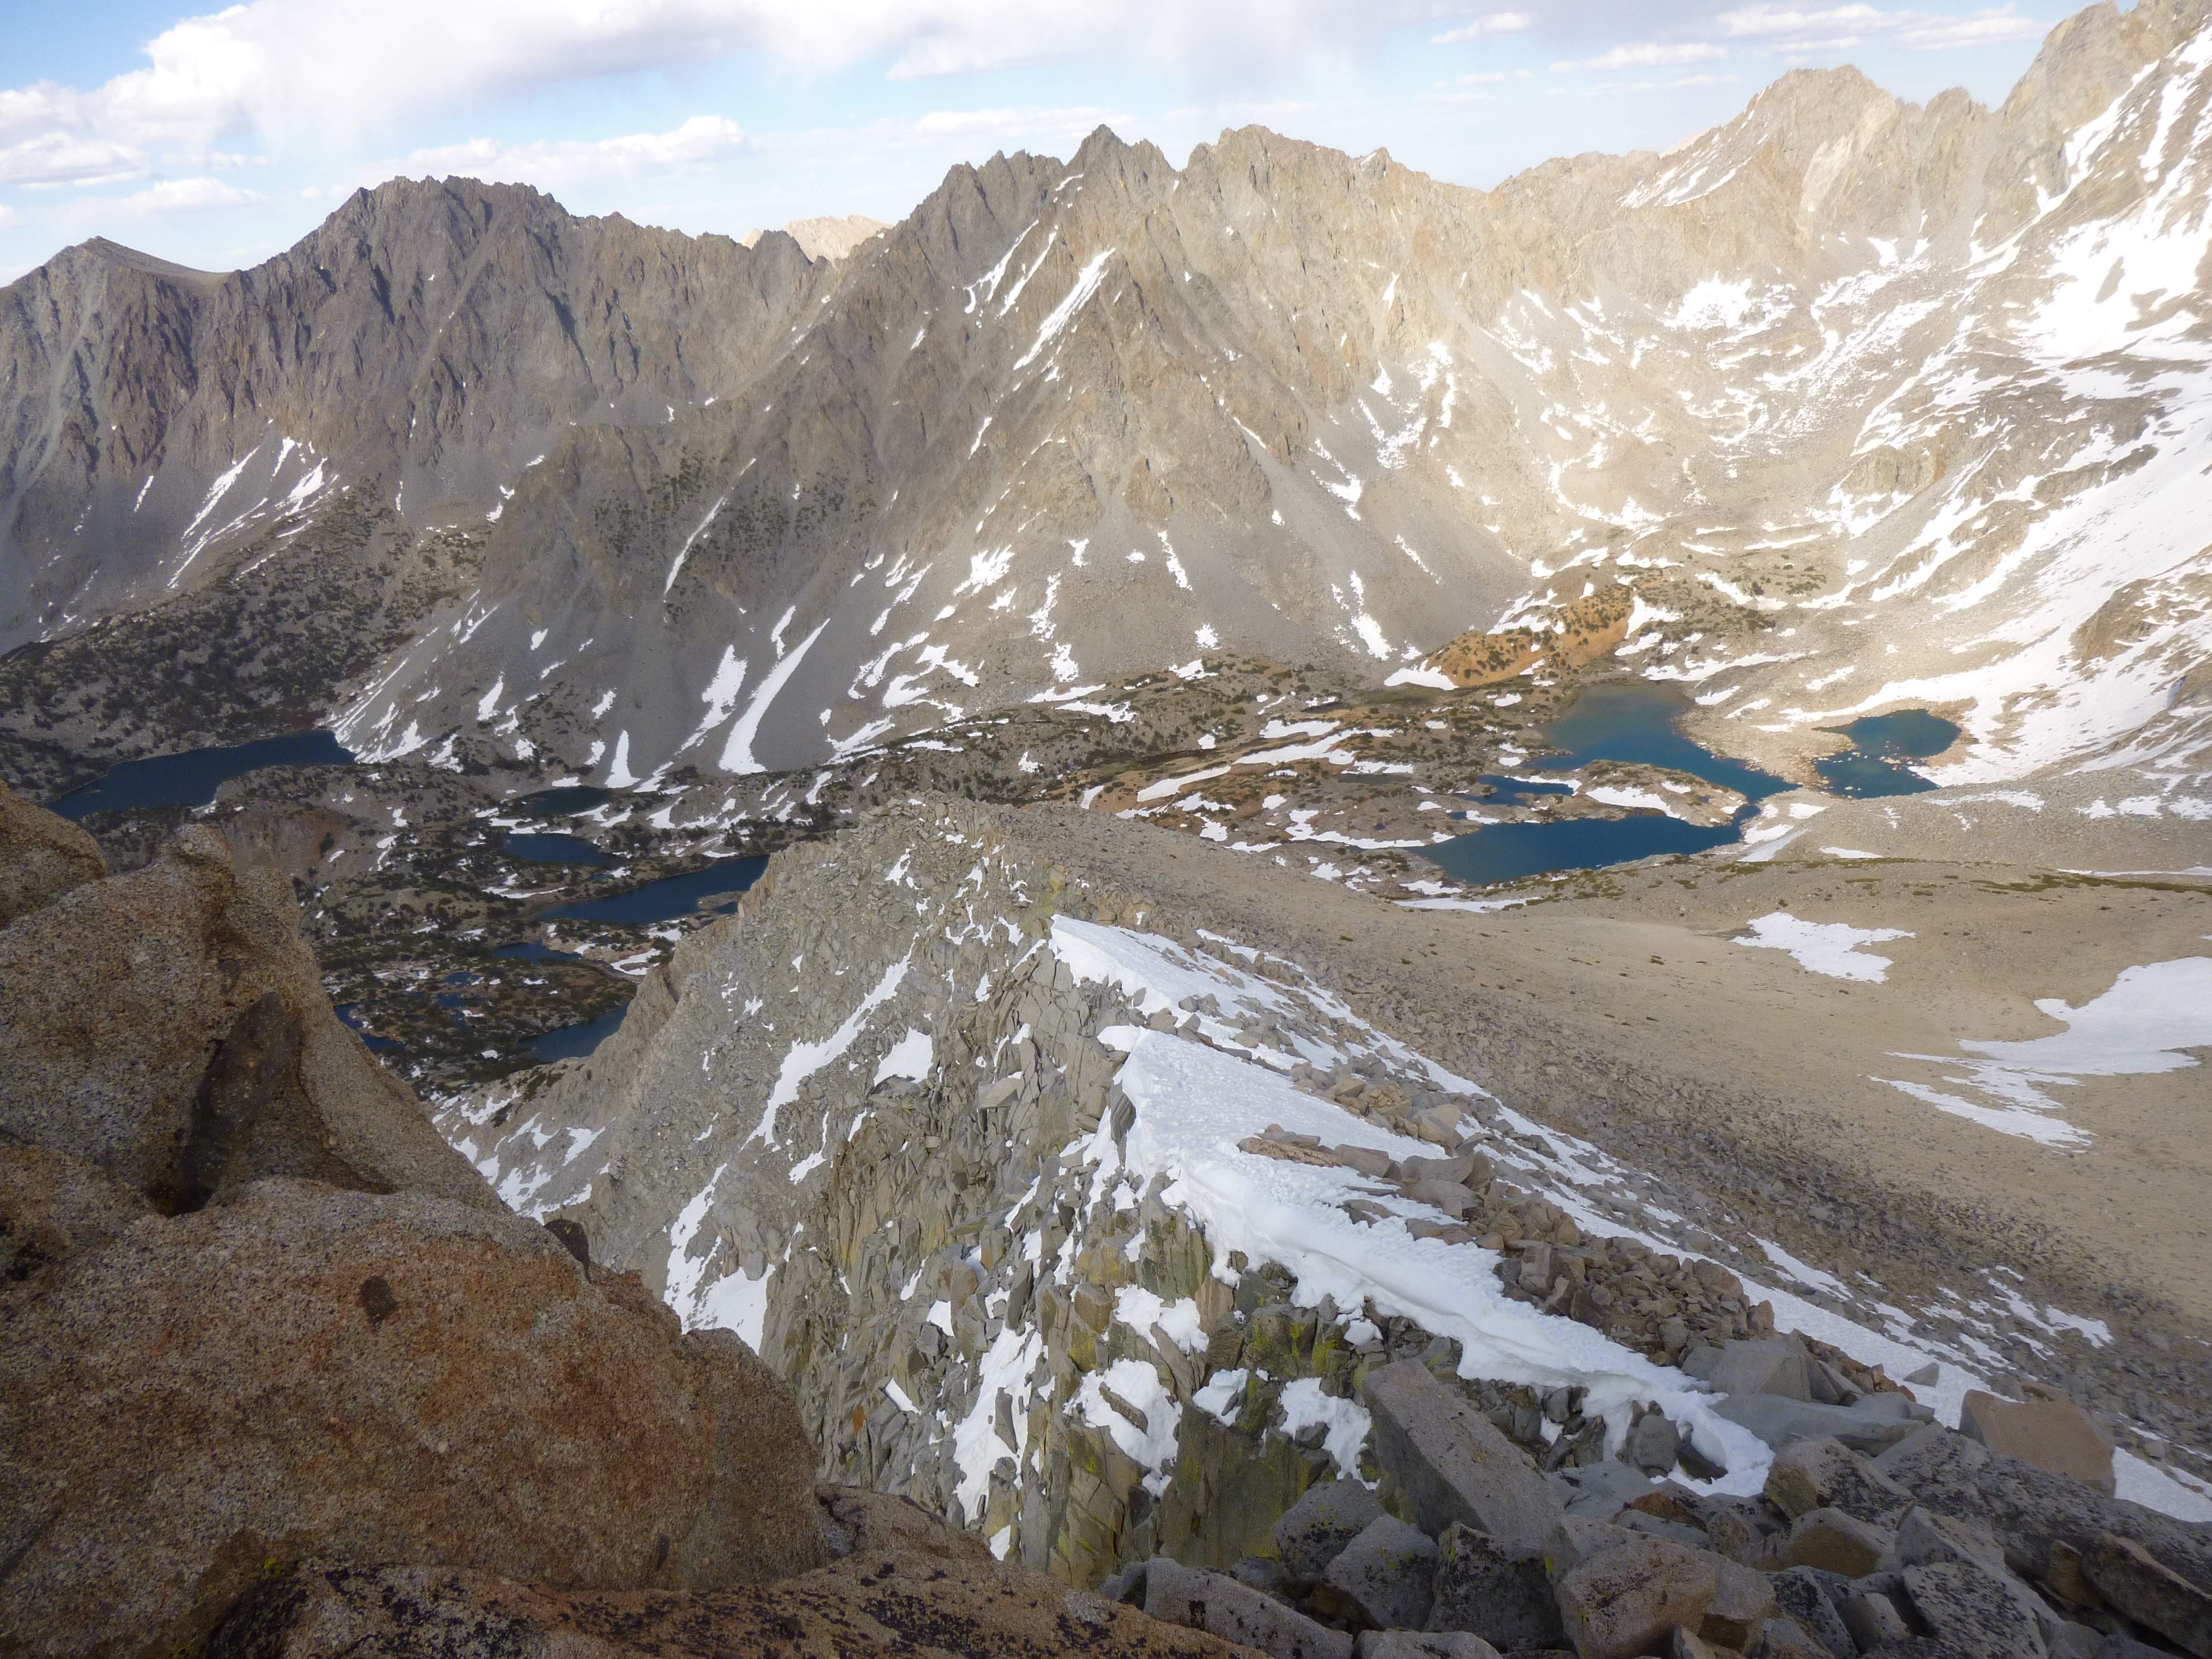
Looking down at the Bishop Pass trail.

After spending a good 40 minutes on the top, we quickly descended and began hiking north, back to our campsite.  The afternoon weather held for us, and we enjoyed a lovely blue sky.
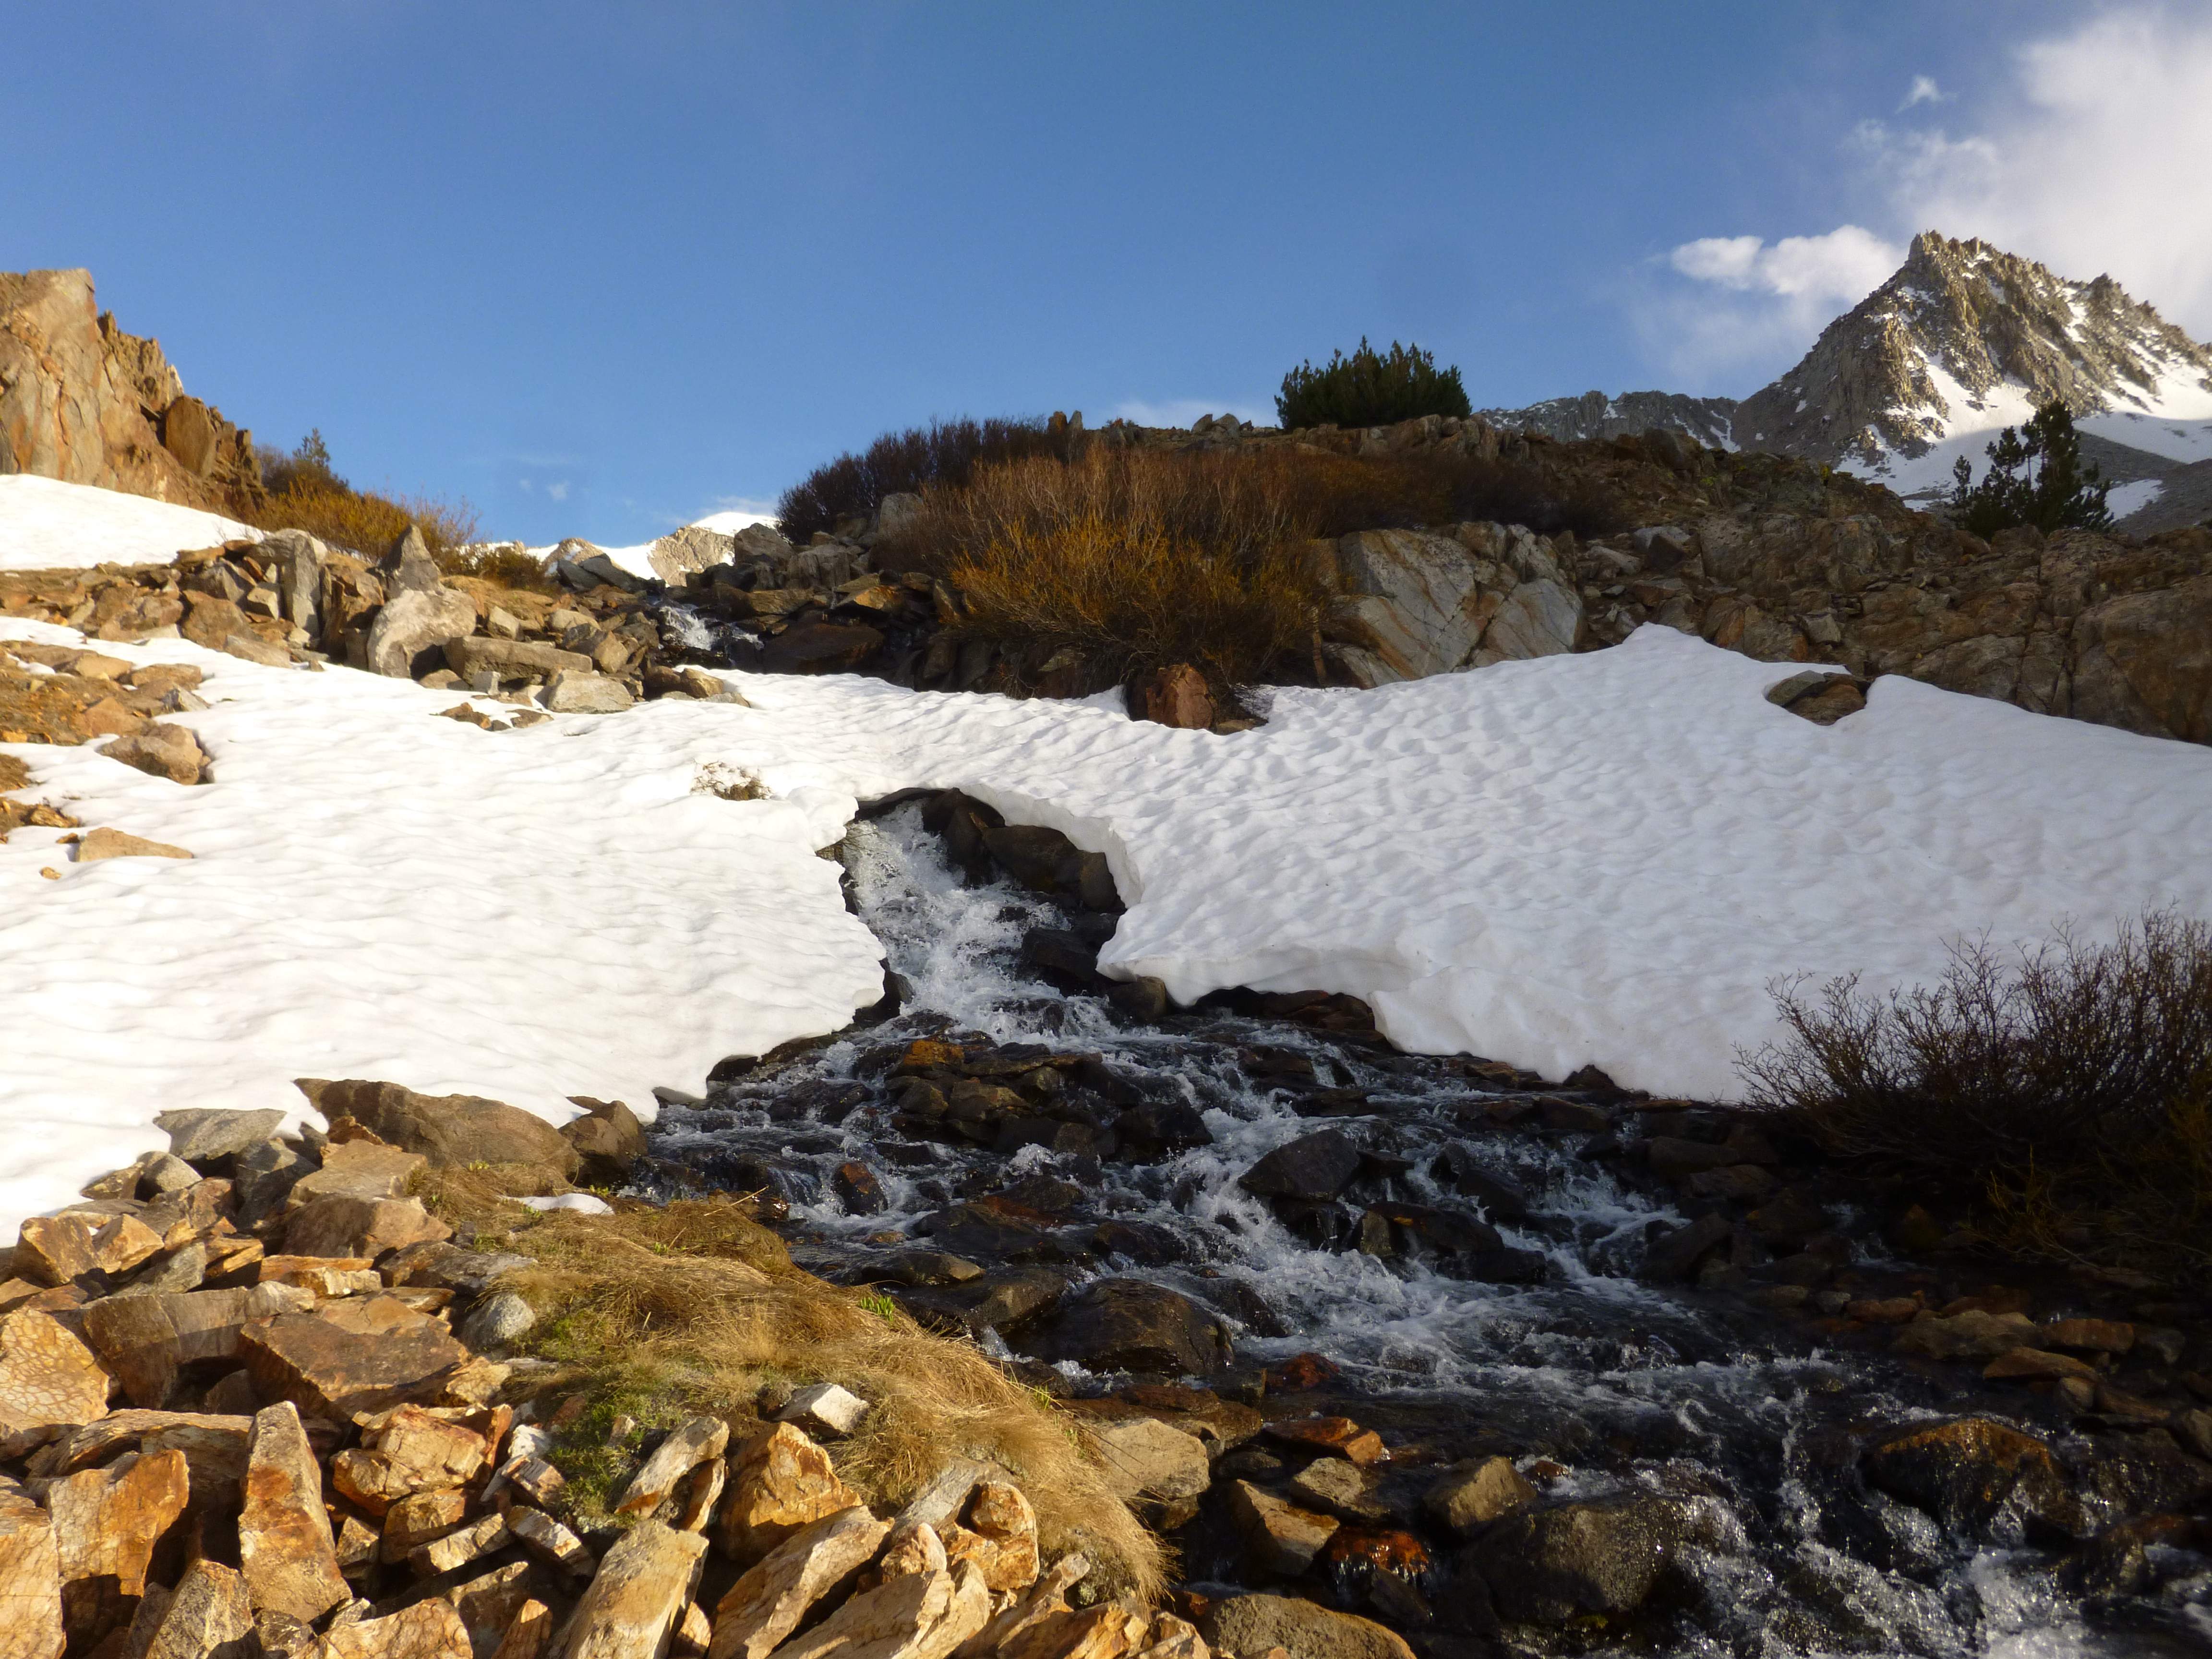
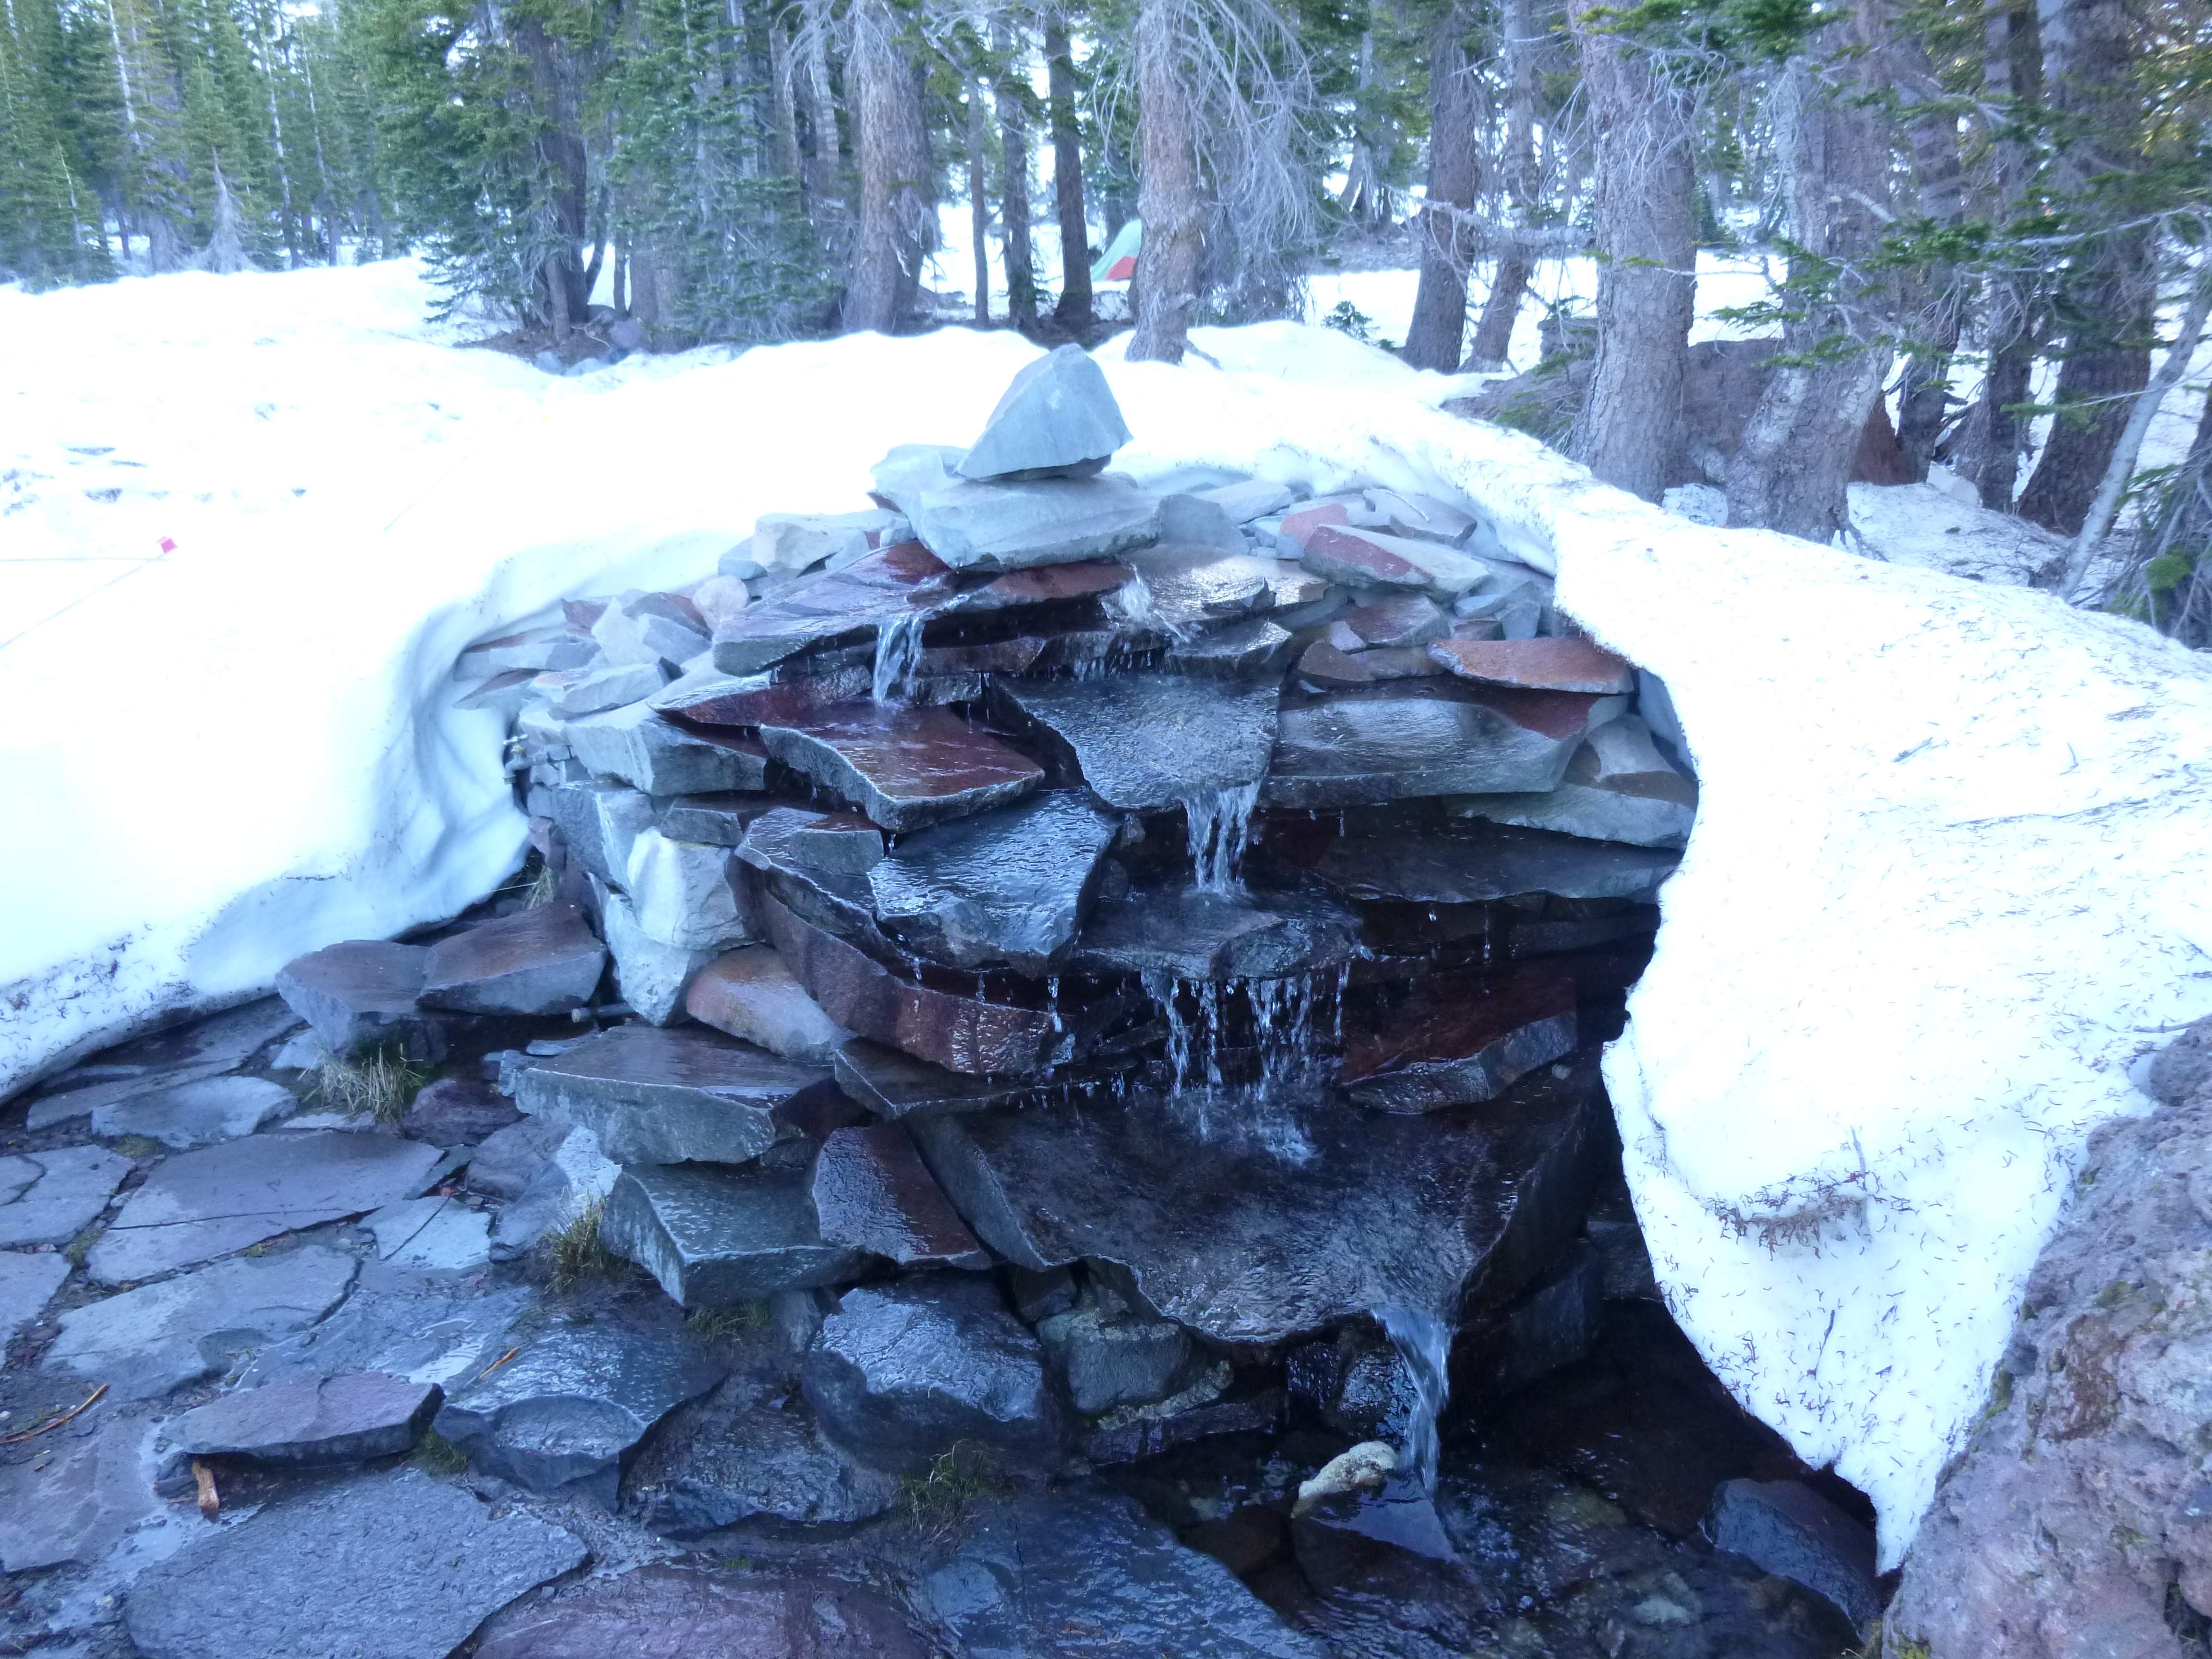
...

Melt water rivers.

....

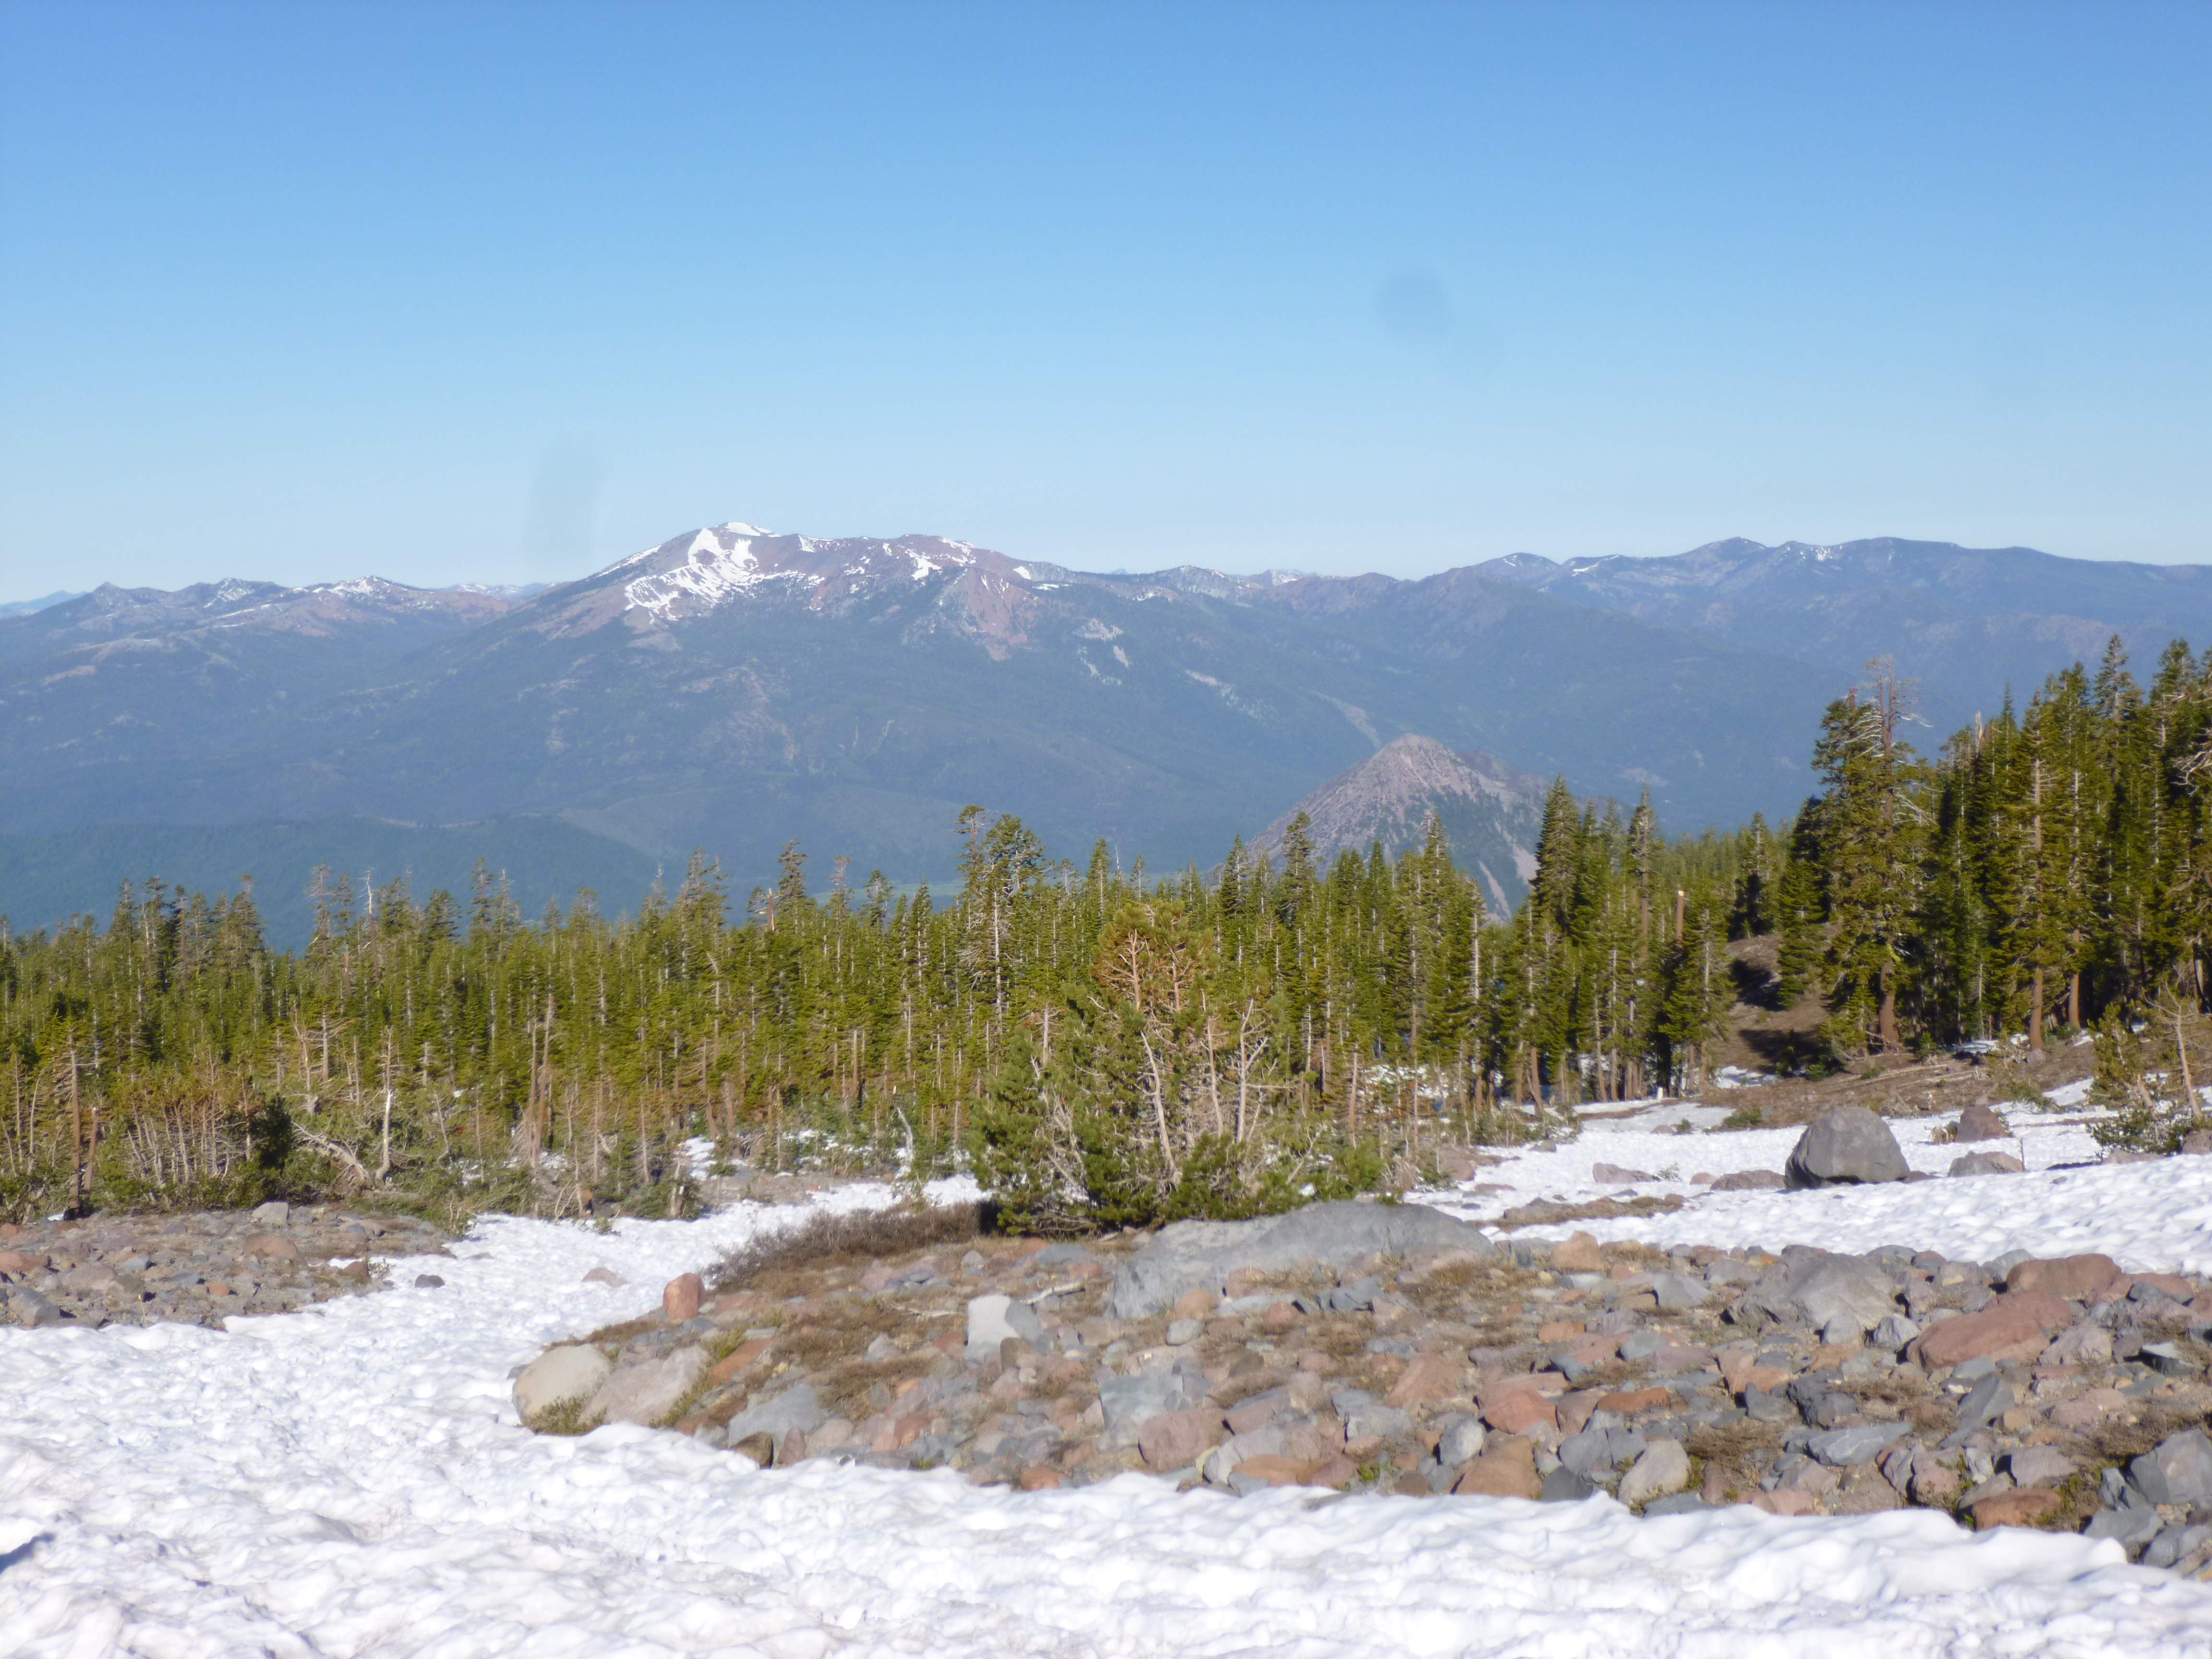
Looking back at Mount Goode.

At camp we celebrated a fantastic hike with a final pair of beers and a big dinner.  We were treated to another wonderful sunset, and turned in for the night.

Day 3: After sleeping in we packed up camp and enjoyed an uneventful hike out to the South Lake trailhead, arriving before lunch time.

...

Second night’s sunset.

The Sierra Nevada is a beautiful wilderness, and it was wonderful to experience it firsthand.  The hiking was scenic and covered some very enjoyable terrain, with plenty of opportunity for engaging scrambling.  The Bishop Pass trail offers fantastic, compelling views of granite mountains the entire way in.  I left with a strong desire to return, and definitely shall!

Accessiblity:

The Bishop Pass trail is accessible year round, although full winter weather mandates the use of snowshoes or skis due to heavy snow coverage.  We brought ice axes and crampons, given our early season hiking, but had no need for them.

California’s permitting process is developed and very user-friendly – permits can be applied for in advance or on the spot, and are picked up at several different ranger stations and visitor centers.  The website for Inyo National Forest camping permits is here: http://www.fs.usda.gov/detail/inyo/passes-permits/recreation/?cid=stelprdb5144746

Mount Shasta – June 2013

.

Mount Shasta from the south.

Standing alone in northern California, 4322m Mount Shasta is the state’s fifth highest mountain and the second highest of the Cascade Range.  As Mount Shasta is isolated, it has considerable prominence over surrounding terrain.  An active volcano, near the summit the smell of sulfur is noticeable, and areas with steam vents have historically been used for warmth and emergency shelter by early climbers.

I climbed Mount Shasta by the standard Avalanche Gulch route, using a high camp at Helen Lake.  Avalanche Gulch, so named for the frequent winter avalanches which occur, covers 2200m of elevation gain over 17.7km.  The below map outlines our route.

A map of our itinerary up Avalanche Gulch.

A map of our itinerary up Avalanche Gulch.

Avalanche Gulch.

Avalanche Gulch.

Day 1: After getting out of the airport and meeting my climbing partners – my friend Don, whom I’d met in Taiwan, and one new friend, his colleague – we took a short trip to the local REI to pick up some last minute food supplies and a few bits of gear.  It was hard to believe we’d be sleeping on snow the next day, as Sacramento was seeing temperatures in the high 30s.  Yet snow was our destination, and I was very keen to attempt Mount Shasta after discussing trip ideas for months, deciding upon Shasta as an attainable goal, and finally having the opportunity to visit California and see the state’s famous mountains.

From REI we had a long drive ahead of us.  ~275km north from Sacramento along Interstate #5 took us into the aptly named City of Shasta Lake, near the base of the mountain and our trailhead at Bunny Flats.  In Shasta Lake we visited a local outdoor equipment shop called The Fifth Season in order to check up on the weather and recent snow conditions, then grabbed some food and continued our drive up to the trailhead parking lot.

.

The Bunny Flats trailhead.

At Bunny Flats, 2120m, we discovered the parking lot filled nearly to capacity.  As we were arriving on a Saturday evening, a large number of climbers were already on the mountain.  Our initial plan had been to spend the night camped in the parking lot, as a night here would serve as an excellent acclimatization interval for the next day. However, by the time we arrived we still had several hours of daylight remaining, and decided it would be much more comfortable to head a few kilometers up the trail and camp somewhere quiet.  The trail begins ambling up through lovely forest over a wide, well-maintained path.

.

The beginning of the trail from Bunny Flats.

About an hour in, at a relaxed pace, we decided to start looking for a suitable campsite. A nearby sign indicated we were 0.7 miles / 1.1 km from Horse Camp, commonly used as a starting camp and first overnight.

.

The forest here was beautiful, tall evergreens ringed with moss.

.

Rings of bright moss covered the trees.

We decided to use a flat, open clearing about 100m off the path.

.

Our first night’s campsite.

Day 2: Awake early, we packed up camp, cooked breakfast, and continued upwards.  Through the trees we began to catch views of Shasta and the route we planned to ascend.

.

Shasta from below Horse Camp.  Thumb rock, a landmark of the Avalanche Gulch route, protrudes from the ridge.

Ahead, Horse Camp came into view. Situated 3.2km from the Bunny Flats trailhead at 2420m, Horse Camp serves as a base camp and emergency shelter for climbers approaching Shasta from the south.  Horse Camp provides climbers with several resources including a sturdy ranger hut, an accessible runoff water source, several campsites, and most importantly a well-maintained solar toilet.

.

Horse Camp.

.

The runoff stream close to the Horse Camp cabin.

At Horse Camp we filled up on water and continued towards the base of Avalanche Gulch through increasingly sparse trees.

.

Approaching Avalanche Gulch above Horse Camp.

We had gained a bit of elevation above the treeline and enjoyed a nice view over the forest behind us.

.

Looking back towards Horse Camp.

It was unpleasantly hot here with the sun reflecting off of the snow, and no clouds or cover providing shade.  Helen Lake isn’t visible during this section, which makes each little hill somewhat deceptive – we kept thinking that we’d spot it just over the next ridge, only to find yet another hill awaiting us!

.

Looking up the route.

.

While our route of ascent could be seen, Helen Lake was still not visible.

.

Looking down.

Still well below Helen Lake, we began to pass the first campsites.  Many skiers and snowboarders climb Shasta, and prefer to camp low for an easier descent.

.

Low campsites below Helen Lake.

Finally we crested a hill and saw Helen Lake ahead of us.

.

Helen Lake, the highest, wide hill in the middle of the picture.

Helen Lake is frozen over and snow covered most of the year, and provides no water source (aside from snow!).  The area is mostly flat and a nice snow ridge serves as excellent wind protection.  When we arrived there were at least two dozen tents, and a large number of climbers were visible descending the route.  The crowd were headed off of the mountain however, leaving us our choice of camping spots.

.

A crowded high camp at Helen Lake.

Above us the route to the summit was clear, and appeared to be in decent condition.  Others in camp told us that the snow was firm and reliable early in the day, if somewhat boot-tracked due to a lack of recent snowfall.

.

Above Helen Lake.

.

Our route to the top – Red Banks, The Heart, and Thumb Rock.

We pitched one of our tents and lounged with the doors open in the intense heat, waiting until other climbers finished packing up and began to descend.   Once the others had departed we found a good spot for our tents and set up camp, carefully anchoring our tents in case of strong winds overnight.  We were almost alone, with only a few other teams arriving later in the day.

.

Our campsite at Helen Lake.

.

Freeze dried dinner at Helen Lake.

After getting our tents up we  kept busy melting snow for water.   We went to sleep early, planning for an early departure to ensure firm snow conditions.

Day 3: Awake at 2:30 a.m., we made a fast breakfast and began heading up at 3:35 a.m.  There was no wind, and the temperature felt like it was hovering around 0 Celsius.  Shortly after leaving camp my new friend decided to turn around – he was experiencing bad stomach cramps and wisely decided that he shouldn’t continue upwards.

.

Looking down at Helen Lake.

.

The moon was still visible in the morning sky.

Far below, we could make out our tents at Helen Lake.

.

Helen Lake, our two tents to the far left of the row of tents.

We made steady progress upwards, and were near the bottom of The Heart when the sun began to rise.  We struck up conversation with another climber whose partner had decided to turn around and descend to camp and continued on with him, making us a trio once again.

.

Near the bottom of The Heart.

Mount Shasta cast a huge shadow below us.

.

Mount Shasta’s enormous shadow.

Above us, the Red Banks came into clear view.  This wall of loose, red colored volcanic rock poses a climbing obstacle and is an objective hazard due to high rockfall potential.  Without heavy snow coverage, the route gains the top of the Red Banks by ascending a notch through the rock.  With more snow cover climbers can circumnavigate these rocks by climbing up between Thumb Rock and Red Banks.  Due to recent warm weather this latter option was undesirable for us, due to the melted-out bergshrund which forms at the top of the Konwakiton Glacier on the north side of Thumb Rock.

.

Red Banks above us.

Approaching Red Banks we quickly found the correct notch to ascend.  Viewed from below, we took the third notch from the right.  It offered a direct route through Red Banks via a narrow gully of snow.

.

The notch in Red Banks.

This was the steepest section of the climb.  The rock here is very loose and crumbles away if touched, so we climbed carefully to avoid sending rocks down on those below us.  The day before, several climbers at Helen Lake had been complaining about heavy rockfall during their ascent, a result of the large crowd following the route.

.

Looking down from the Red Banks.

.

The narrow gully of snow leading through Red Banks.

Once past the Red Banks, a gently angled slope continues upwards through more exposed volcanic rock.

.

Above Red Banks.

.

Above Red Banks.

Ahead, Misery Hill posed the last terrain feature to be passed before the summit block.  Misery Hill is a gentle slope and easy hike, but is so named because many climbers find themselves somewhat exhausted upon reaching it.

.

Misery Hill.

Rather than follow the usage track directly over Misery Hill, we opted instead to go around the side.  Here we discovered some lovely suncupped snow.

.

Suncupped snow on Misery Hill.

We had a good view of Thumb Rock and the Konwakiton Glacier.

.

View from Misery Hill.  Thumb Rock is below, to my left in the photo.  The Konwakiton Glacier is directly below Thumb Rock.

Once past Misery Hill the summit block came into view, with only gently sloped hills between us.

.

Shasta’s summit, center of the picture.

The standard route circles around the summit block and ascends via a moderate slope from the west.  Approaching the base of the summit we discovered a more direct route through a gully of ice and snow.

.

Looking towards the summit, the gully we took to the top in the middle of the picture.

A short but very fun climb through the gully deposited us on top of the summit block, with the true summit just a few meters away.

Heading up the gully, our final push to the top.

Heading up the gully, our final push to the top.

The time was 8:30 a.m., the ascent taking us just shy of five hours.  We appeared to be the first ones up the mountain for the day, and had the summit area all to ourselves.  We all felt strong and very happy; it was incredibly rewarding to successfully reach the top.

.

Shasta’s true summit, an exposed pillar of rock protruding from the summit block.

.

Another team approaching the summit, middle of the picture.

.

On the summit of Mount Shasta.

We enjoyed a clear view underneath a cloudless blue sky.  We spent a good ~45 minutes on the summit eating snacks, drinking water, taking photographs, and absorbing the views.  With nothing much around Shasta approaching its elevation, we could see far over northern California.

.

View south.

.

Taking a break on the summit, view north.

More climbers began to arrive, and after signing the climbing register we decided to begin heading down.

.

Looking back at the summit.

As we descended, an extraordinary thing happened.  Somewhere around the top of Misery Hill, I managed to lose my camera.  We were in good spirits and busy talking, and as I did not feel the need to take any pictures I didn’t notice that it was gone until we reached the top of Red Banks.  It was still quite early in the day, and we had plenty of time to descend before the snow became uncomfortably soft, so I dropped my pack, grabbed some water and my ice ax, and headed back up to look for it.  I retraced our steps up to where I last remembered using it, but to no avail – it was nowhere to be found.  With my hopes of getting it back quickly sinking, I told every climber I encountered that I’d lost it, described the camera and gave them the location of my tent.

My exhilaration and joy with the beautiful, thus far successful climb was overcast – we had a hike planned to begin in two days, and I was due to head to Washington state for an attempt of Mount Rainier the next week.  Buying a new camera on short notice would be inconvenient and expensive – and worse, I’d lose all of my photographs.

Back at Helen Lake, things turned around quickly.  Someone came by my tent, and asked if anyone had lost a camera.  While this person’s team was descending the summit, behind my group, another group ascending had found a camera in the snow, and asked them if it was theirs.  I realized that when I had retraced back up to the top of Misery Hill, the party who found the camera would have been near or on the summit.  Sure enough, an hour and a half later this group returned to Helen Lake, and told me that the other climbers whom I had spoken with when retracing the route had already told them all about the guy who lost his camera.  I was blown away, both by the friendly, helpful disposition of Californians, and the pragmatic communication of the other climbers, strangers who went out of their way to spread the word and help me out.

In a great mood once more, we packed up our camp and headed down.  The section from Helen Lake to the treeline was a slog through deep, slushy snow heated up by the mid-day sun.  As during the ascent of this section, the descent was remarkably hot.

.

Returning to the treeline above Horse Camp.

Finally we entered the forest, the shade providing relief from the glaring sun.  At Horse Camp we stopped to use the washroom, hydrate, and take a 20 minute nap before continuing onward.

.

Descending onto dirt trail below the snow line.

Below the snowline the forest was lovely in the sun.

.

The forest above Bunny Flats.

.

The forest above Bunny Flats.

At Bunny Flats we changed into clean clothing, packed our gear into the car, and took off for the City of Lake Shasta.  

Looking back at Mount Shasta from the Bunny Flats trailhead.

Looking back at Mount Shasta from the Bunny Flats trailhead.

In Lake Shasta we stopped for an enormous meal of American diner food (huge portions, and very rich!) to celebrate our climb.

.

Shasta steak sauce complemented an enormous meal at a diner in the city of Shasta Lake.

Climbing Mount Shasta was an excellent experience, and particularly rewarding.  Planning and executing a trip like this is a large part of the enjoyment, and we felt quite accomplished on the summit when everything worked out as we’d intended.  My friend who turned back was not disappointed – he had already climbed to the summit of Shasta twice, and had also made the decision to turn around on Shasta once before.  Shasta is a beautiful mountain, and one I would definitely revisit if given the opportunity.  I left the mountain feeling very pleased with the climb.

Accessibility

Mount Shasta is highly accessible, with parking lots at the popular trailheads, although access to the upper mountain is dependent upon seasonal weather.  In the winter Mount Shasta frequently experiences fast changing, inclement weather, and heavy snowfall can create high avalanche risk.  Despite this, Shasta remains a popular winter climb during weather windows.  Route conditions begin to deteriorate by mid summer, as the snow will often melt out and create higher rockfall hazard around the middle of July through beginning of August.  This varies year to year, and in 2013 the route was reported as being very dry by the beginning of July.  Shasta can experience high winds and stormy weather, making the upper mountain dangerous or inaccessible, at any time of year; monitoring of weather reports and good contingency planning is imperative to climbing safely.

The permitting process for Mount Shasta is easy and well maintained.  Self-issued wilderness permit applications are present at the major trailheads, along with drop-boxes for payment.  If climbing above 10,000 feet / 3050m one needs a summit pass in addition to a wilderness permit.  Fees are reasonable: $20 for a three day summit pass, $30 for a year-long pass.  Permits can also be obtained at the Sacramento REI, and at The Fifth Season outdoor equipment shop in the City of Shasta Lake.  The Fifth Season is also a superb place to visit to check up on recent conditions right before climbing.  Their website is here: http://www.thefifthseason.com/

The Mount Shasta Avalanche Center maintains an excellent resource for climbers with route conditions, weather reports, and avalanche risk assessment.  It can be found here: http://www.shastaavalanche.org/

The Shasta-Trinity National Forest website is another good resource, with information both general and specific regarding the mountain and surrounding area.  It can be found here: http://www.fs.usda.gov/stnf/