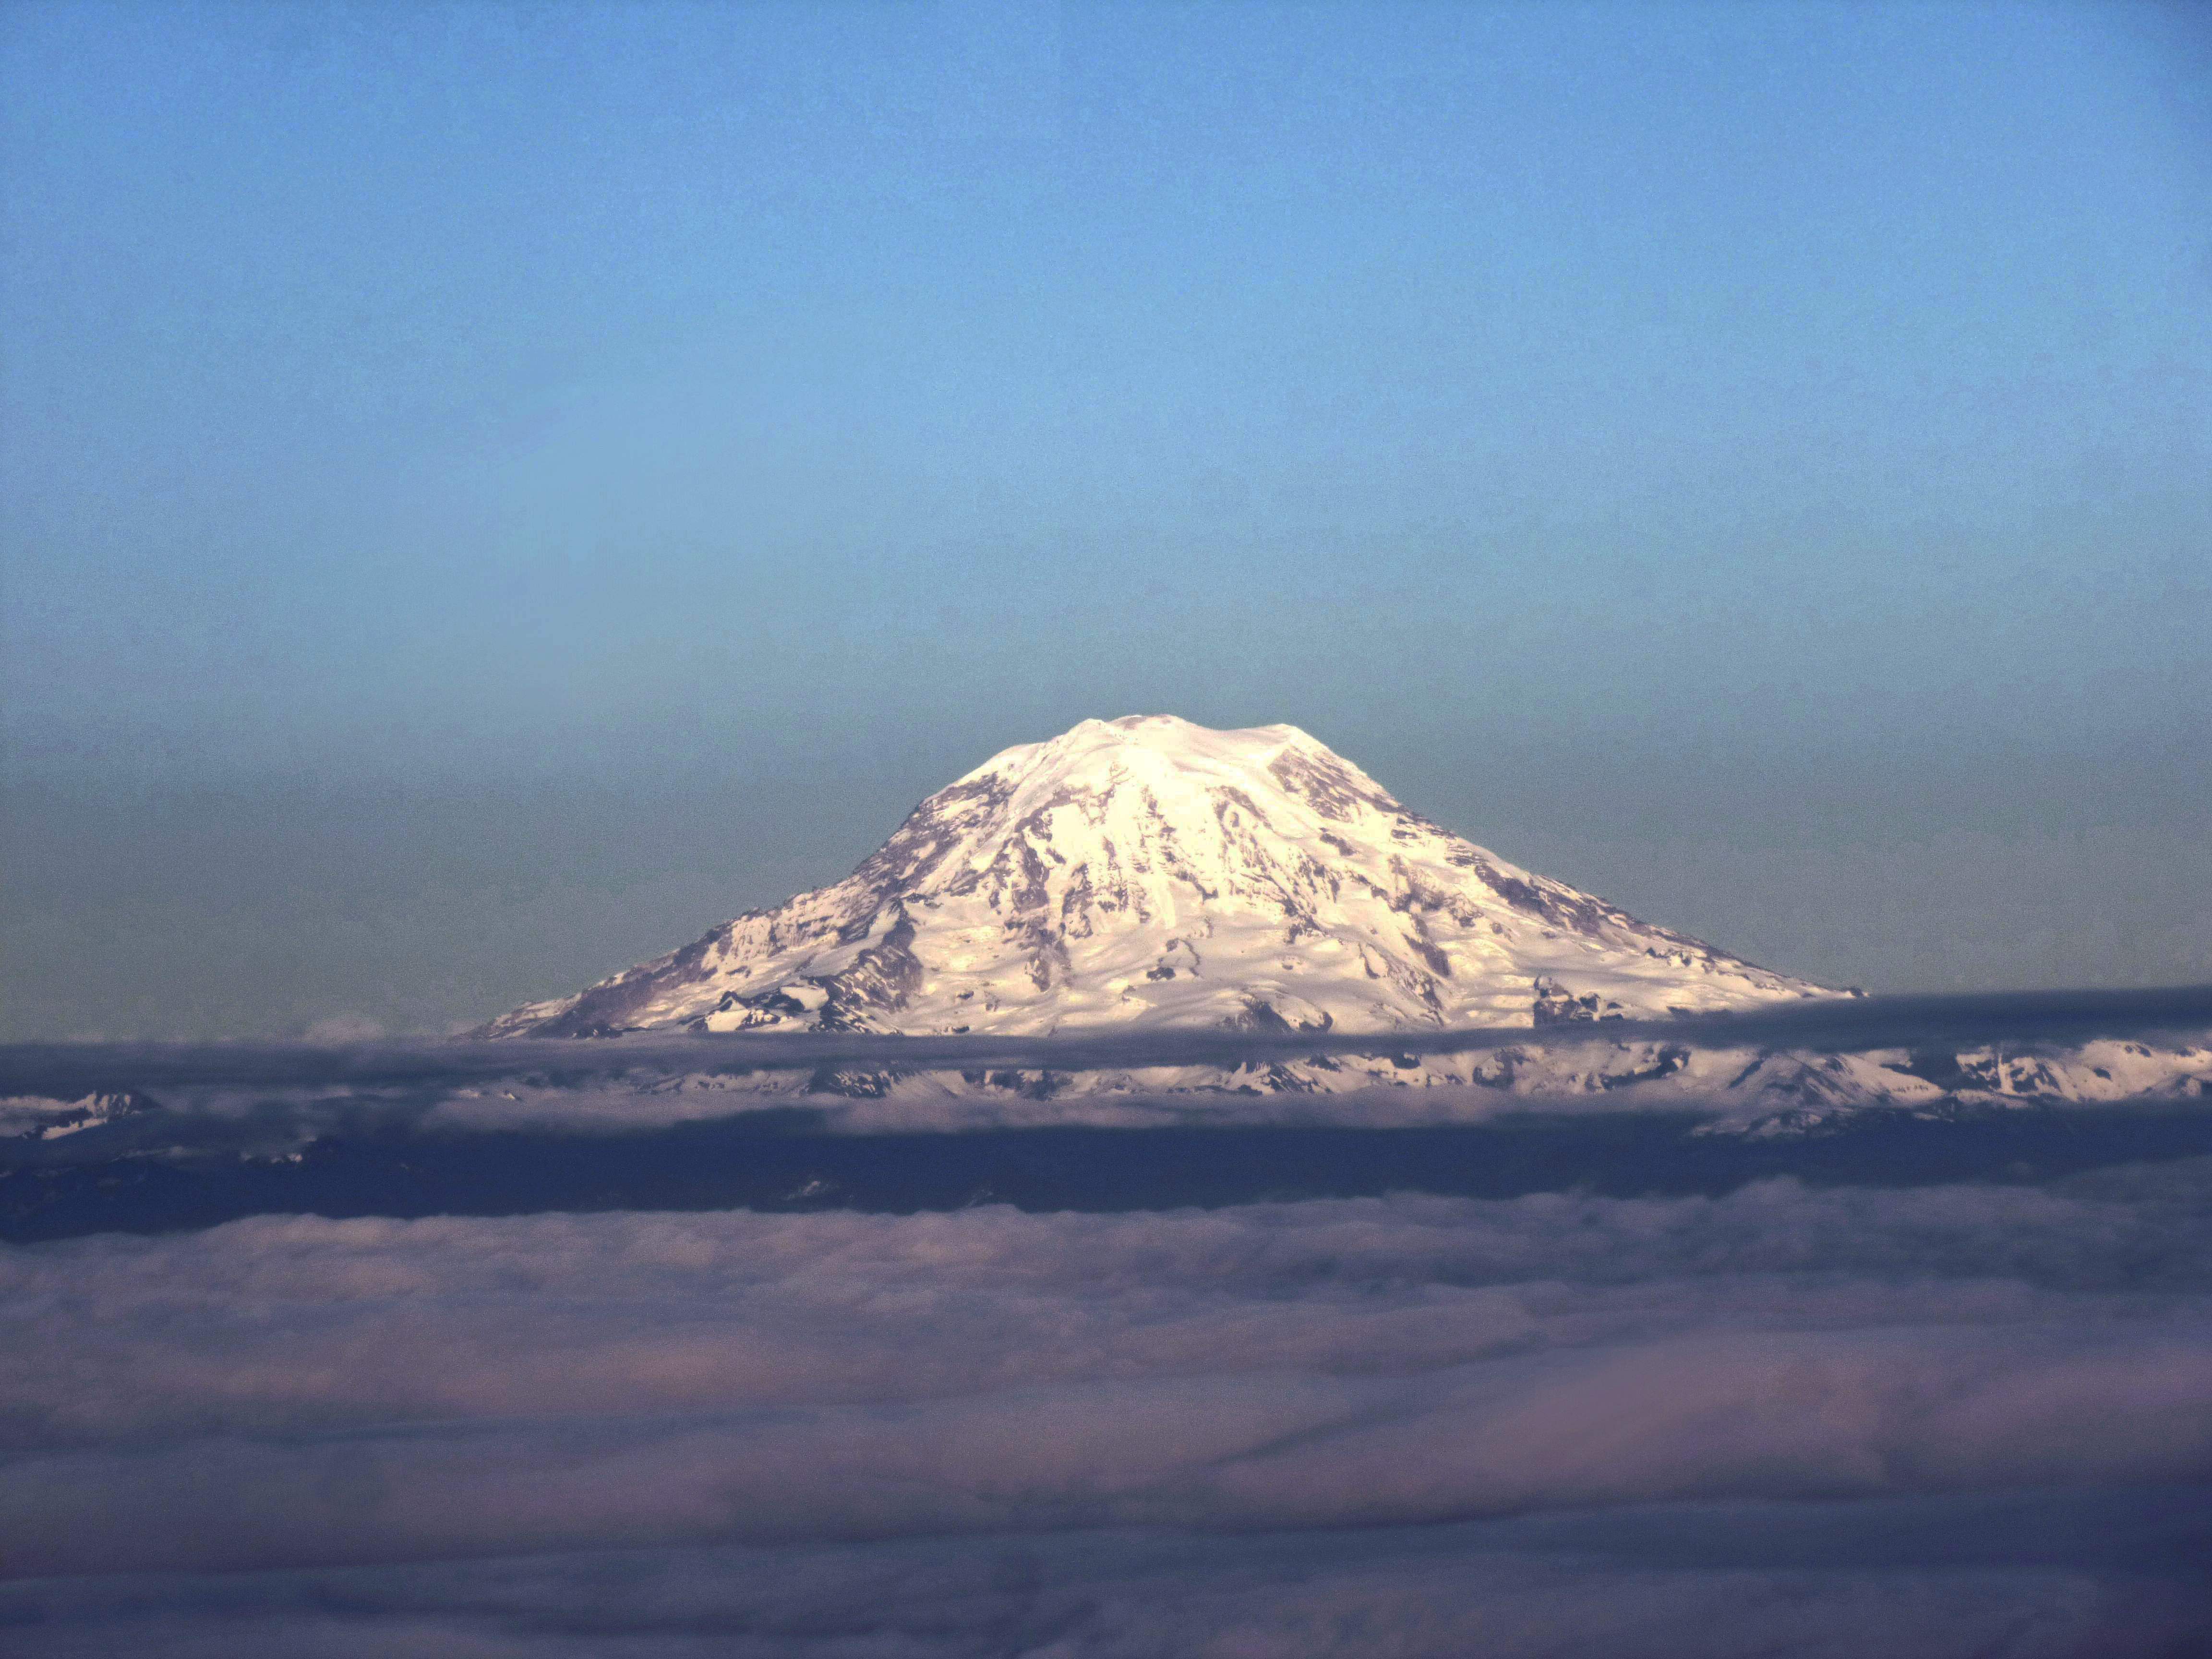
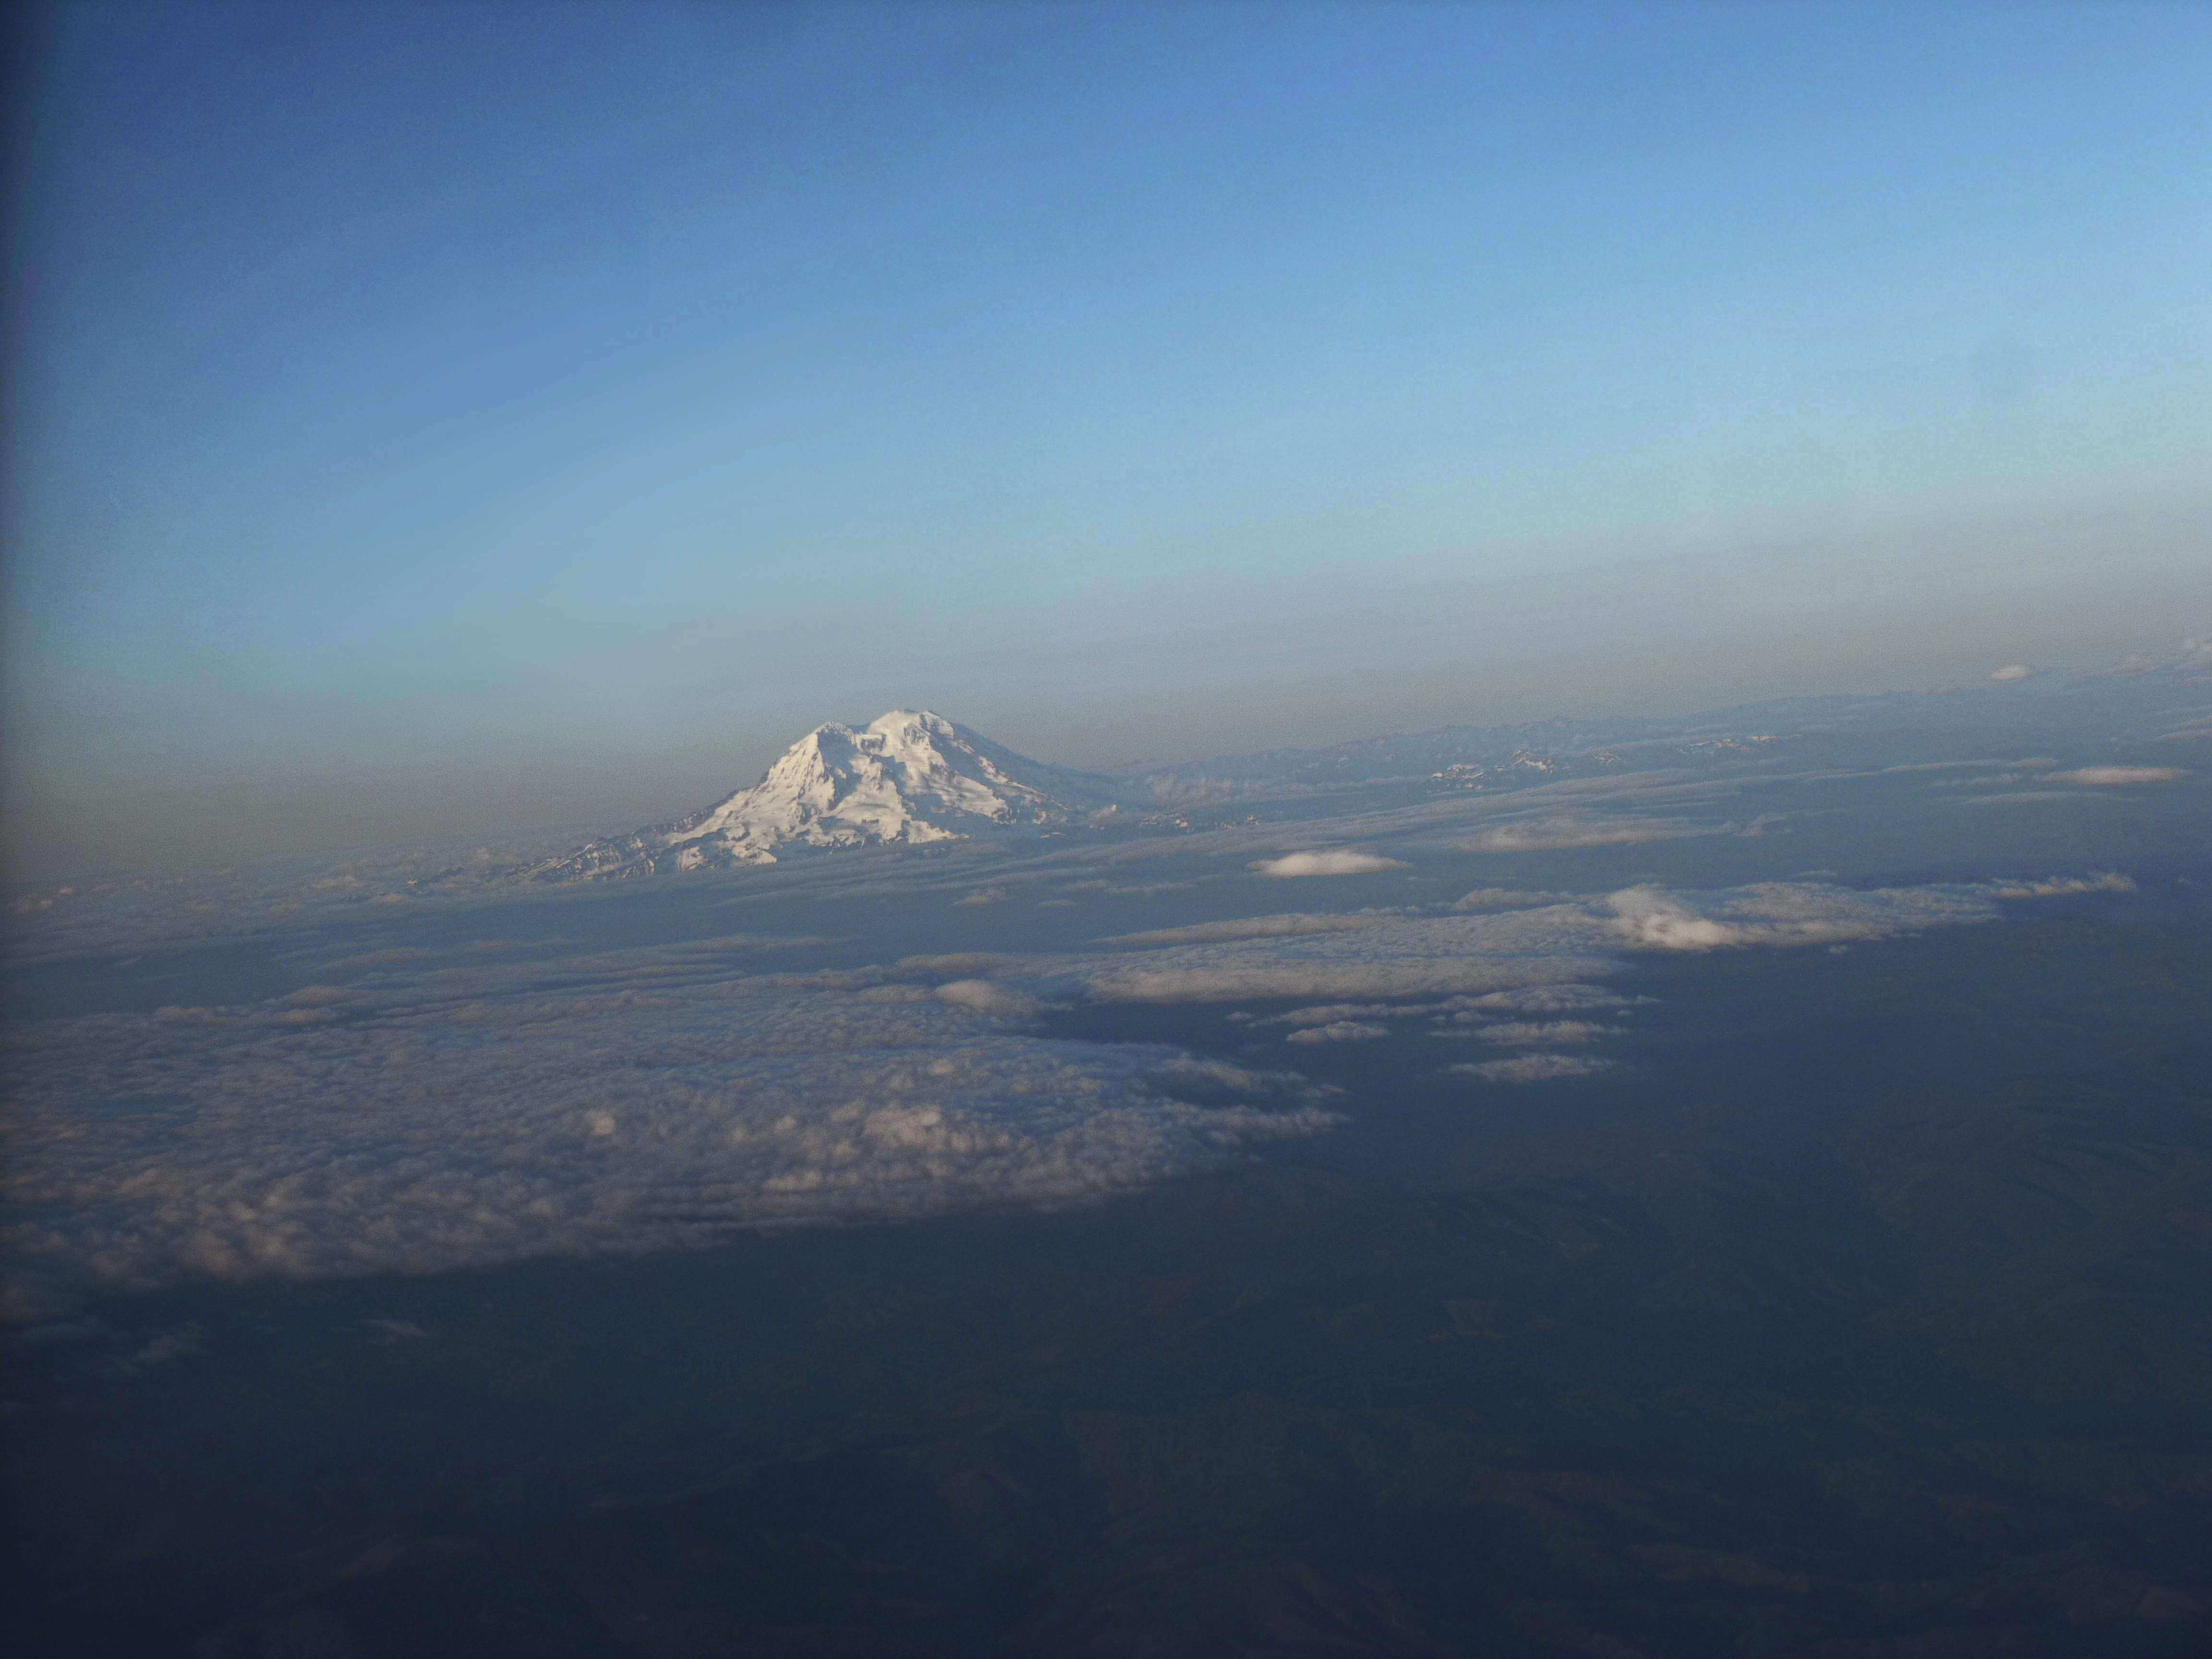
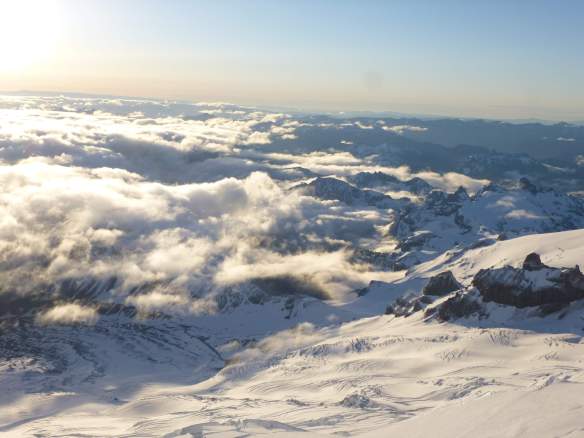
Mount Rainier, seen from the airplane on the way into Seattle.
4392m Mount Rainier, an active stratovolcano, is the most prominent mountain in the lower 48 United States and the highest mountain of the Cascade range. Rainier is heavily glaciated – the most heavily glaciated mountain in the lower 48 states – and also hosts the largest glacier in the lower United States, the Emmons Glacier. Due to Rainier’s prominence and extensive glacial coverage, and because of the pacific-northwest’s tendency for unpredictable, inclement weather, climbing Rainier is as much an endurance climb as it is dependent upon weather and conditions.
Mount Rainier, seen from the airplane on the way into Seattle.
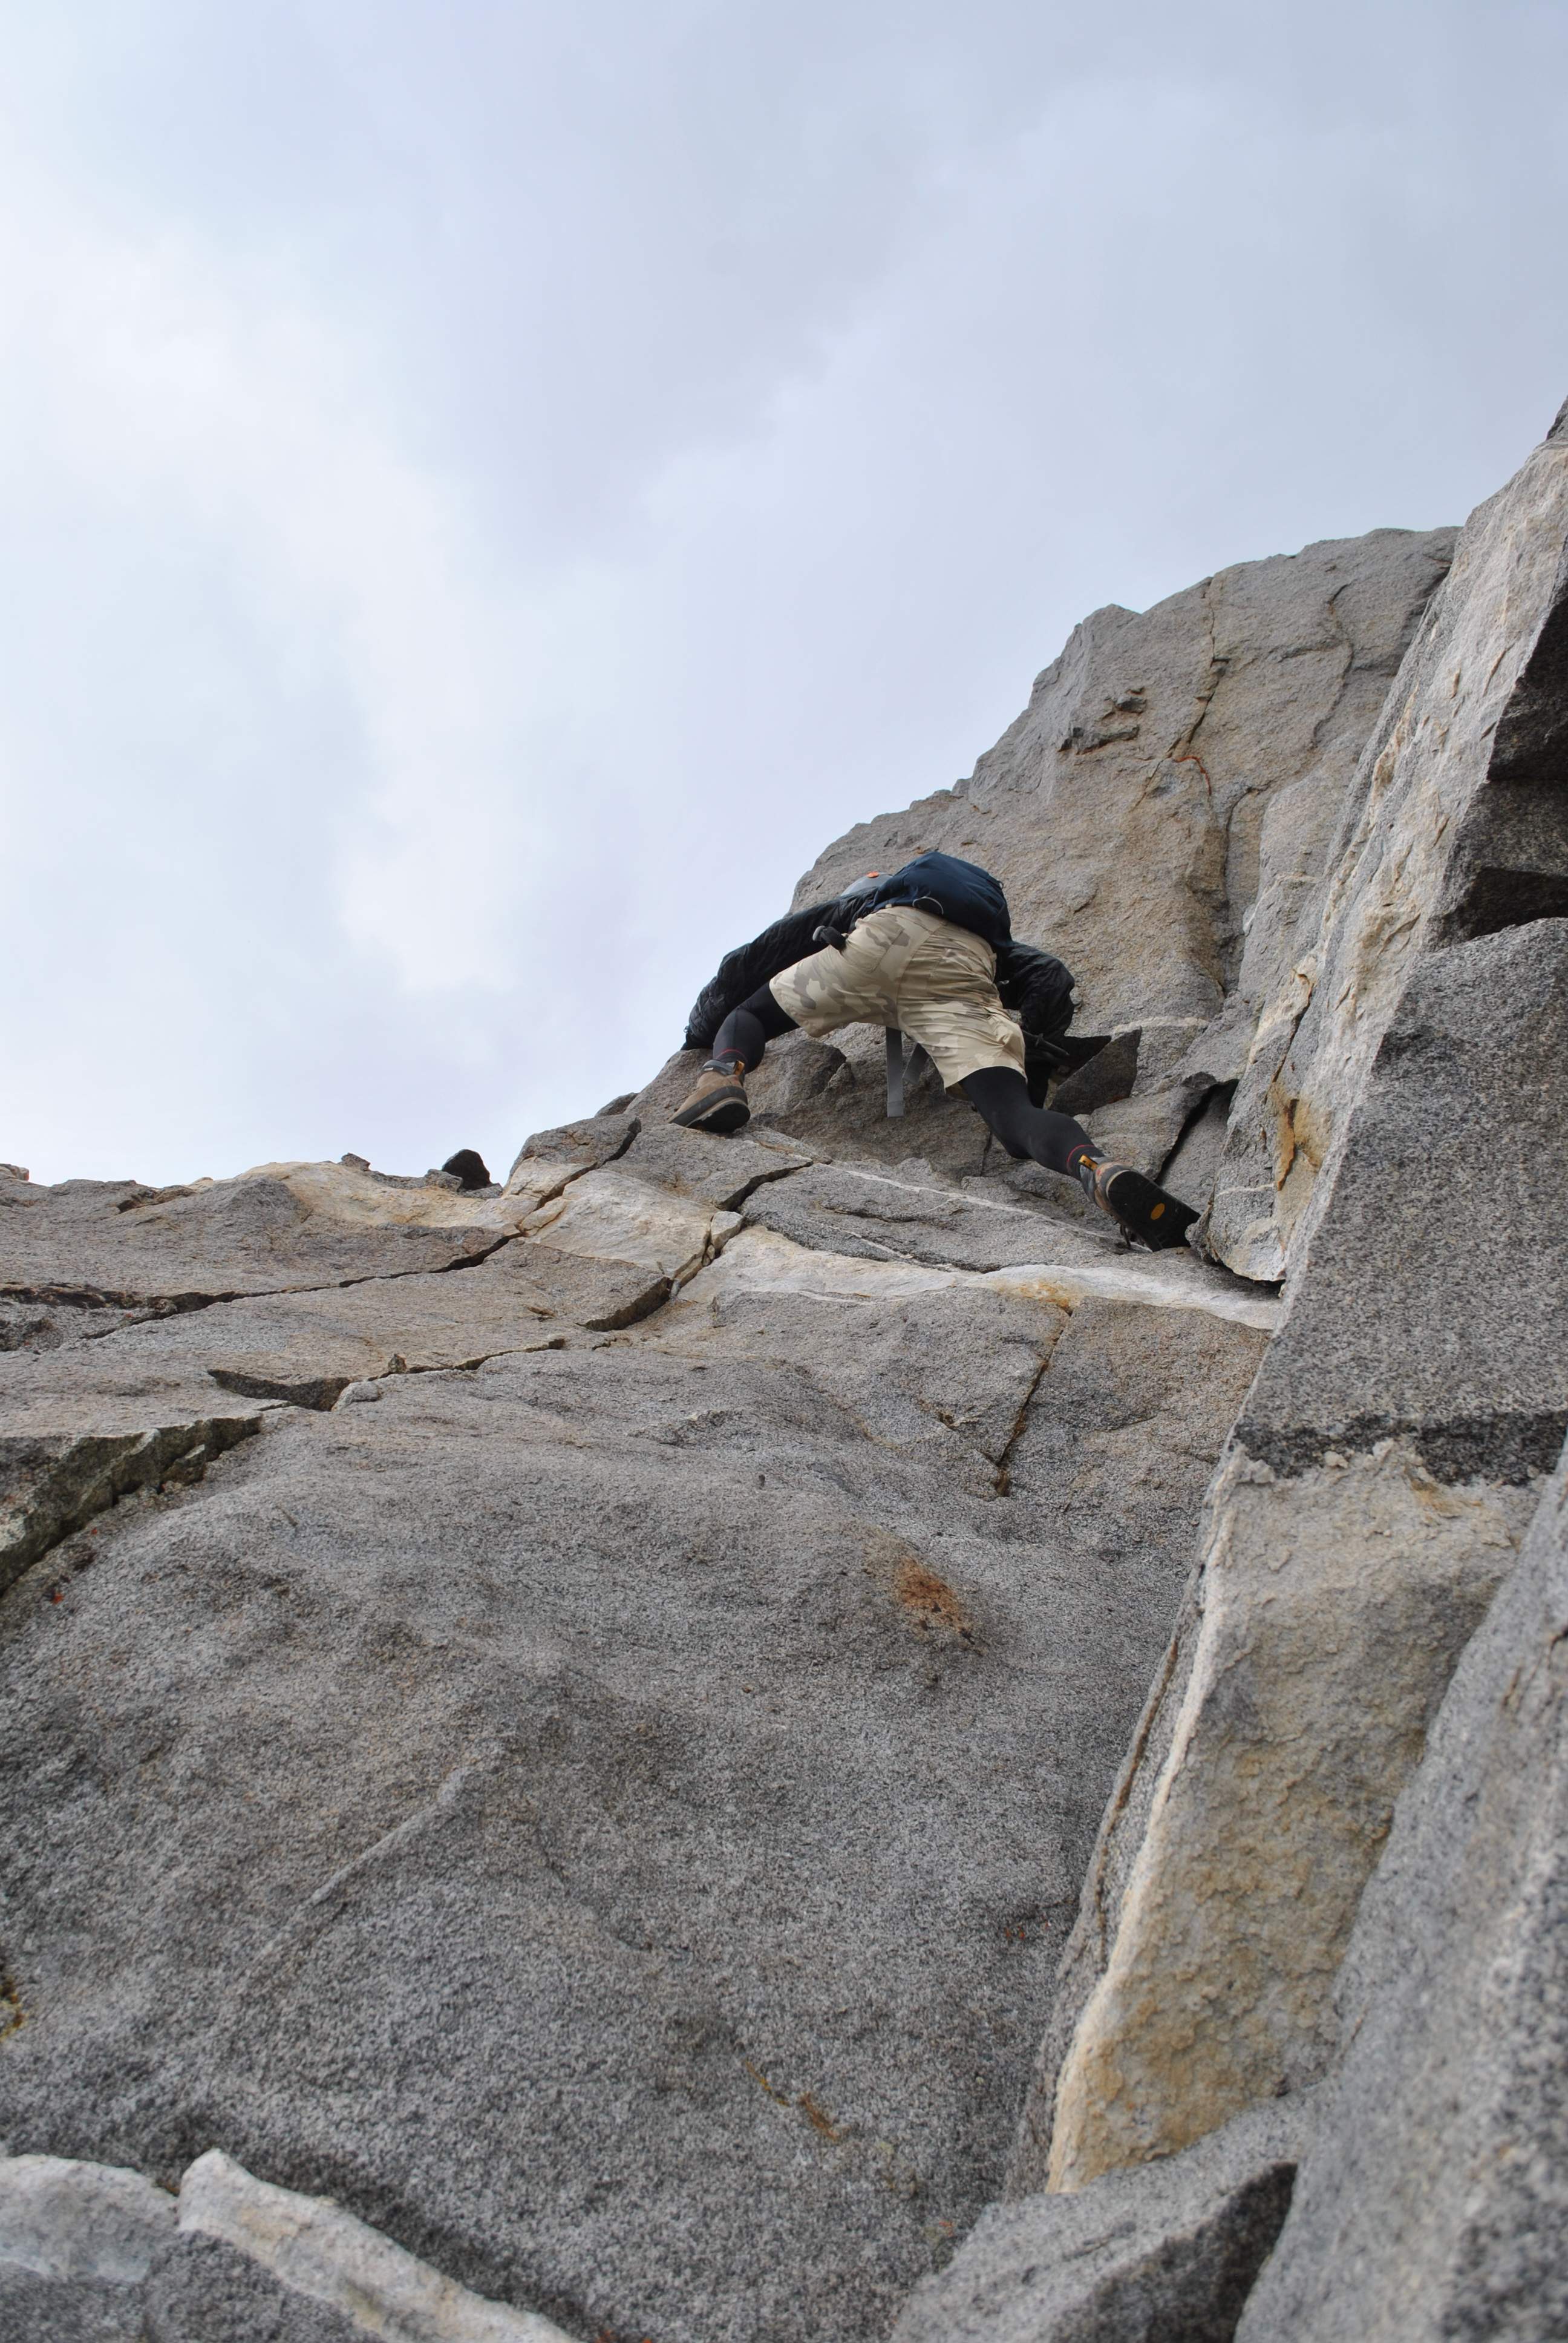
There are numerous routes up Rainier, some highly technical. I decided to climb Rainier via the relatively straightforward Emmons-Winthrop route. With a maximum pitch of ~40 degrees, and low objective hazard besides crevasse presence and the potential for avalanche following heavy snowfall, the Emmons presents one of the more accessible routes up Rainier.
For my climb I joined a team guided by IMG, and climbed between June 10th-13th. The IMG guides set the route and itinerary, provided transportation to and from the mountain, handled food, managed ropes and protection, and led each rope team. As a result, the trip was very structured; carrying personal/group gear and managing personal equipment were the only things left entirely to me.

Rainier Beer on tap in Ashford.
The Mount Rainier National Park maintains detailed climbing statistics, with route usage rates and success (climbers reaching the summit) percentages. A look at these numbers reveals that climbers on Rainier have had roughly a ~50% success rate since the mid 1970s. In 2012 the National Park reports that 70.32% of climbers ascended the Disappointment Cleaver route, 14.12% the Emmons-Winthrop, 3.73% the Kautz Glacier, and 3.17% the Ingraham Direct, the remainder following other routes. The year 2012 saw unguided climbing make up ~55% of activity on Rainier, while guided climbing contributed ~45%, the ‘guided’ numbers including both guides and clients.
The Mount Rainier National Park reports and statistics page can be found here: http://www.nps.gov/mora/planyourvisit/annual-mountaineering-reports.htm

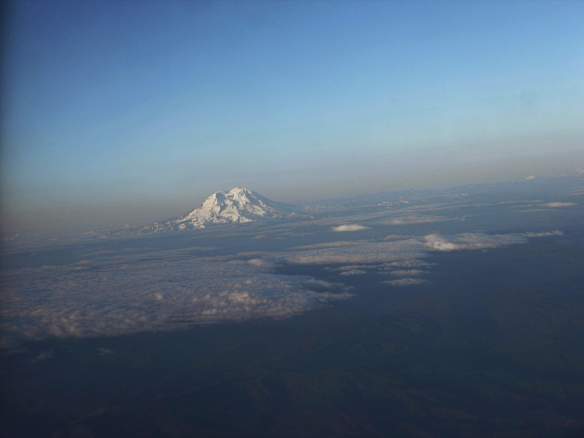
Rainier on the horizon, past the Sea-Tac Airport in Seattle.
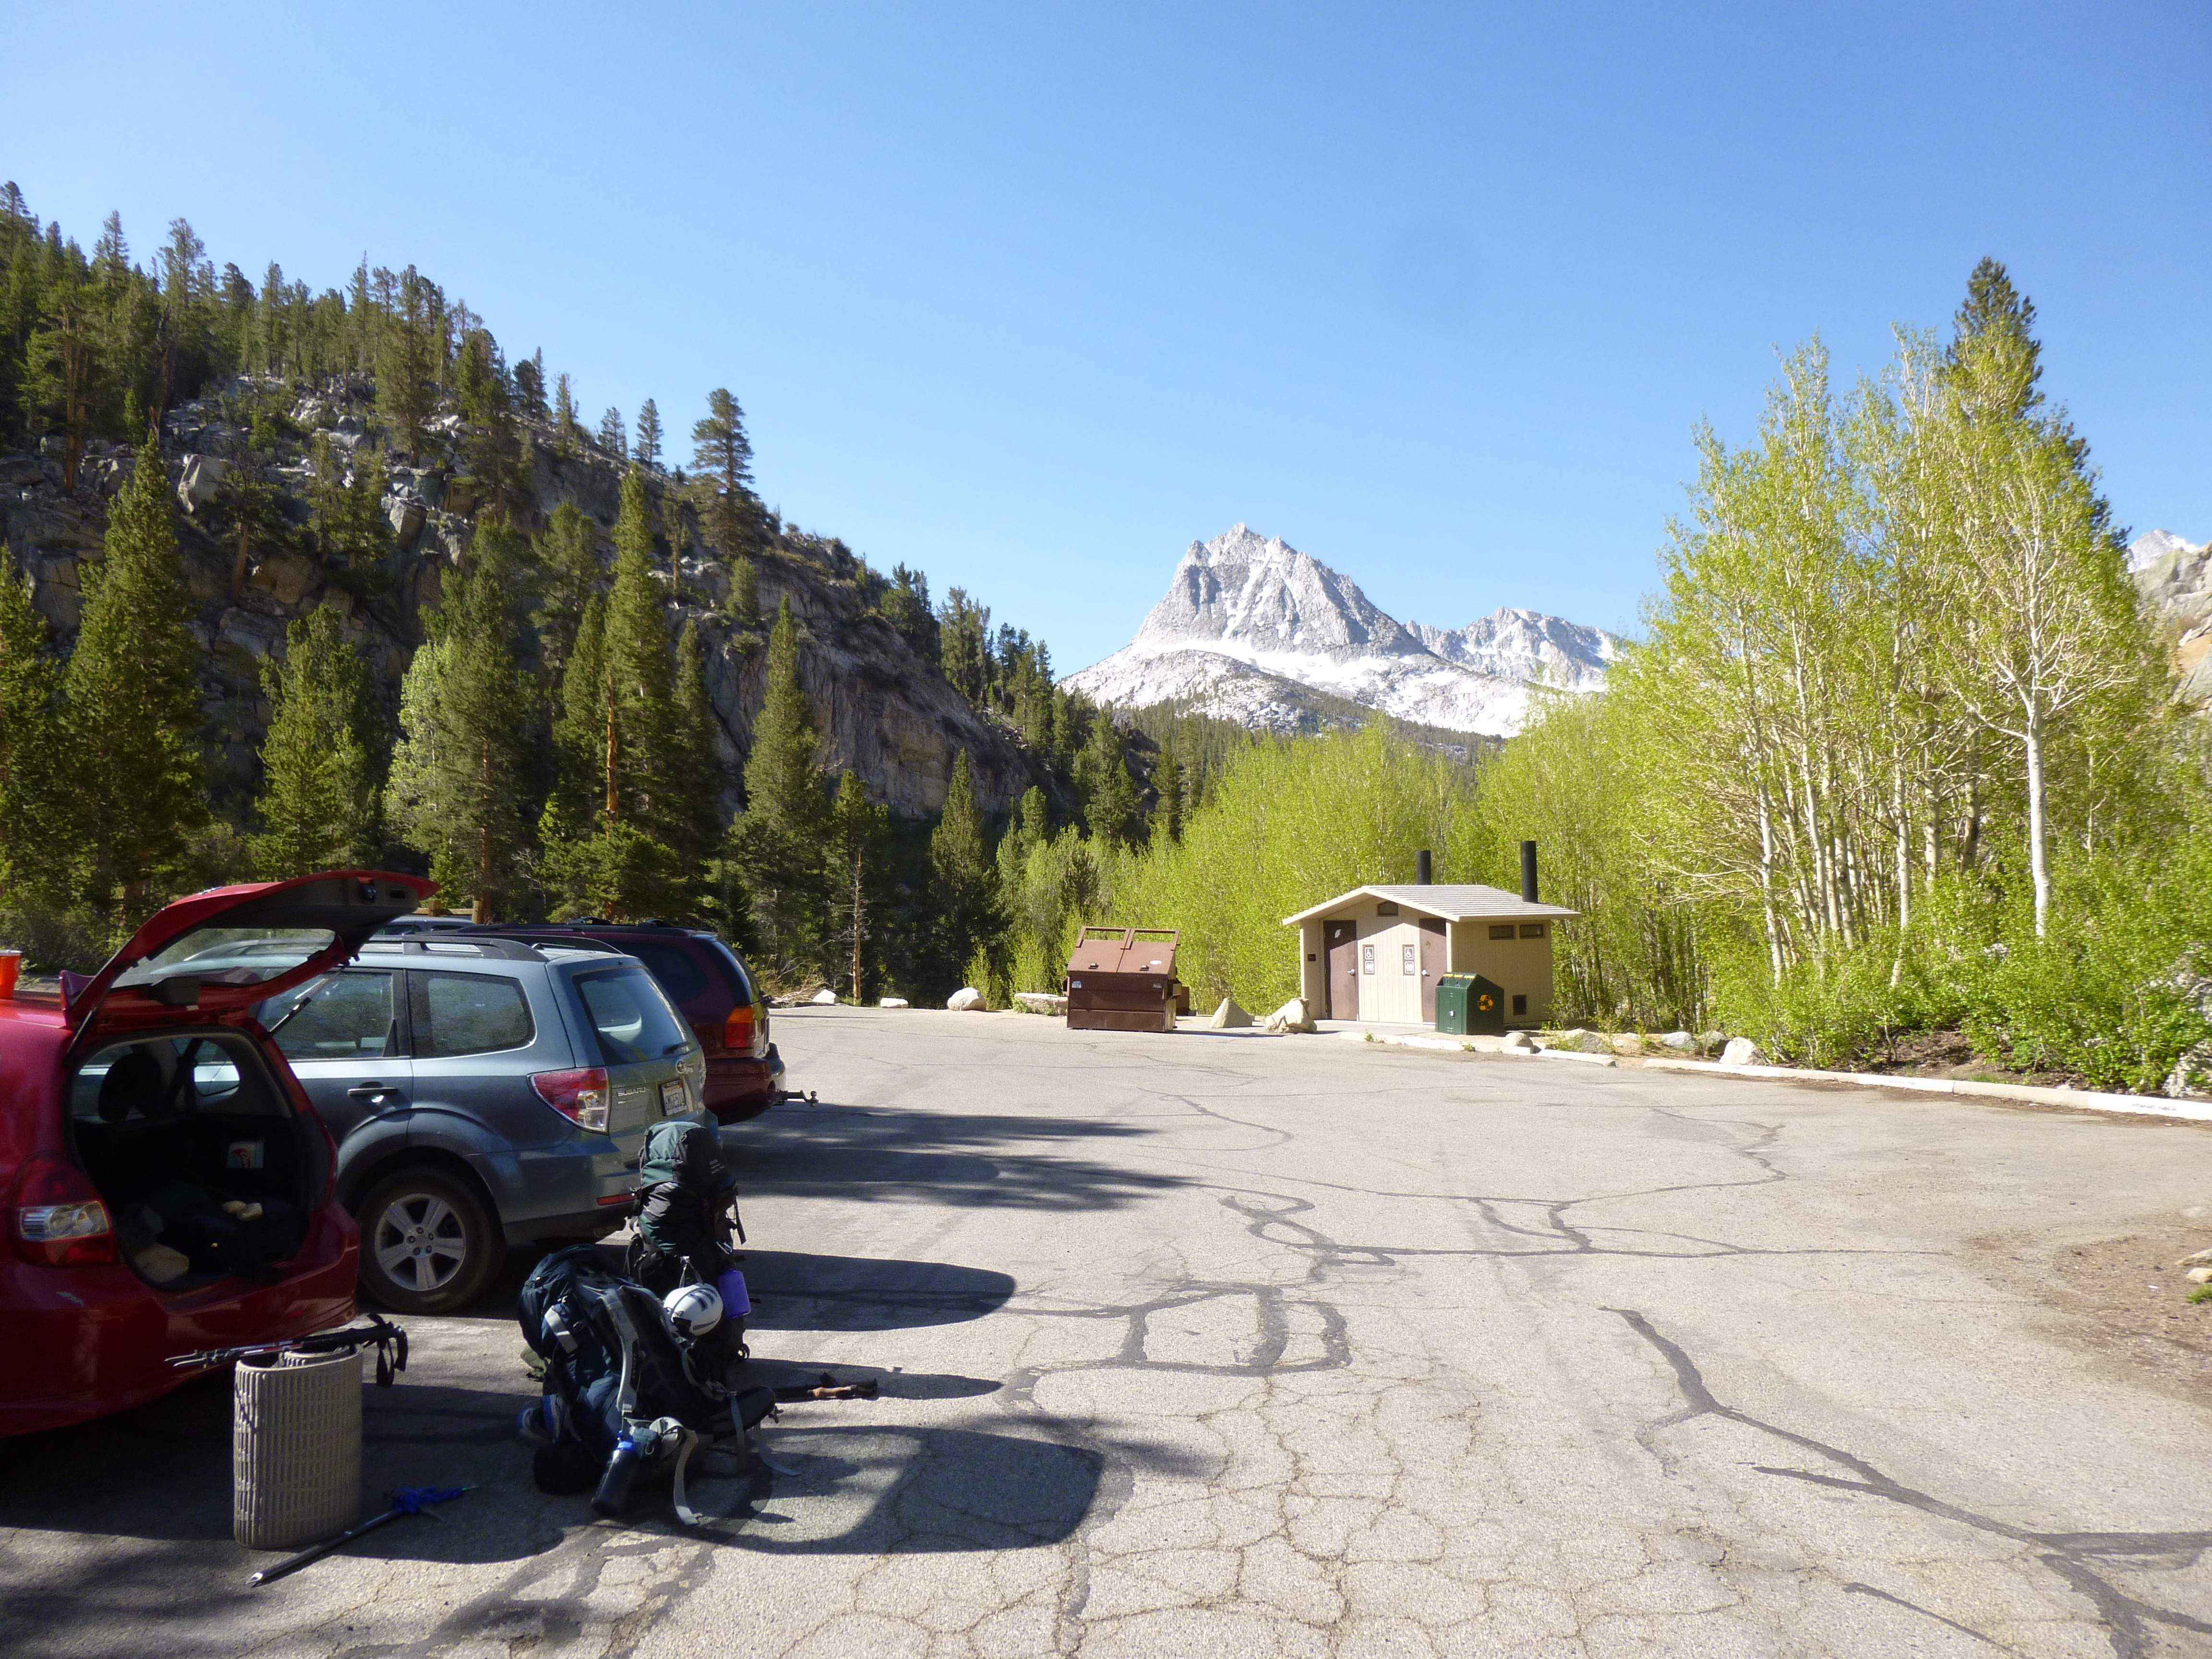
Day 0: Our team met near Mount Rainier National Park in the town of Ashford, got organized, and drove into the Crystal Mountain ski resort to overnight before the climb. This put us conveniently close to the White River trailhead we would use the next day, and gave teammates time to begin getting to know each other.
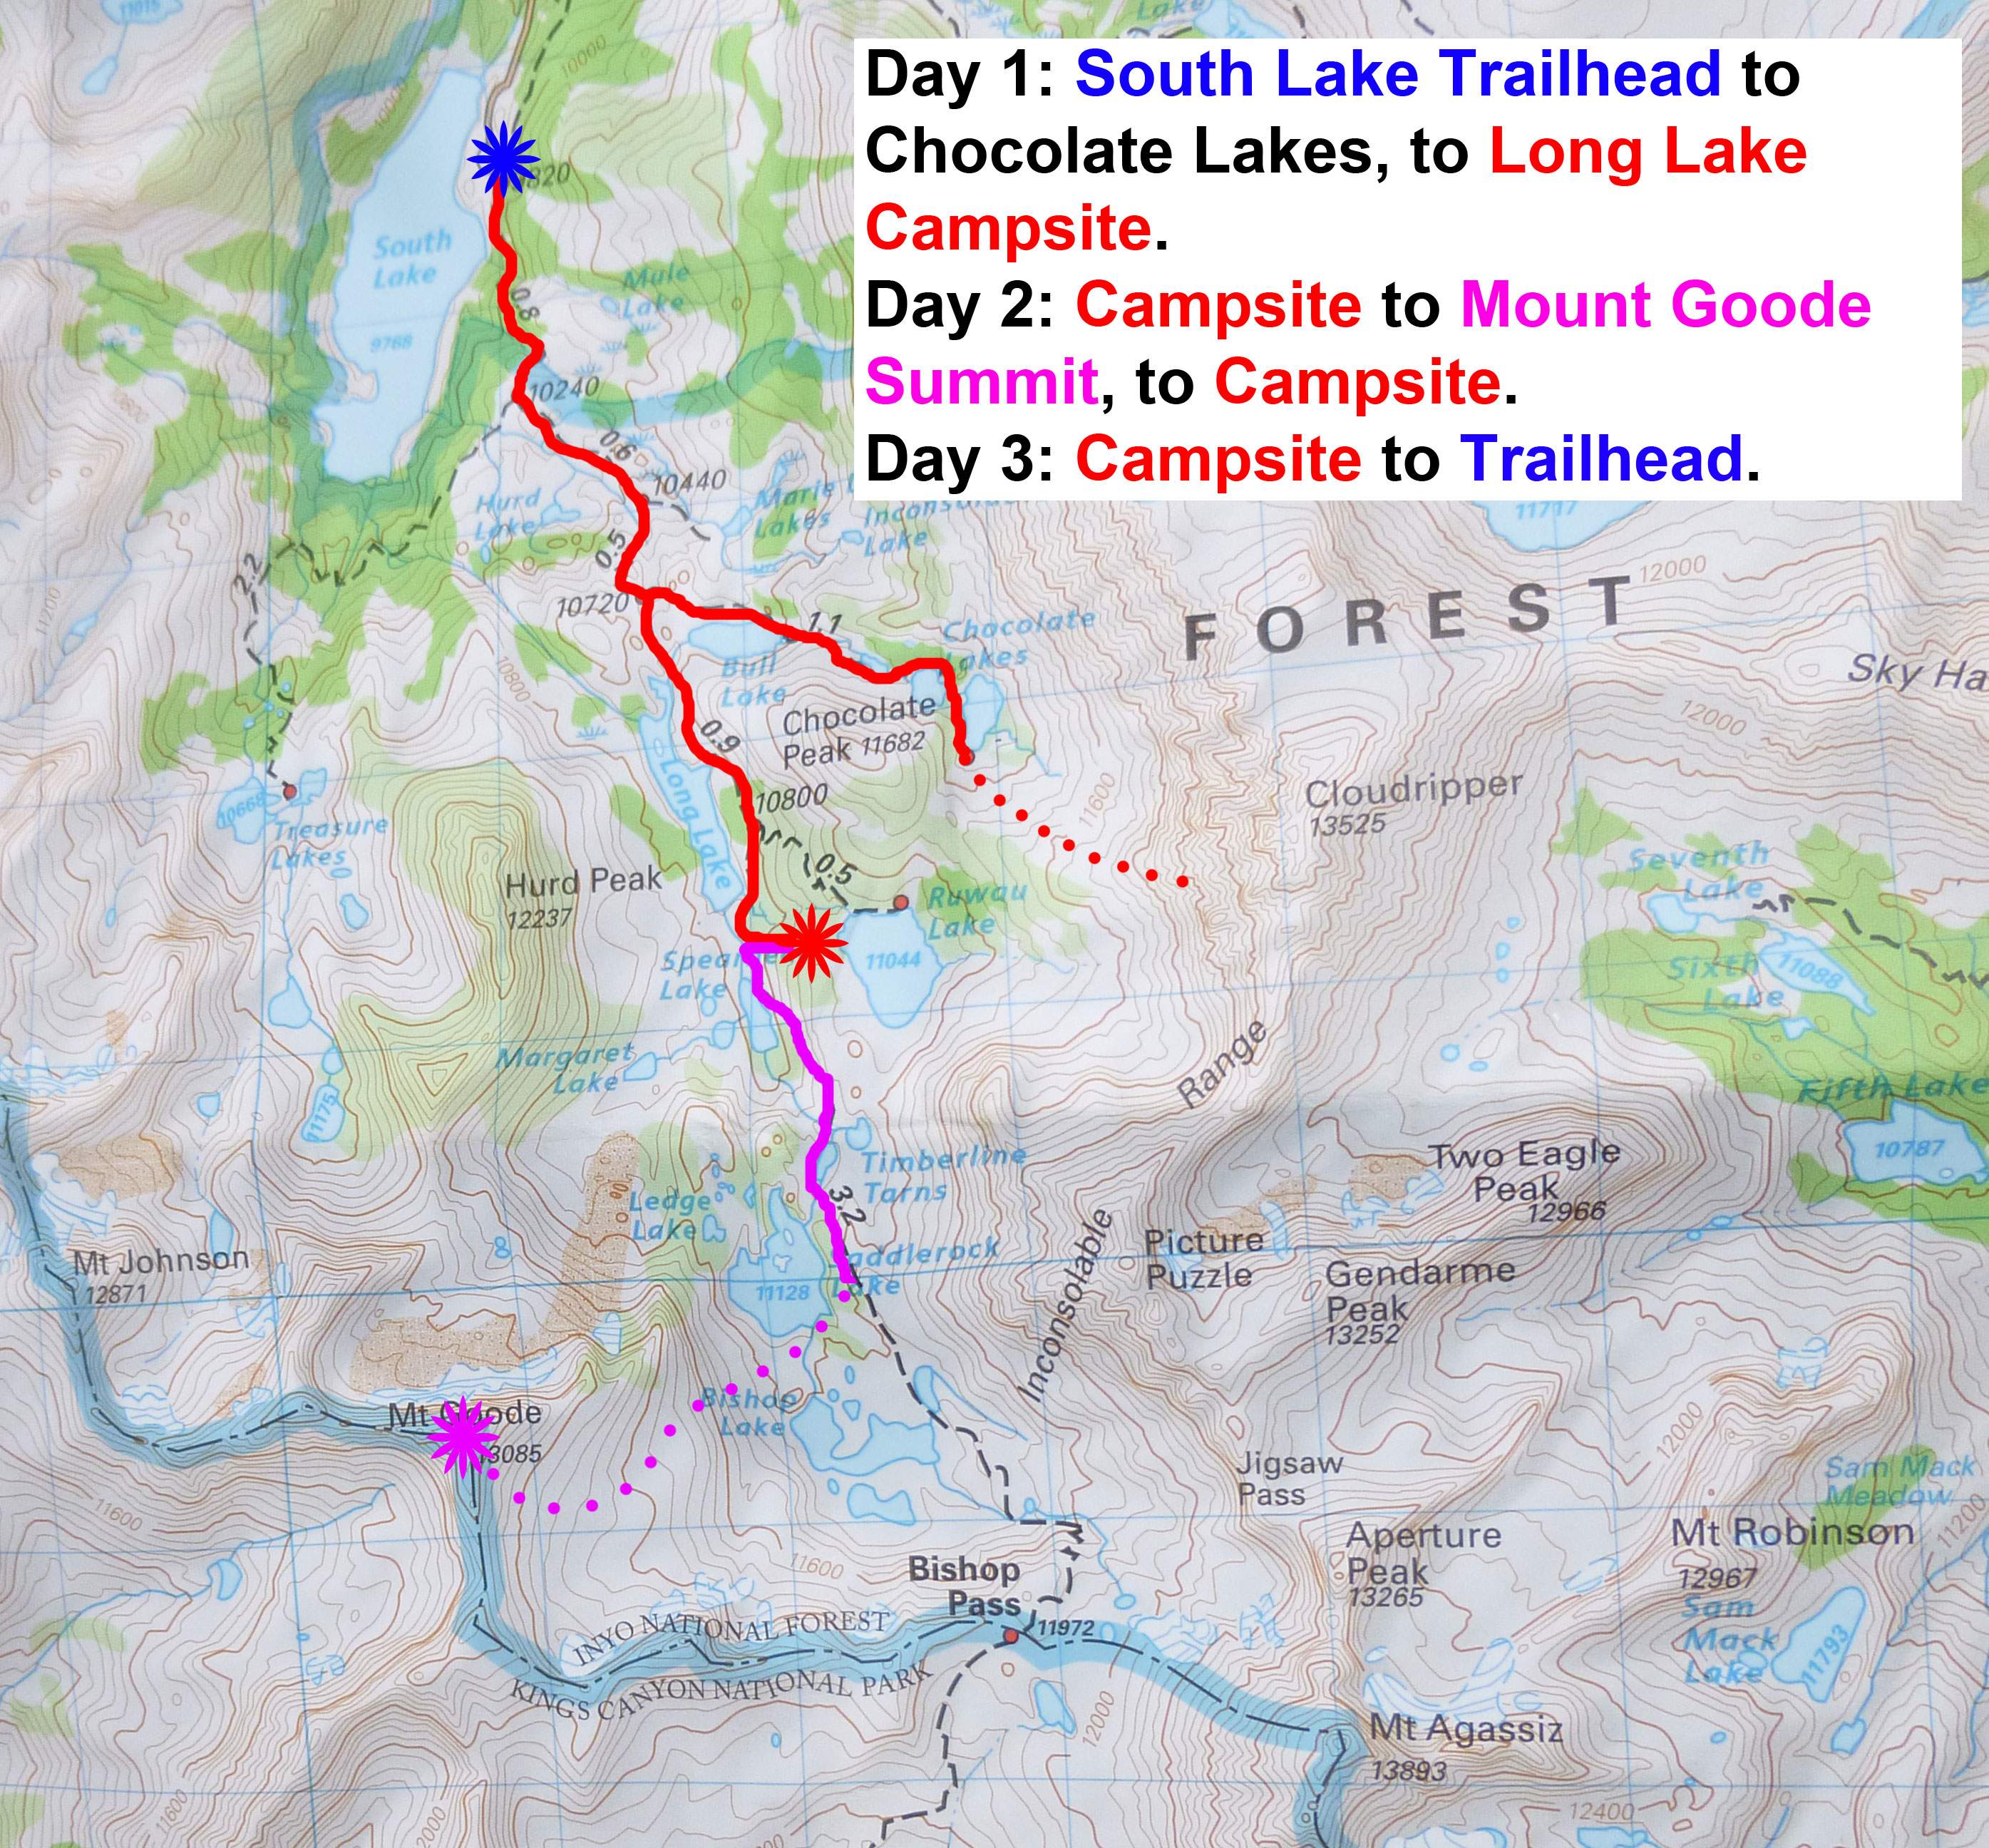
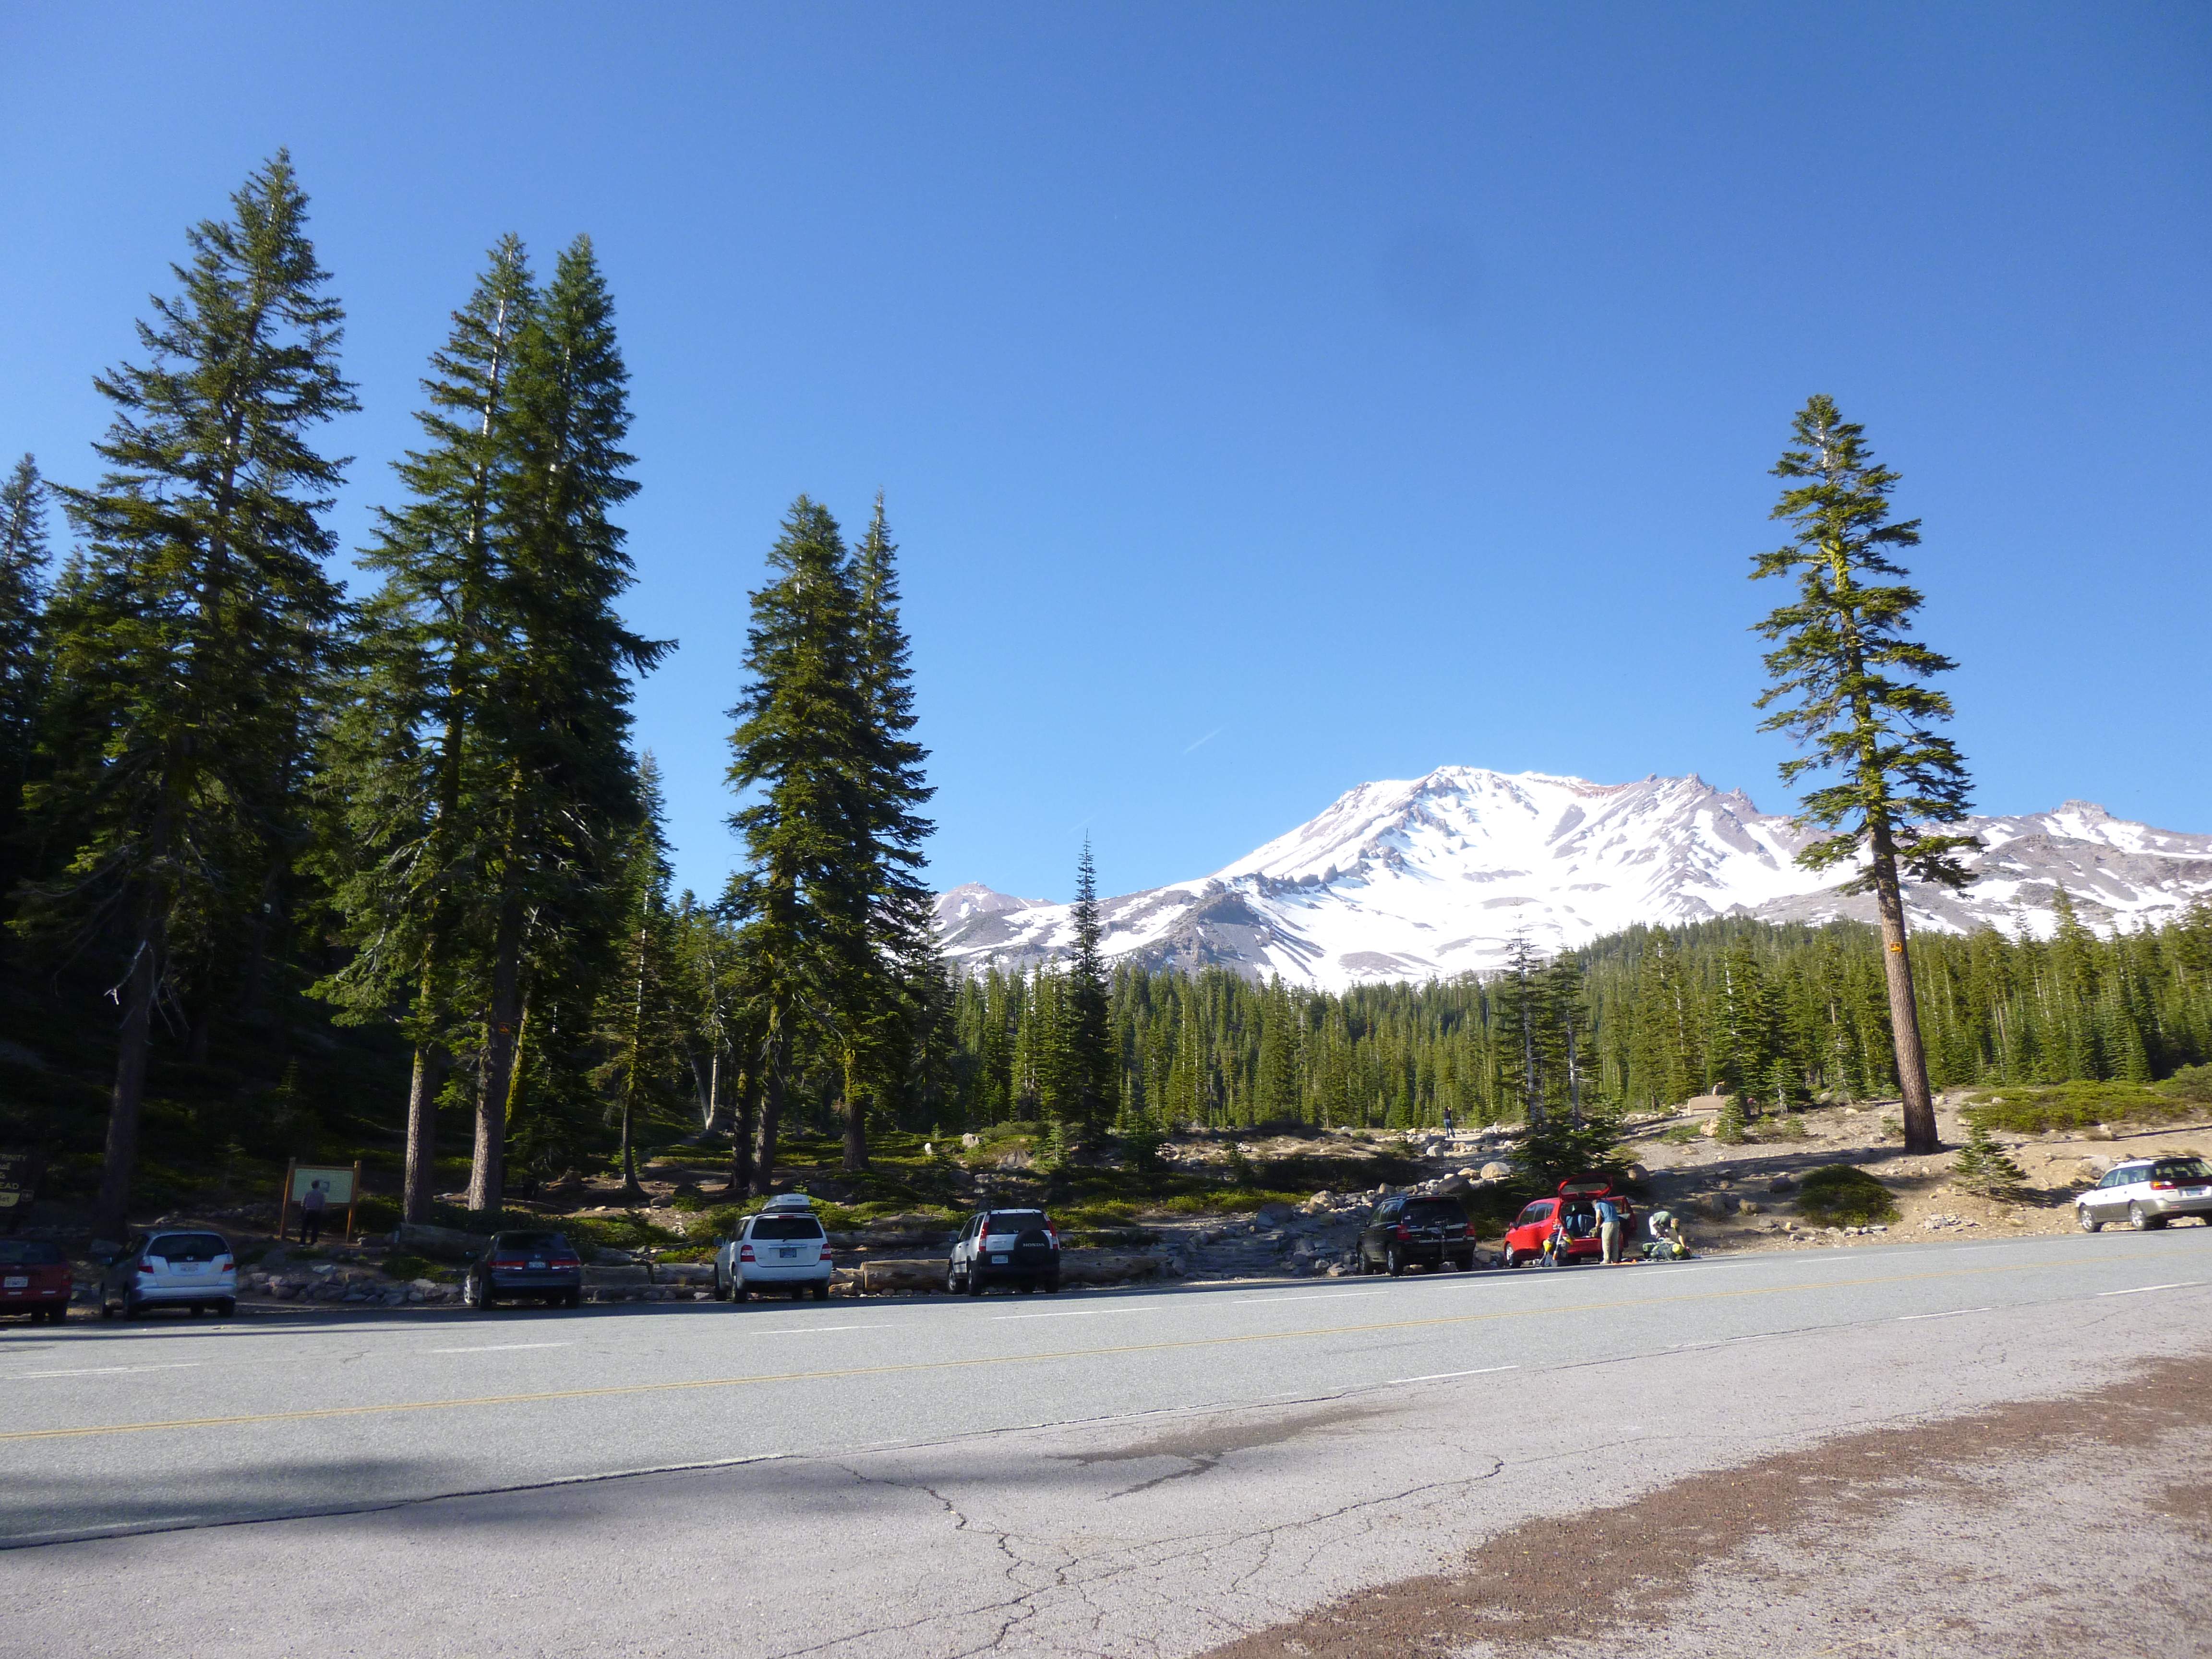
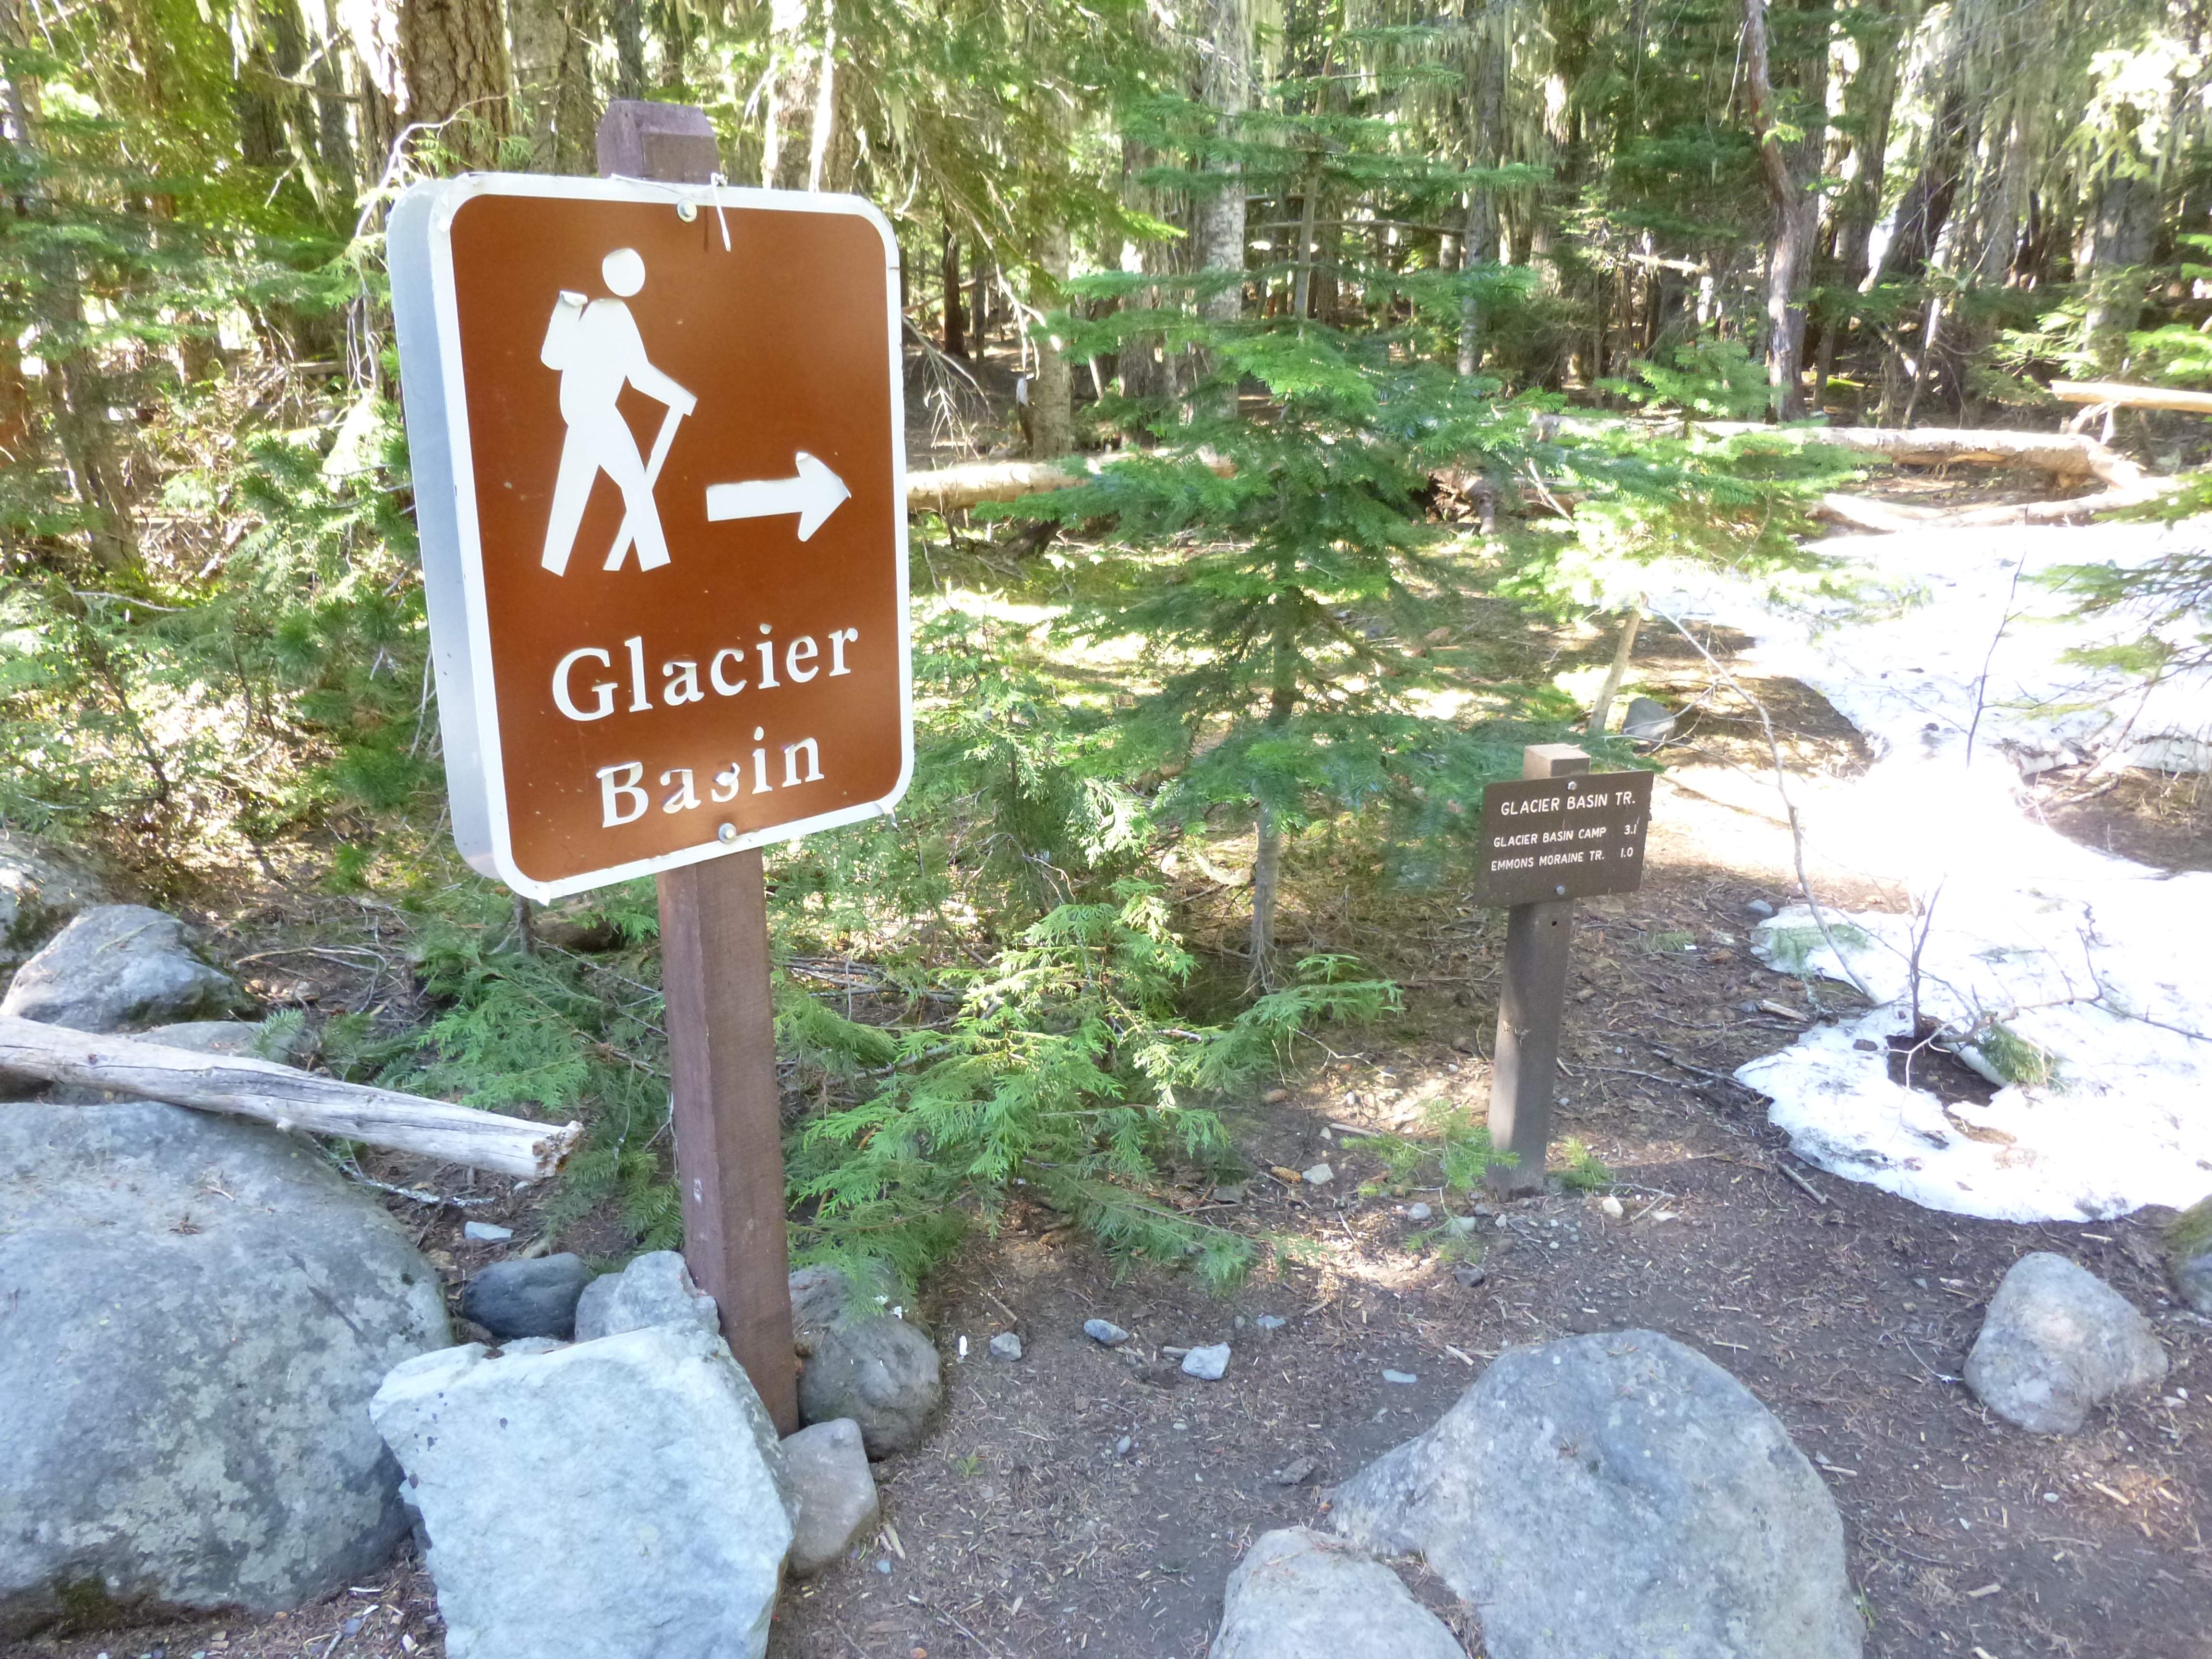
Day 1: After a short drive from the Crystal Mountain lodge, we arrived at the White River trailhead, starting point for the Emmons-Winthrop route. The trailhead sits at around ~1350m above sea level and leads onto the Inter Glacier via the Glacier Basin trail. The below map outlines camp locations and gives a rough idea of the route we took up the mountain.

A map of our campsites.

The White River trailhead and Glacier Basin trail.
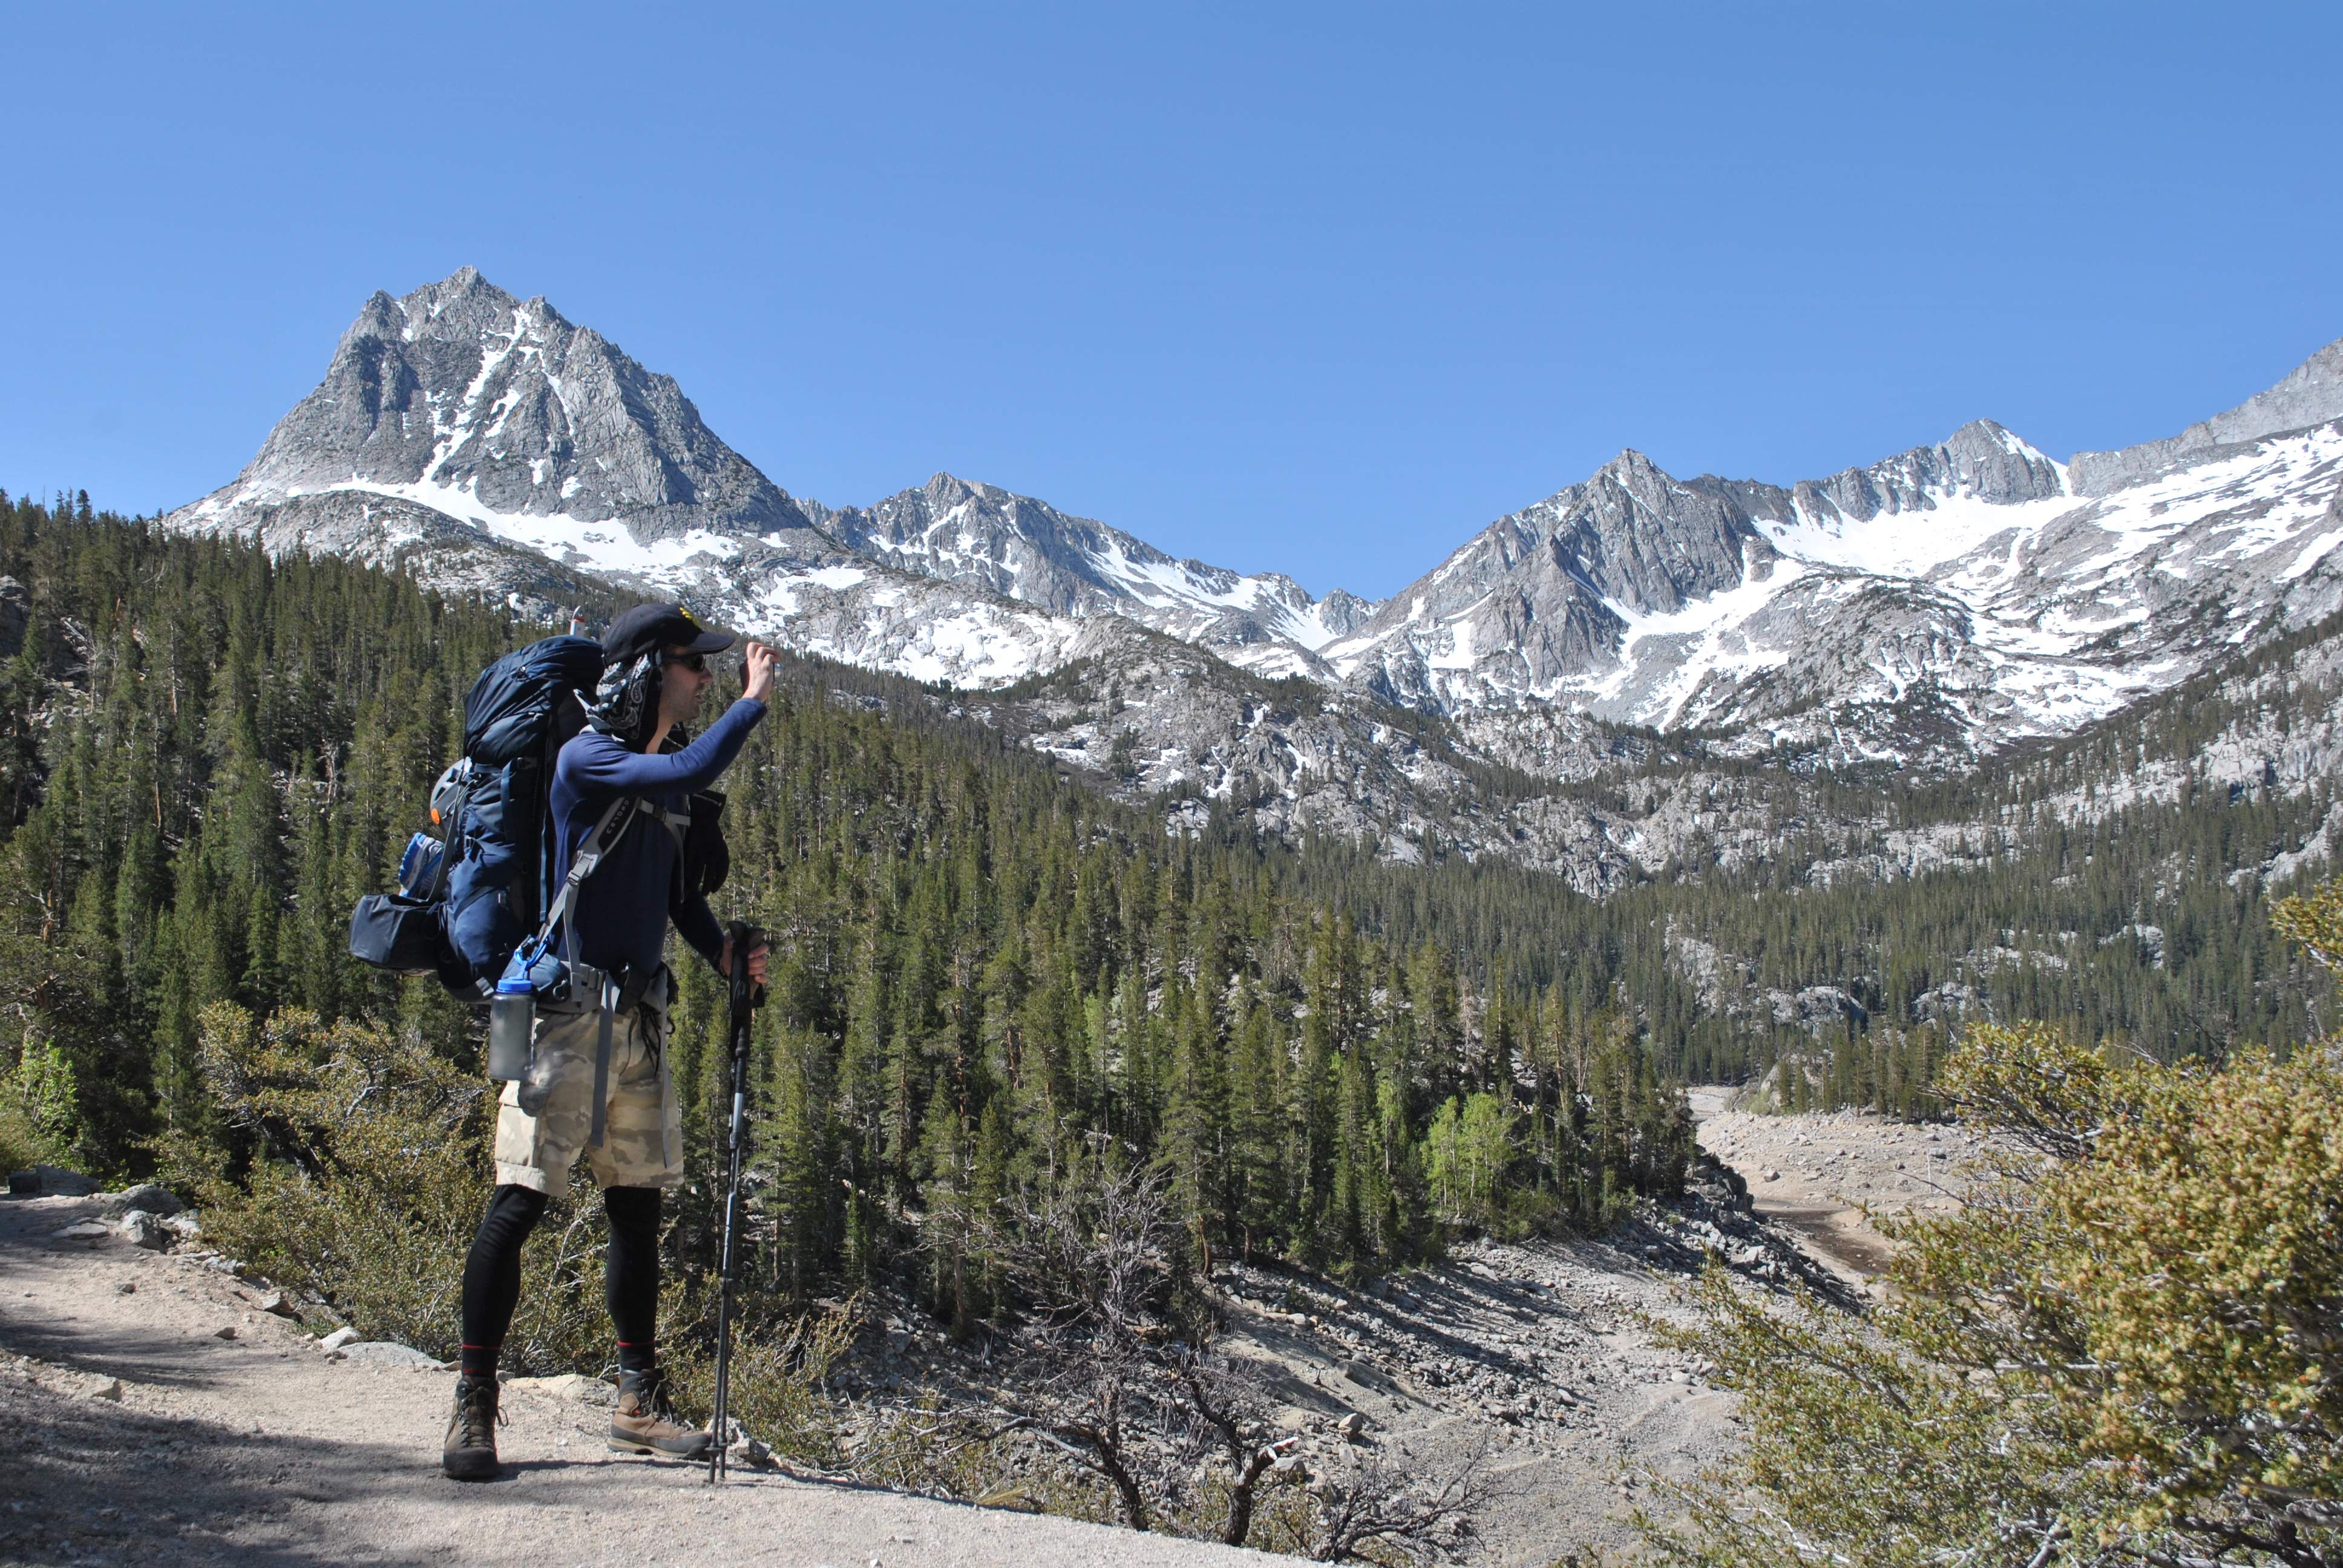
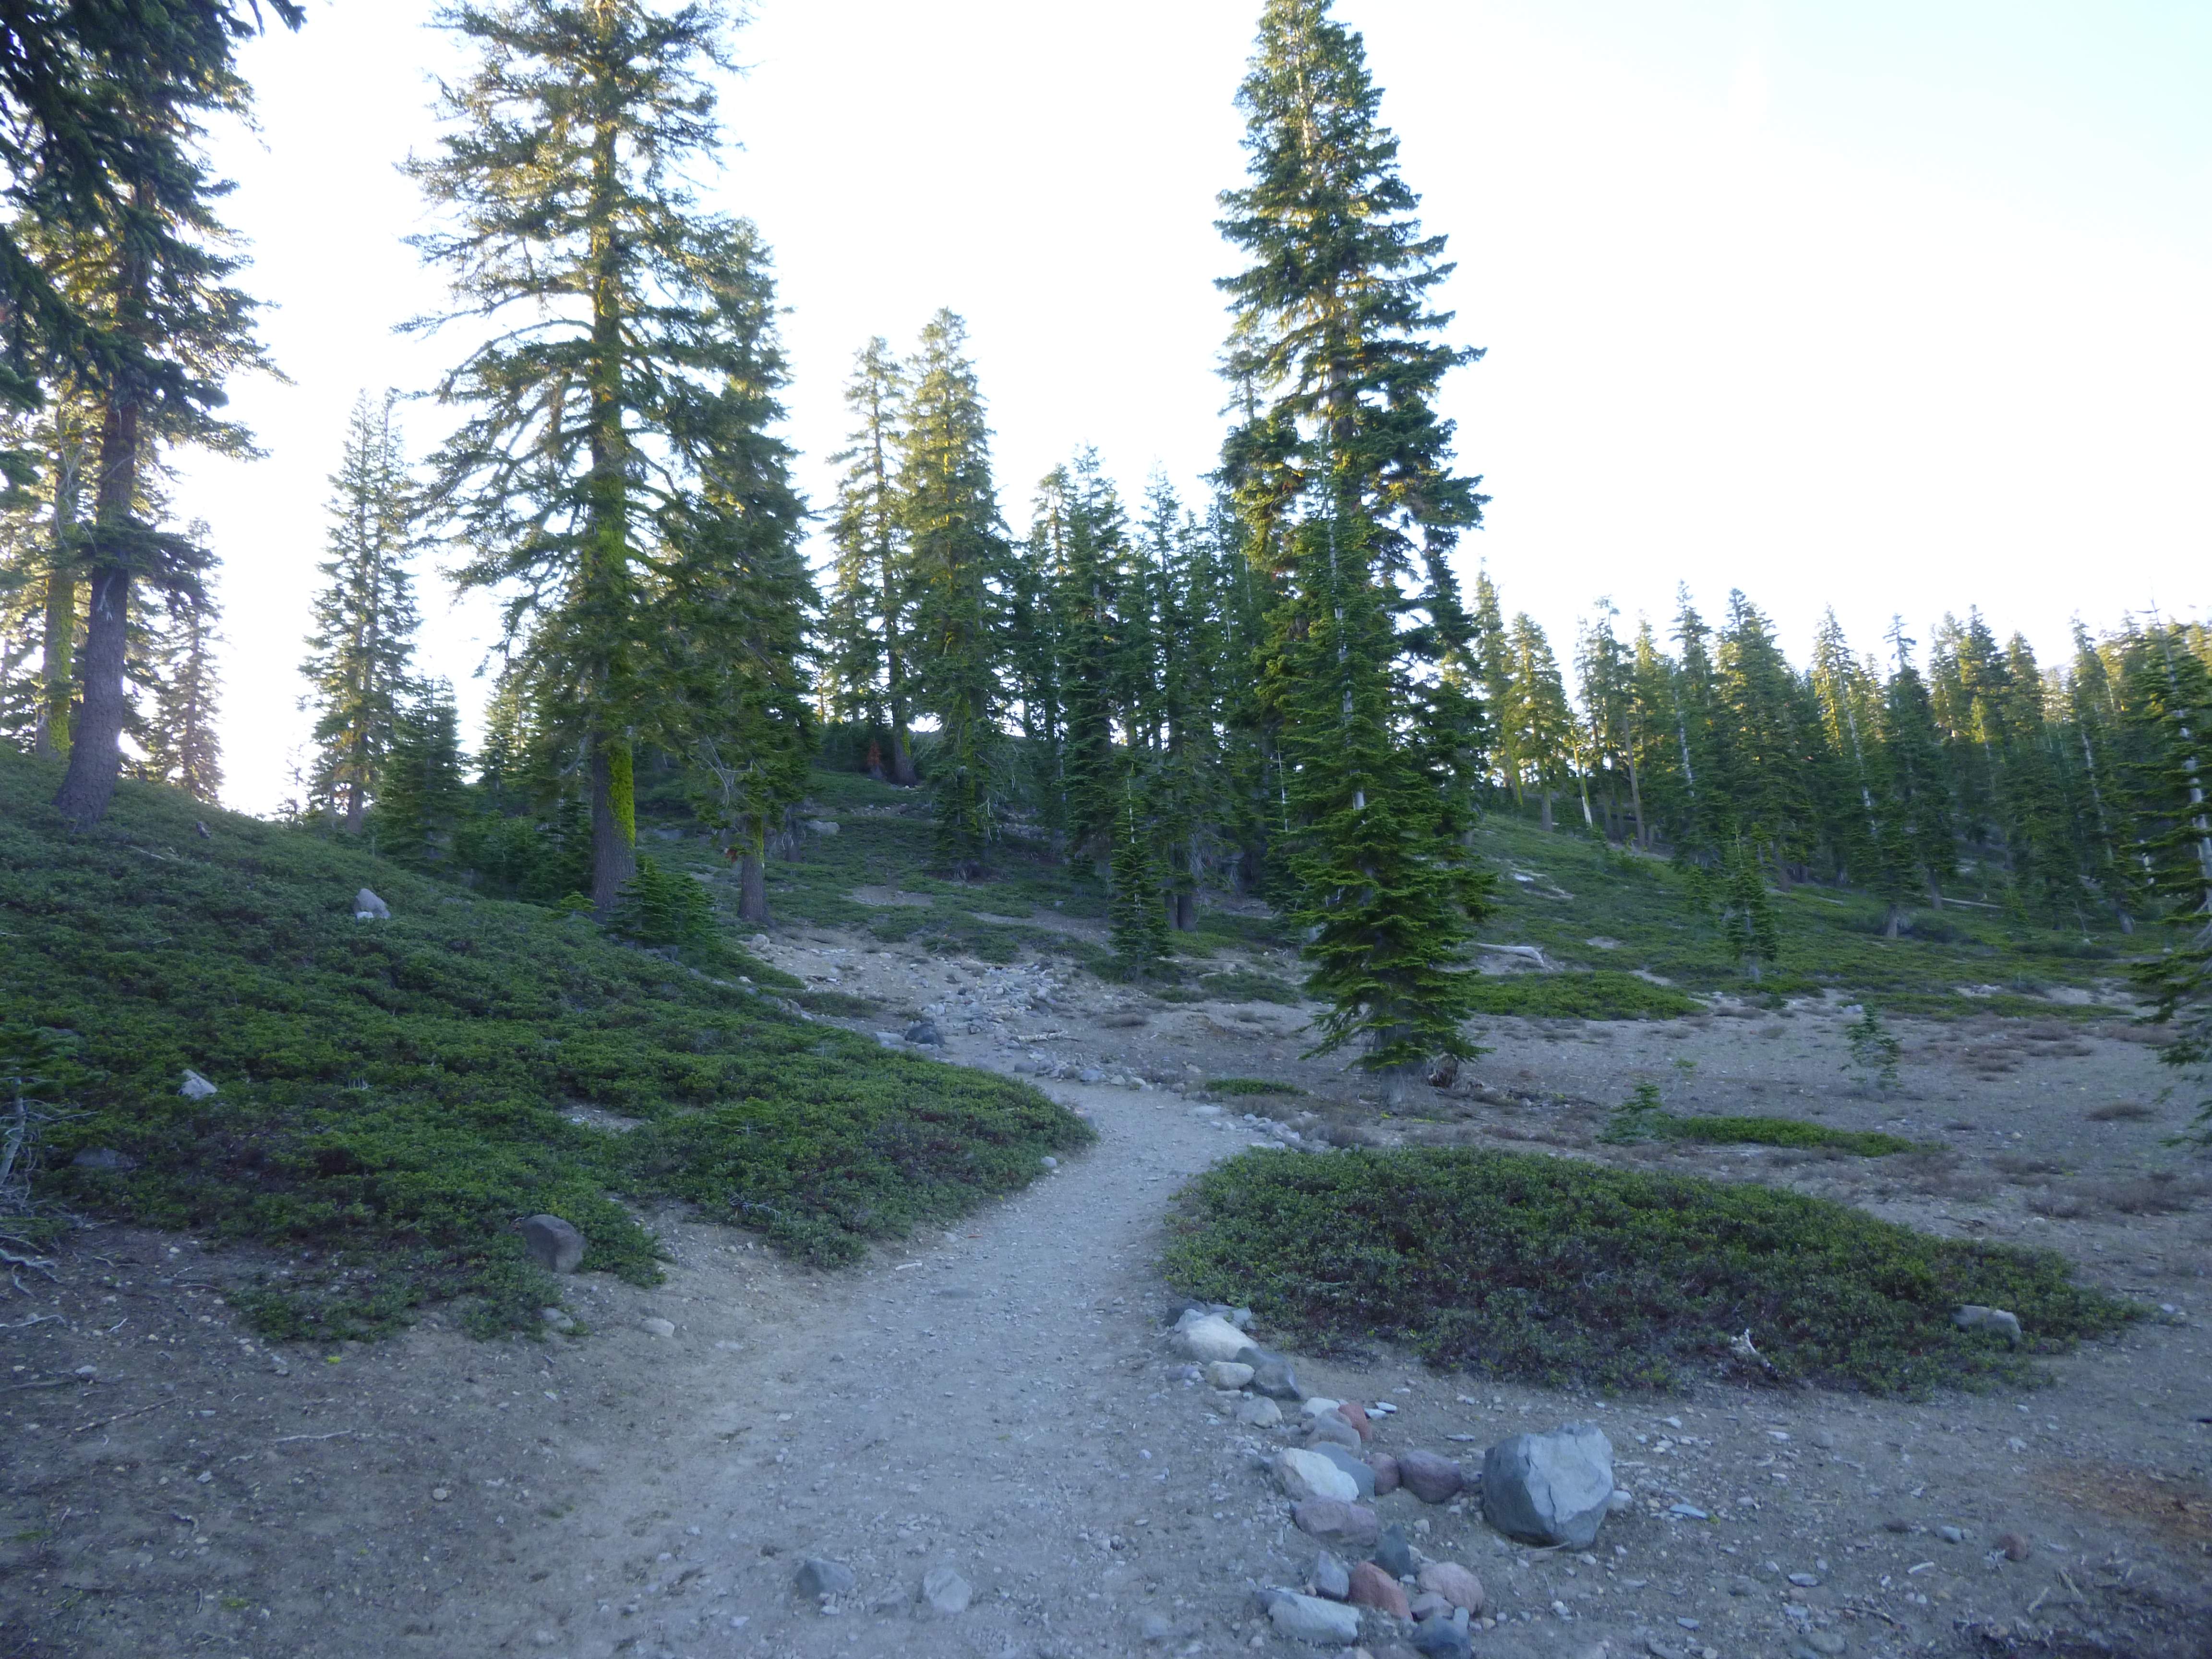
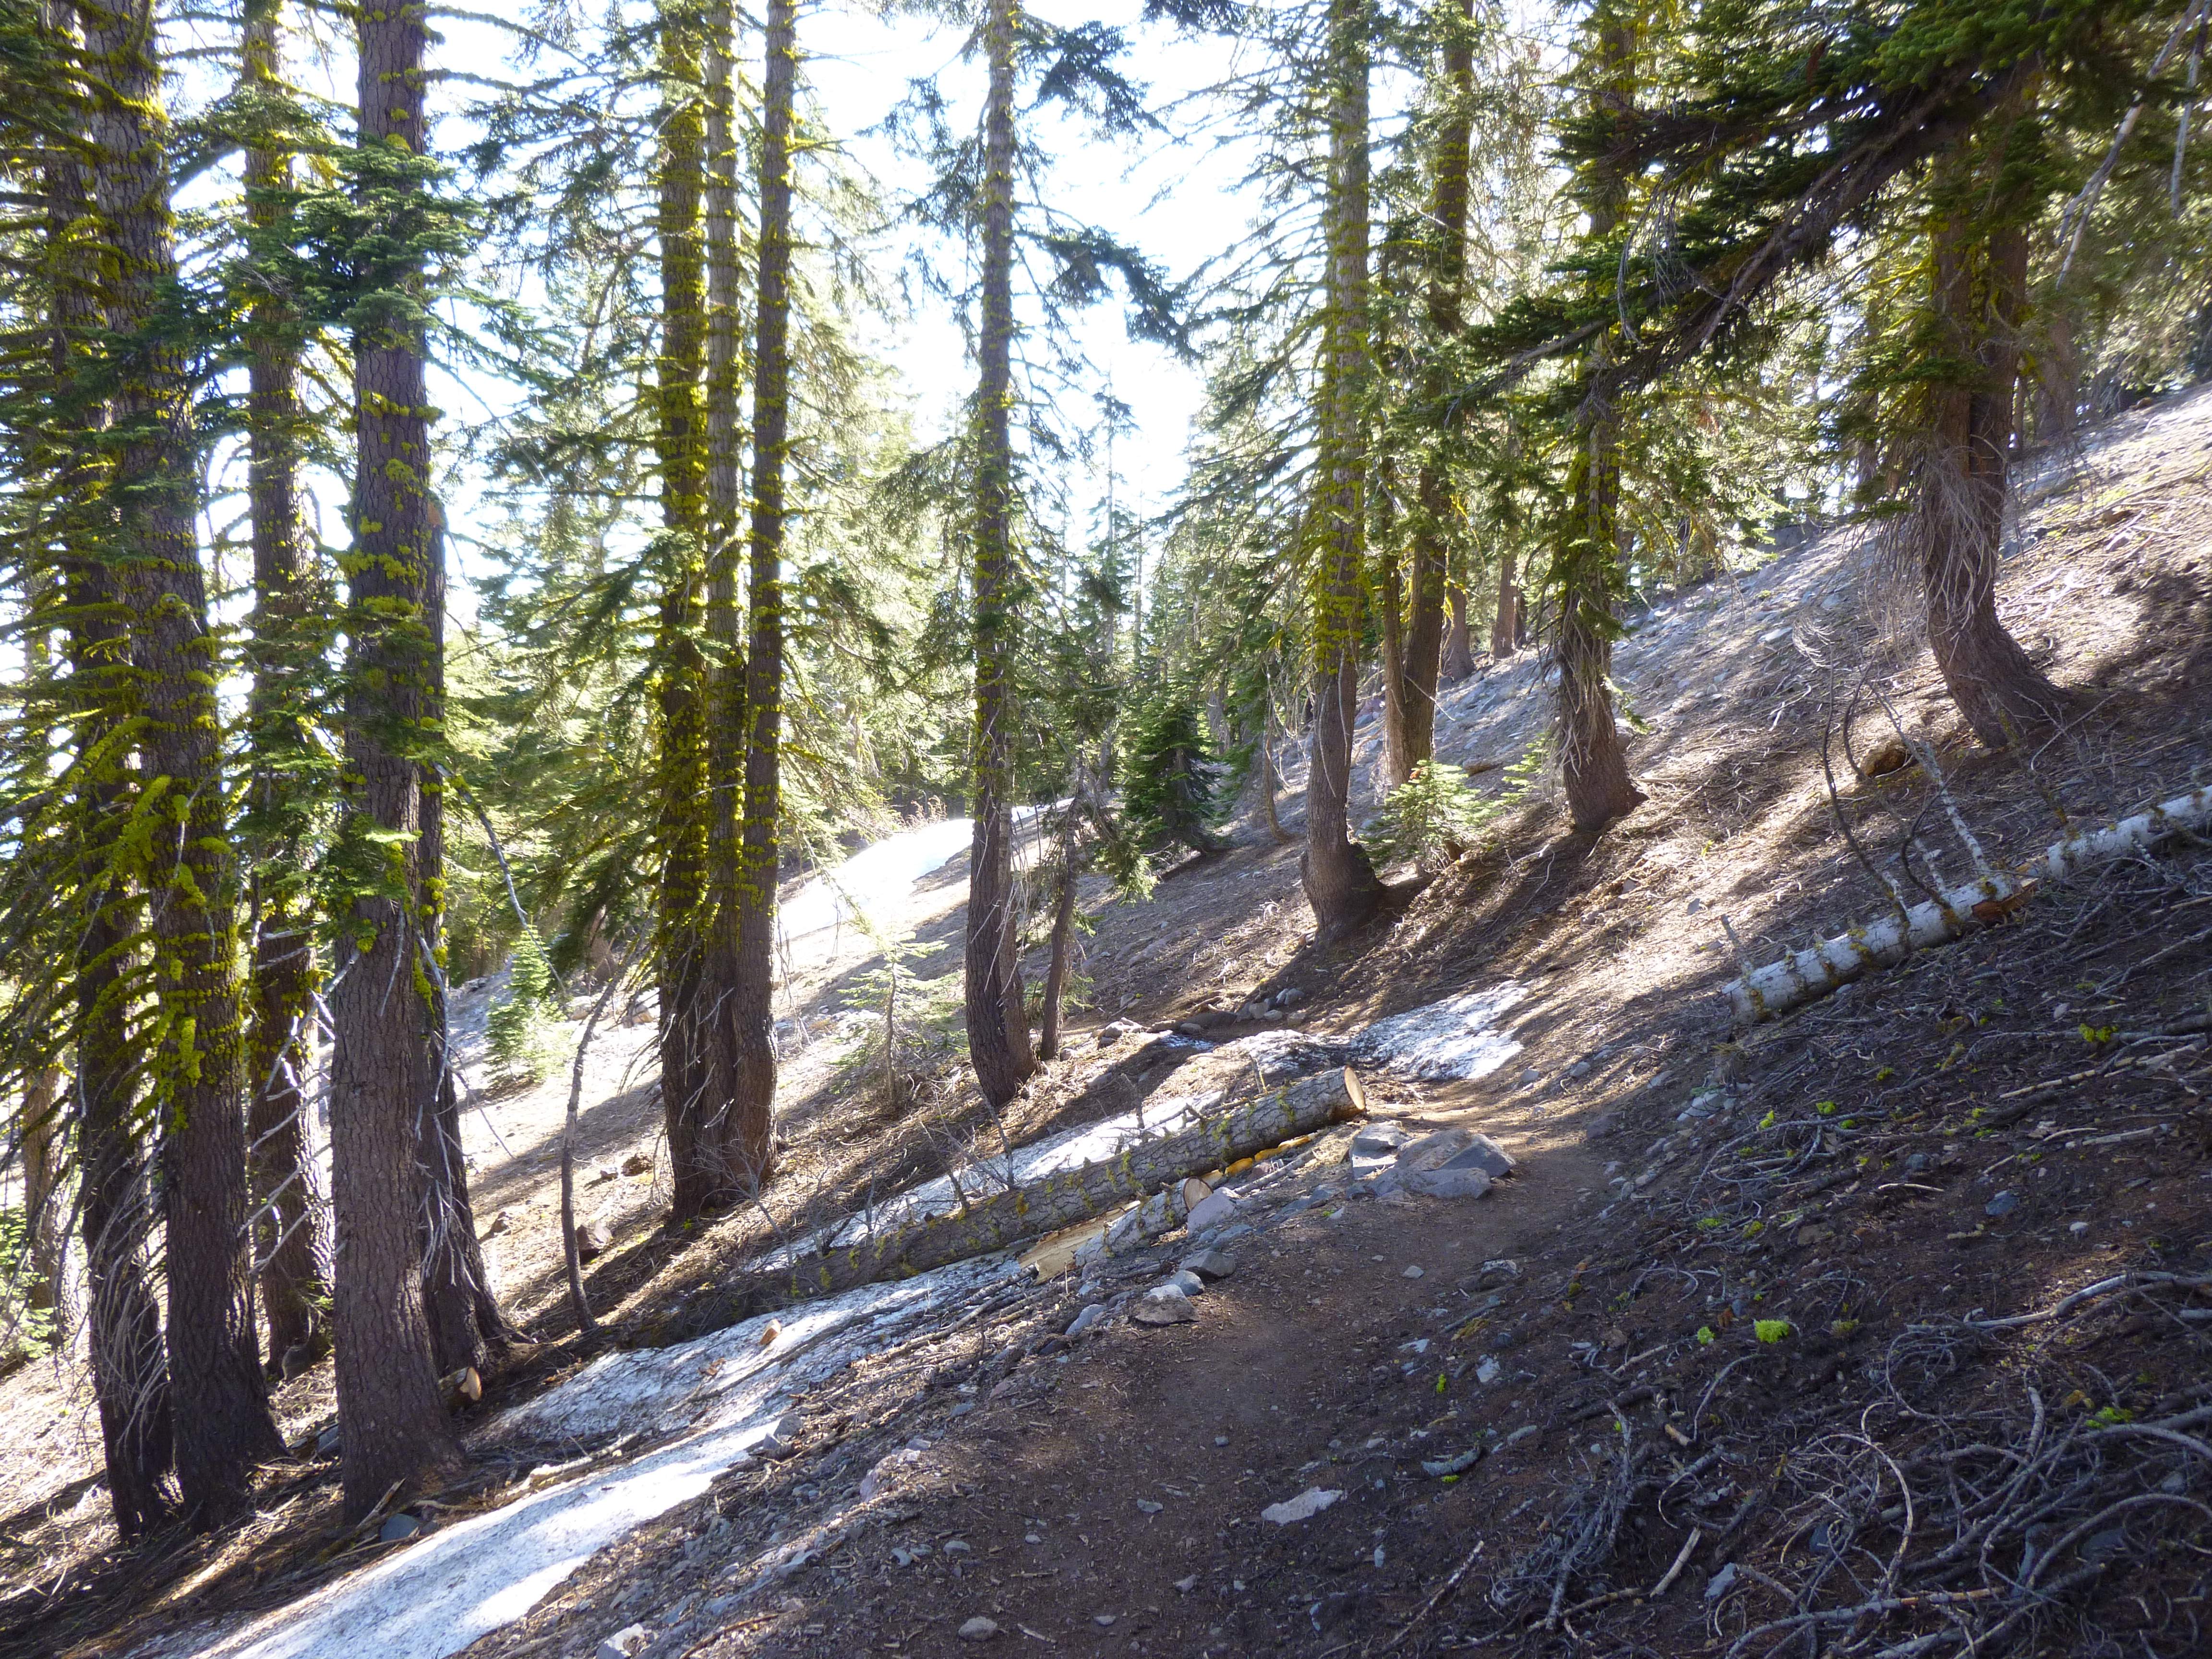
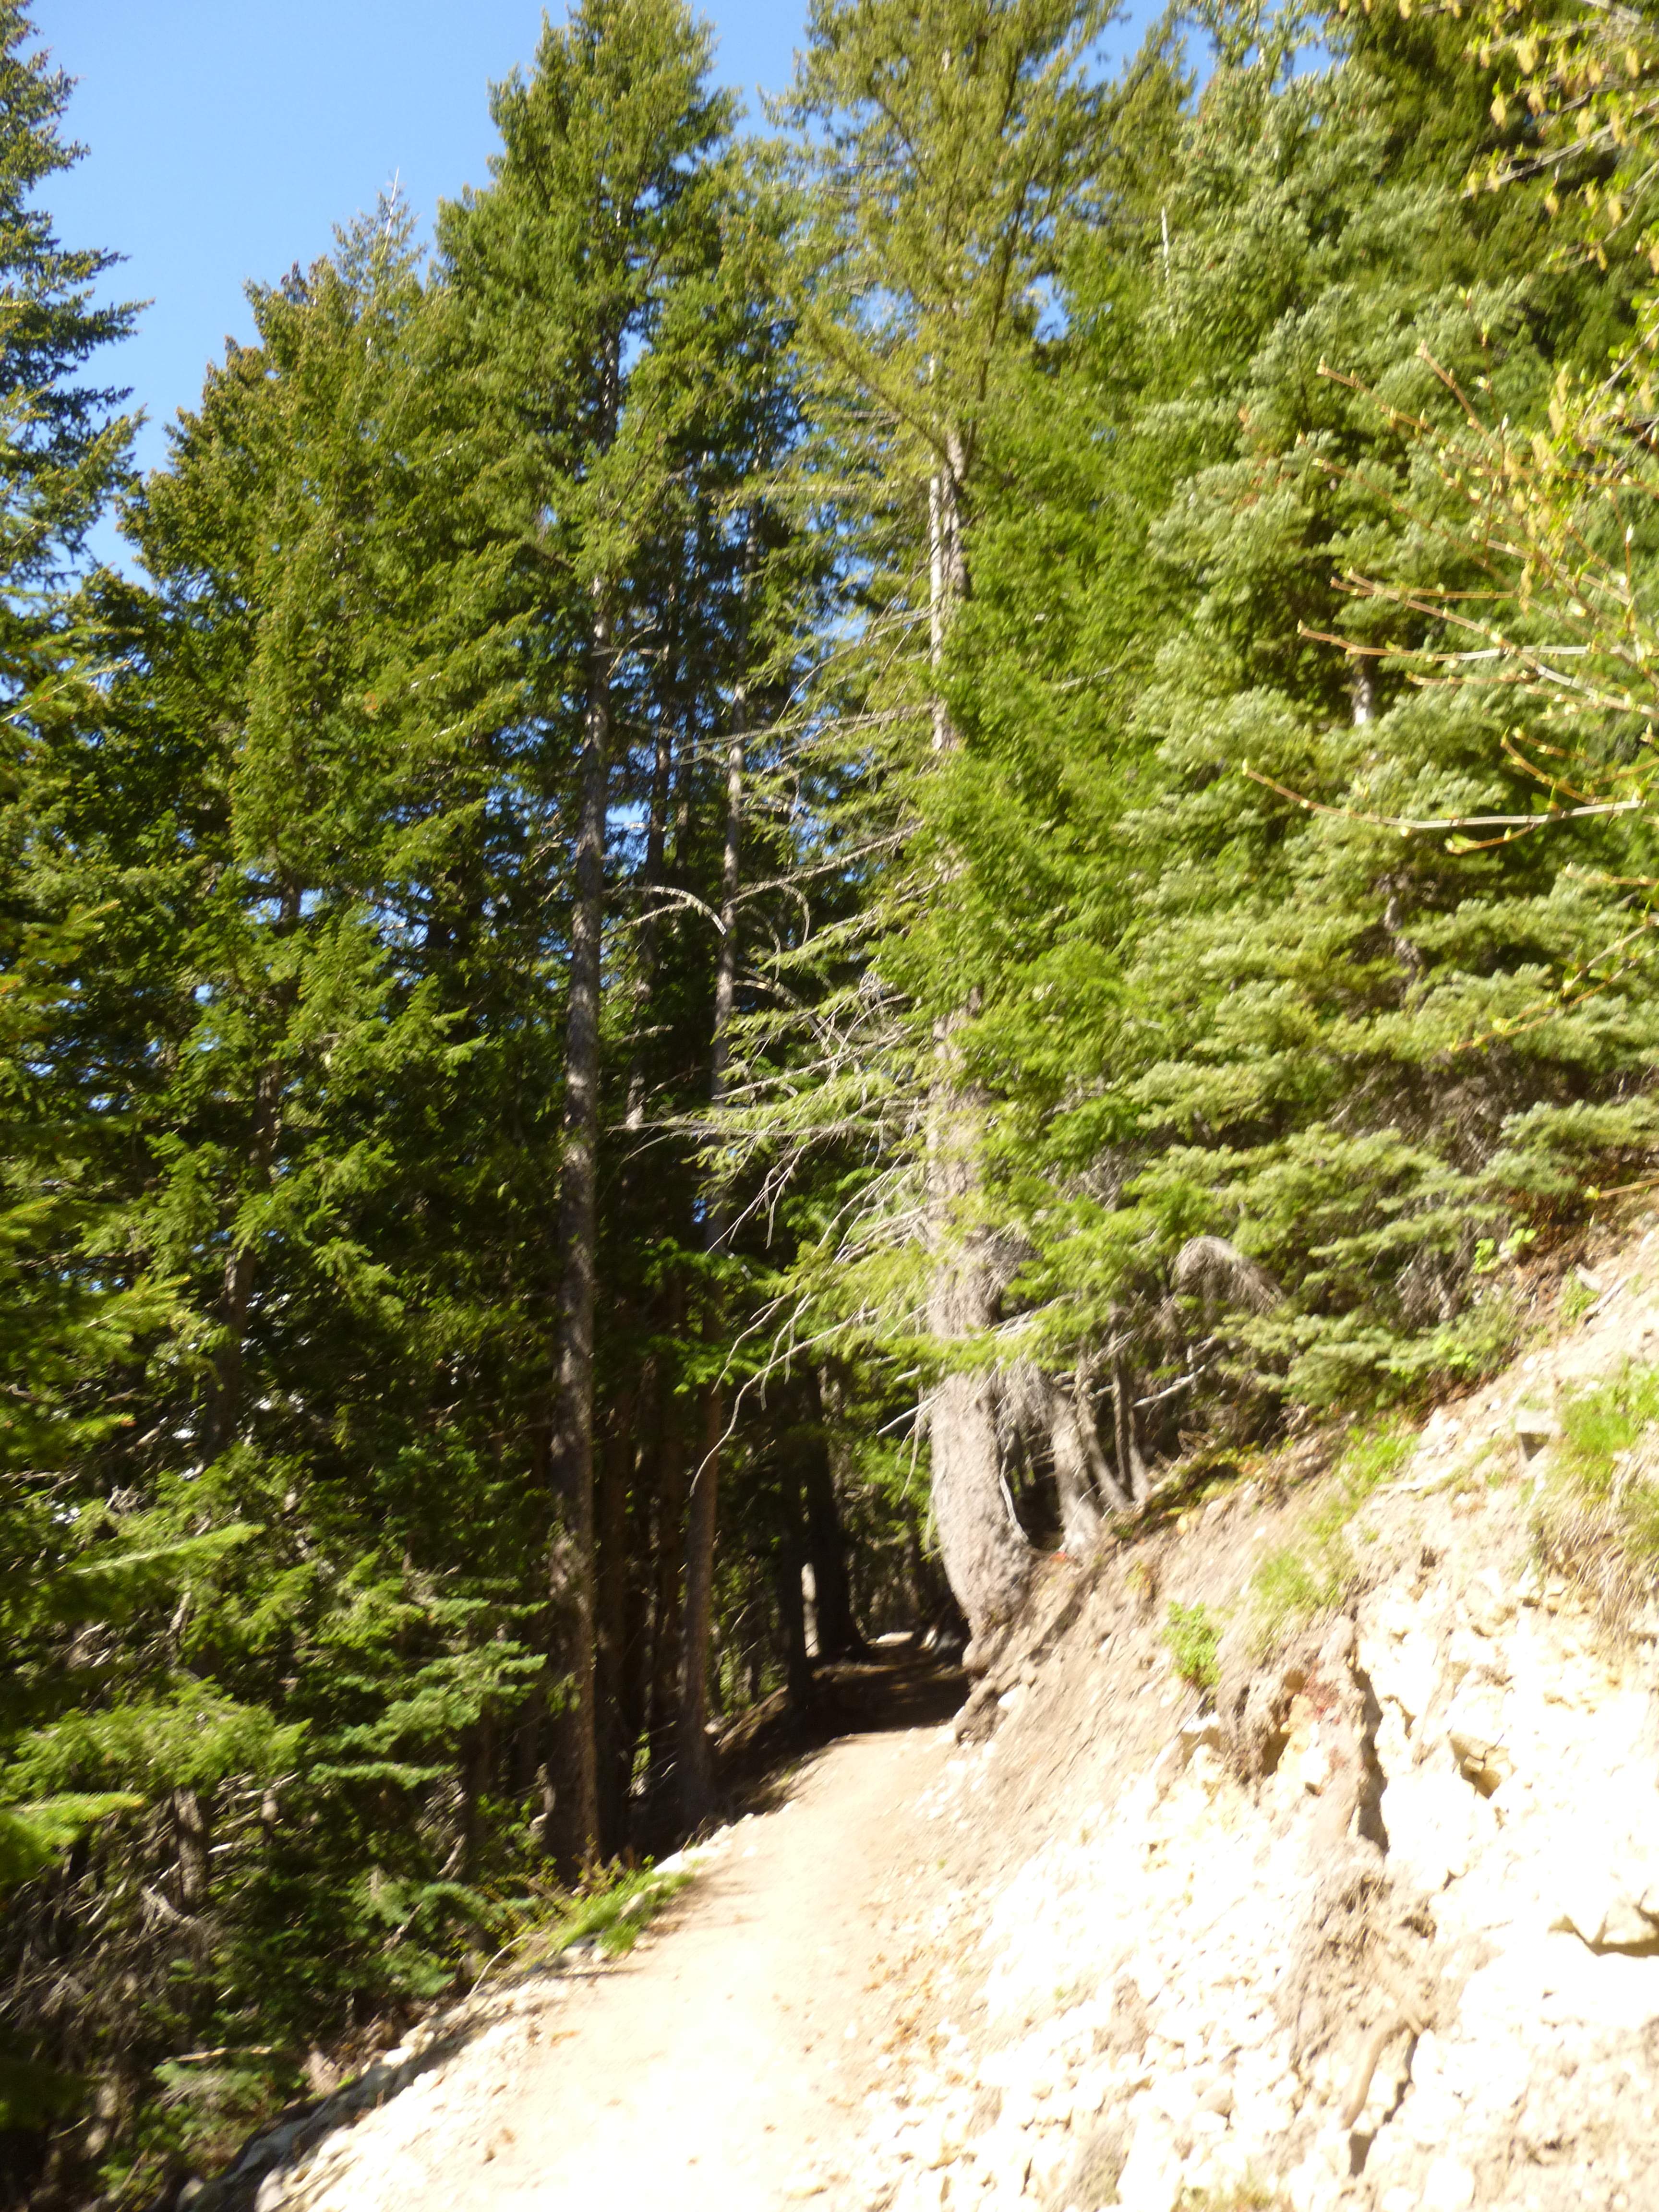
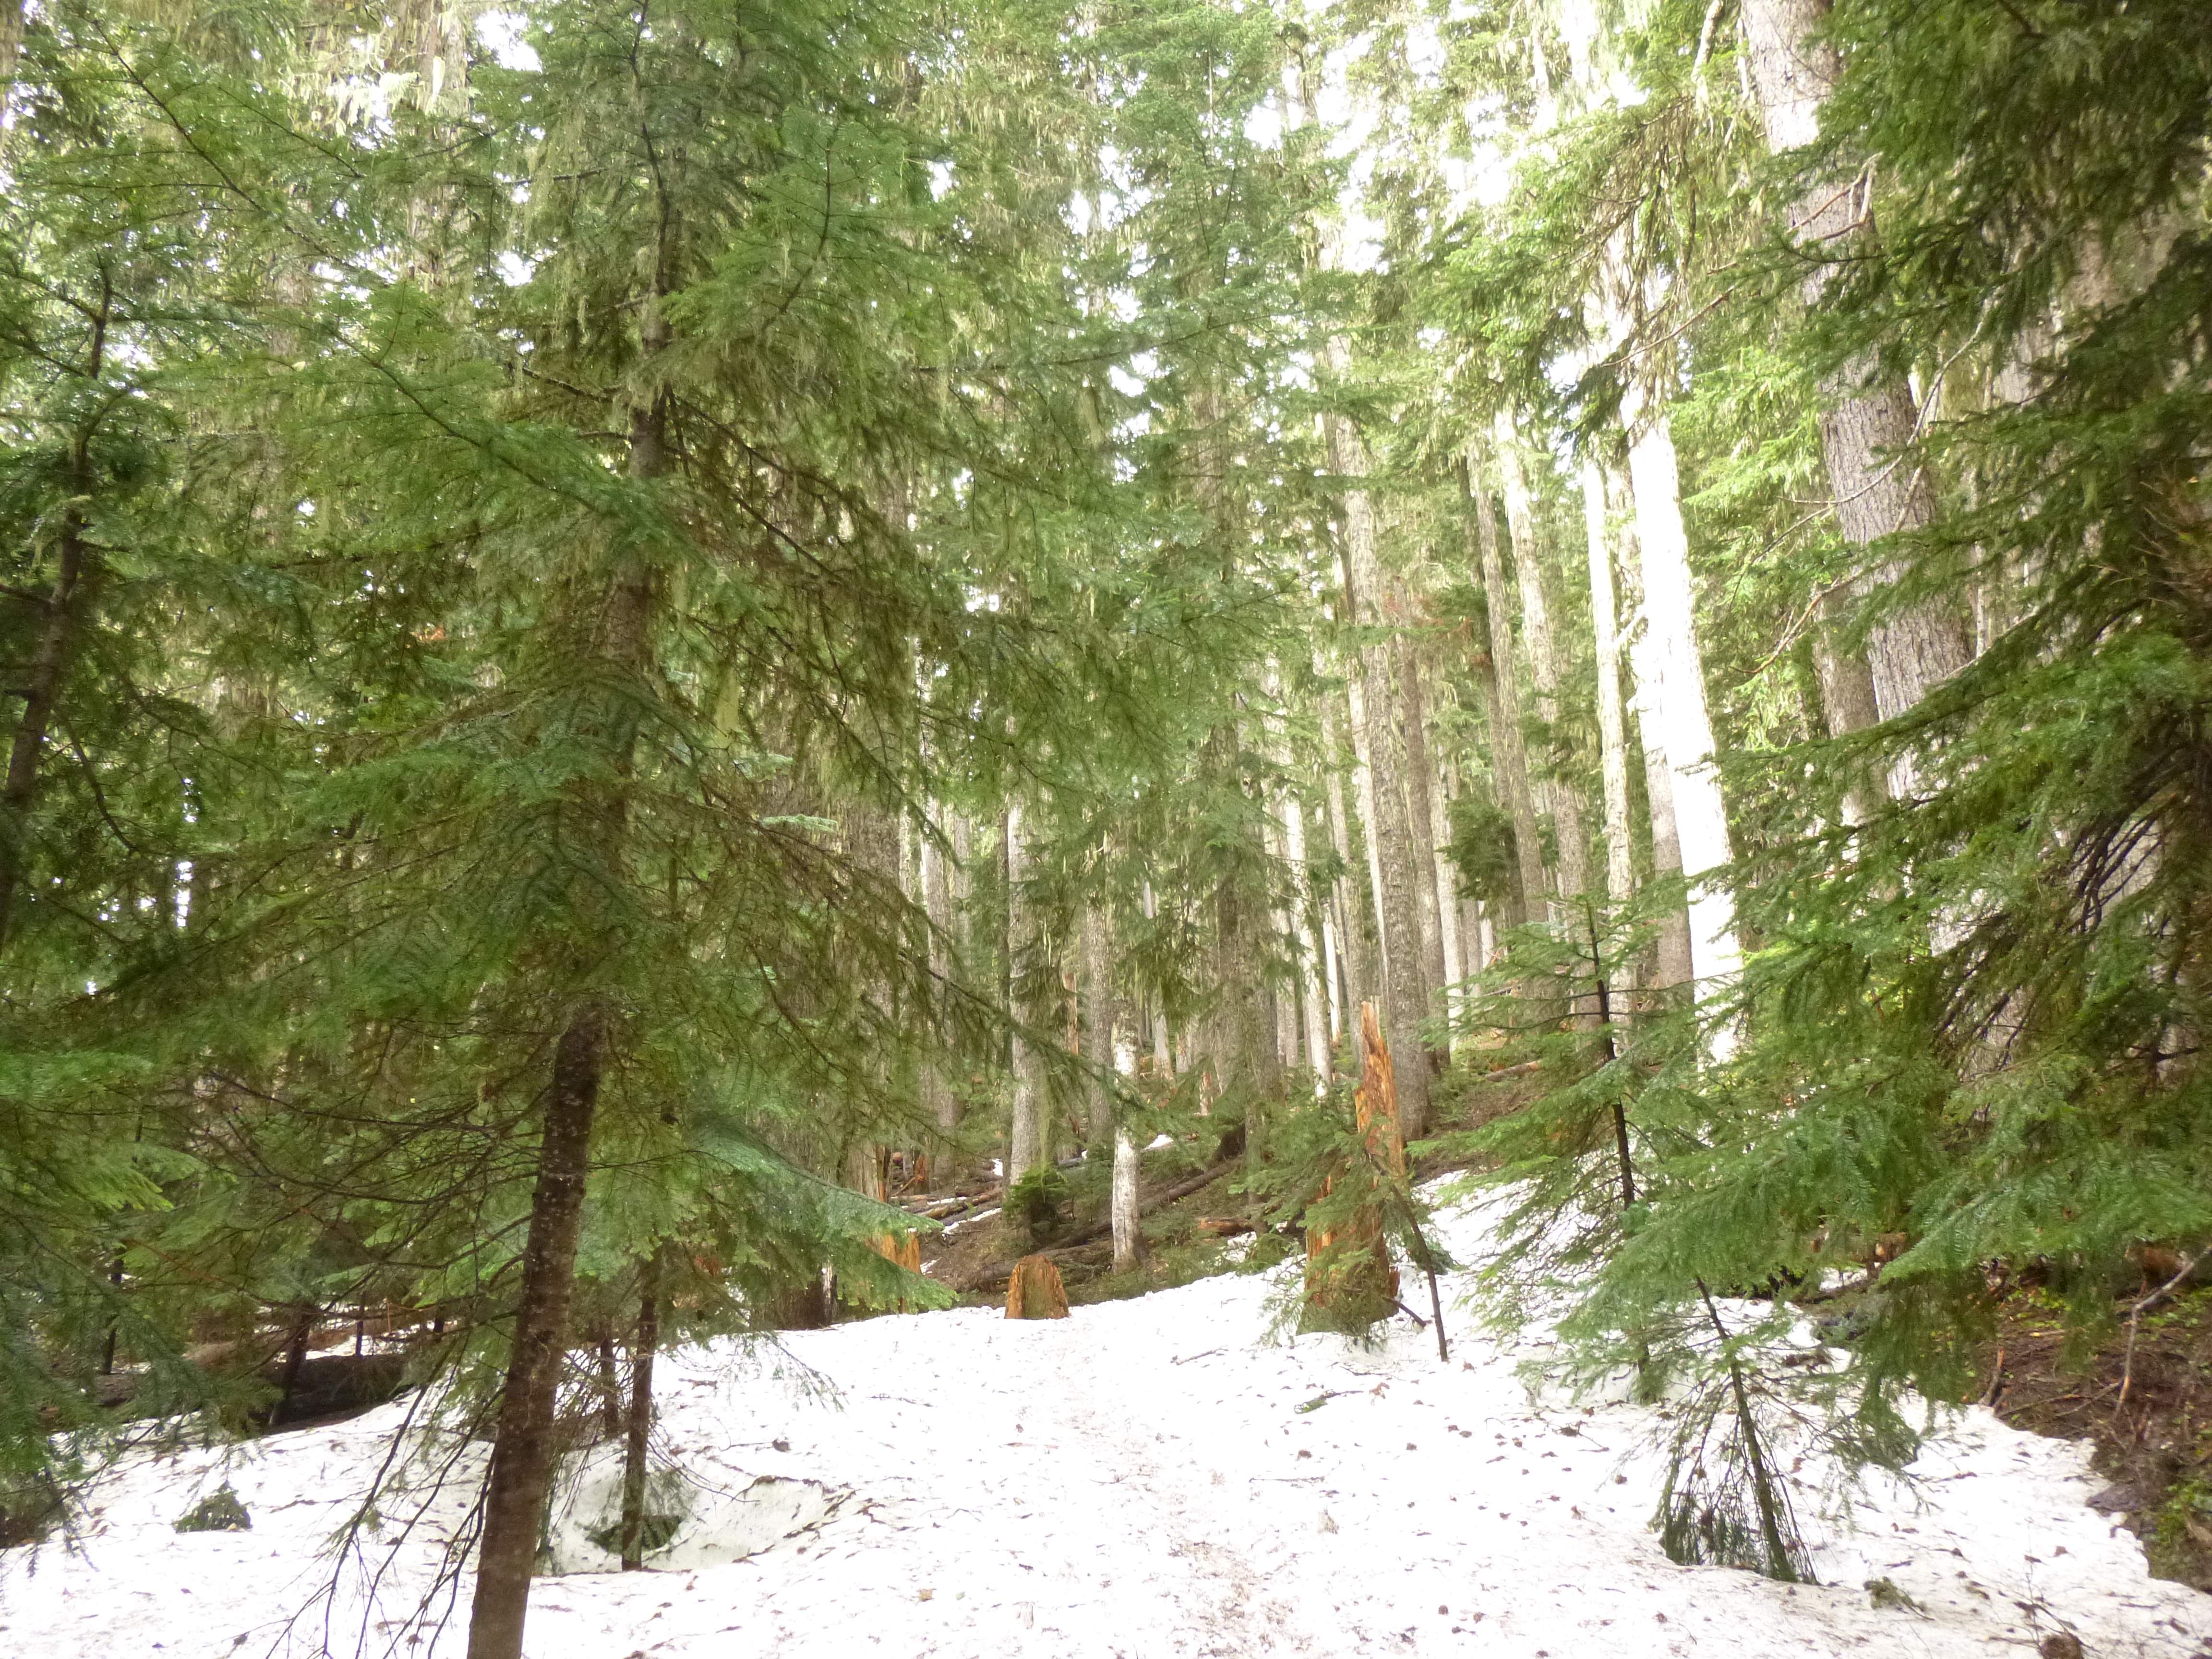
The trail began moderately, following a well maintained path through forest, heading towards the base of Rainier’s Inter Glacier.

Following the forest path in sunshine.
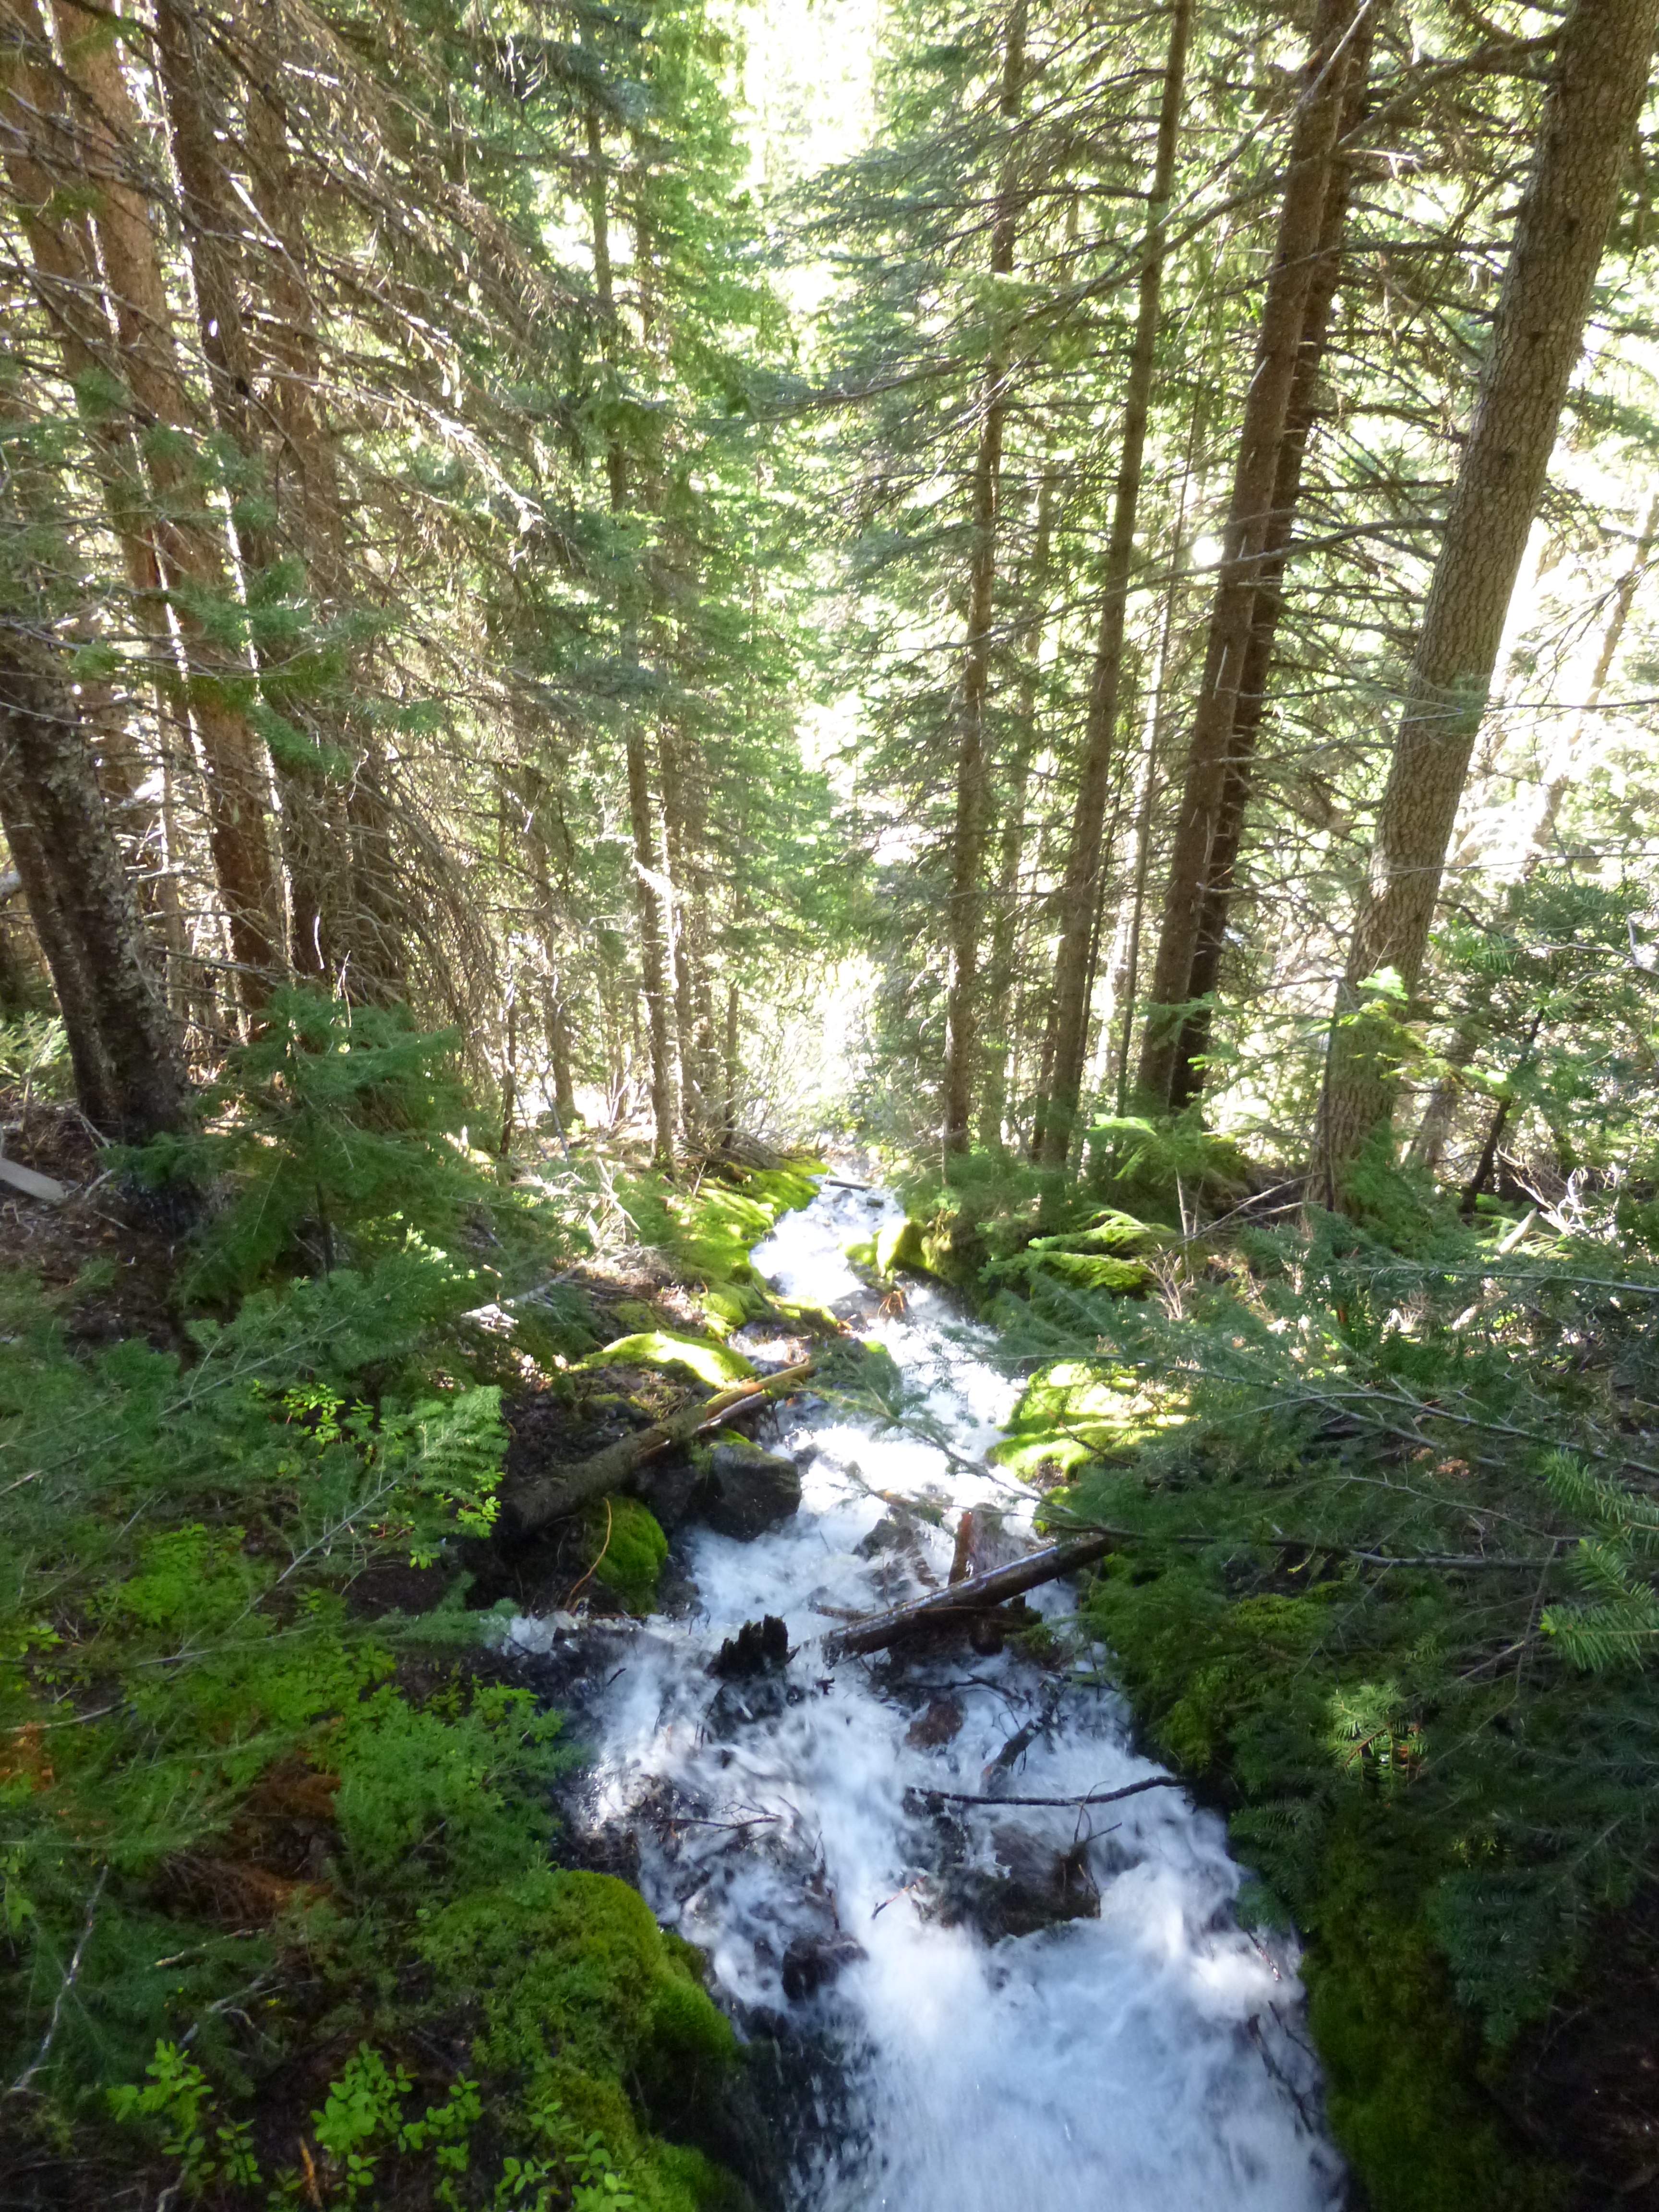
With ~25kg packs, the level slope and wide path made progress quick. I was told that previously this approach had led through dense forest, and that a lot of work has gone into maintaining and clearing the access route. Along the way we crossed numerous glacial runoff streams.

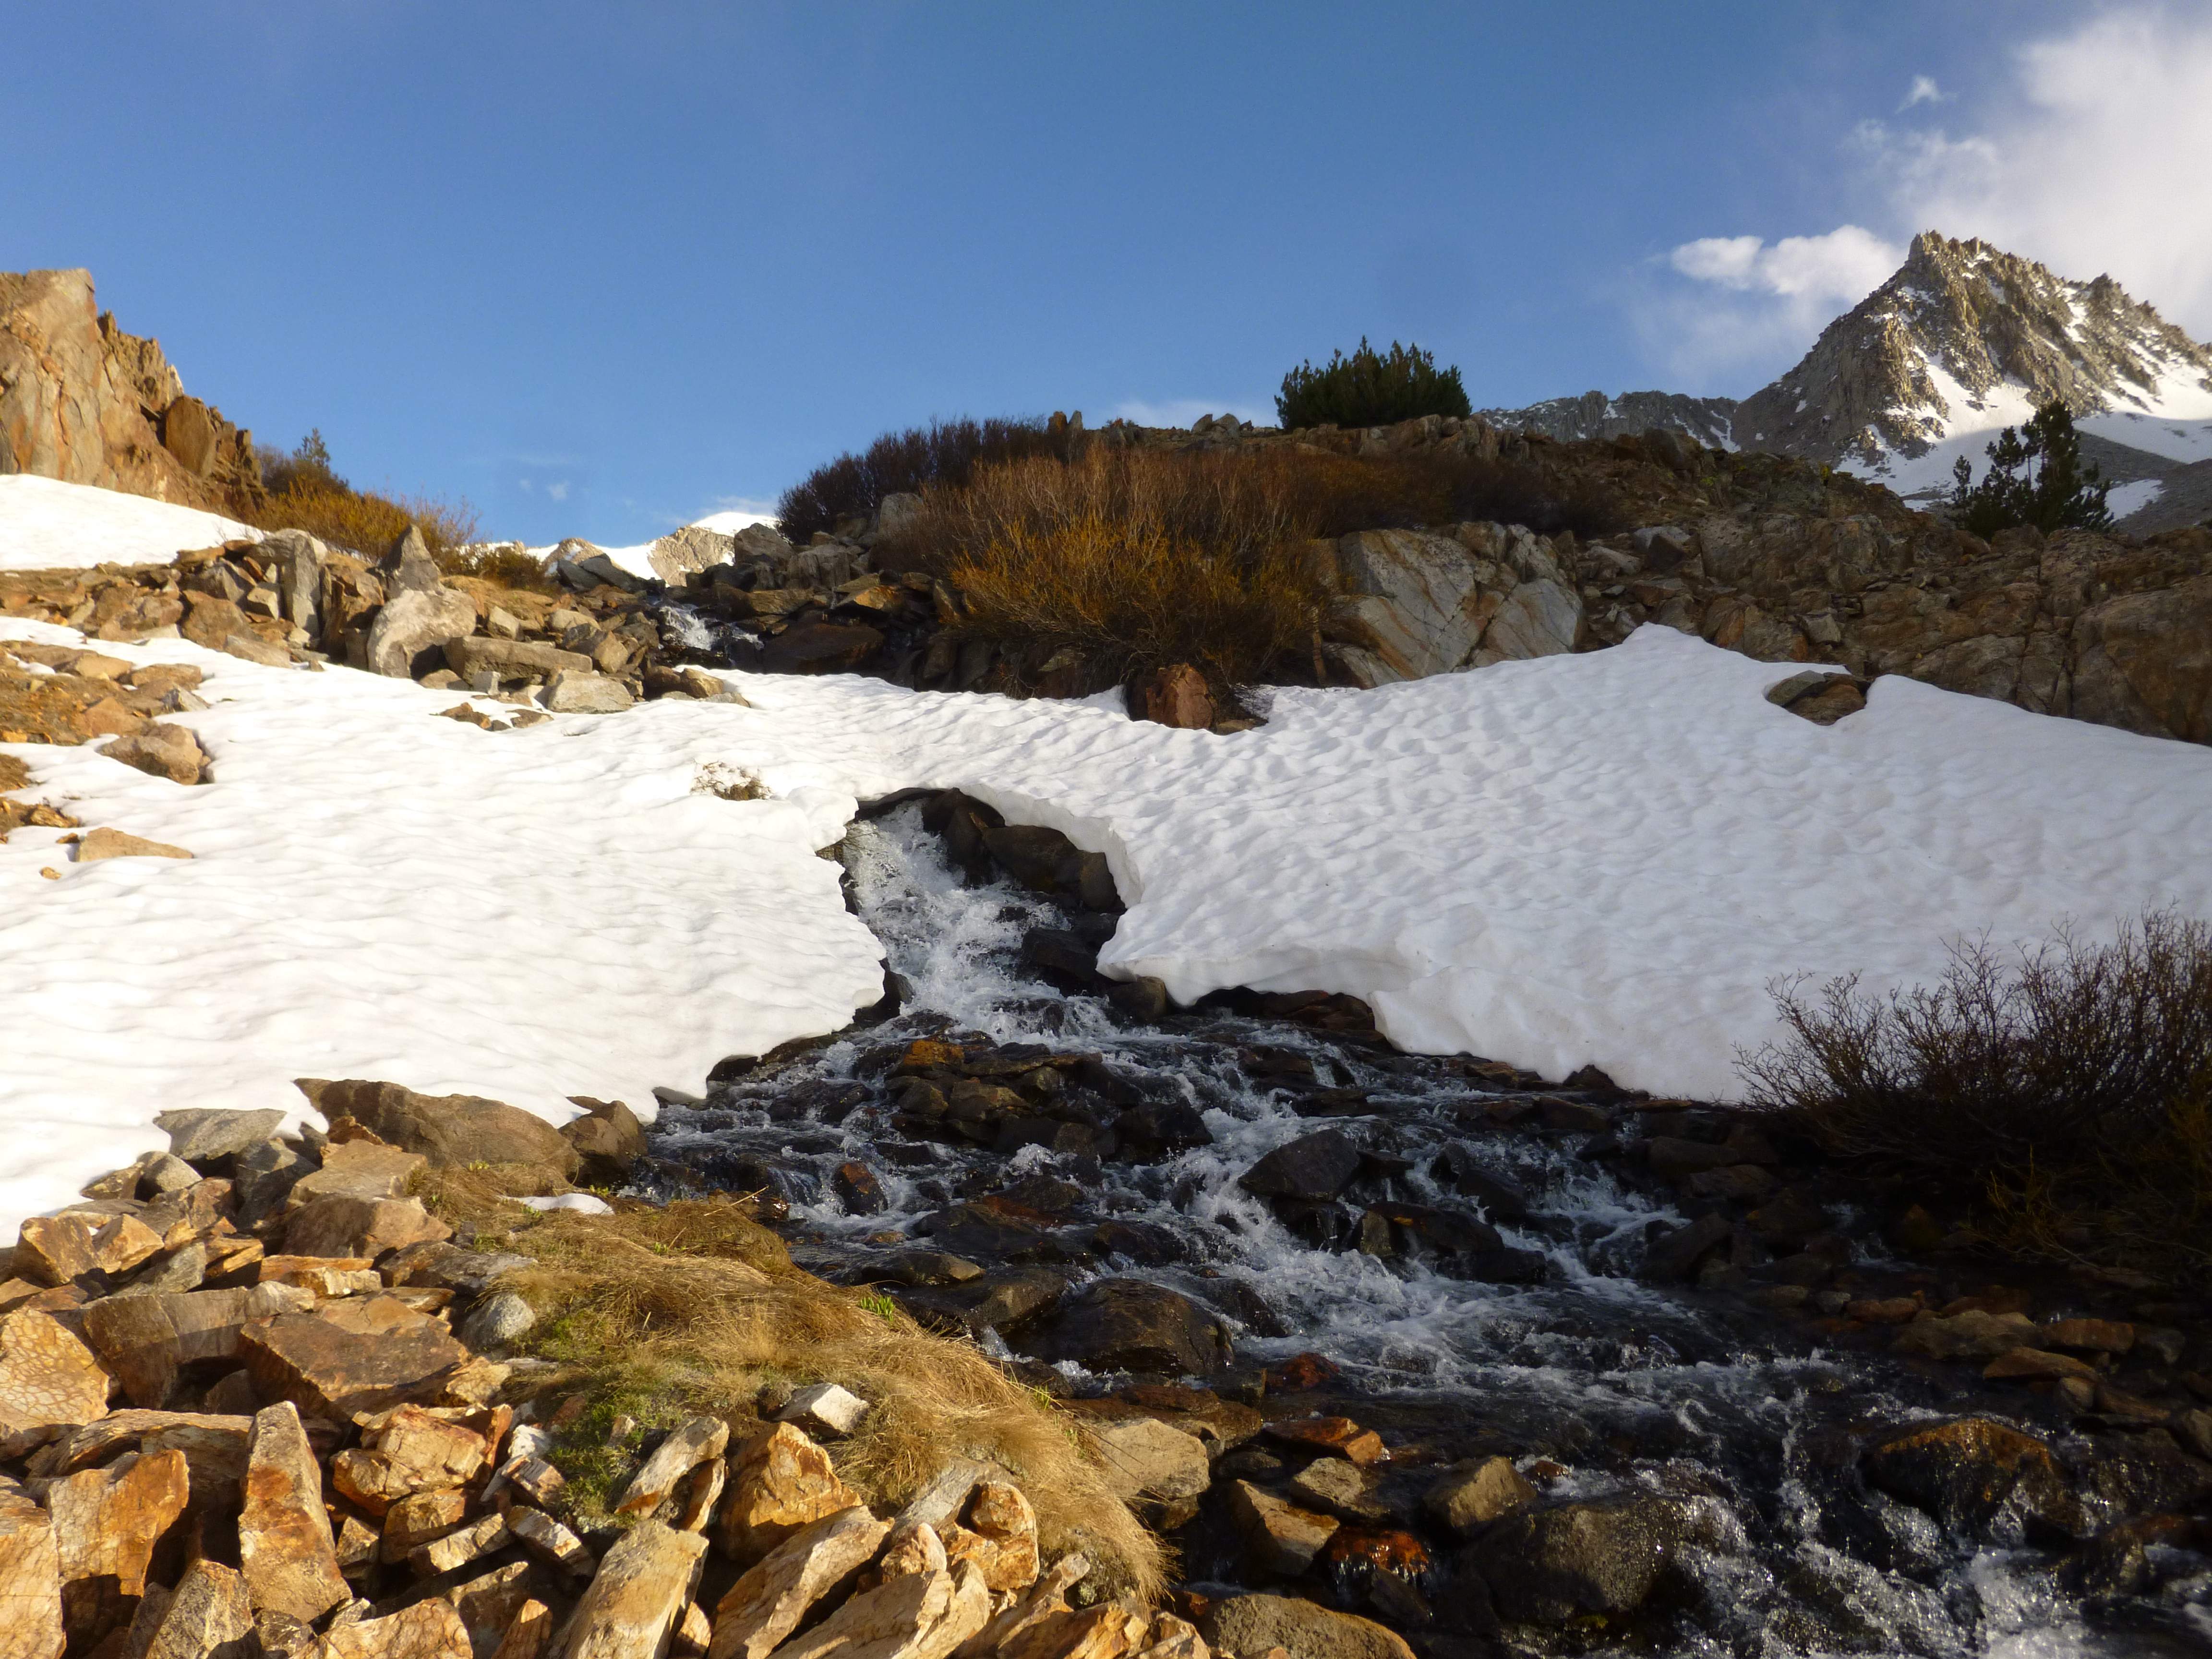
A runoff stream on the approach.
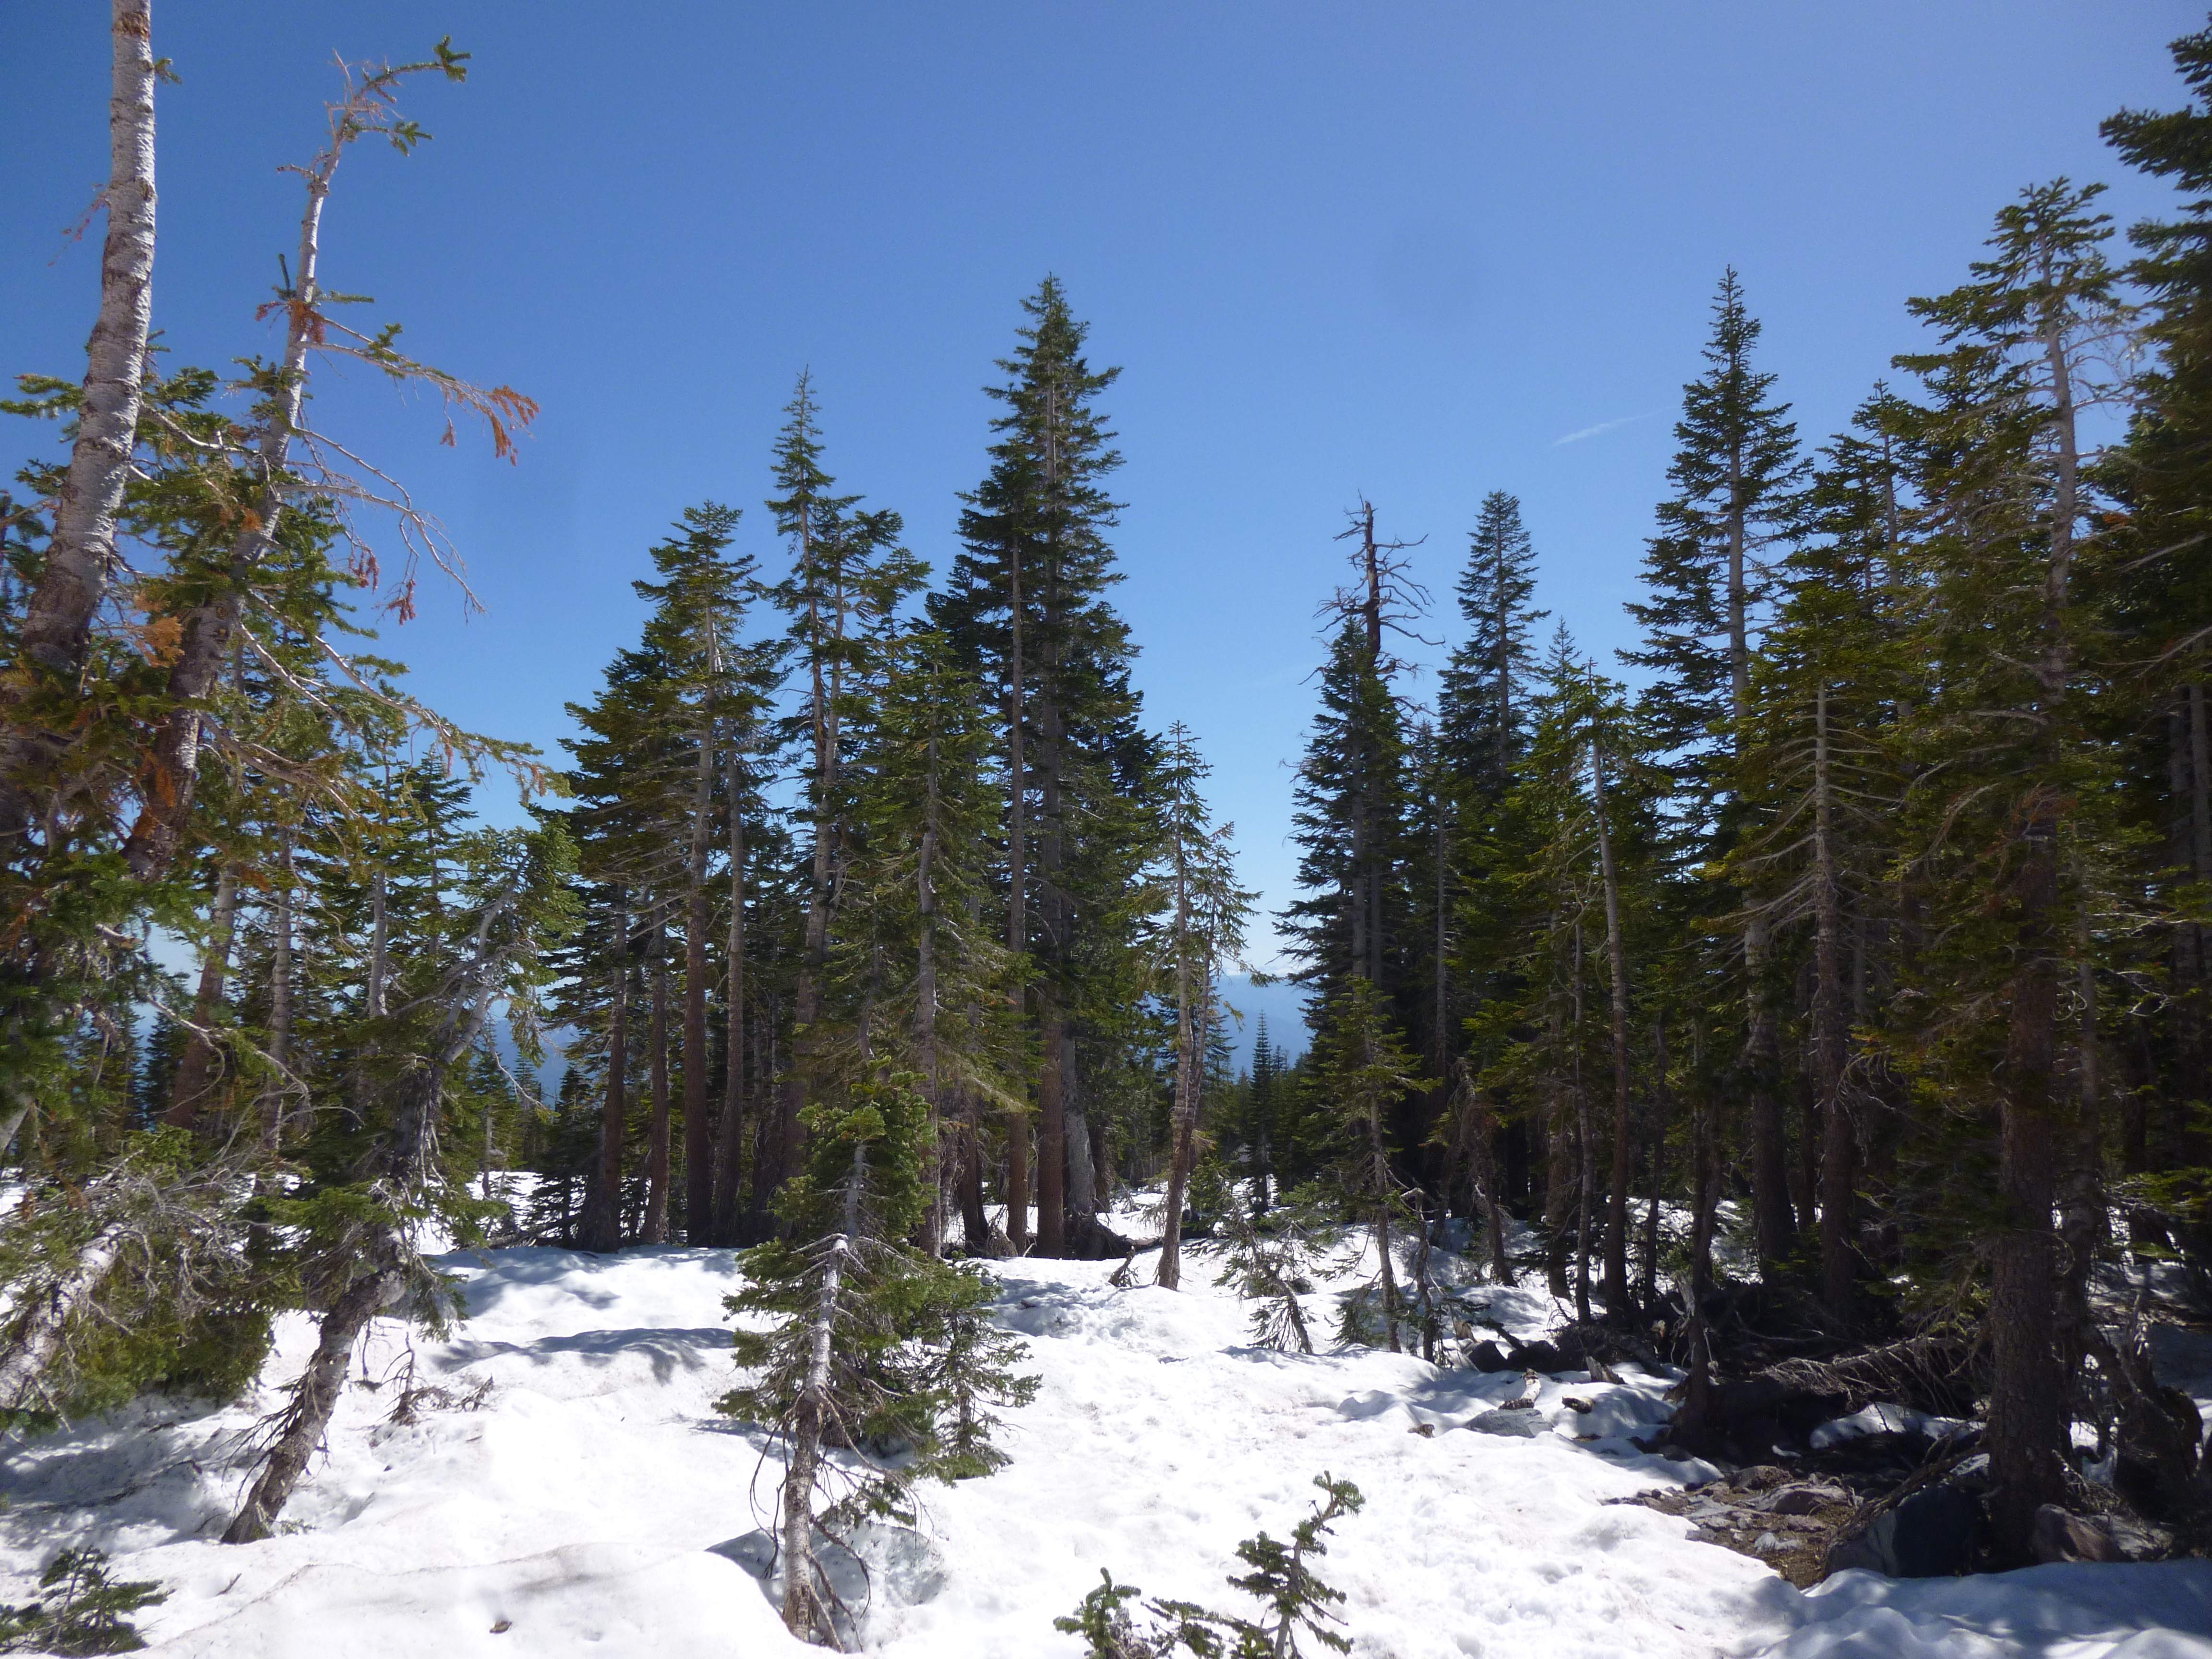
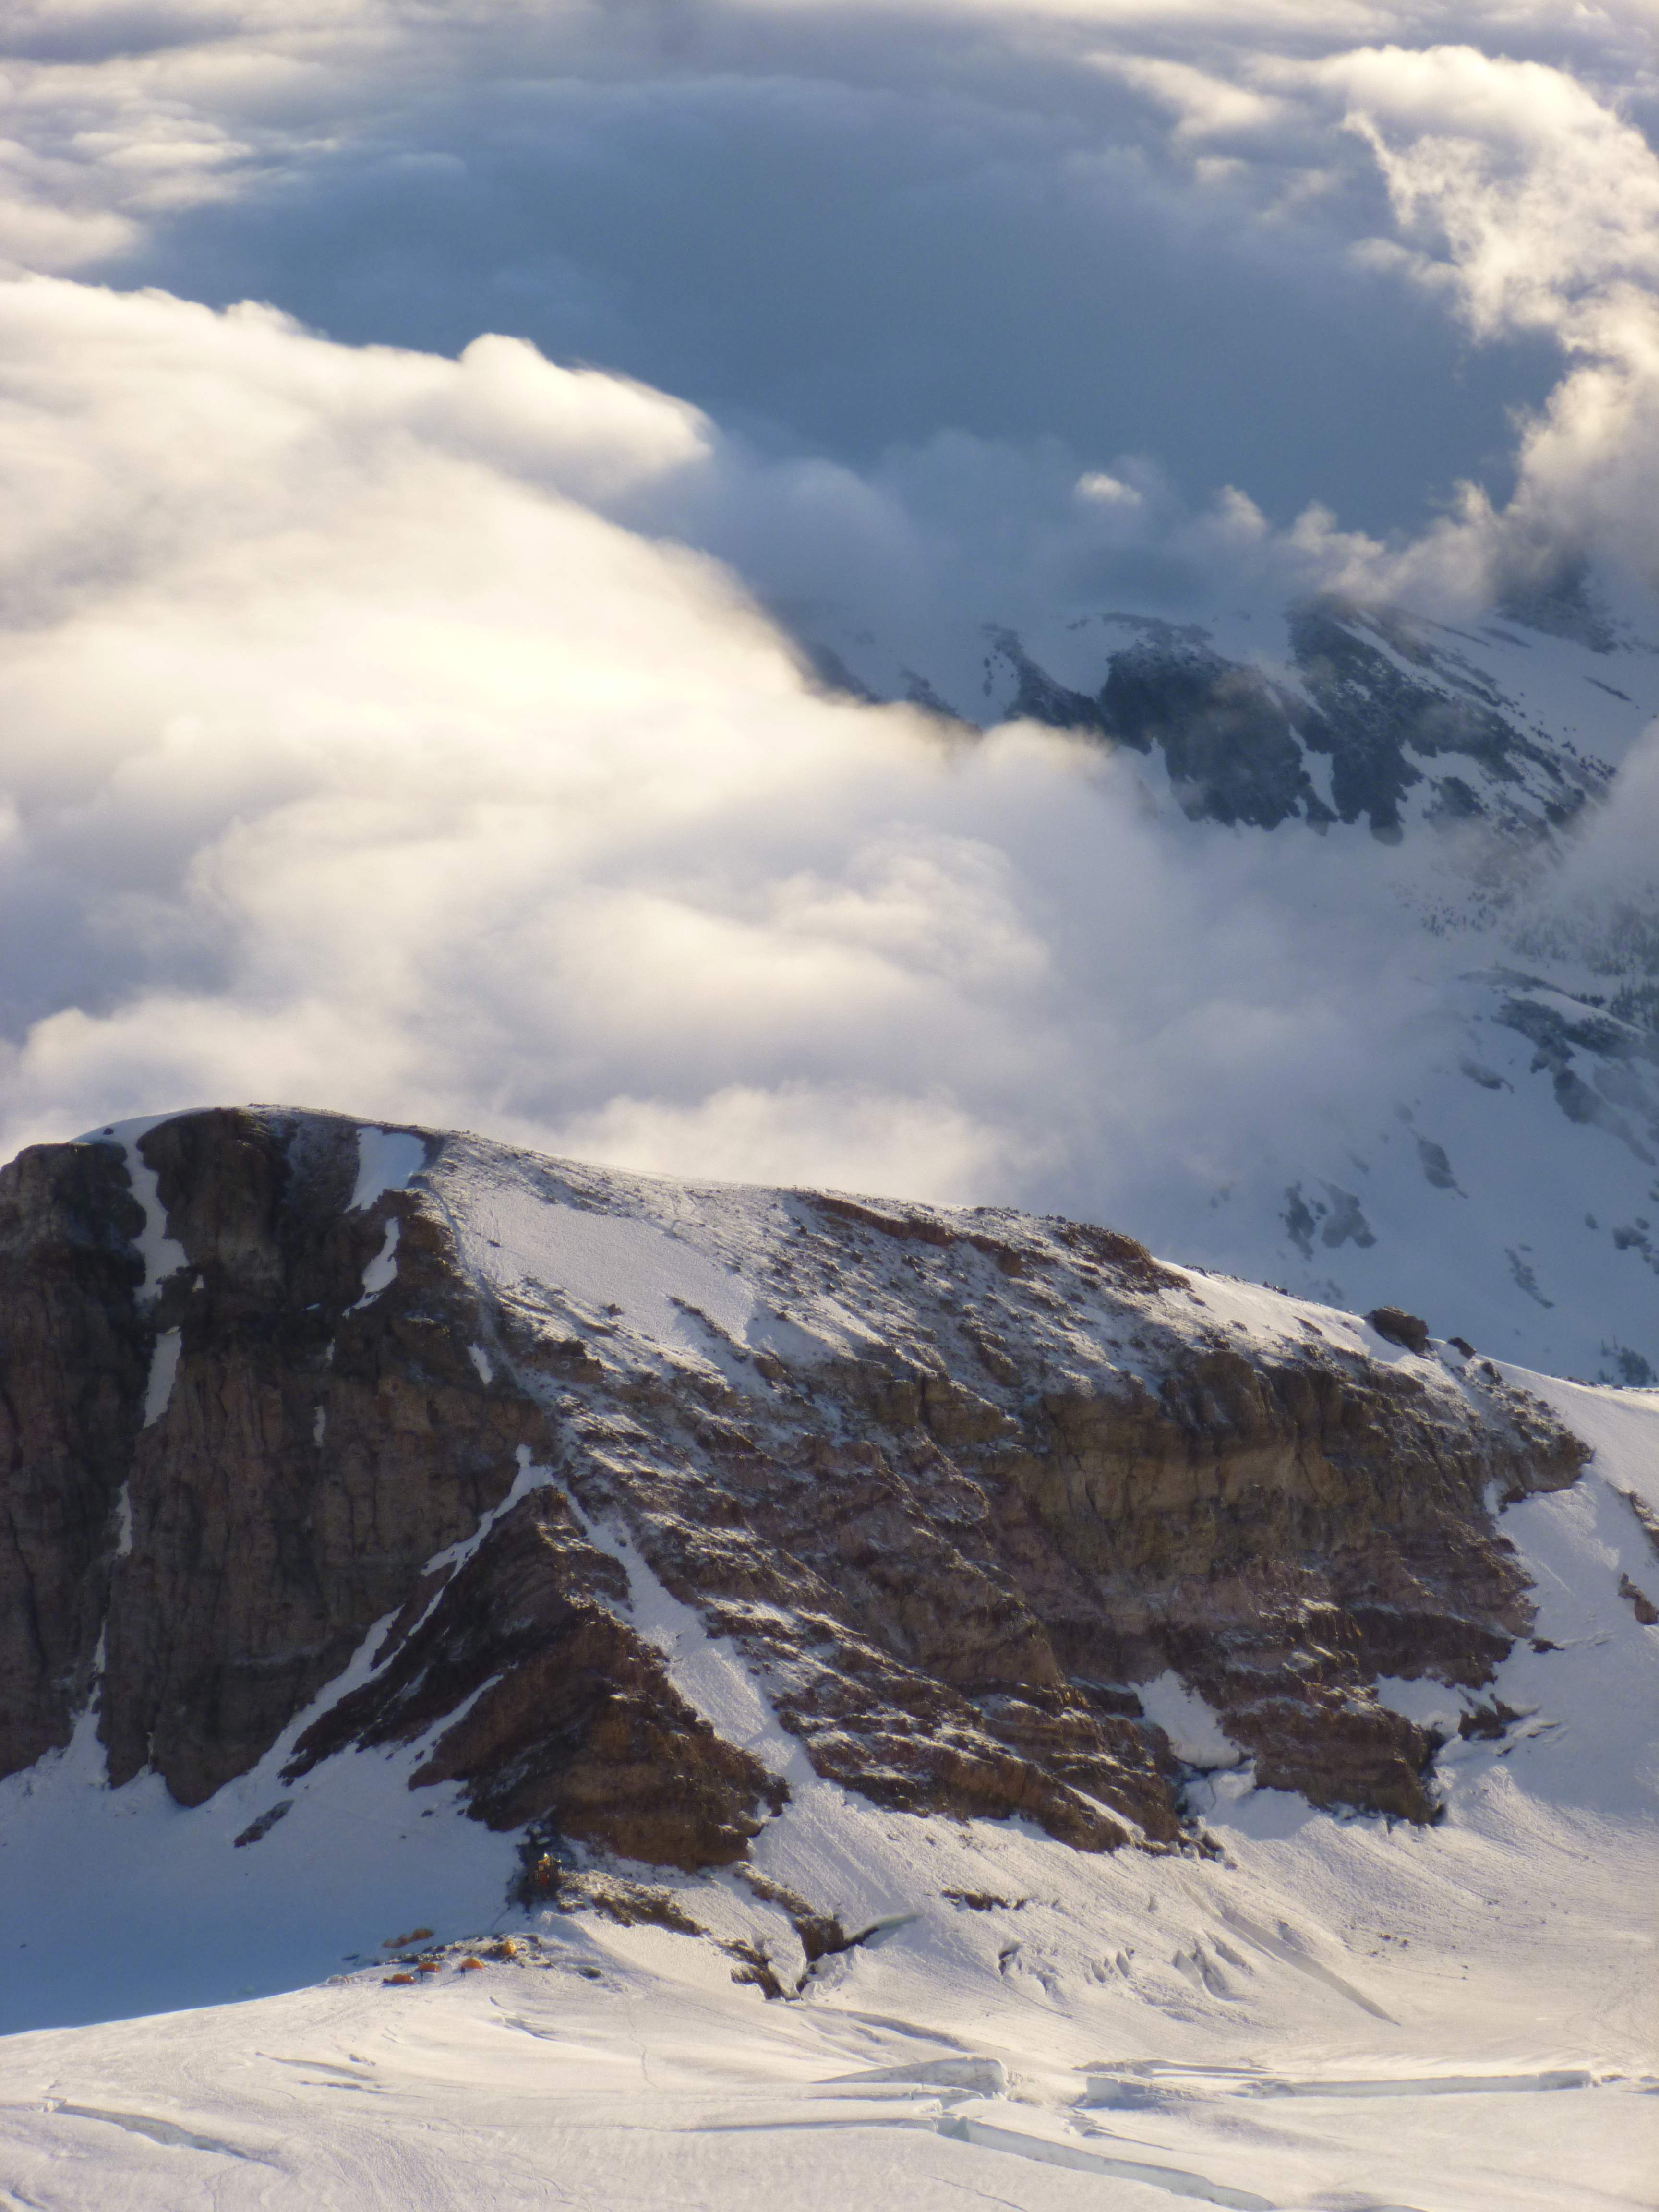
Further ahead landslides and avalanche detritus created gaps in the trees, and we got our first close-up views of Mount Rainier. The clear, glowing snow of the mountain stood in contrast to the trees on the approach path. Little Tahoma peak, a sharp and rocky sub-peak of Rainier left over from long-term erosion, was framed through the trees.

Little Tahoma Peak in the distance.
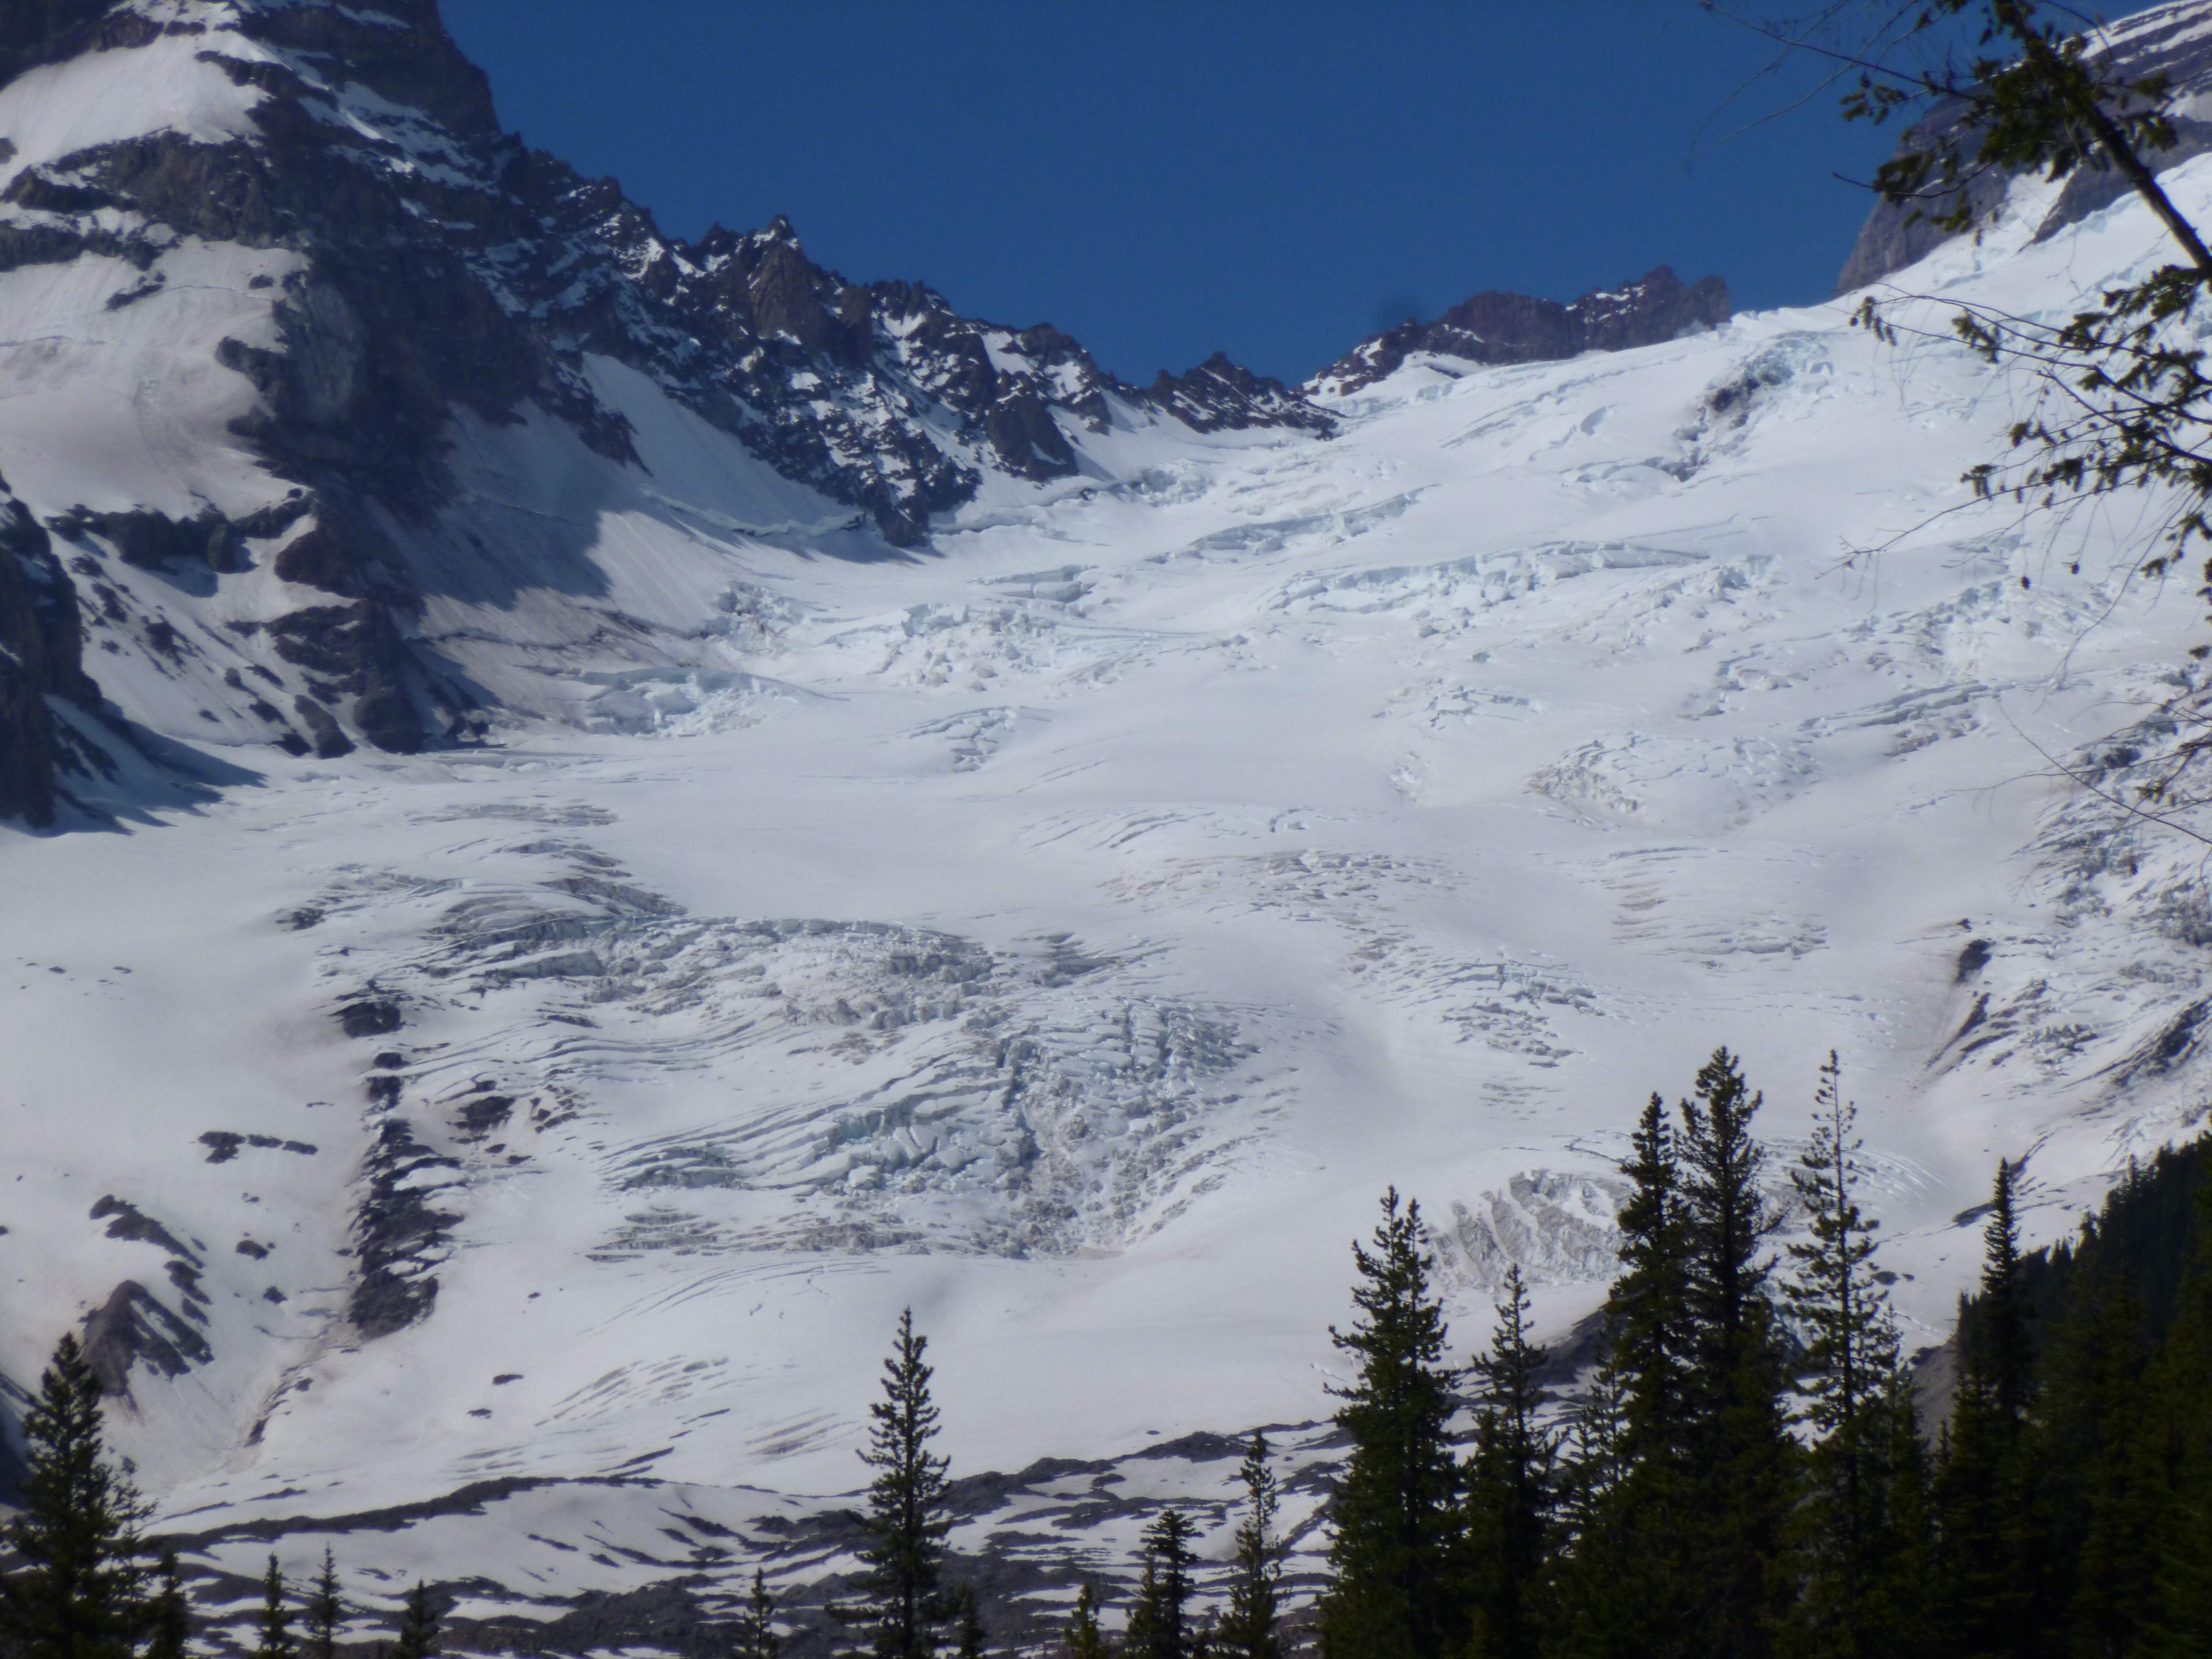
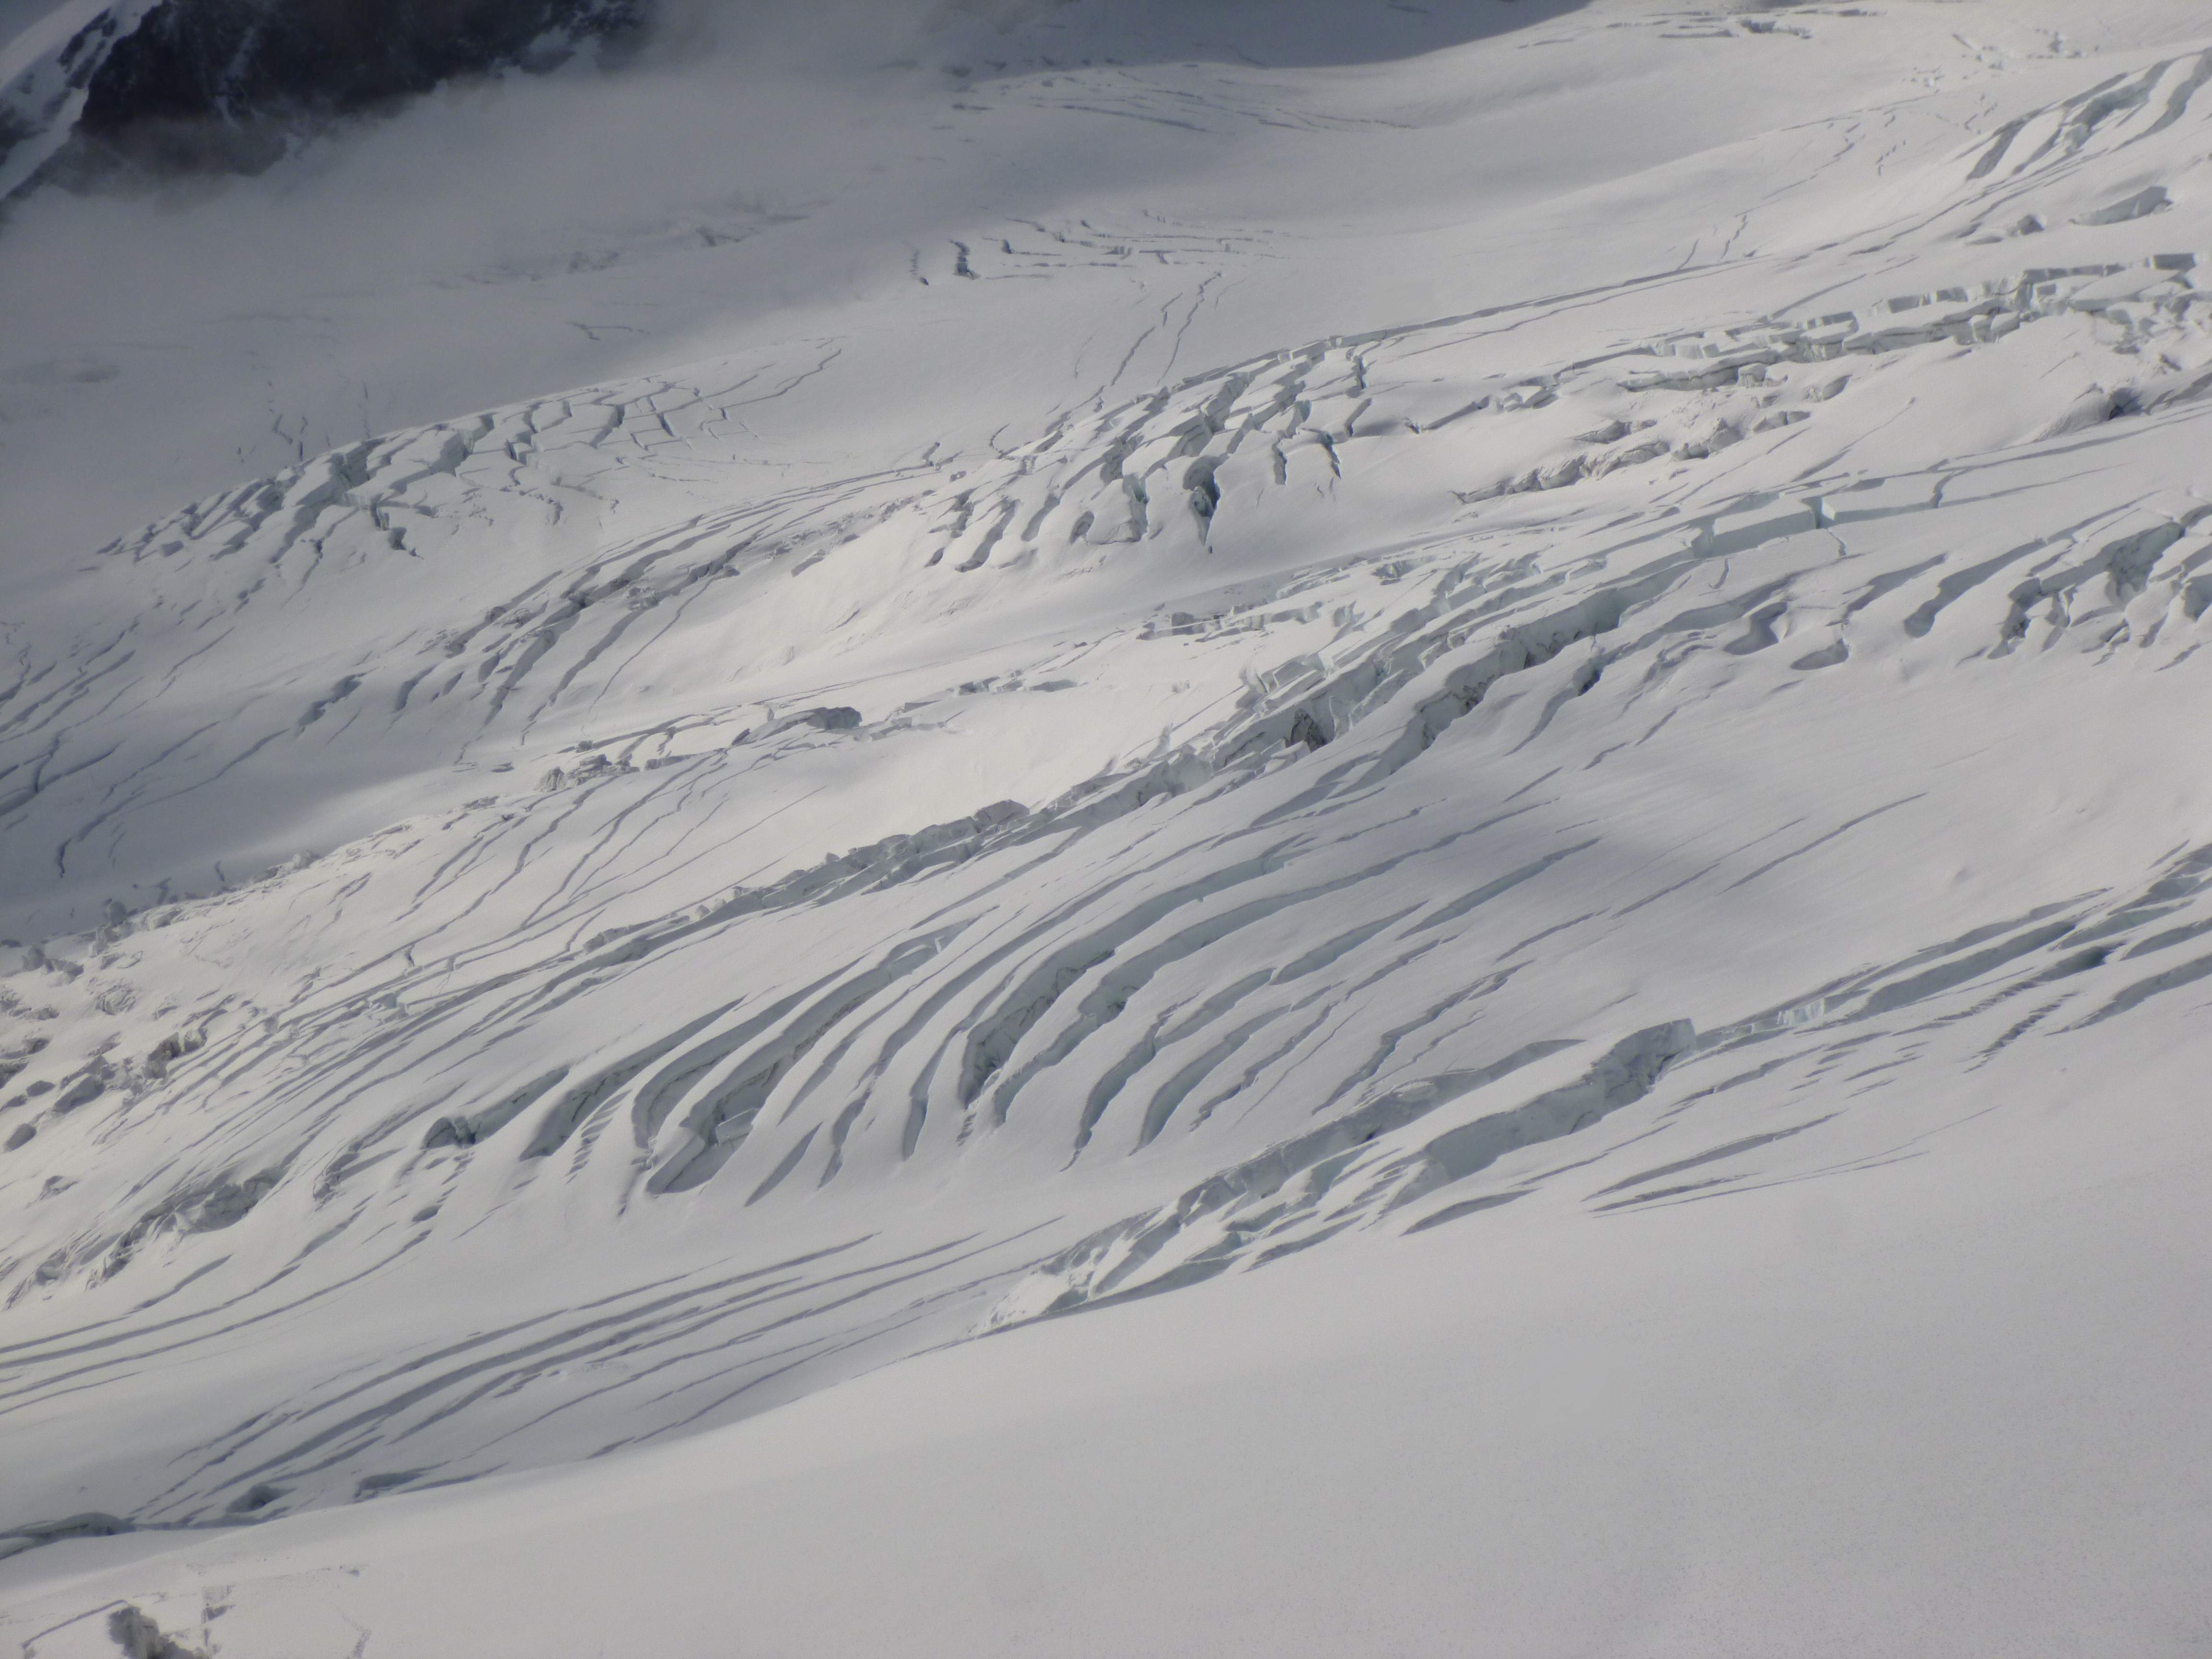
Further along we had good views of the heavily crevassed lower Emmons glacier.

Crevasse fields on the lower Emmons Glacier.
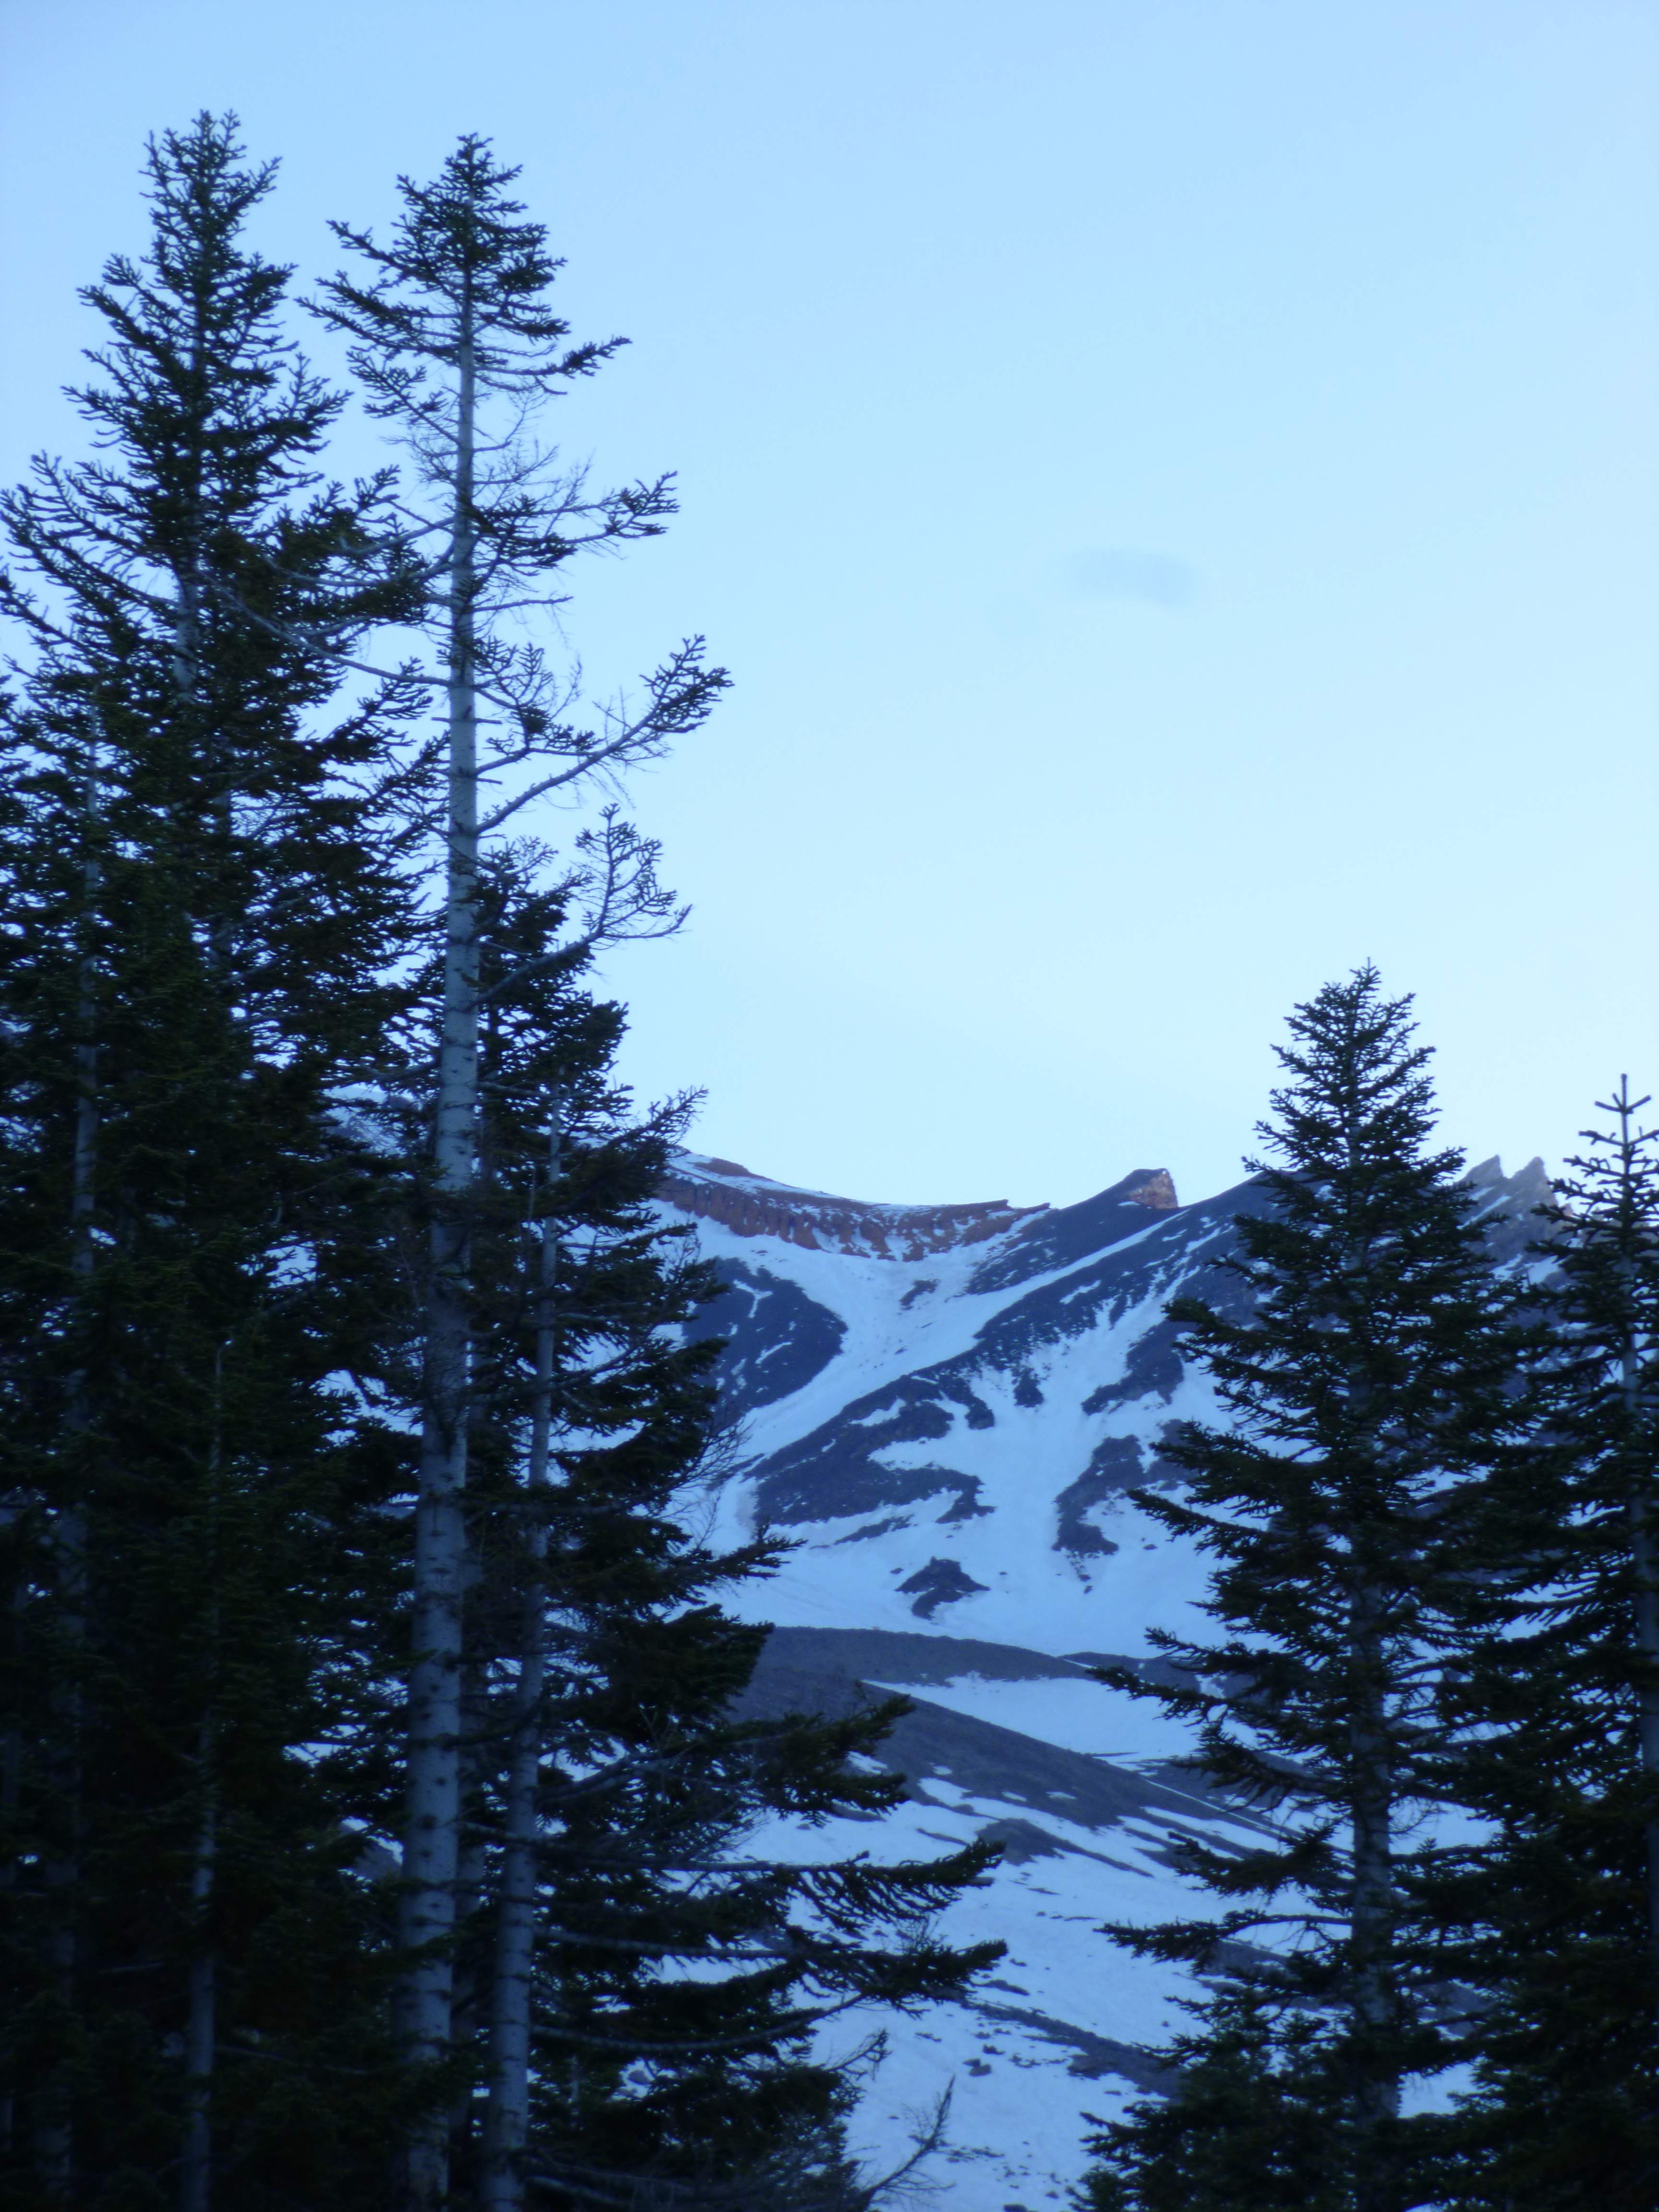
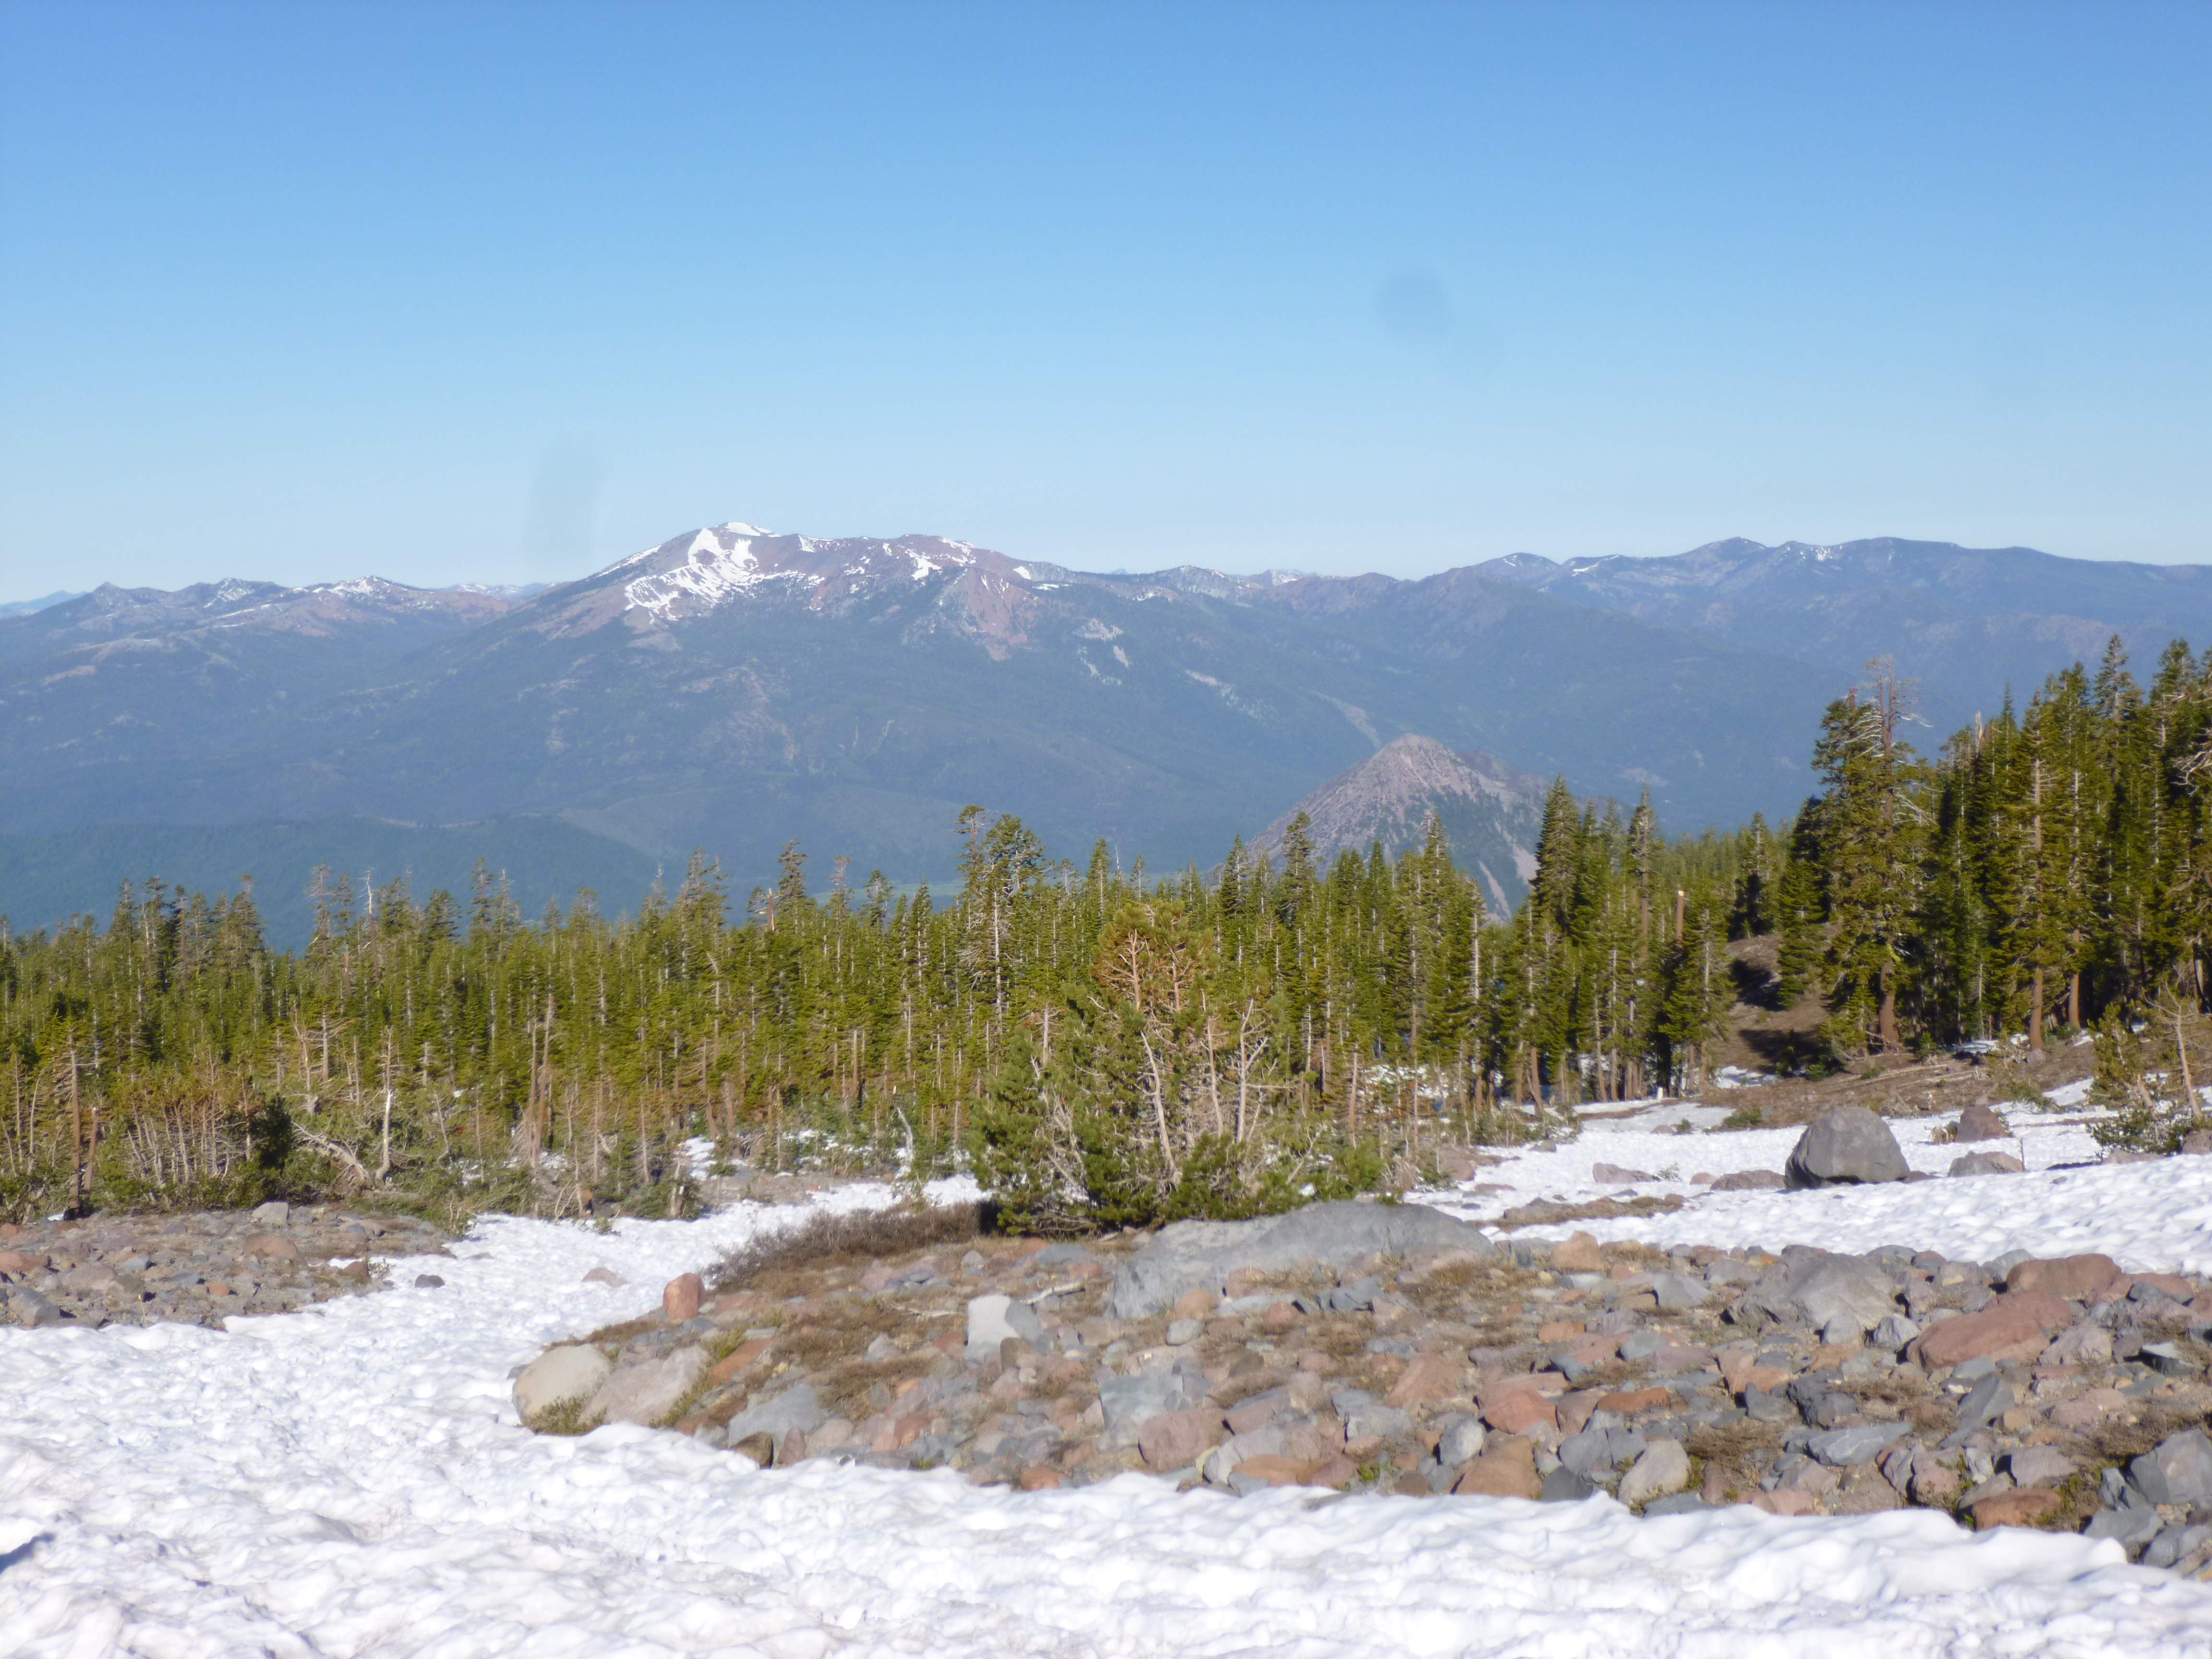
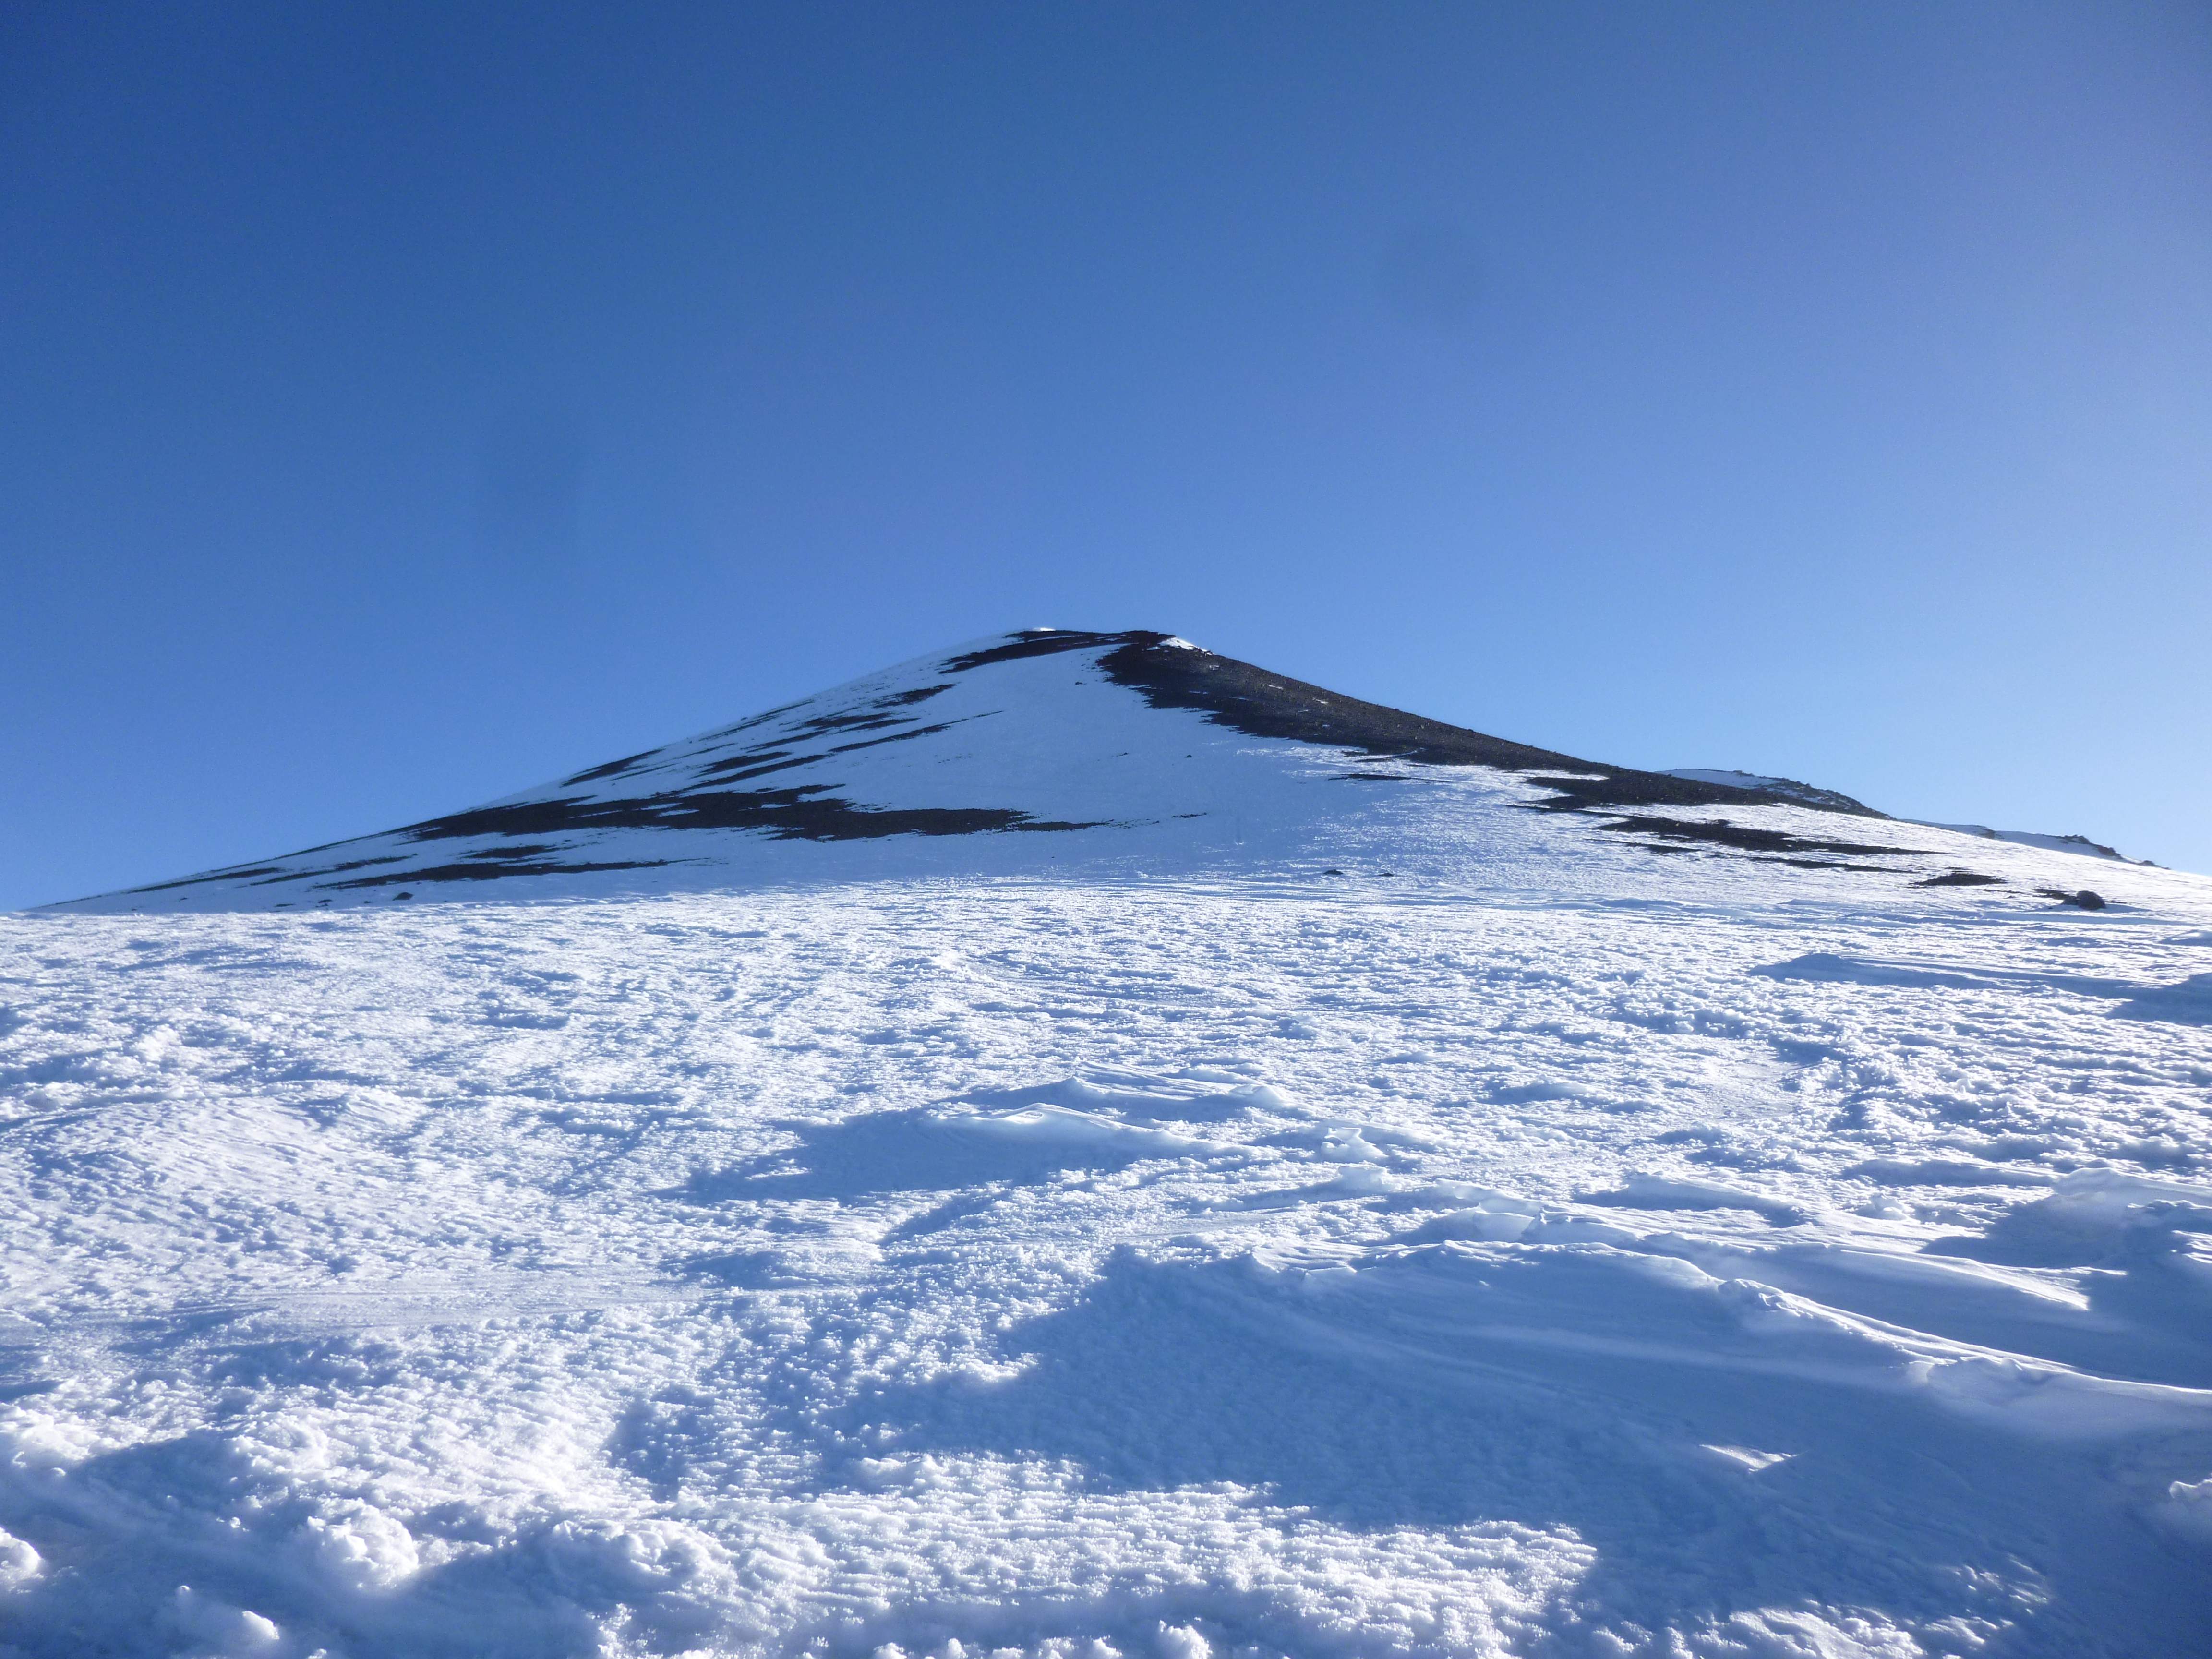
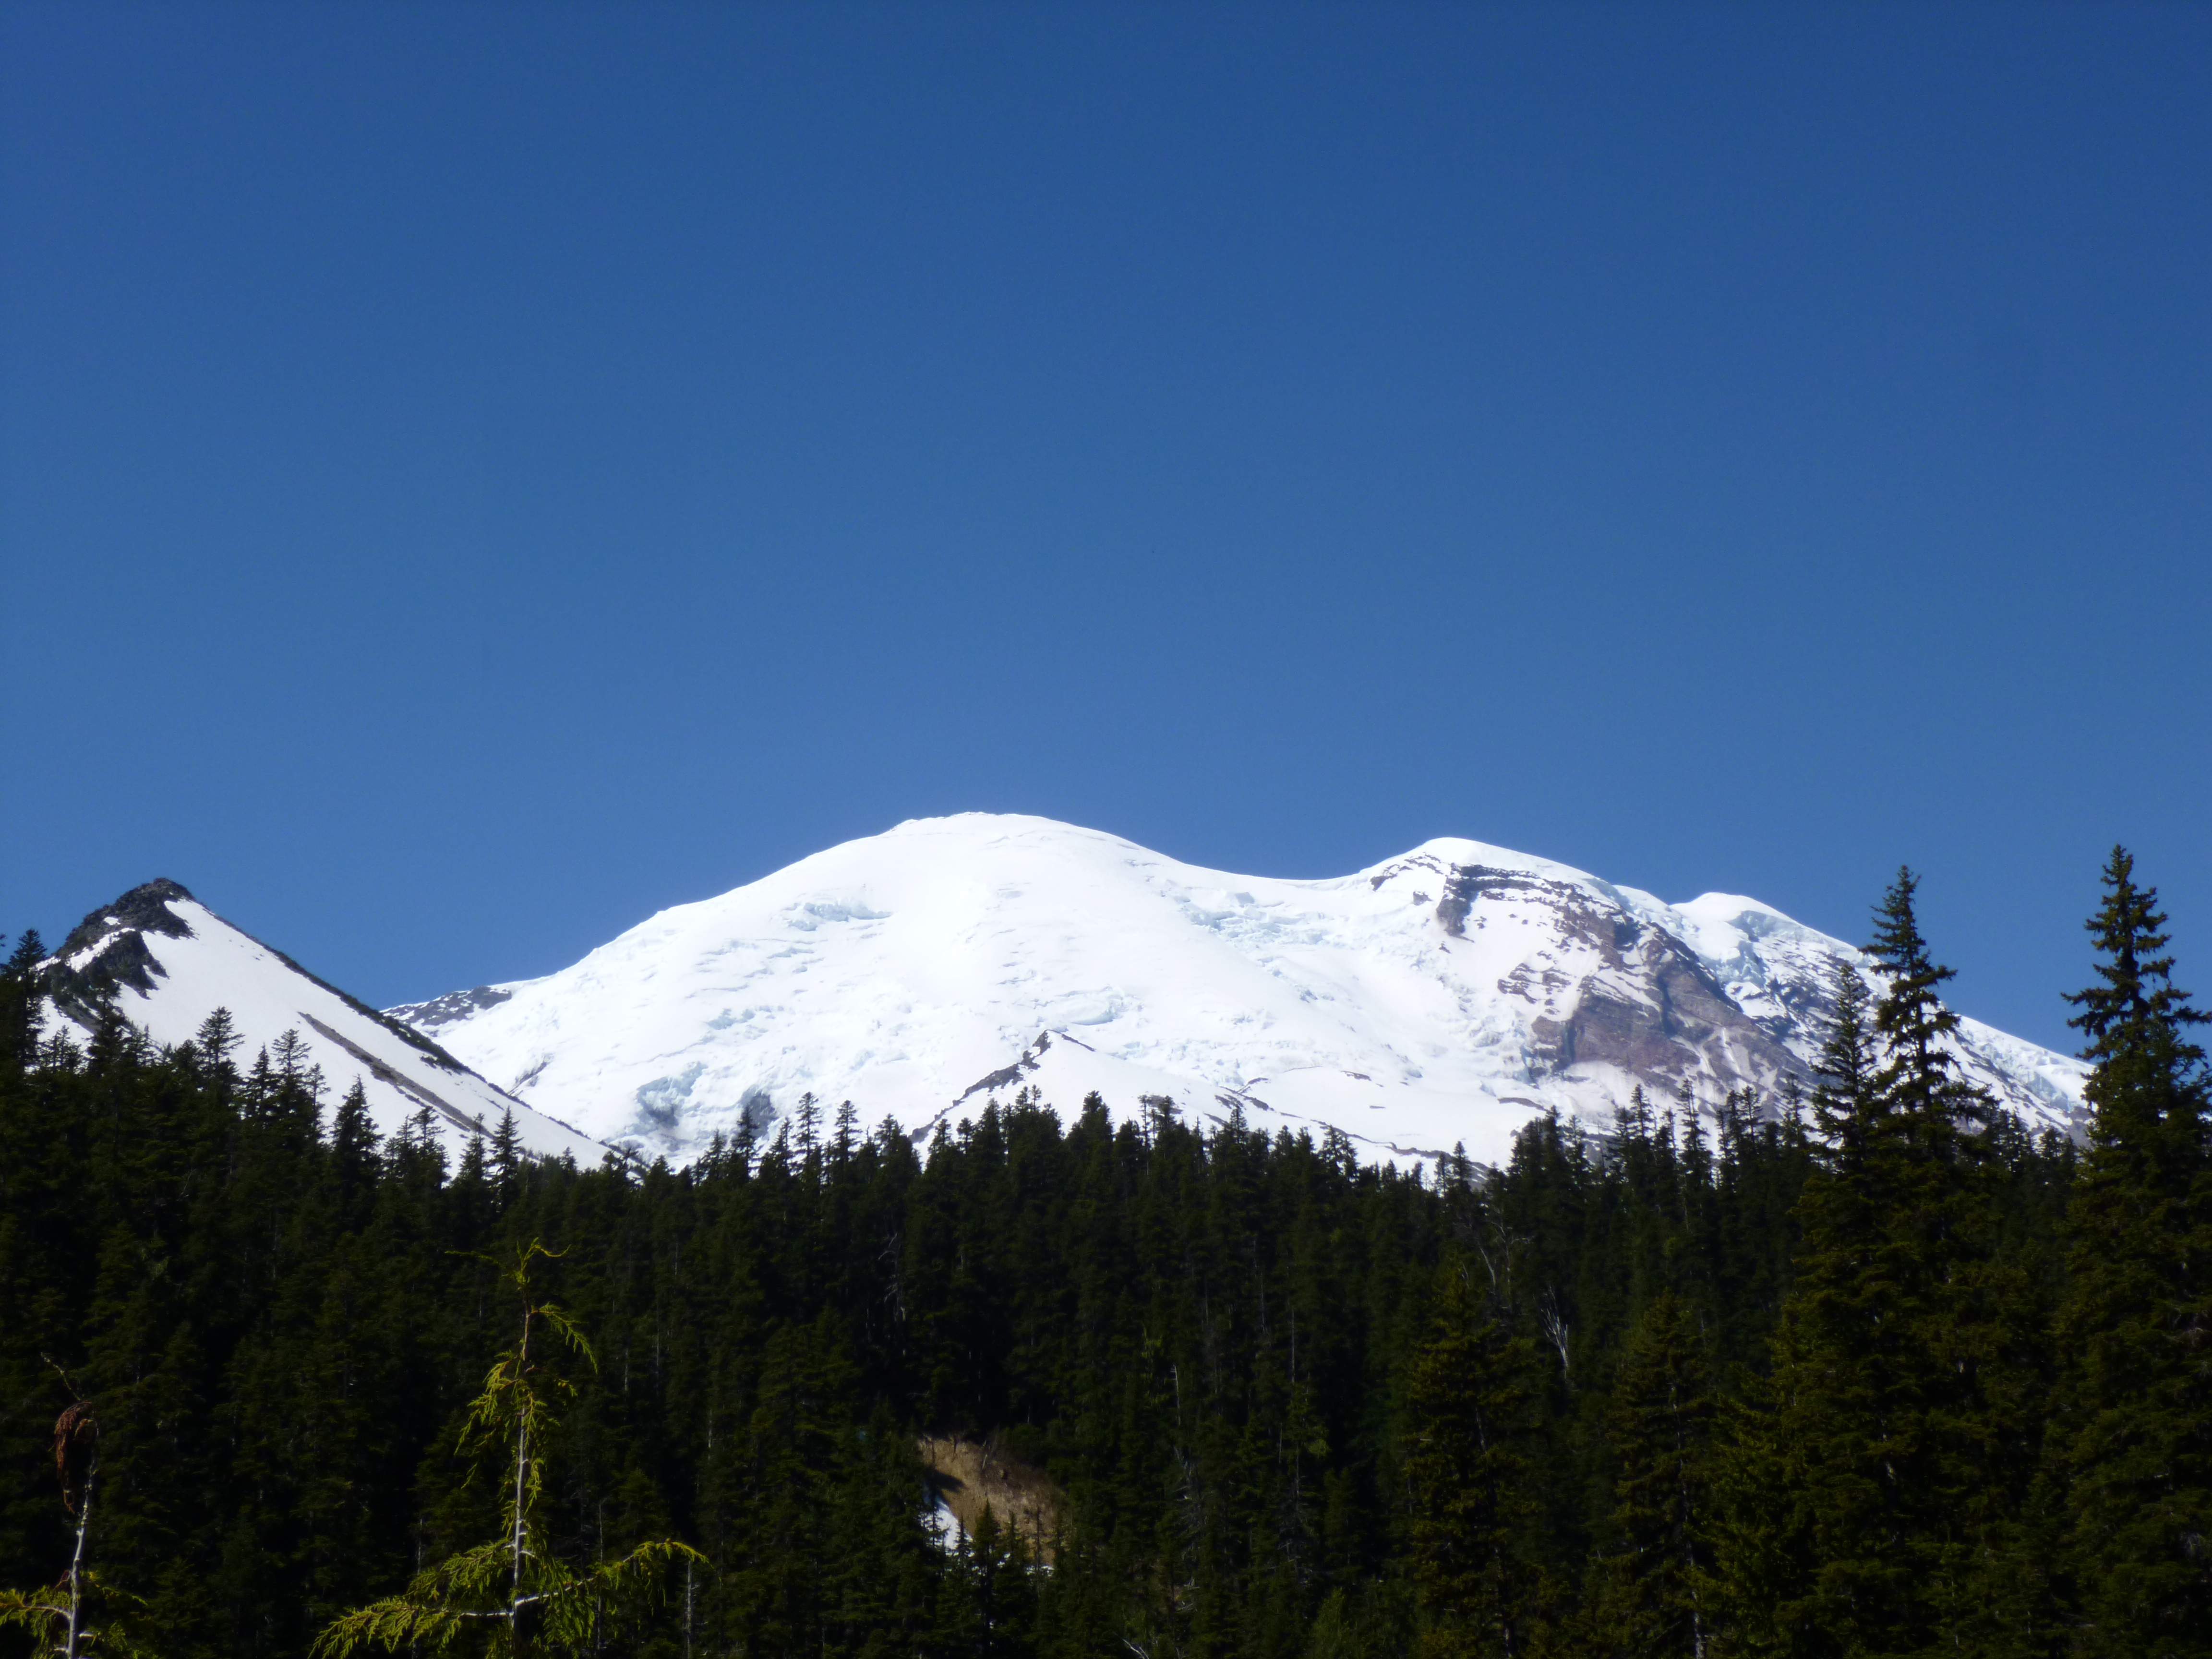
The weather was perfect and the sky was clear of clouds. Rainier is famous for its quick-changing, inclement weather, and we were very fortunate to have unobstructed views of the mountain.

Rainier in the distance.
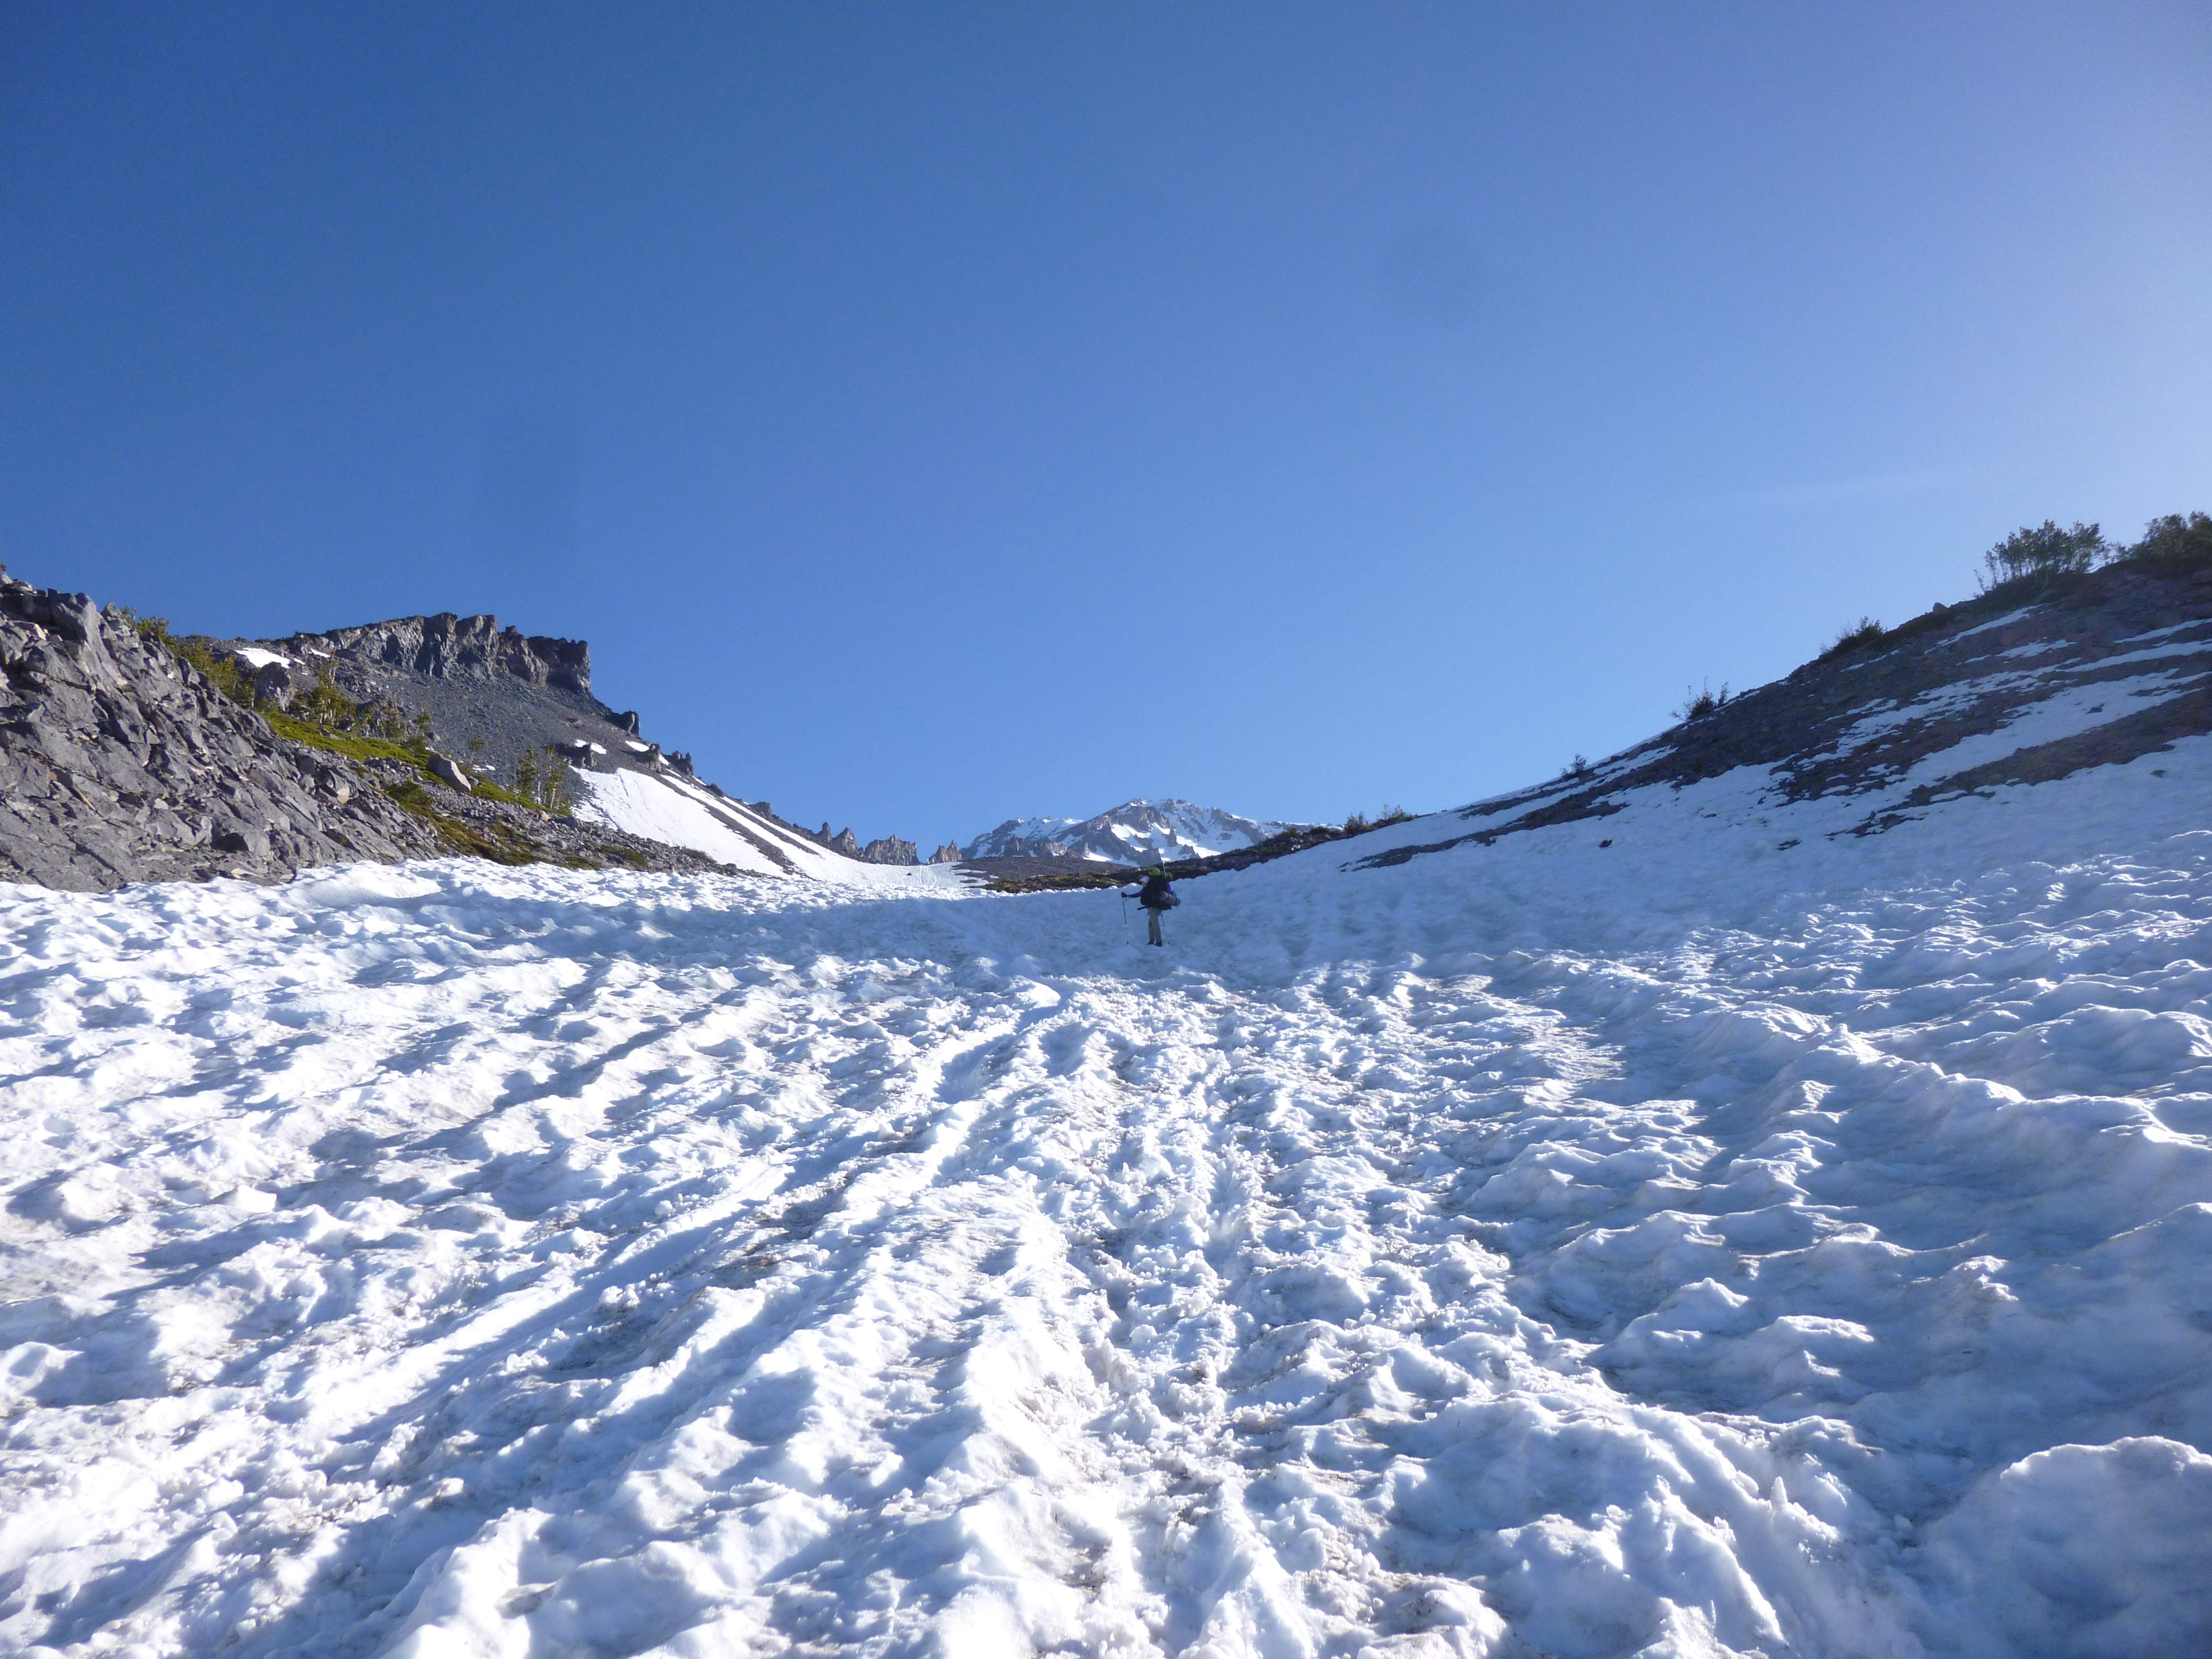
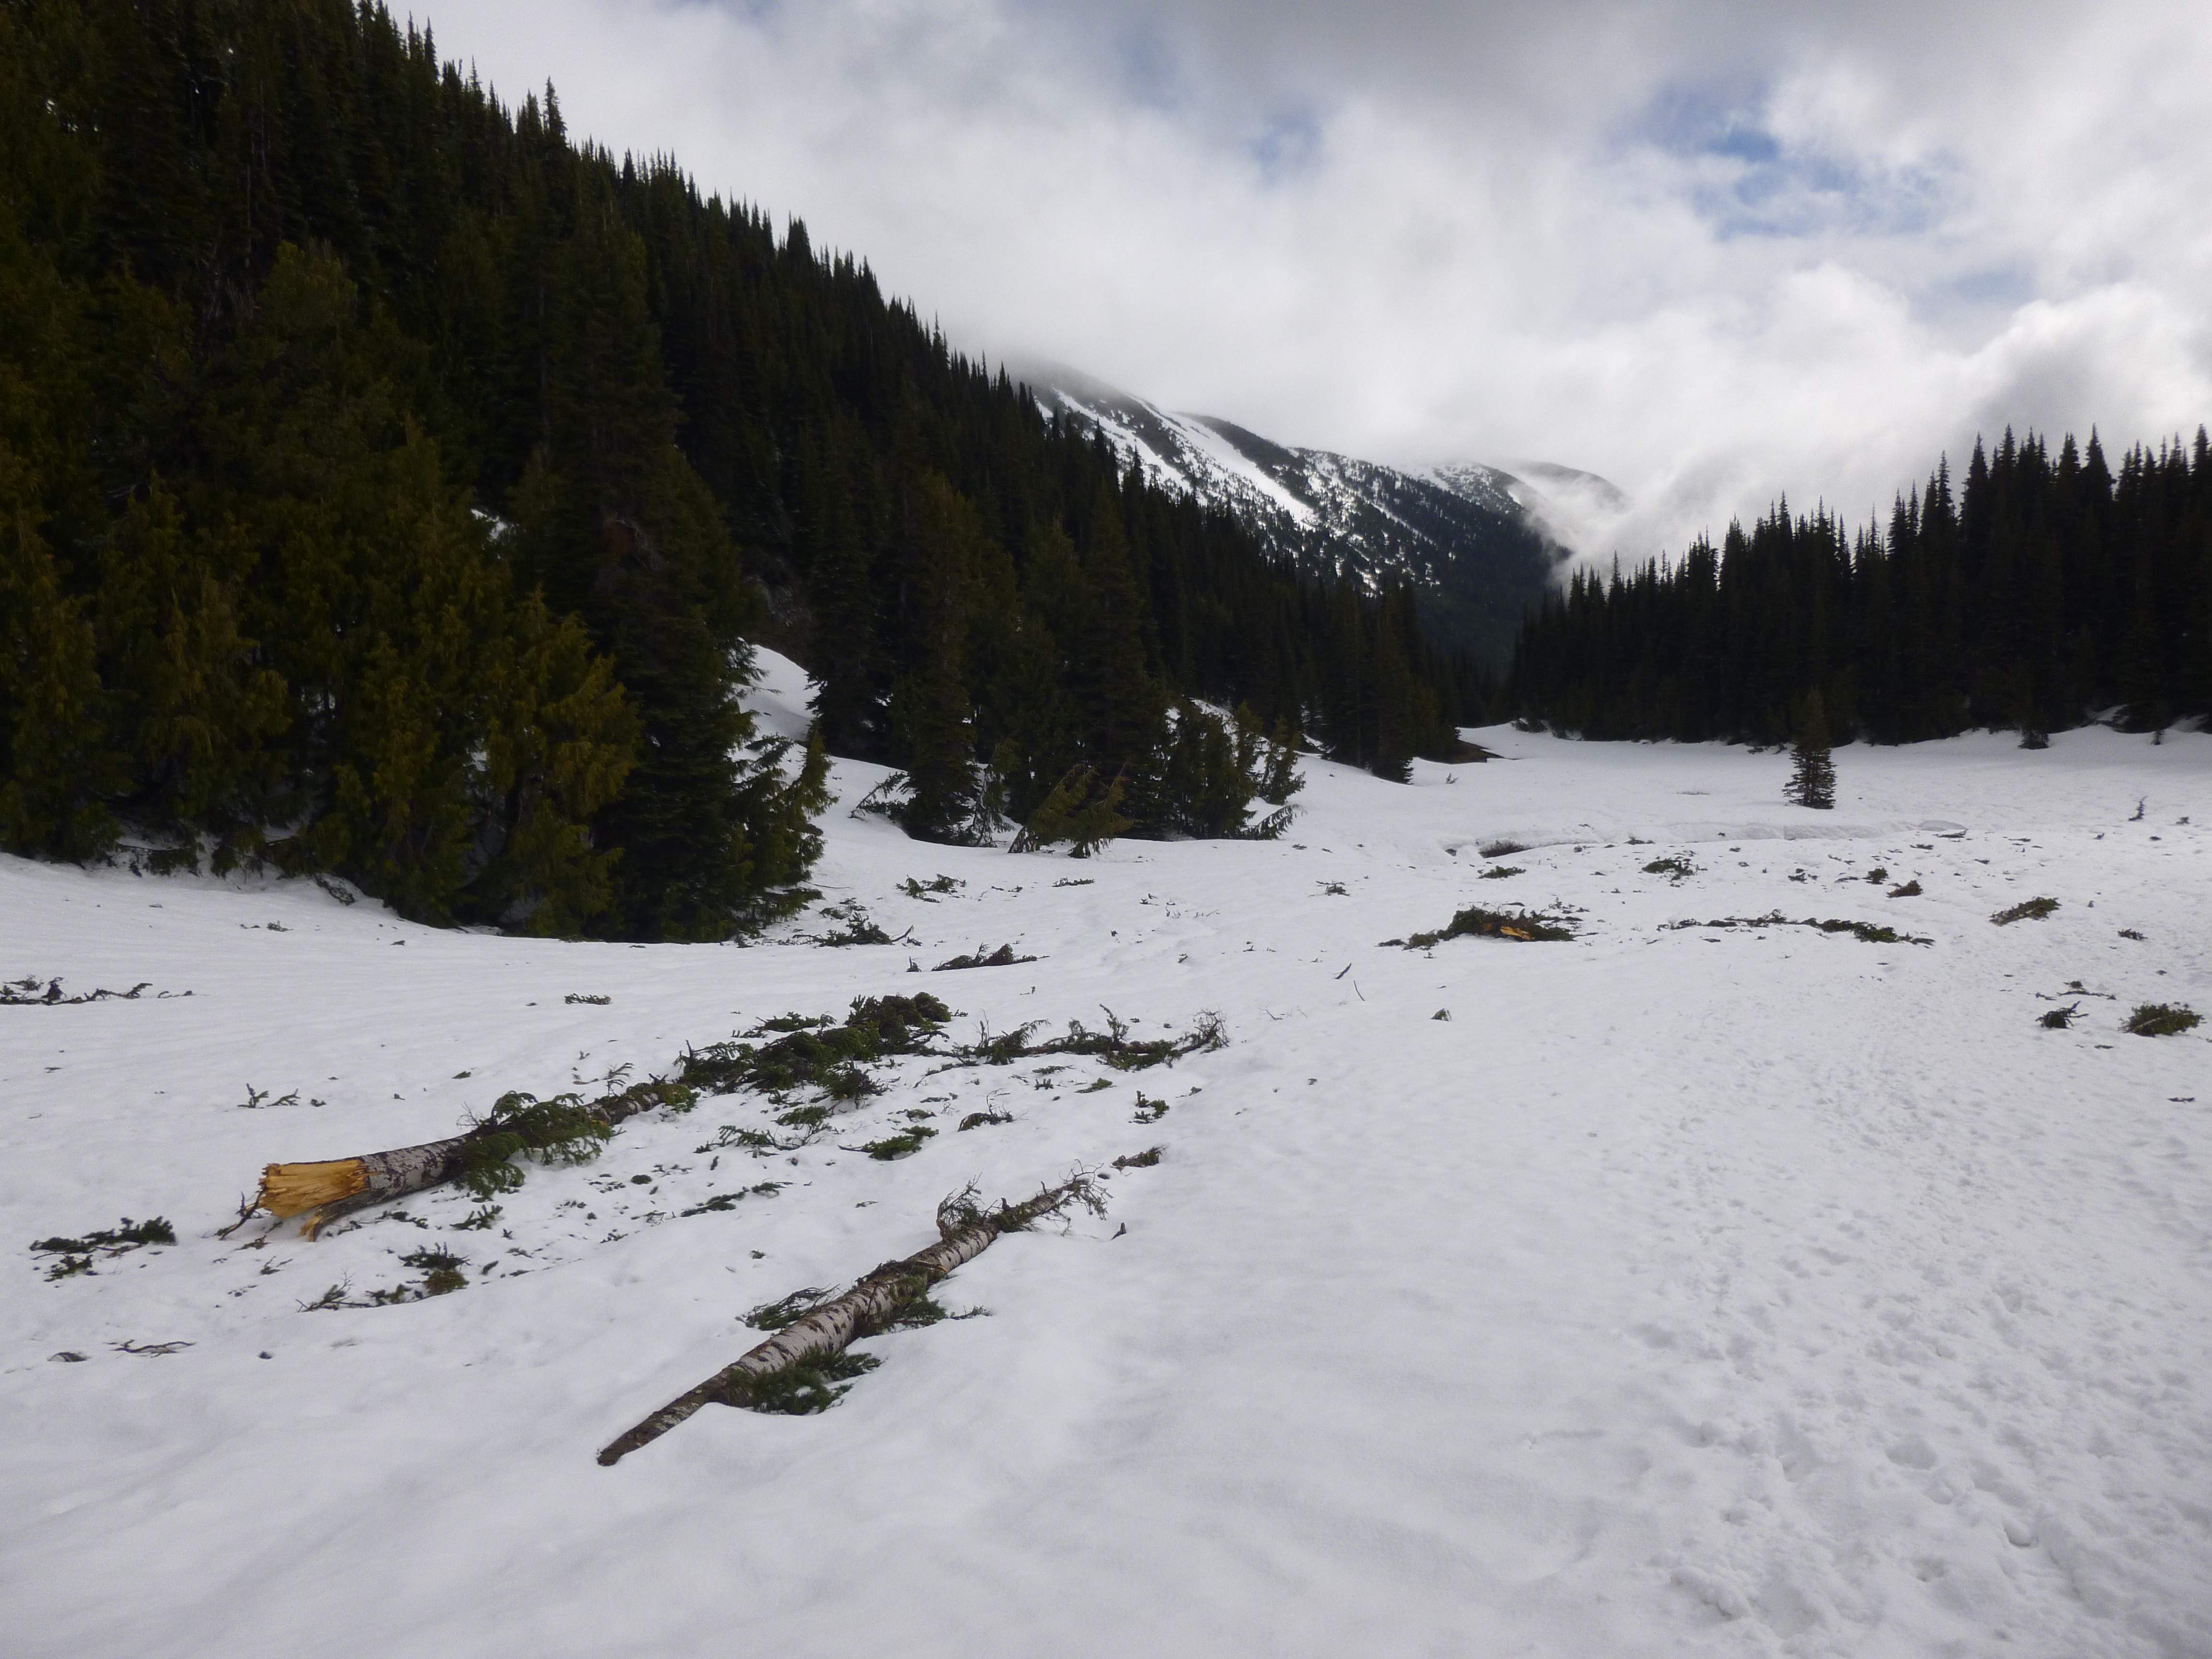
Higher up, the maintained trail disappeared under increasingly heavy snow cover. We continued following a route through the trees marked off by national park wands.

Continuing through the trees over snow.
Finally we broke the treeline, and the Inter Glacier came into view above us. The Inter Glacier was covered in ski and snowboard tracks, and we saw a few skiers descending. In such great weather I found myself wishing I had my snowboard with me! Our itinerary for the first day was relaxed, and the plan was to pitch a short-camp near the top of the Inter Glacier.

The Inter Glacier, covered in ski tracks. We would pitch our first day’s camp near the highest rocks in the middle of this picture.
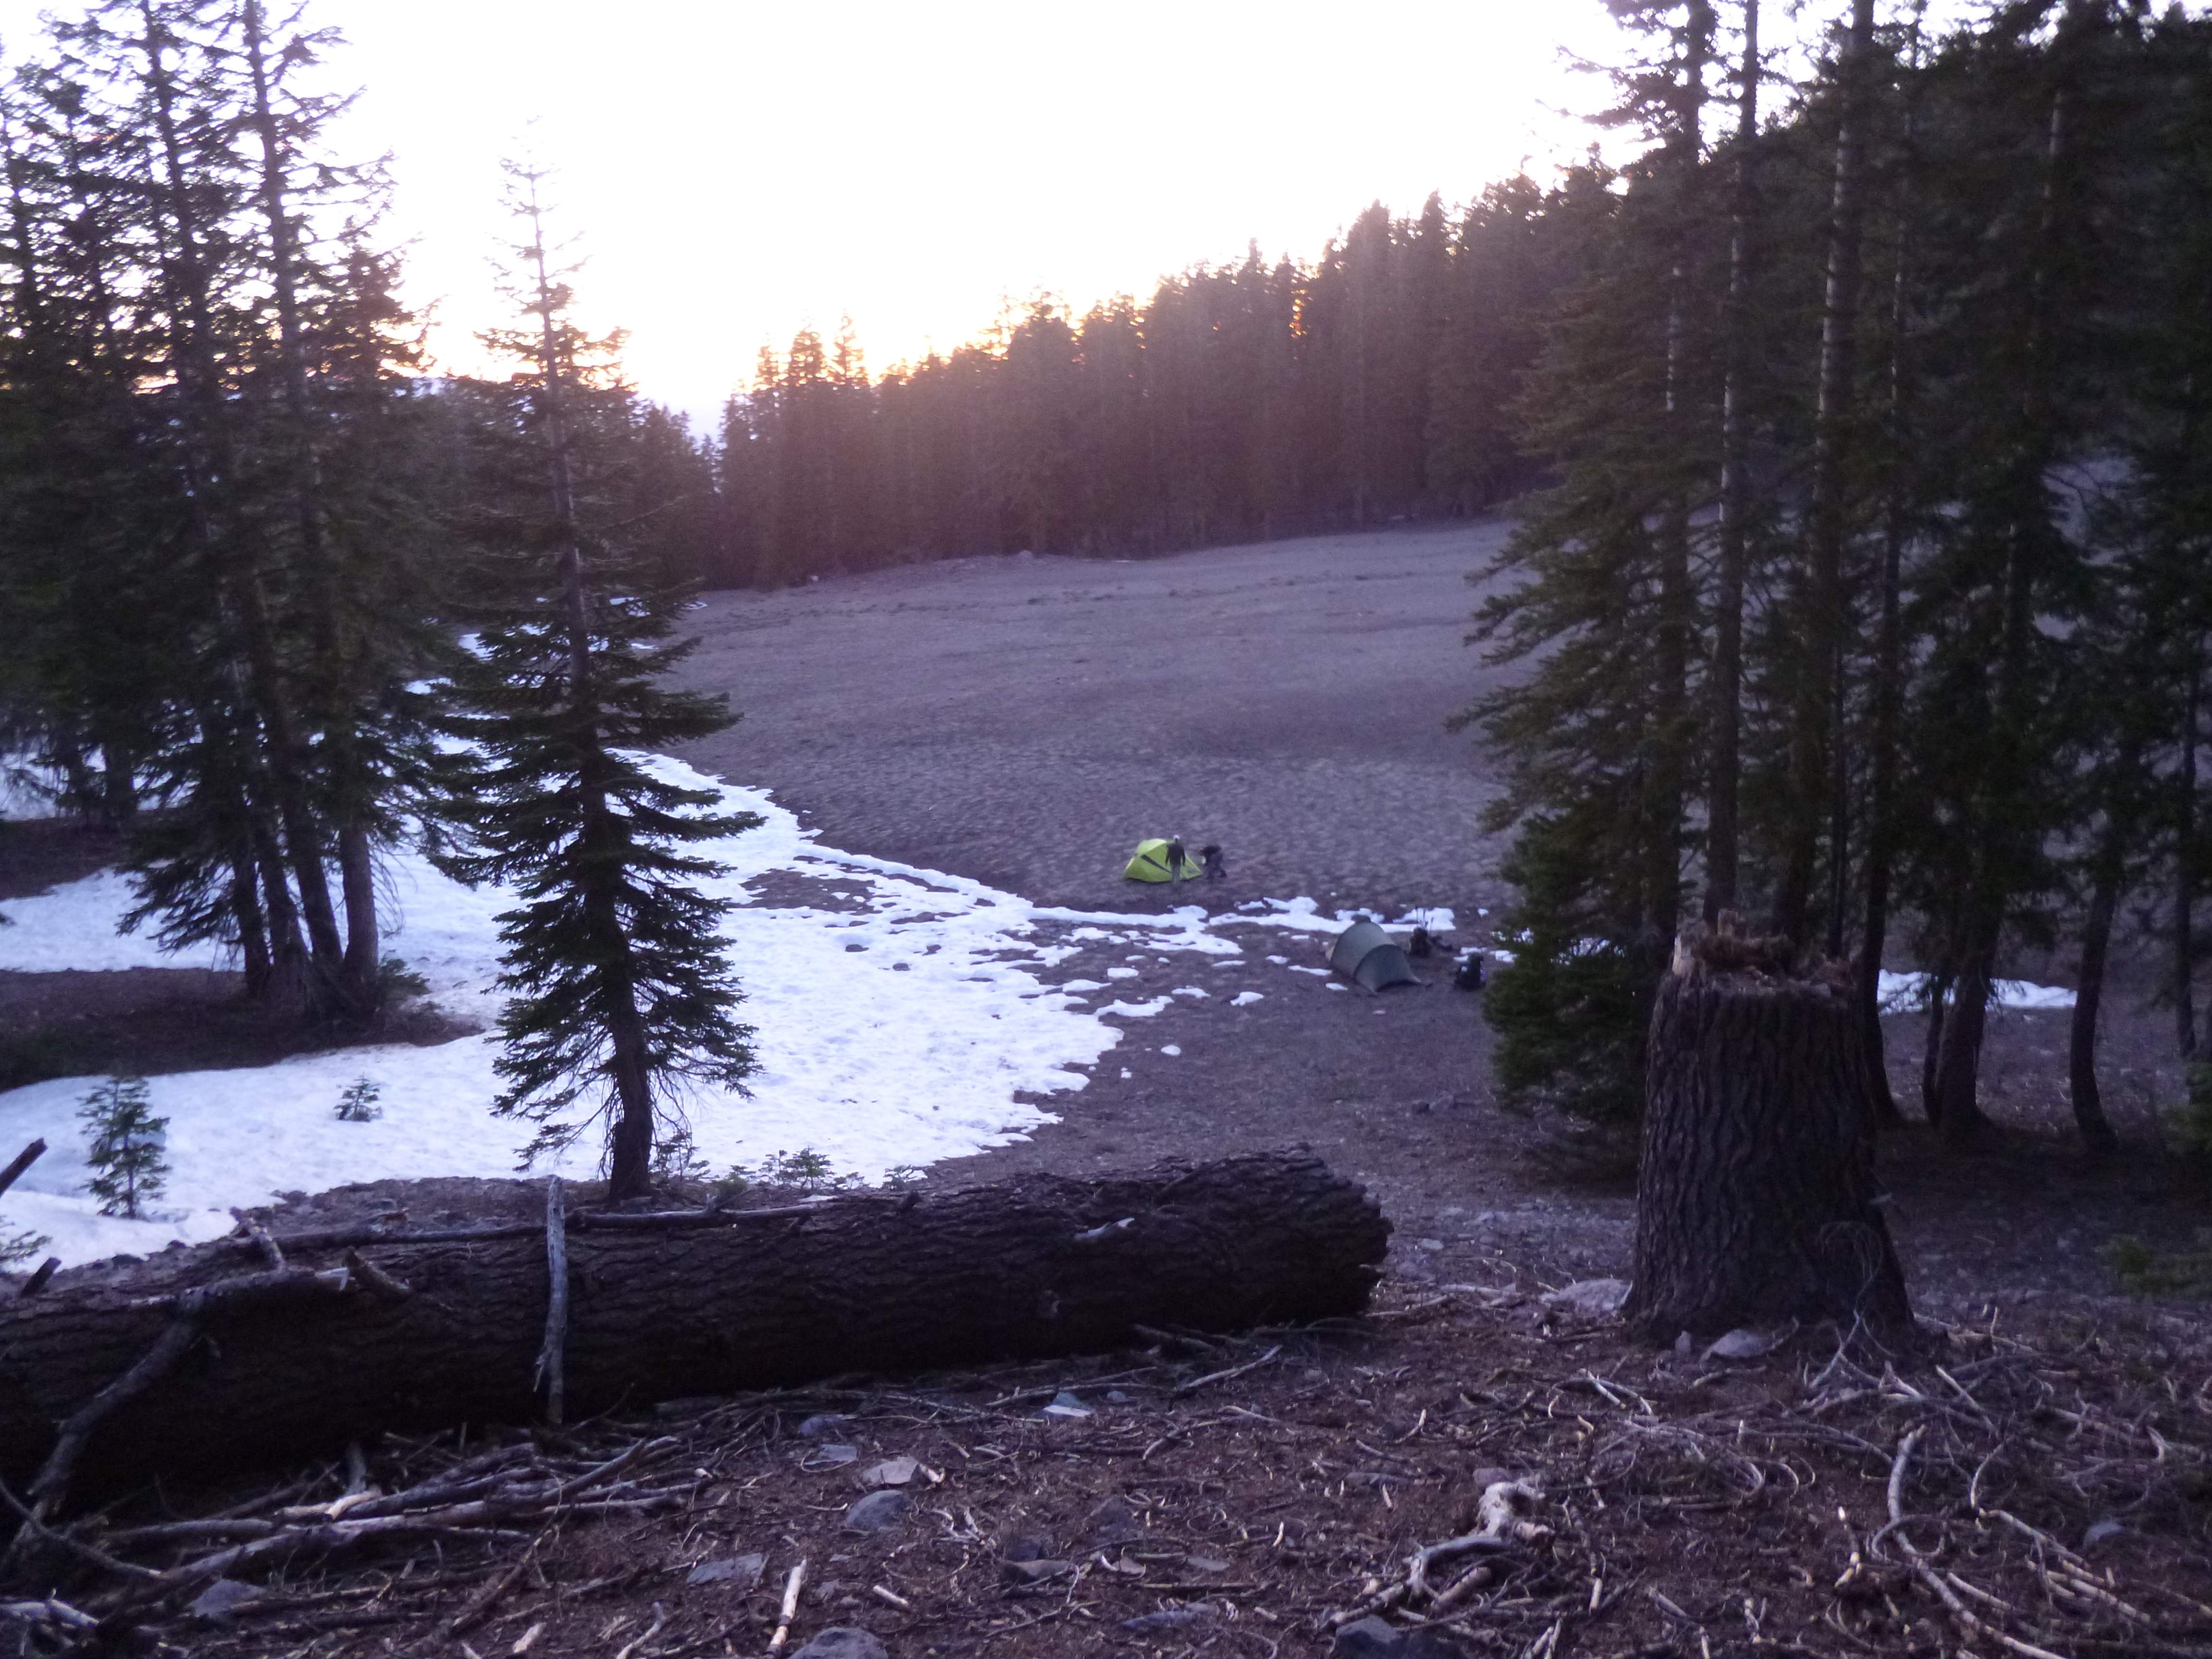
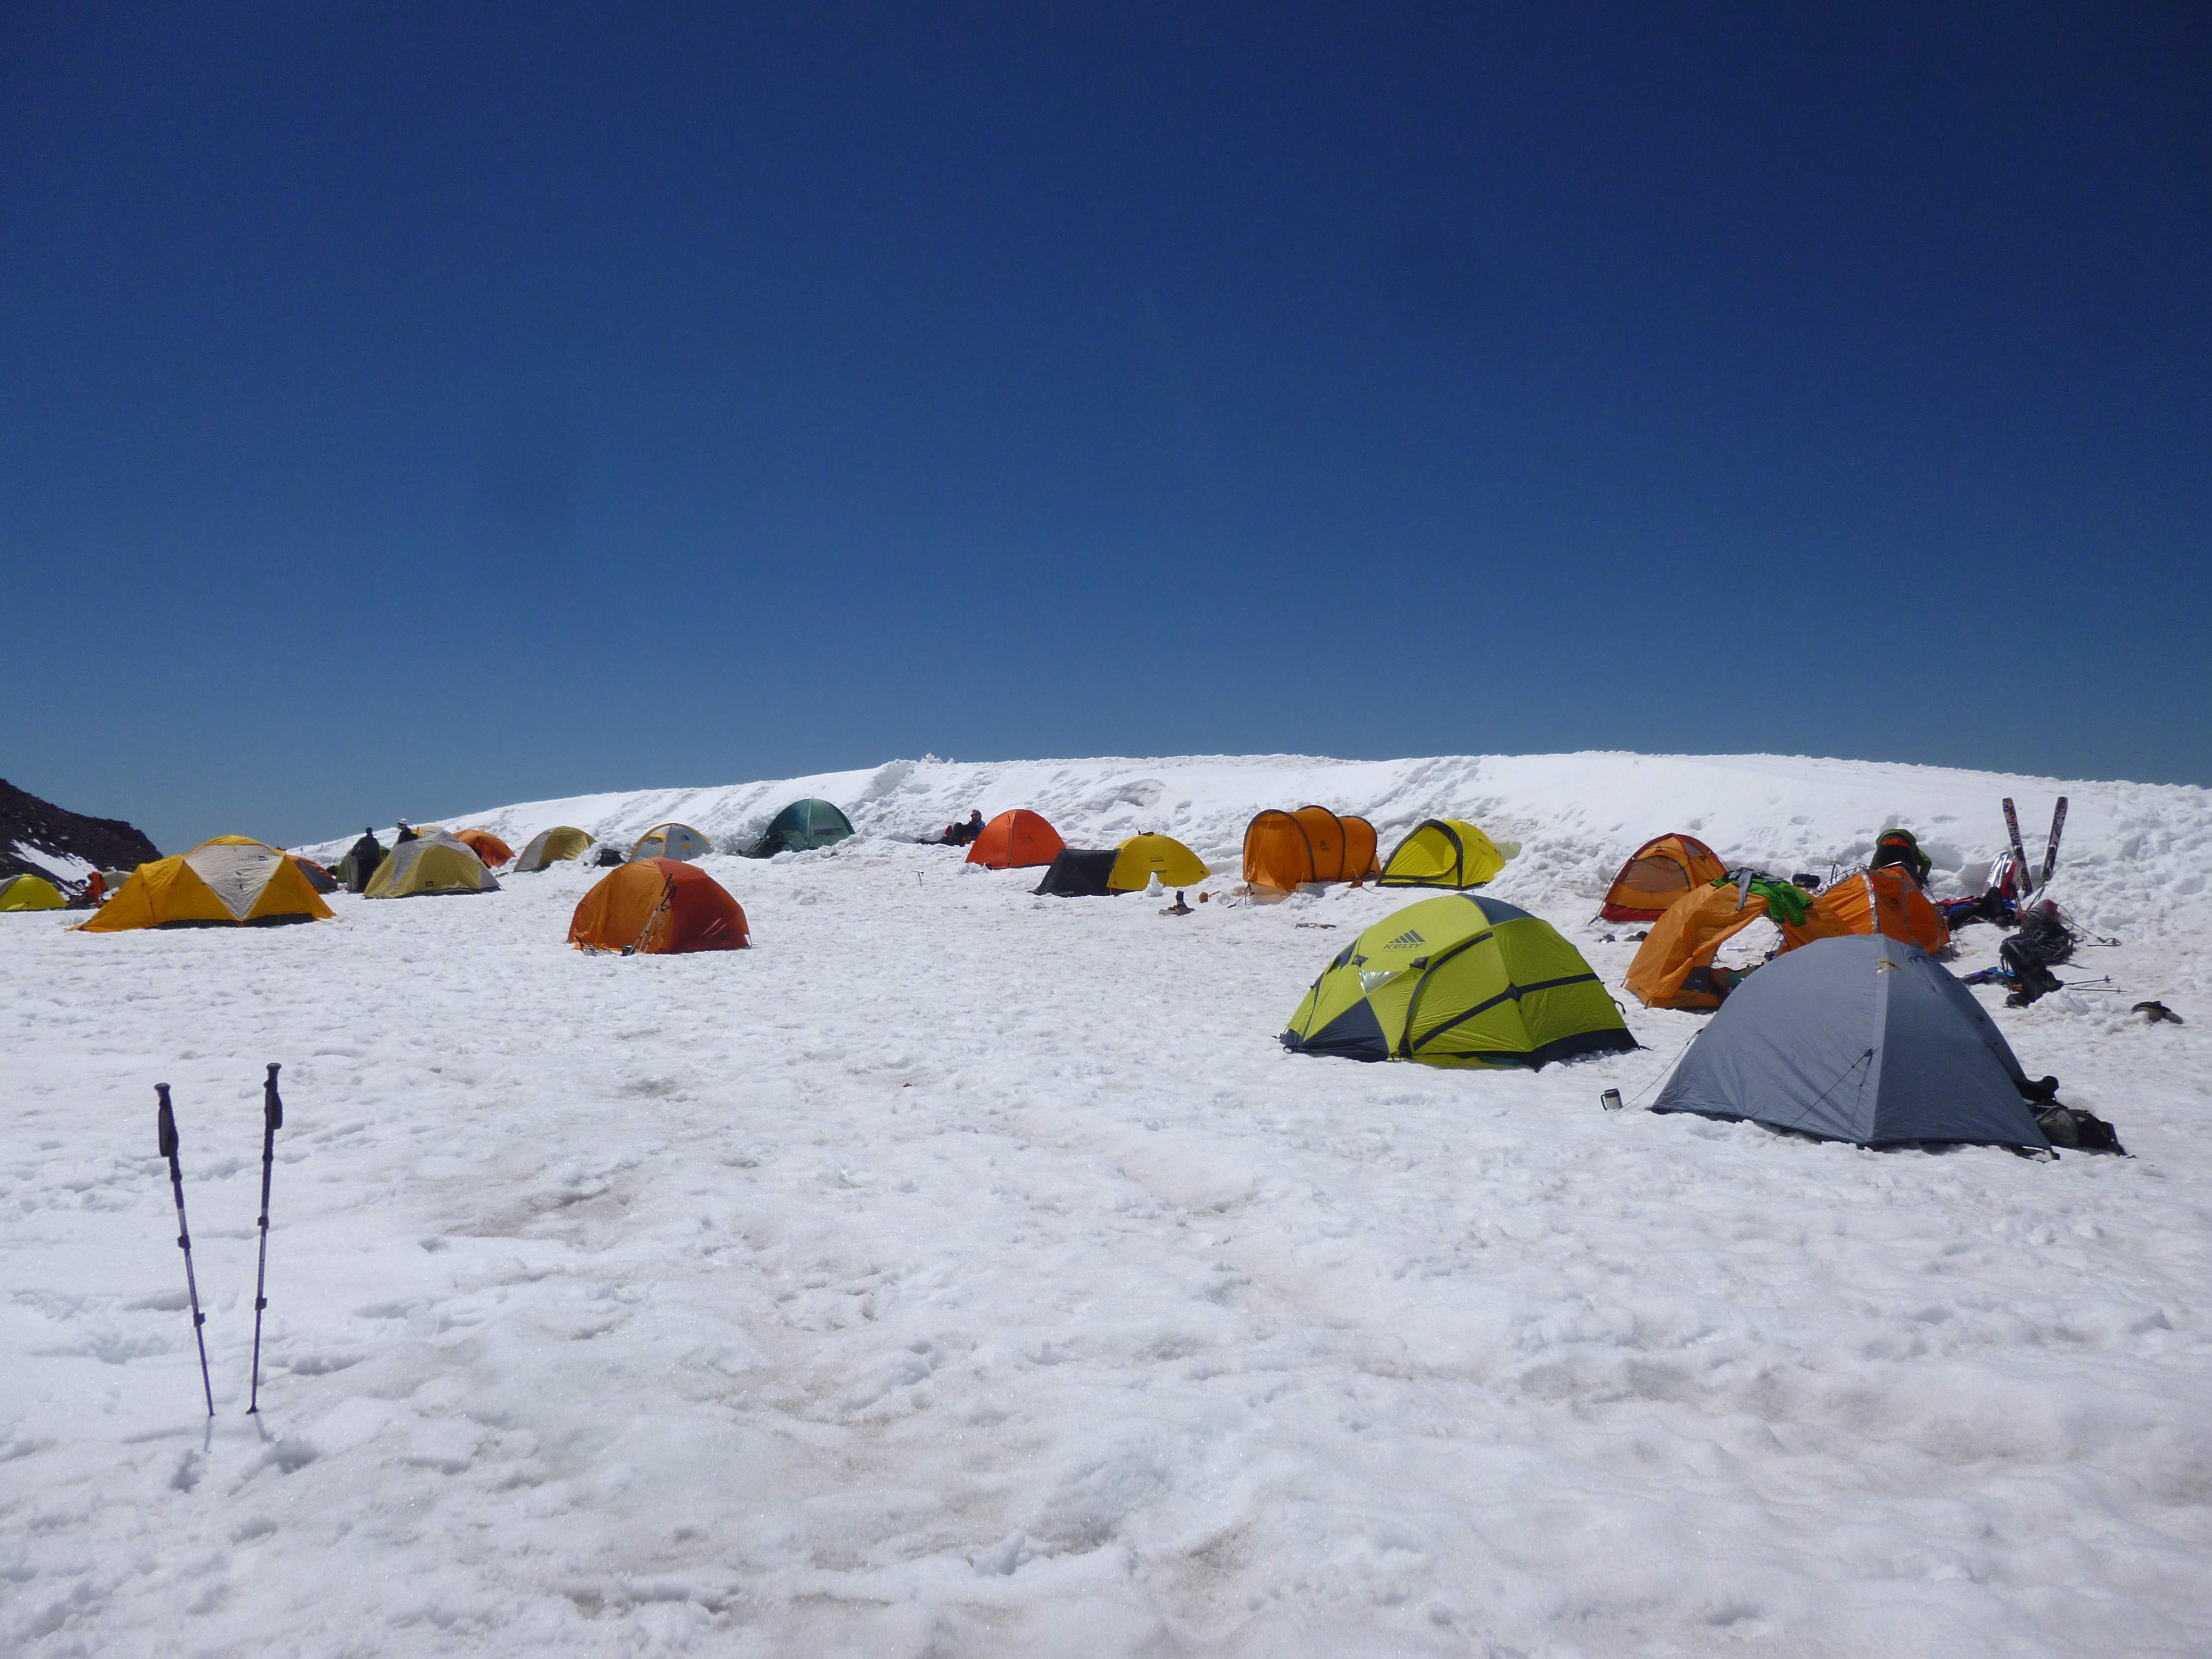
After gaining some elevation we arrived at our campsite – a tent platform at around ~2450m which IMG had dug on another climb a few days prior. After fifteen minutes of chopping and digging to enlarge the platform and smooth it out, we began to unload group gear and pitch our camp.

Our first campsite, a nice tent platform.
Our camp was fairly large; four tents for twelve people. We staked everything down carefully in case of high winds overnight and worked together to get everything up quickly.

Pitching camp.
Below, we had a great view across the Inter Glacier.

Our view from camp.
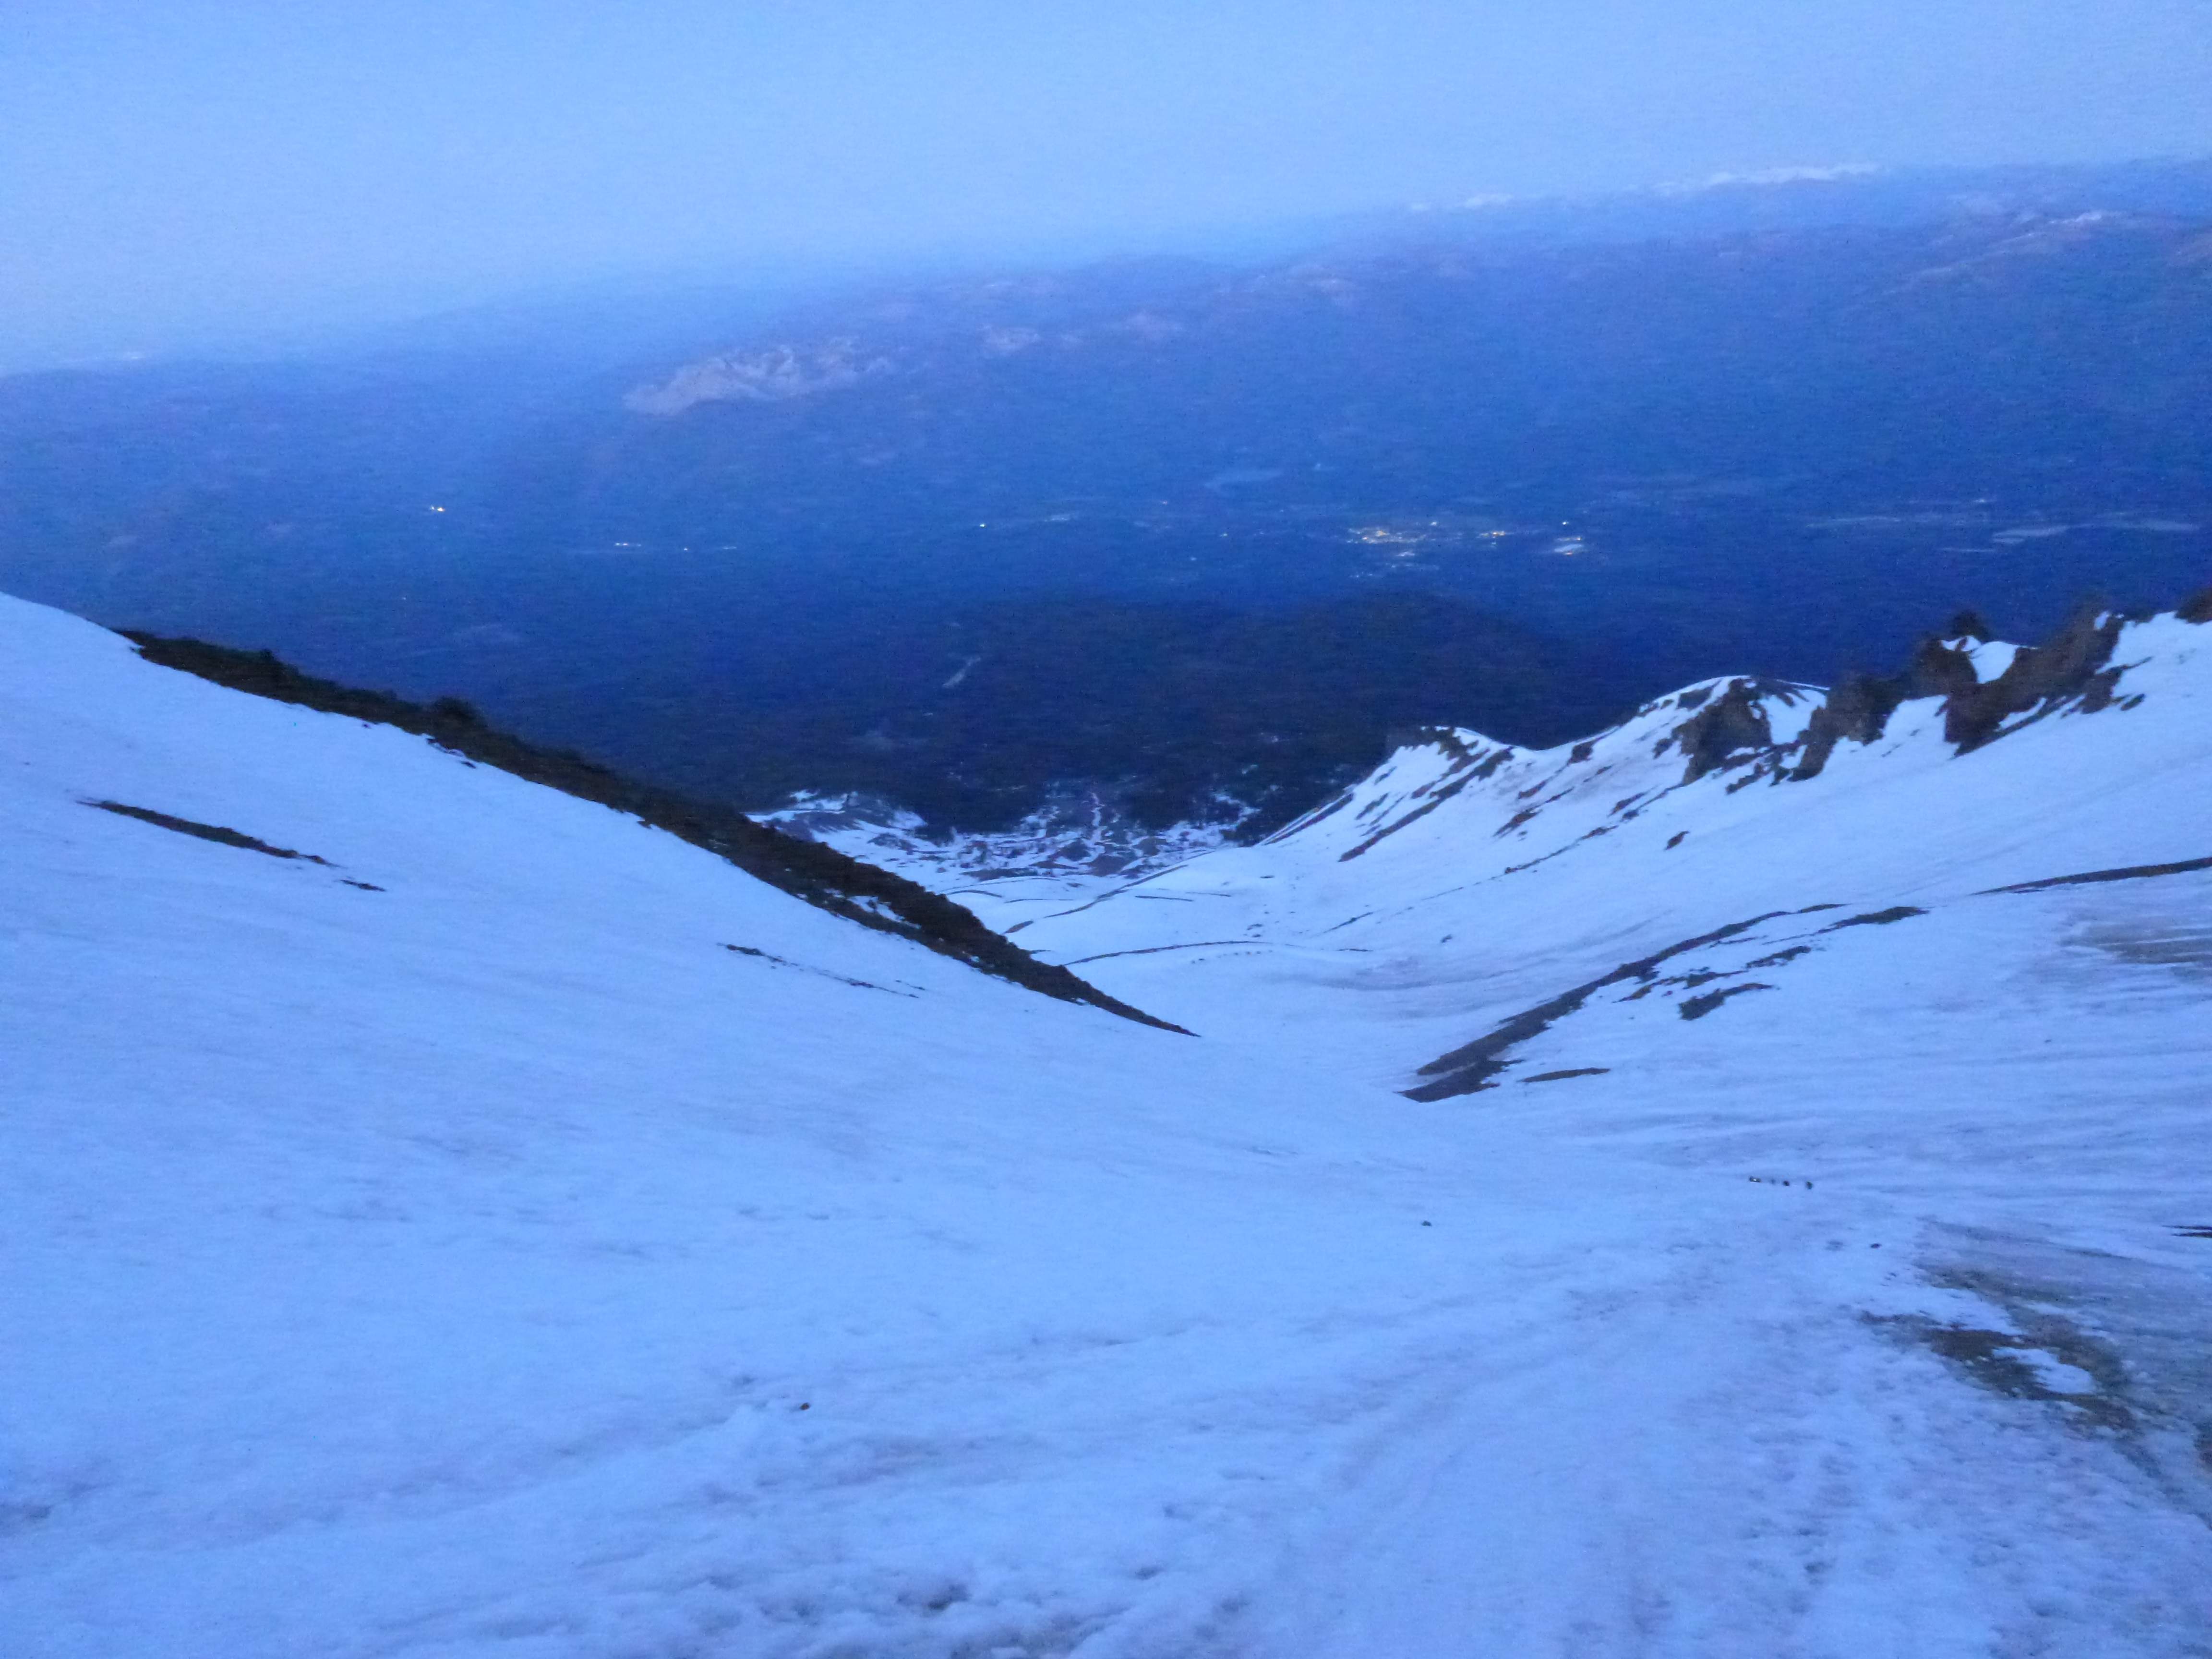
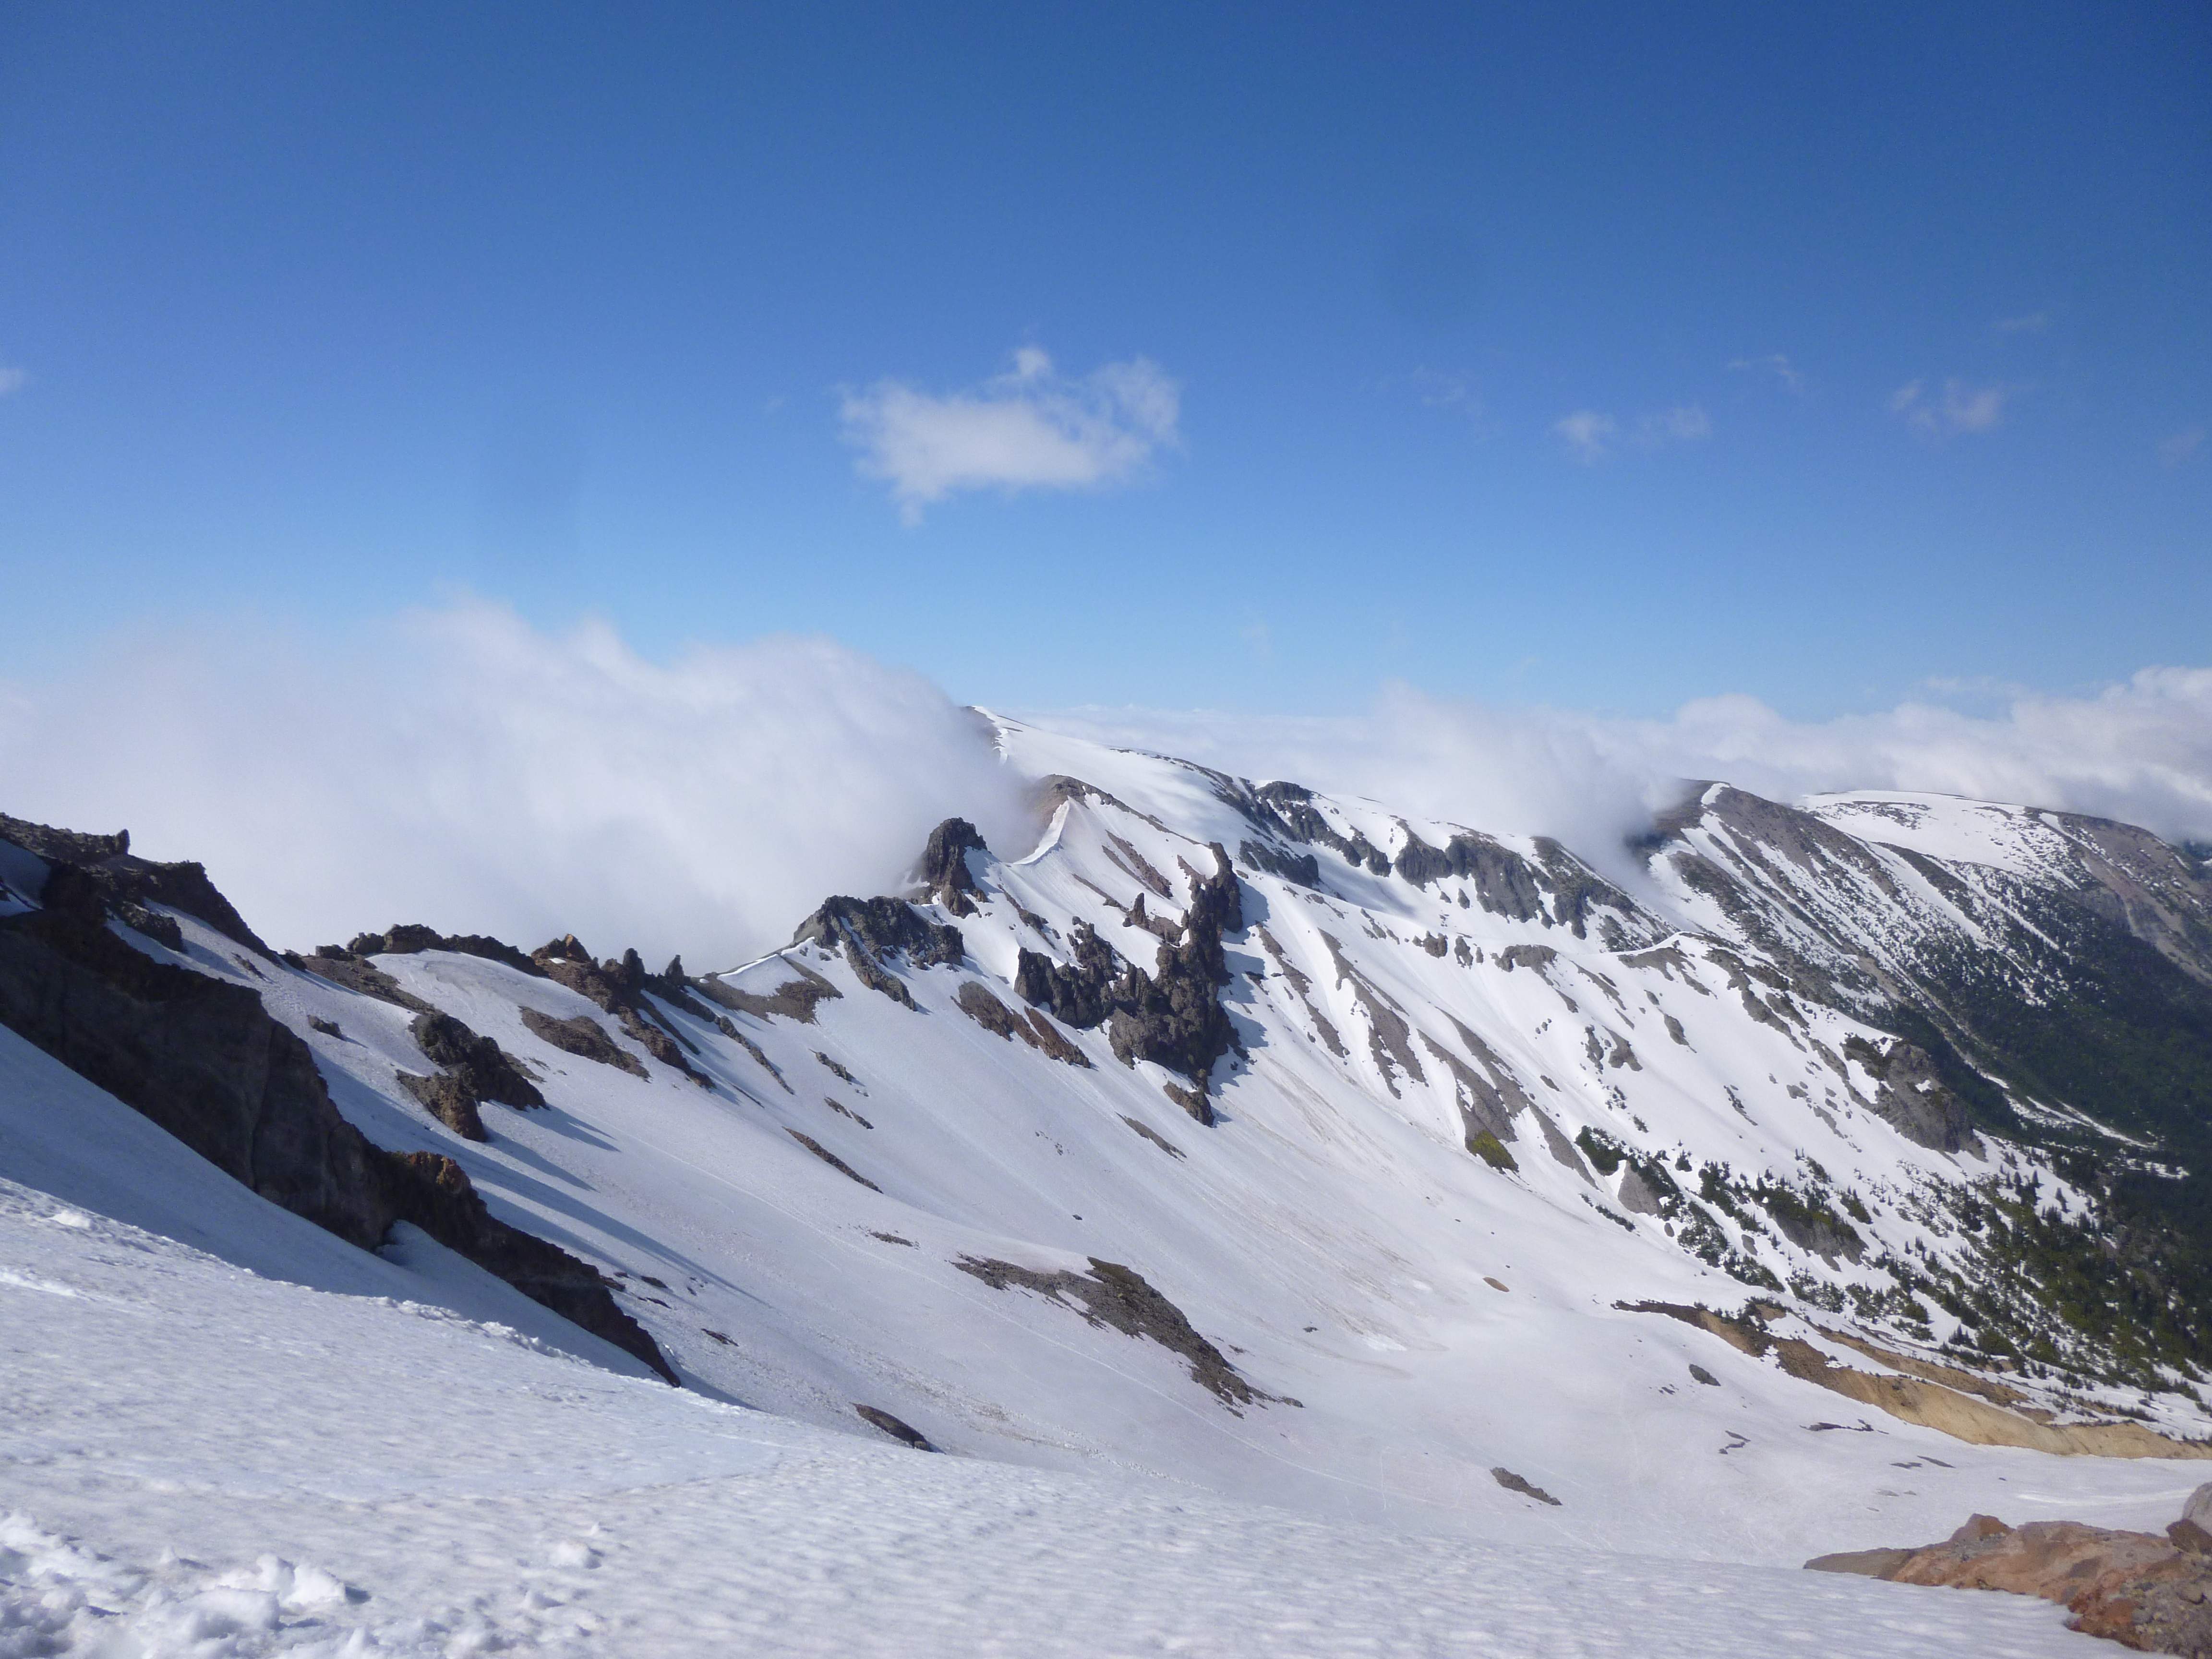
To the northwest, heavy clouds hovered along the ridge. These would sit across the ridge and below our camp for several hours, until at dusk they began to spill over and engulf us.

Clouds to the northwest, slowed by the ridge line.
As the clouds poured over the ridge the sun set, and we turned in for the night.

Sunset on the Inter Glacier.
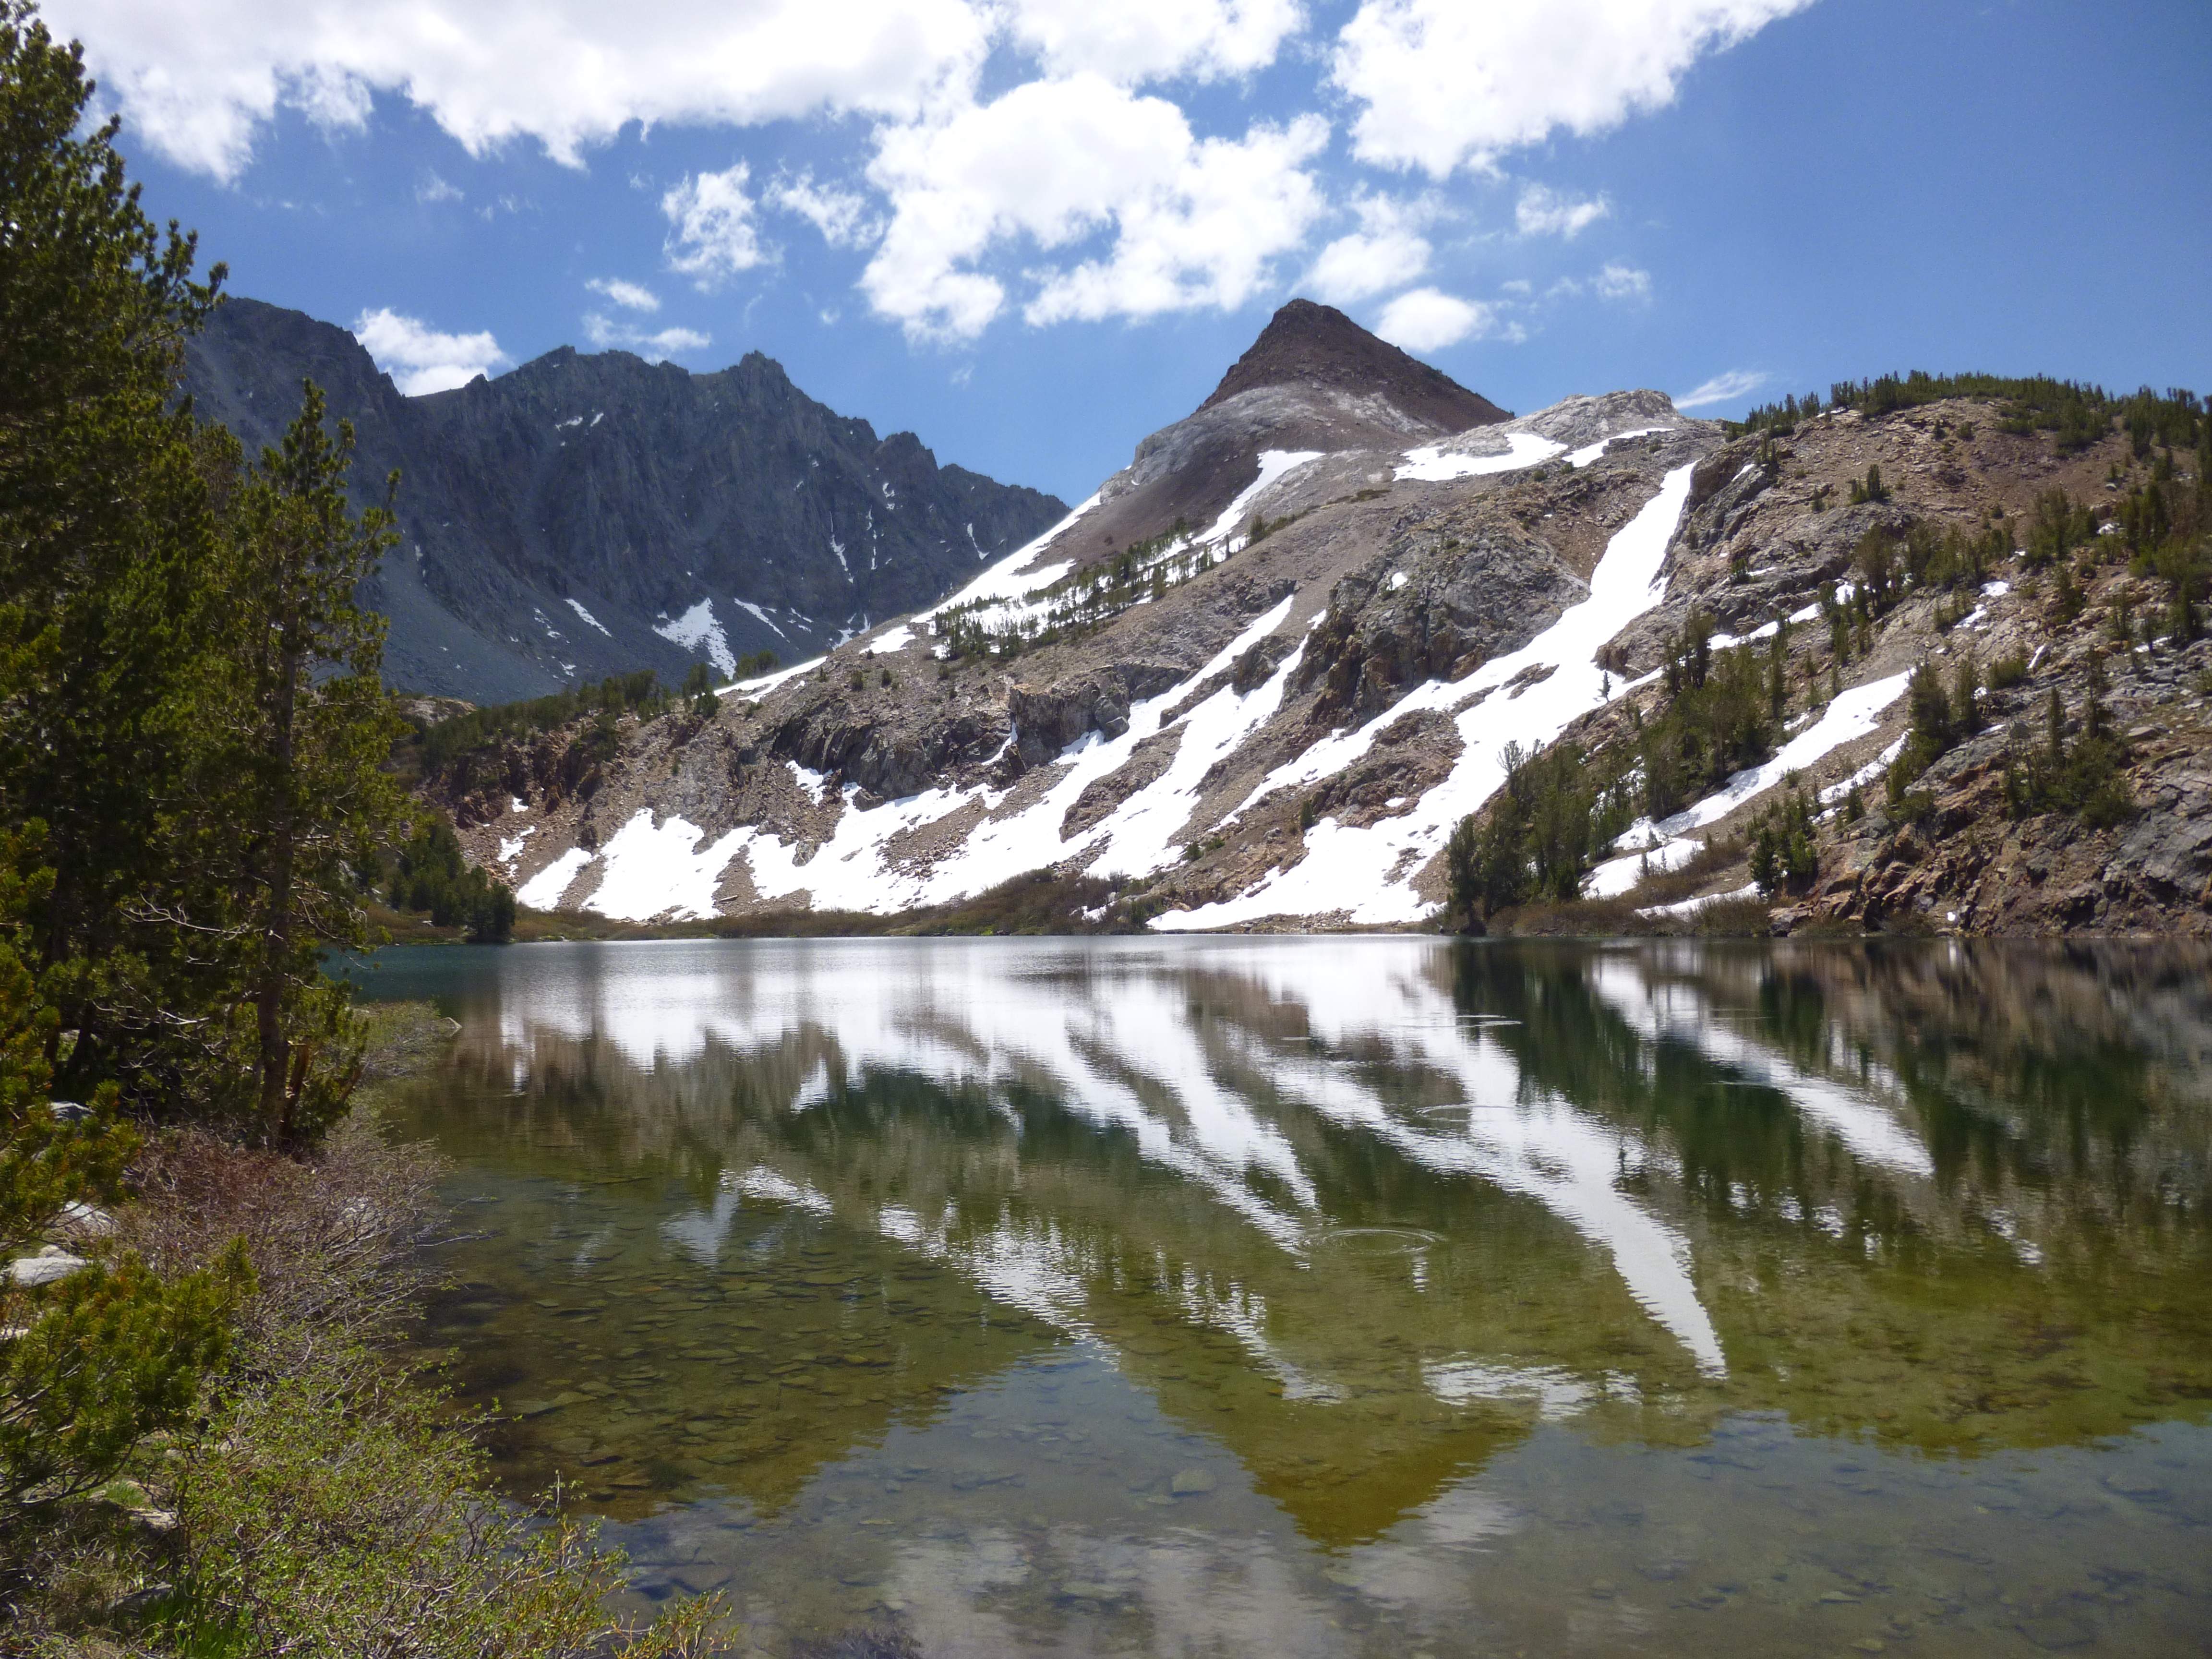
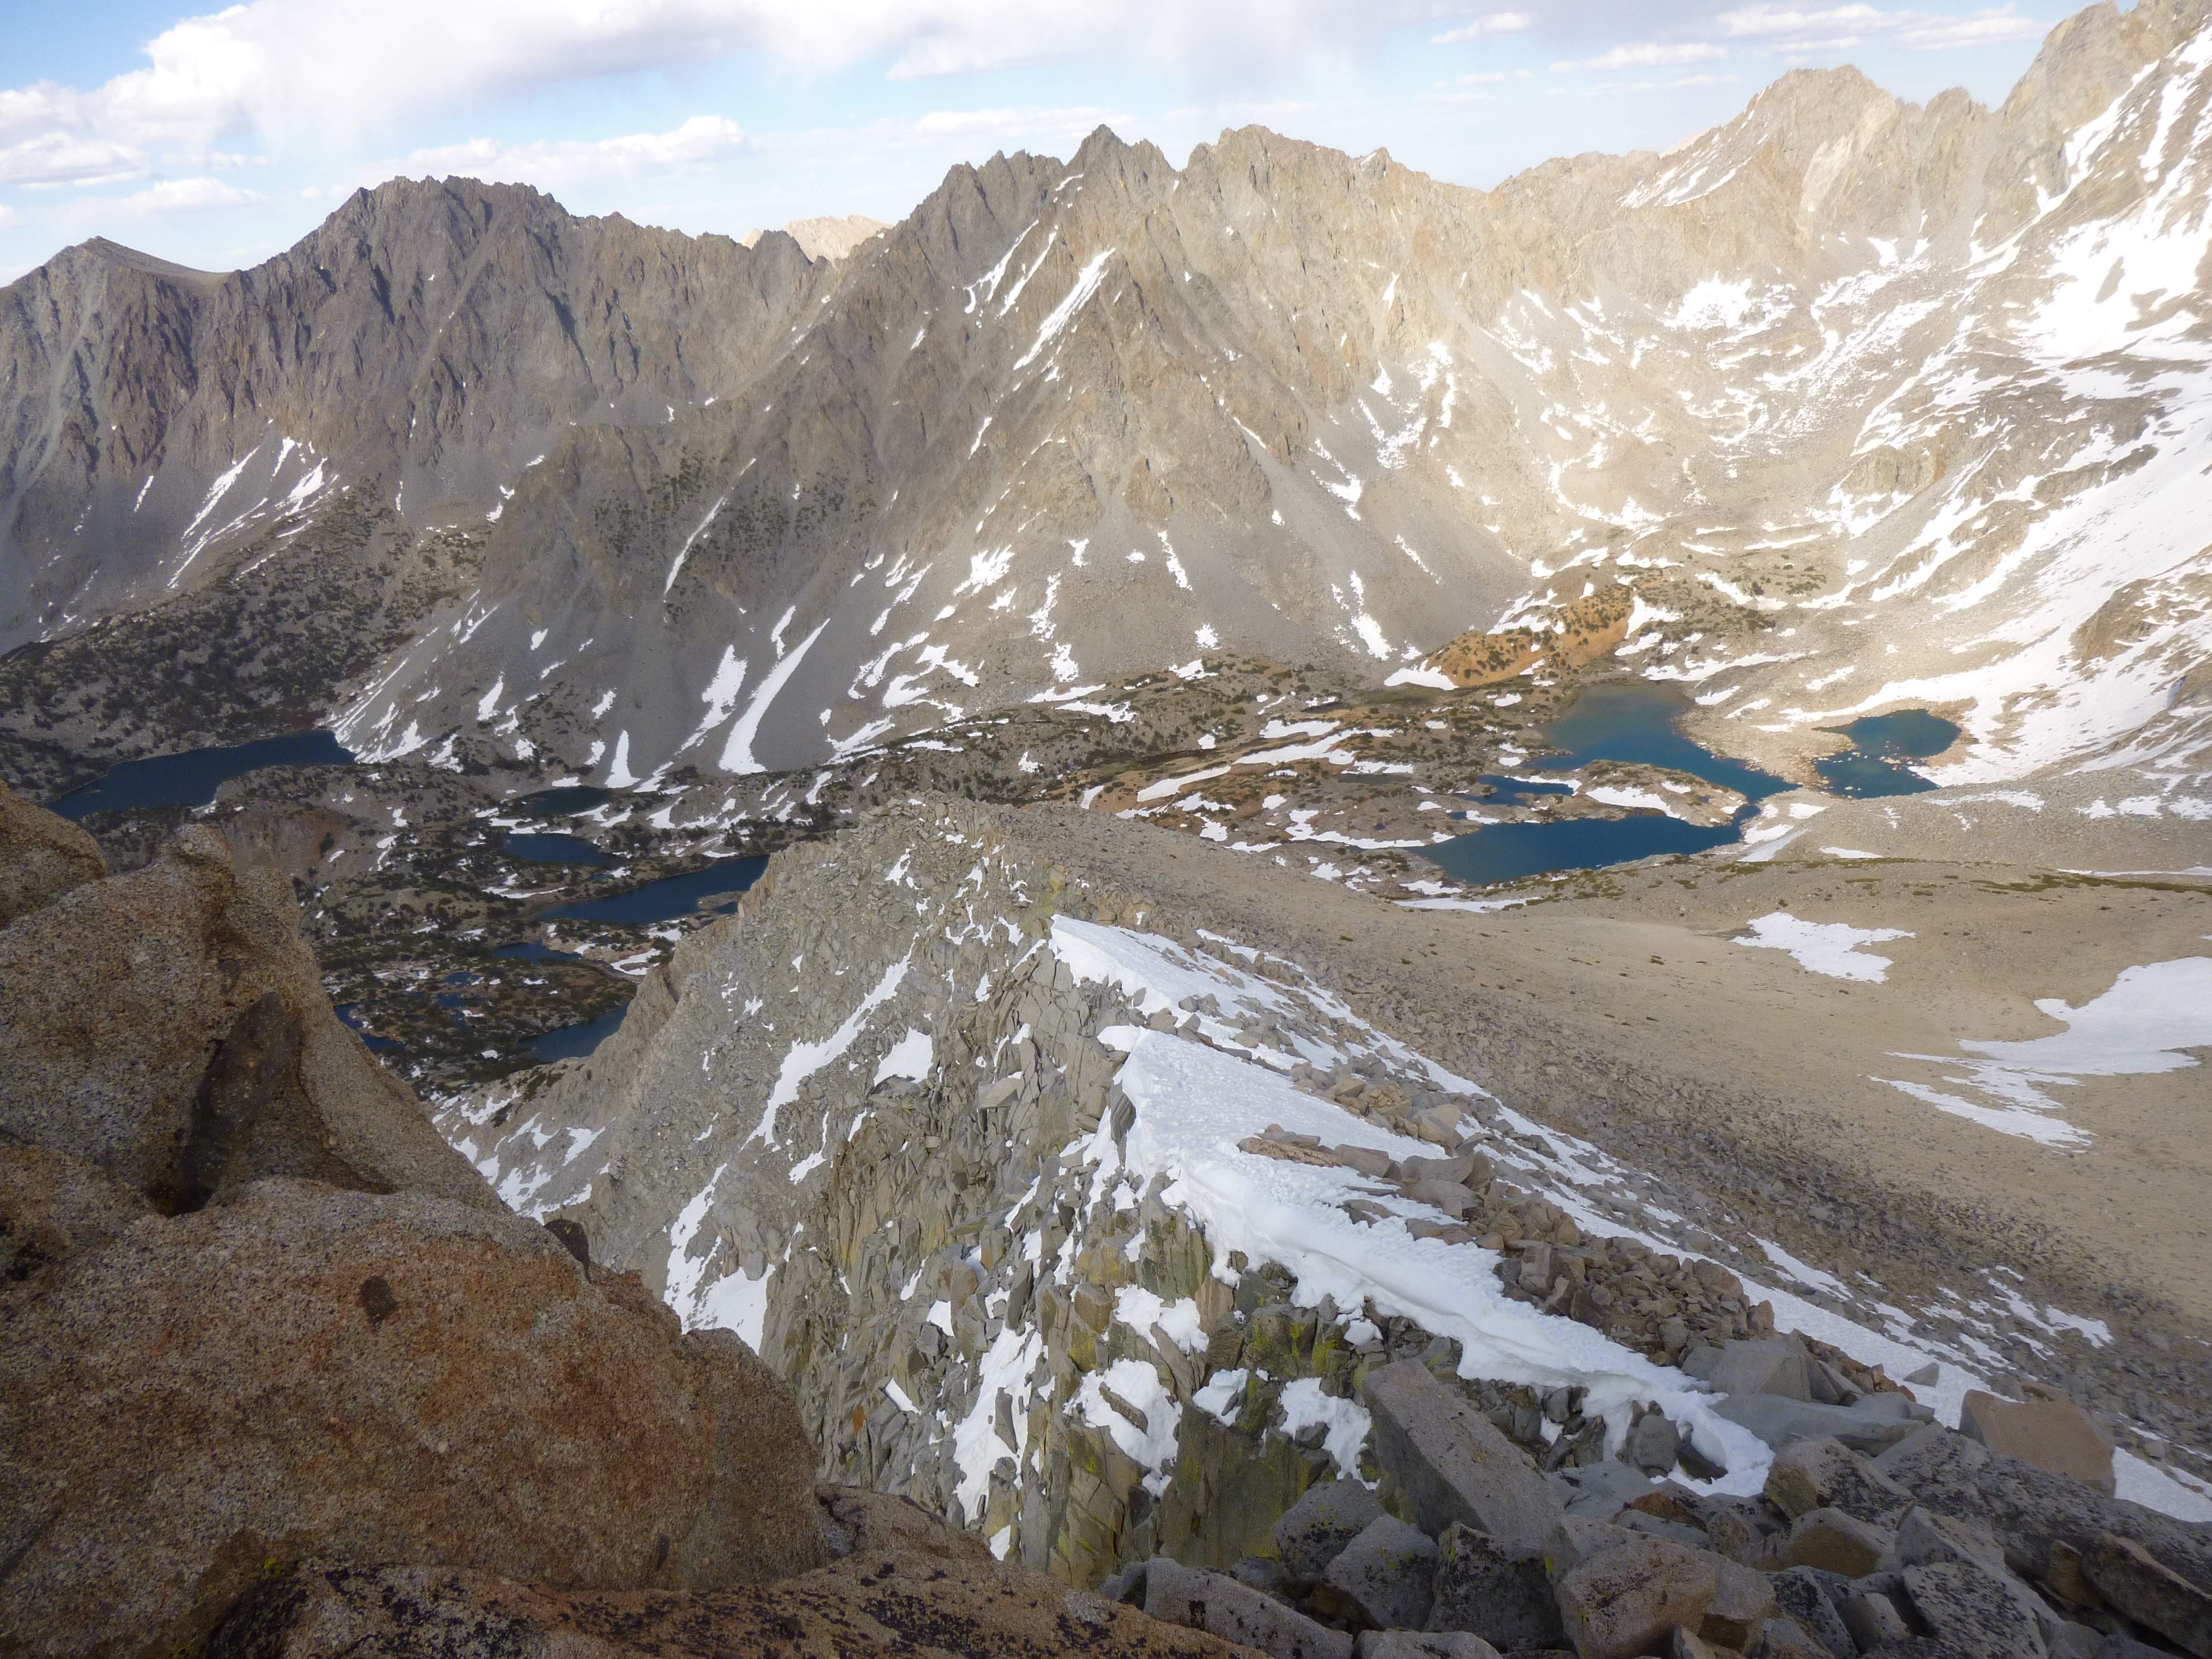
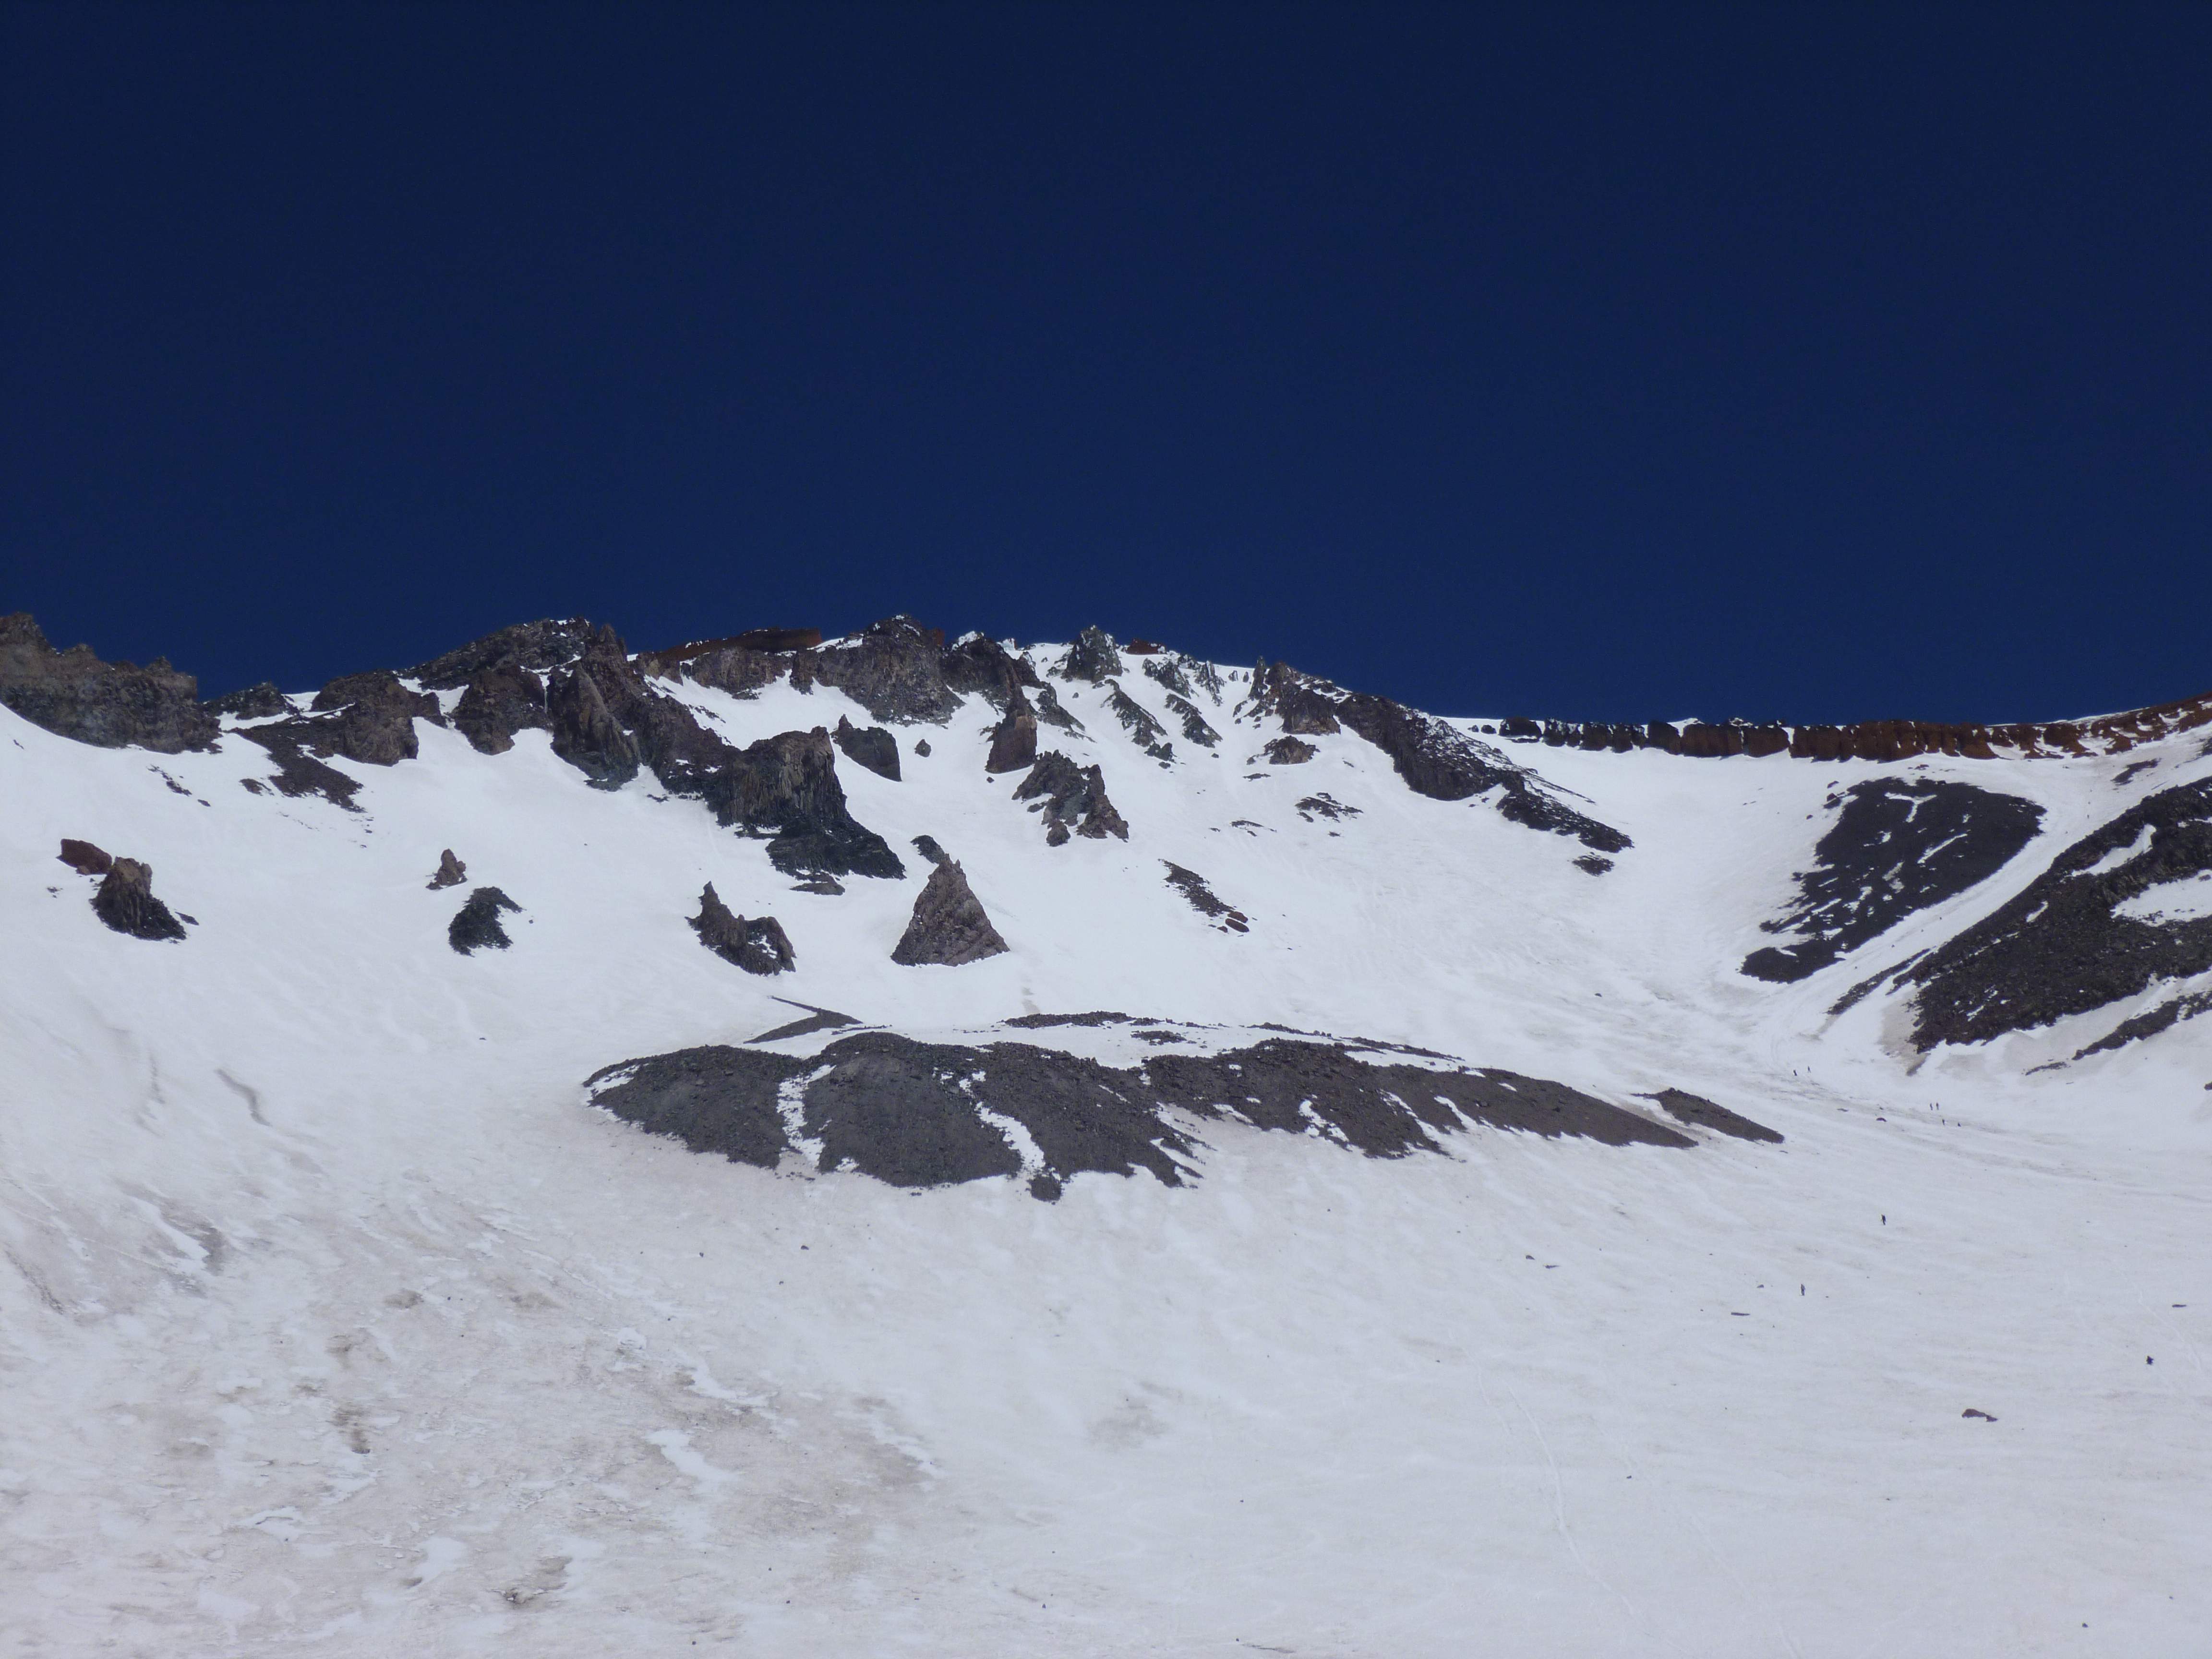
Day 2: Awake with the sunrise, after a quick breakfast we packed up camp. Today’s itinerary involved a short climb off of the Inter Glacier, across the southeast ridge south of Camp Curtis and above the lower Emmons Glacier to our second overnight at 2883m Camp Schurman. Here we would prepare for an overnight ascent to Rainier’s summit. As we left camp we broke into three-person rope teams for crevasse protection. Passing above the lower Emmons Glacier we had awesome views of enormous crevasses and of Little Tahoma Peak.

The Emmons Glacier below us. Some of these crevasses could easily swallow cars.
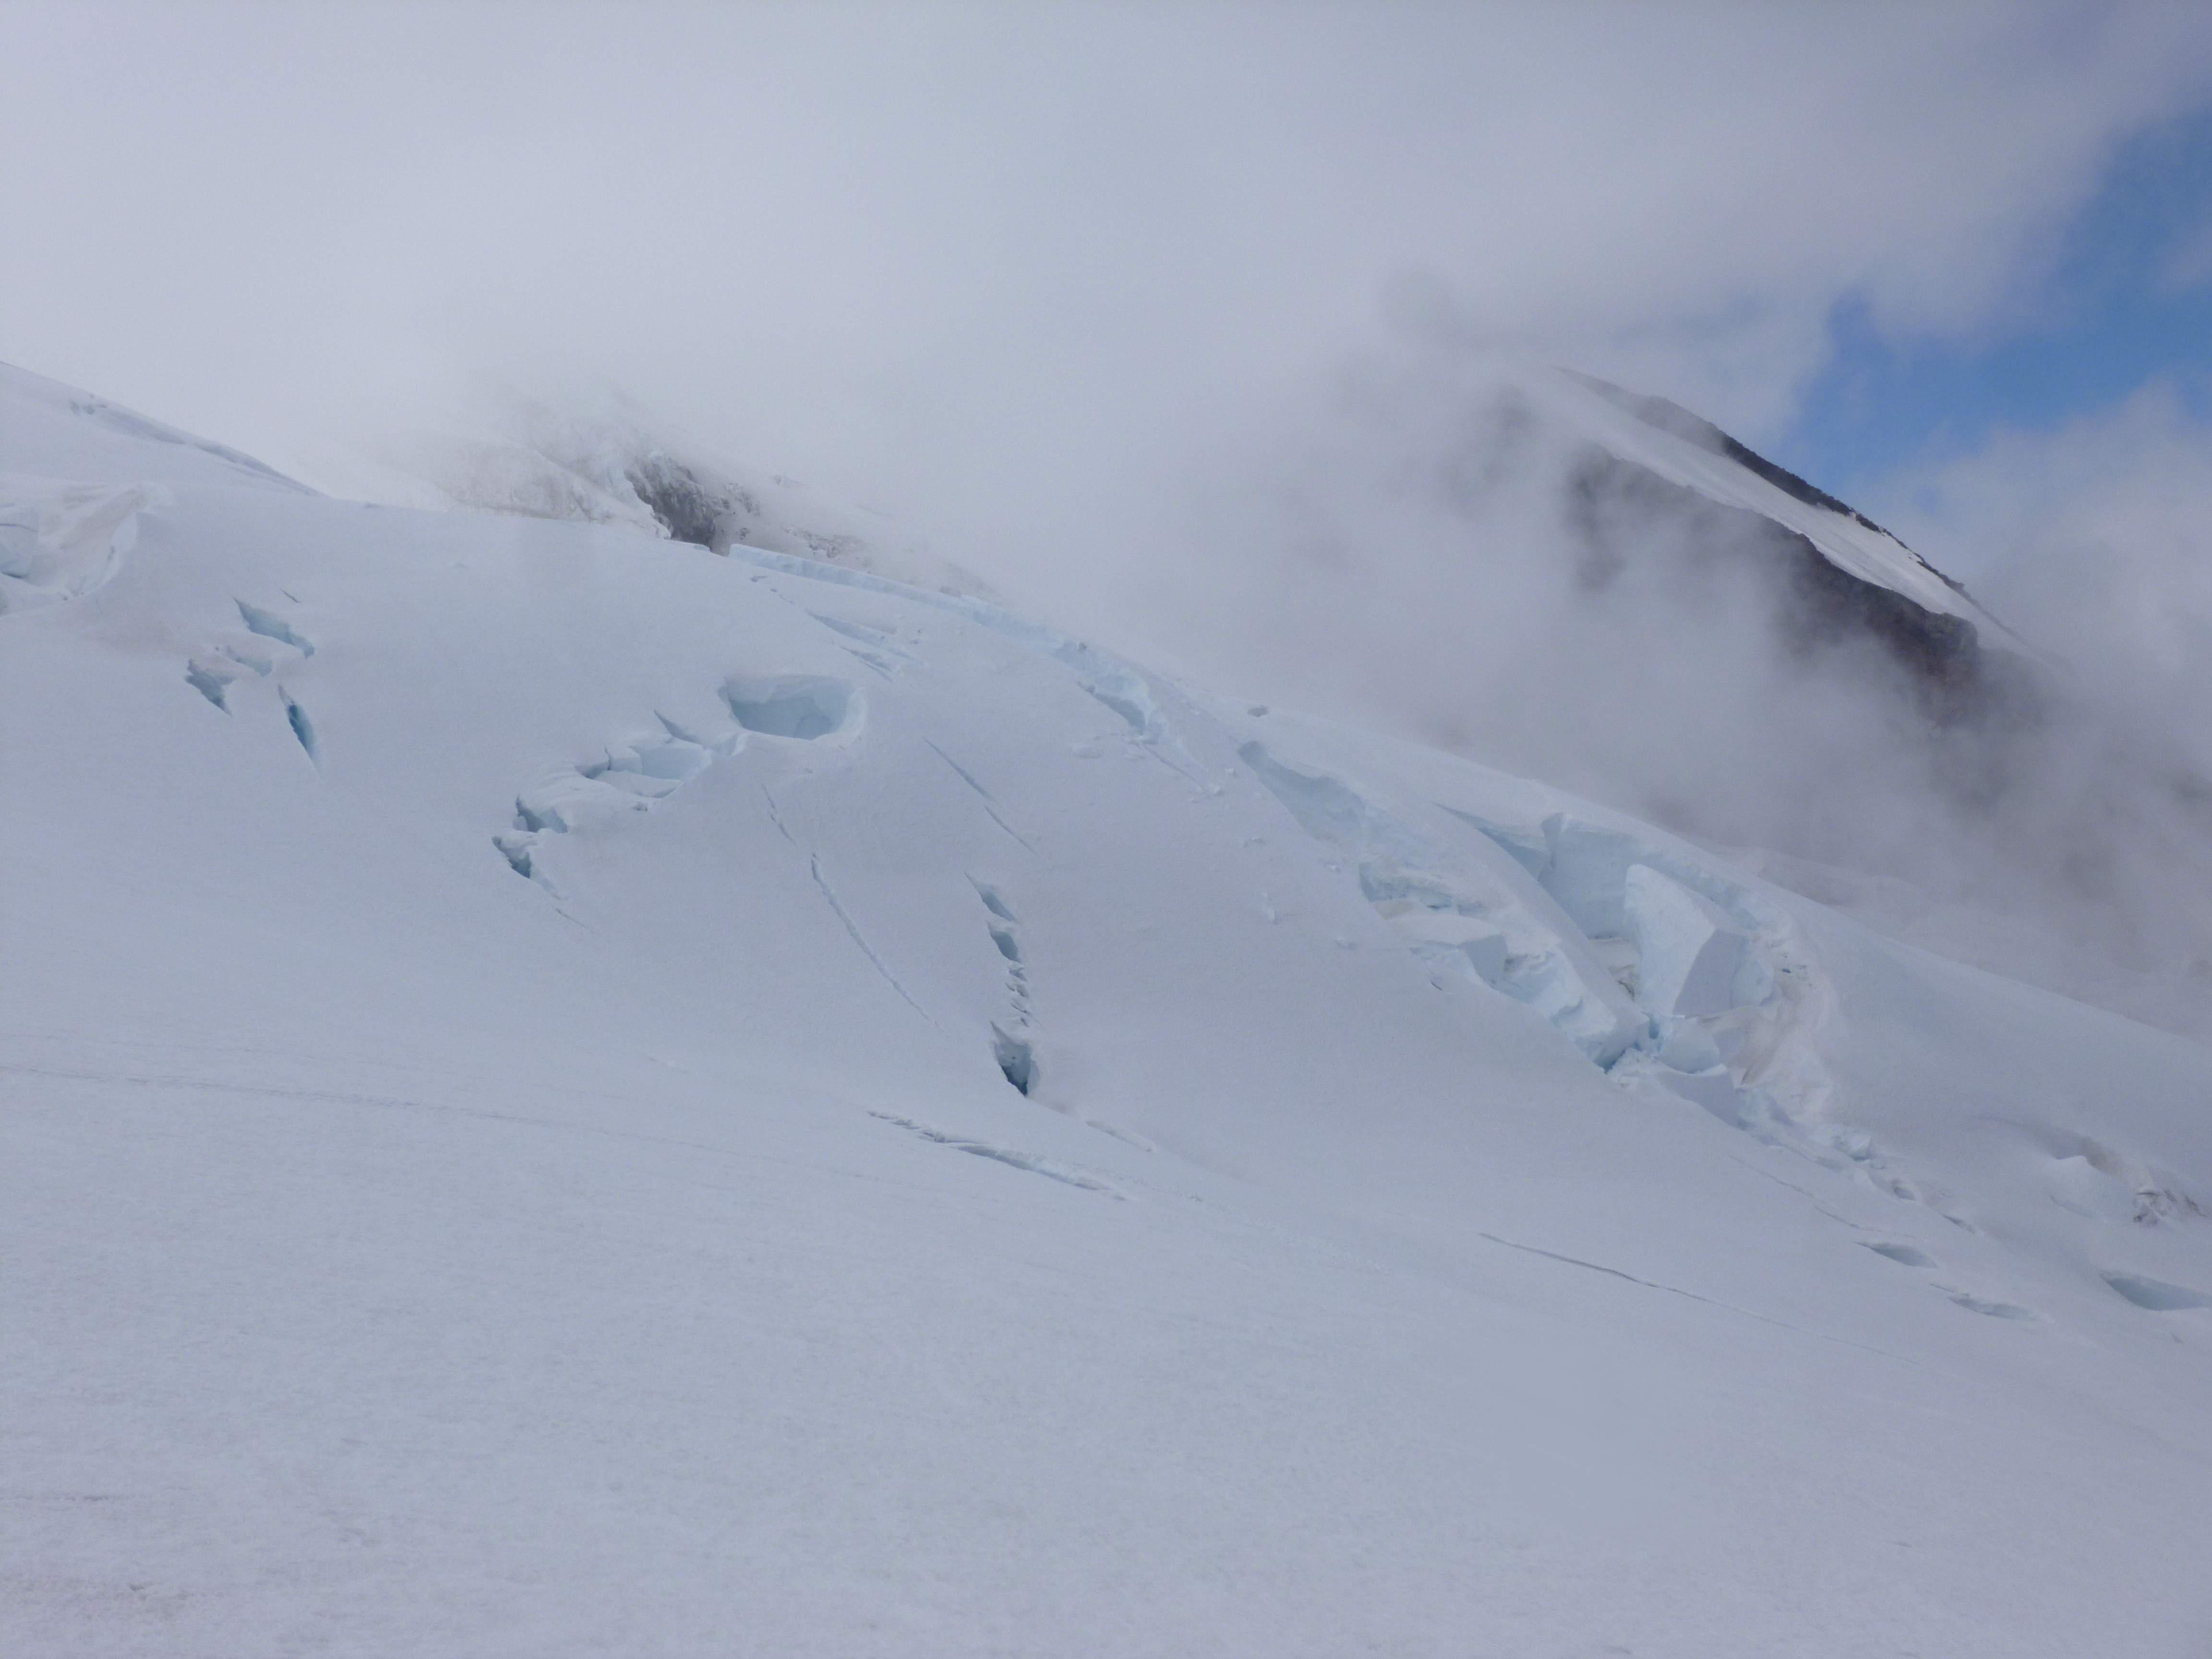
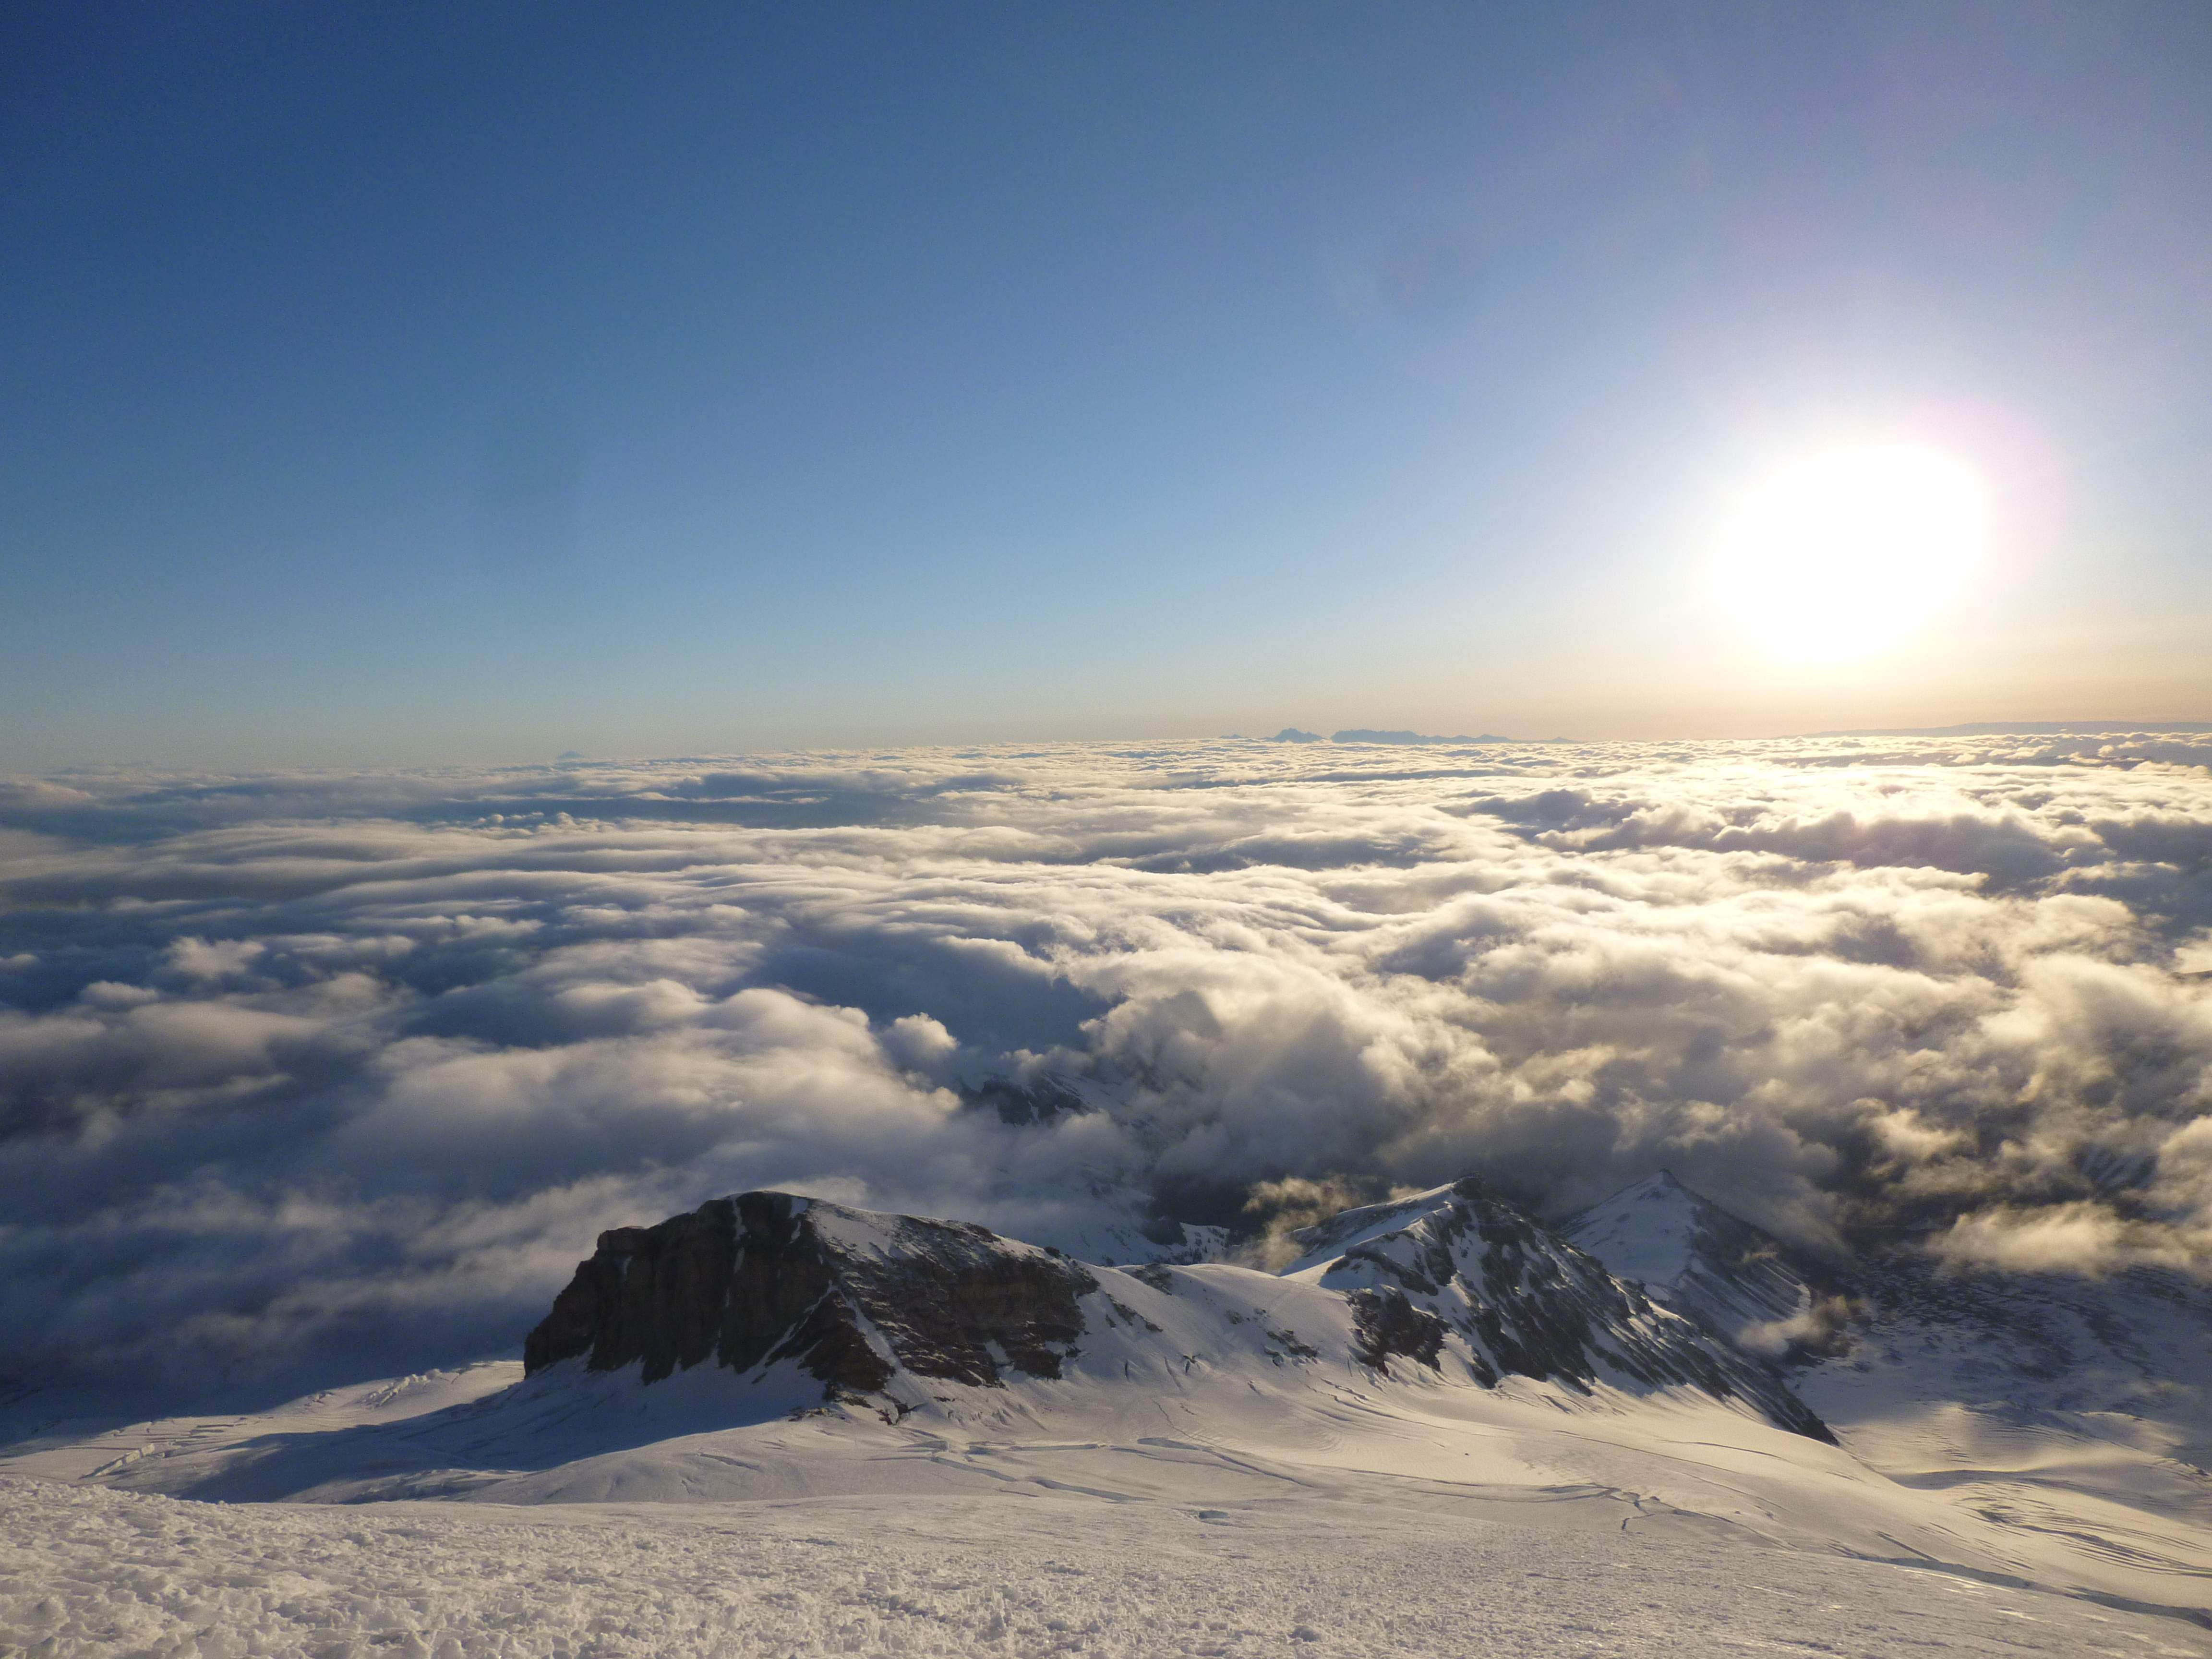
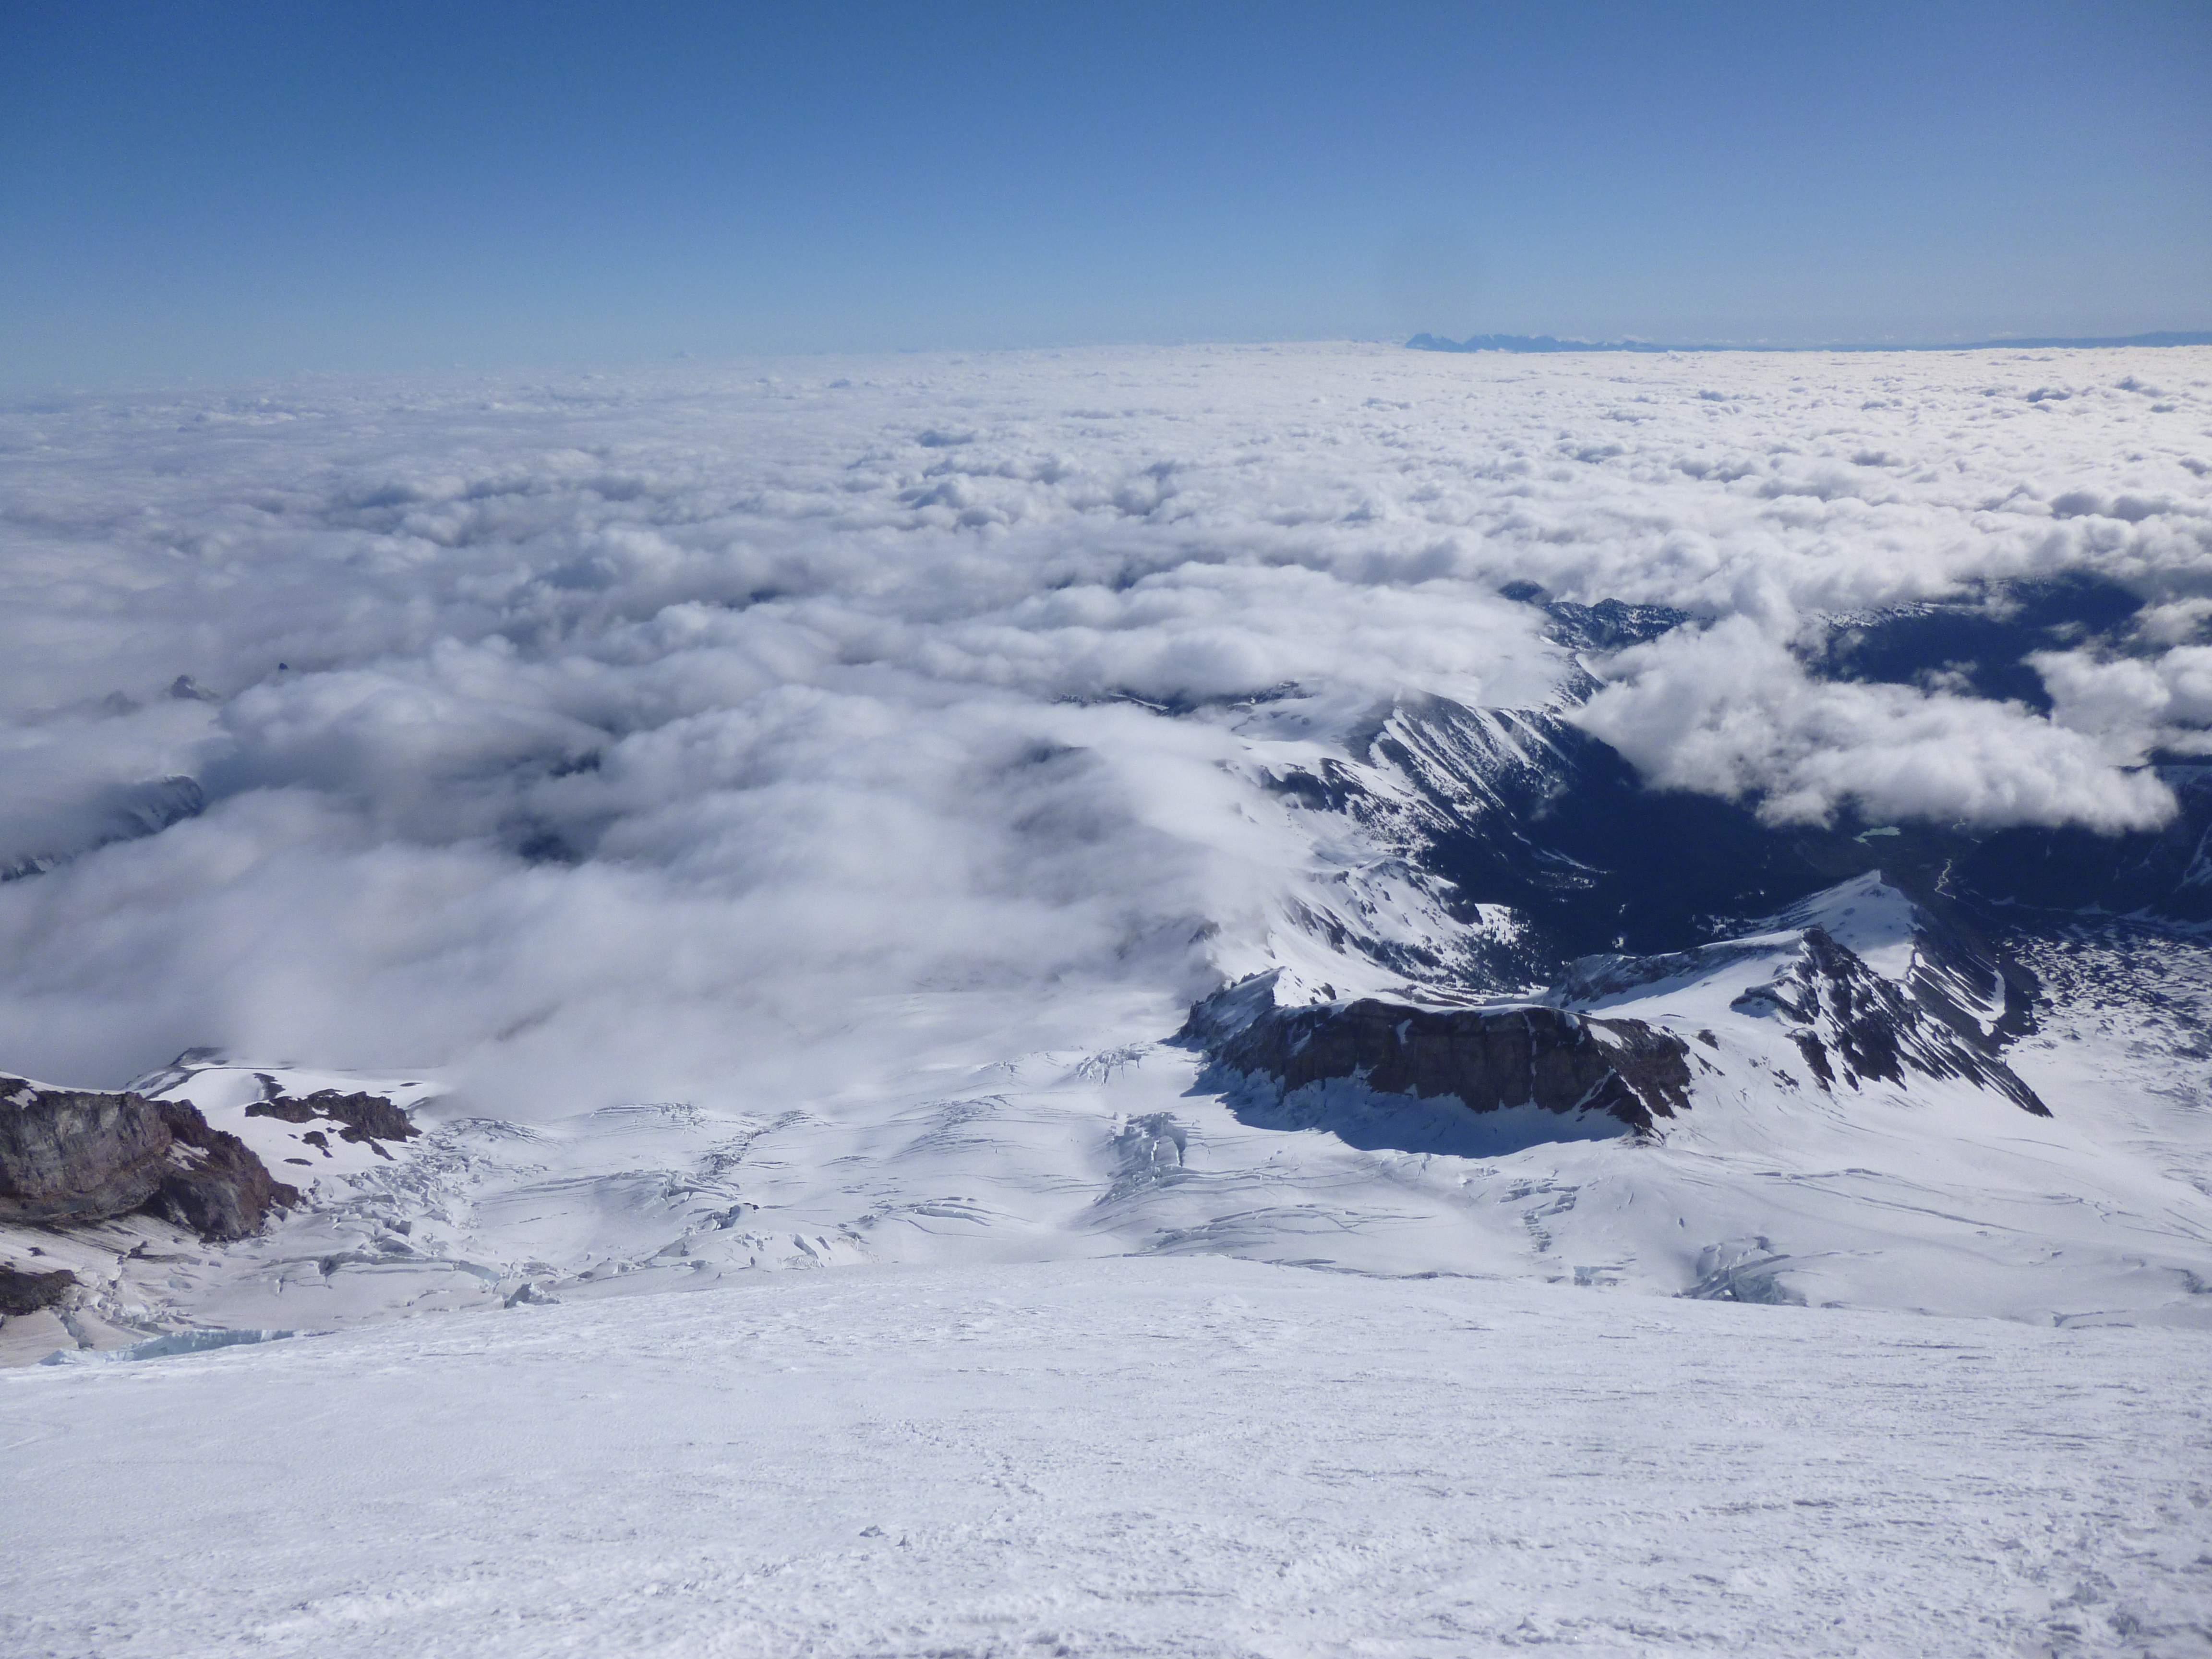
The clouds were thick today, but remained well below us all the way to Camp Schurman.

Little Tahoma Peak across the Emmons Glacier.
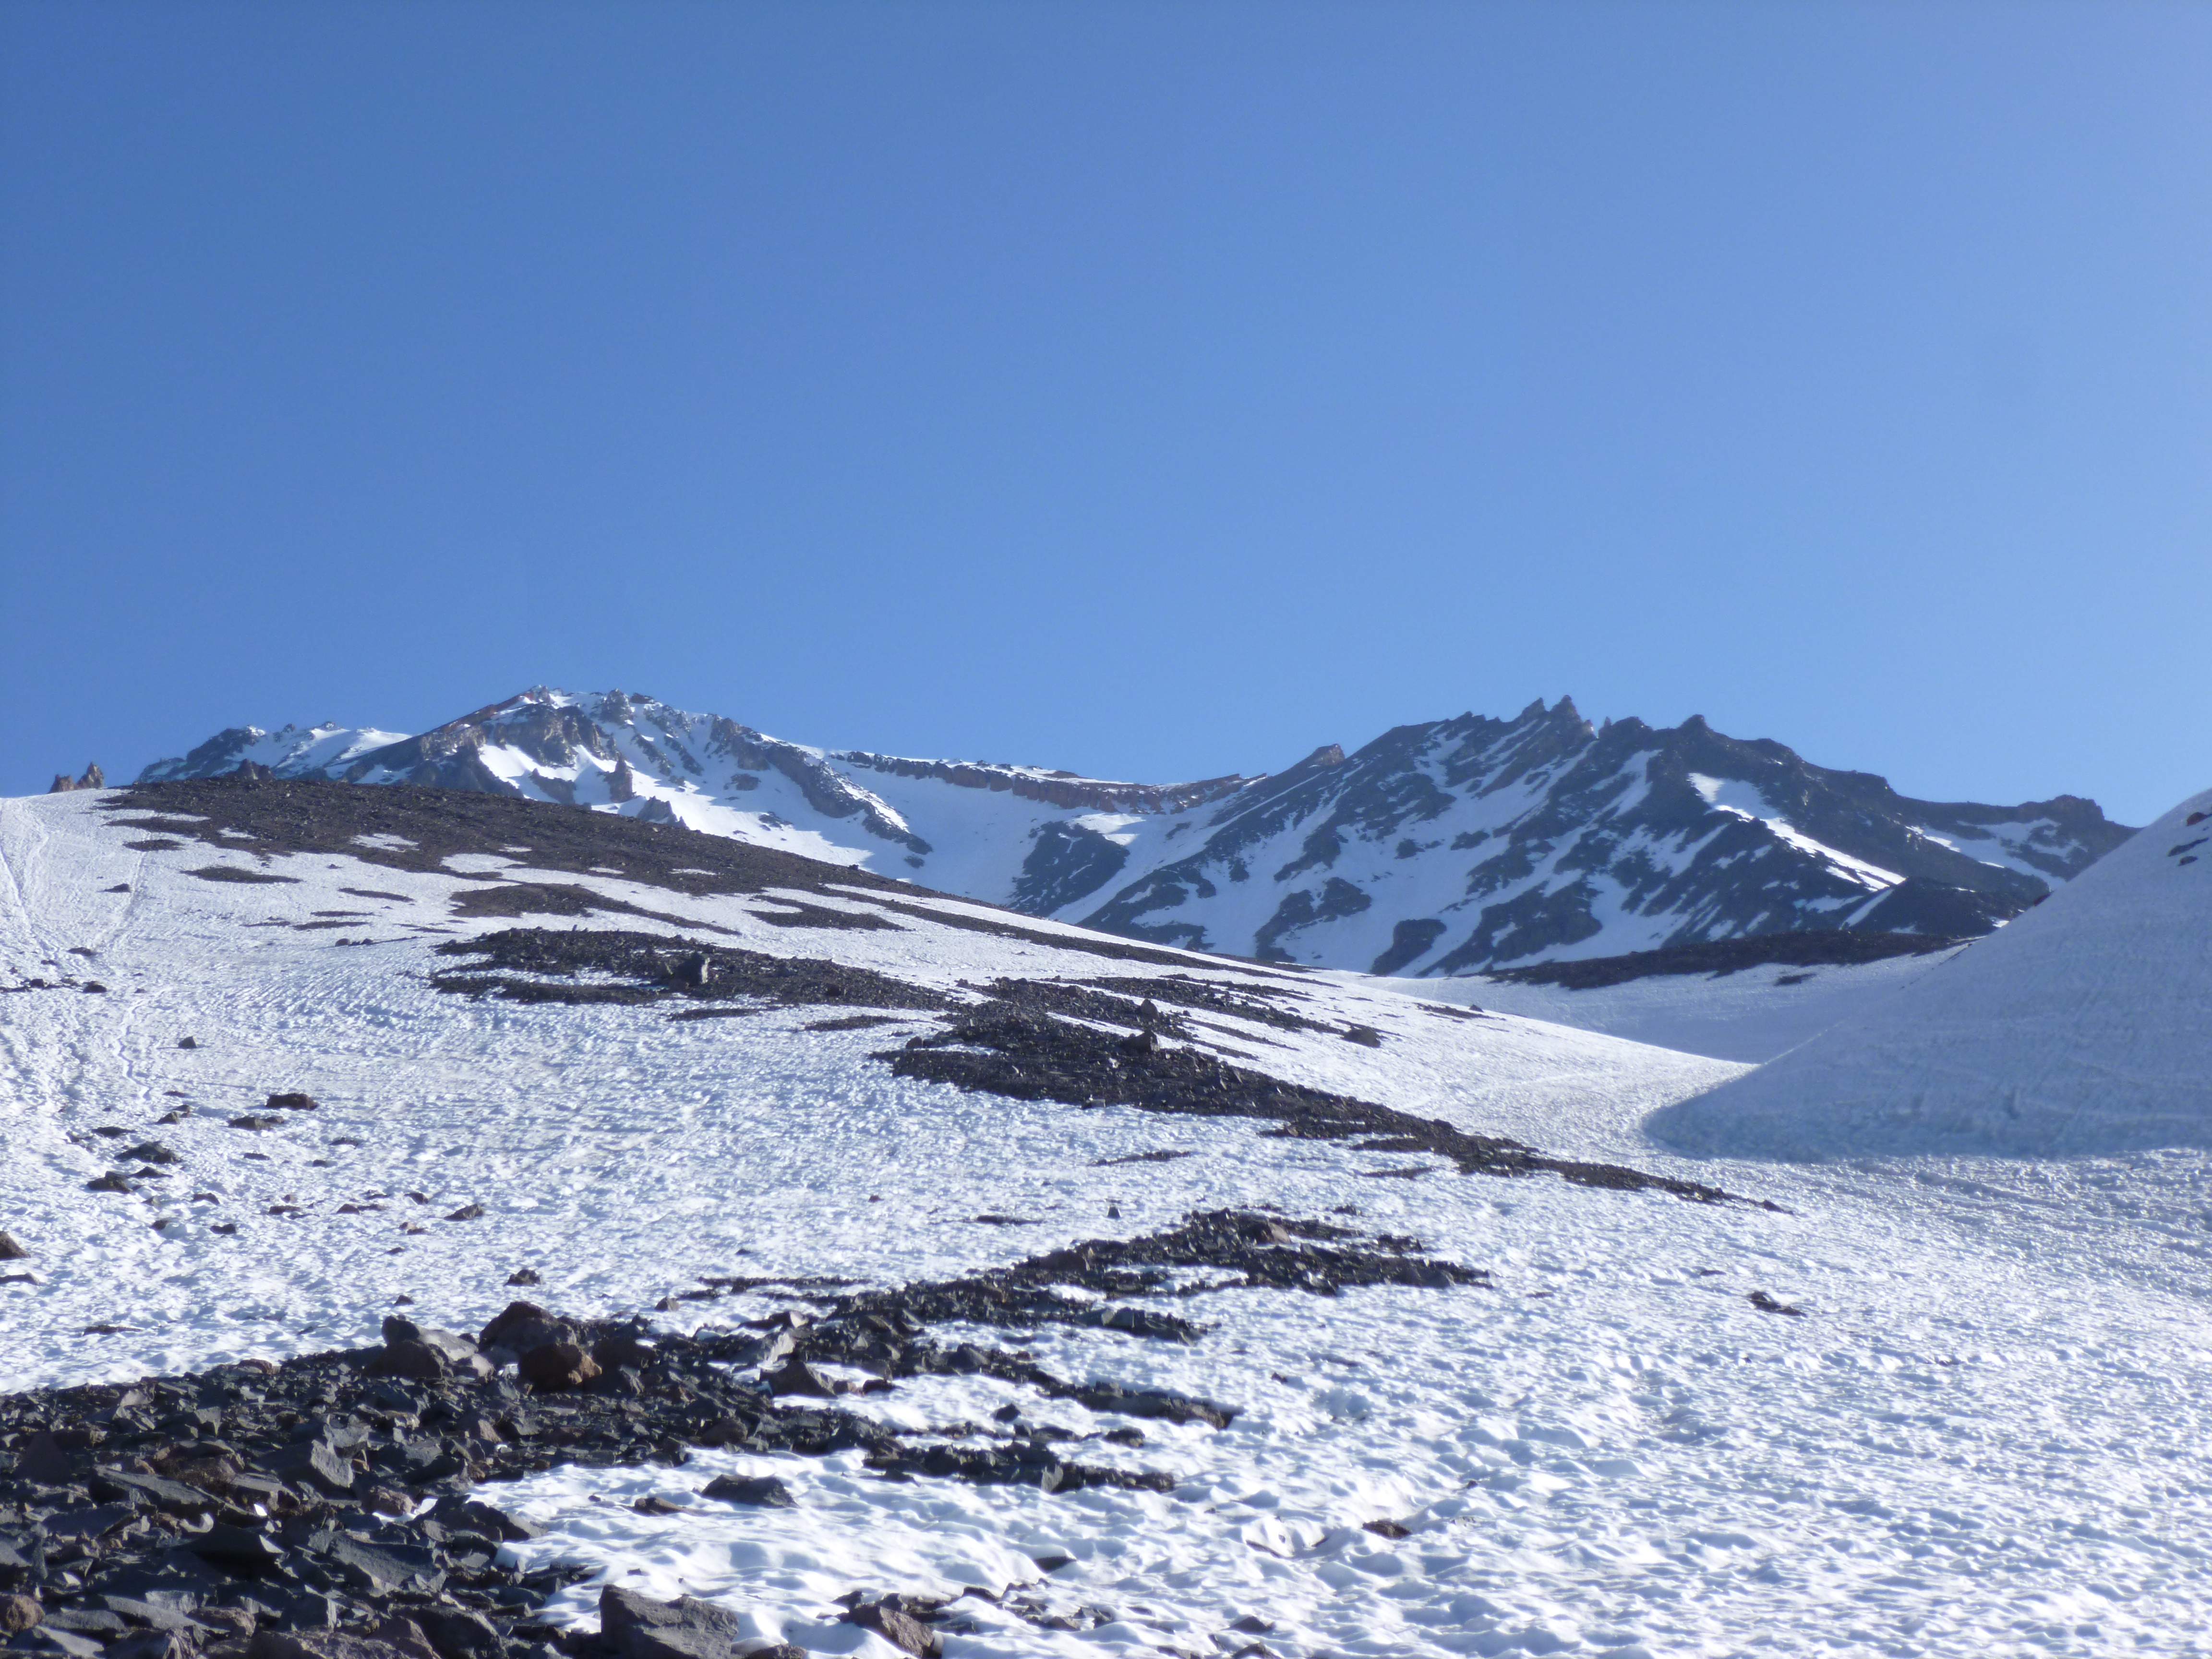
Above us the Emmons and Winthrop glaciers were clear in the sun, and presented us with the route we would take straight to the summit. To the top we would ascend the rough middle of the northeast mountain face, aptly named ‘the corridor’. This is more or less a midpoint between the two glaciers, trending left onto the Emmons.

The Emmons and Winthrop glaciers, our route to the top of Rainier.
Below Camp Schurman several large crevasses needed to be bypassed or carefully crossed.

A large crevasse just below Camp Schurman.
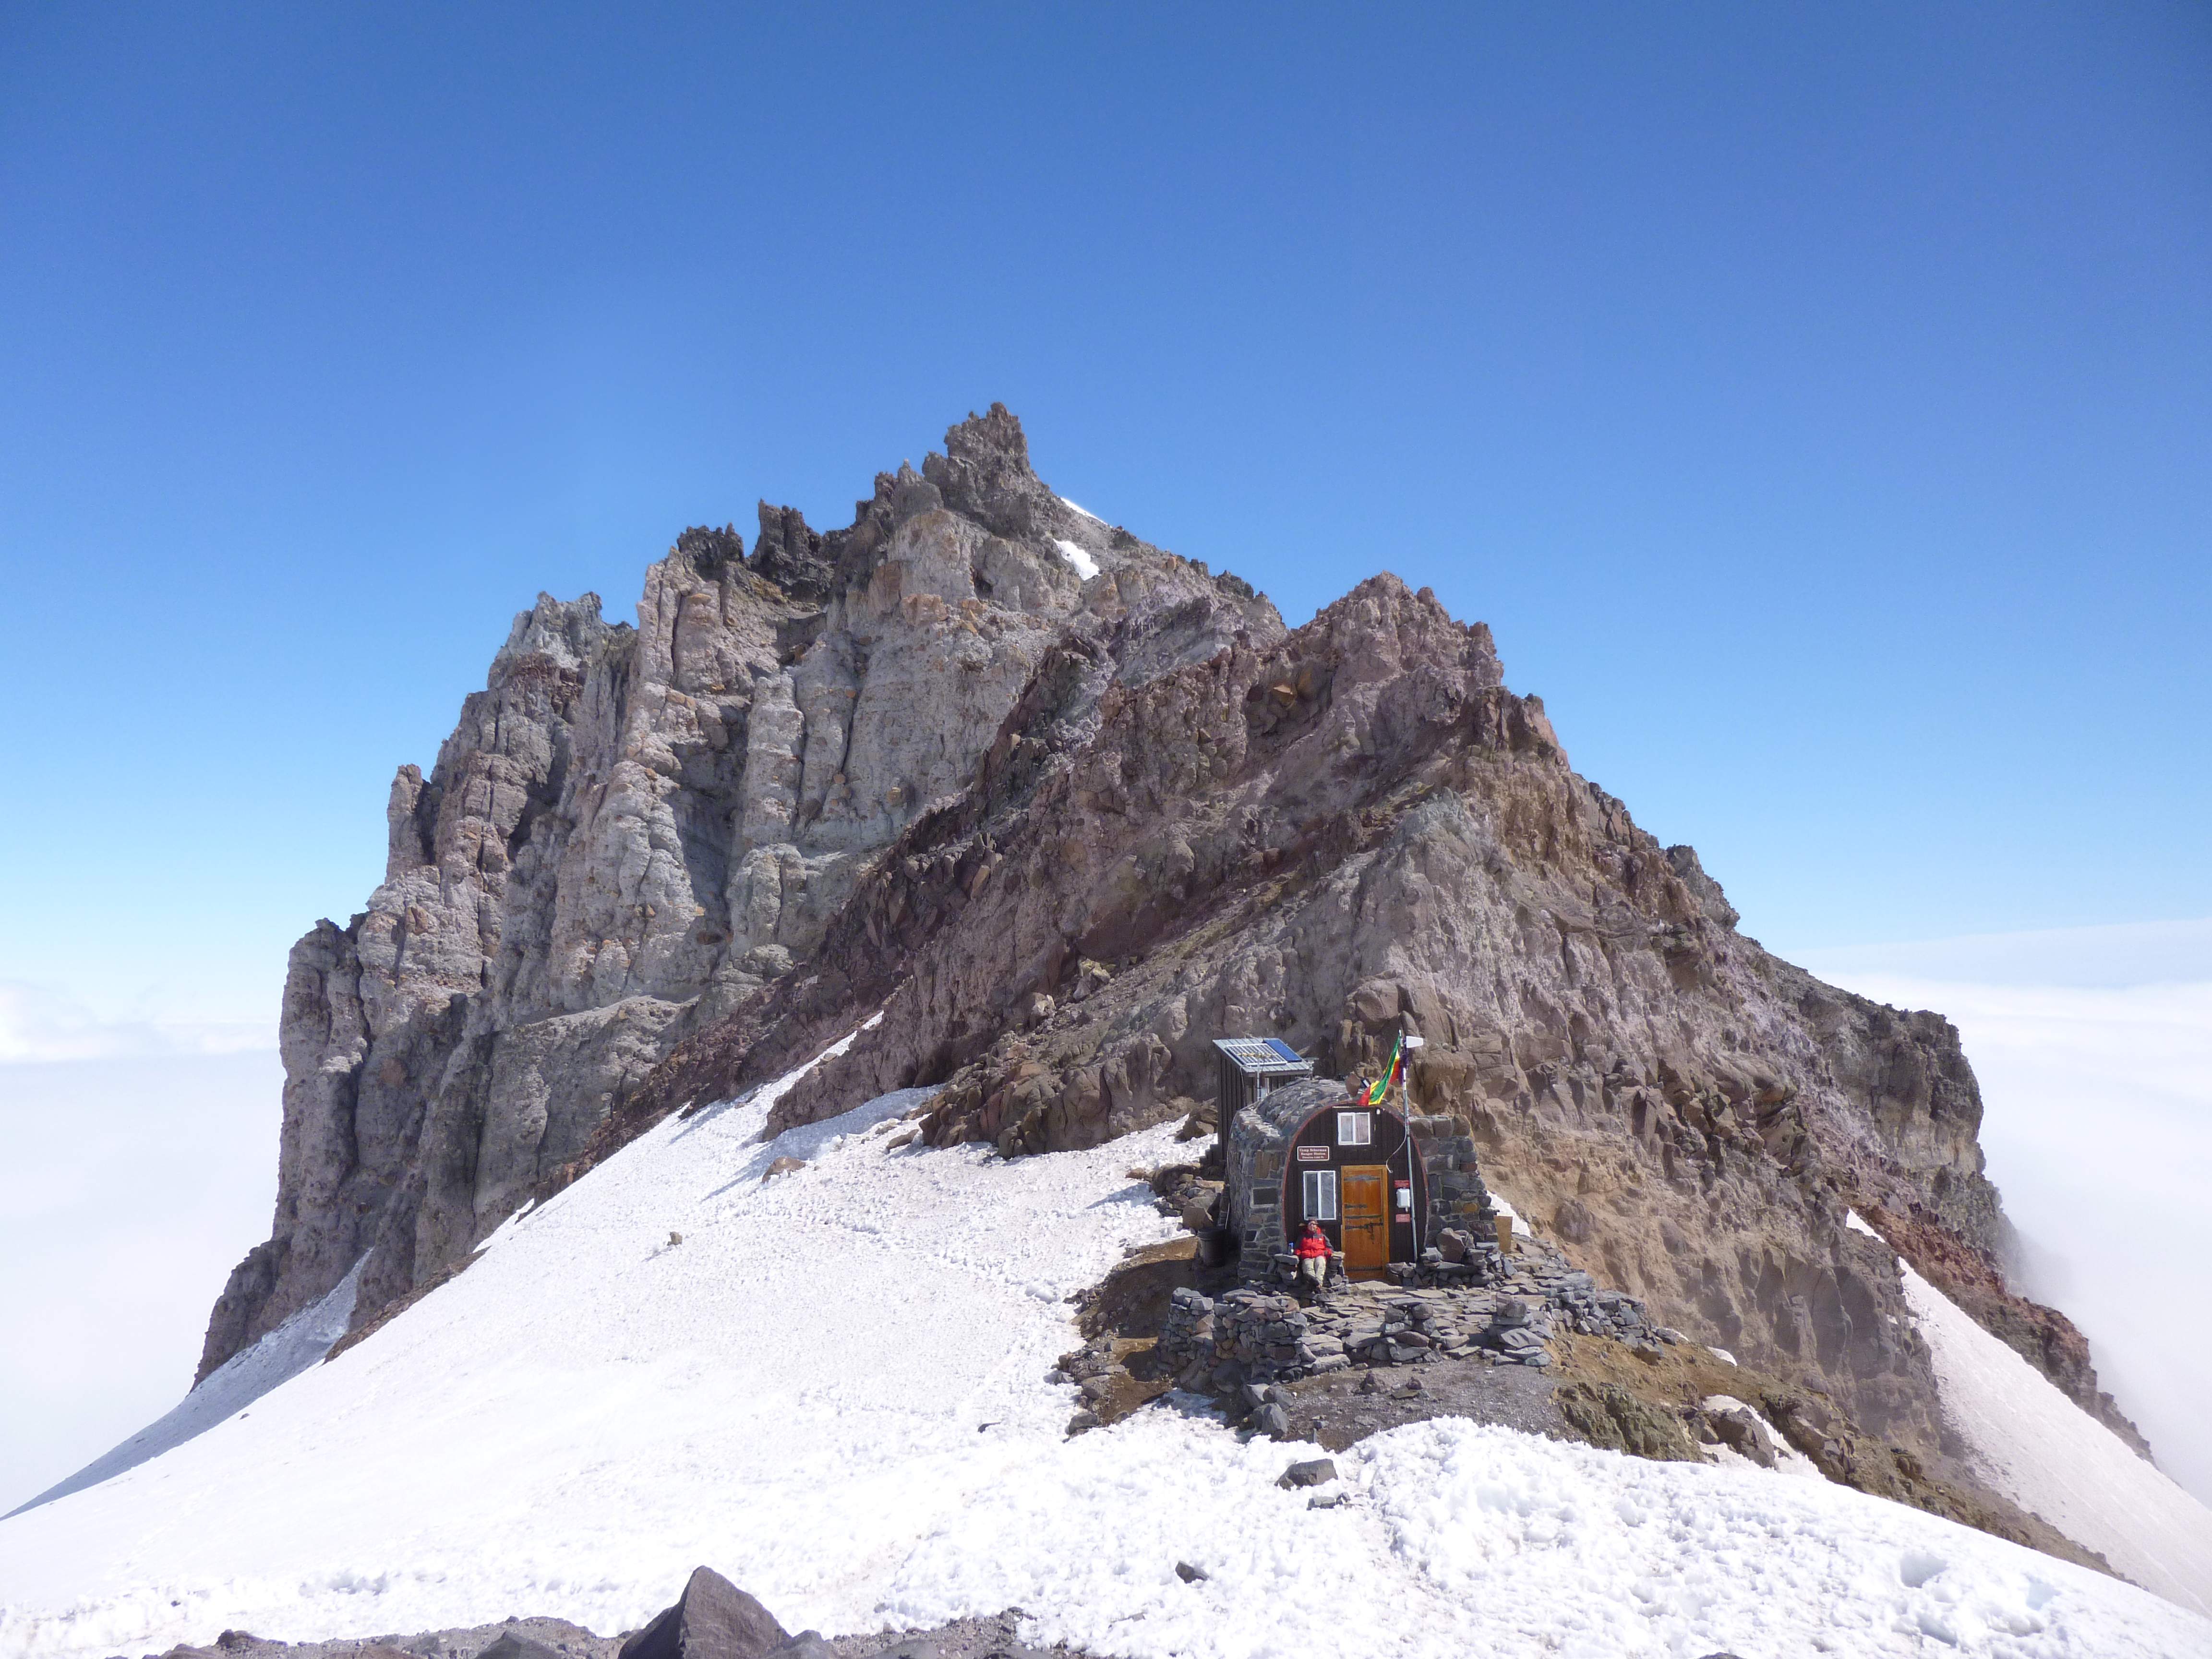
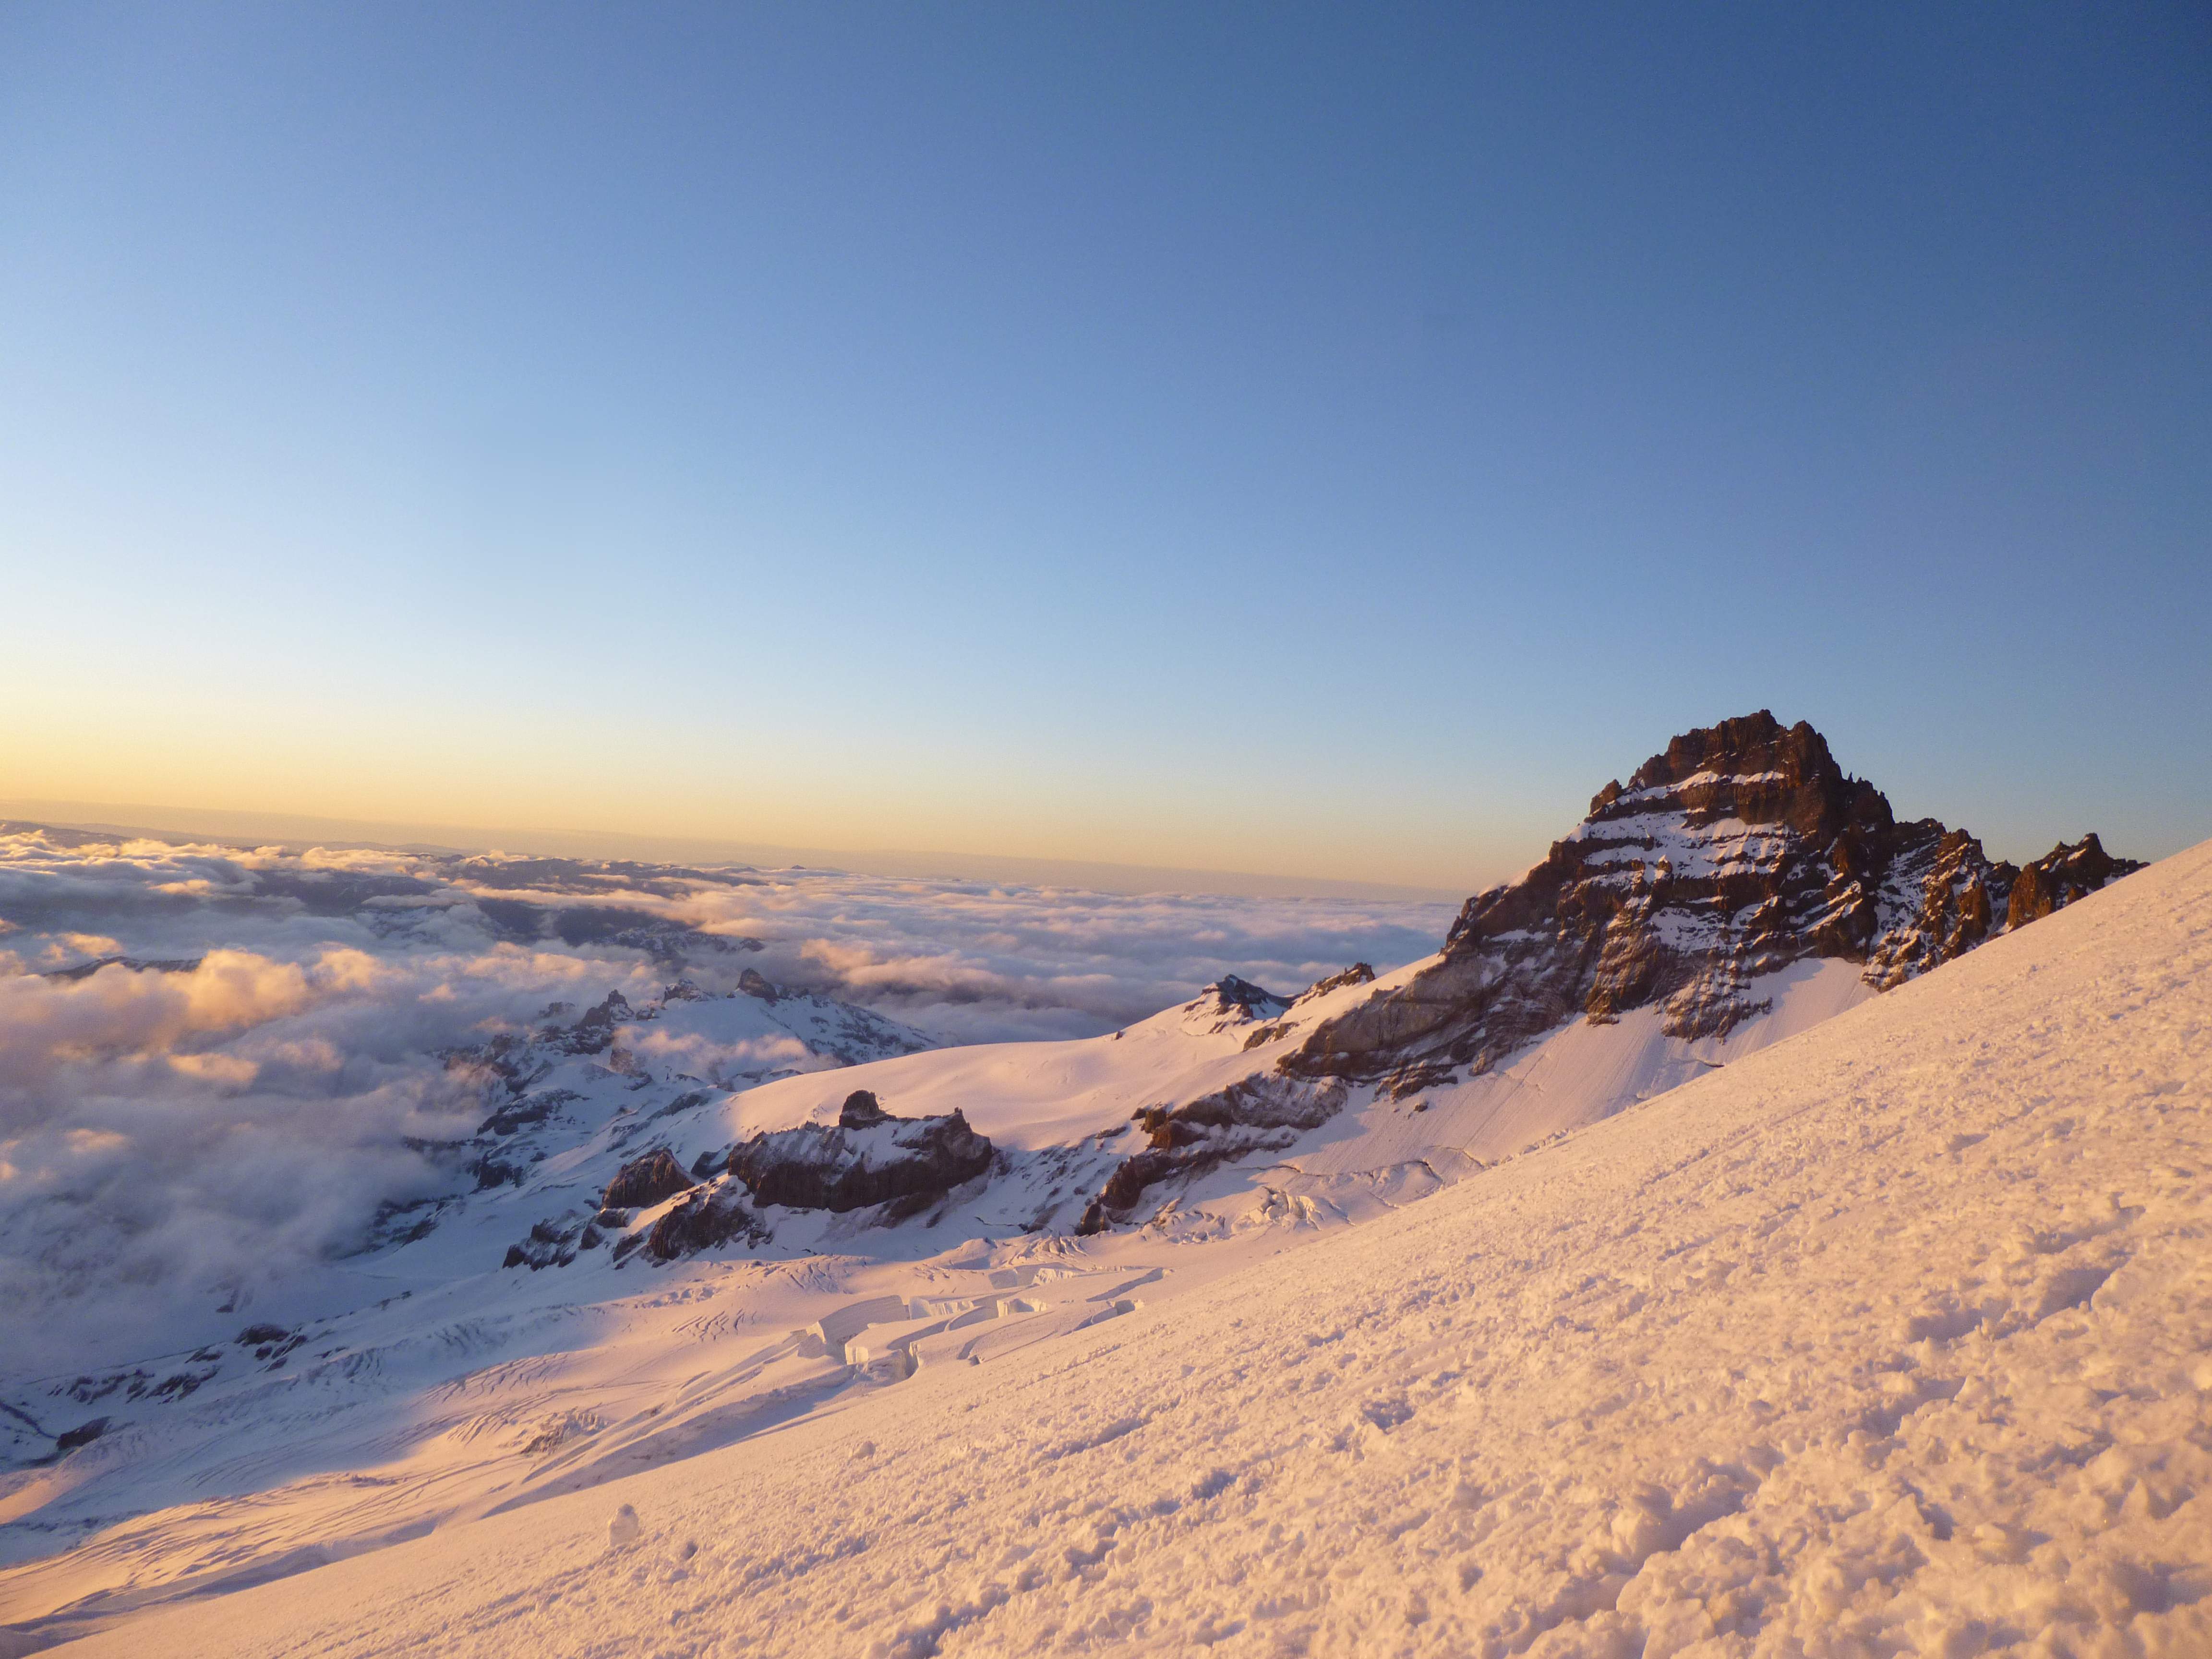
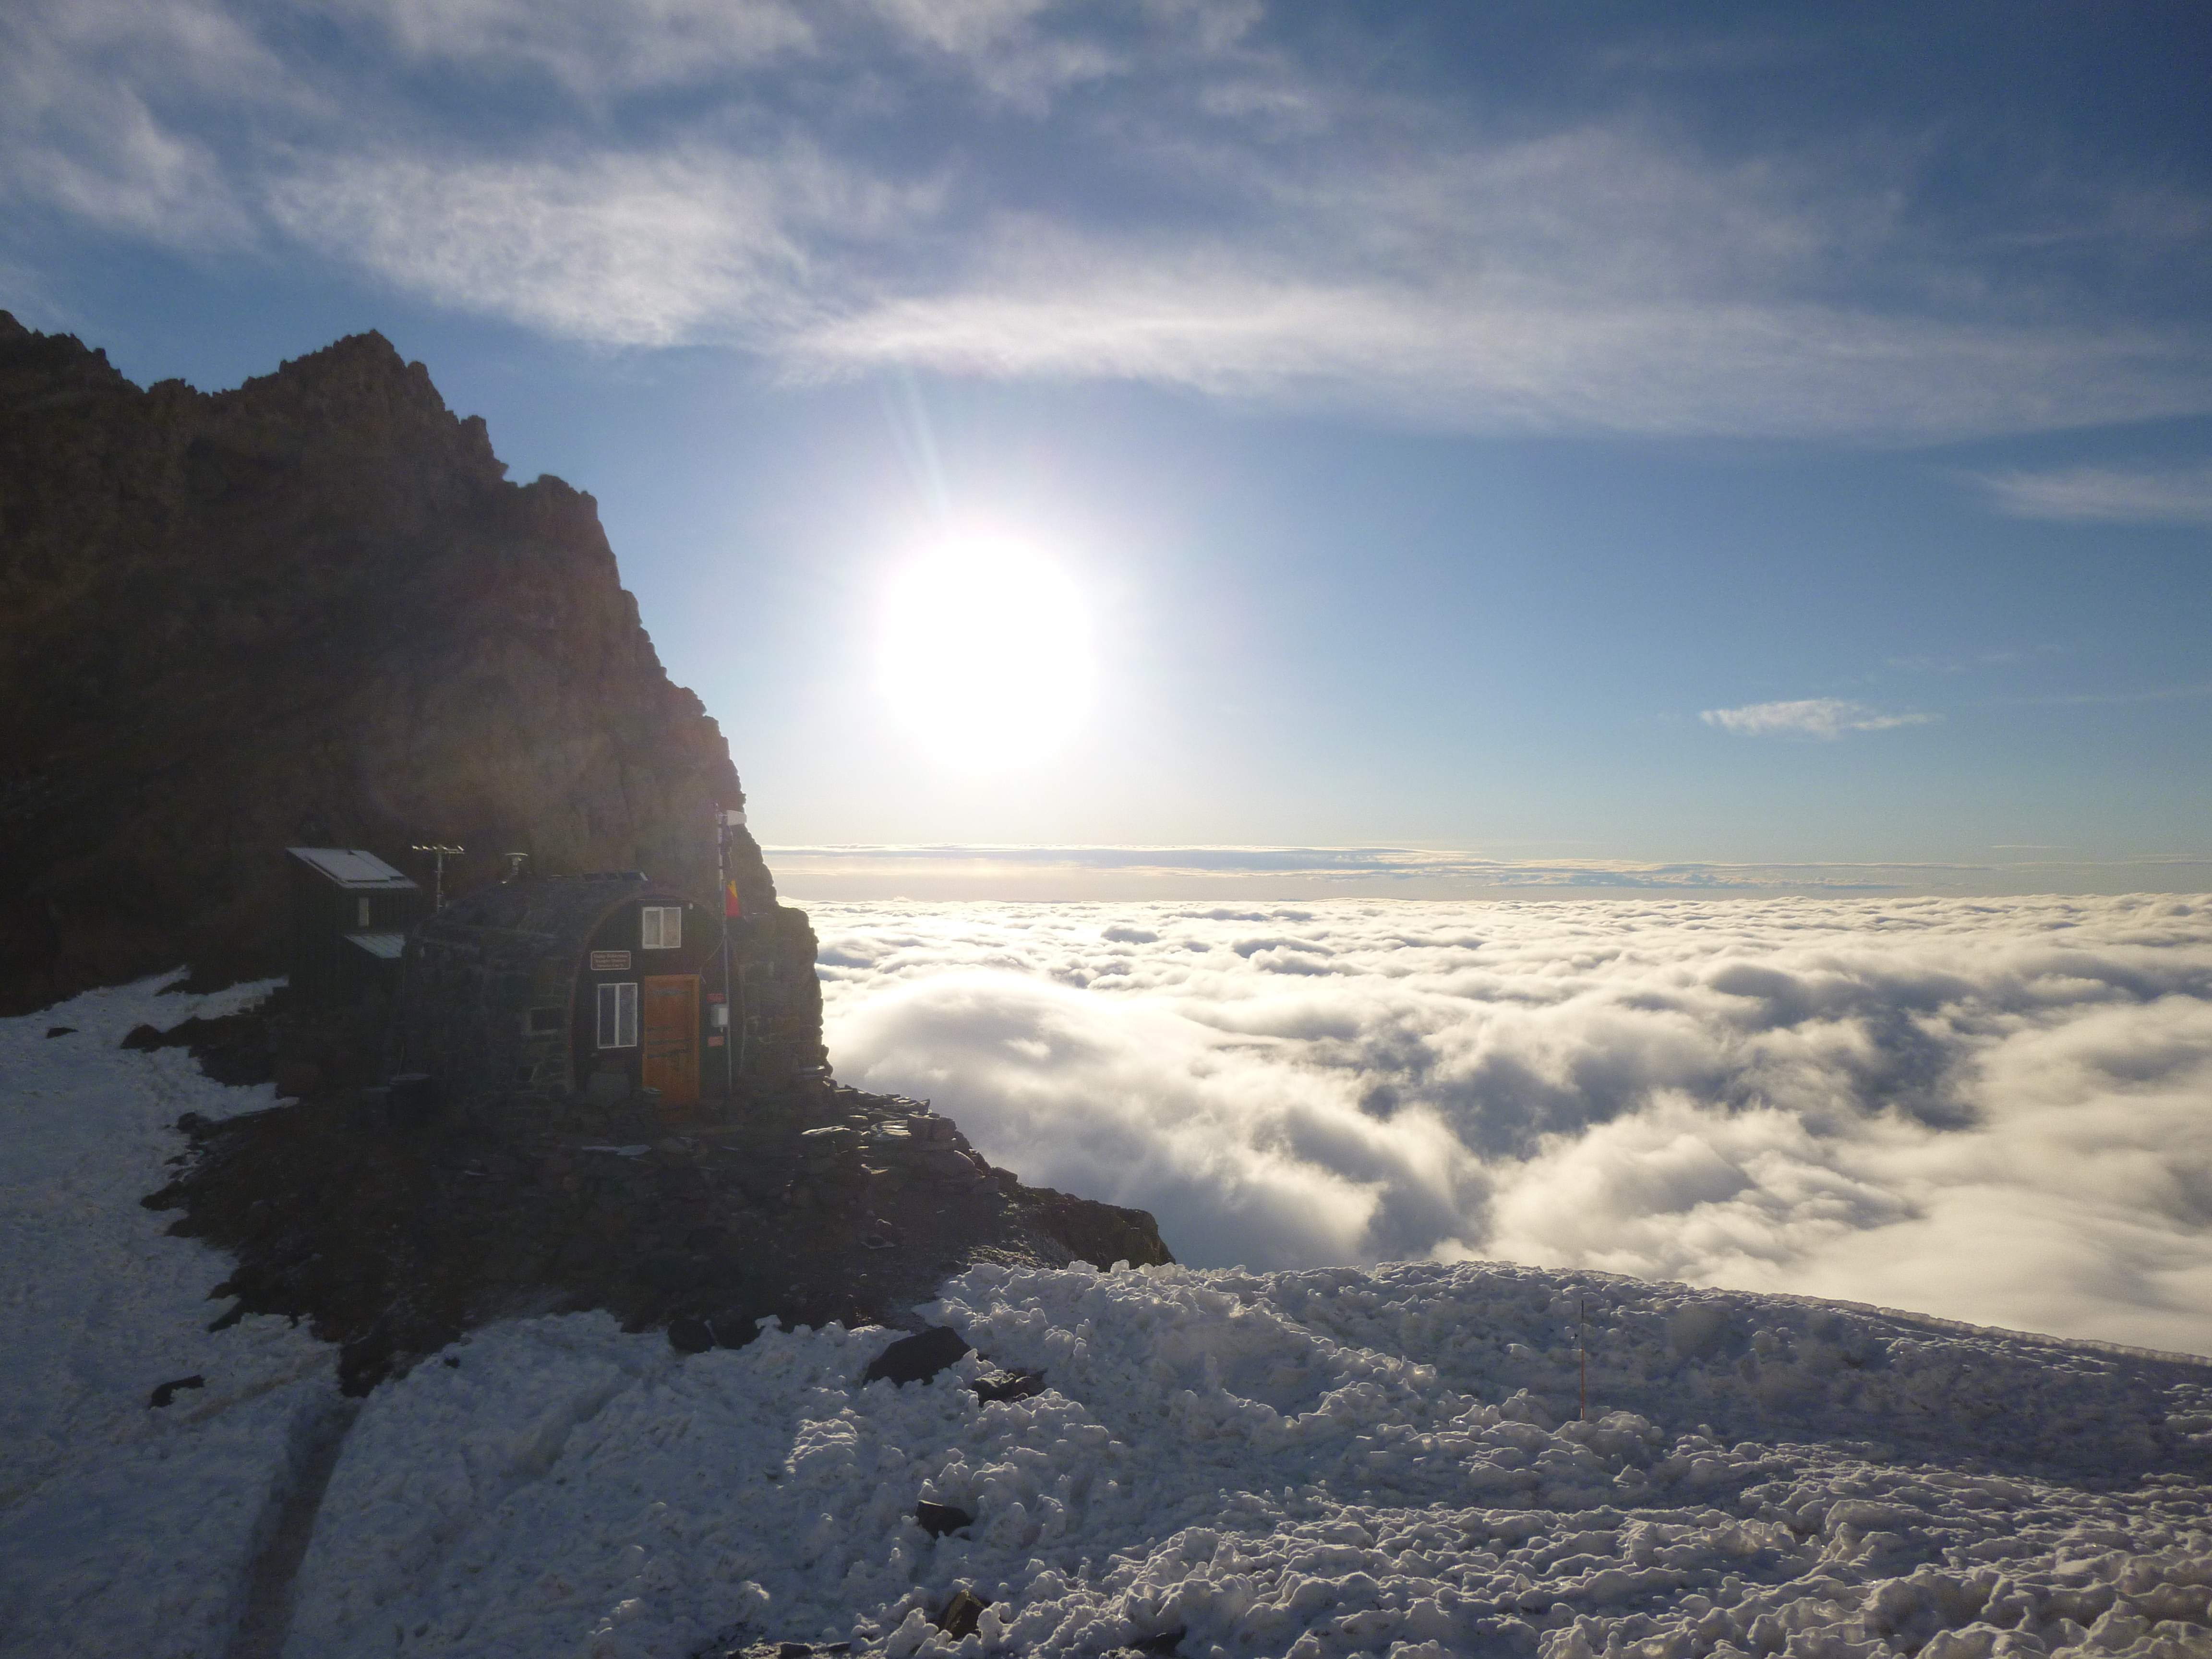
Above, the ranger hut at Camp Schurman was visible. The hut is constructed on the tip of Steamboat Prow, a boat-wake-shaped pair of ridges which separate the lower Winthrop and Emmons glaciers. Camp Schurman hosts two permanent structures, a sturdy ranger’s hut and a washroom. The washroom is primitive – a barrel underneath a toilet seat – but more comfortable than alternatives.

The ranger hut and washroom at Camp Schurman.
Steamboat Prow and Camp Schurman represent a safe area for camping on an otherwise thoroughly unstable part of the mountain. The ridge is free of moving glacial ice and thus free of crevasse hazard, and has enough relatively flat, clear space for several campsites.

Camp Schurman and Steamboat Prow.

Camp Schurman.

A plaque on the hut bears a poem.
Camp Schurman is ringed with numerous crevasses, many partially hidden beneath the snow, making it unsafe to stray far from the ridge alone.

Crevasses outside Camp Schurman.
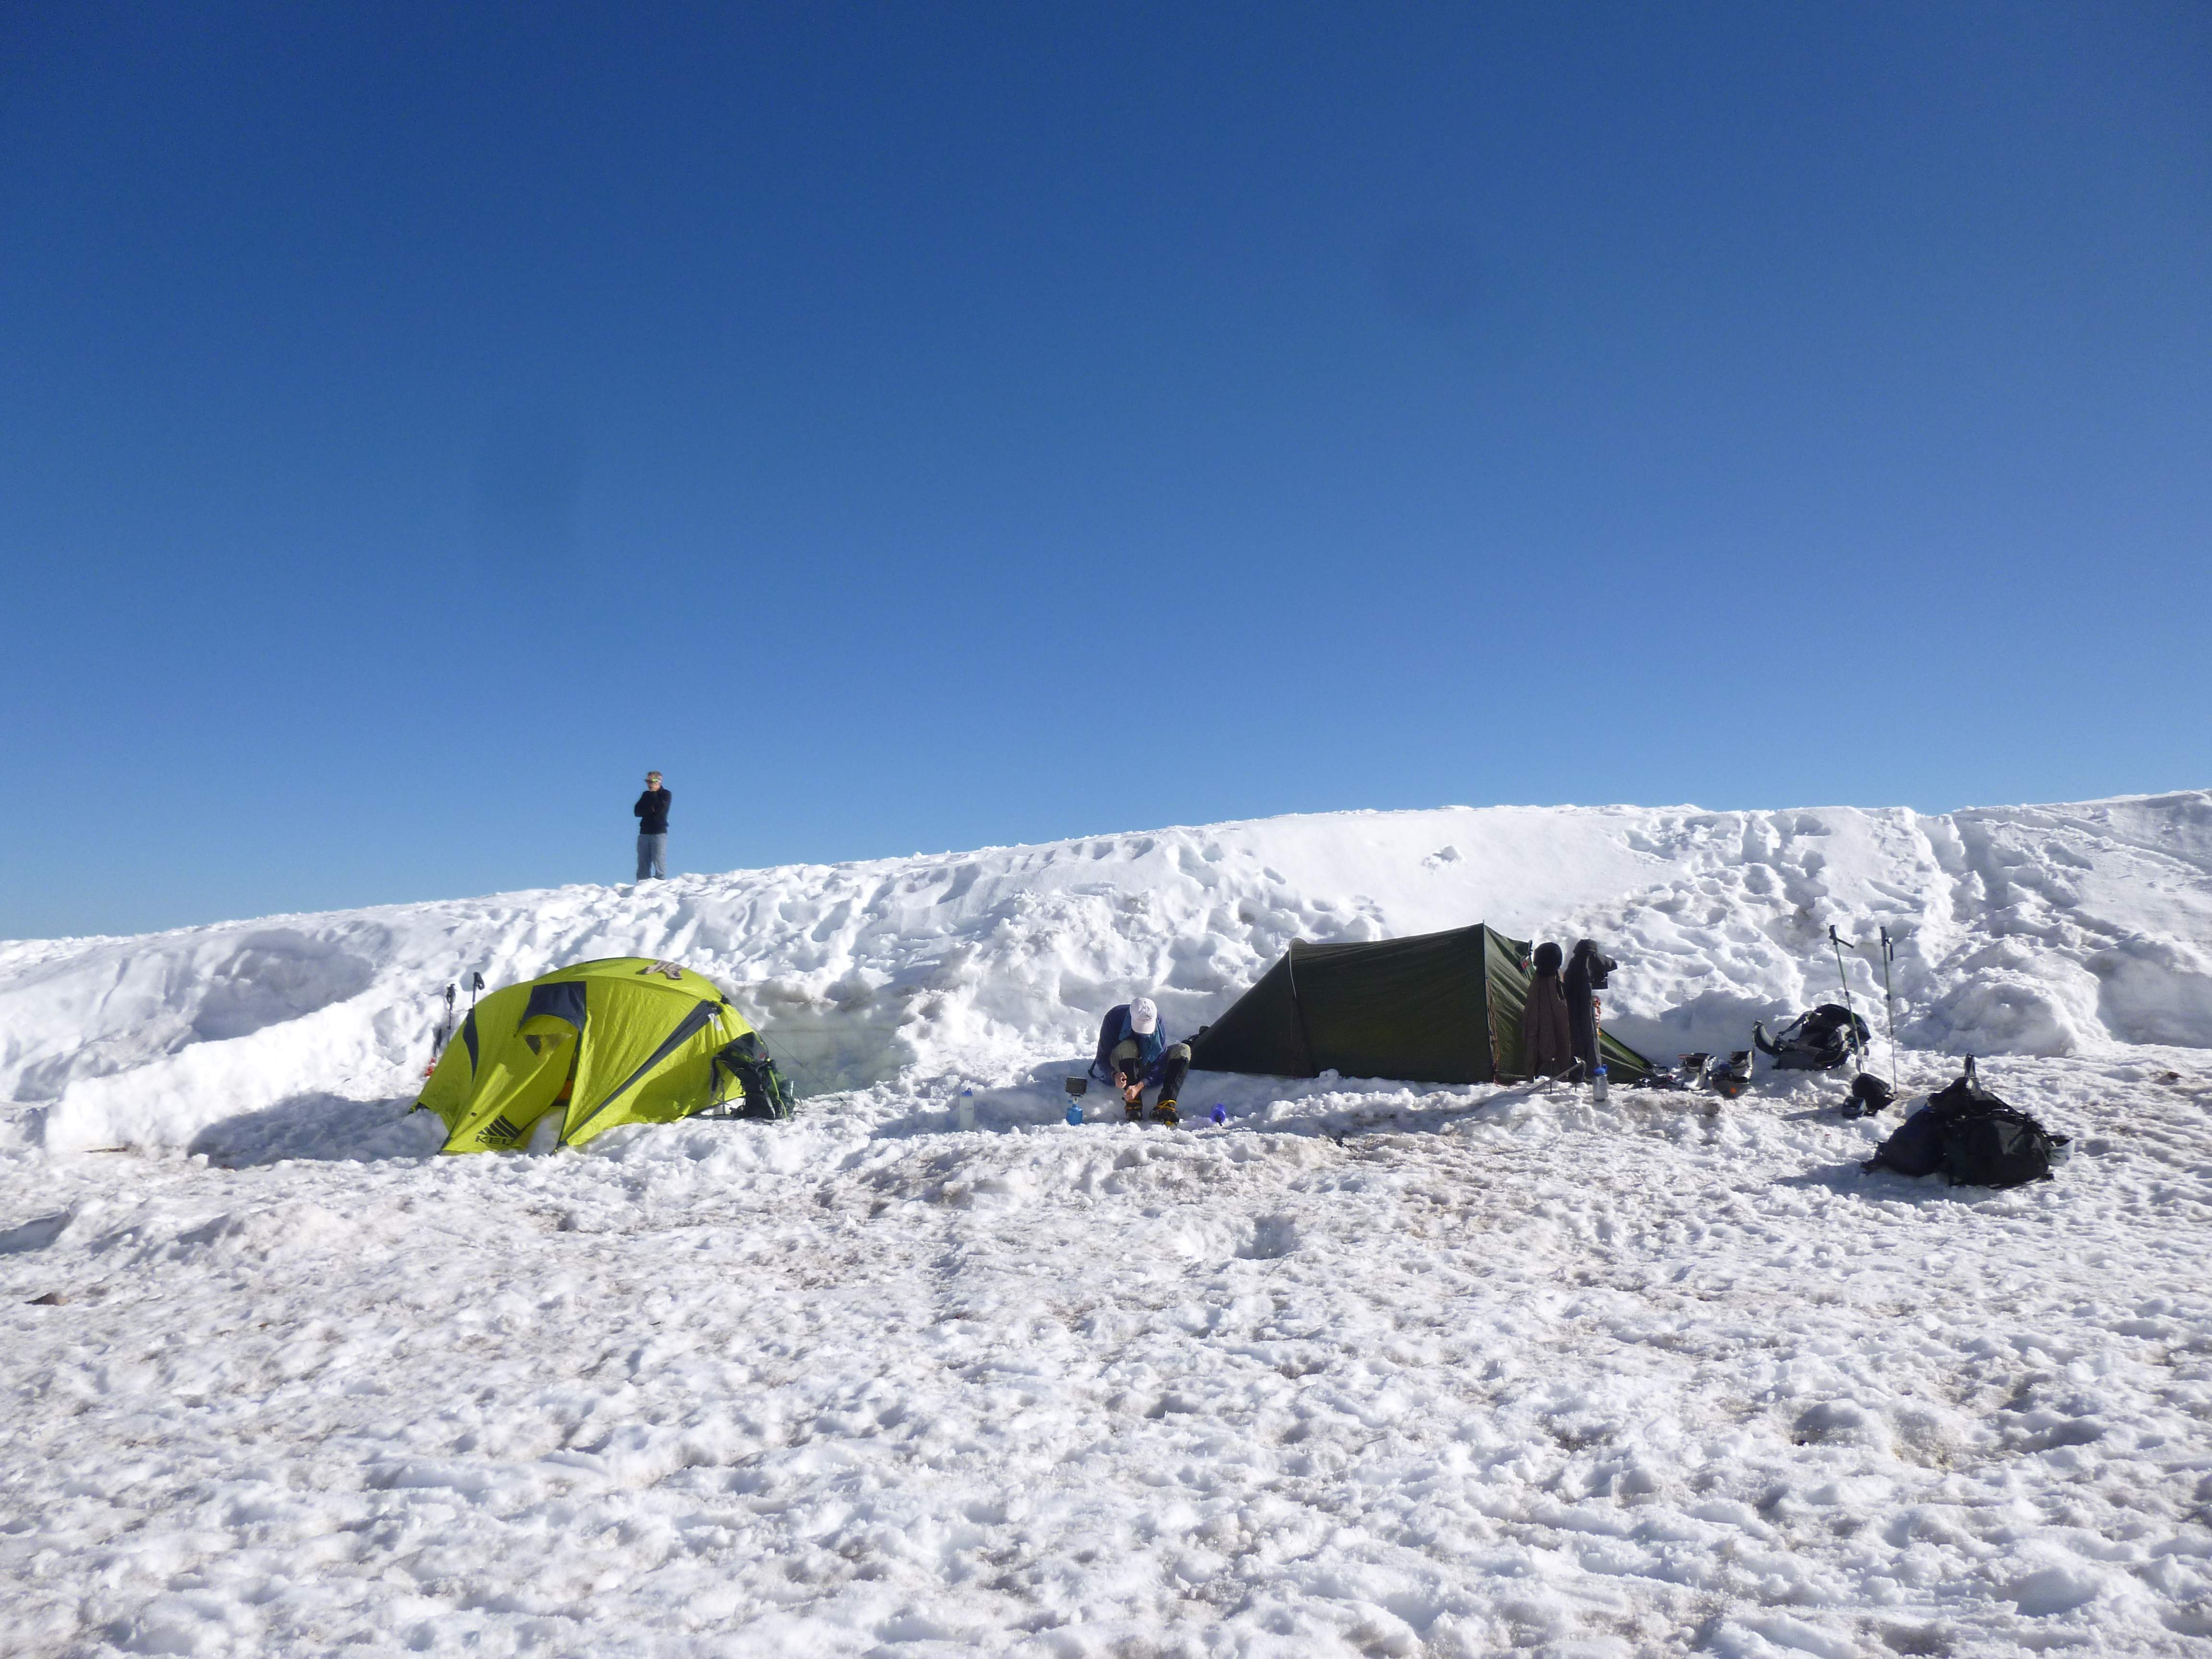
After arriving, we cleared a platform for our tents and got to work assembling a sturdy camp. Our plan was to leave for the summit early the next morning, climbing overnight to the top. The weather forecast for the next day was poor, calling for cloud cover and snow, but only moderate winds. Weather is an unpredictable variable on Mount Rainier and it is not uncommon for teams to be weathered off due to high winds or escalated avalanche risk following heavy snowfall. Due to the mountain’s prominence, isolation, and location in the pacific northwest, the upper mountain often experiences its own weather, which can change rapidly and unexpectedly.

Looking up the Glacier from near our campsite.
Soon after pitching camp clouds began to rise and roll past us, and light snow began to fall. As clouds moved by visibility became variable, with windows of blue sky opening and then closing, taking with them our views of the upper mountain.

Looking up Rainier.
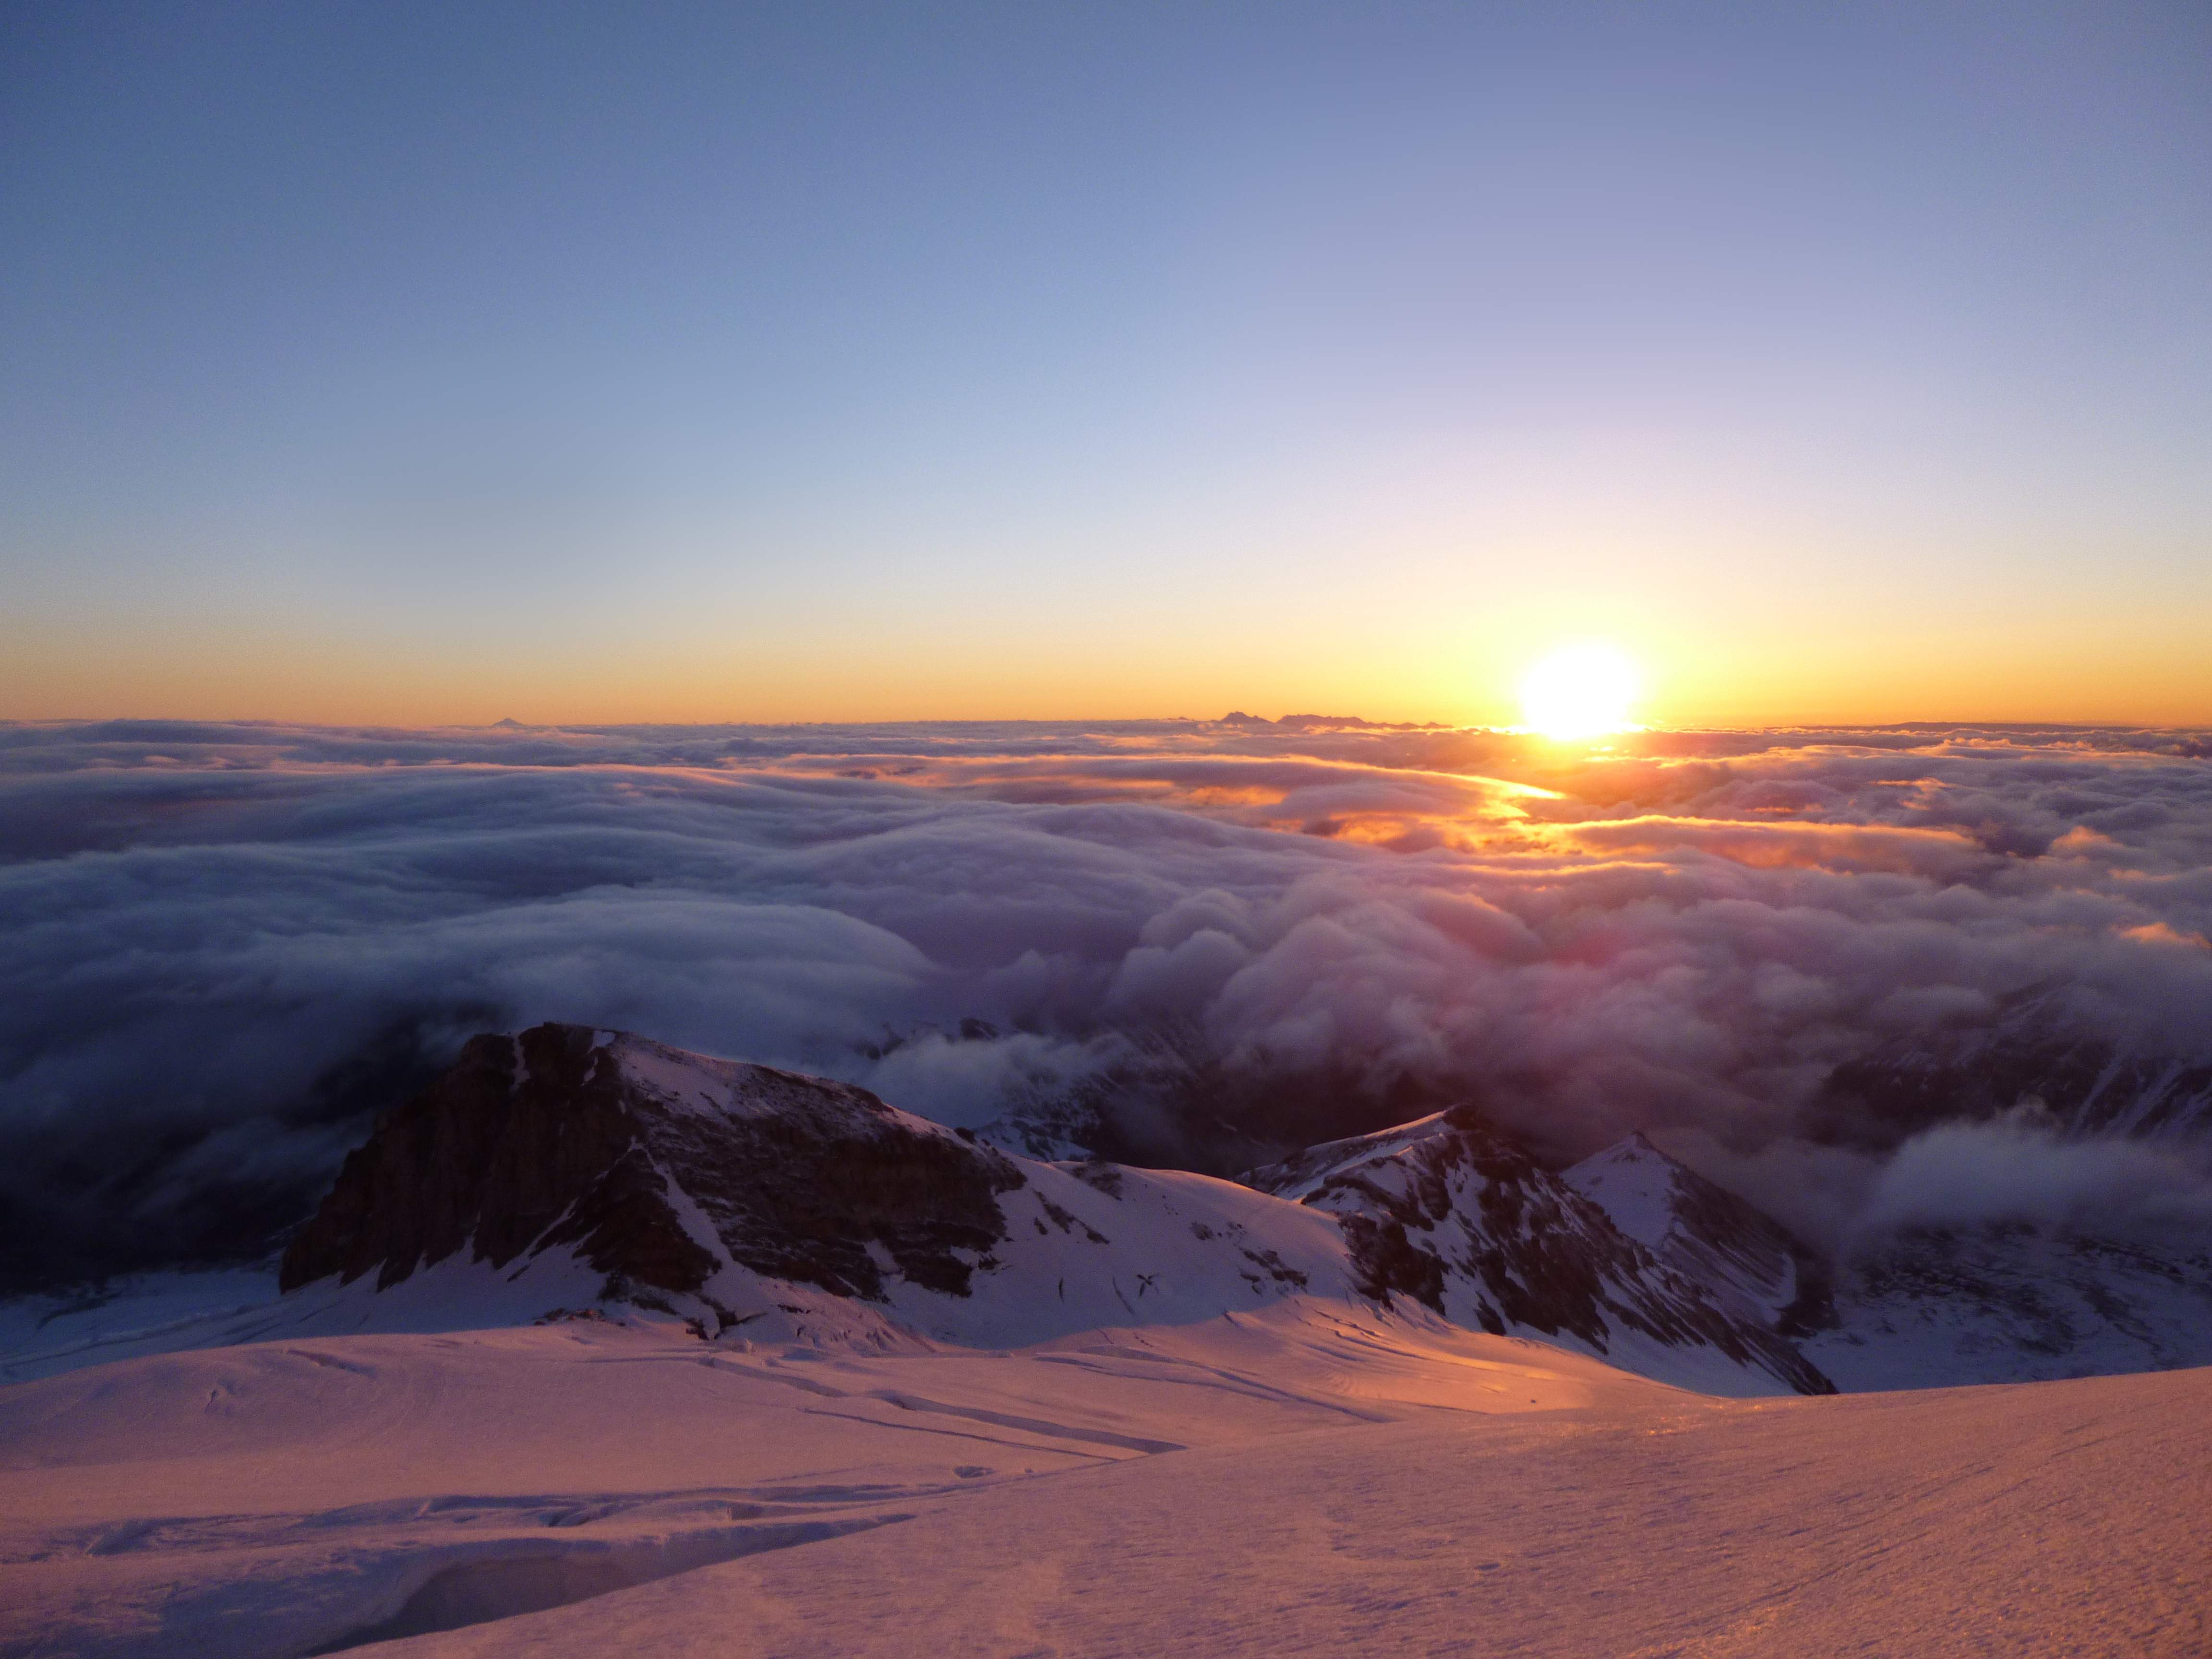
As on the day before, as the sun set the clouds ascended in force.

Sunset over our tents as clouds roll in.
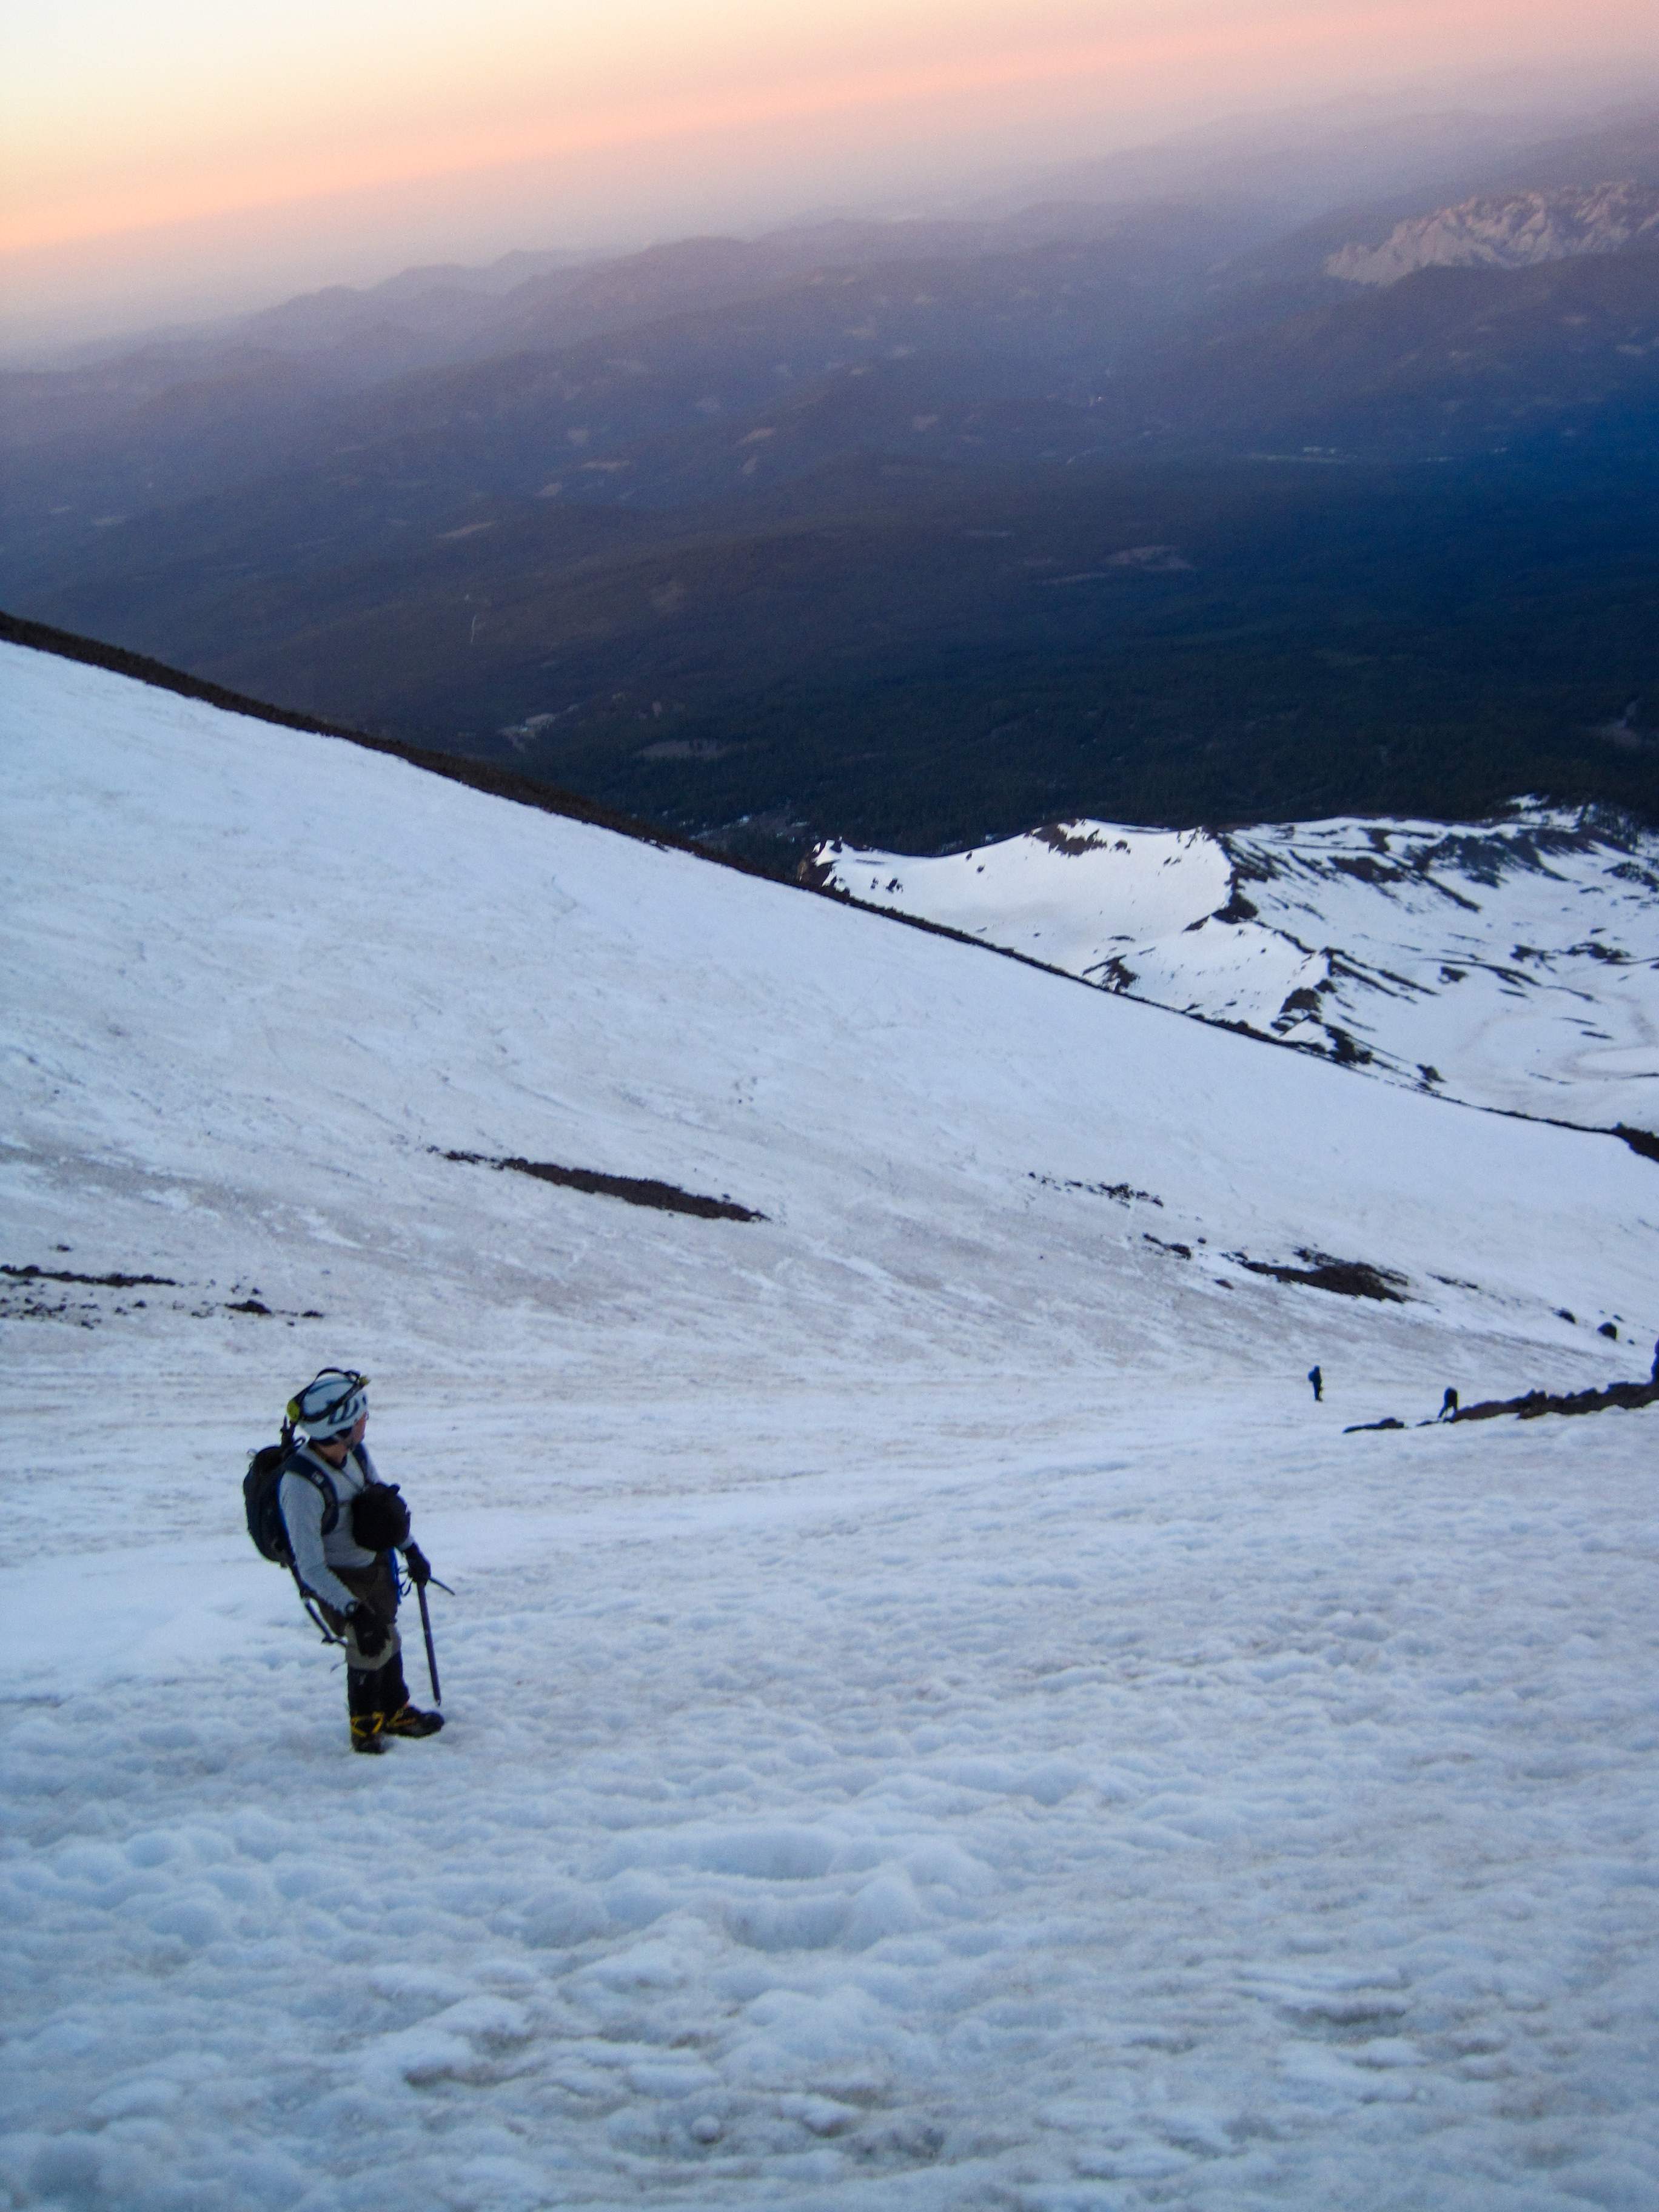
Day 3: We began preparing for our climb to the summit at 3 a.m., a relatively late start. By the time we began getting ready the sky had completely cleared, the stars were out, and wind was very low. A thick layer of clouds hung below us, but the upper mountain looked promising. After a fast breakfast and a hot drink, we roped up and began heading out of Camp Schurman at around 4:30 a.m. We were the only team ascending today, and had the route entirely to ourselves.

Getting ready to head up.
As we headed upwards on the Emmons, the sun began to rise over the clouds below us.

The beginning of sunrise.

Sunrise on the Emmons.

Sunrise on the Emmons.

Little Tahoma Peak in the sunrise.

Sunrise on the Emmons.

Camp Schurman, surrounded by crevasses.
The Emmons below us.
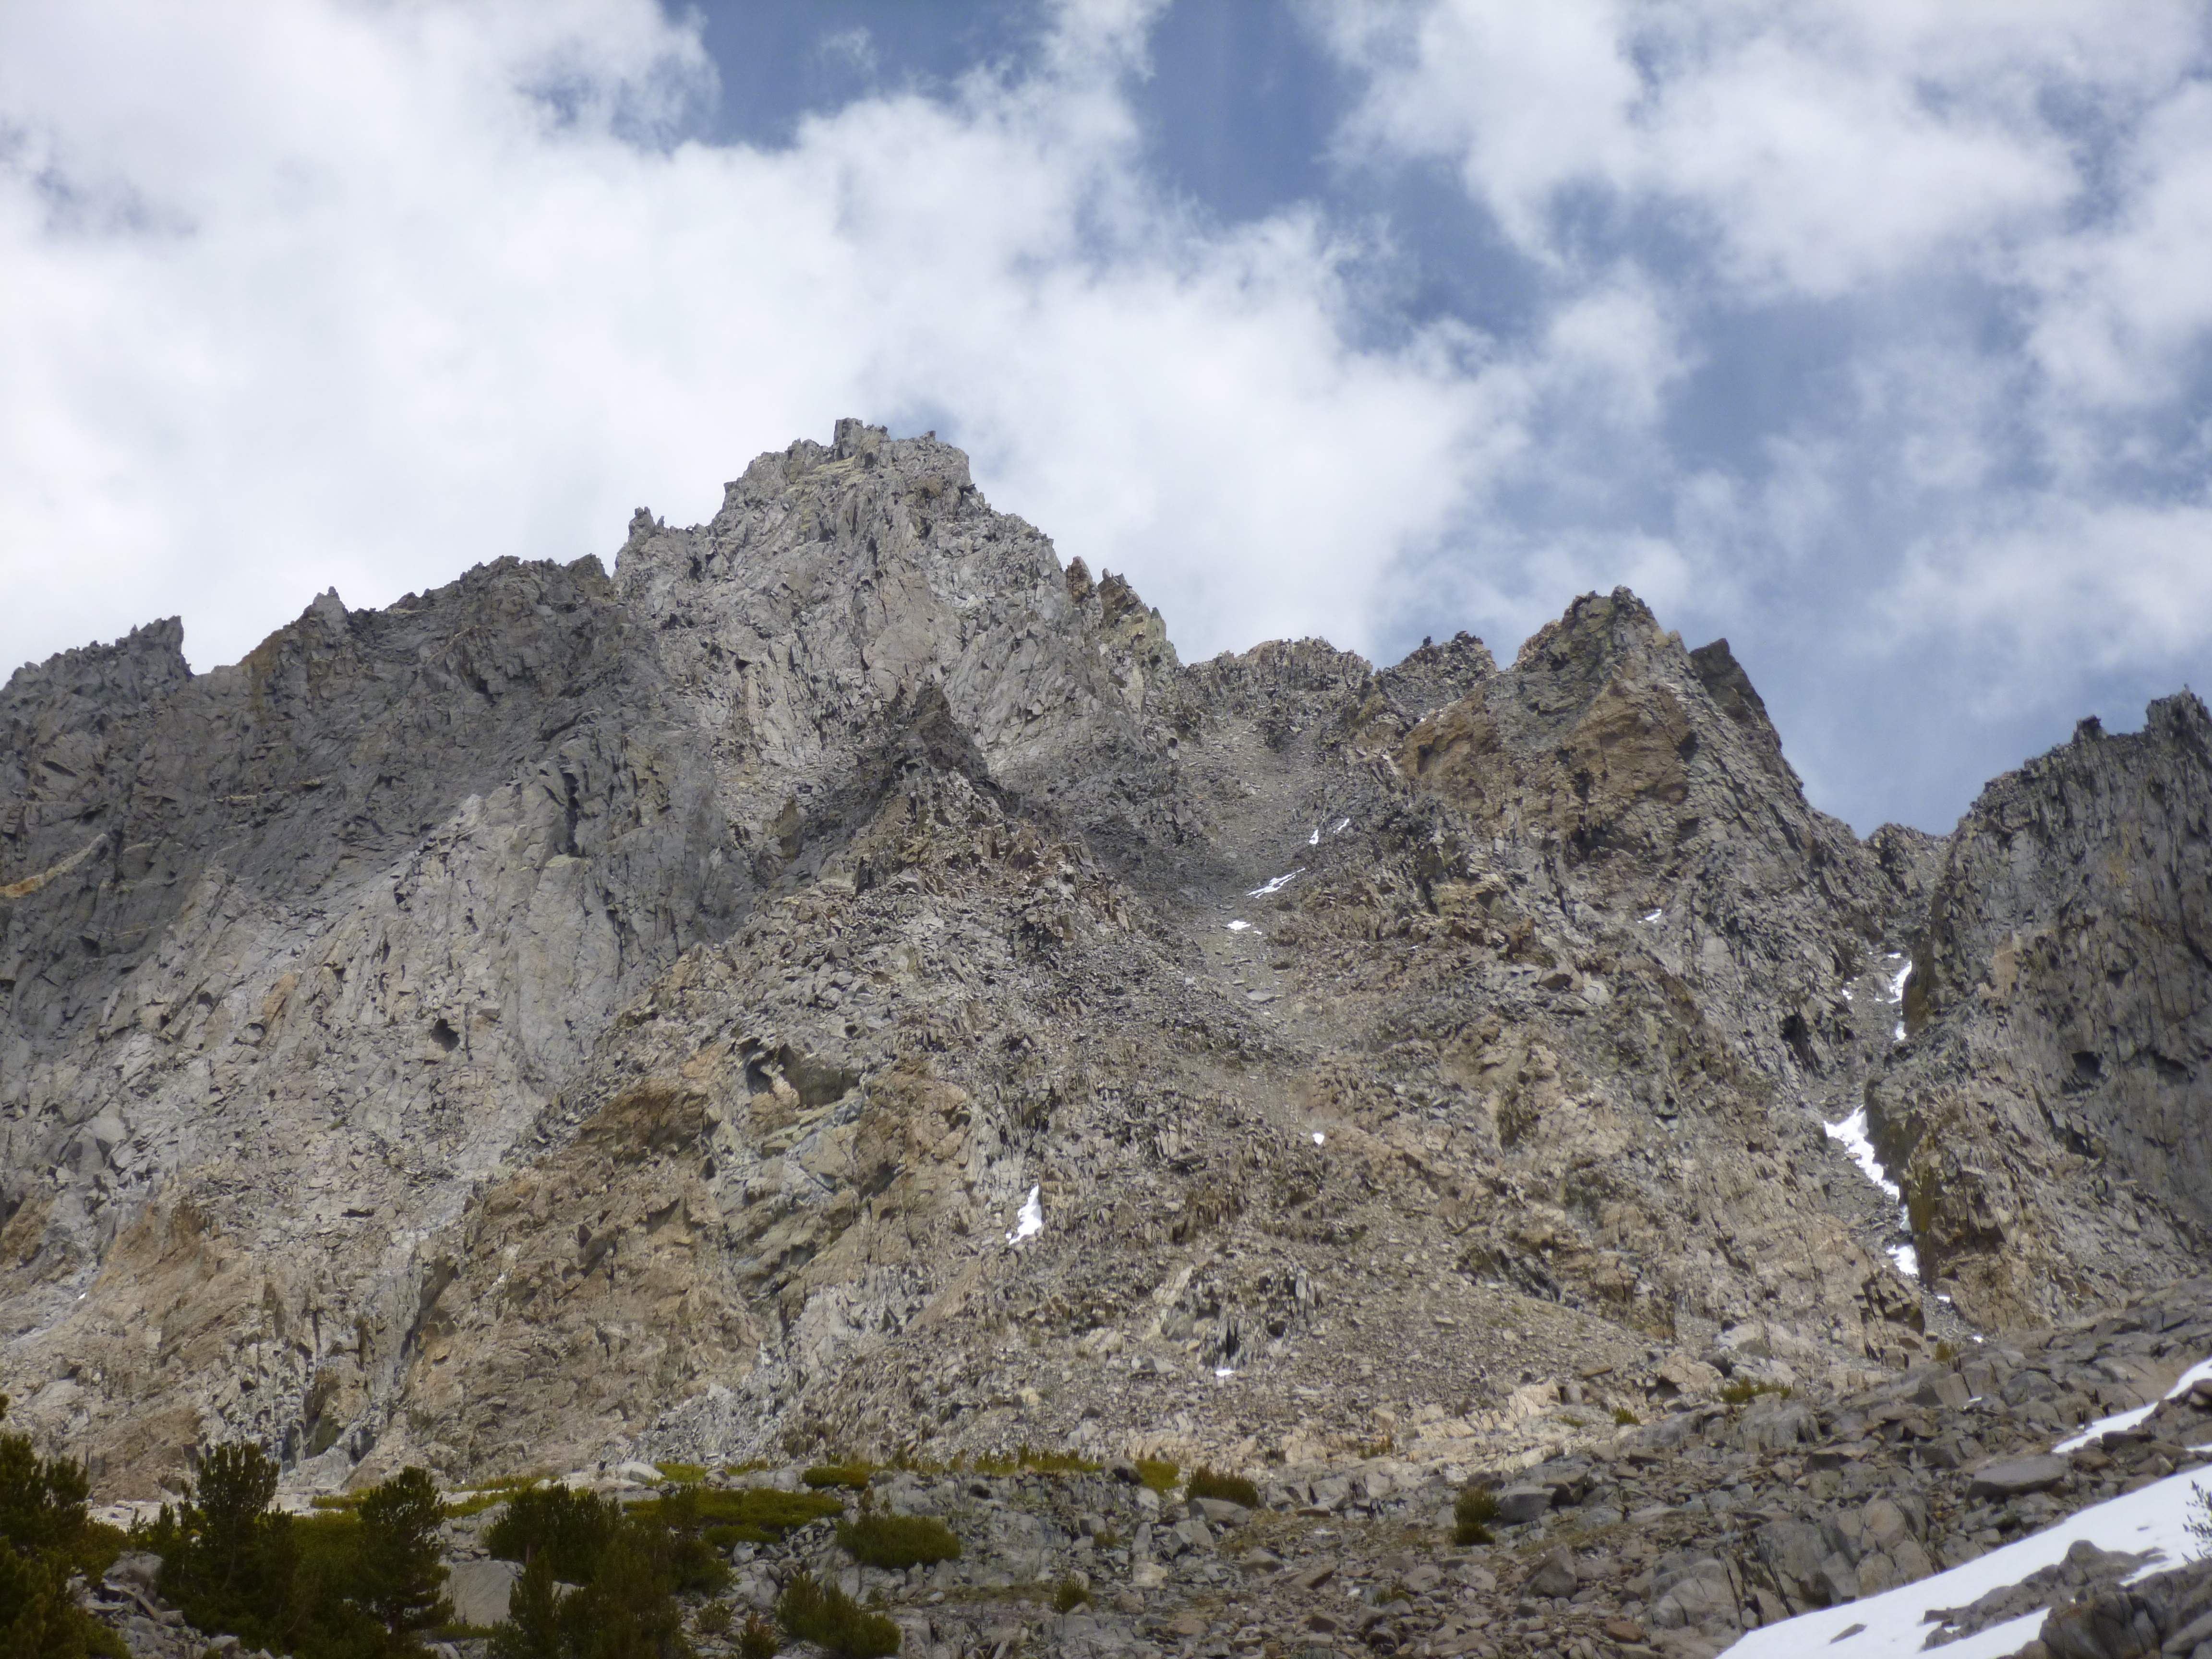
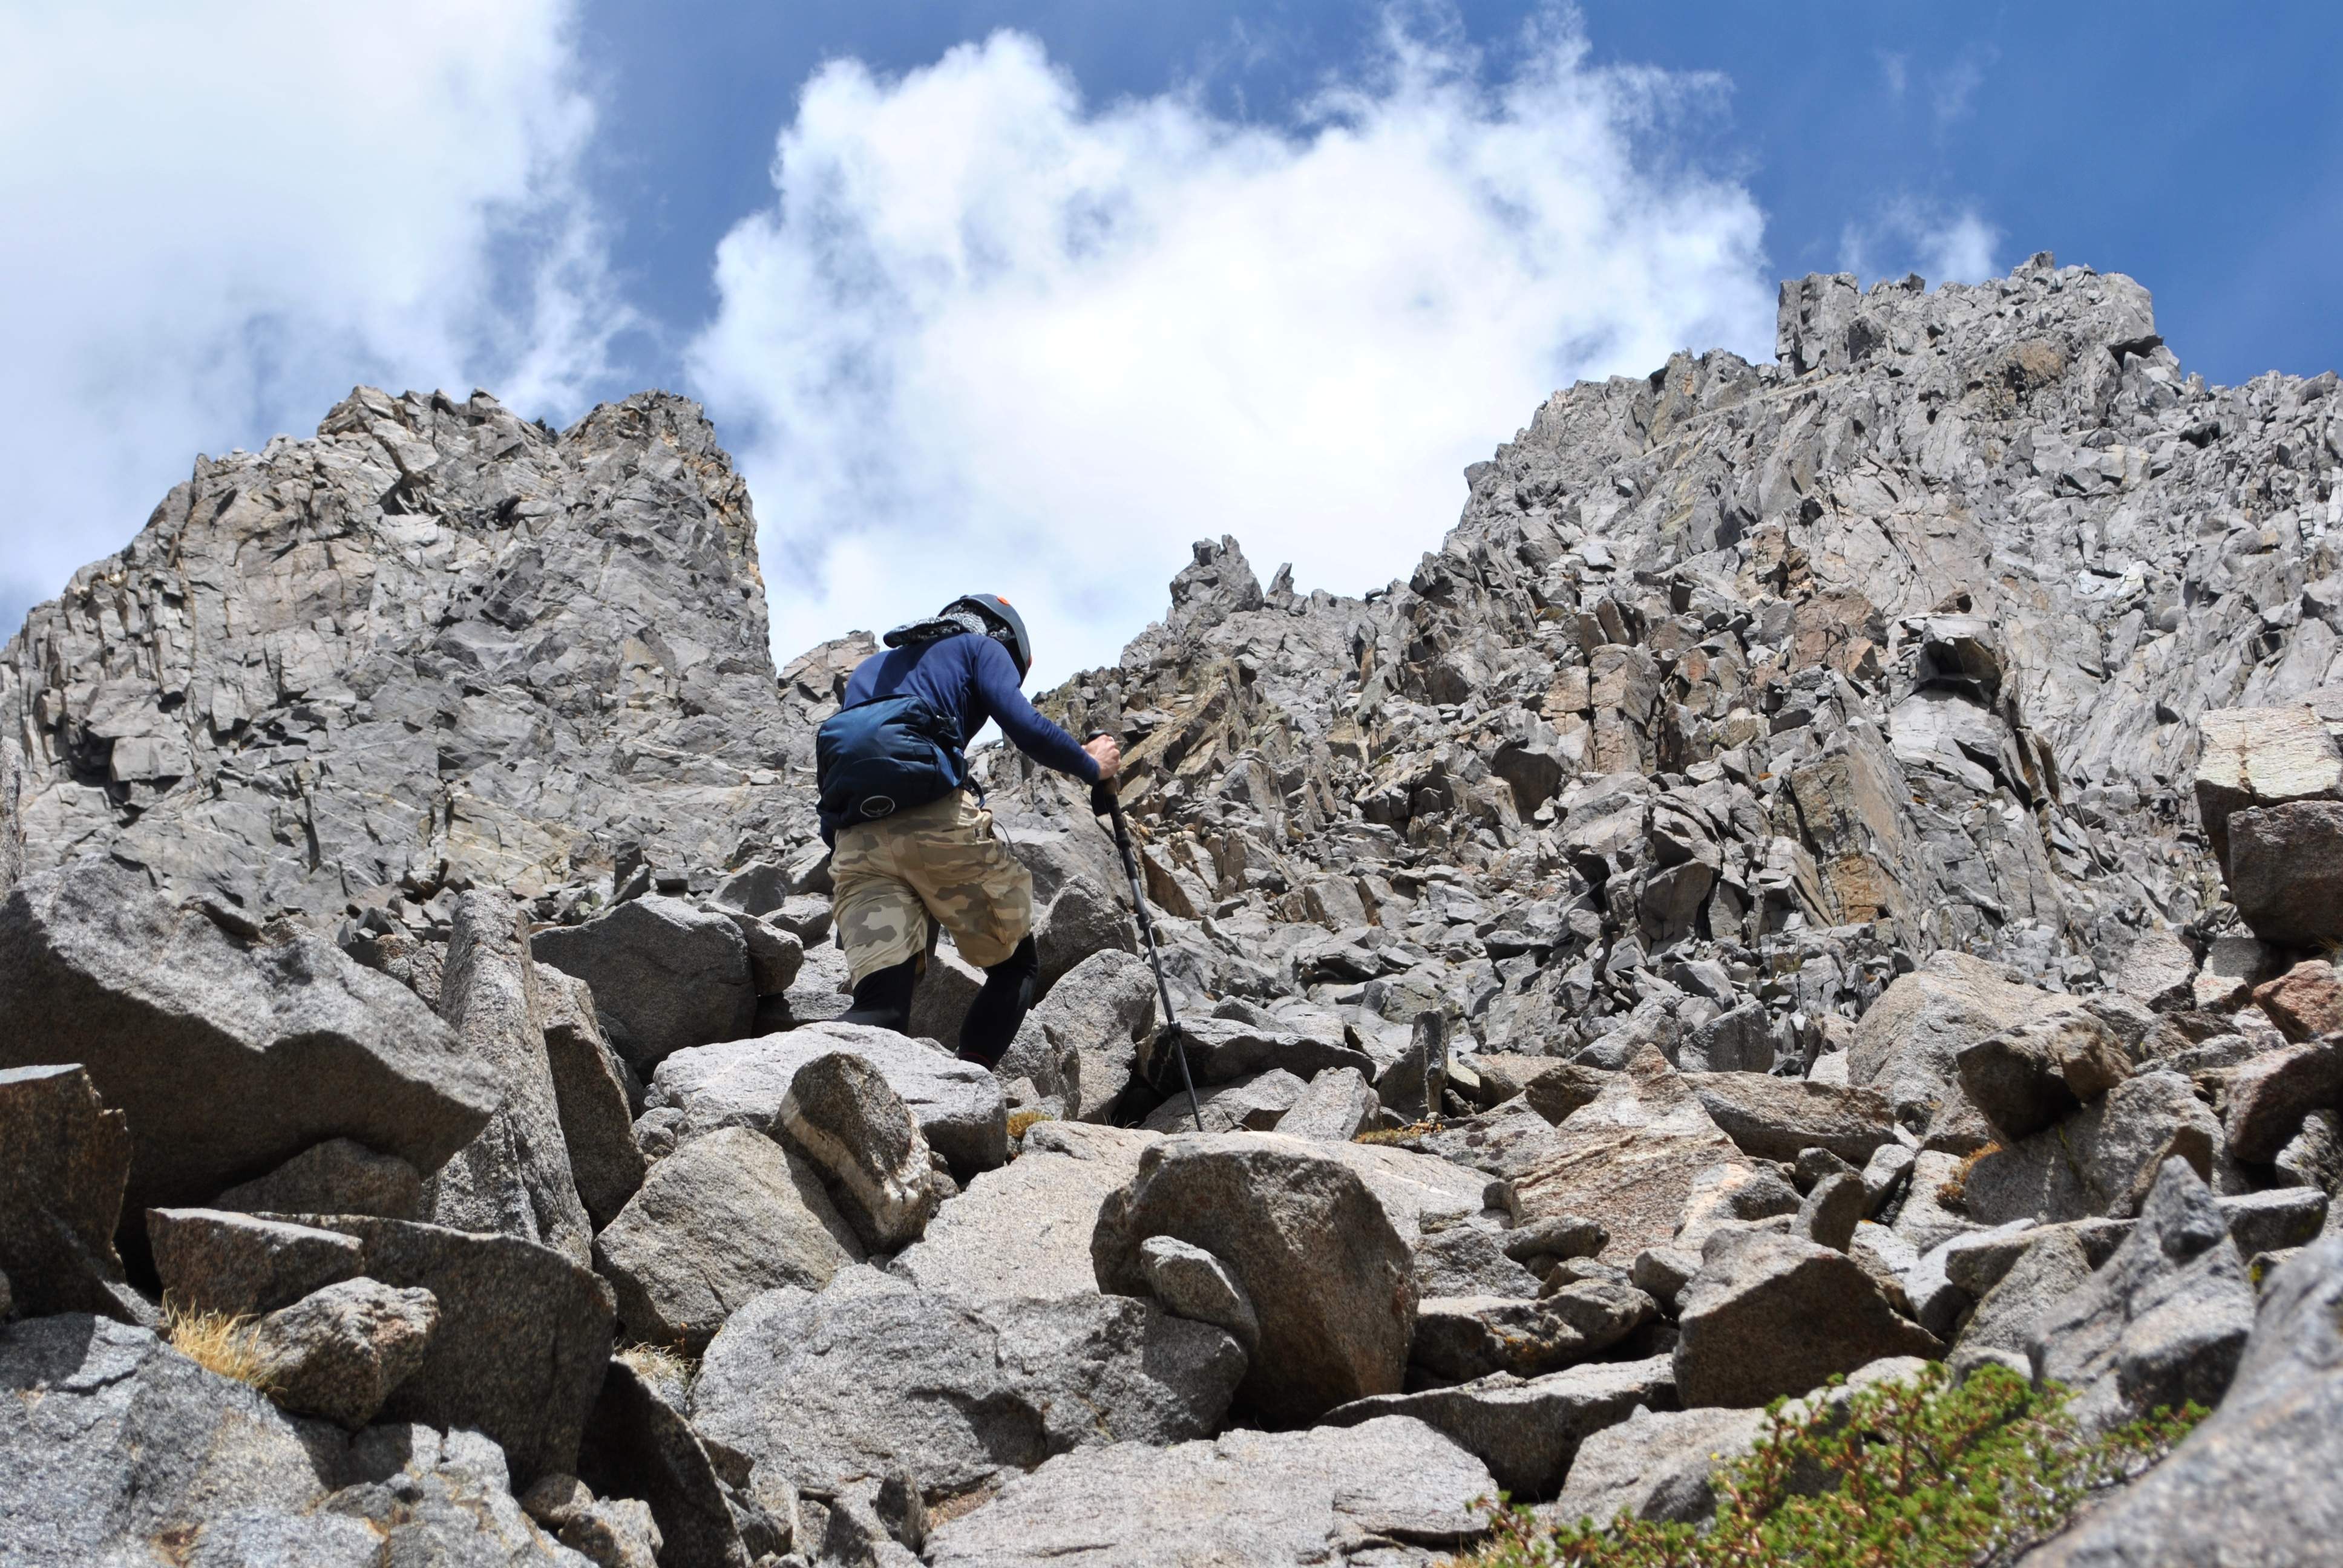
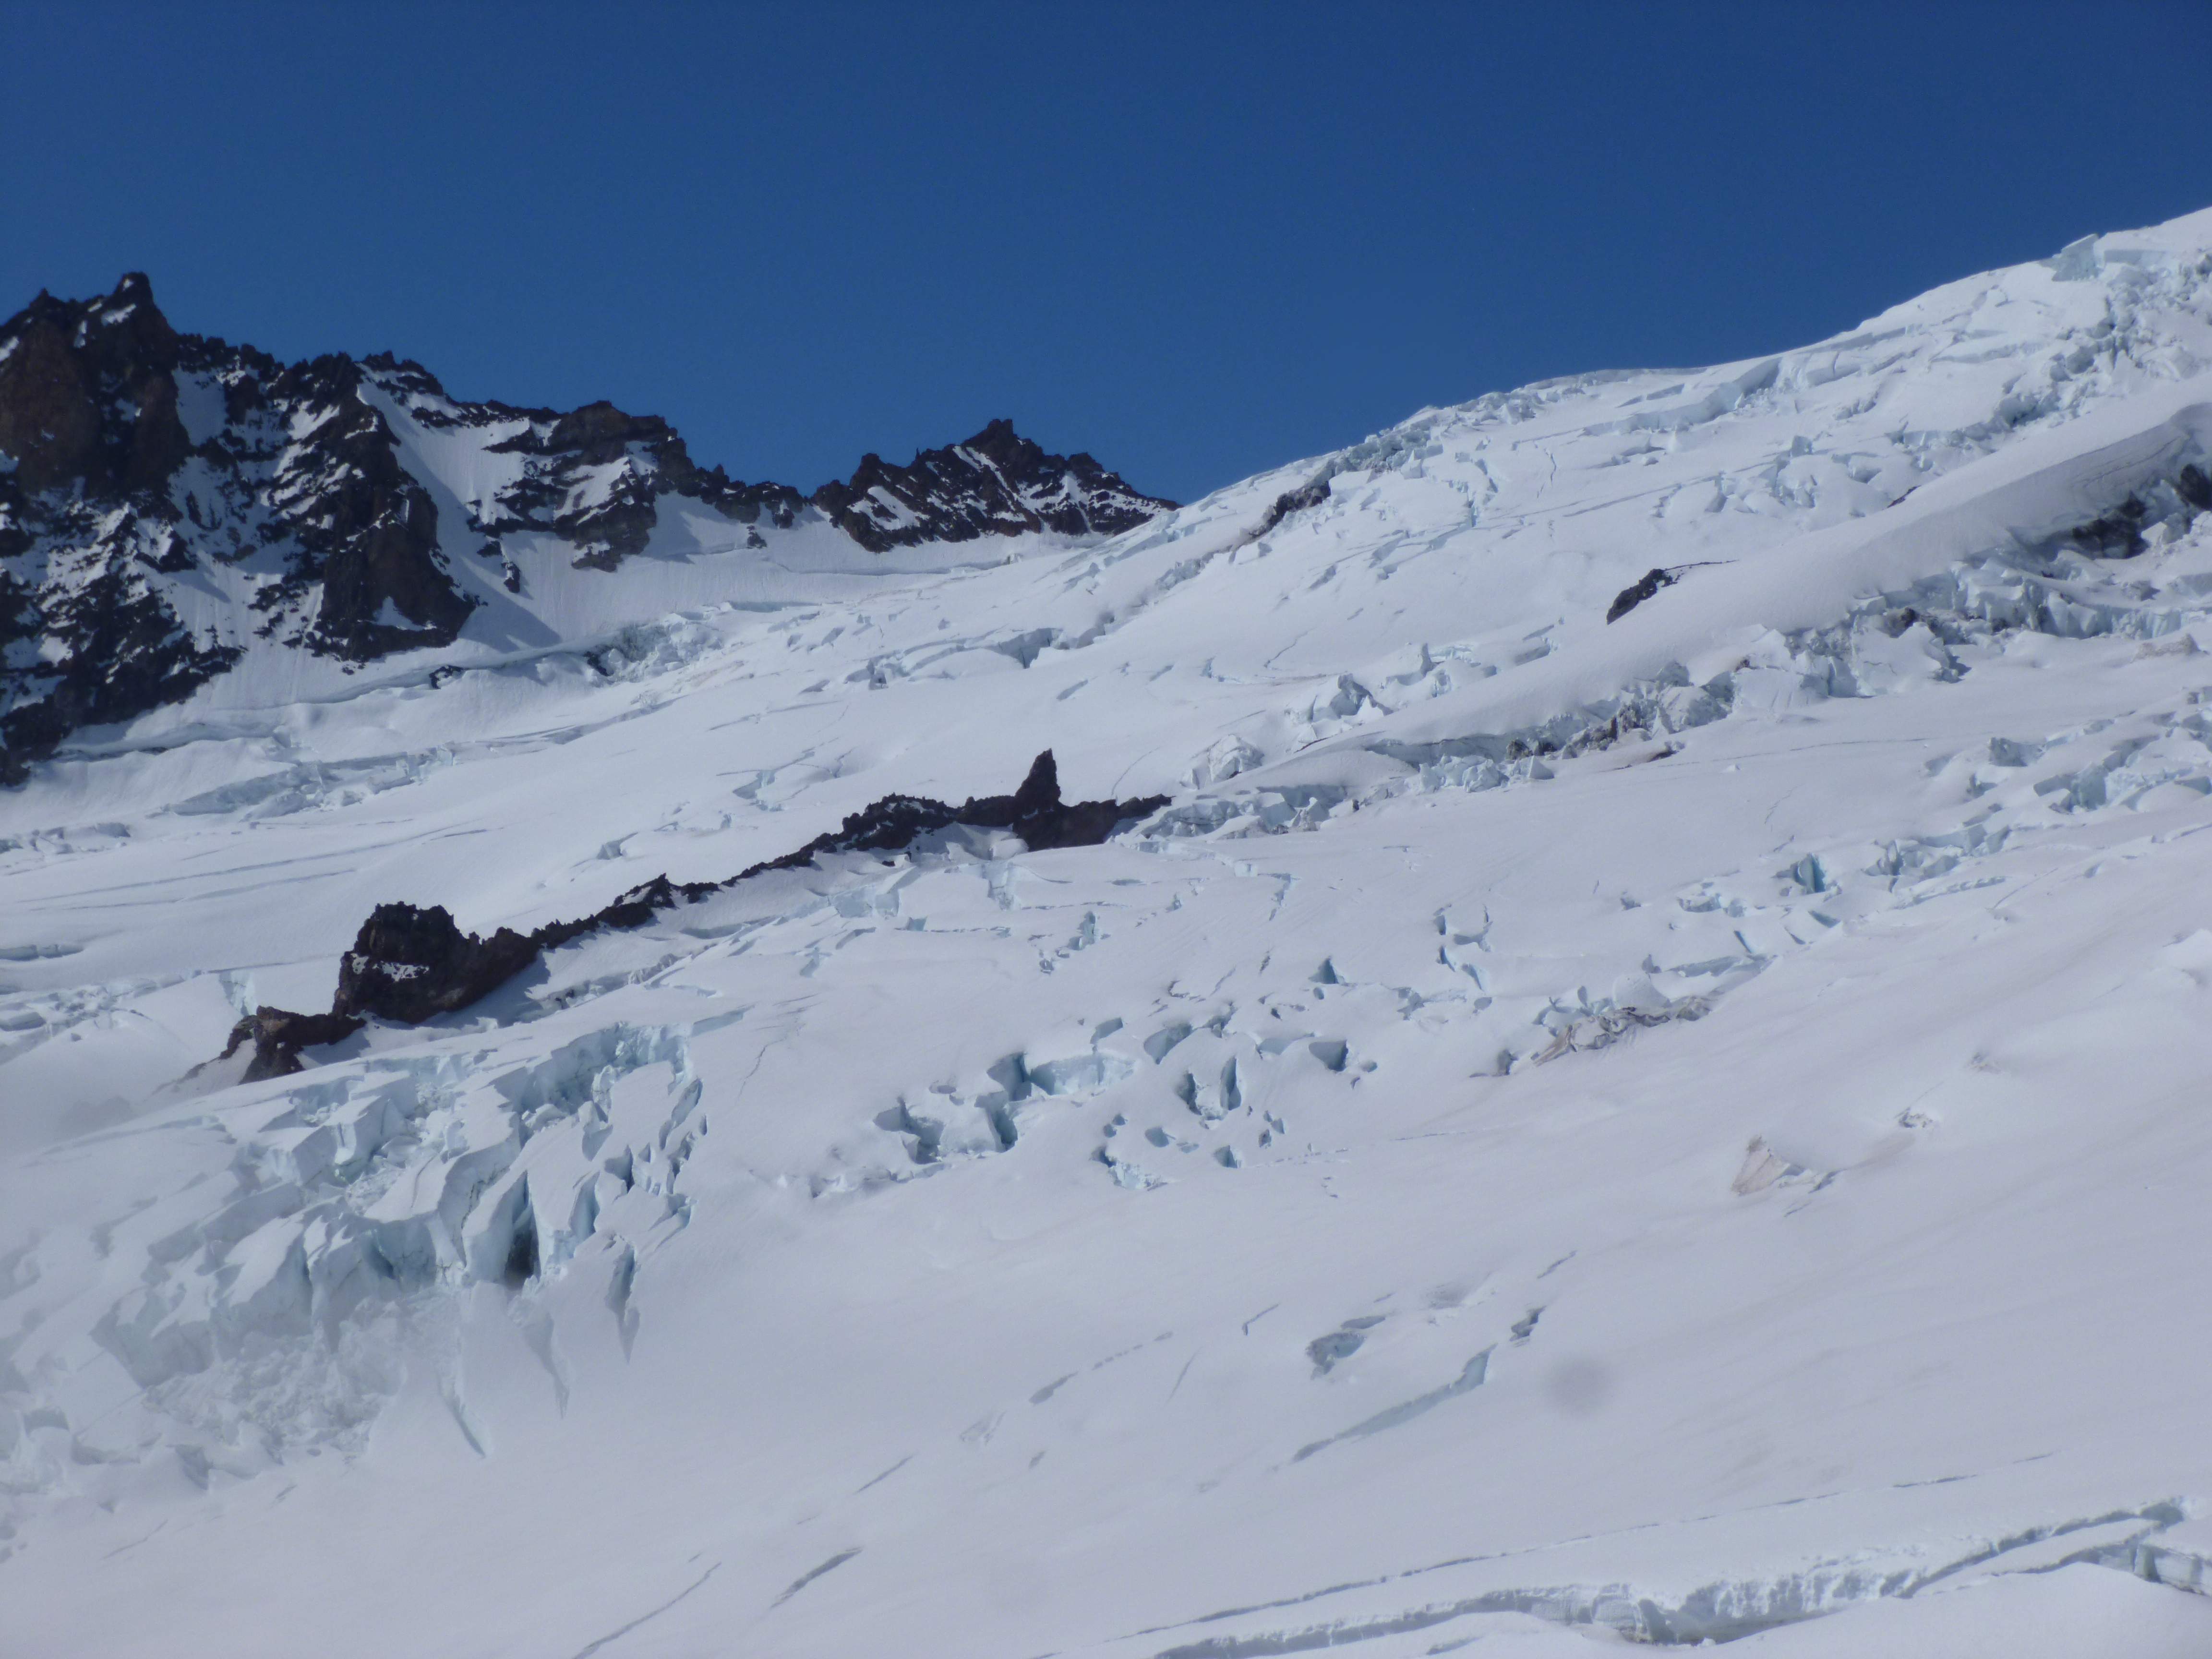
We followed the corridor upwards at a steady but moderate pace, crossing and bypassing several crevasses.

Crevasses off route.
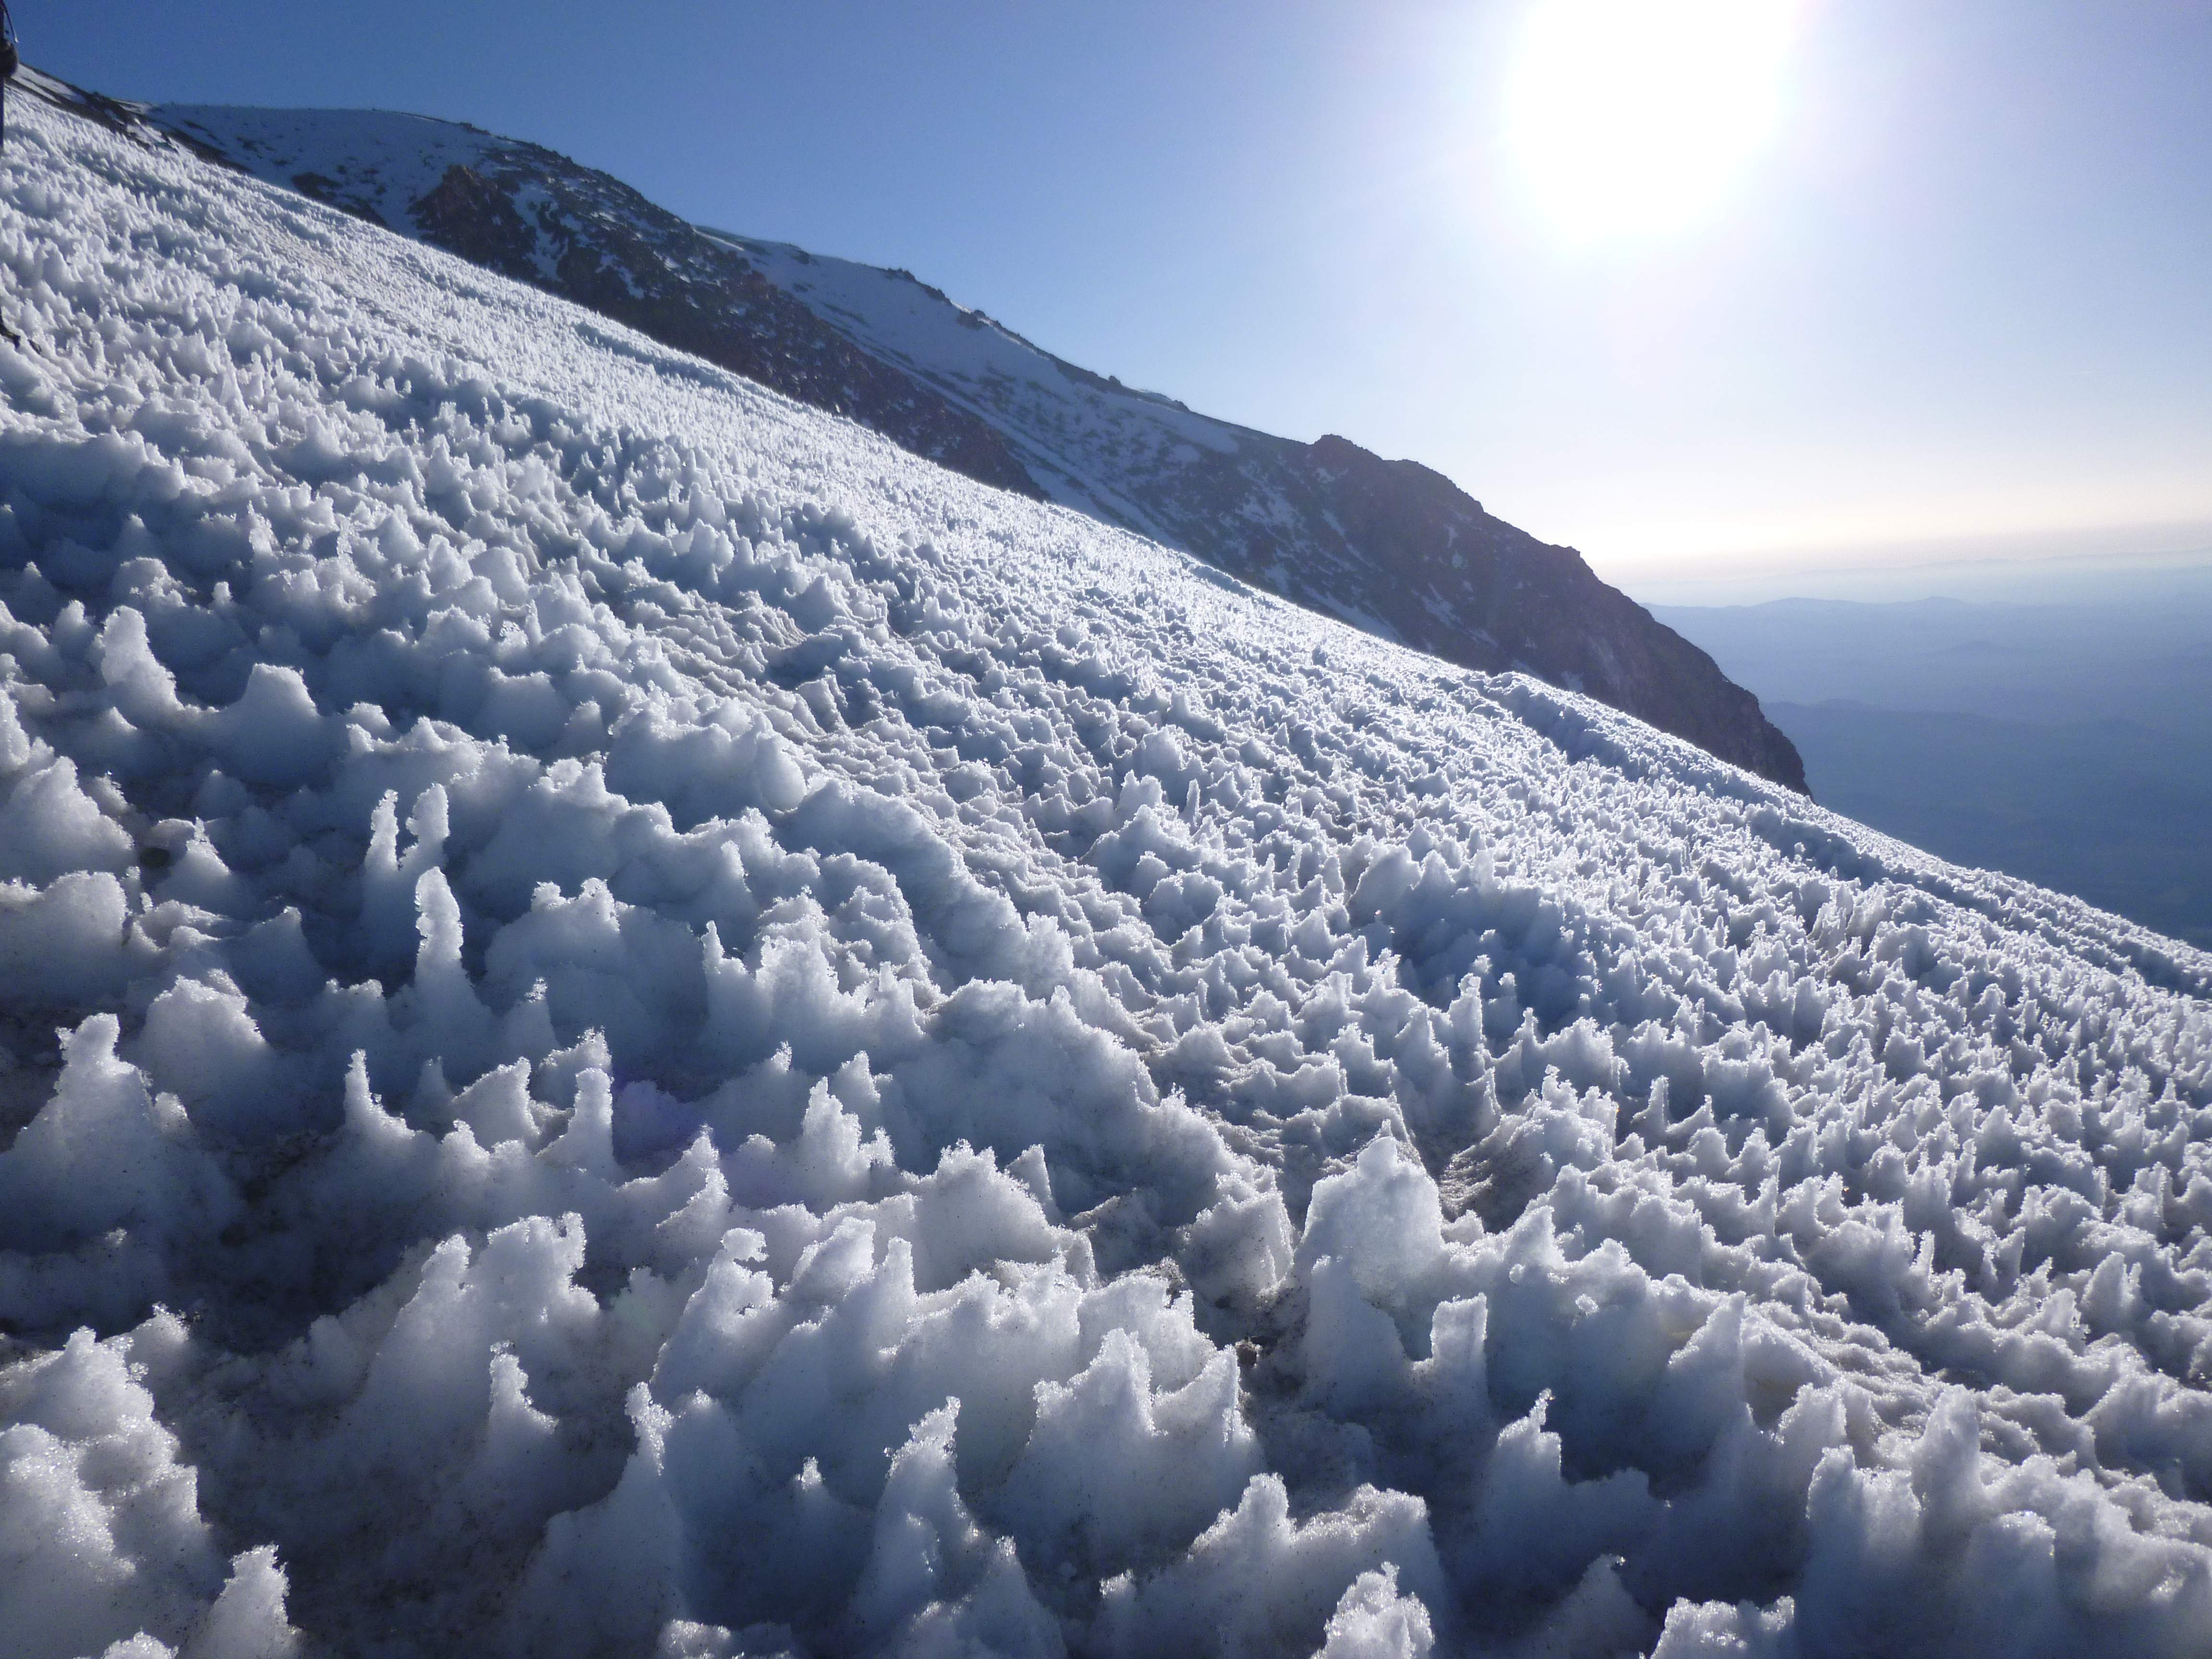
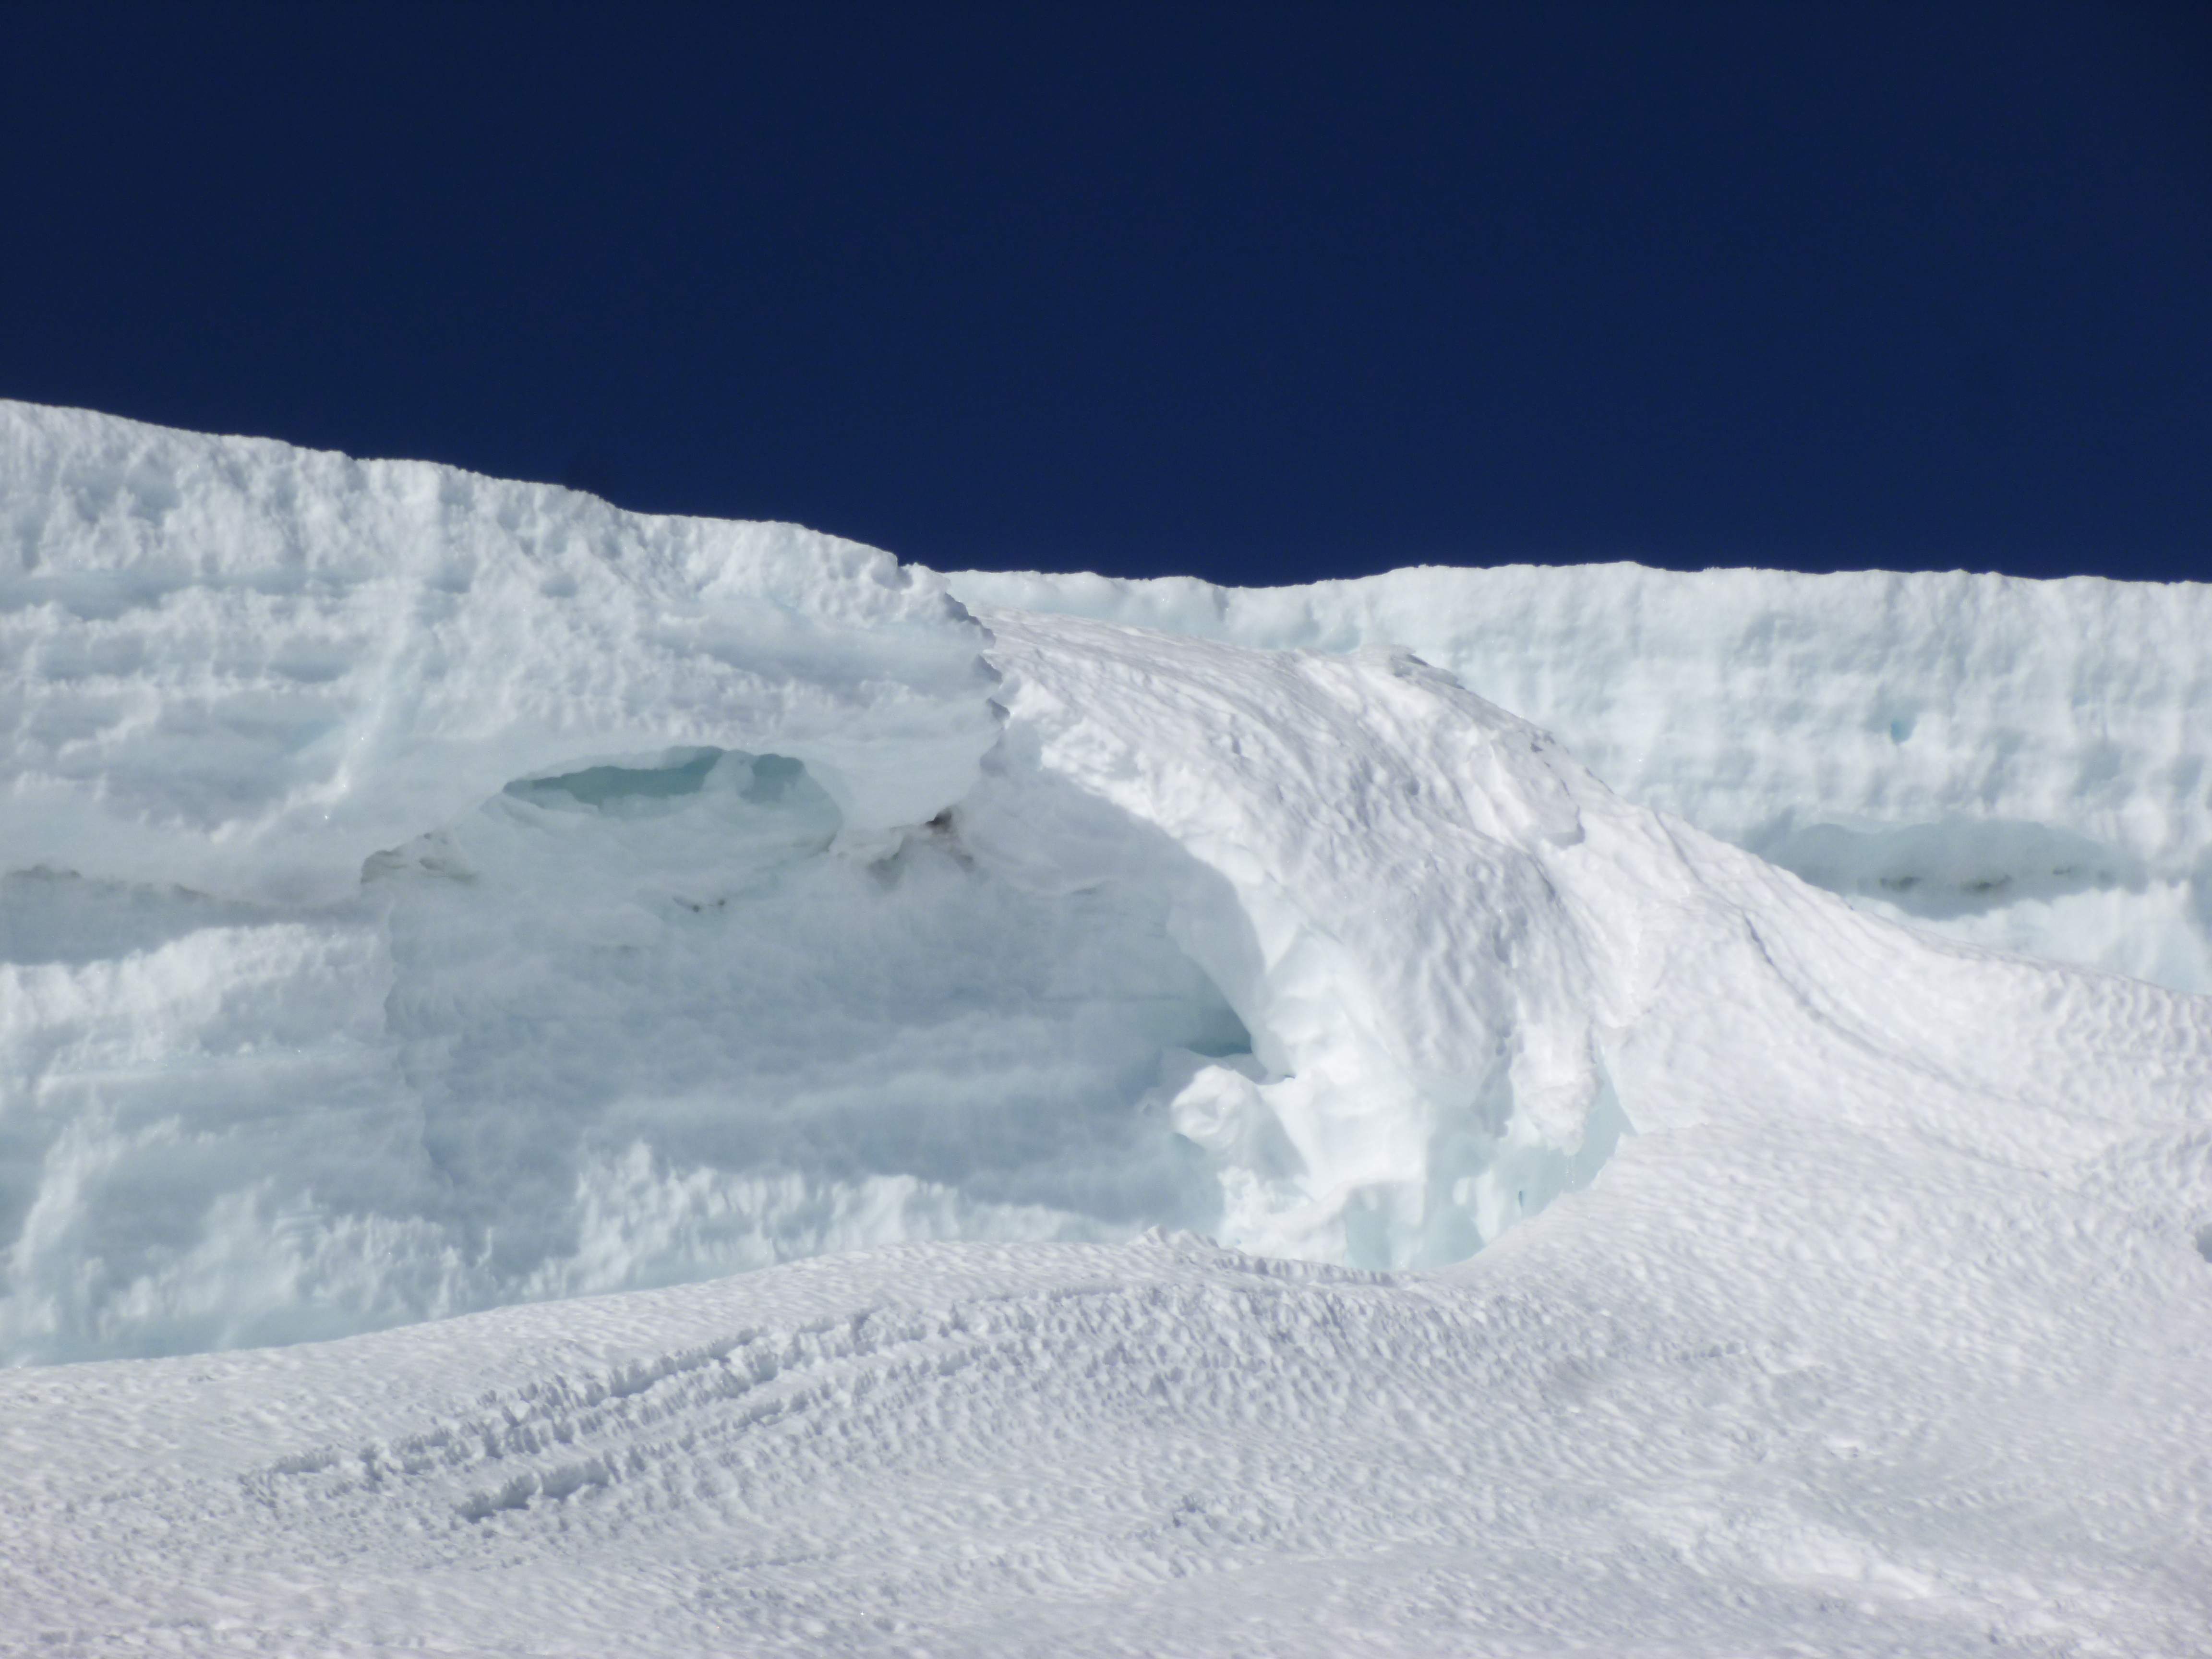
As we gained elevation, the pitch grew steeper. Higher up, interesting snow formations stood like sculptures. Off route, overhanging walls of ice and snow.


Wind carved walls.

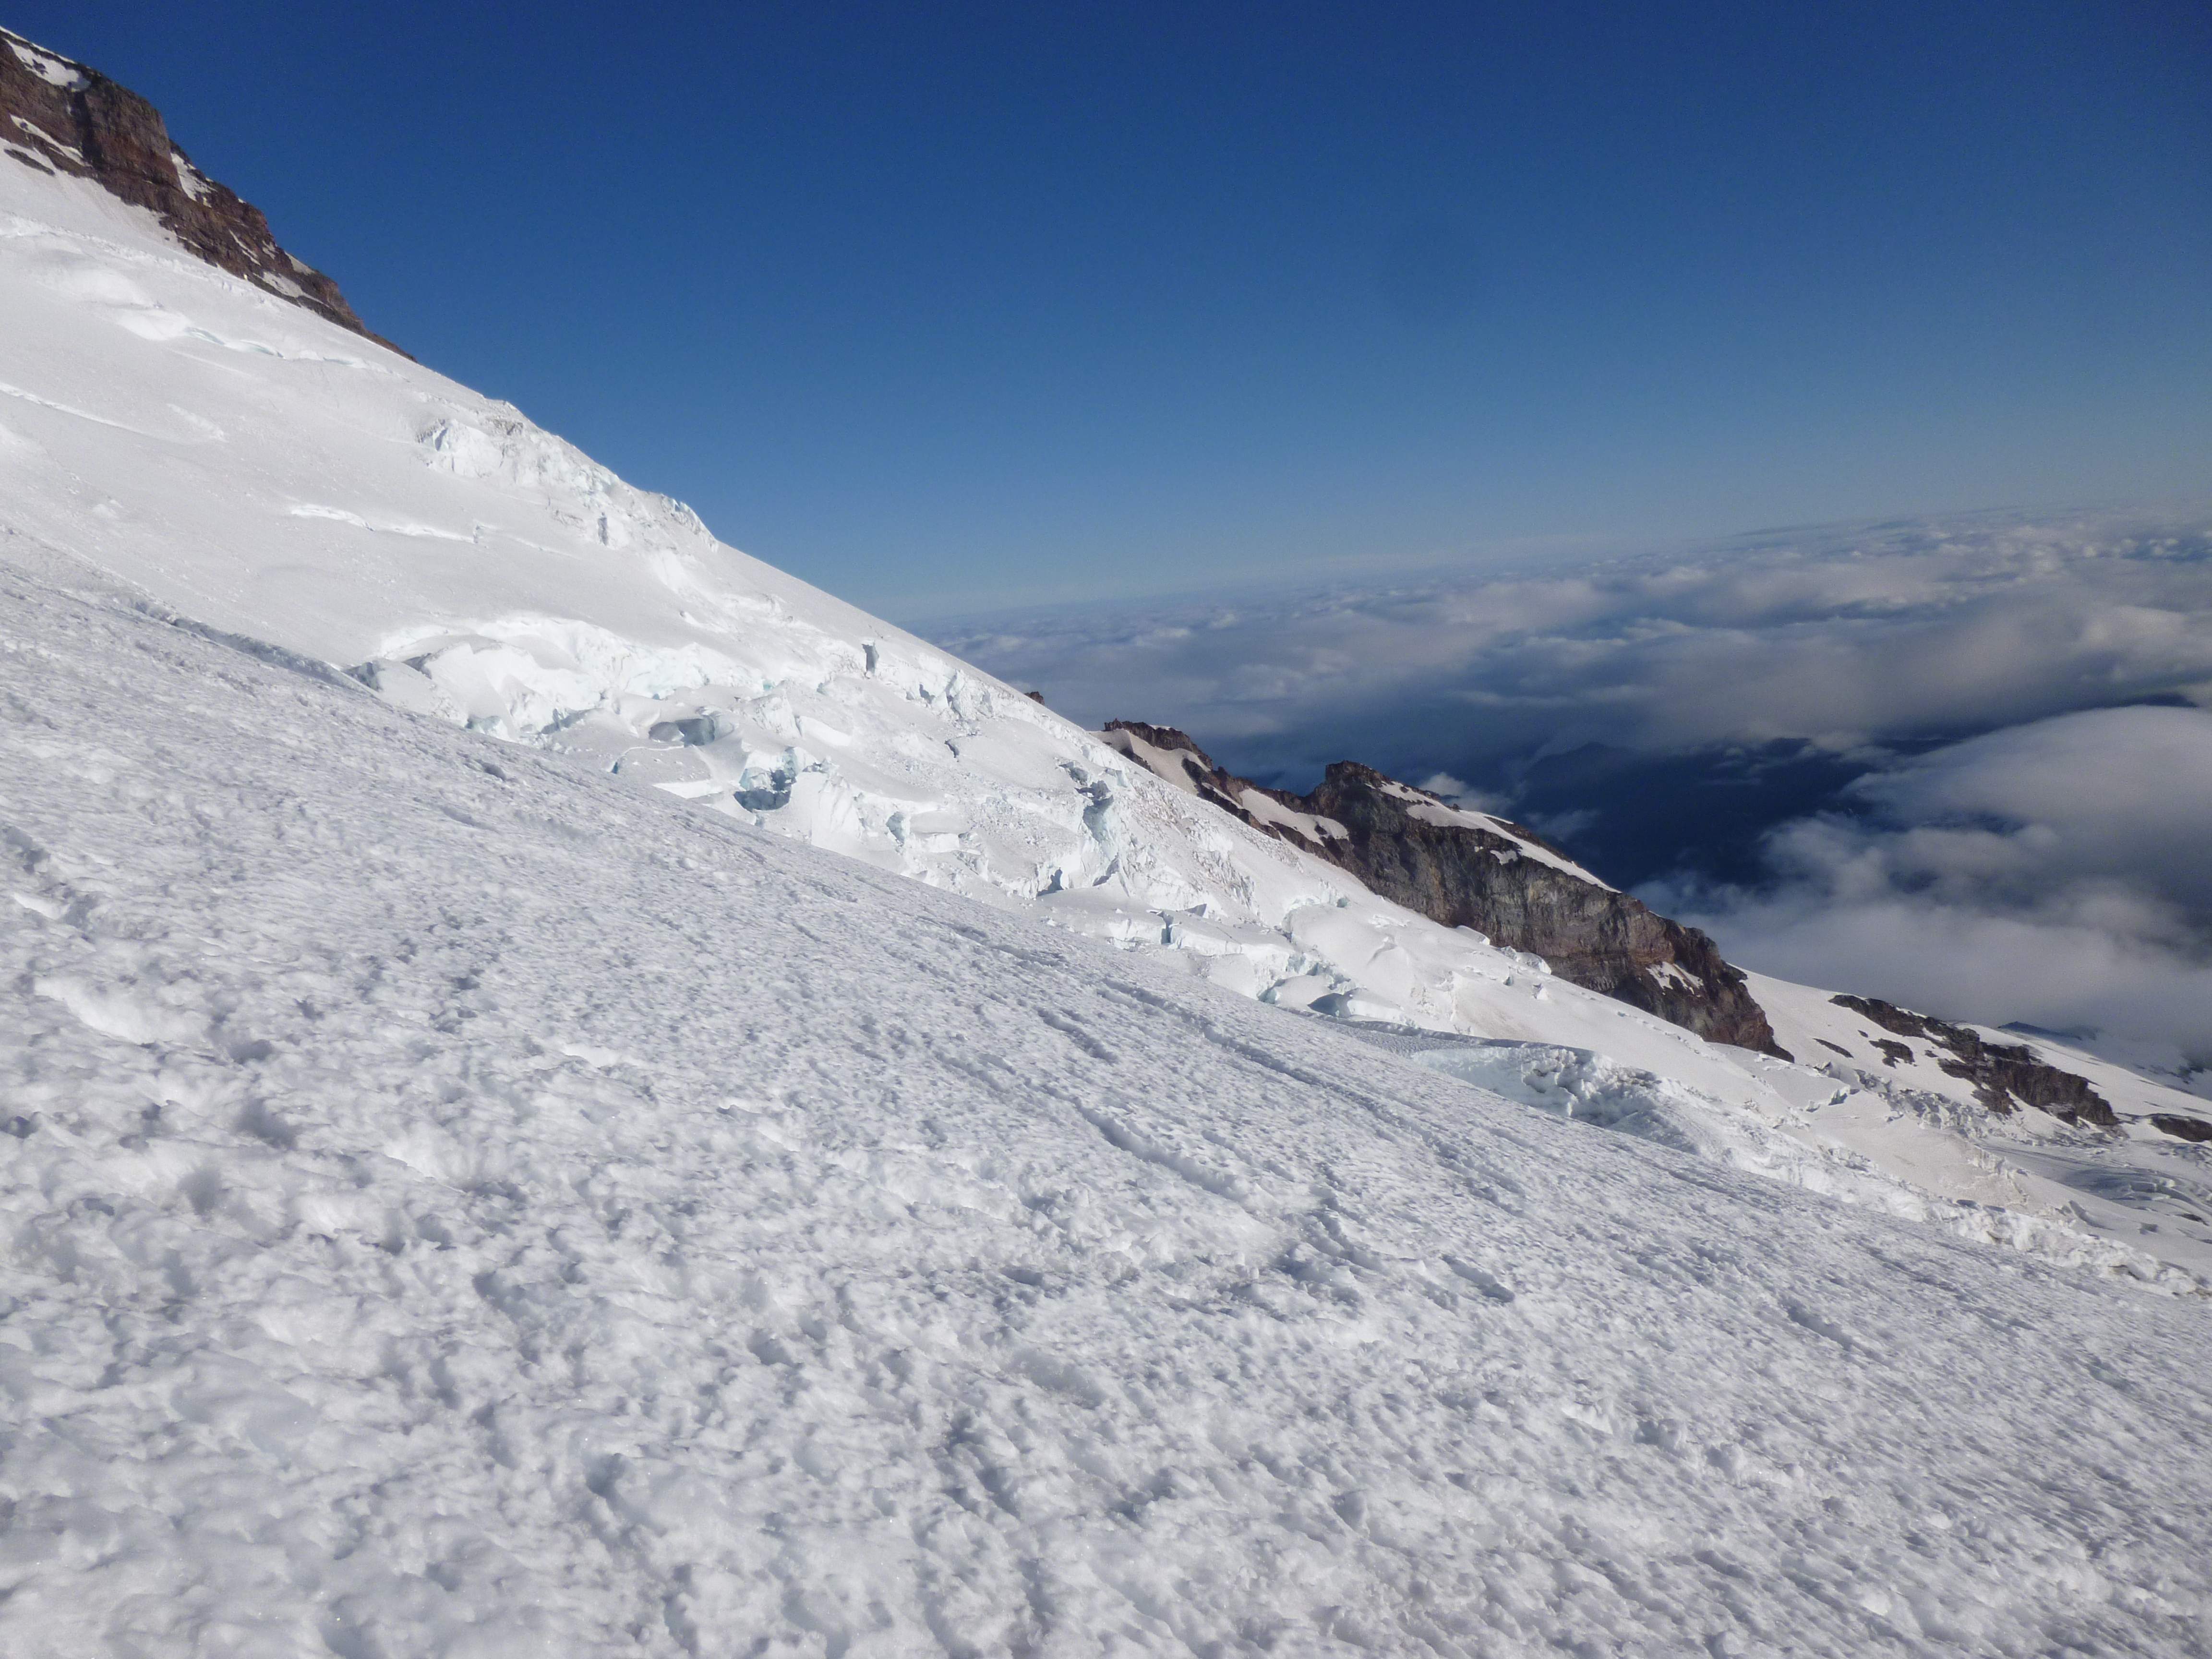
The upper glacier shone, contrasted against the dark blue sky.

The Winthrop Glacier.
The weather was perfect; low wind, crisp snow, and warm sunshine.

Looking down the Glacier.
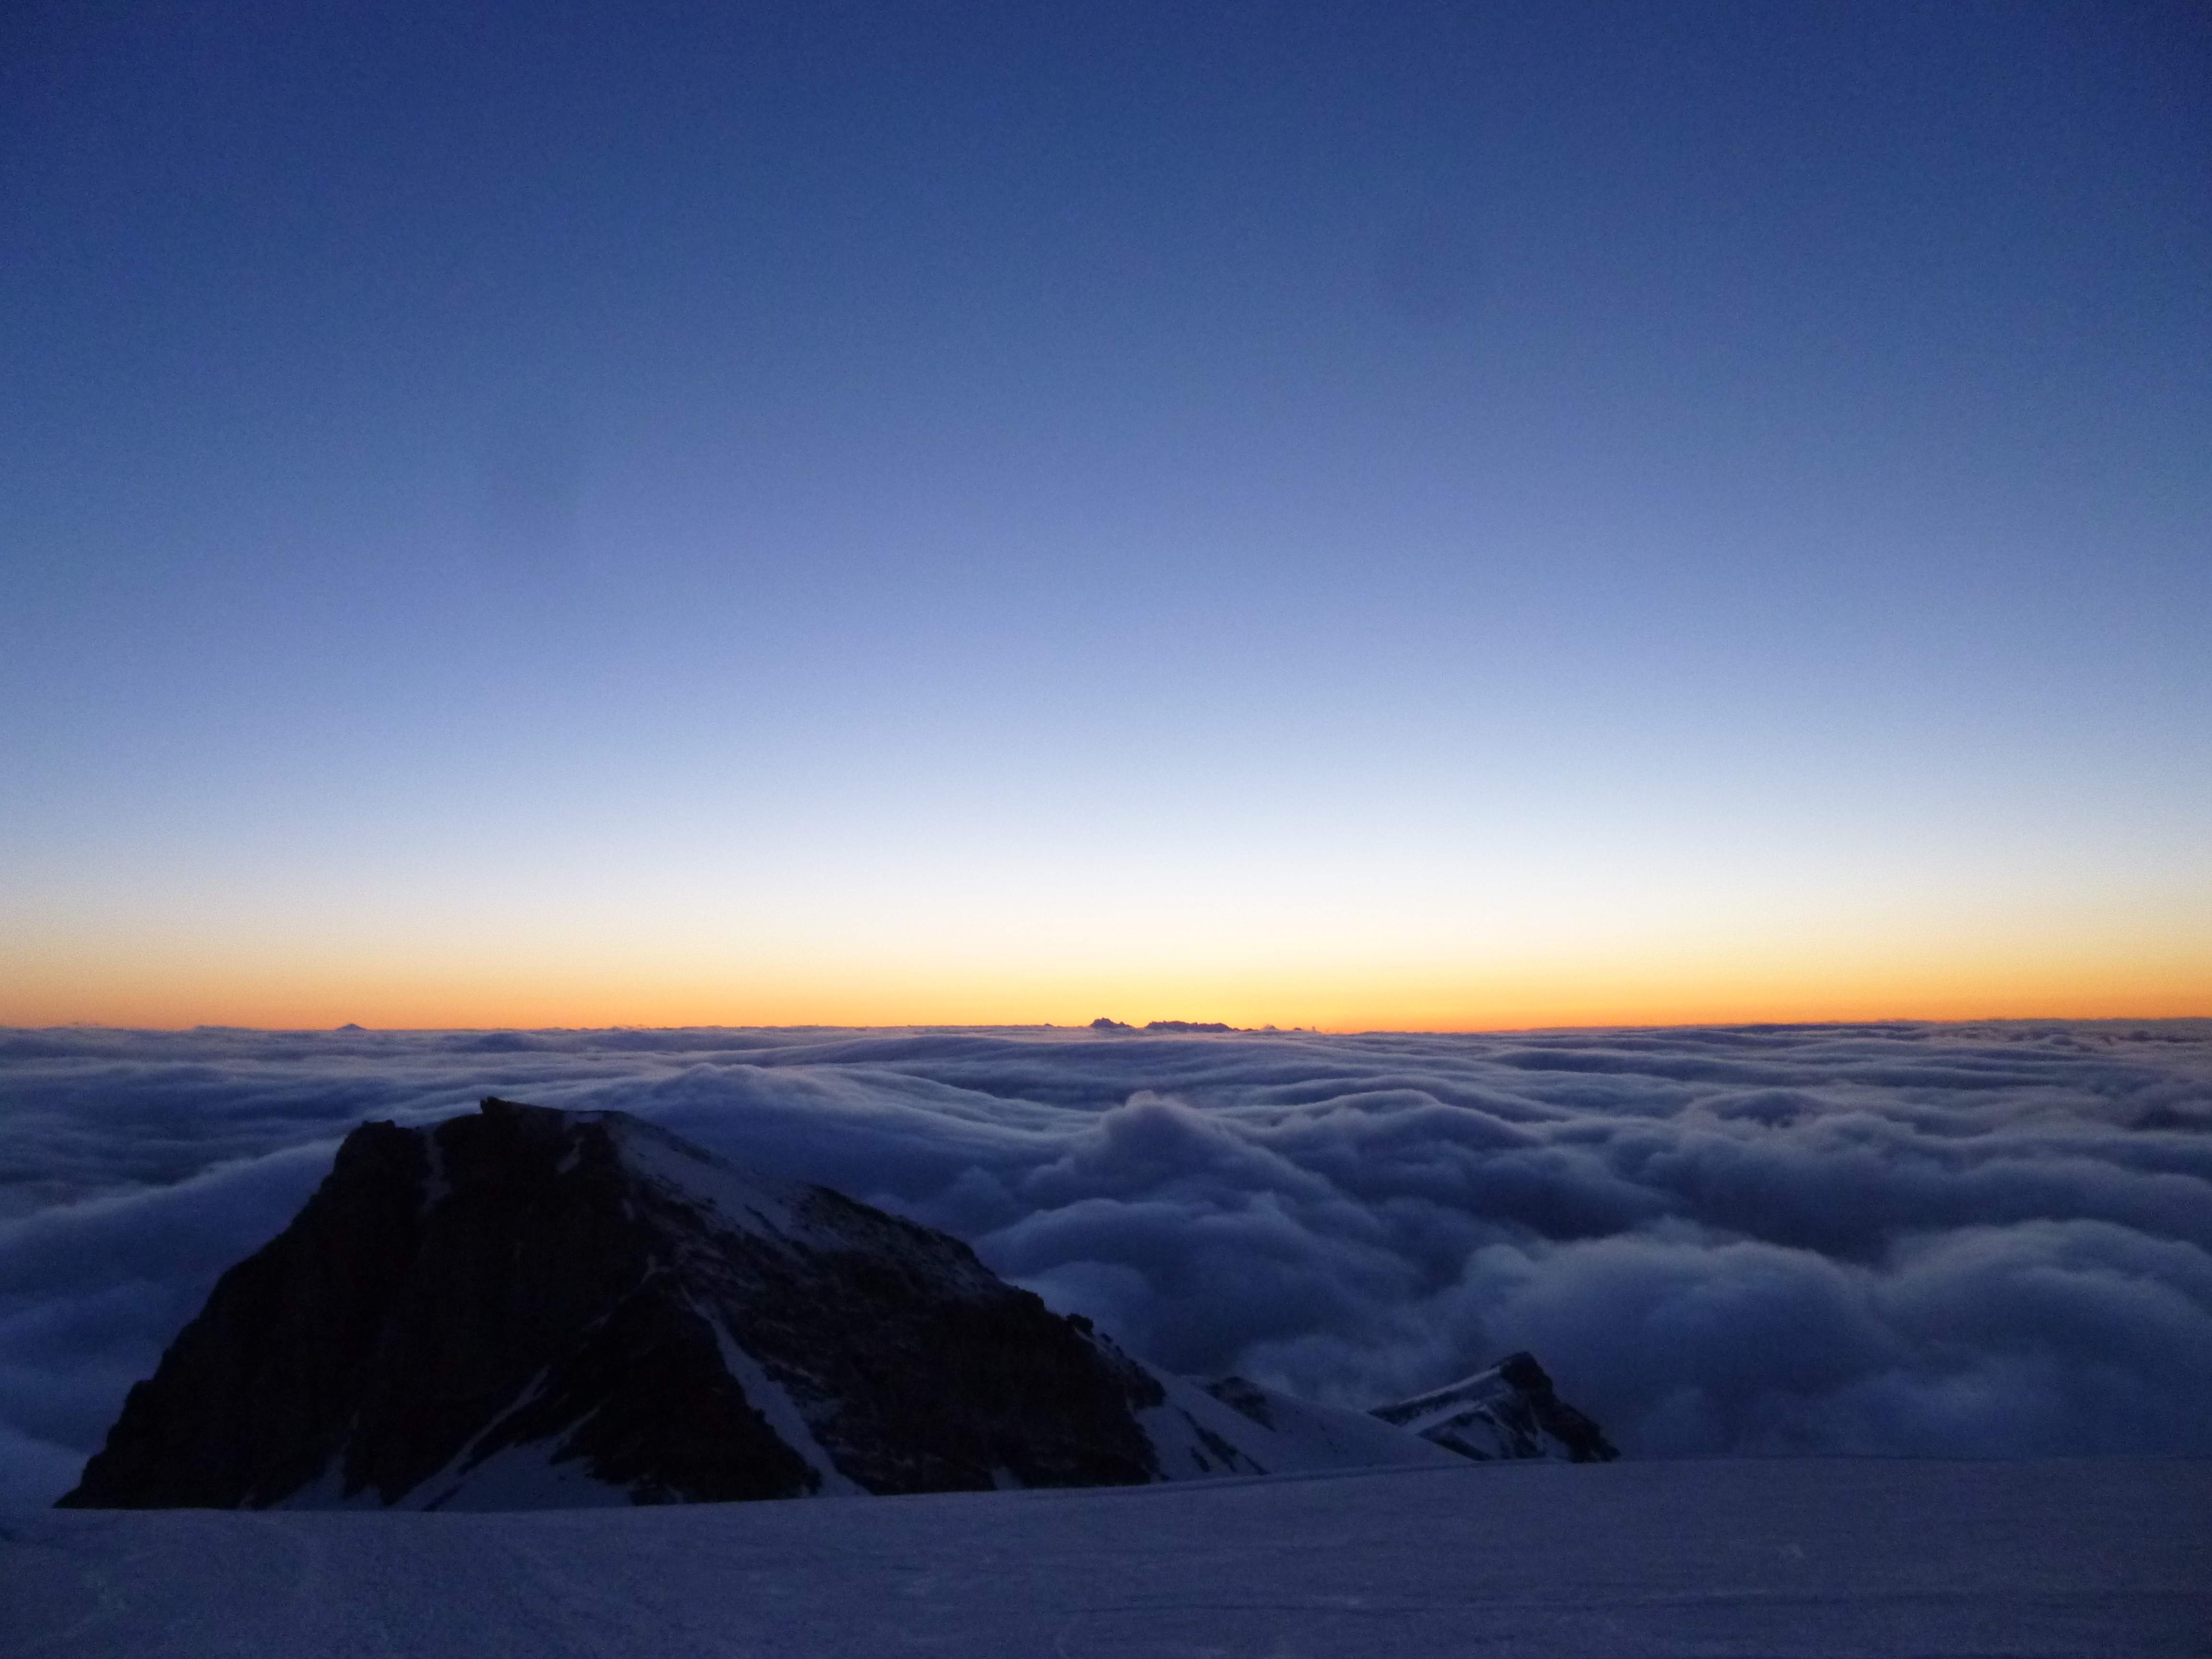
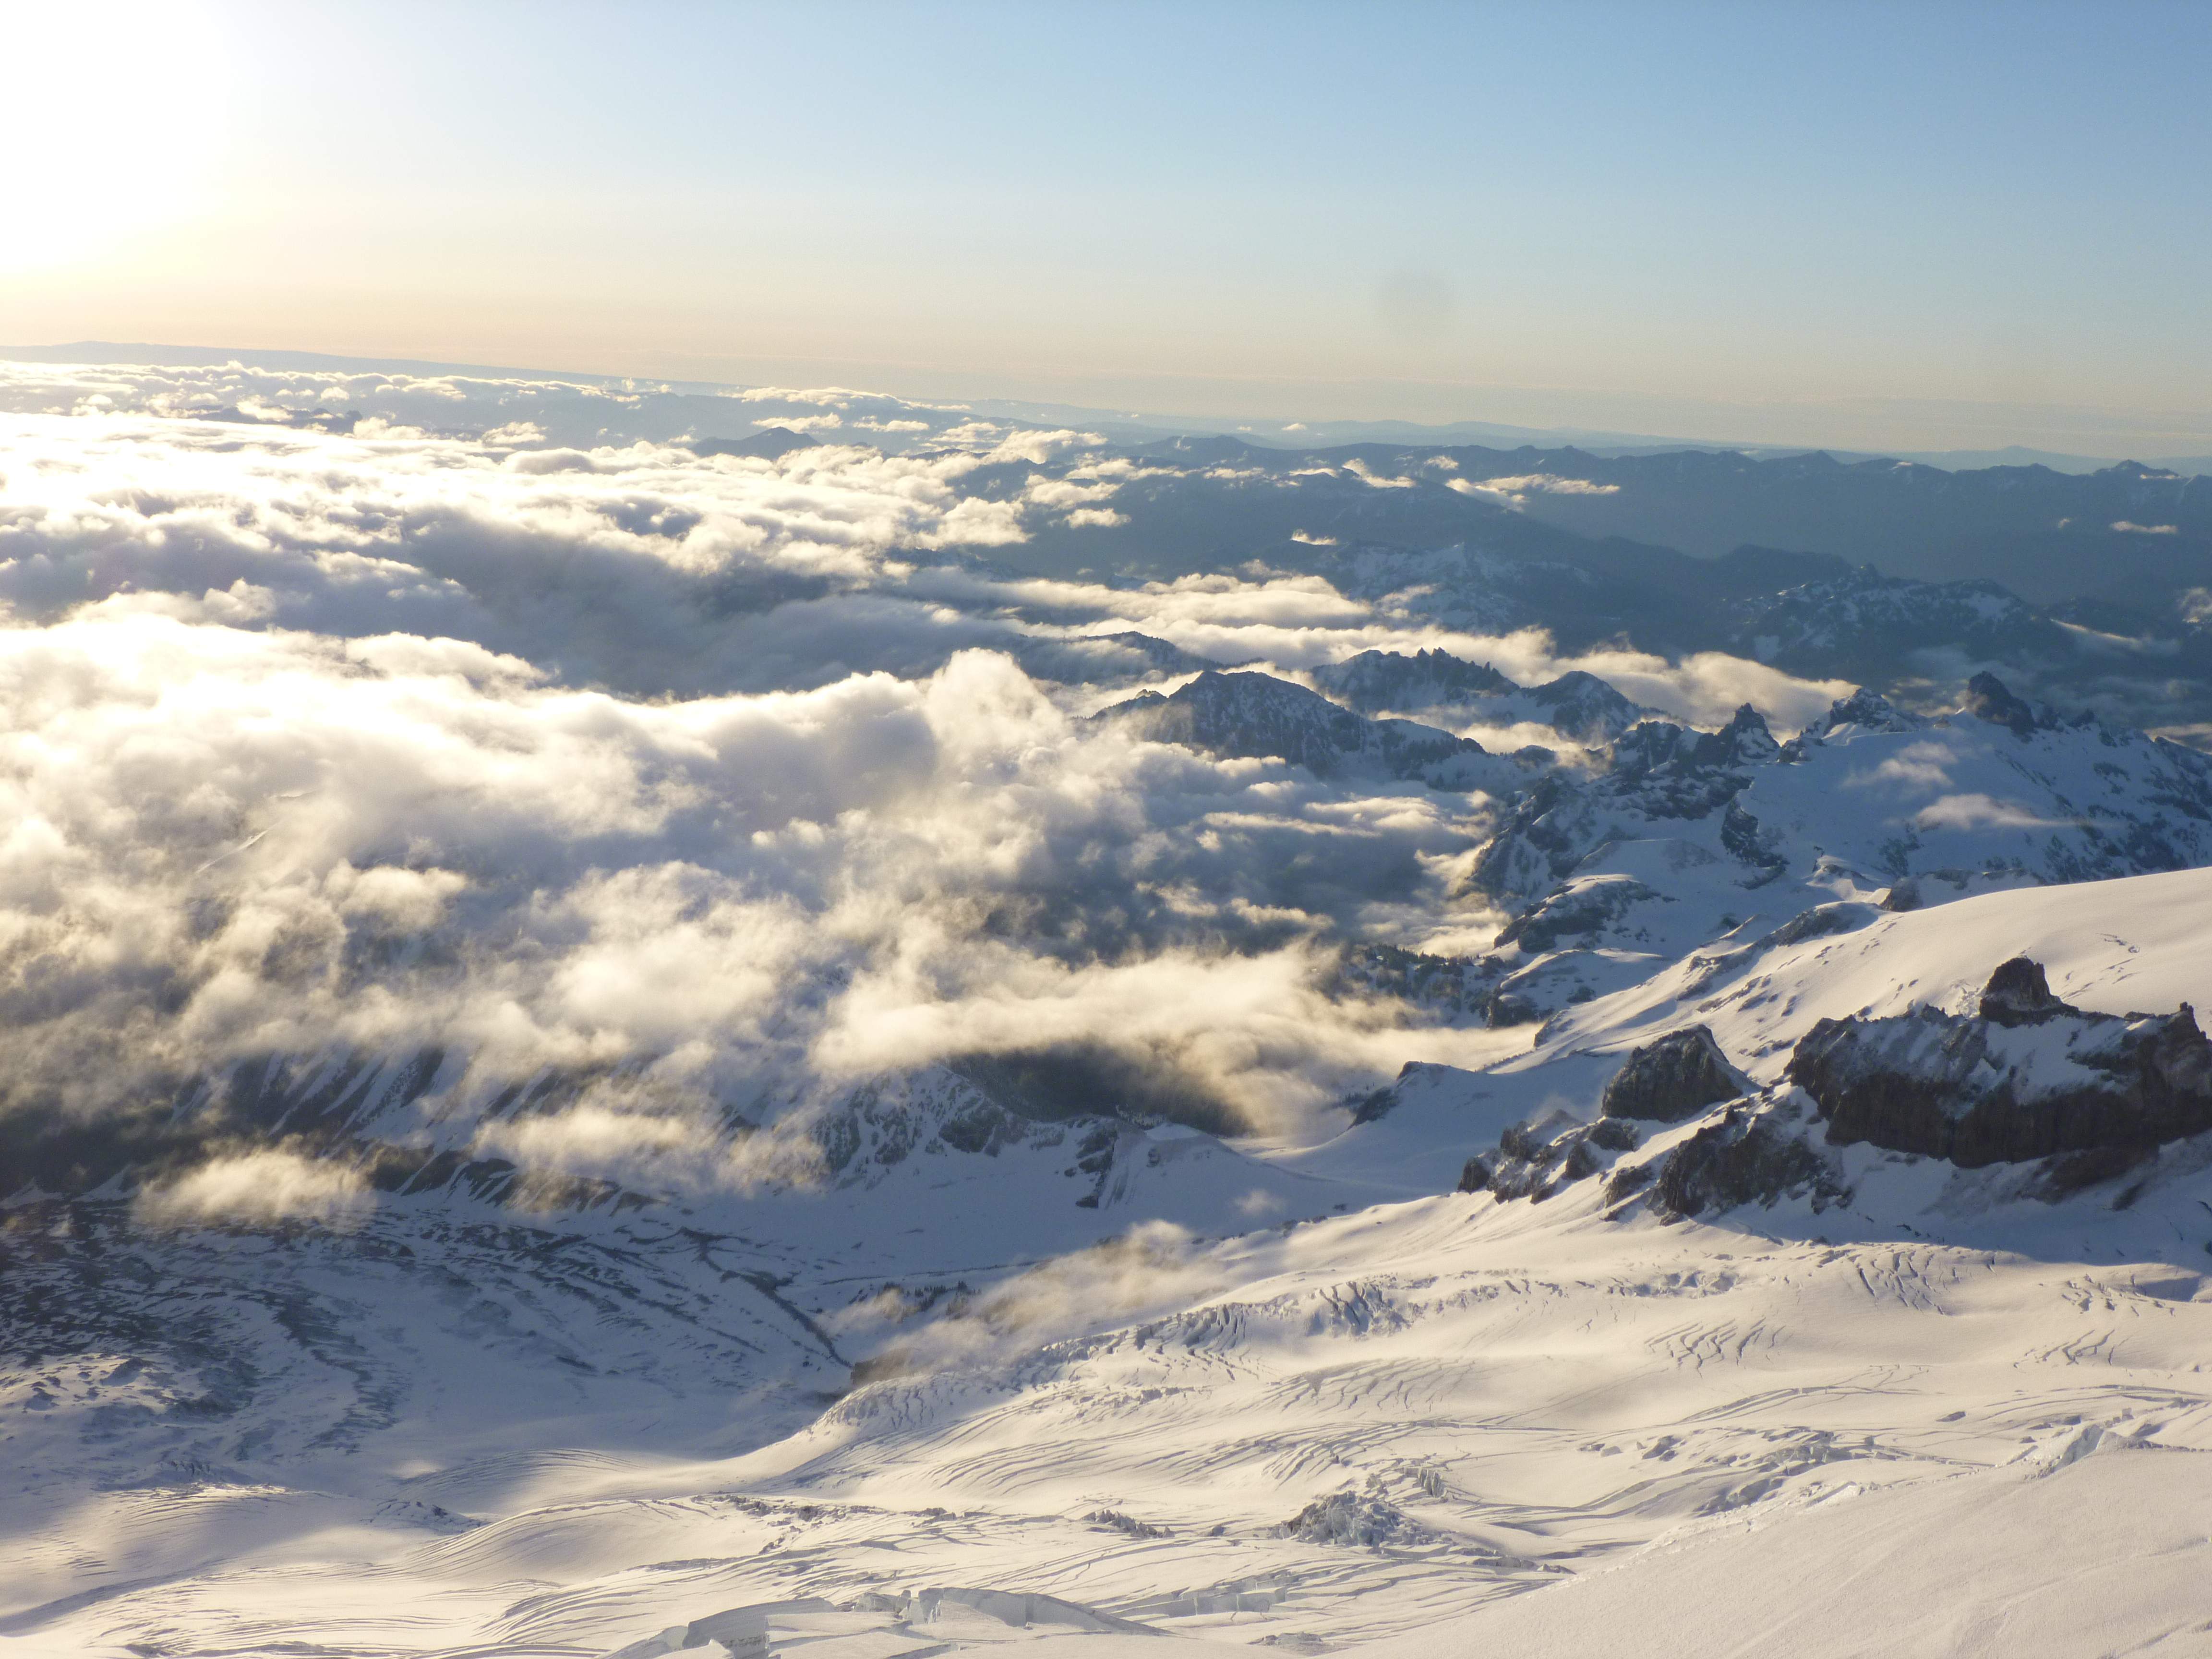
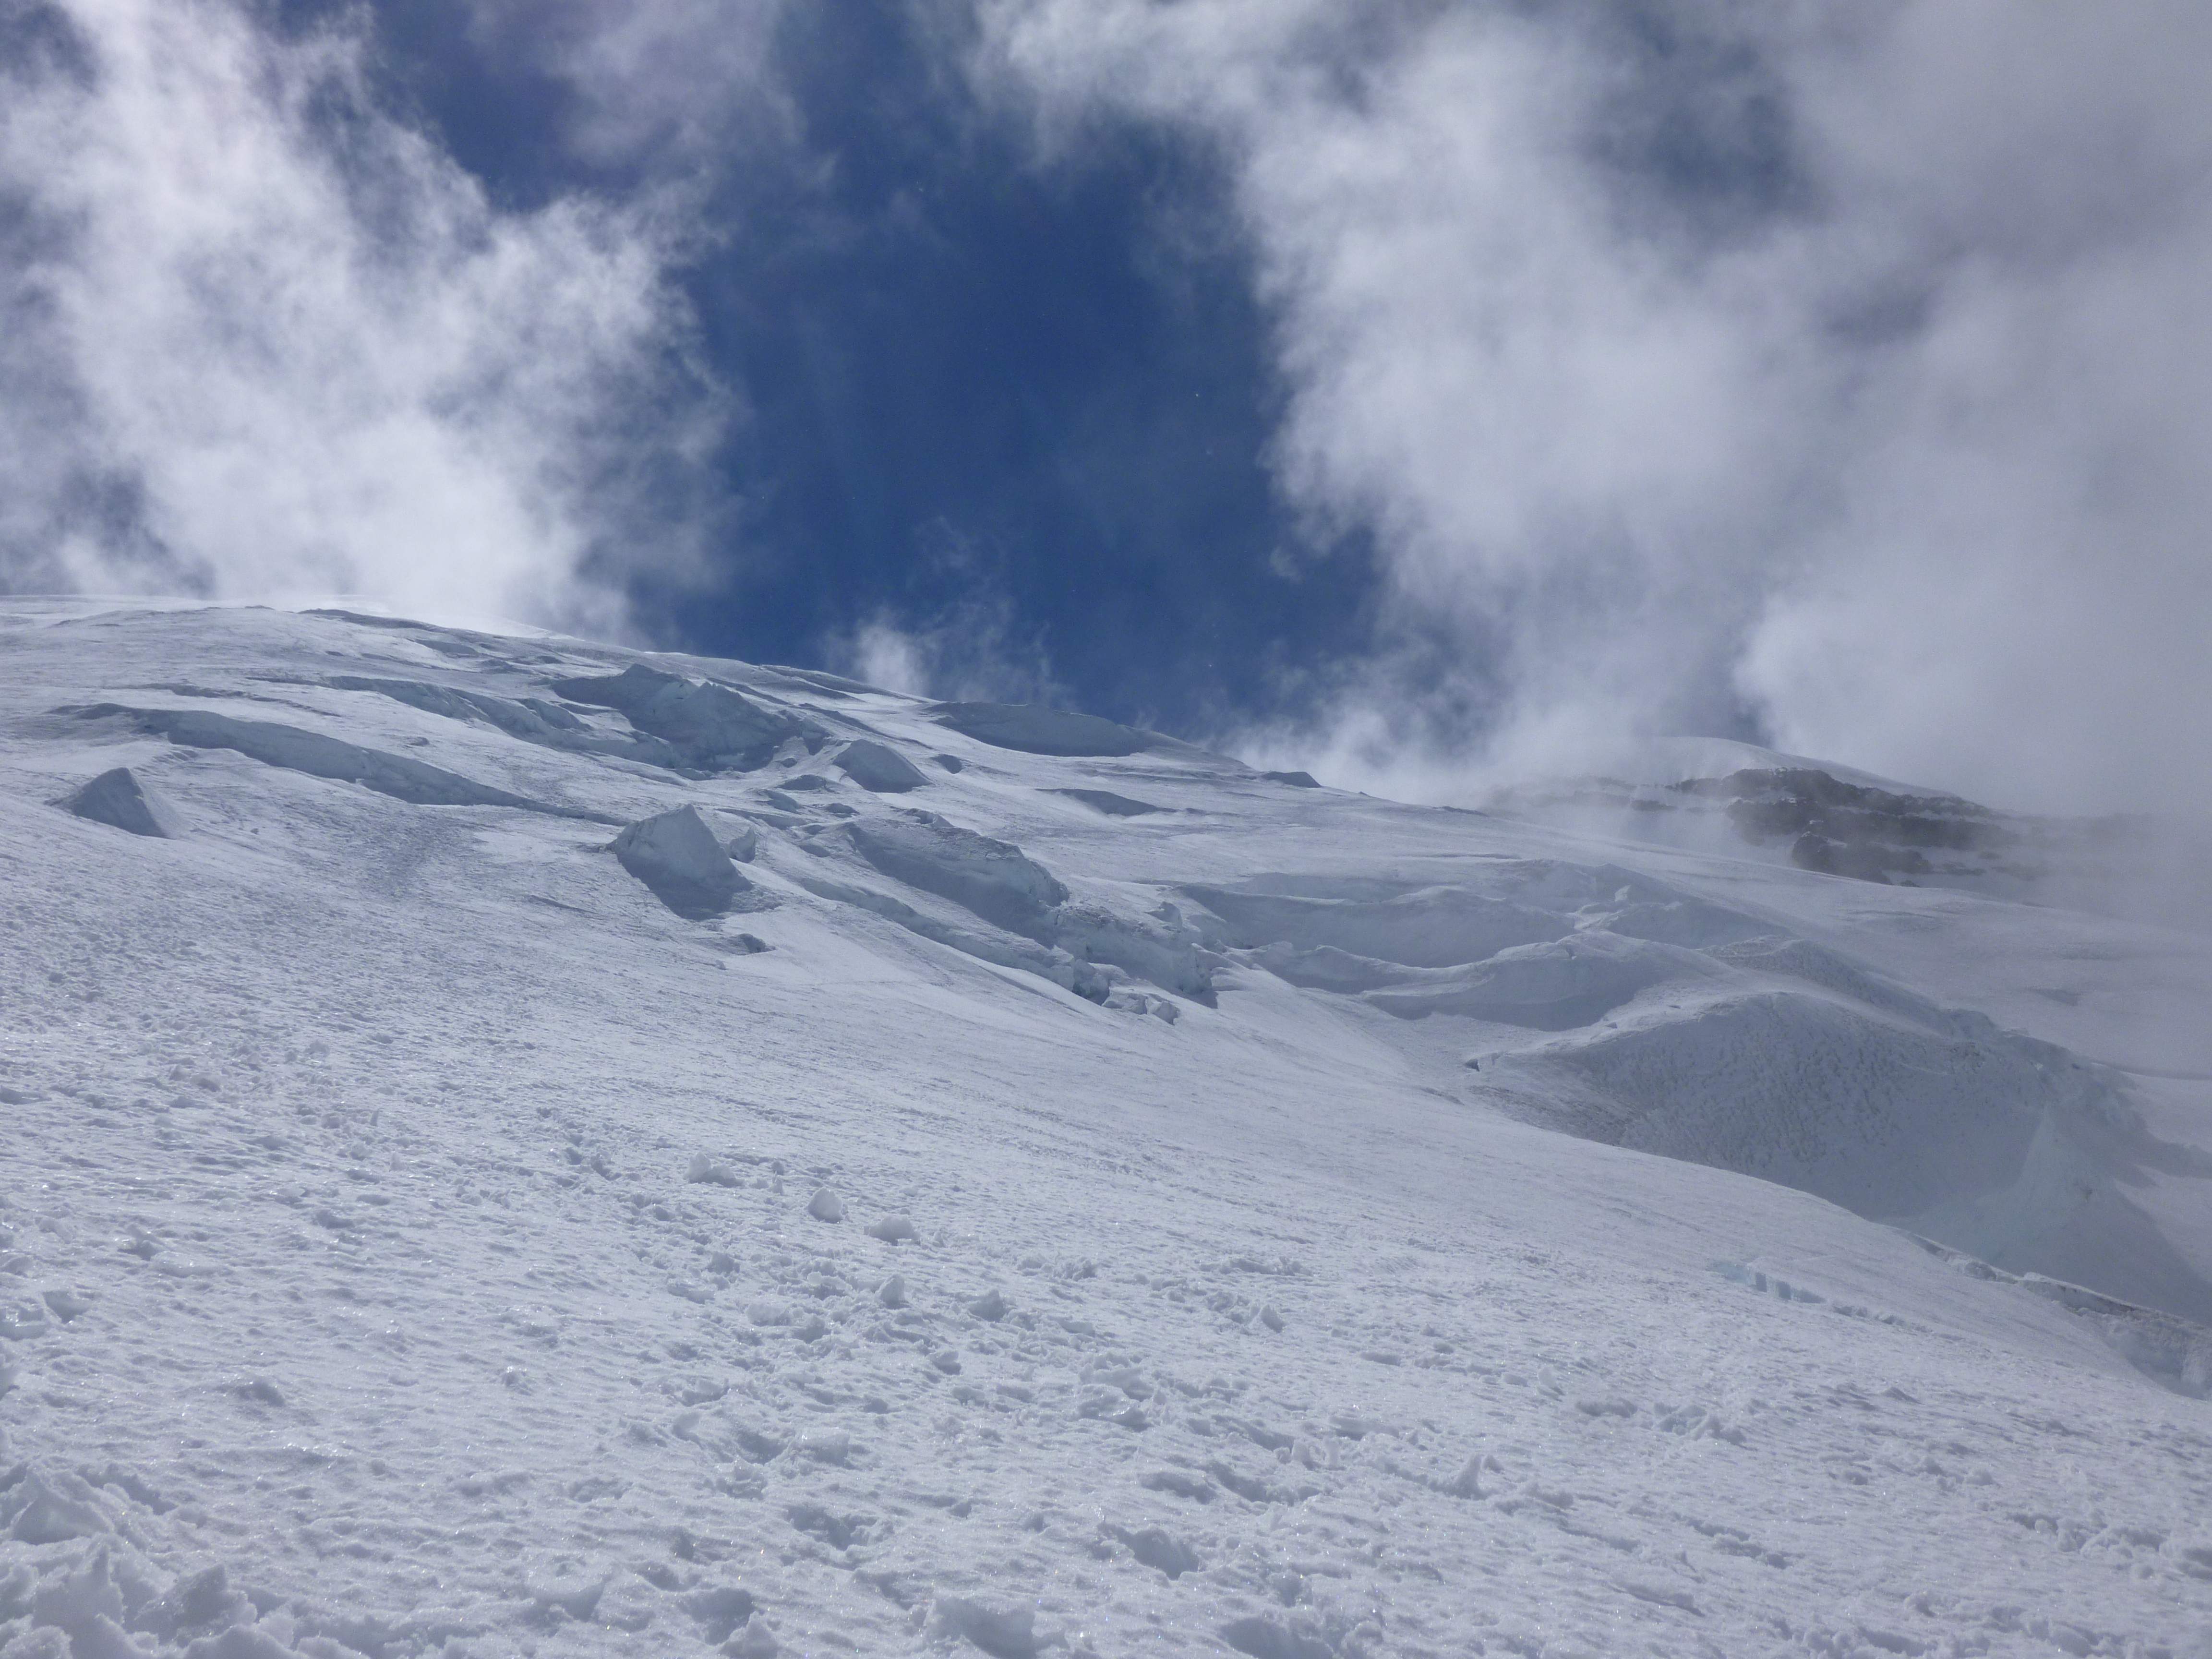
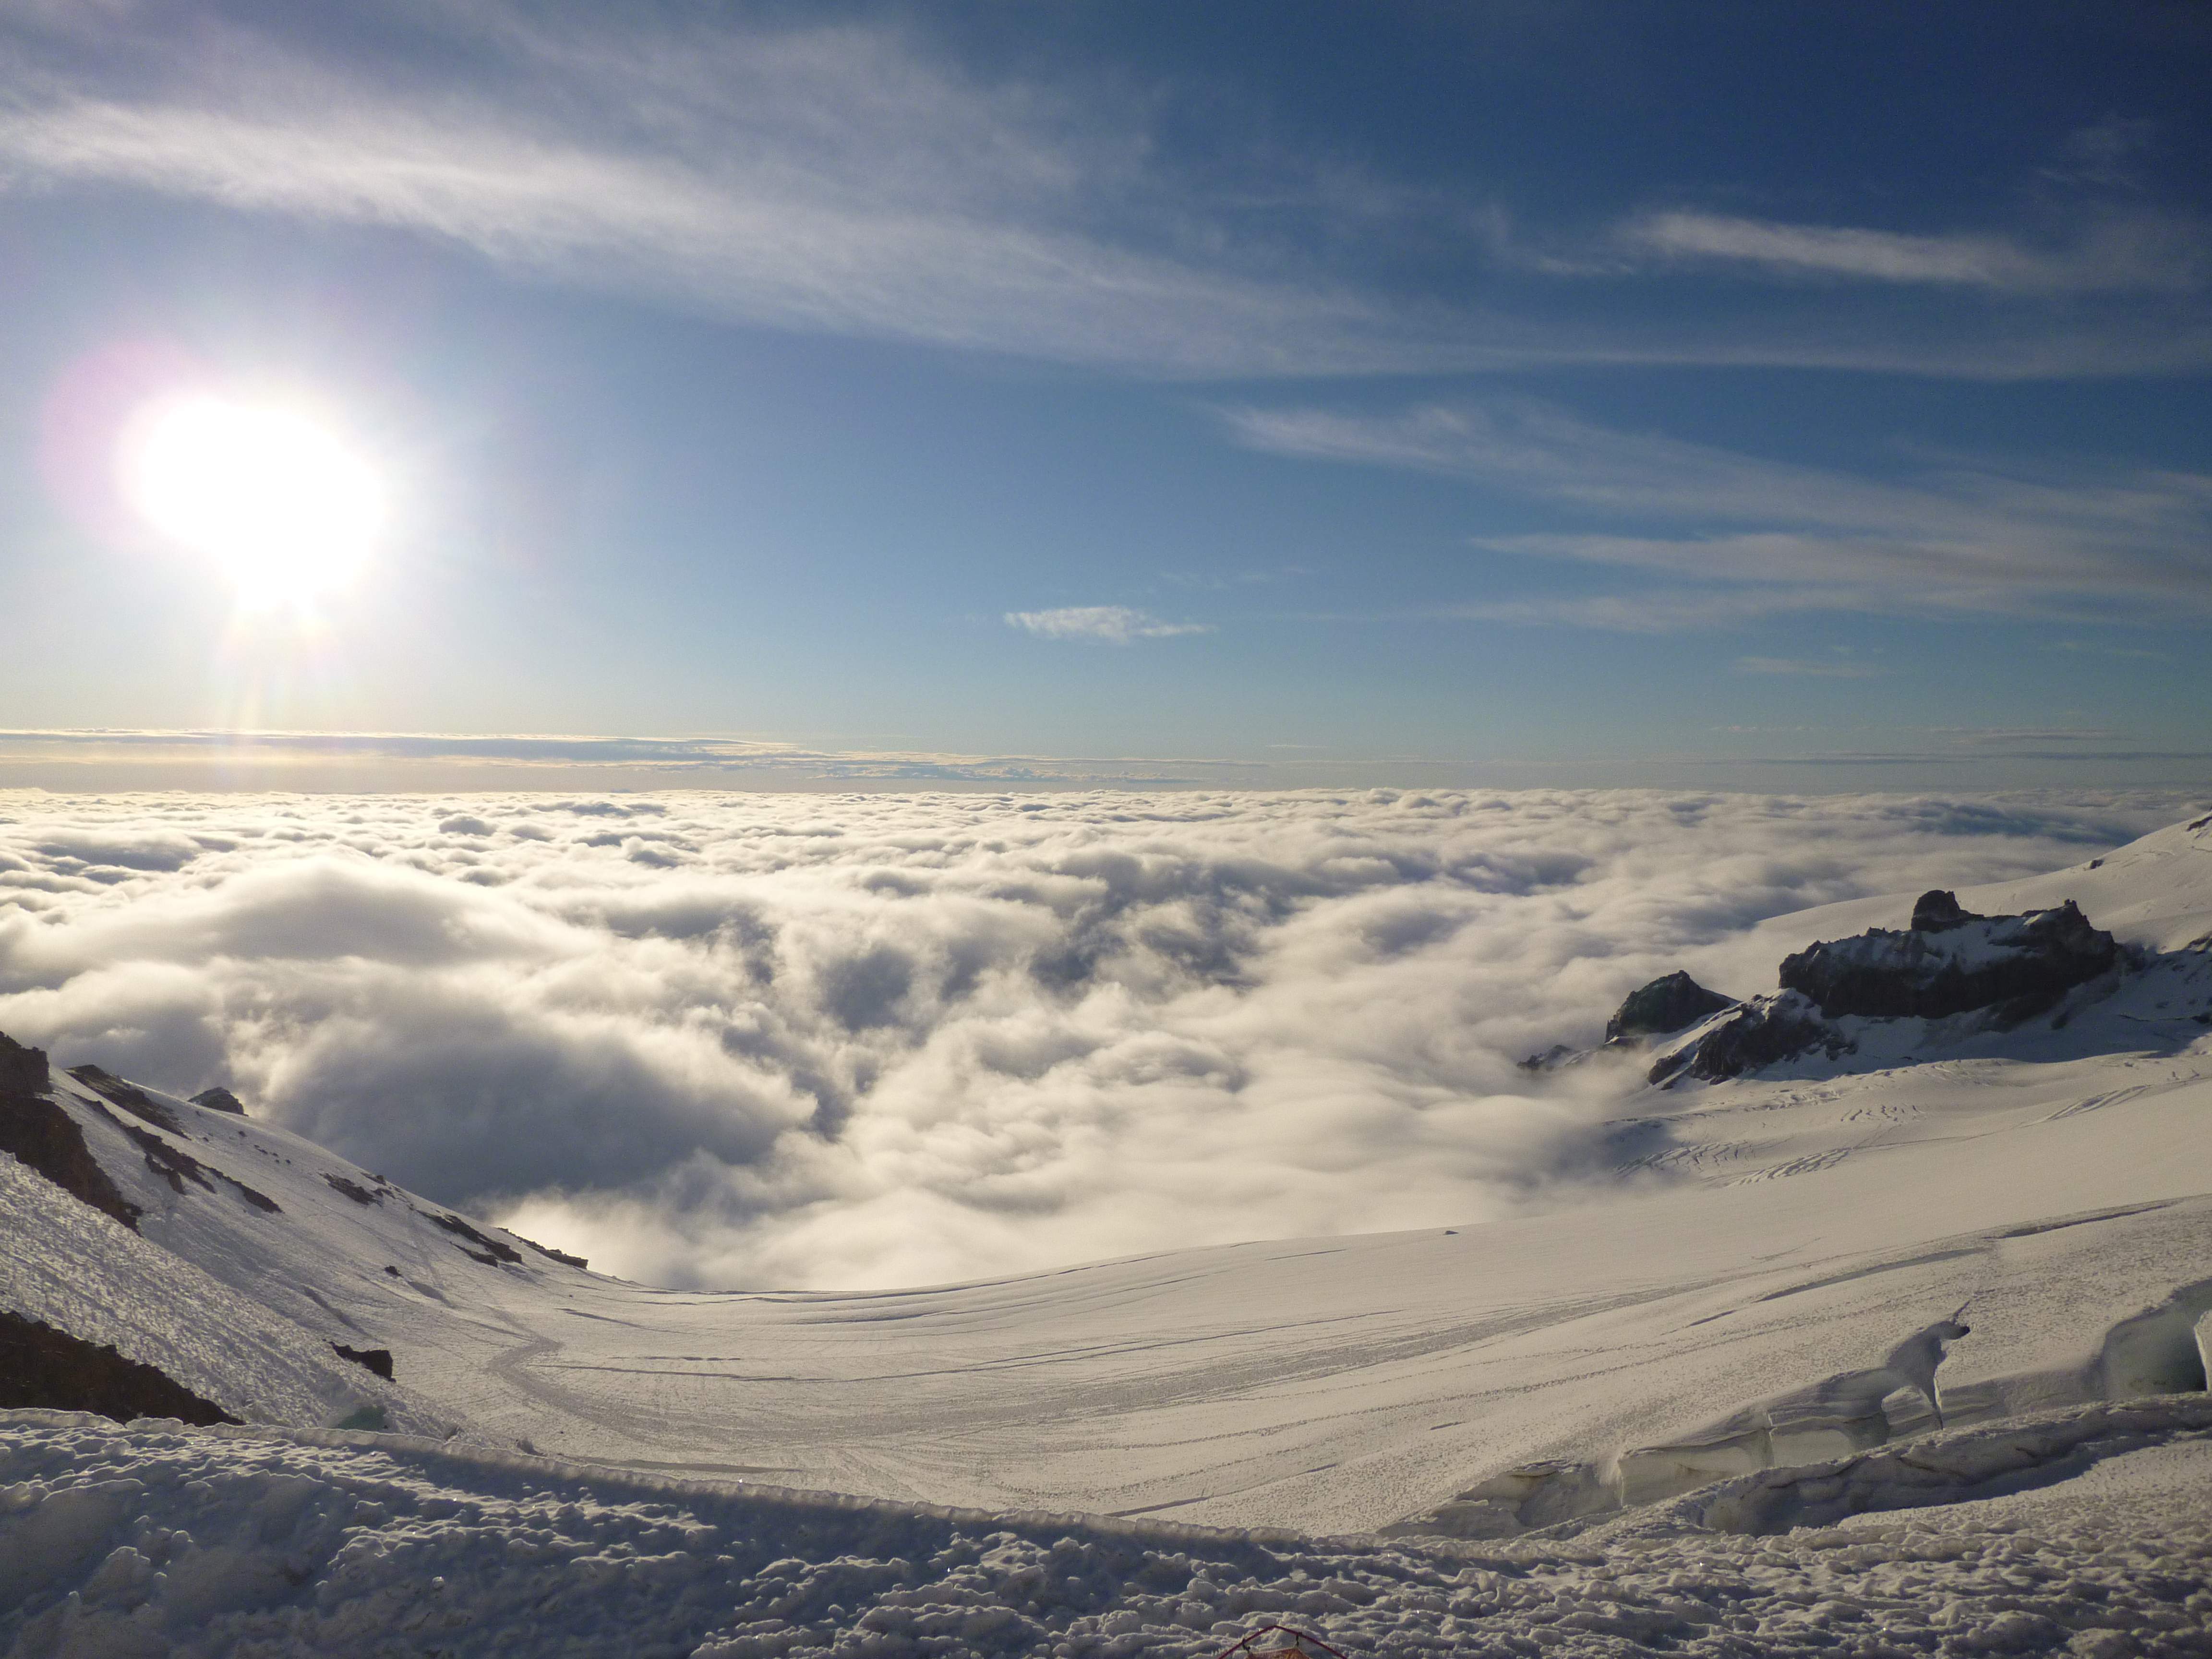
Below us a thick cloud ocean was slowly growing larger.

Clouds boiled and rose below us.

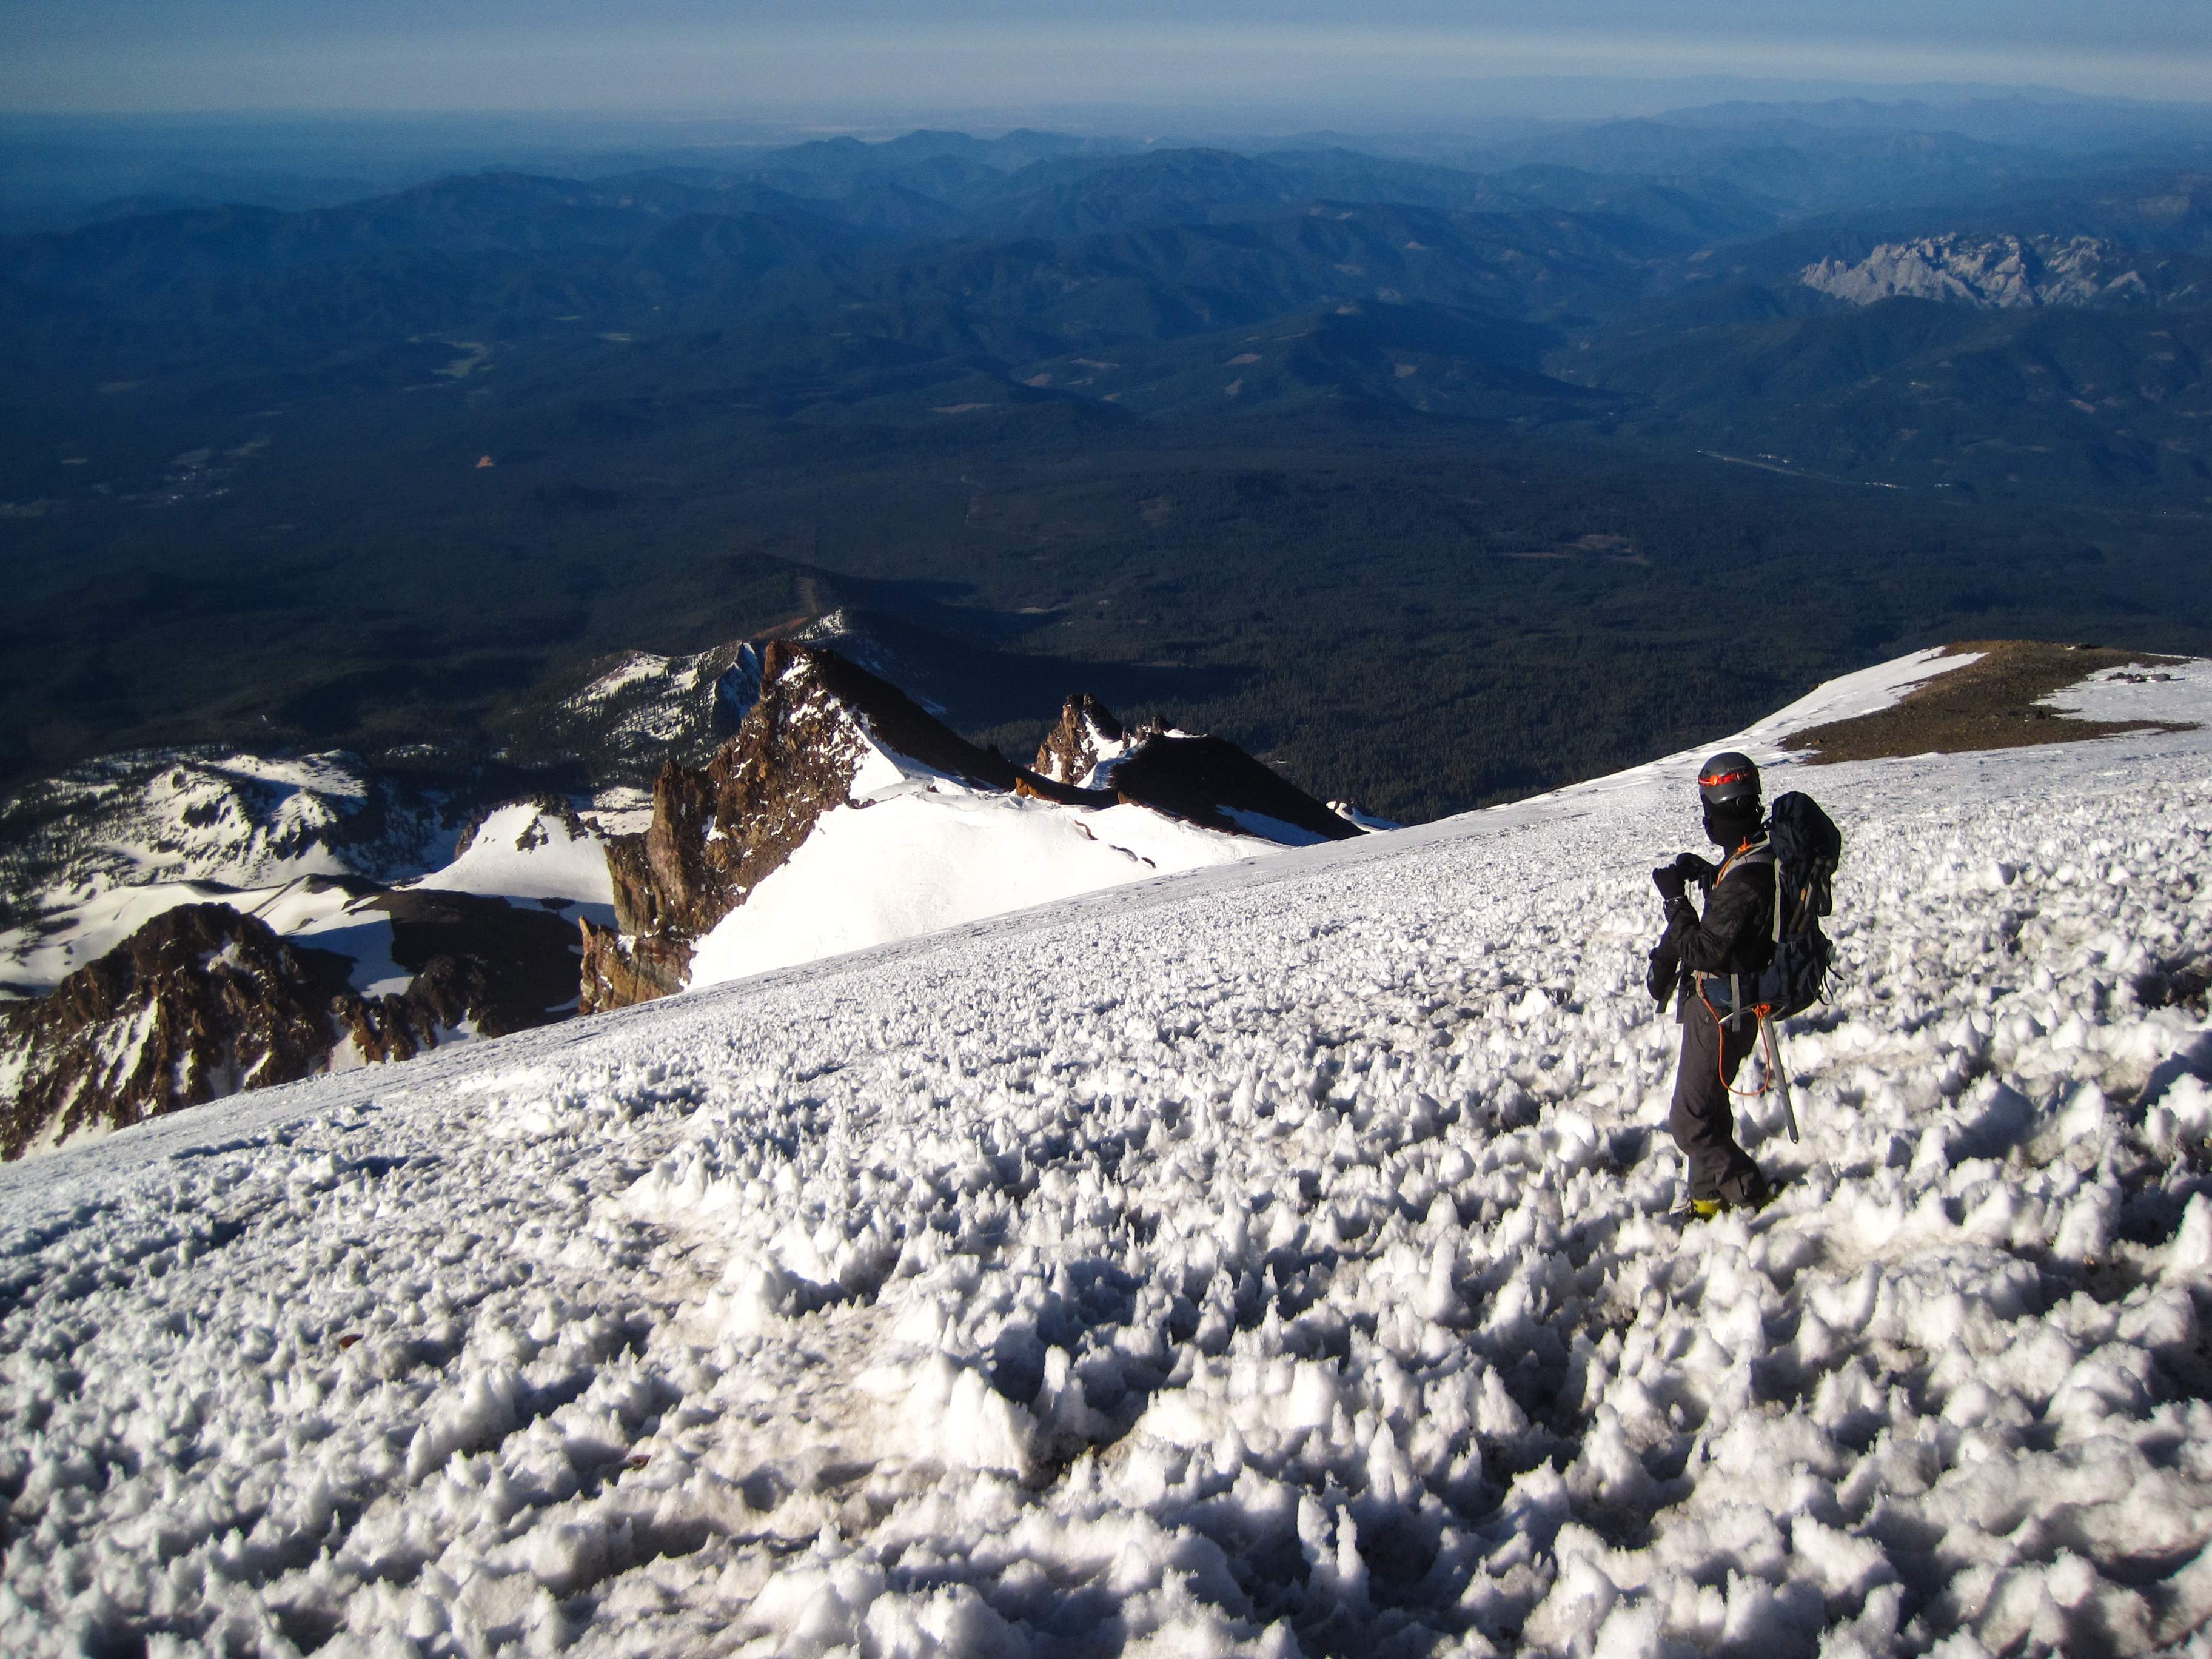
Looking east.

Steamboat Prow bottom right.
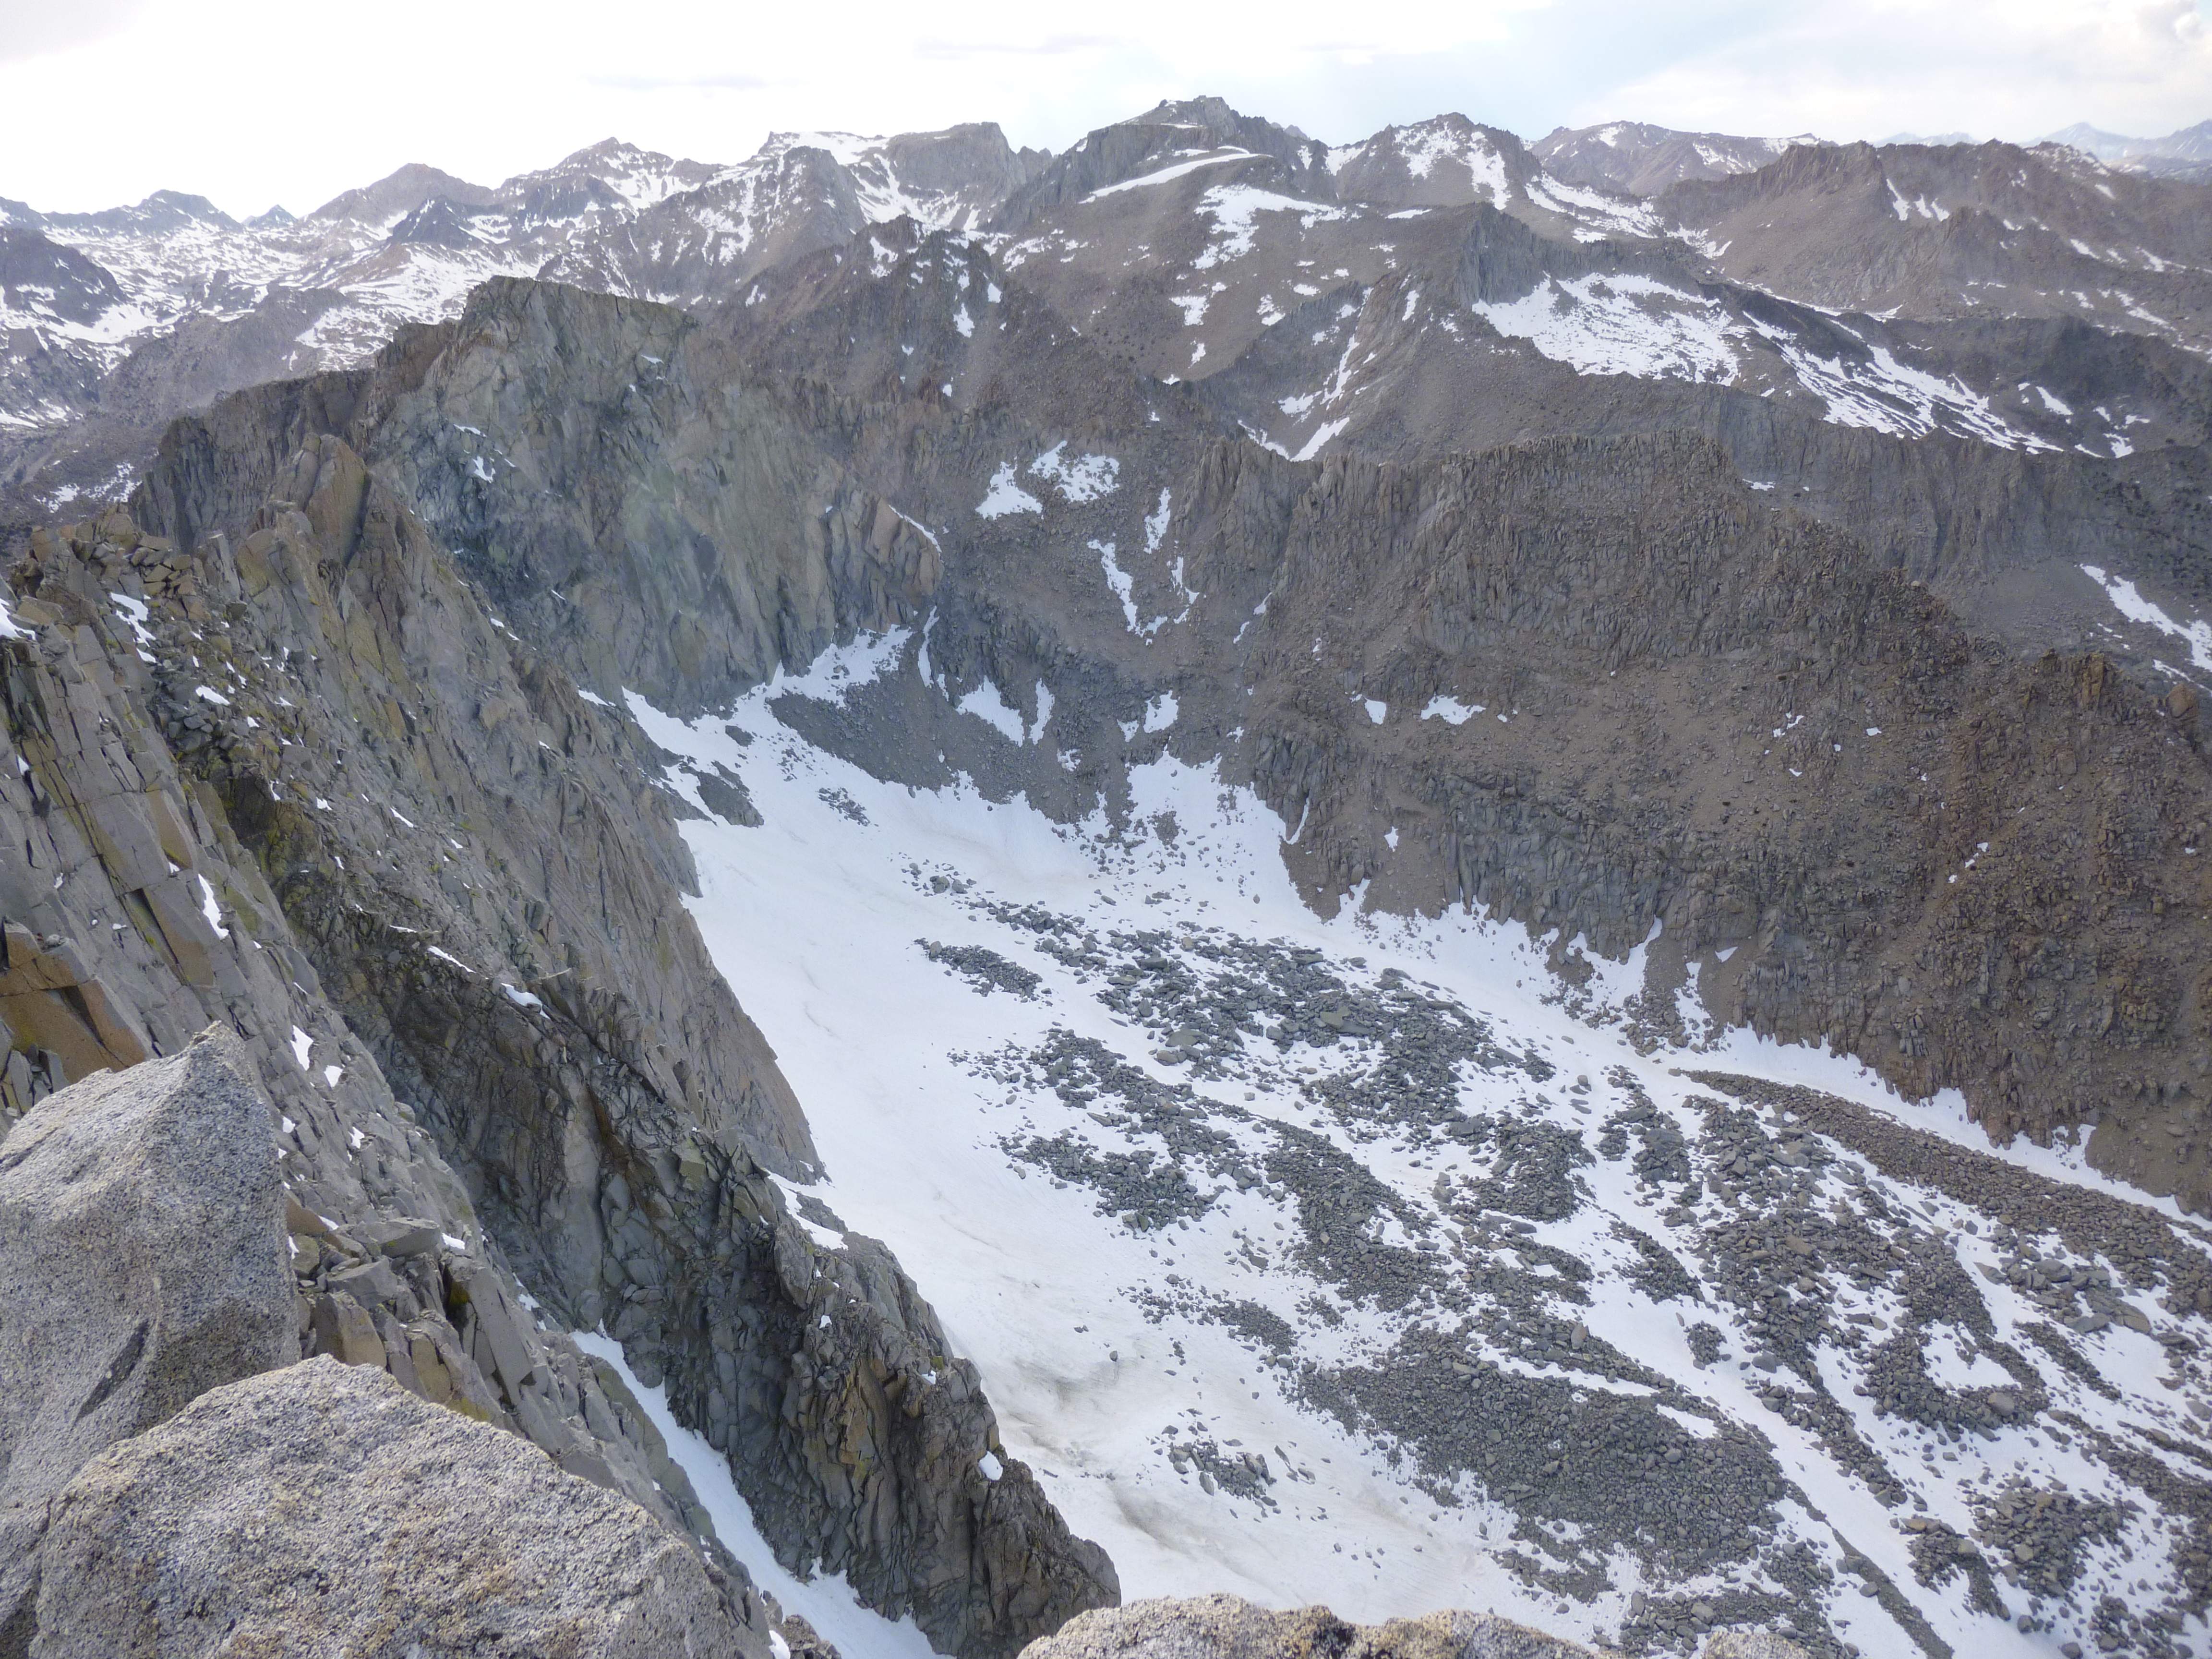
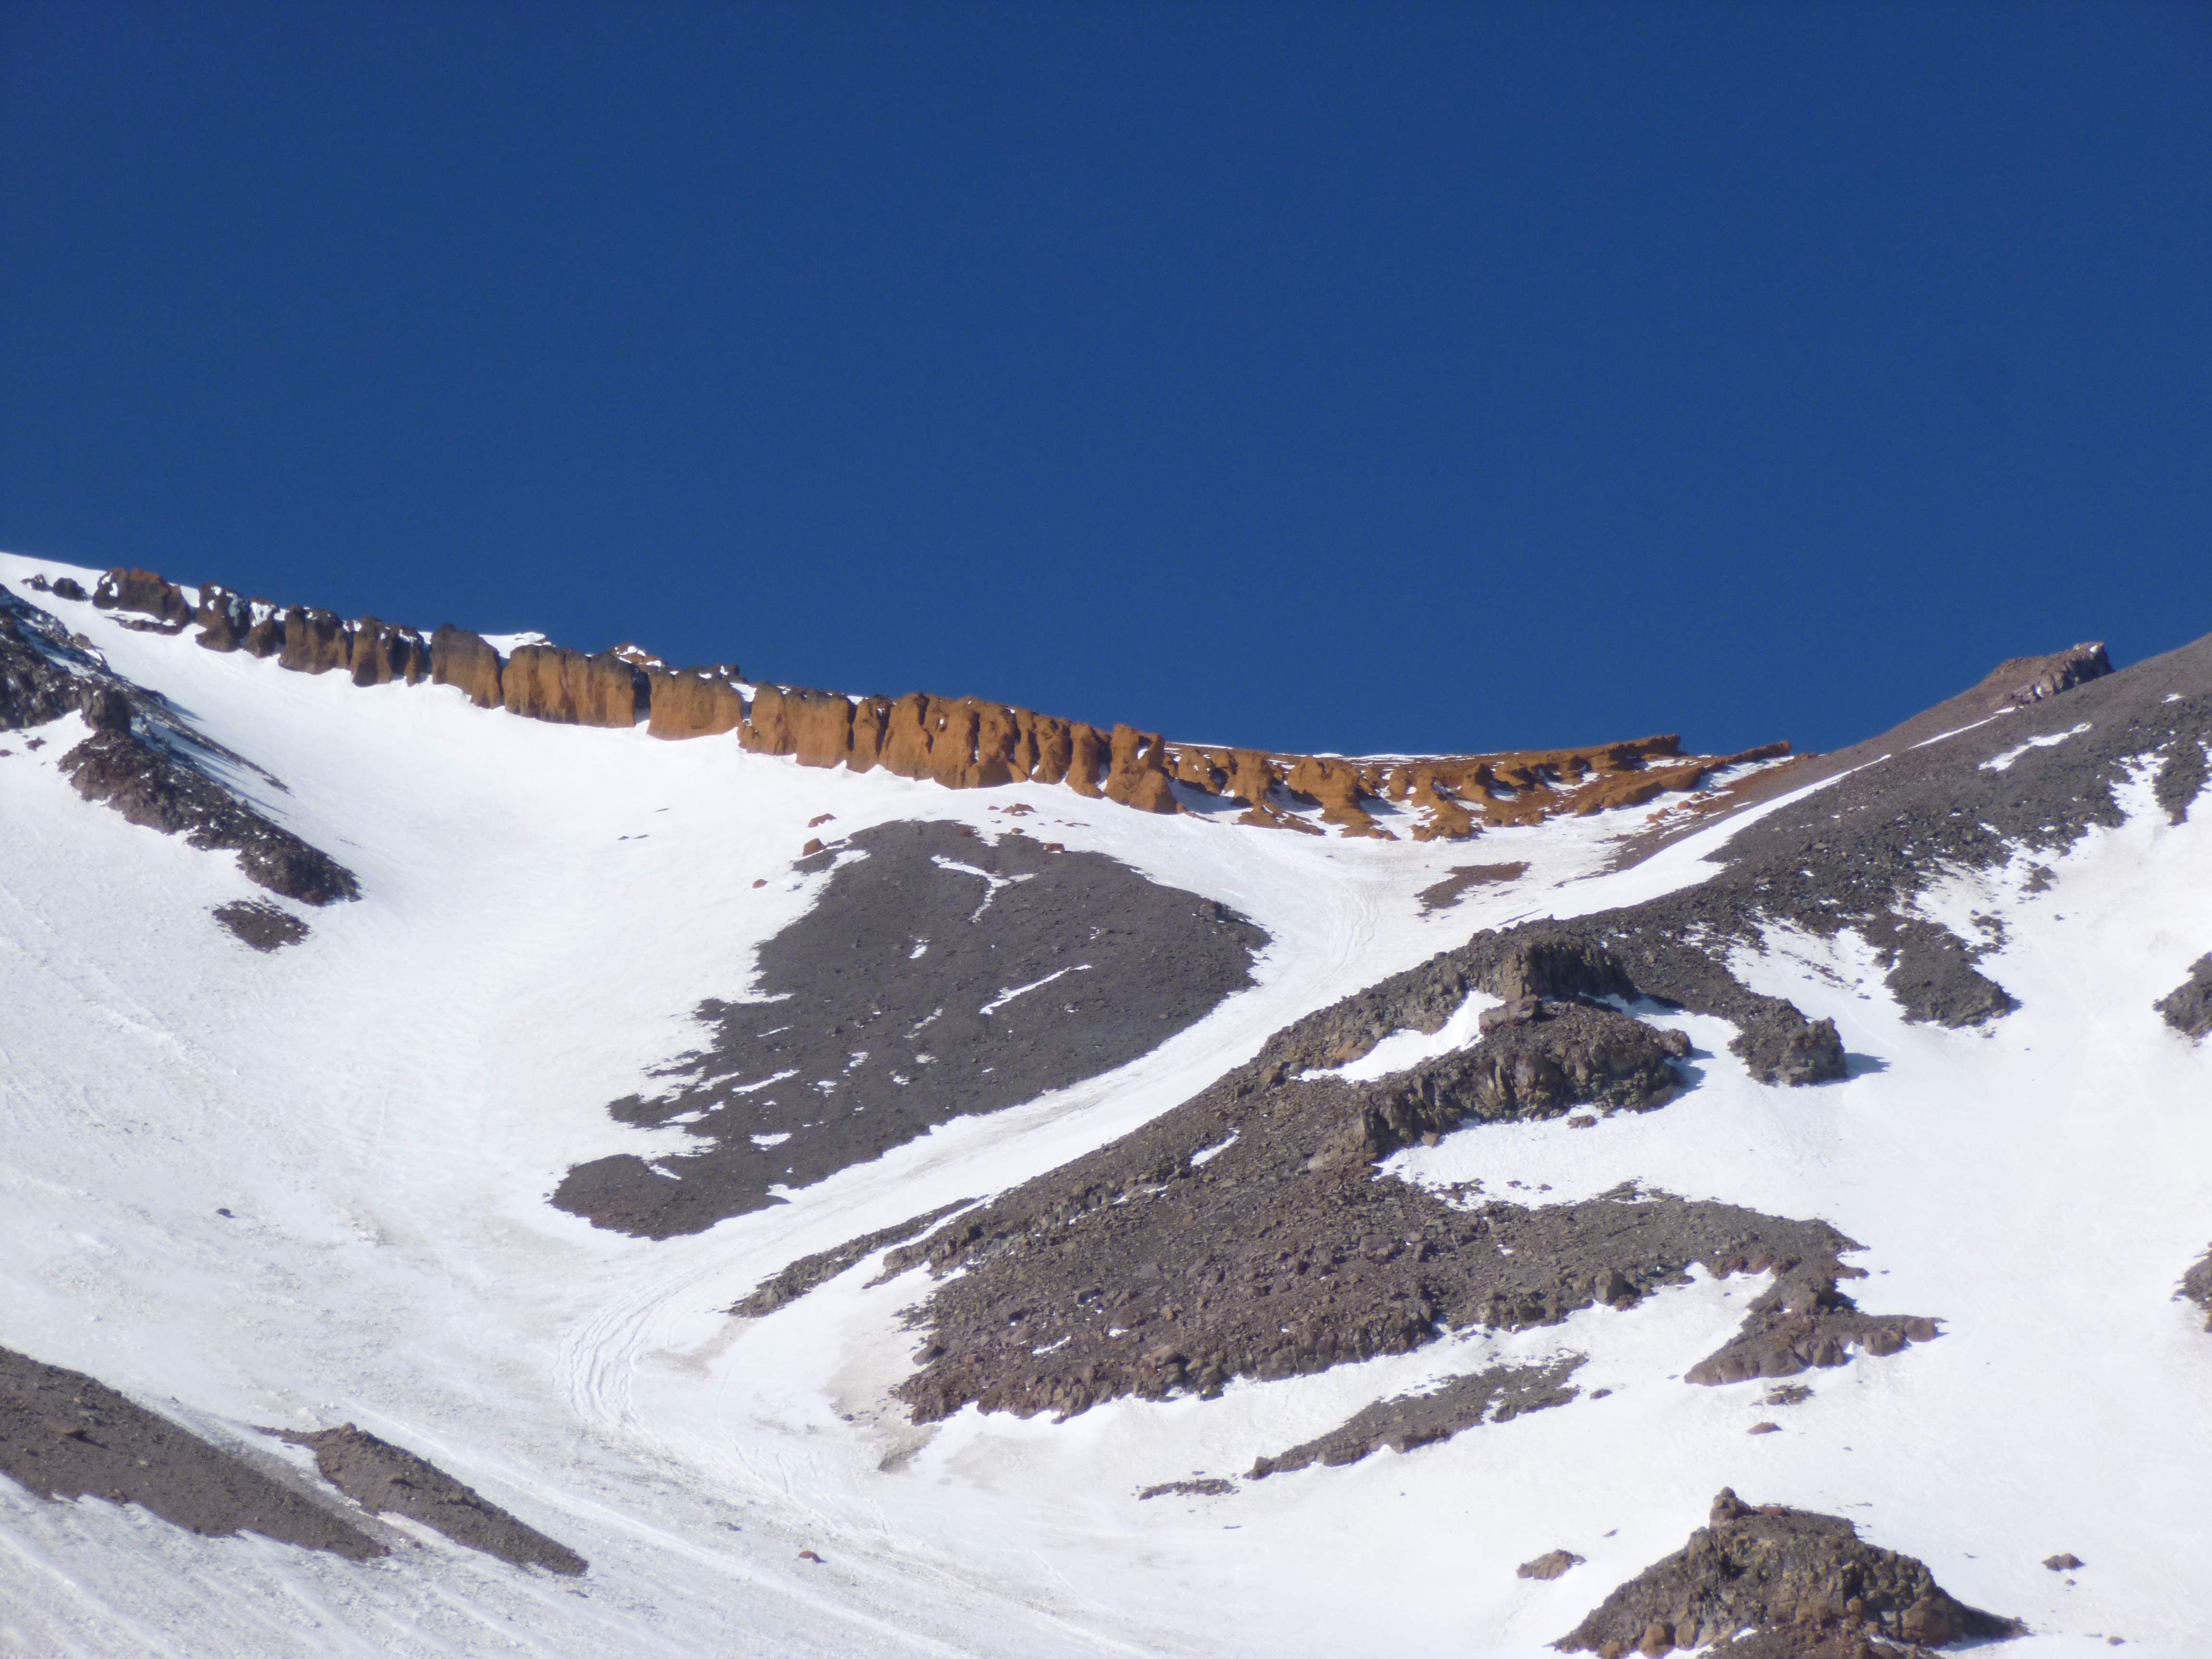
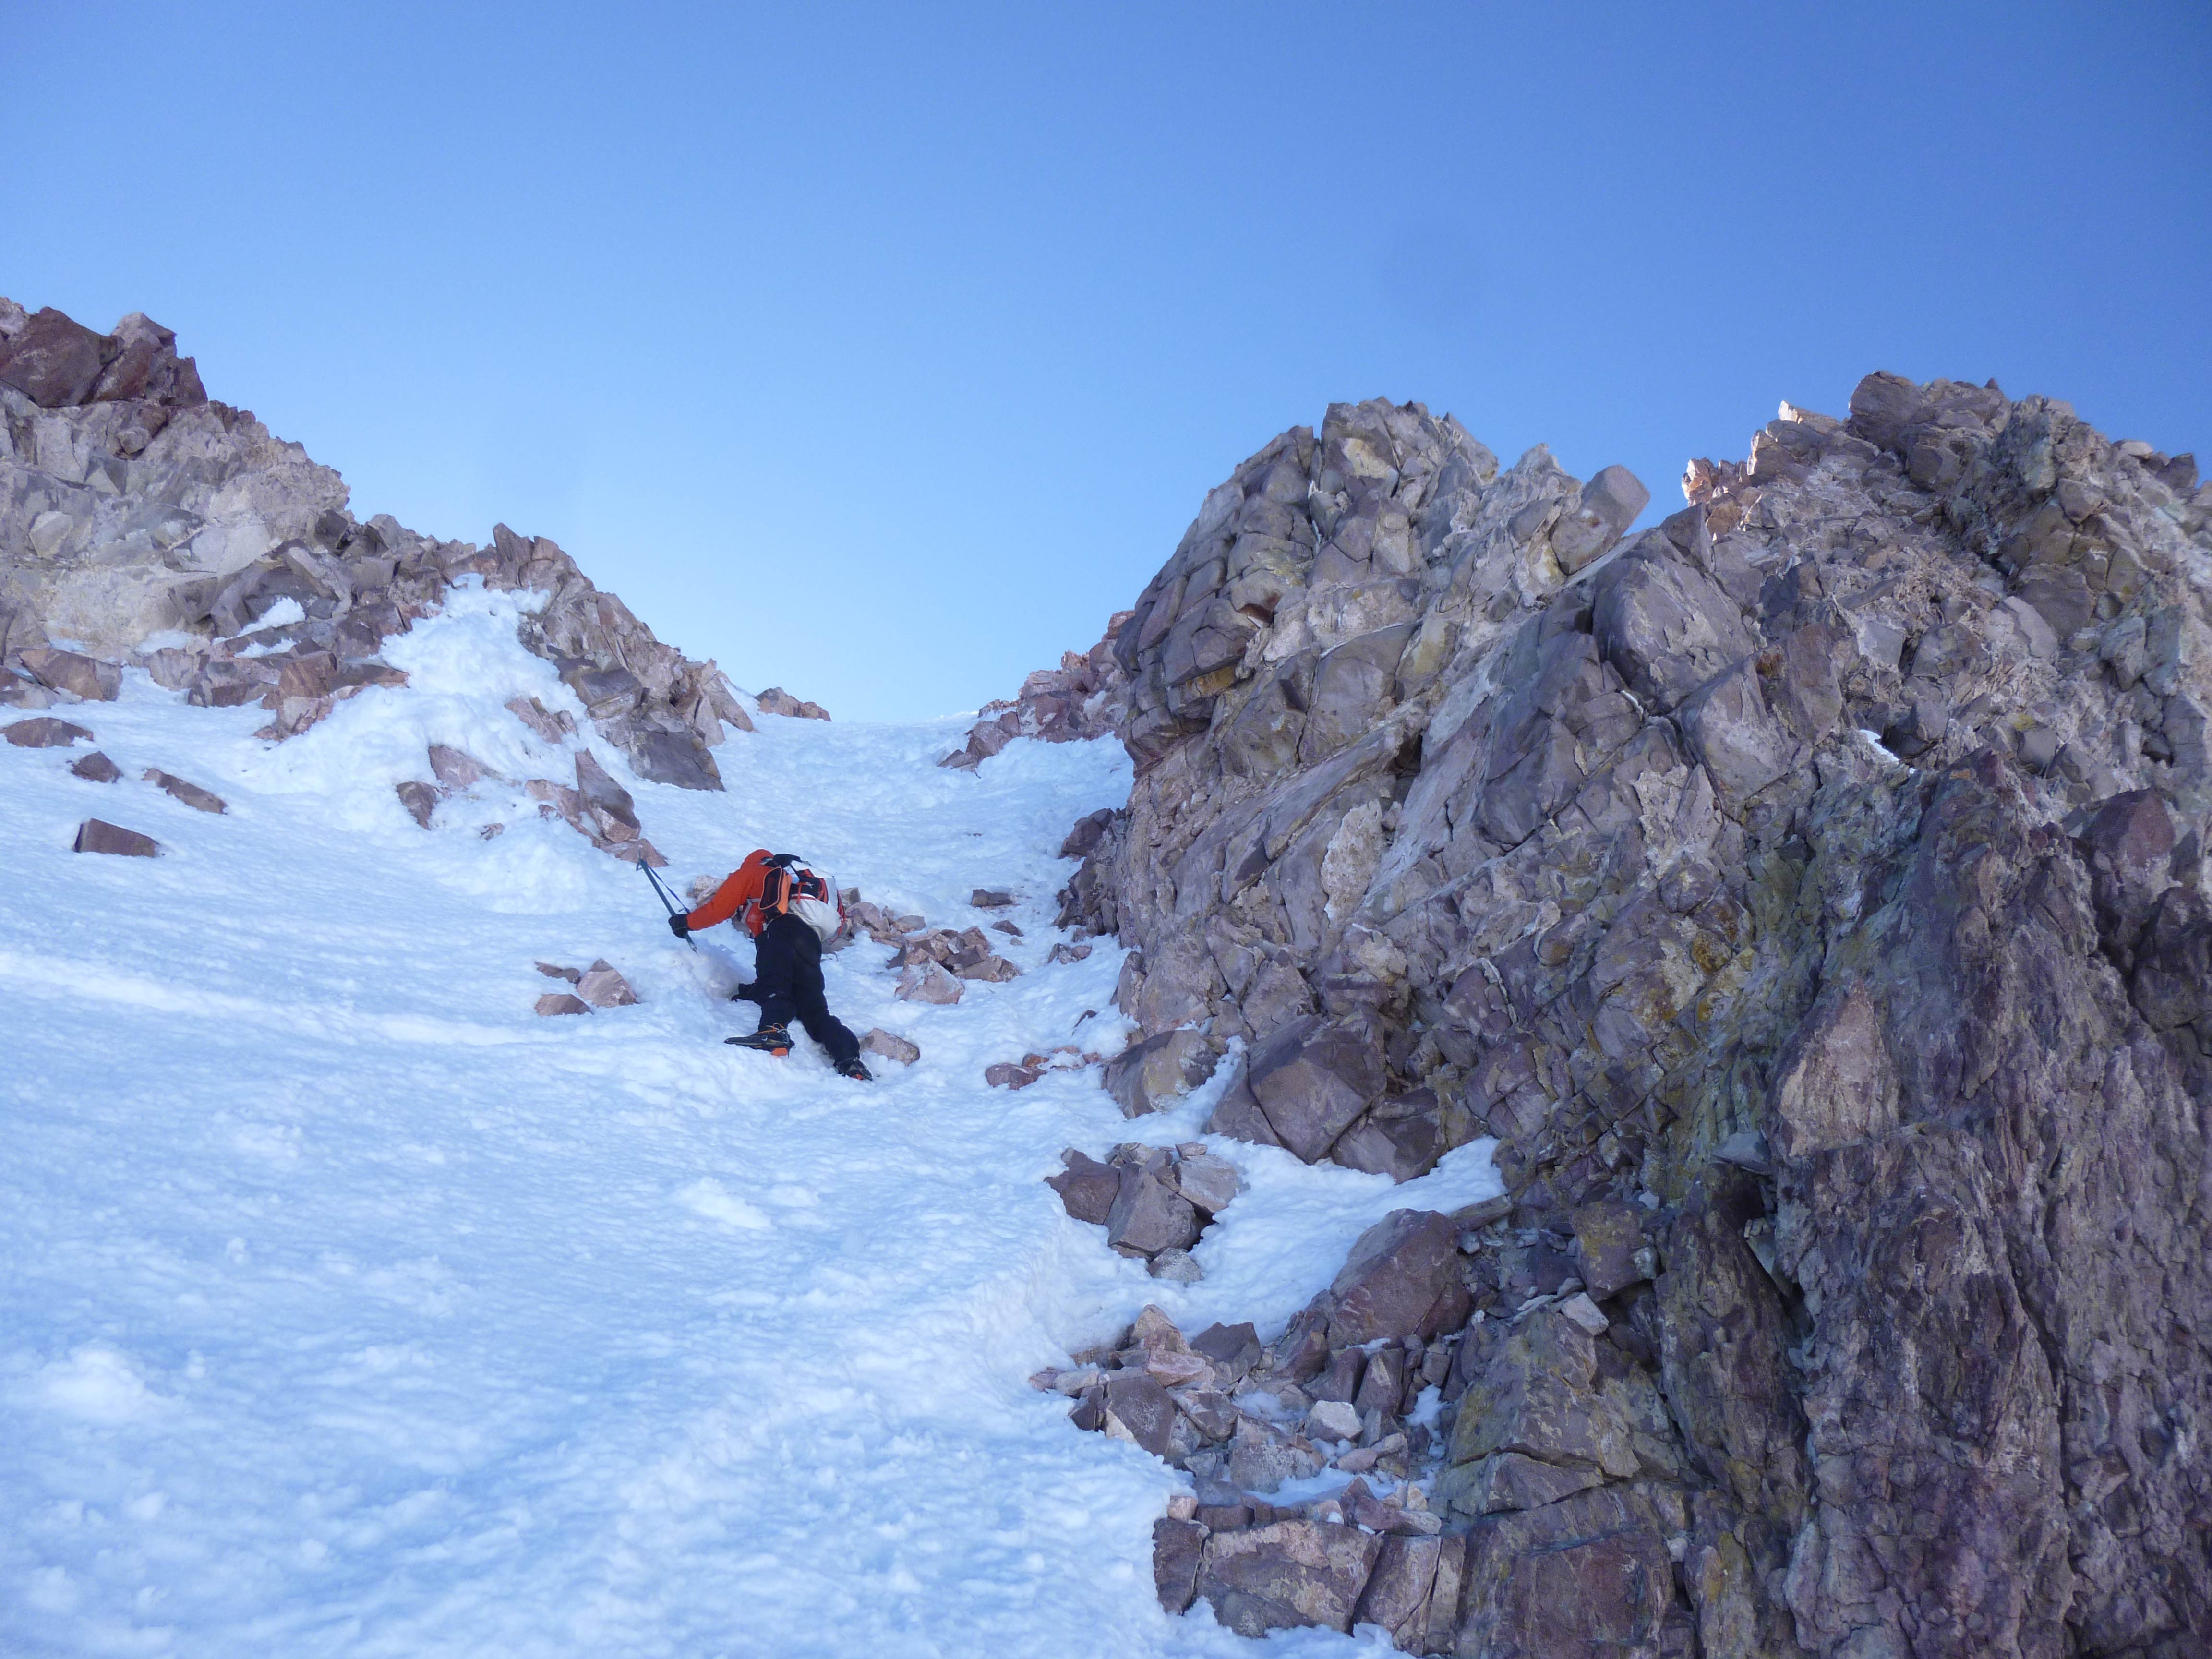
Our lead guide placed pickets for several minor obstacles, and we used three more for a short section with a steep, icy drop-off and some decent exposure. We navigated across and around more crevasses, our guides wanding them for descent as we went. As we approached the top of the Emmons/Winthrop, we found ourselves at the bottom of the glaciers’ bergshrund, a large crevasse formed where moving glacial ice meets static rock. We began traversing to the west, where others in camp had told us a safe and easy crossing could be found.

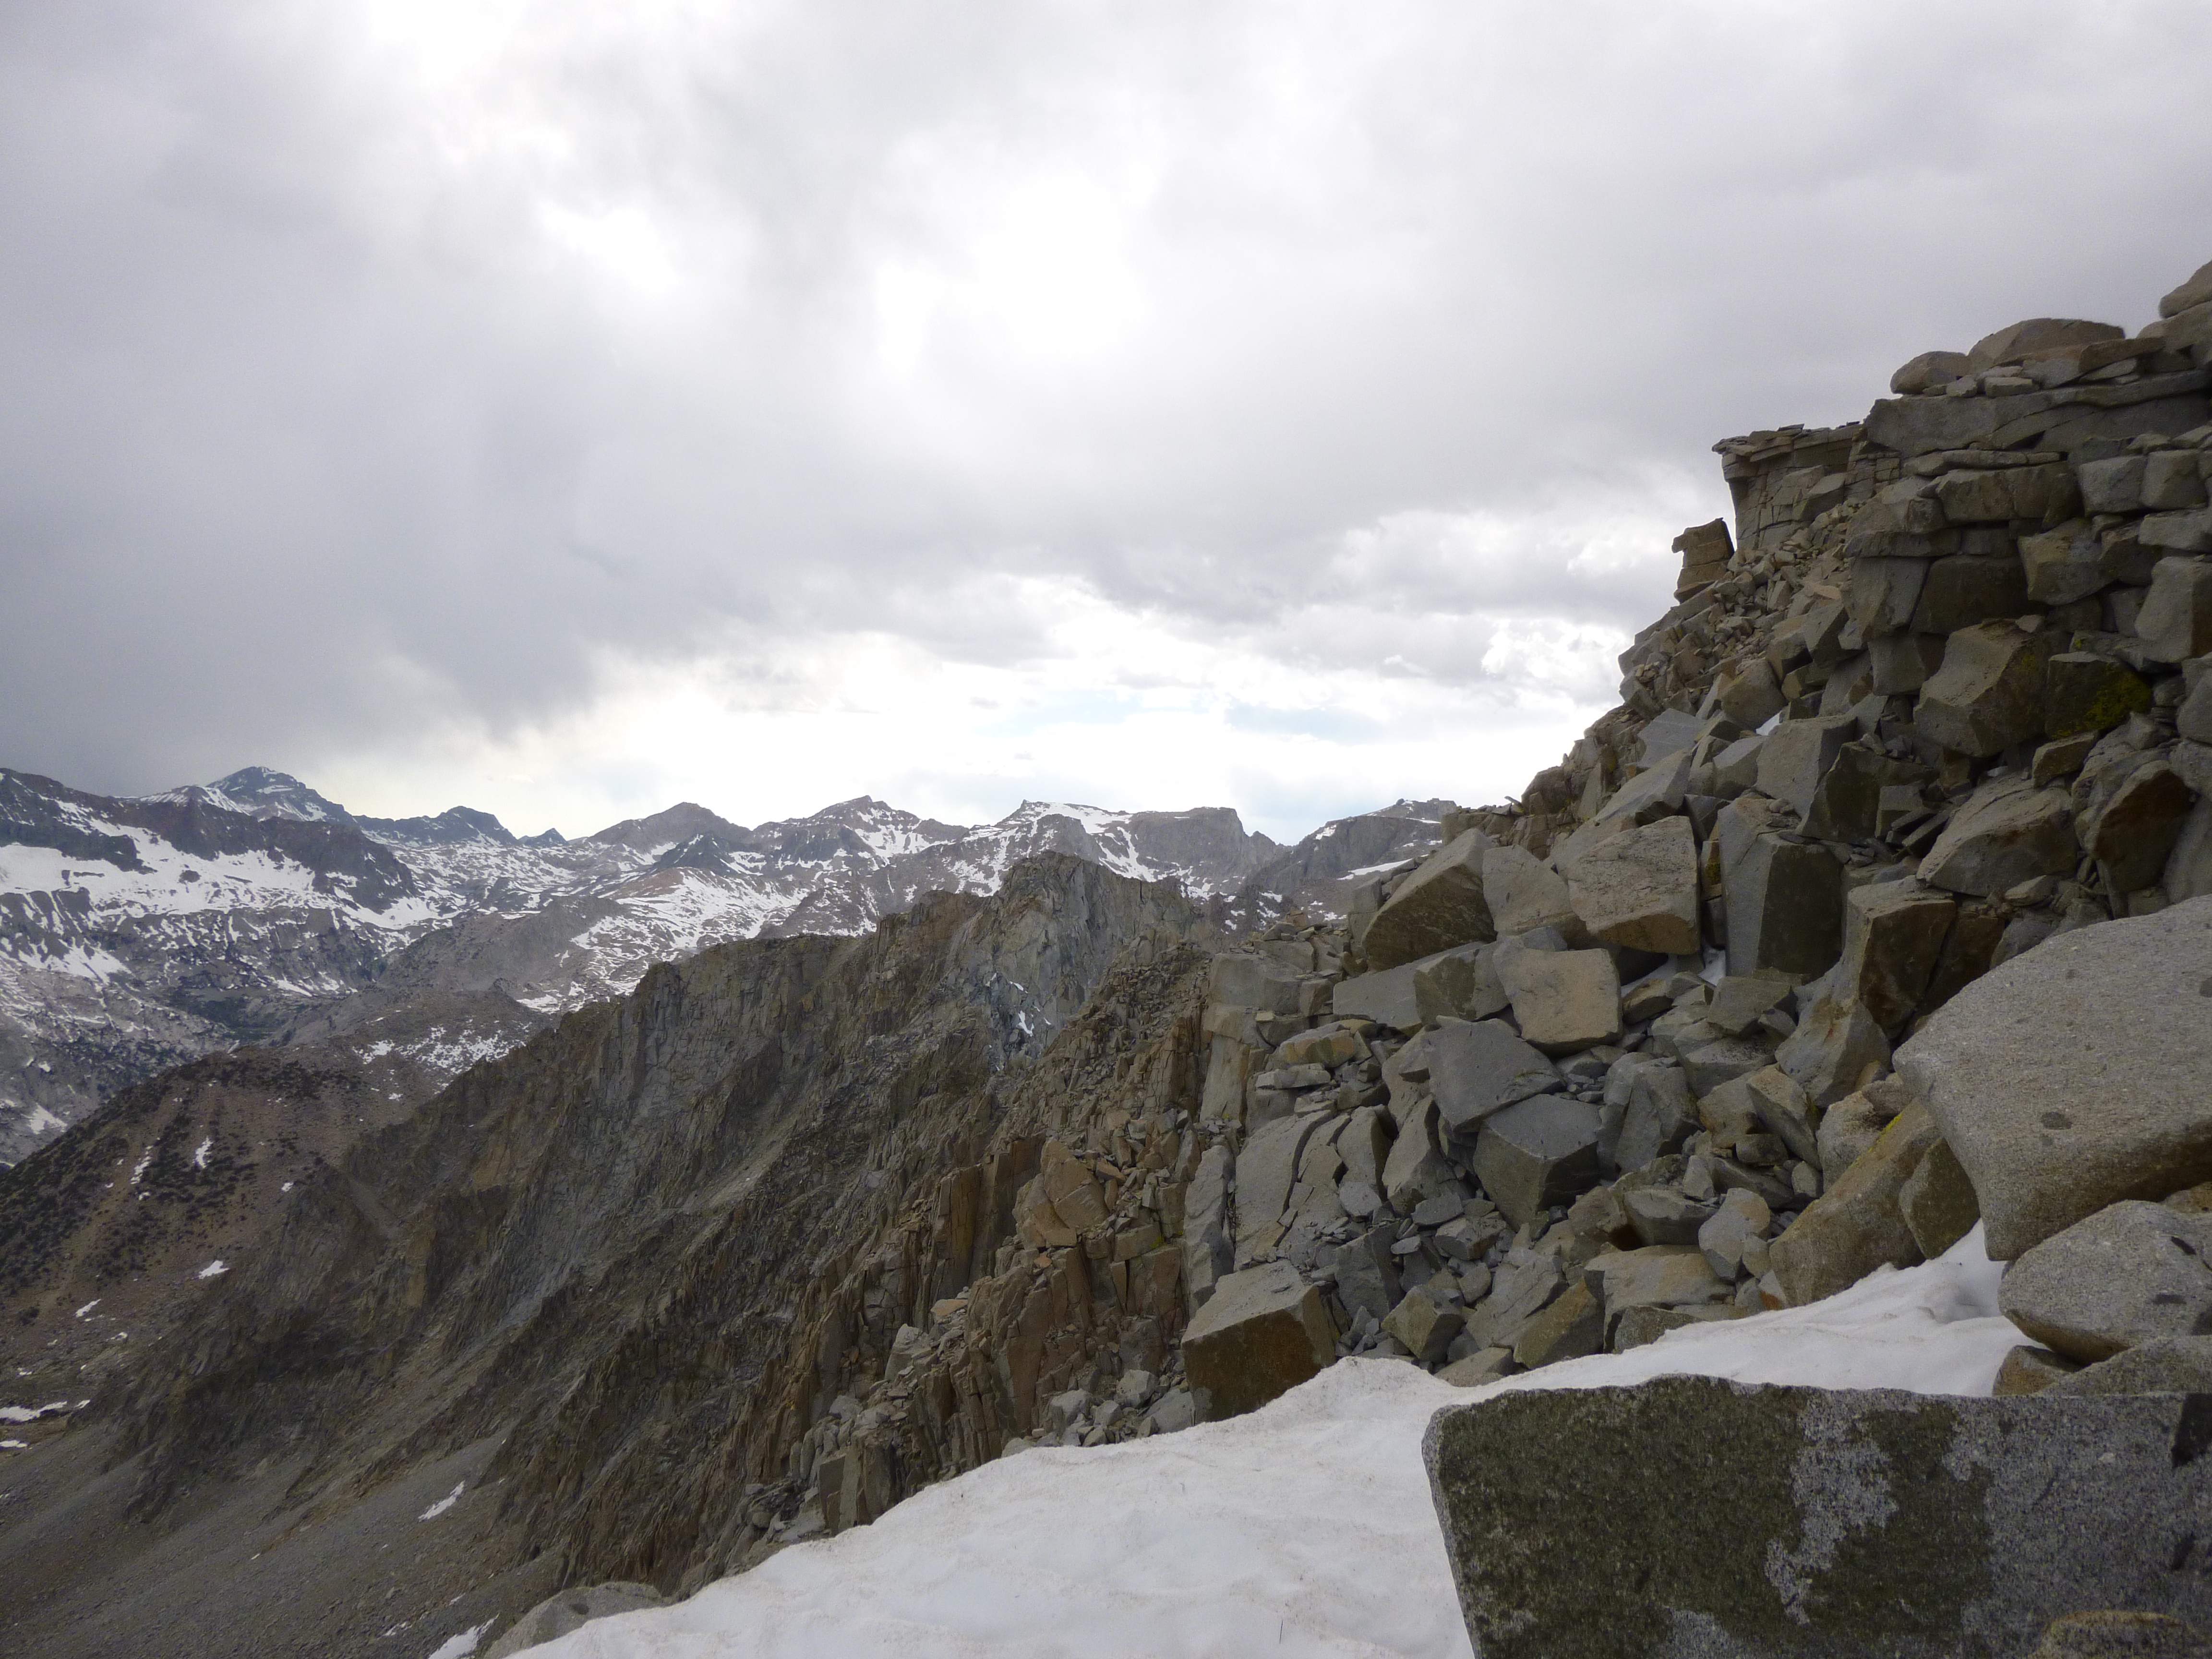
Curtis Ridge and Russell Cliff to the west, near our crossing point.
We reached our crossing and stepped over the bergshrund. Above, the slope began leveling off.

Looking back at the bergshrund, it is visible as a long crack along the length of the right-hand ridge.
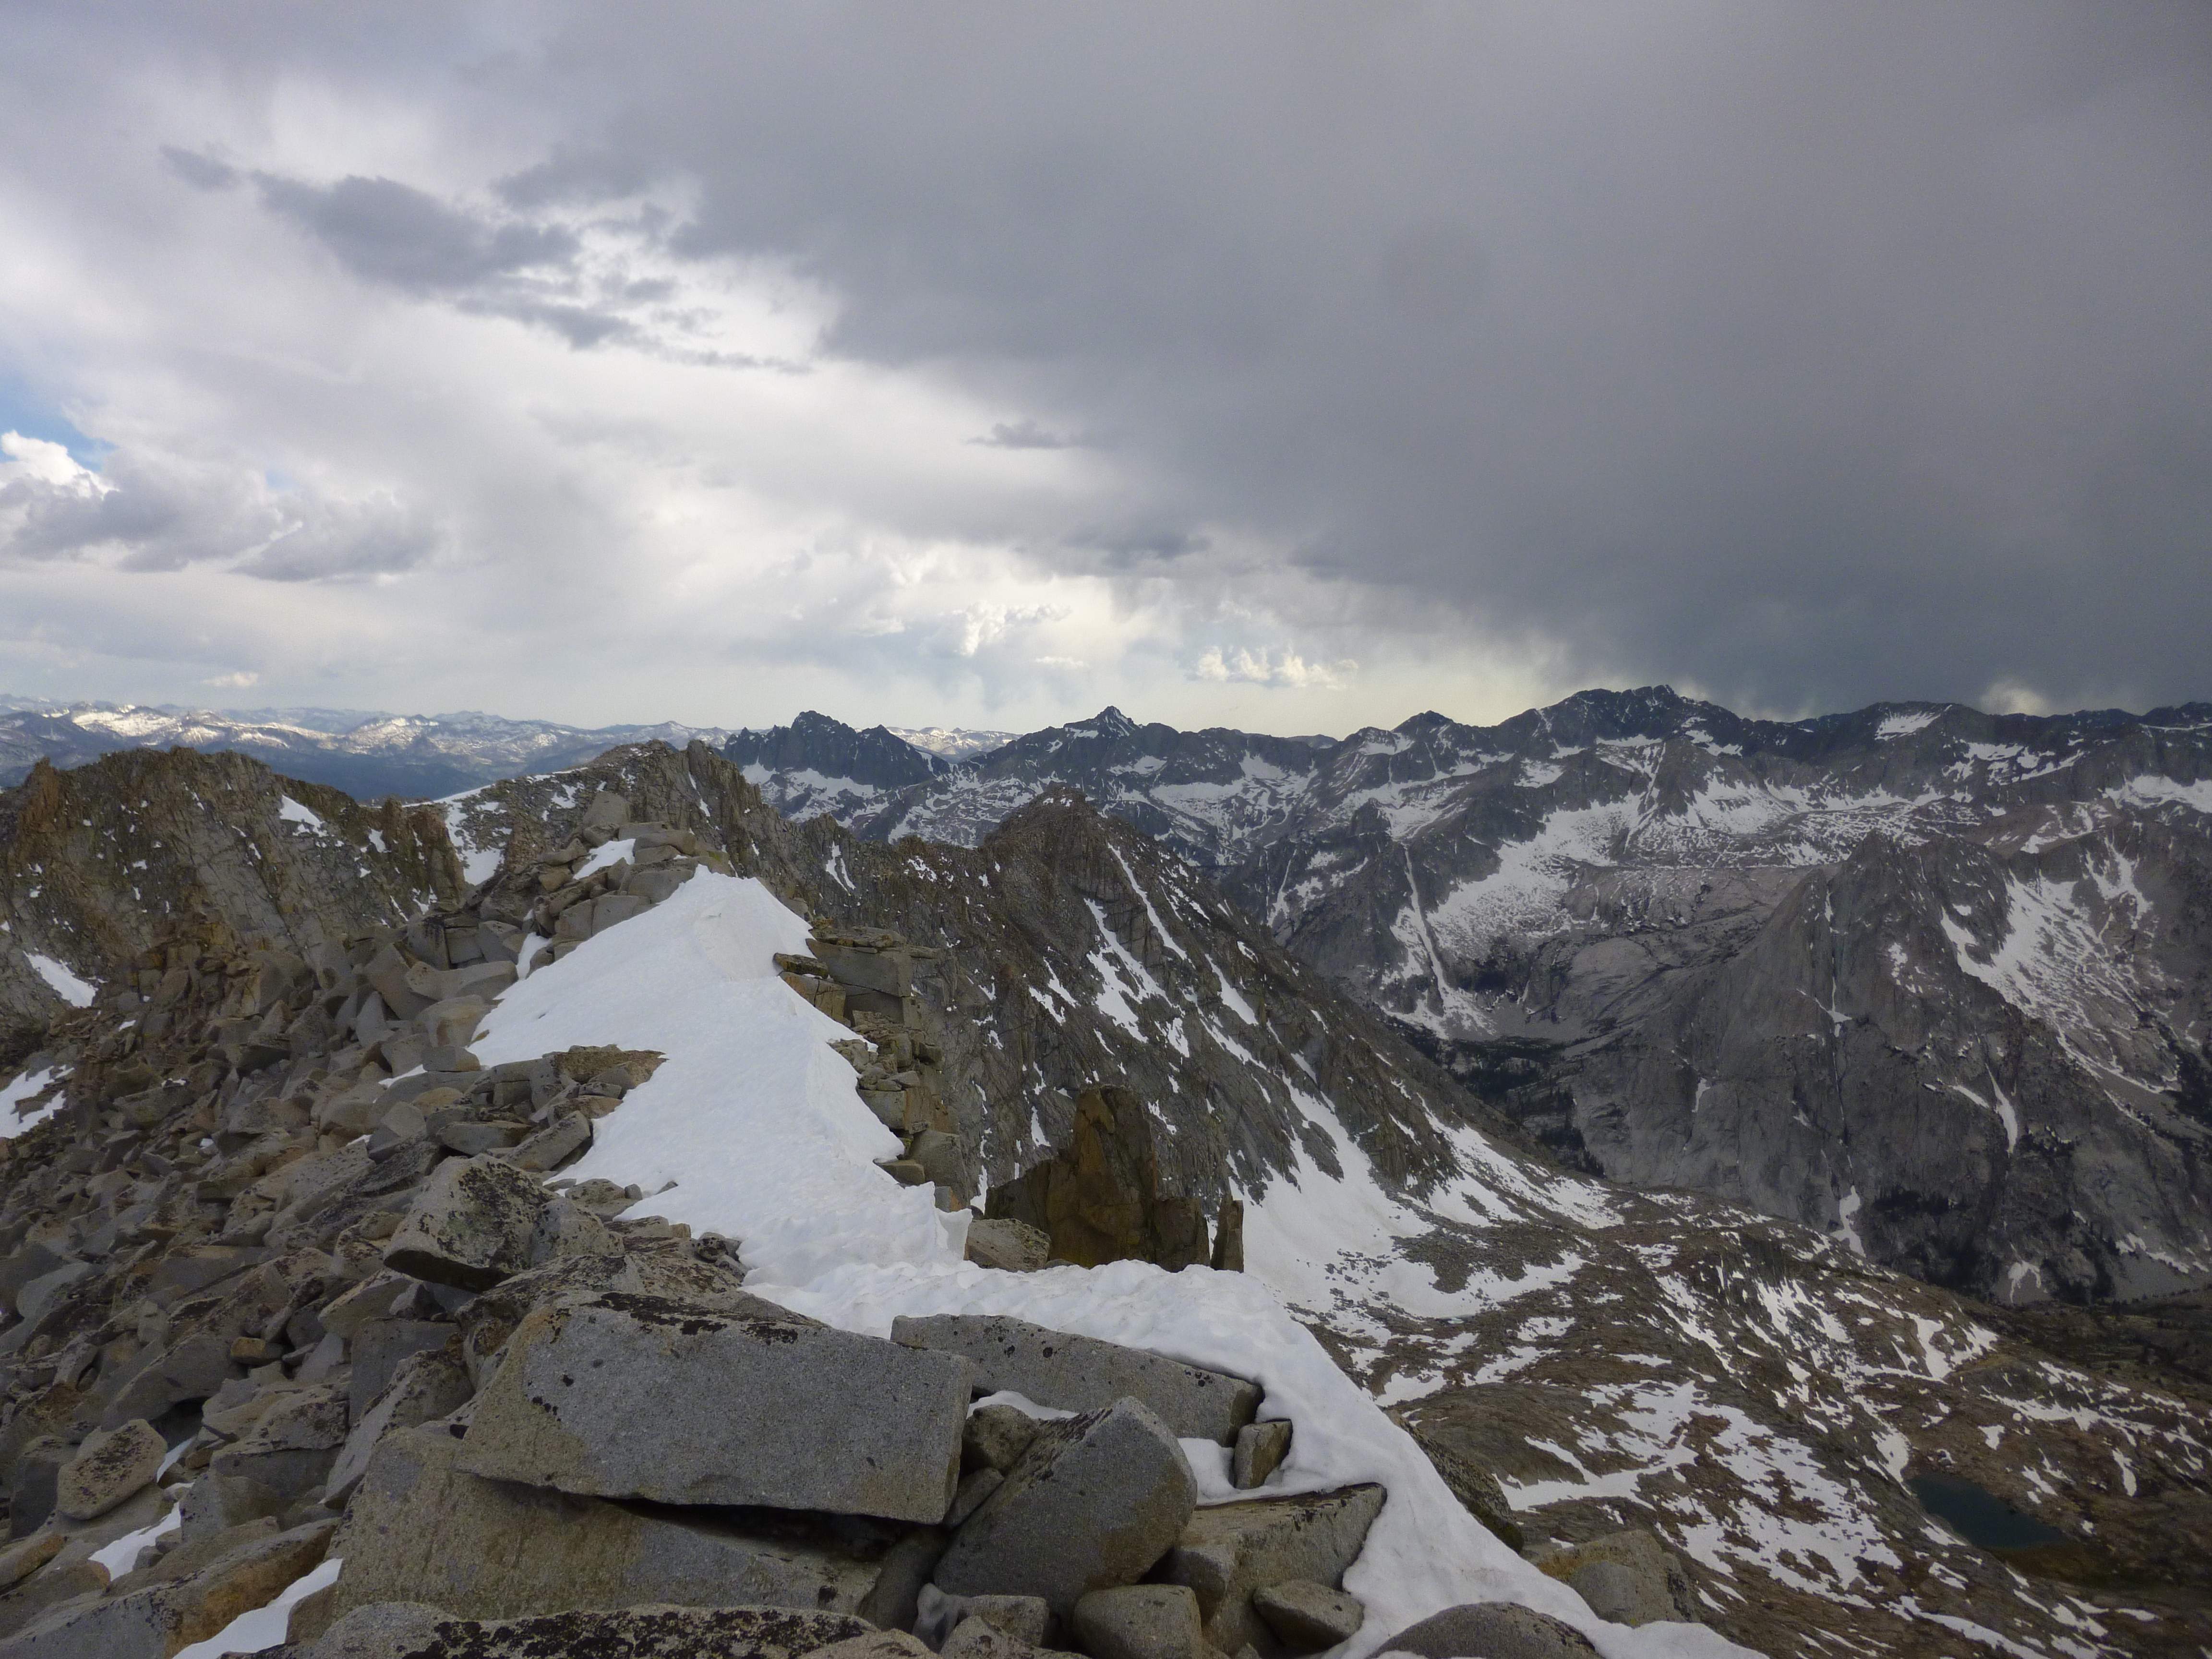
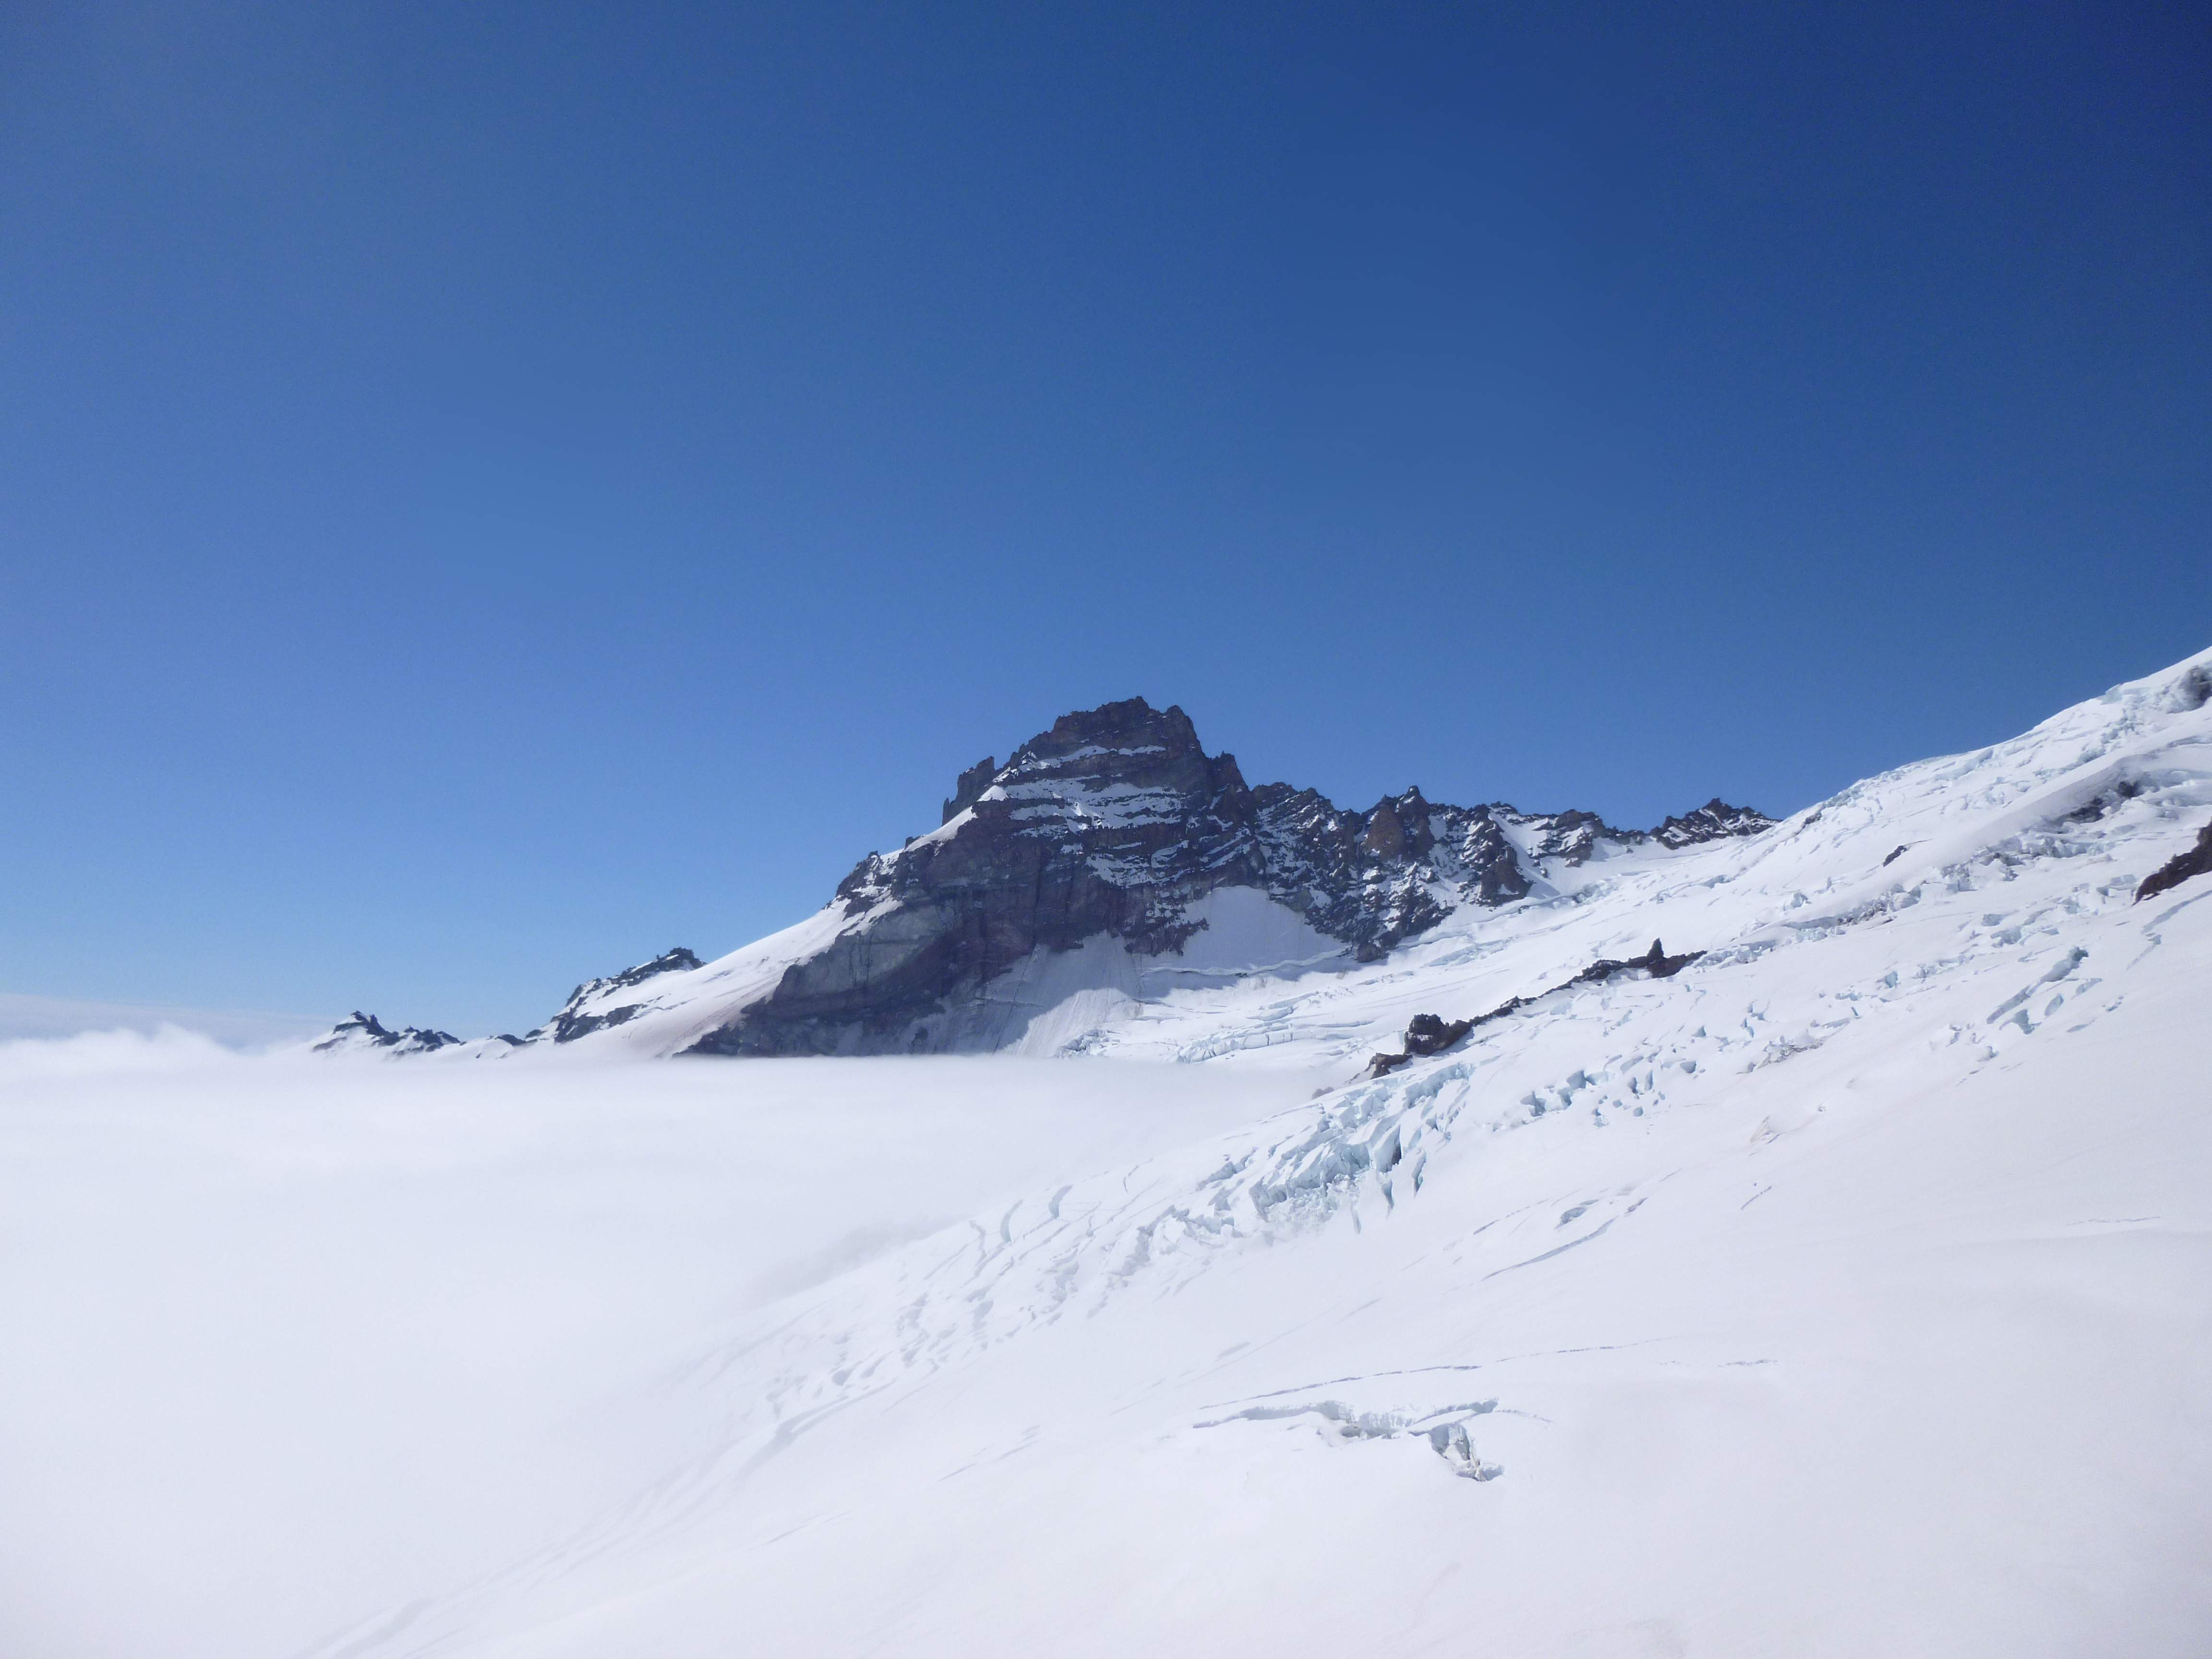
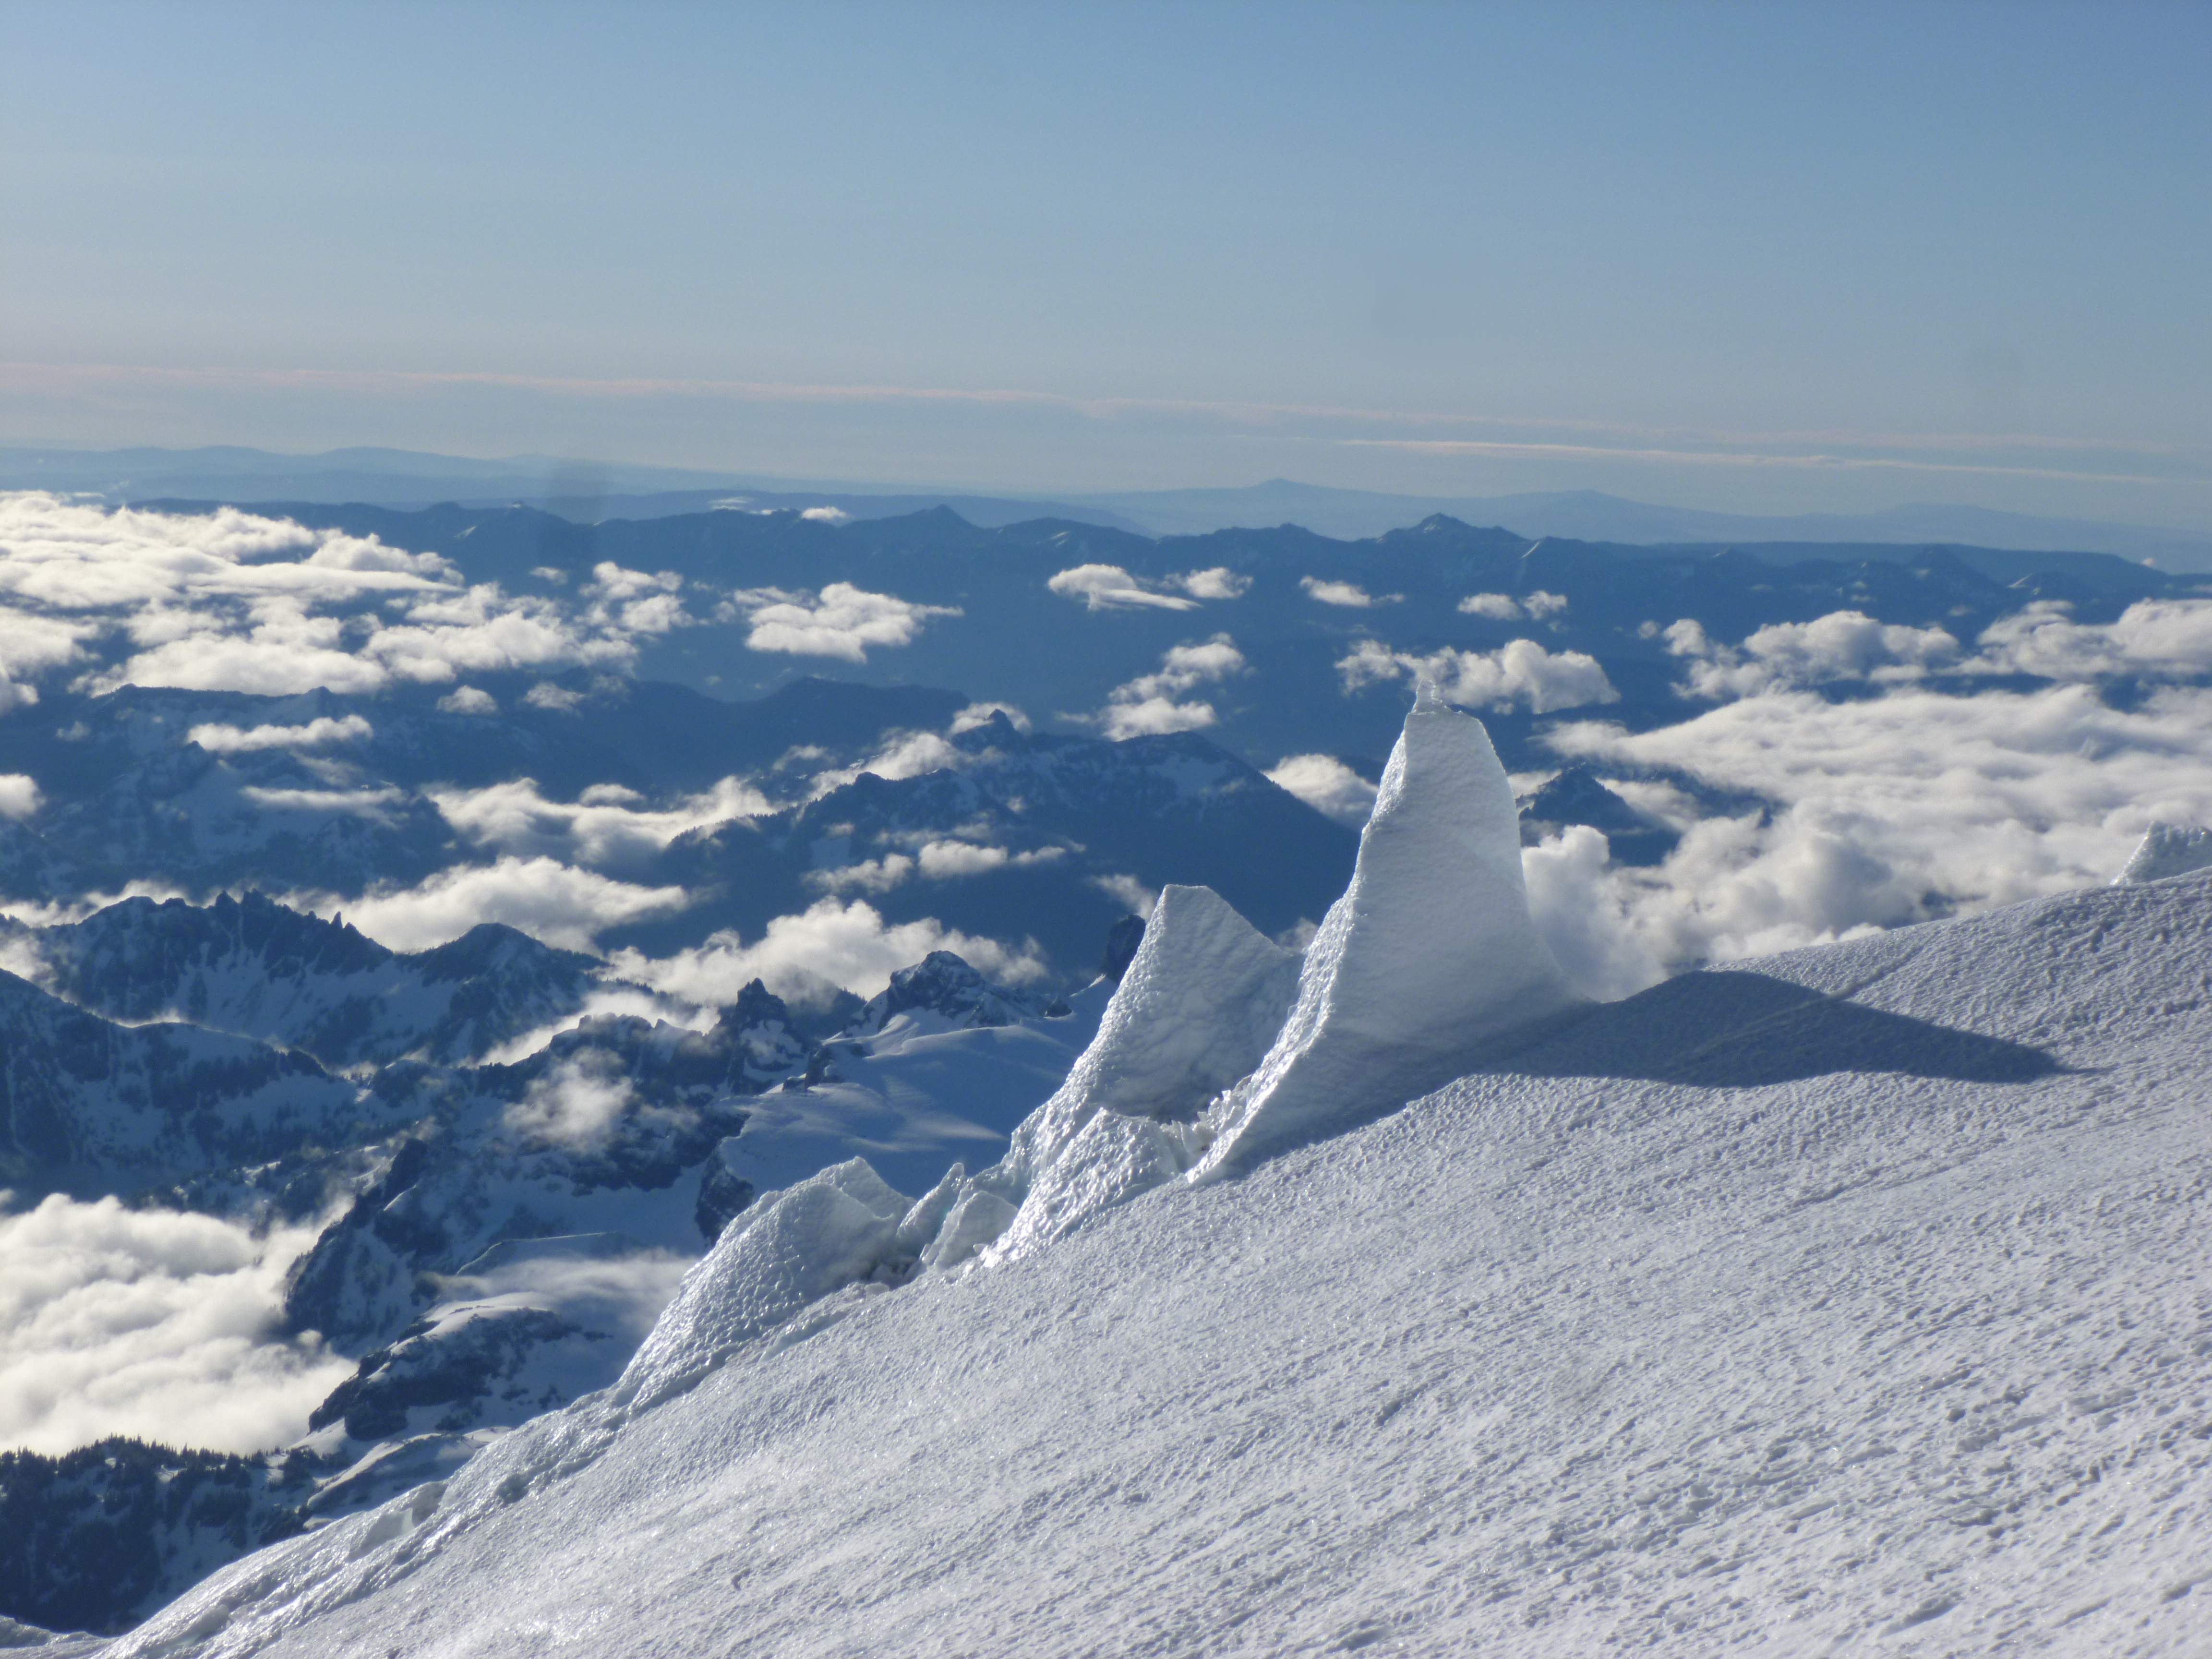
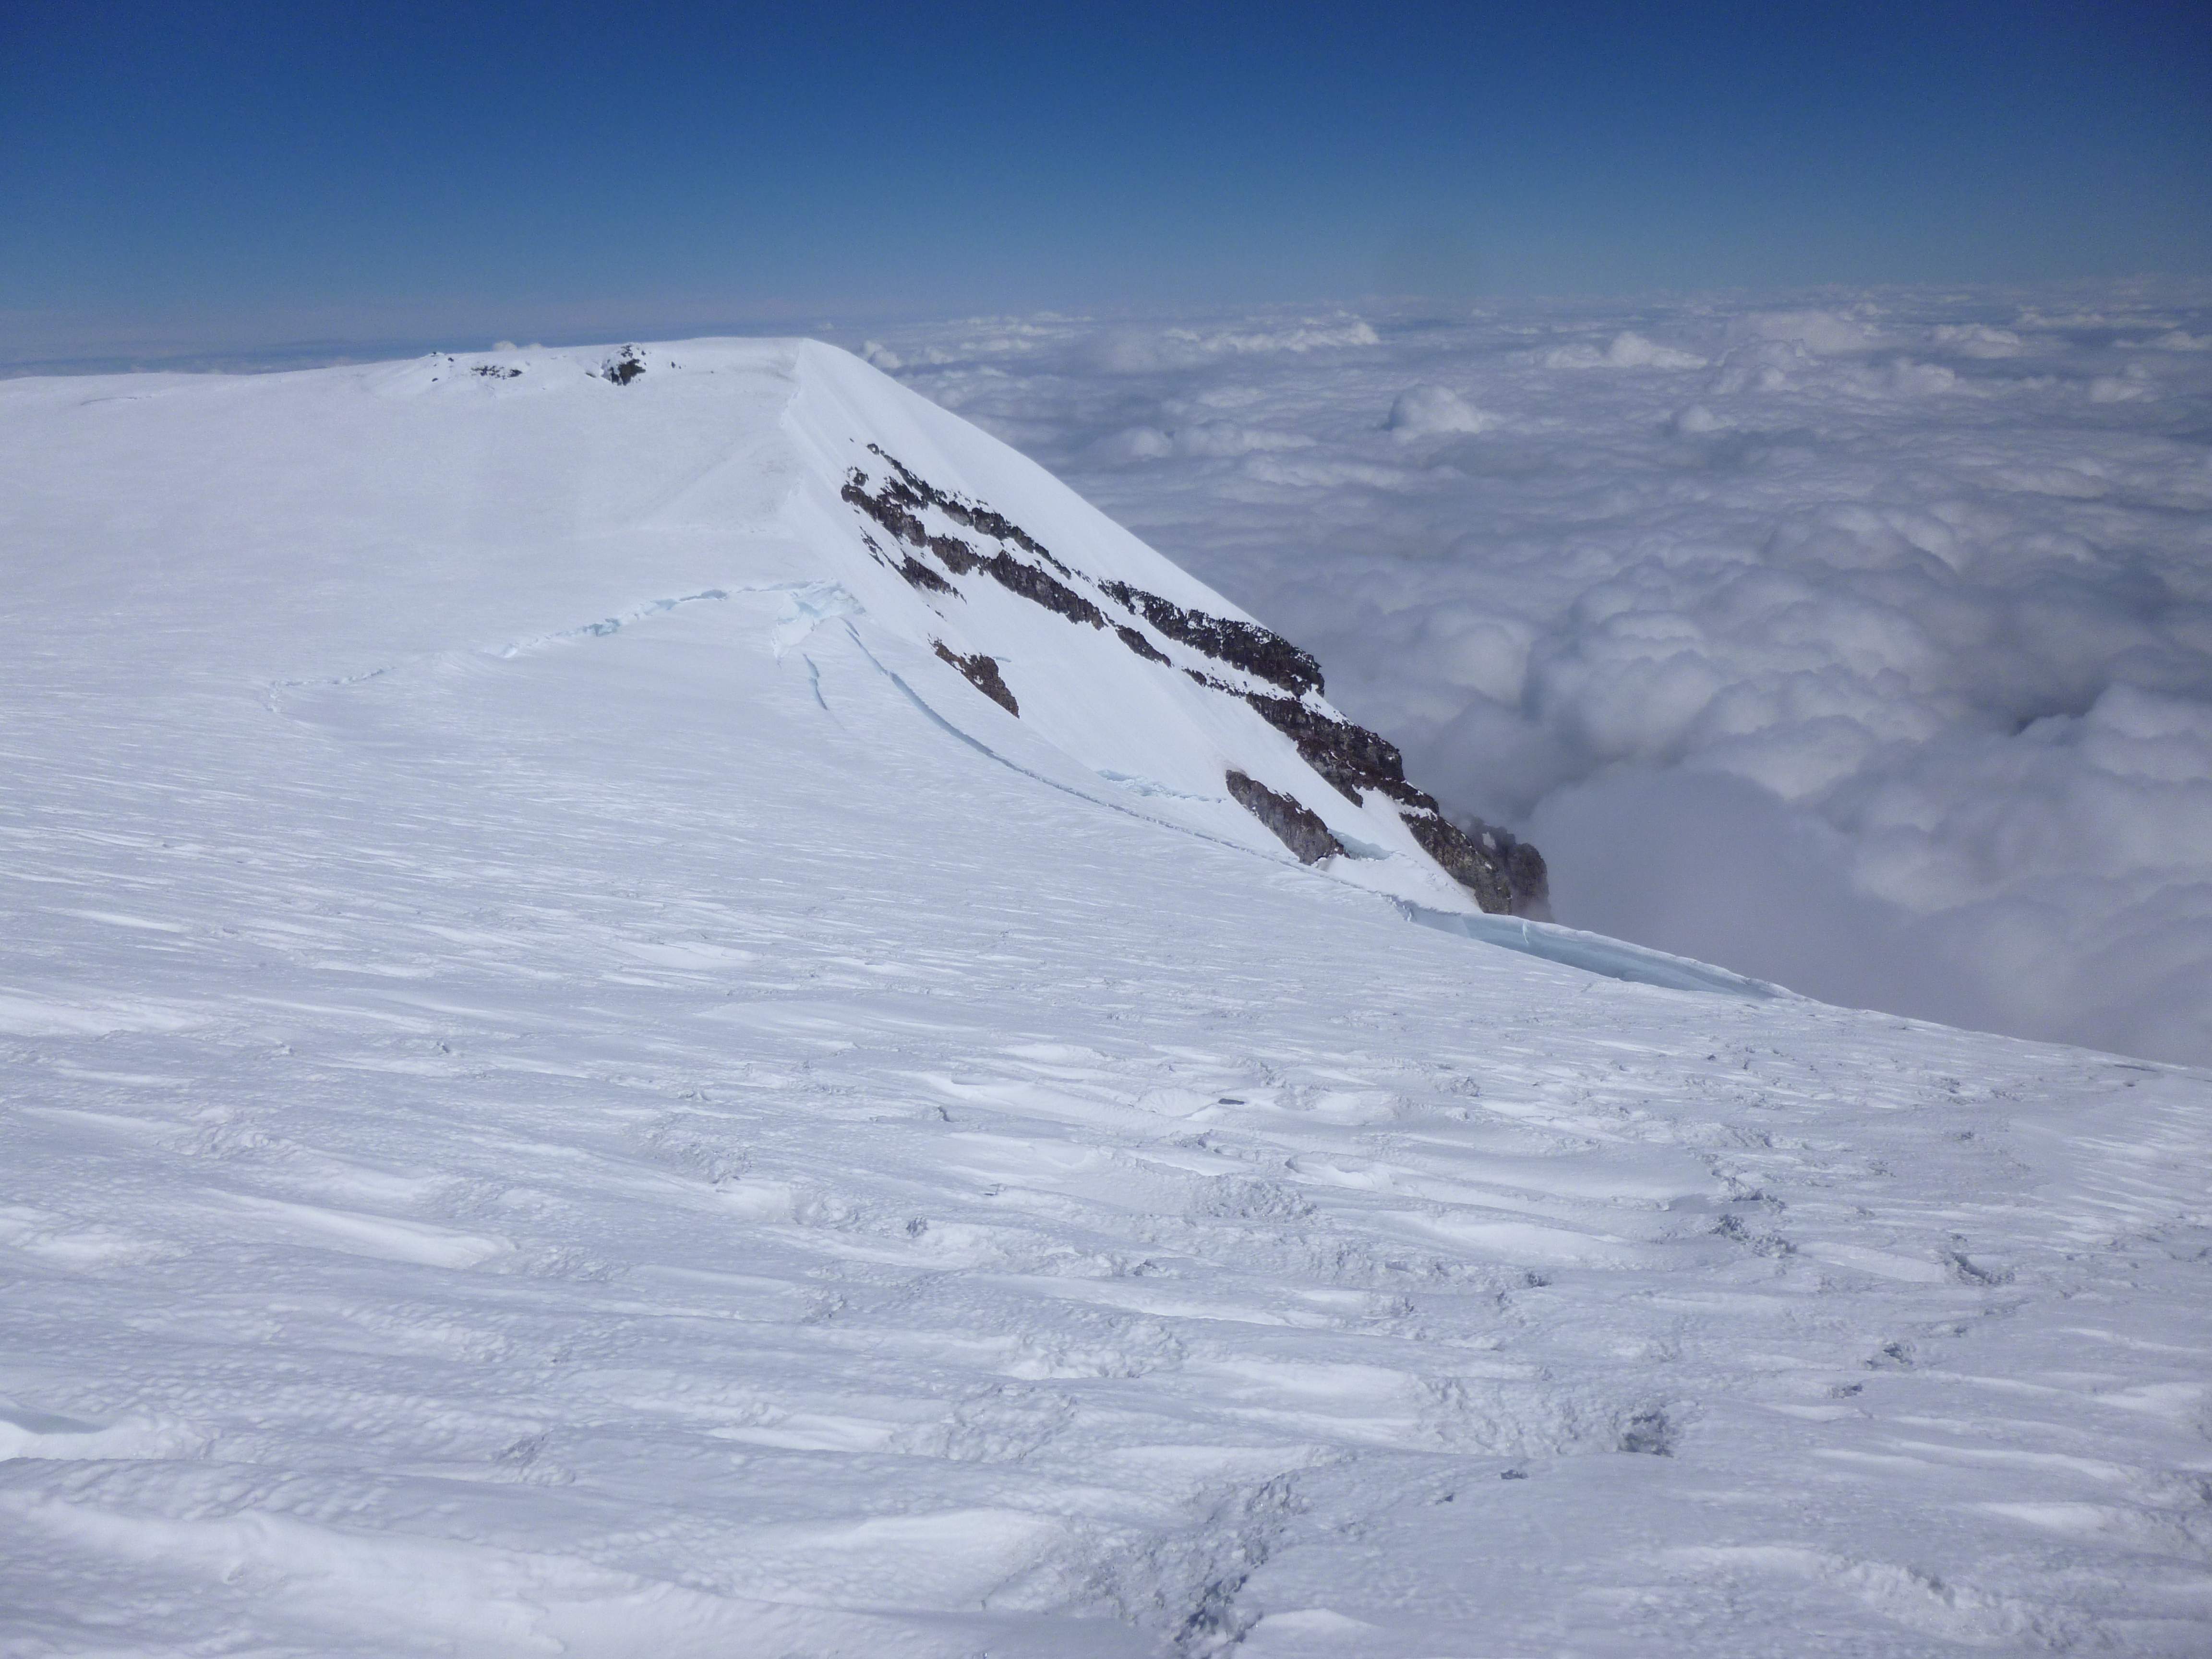
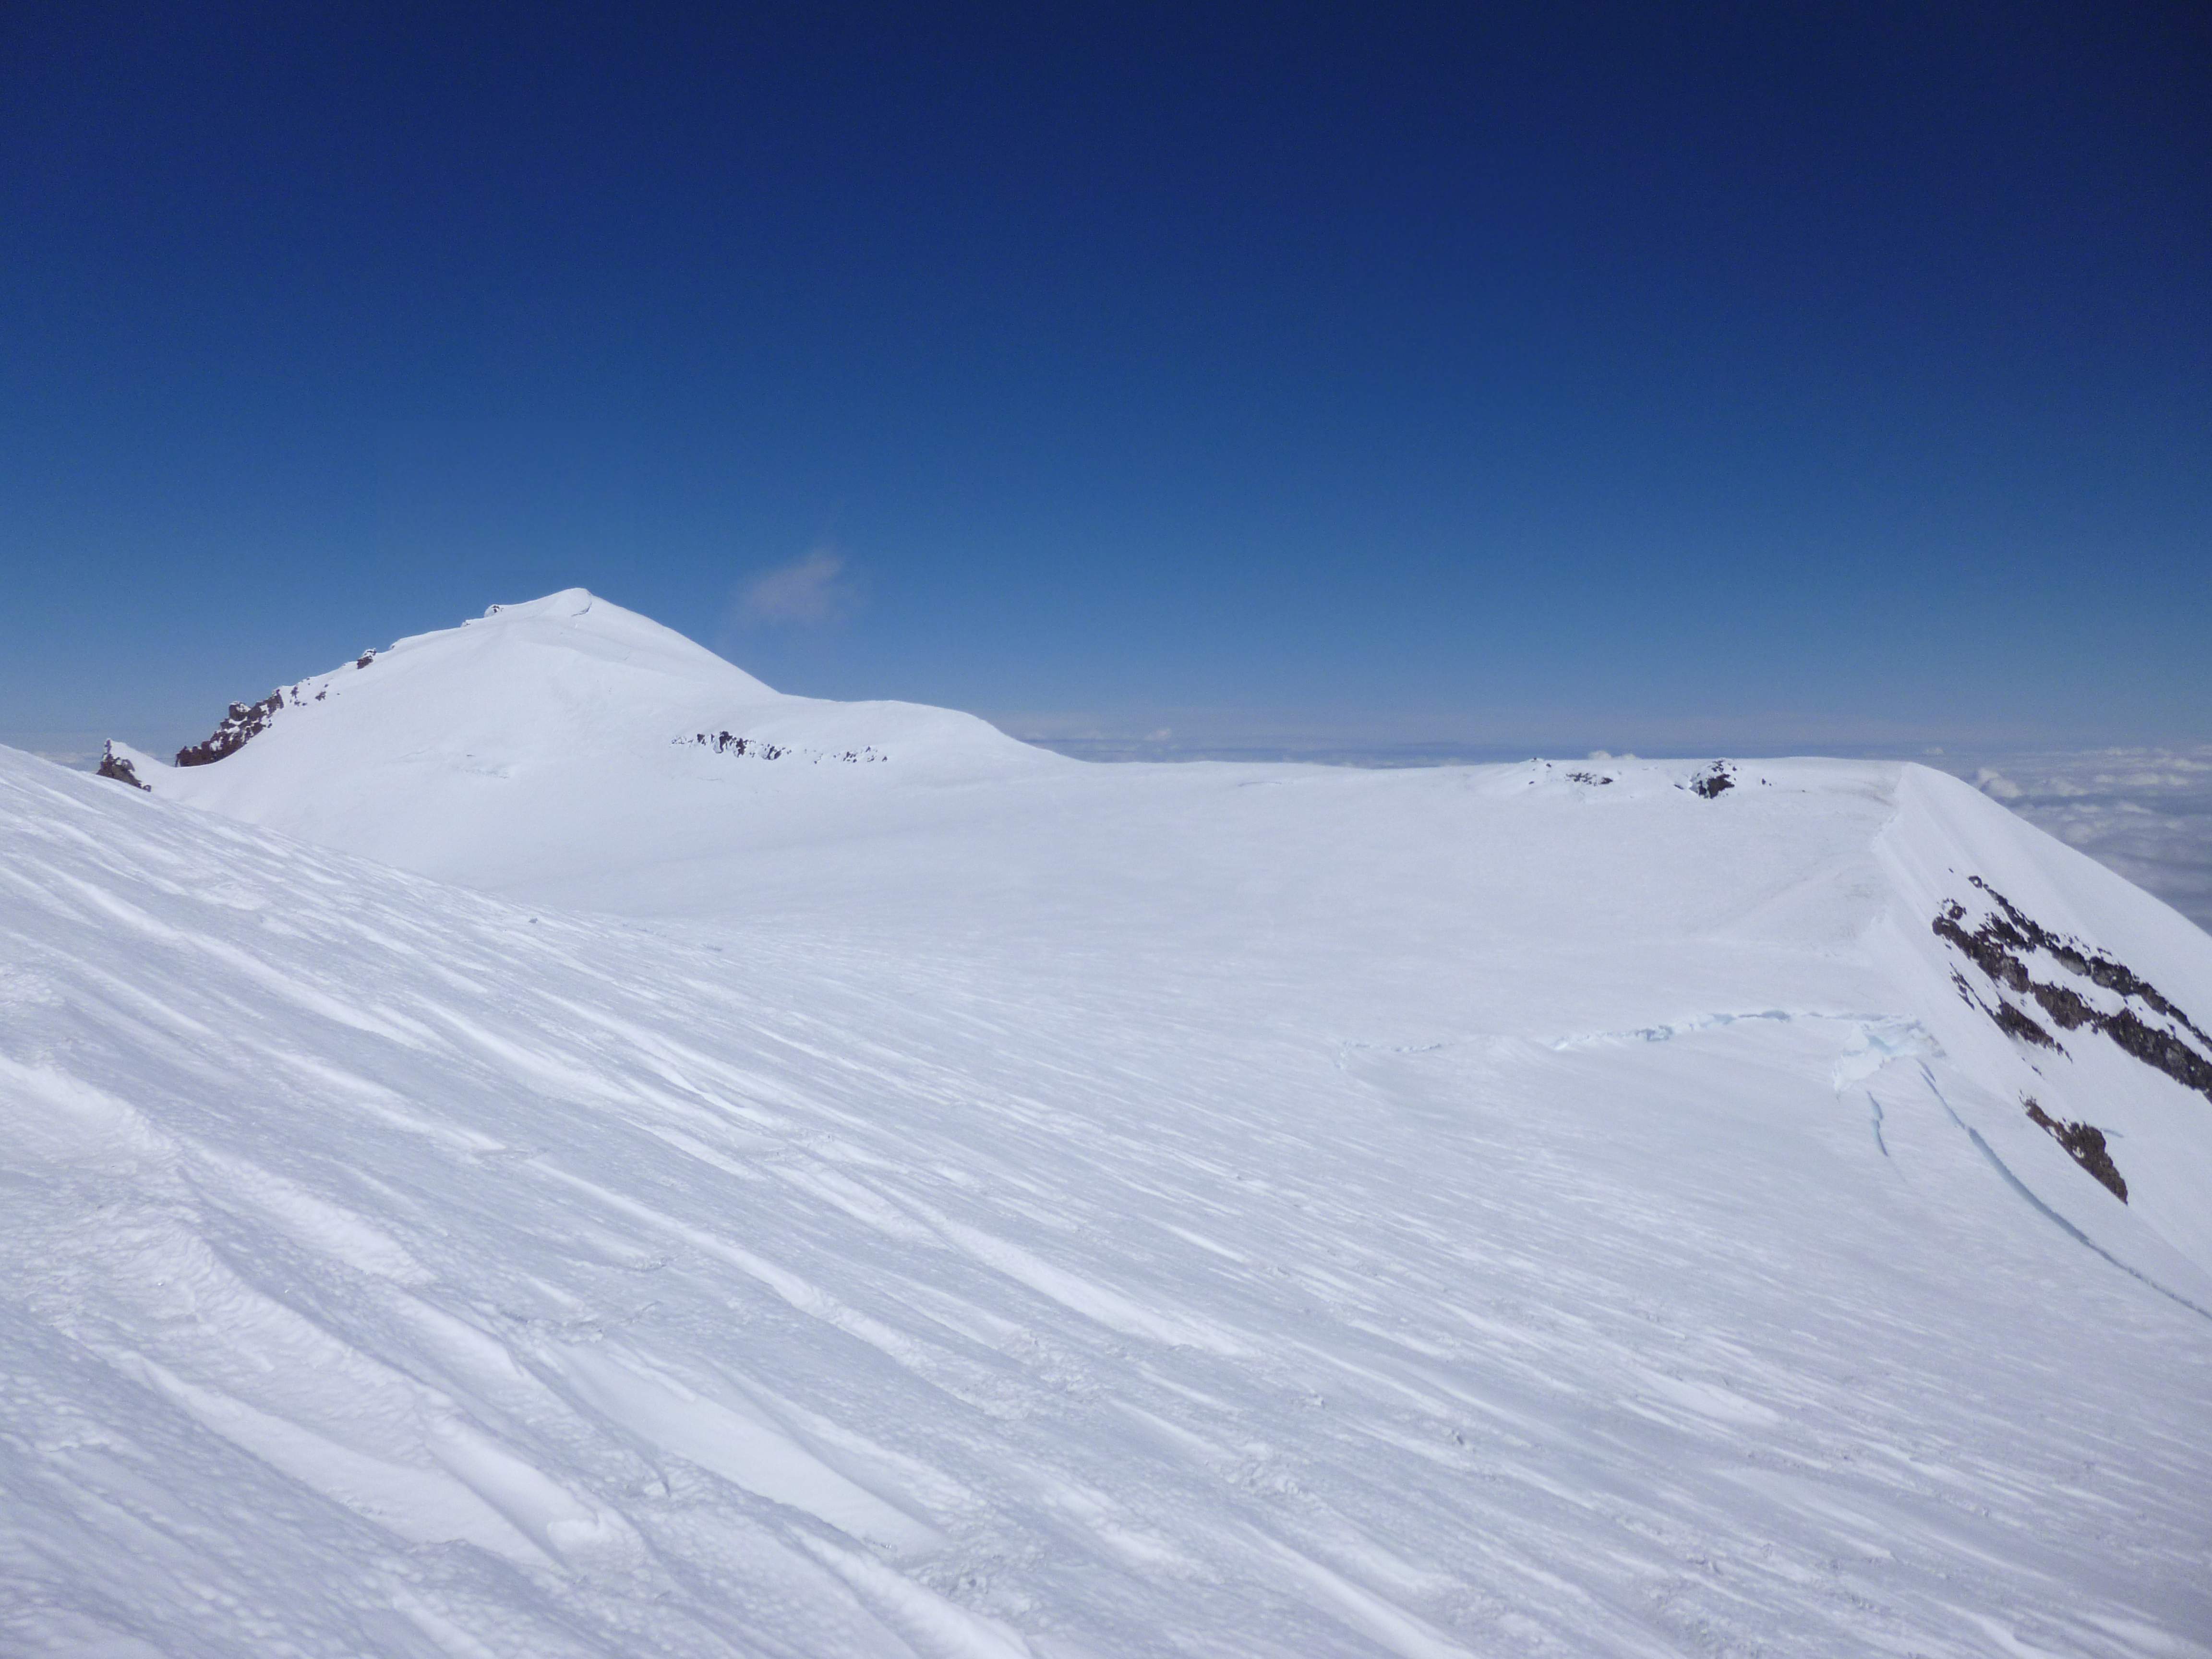
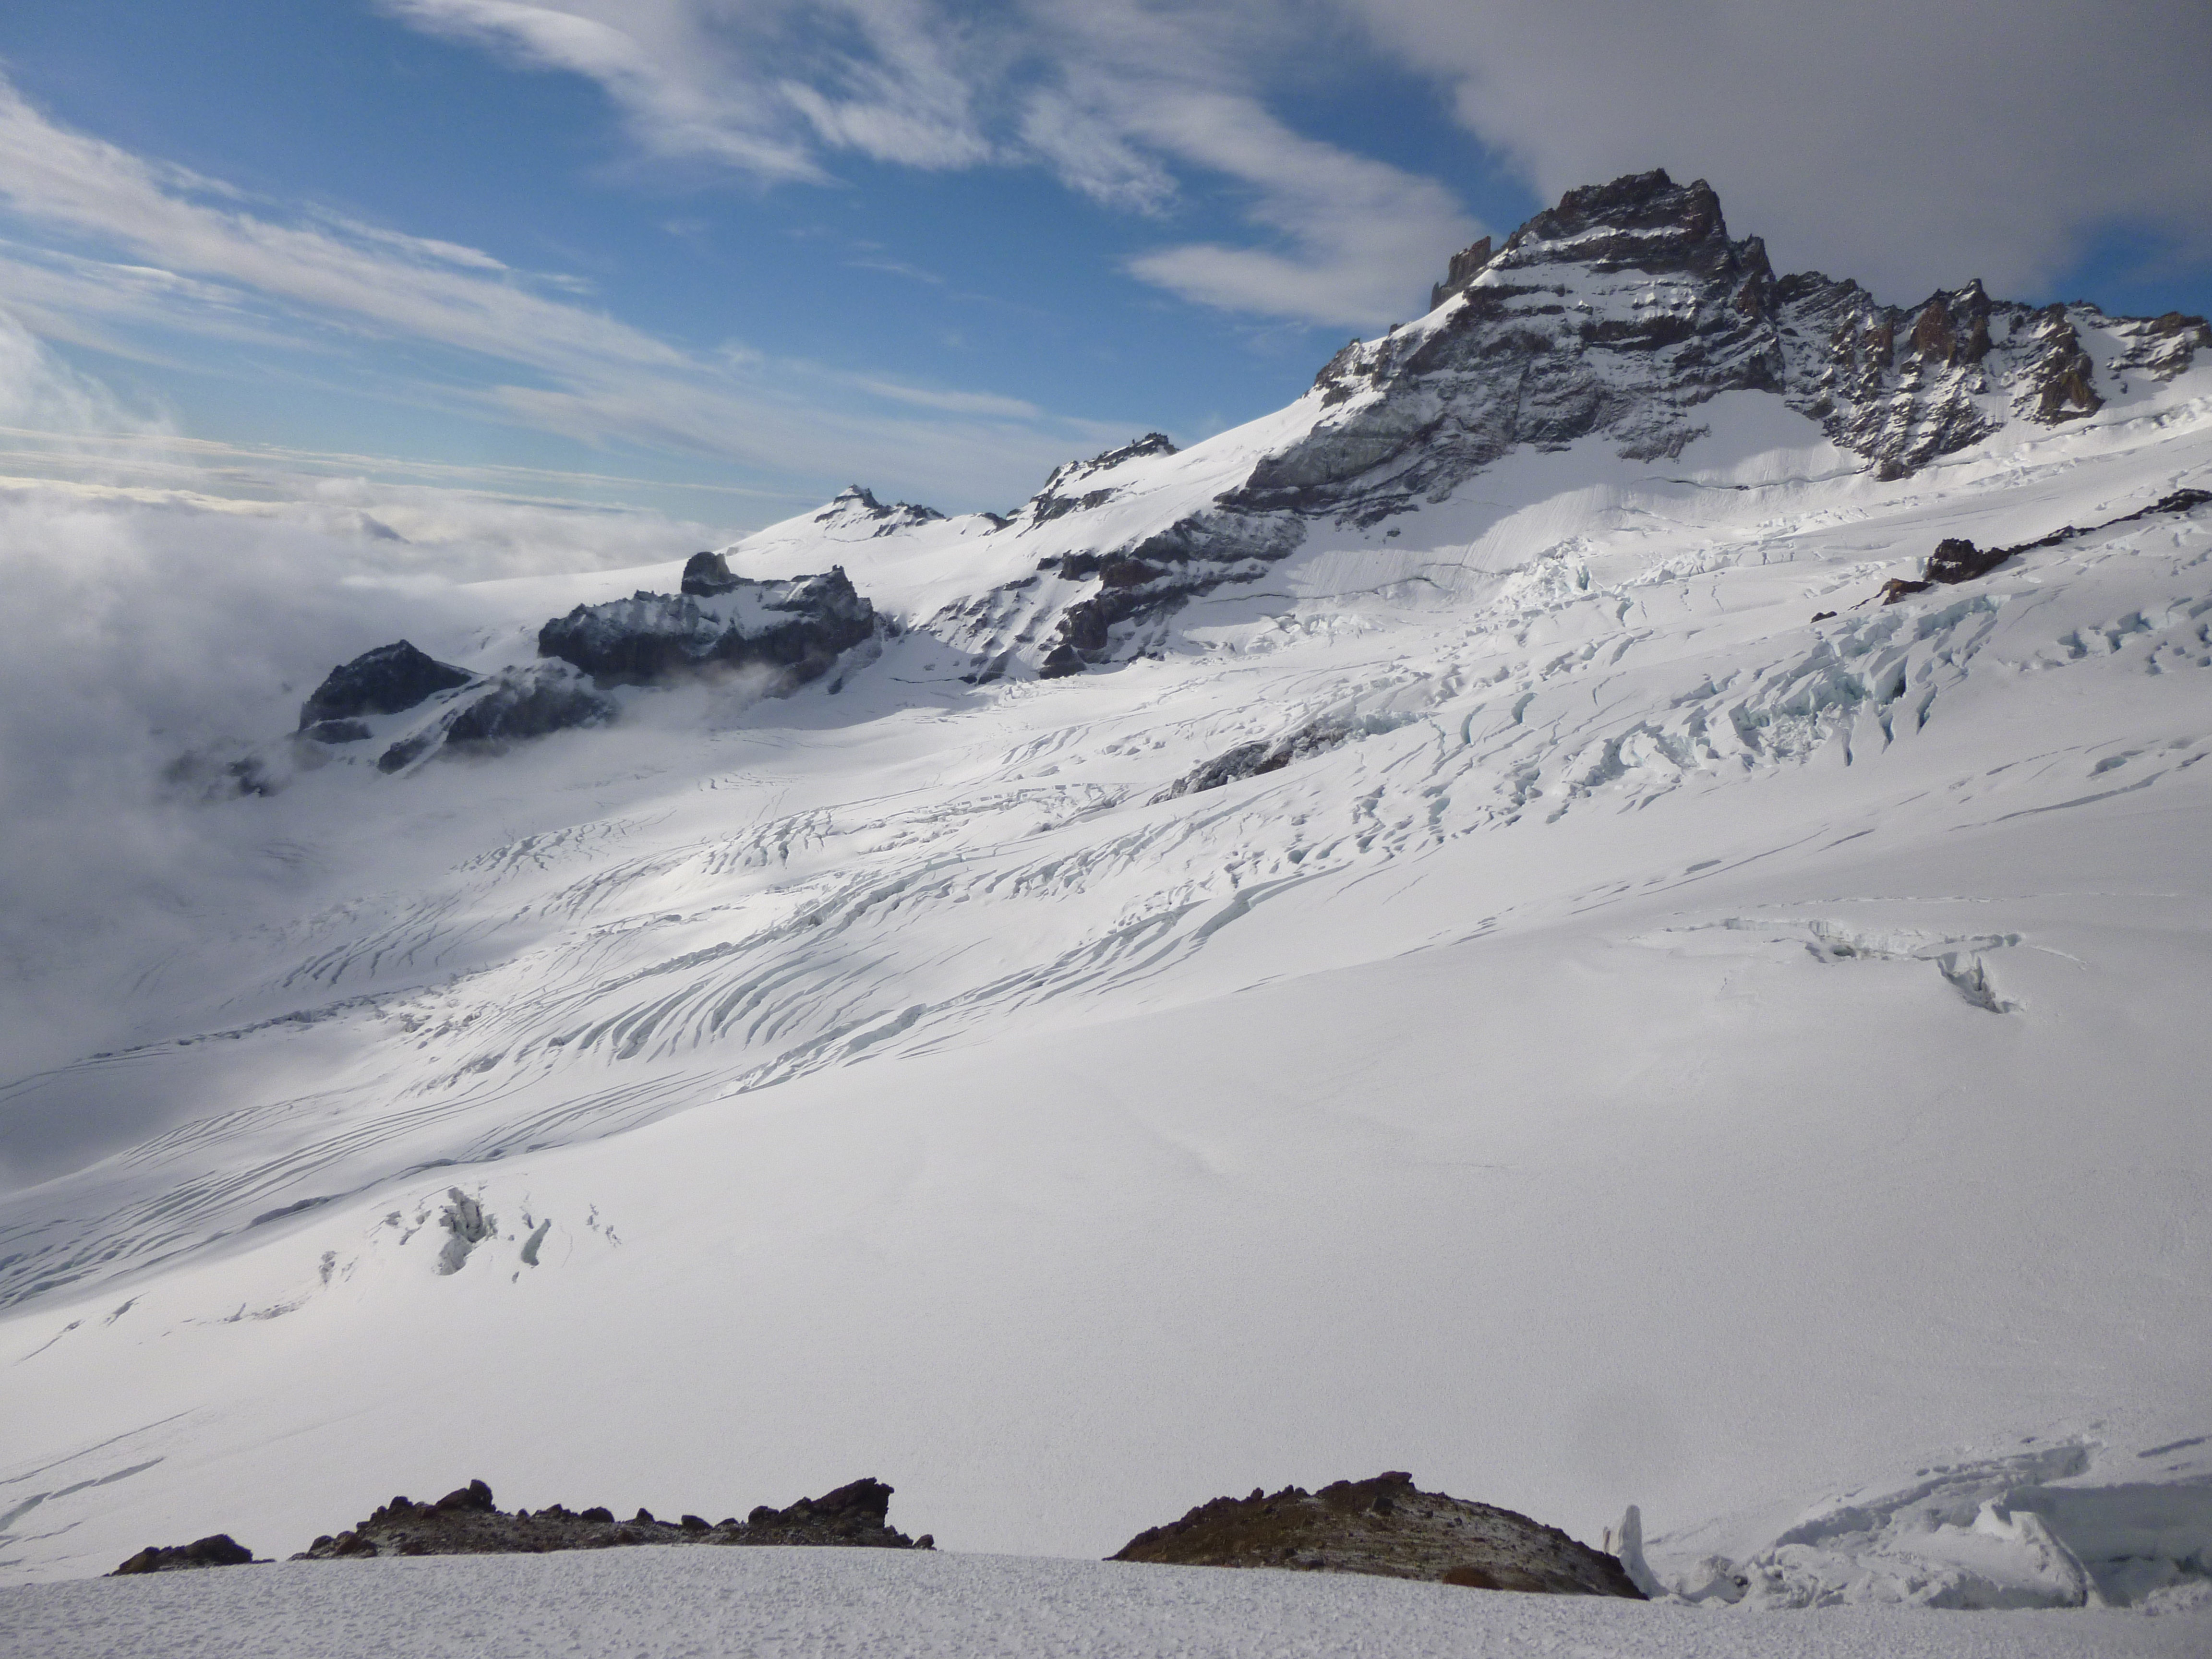
To the west Liberty cap marked our progress, and although it was not yet visible, we were only a short distance from Columbia Crest, Rainier’s high-point and true summit.

Liberty Cap to the west.

Liberty Cap.
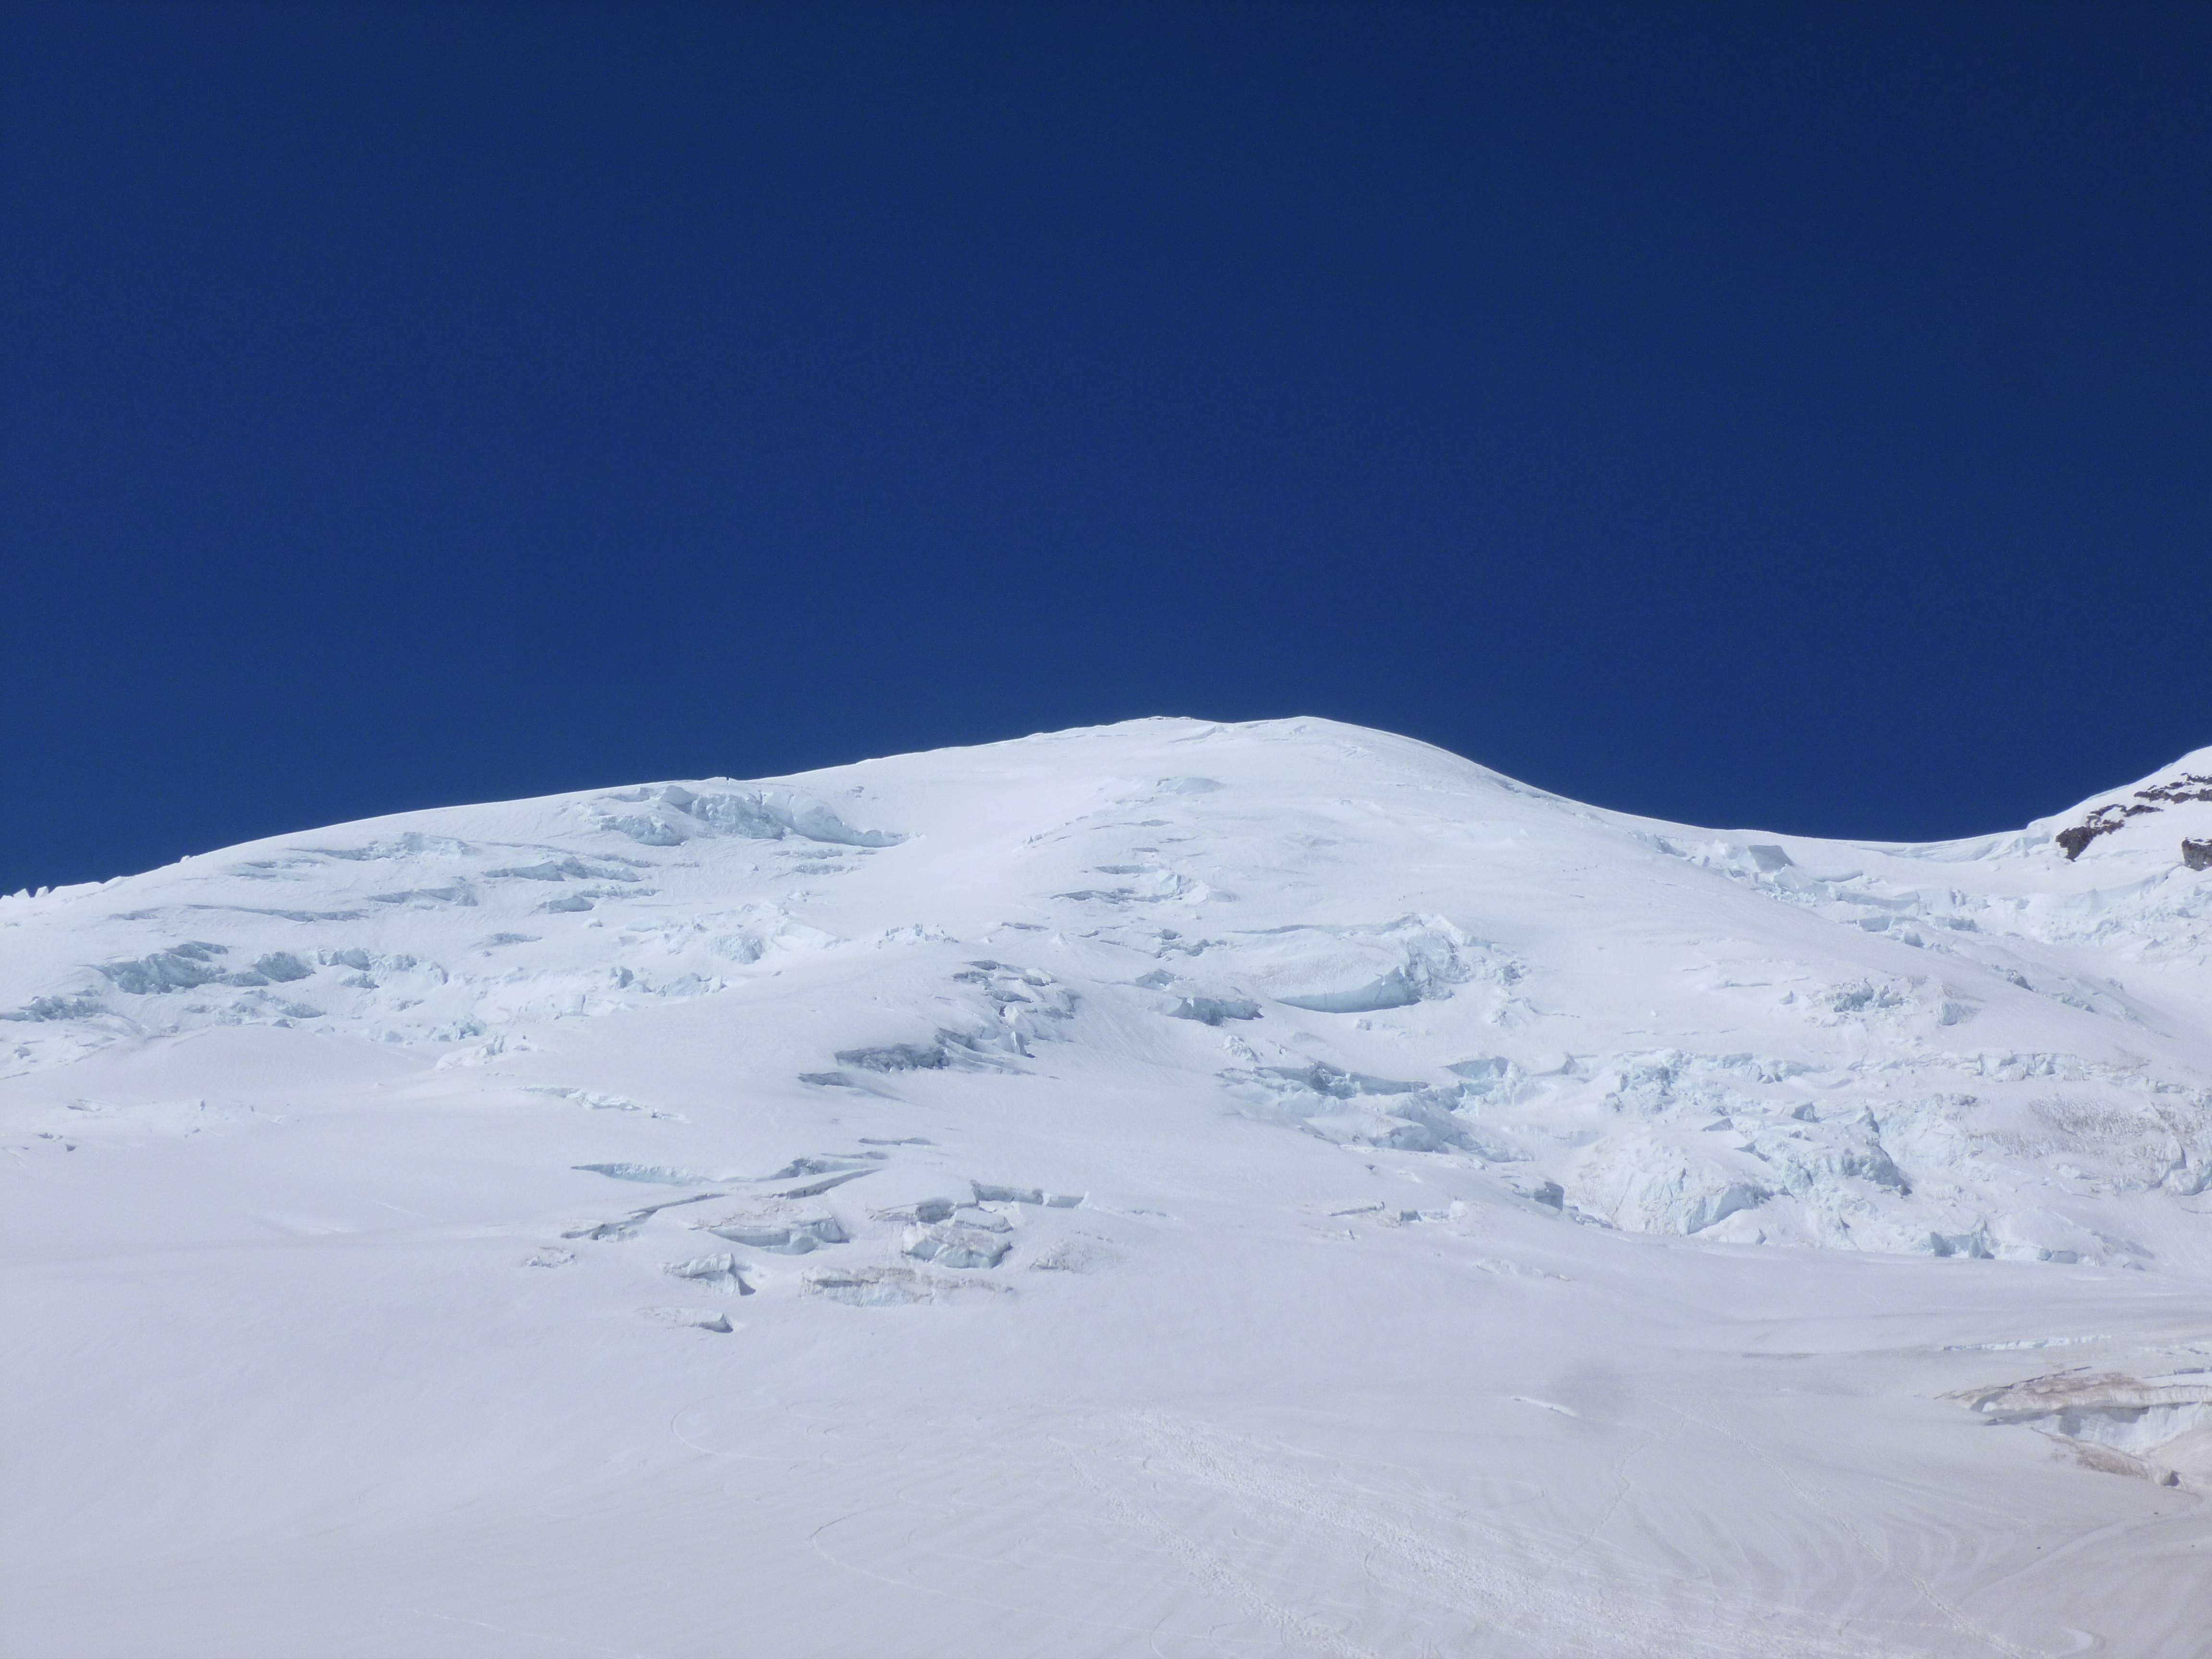
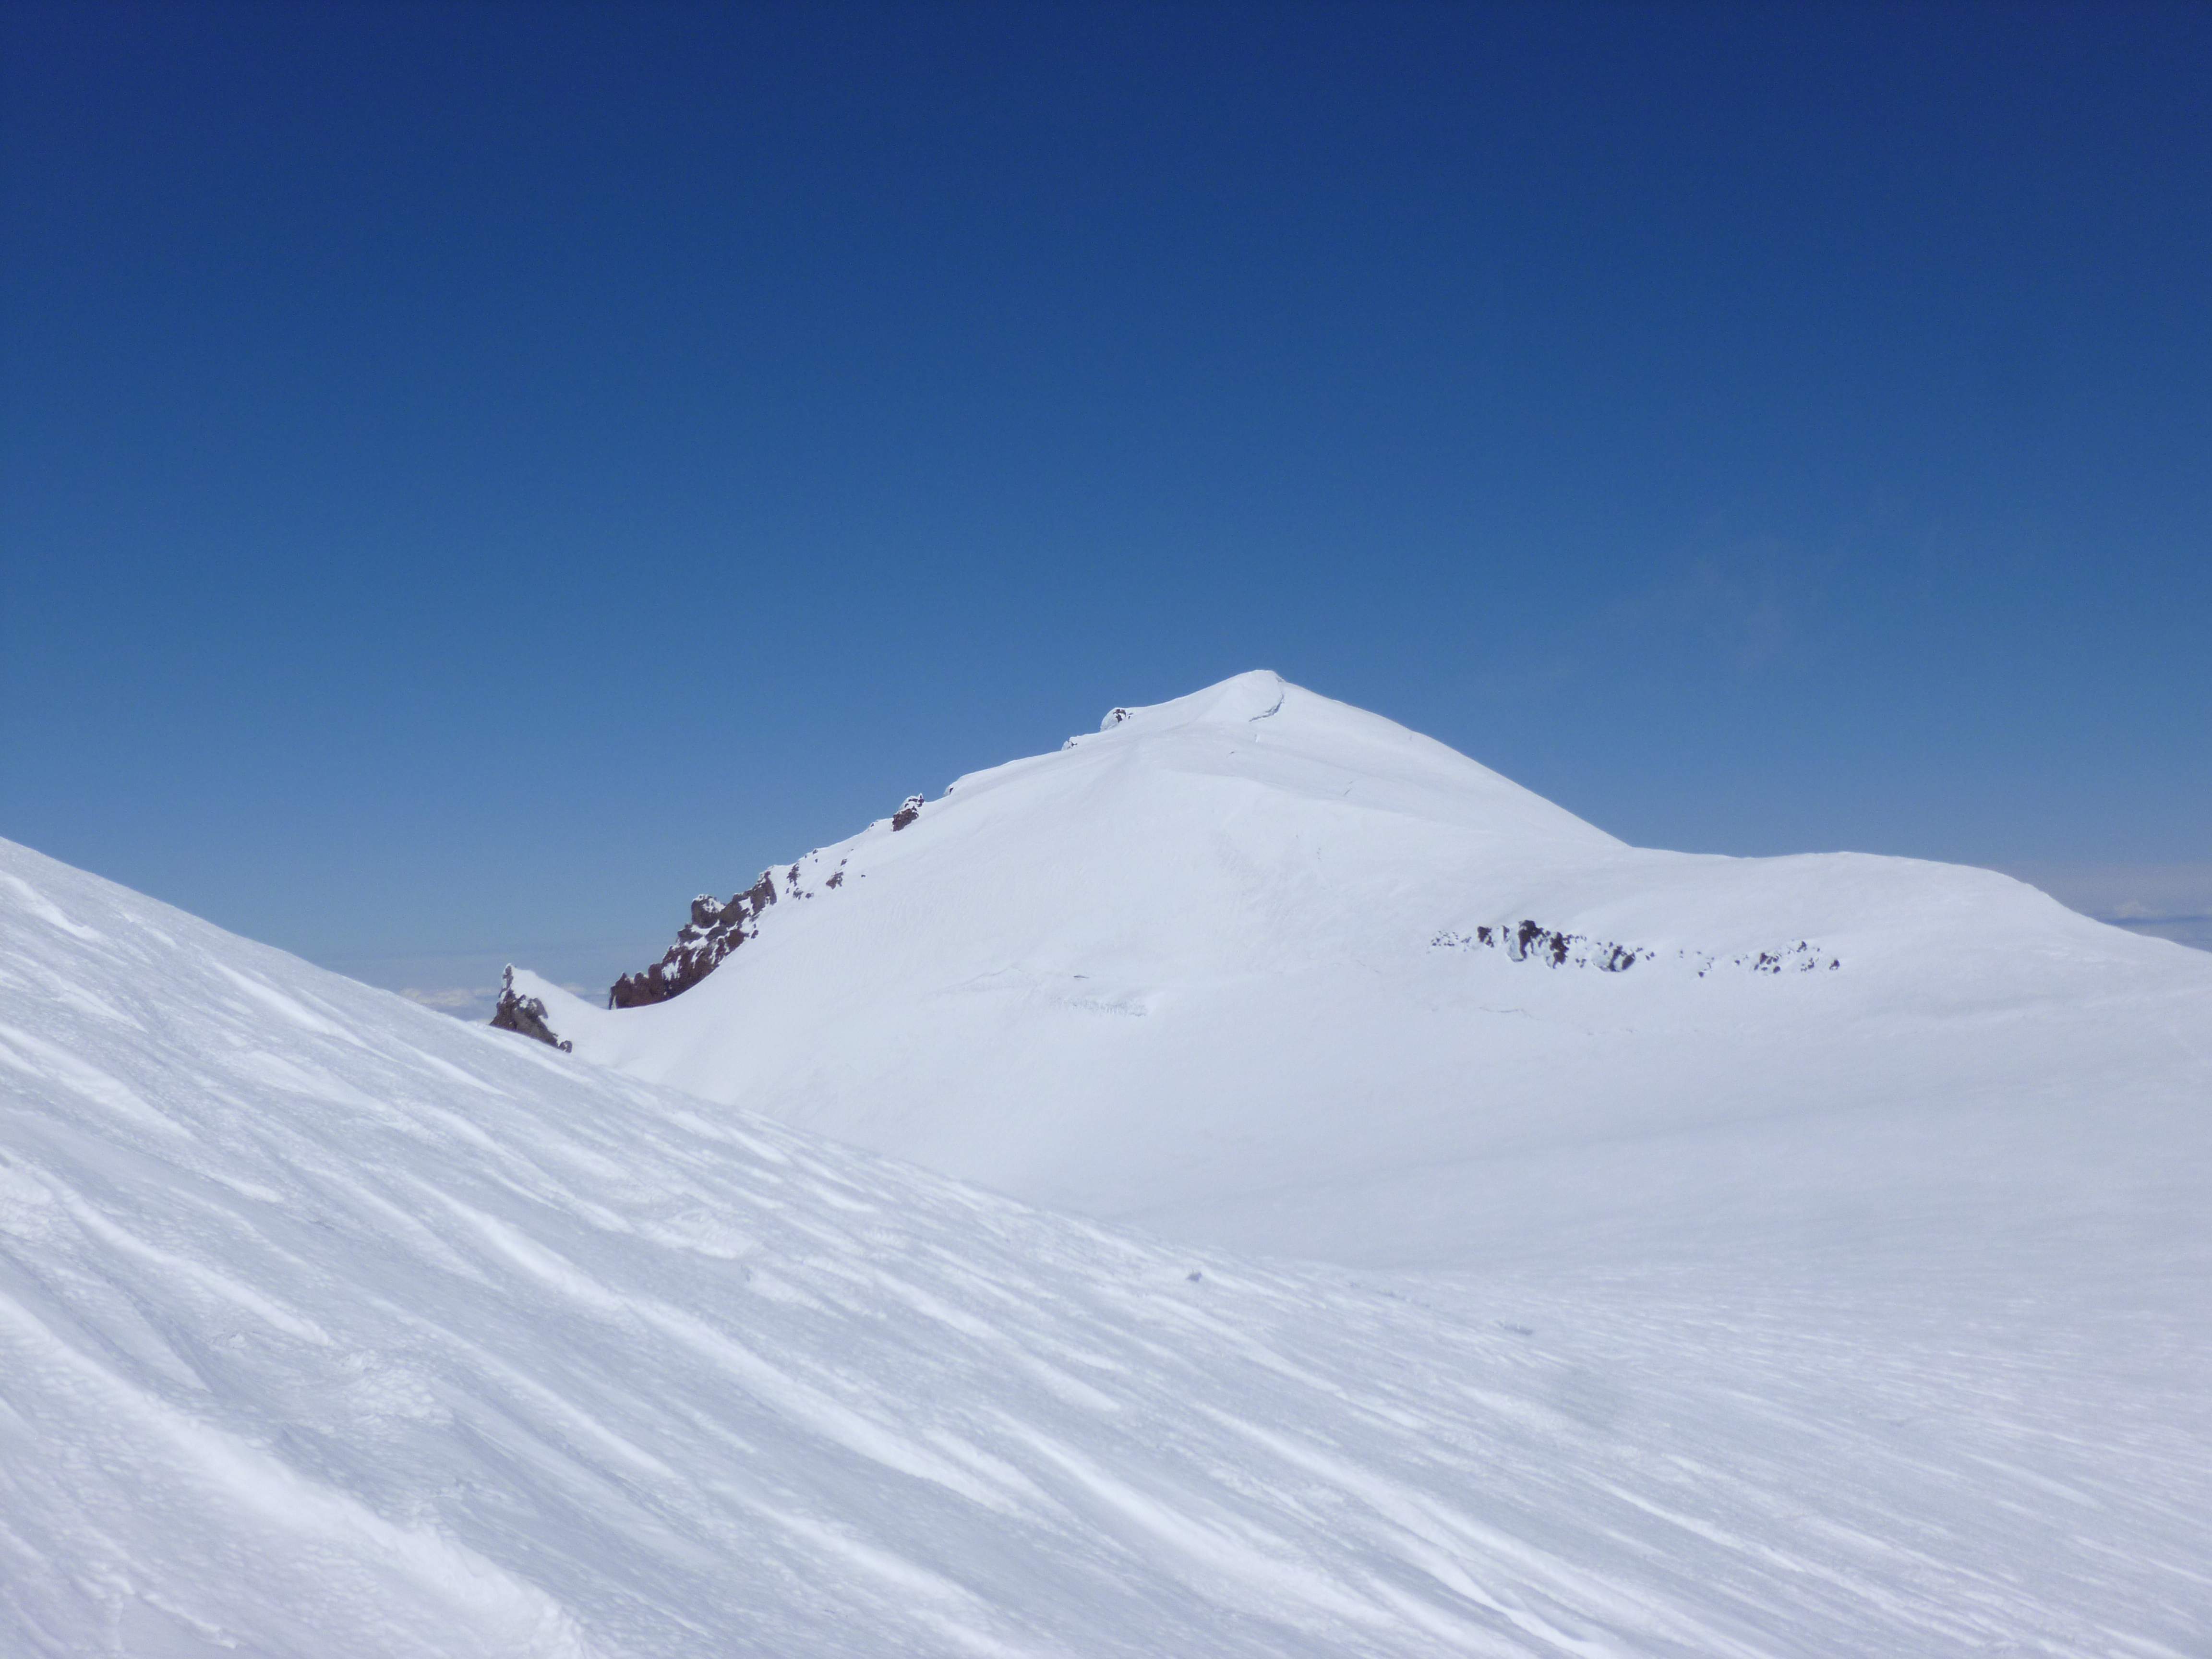
The weather was still excellent. We were extraordinarily fortunate, encountering very low wind and clear views the entire way up. The clouds began to rise quickly as we approached the top, and Columbia Crest came into view above us.
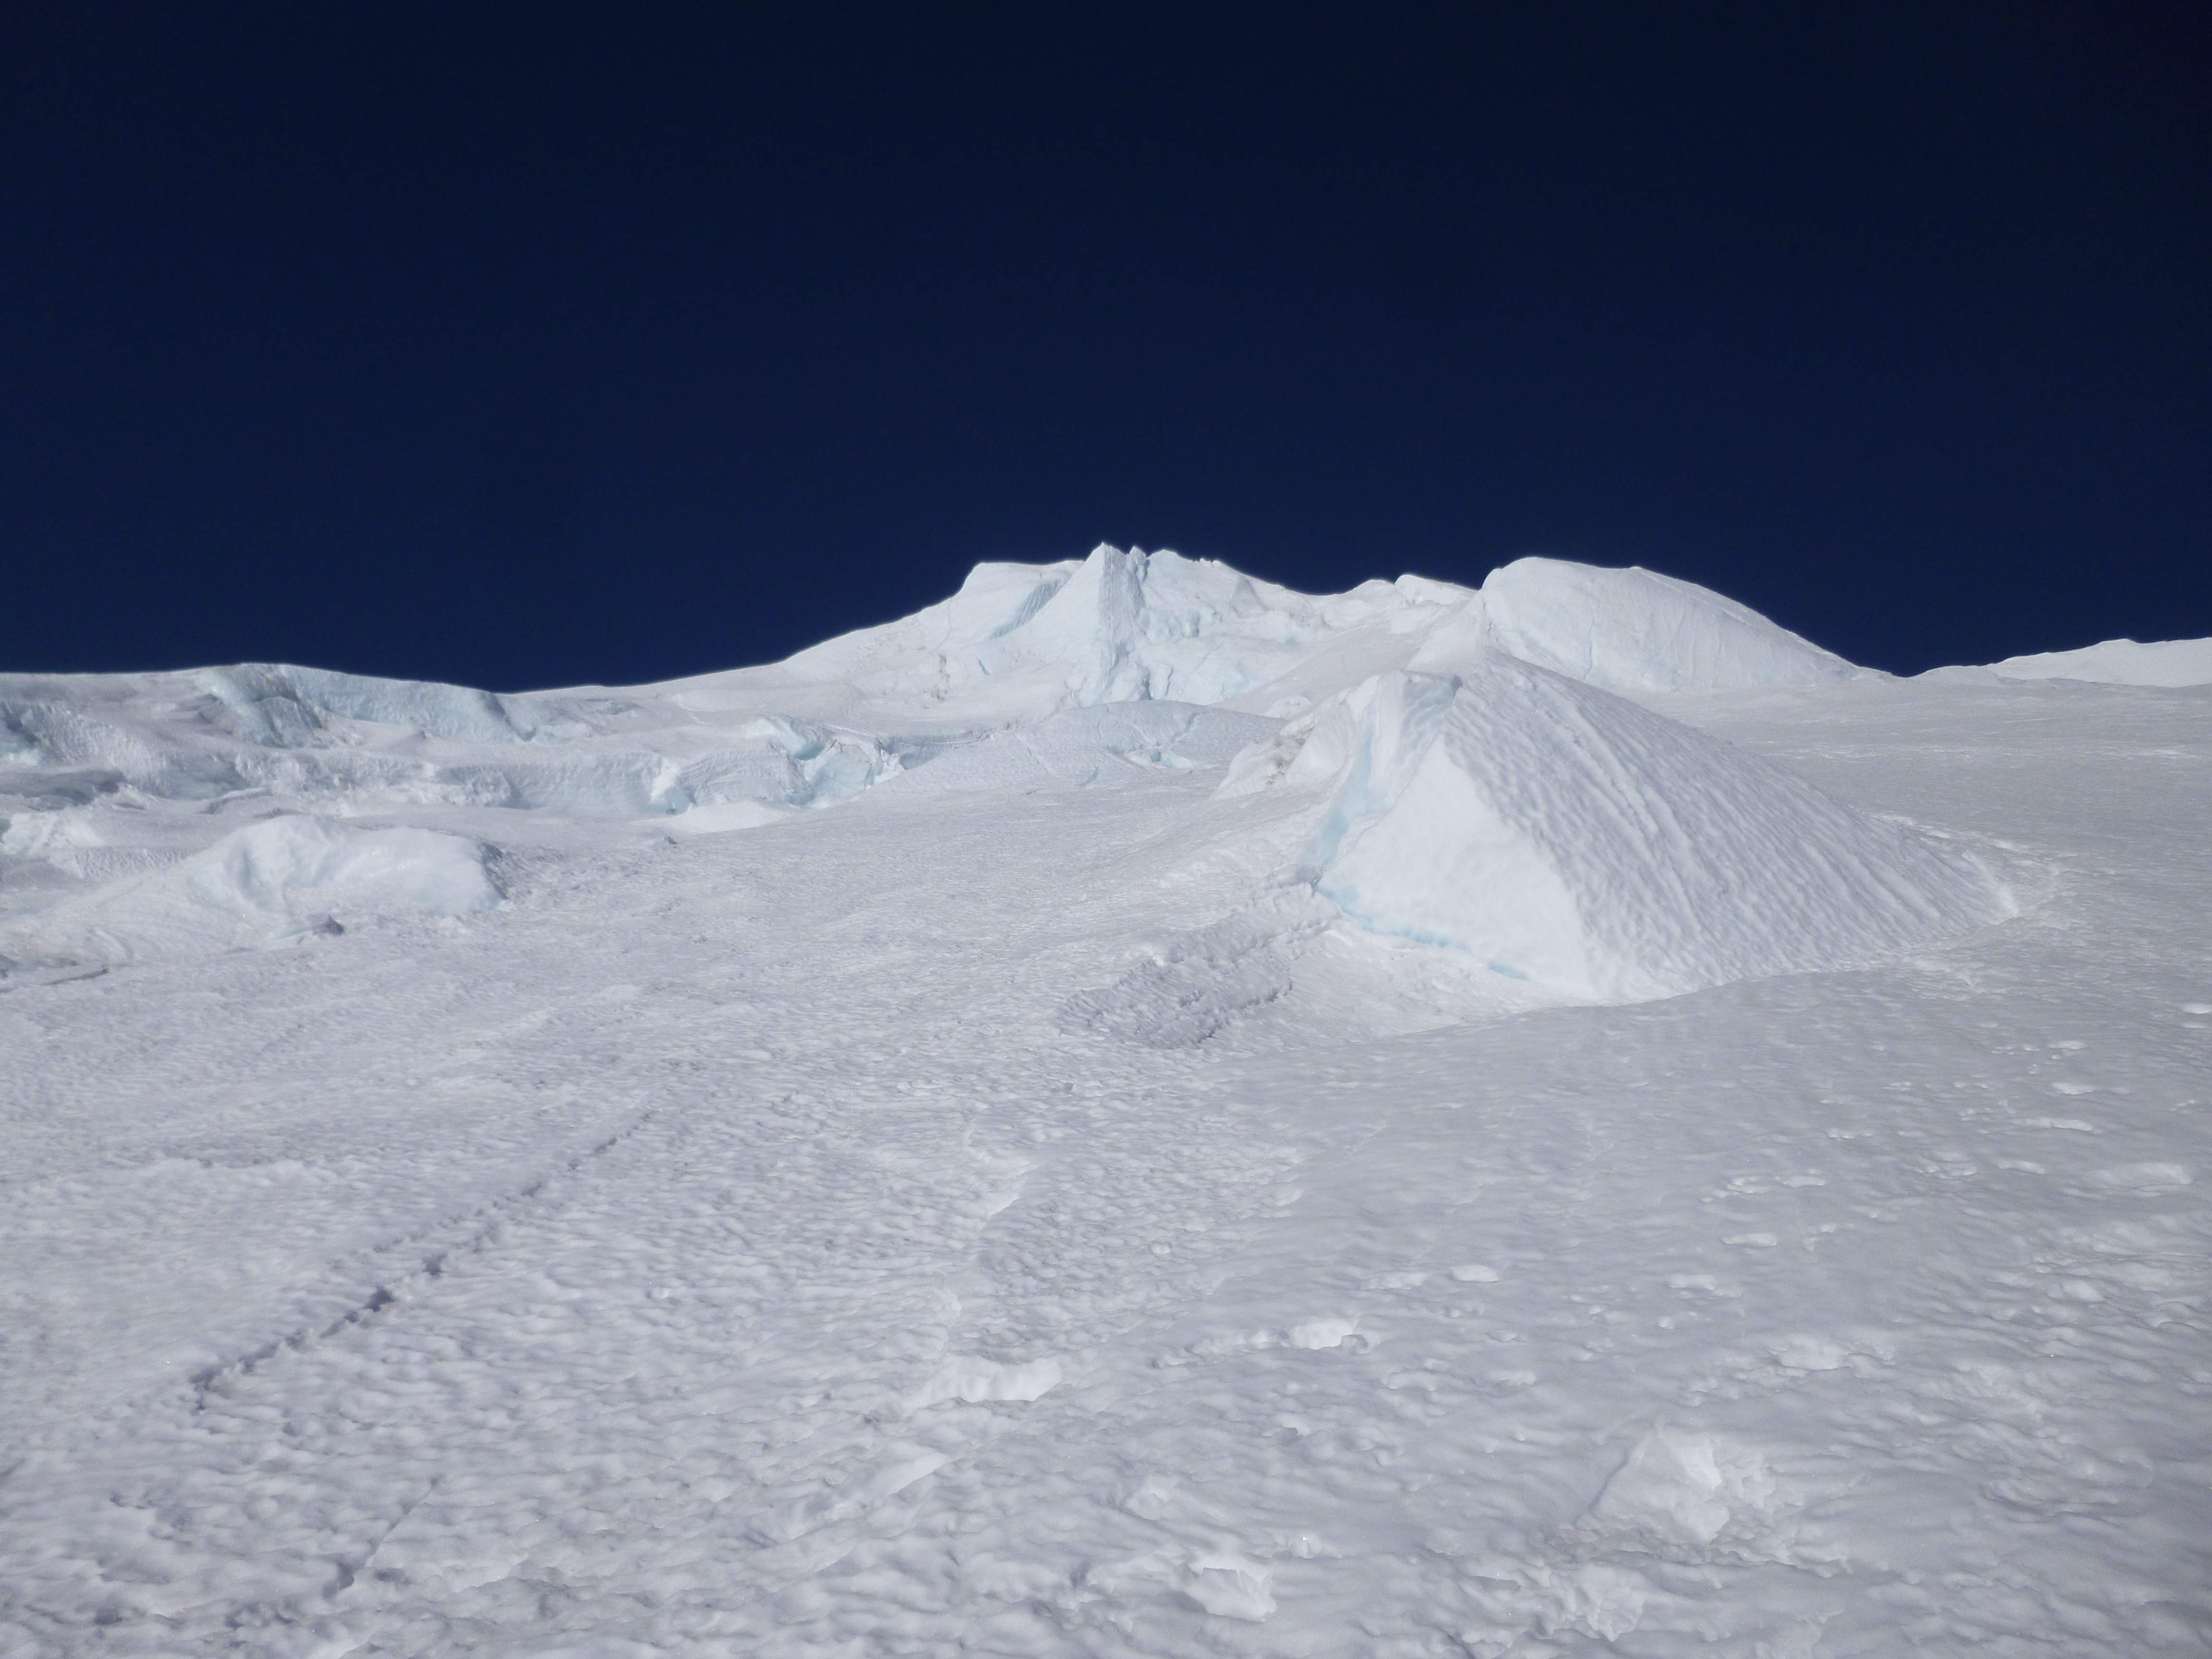
Columbia Crest, Rainier’s summit, above us.
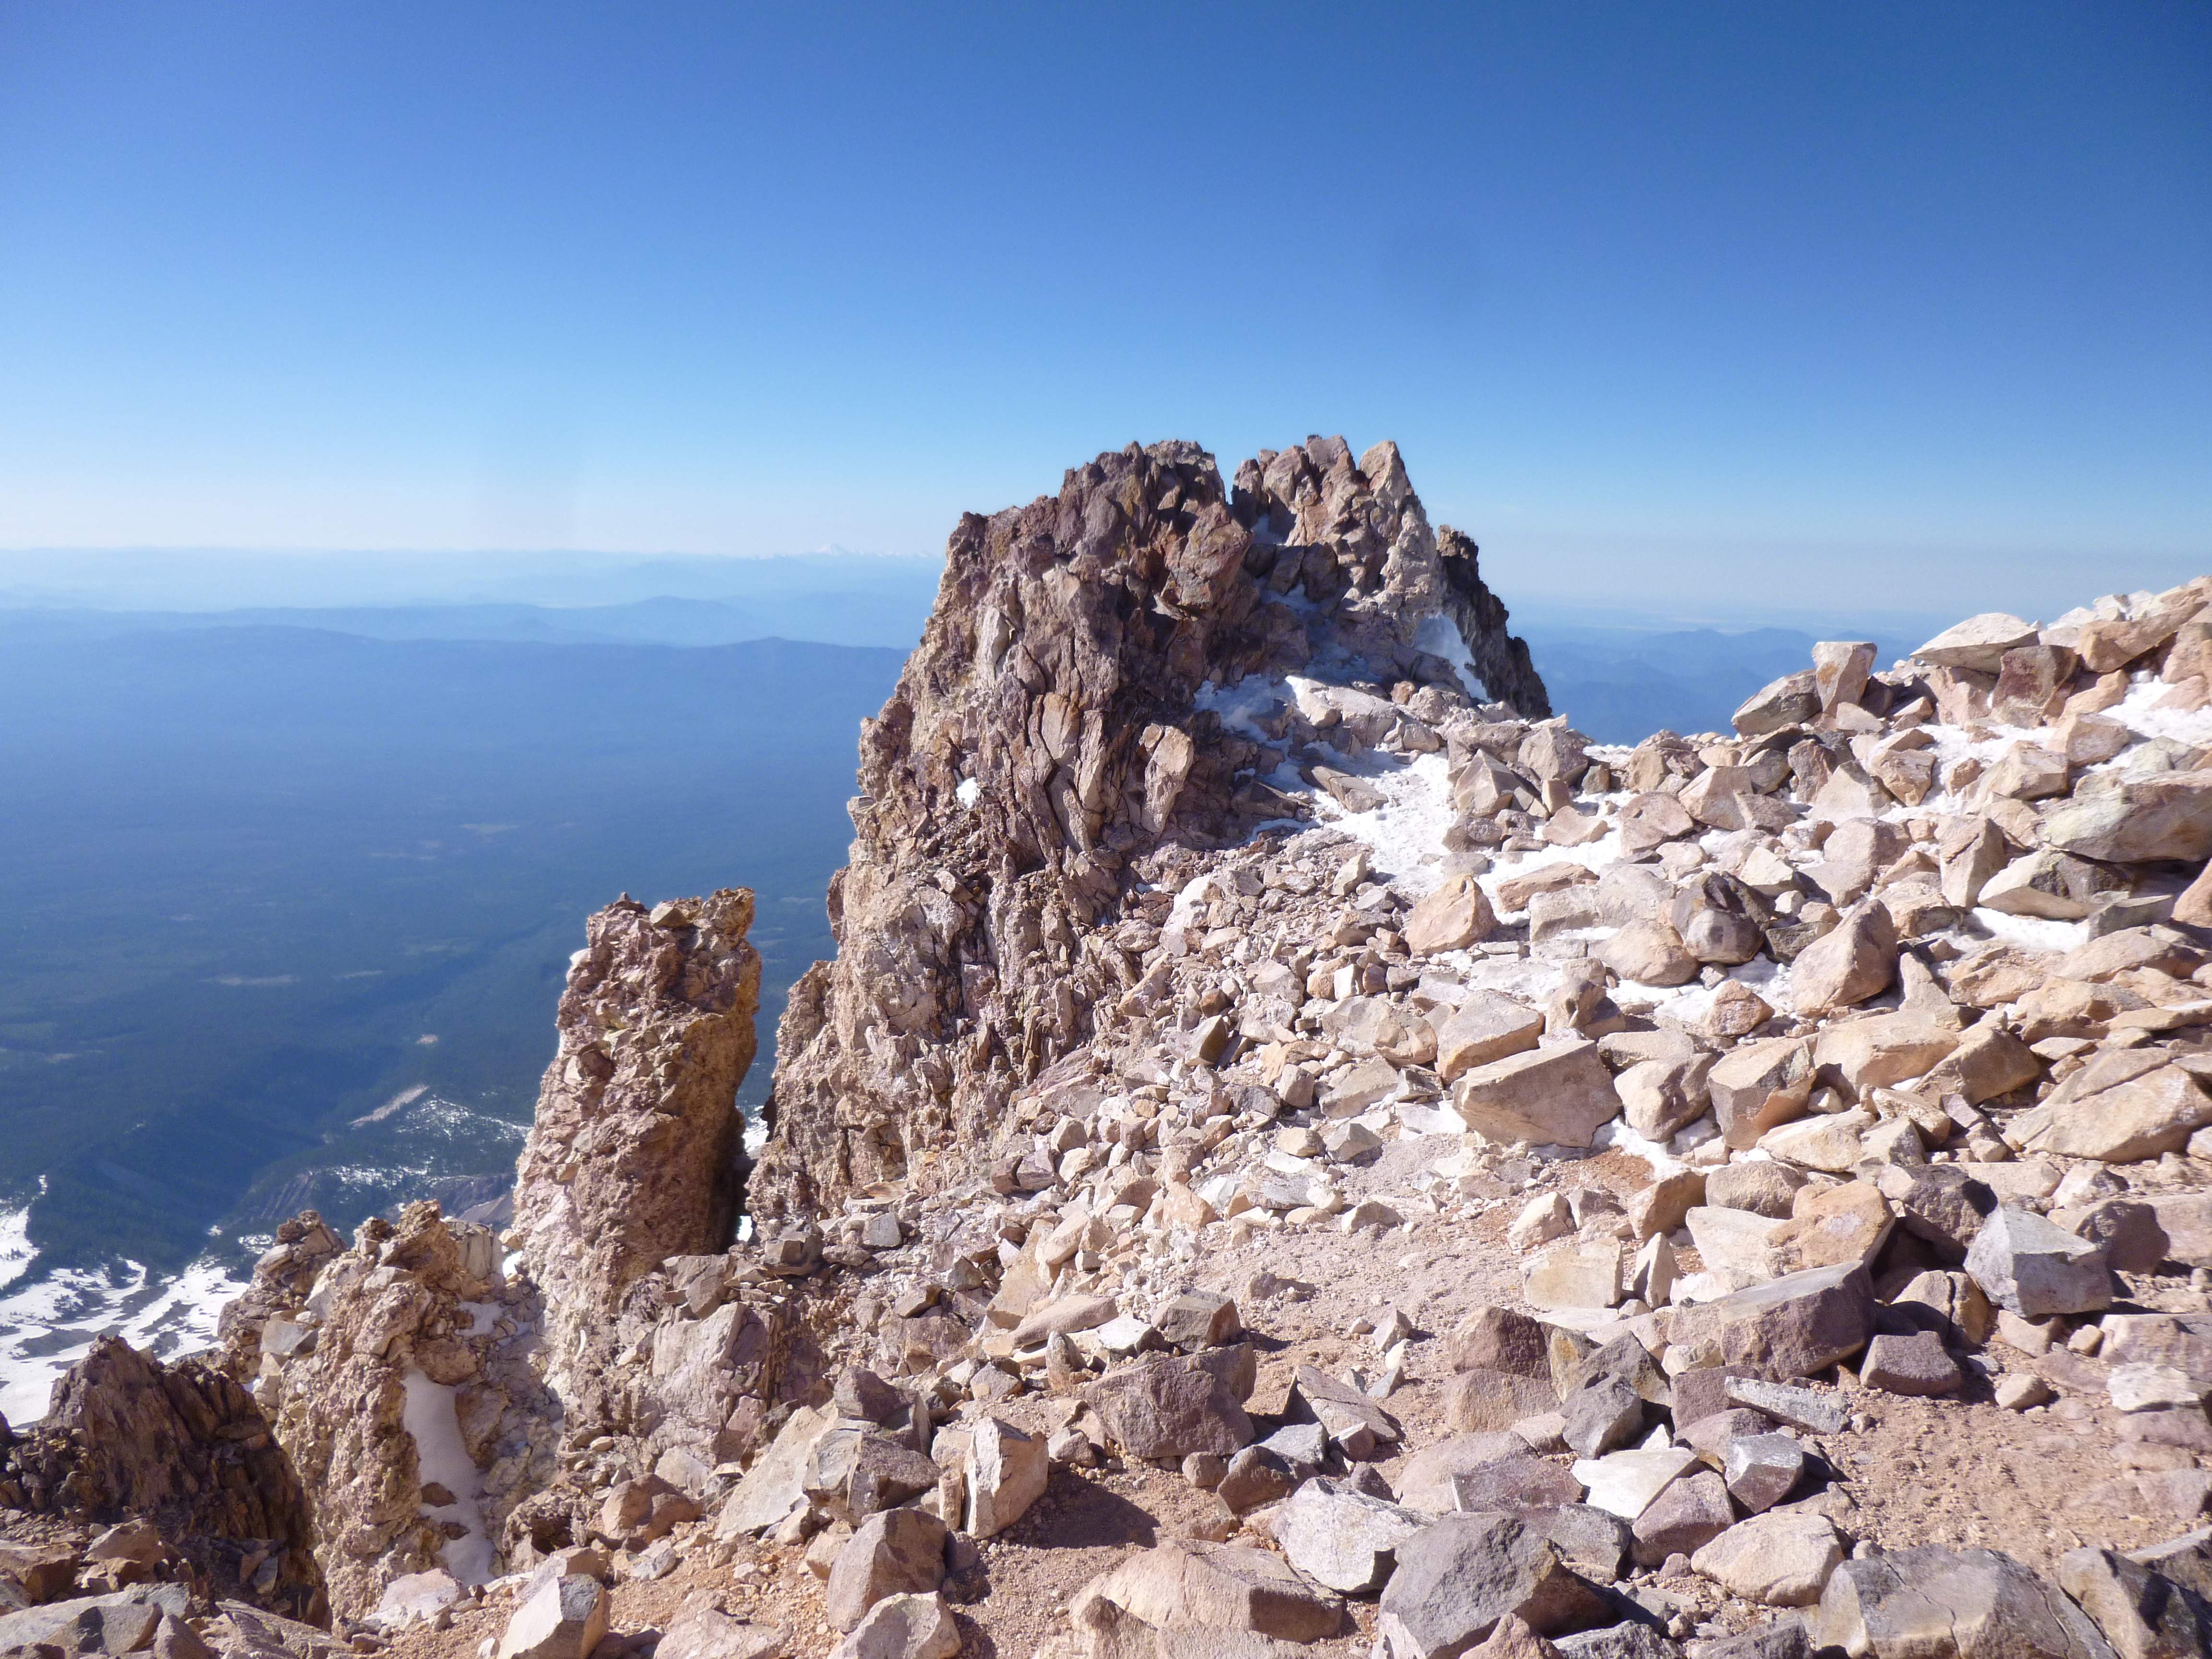
The crater rim came into view, devoid of snow.

The crater rim.
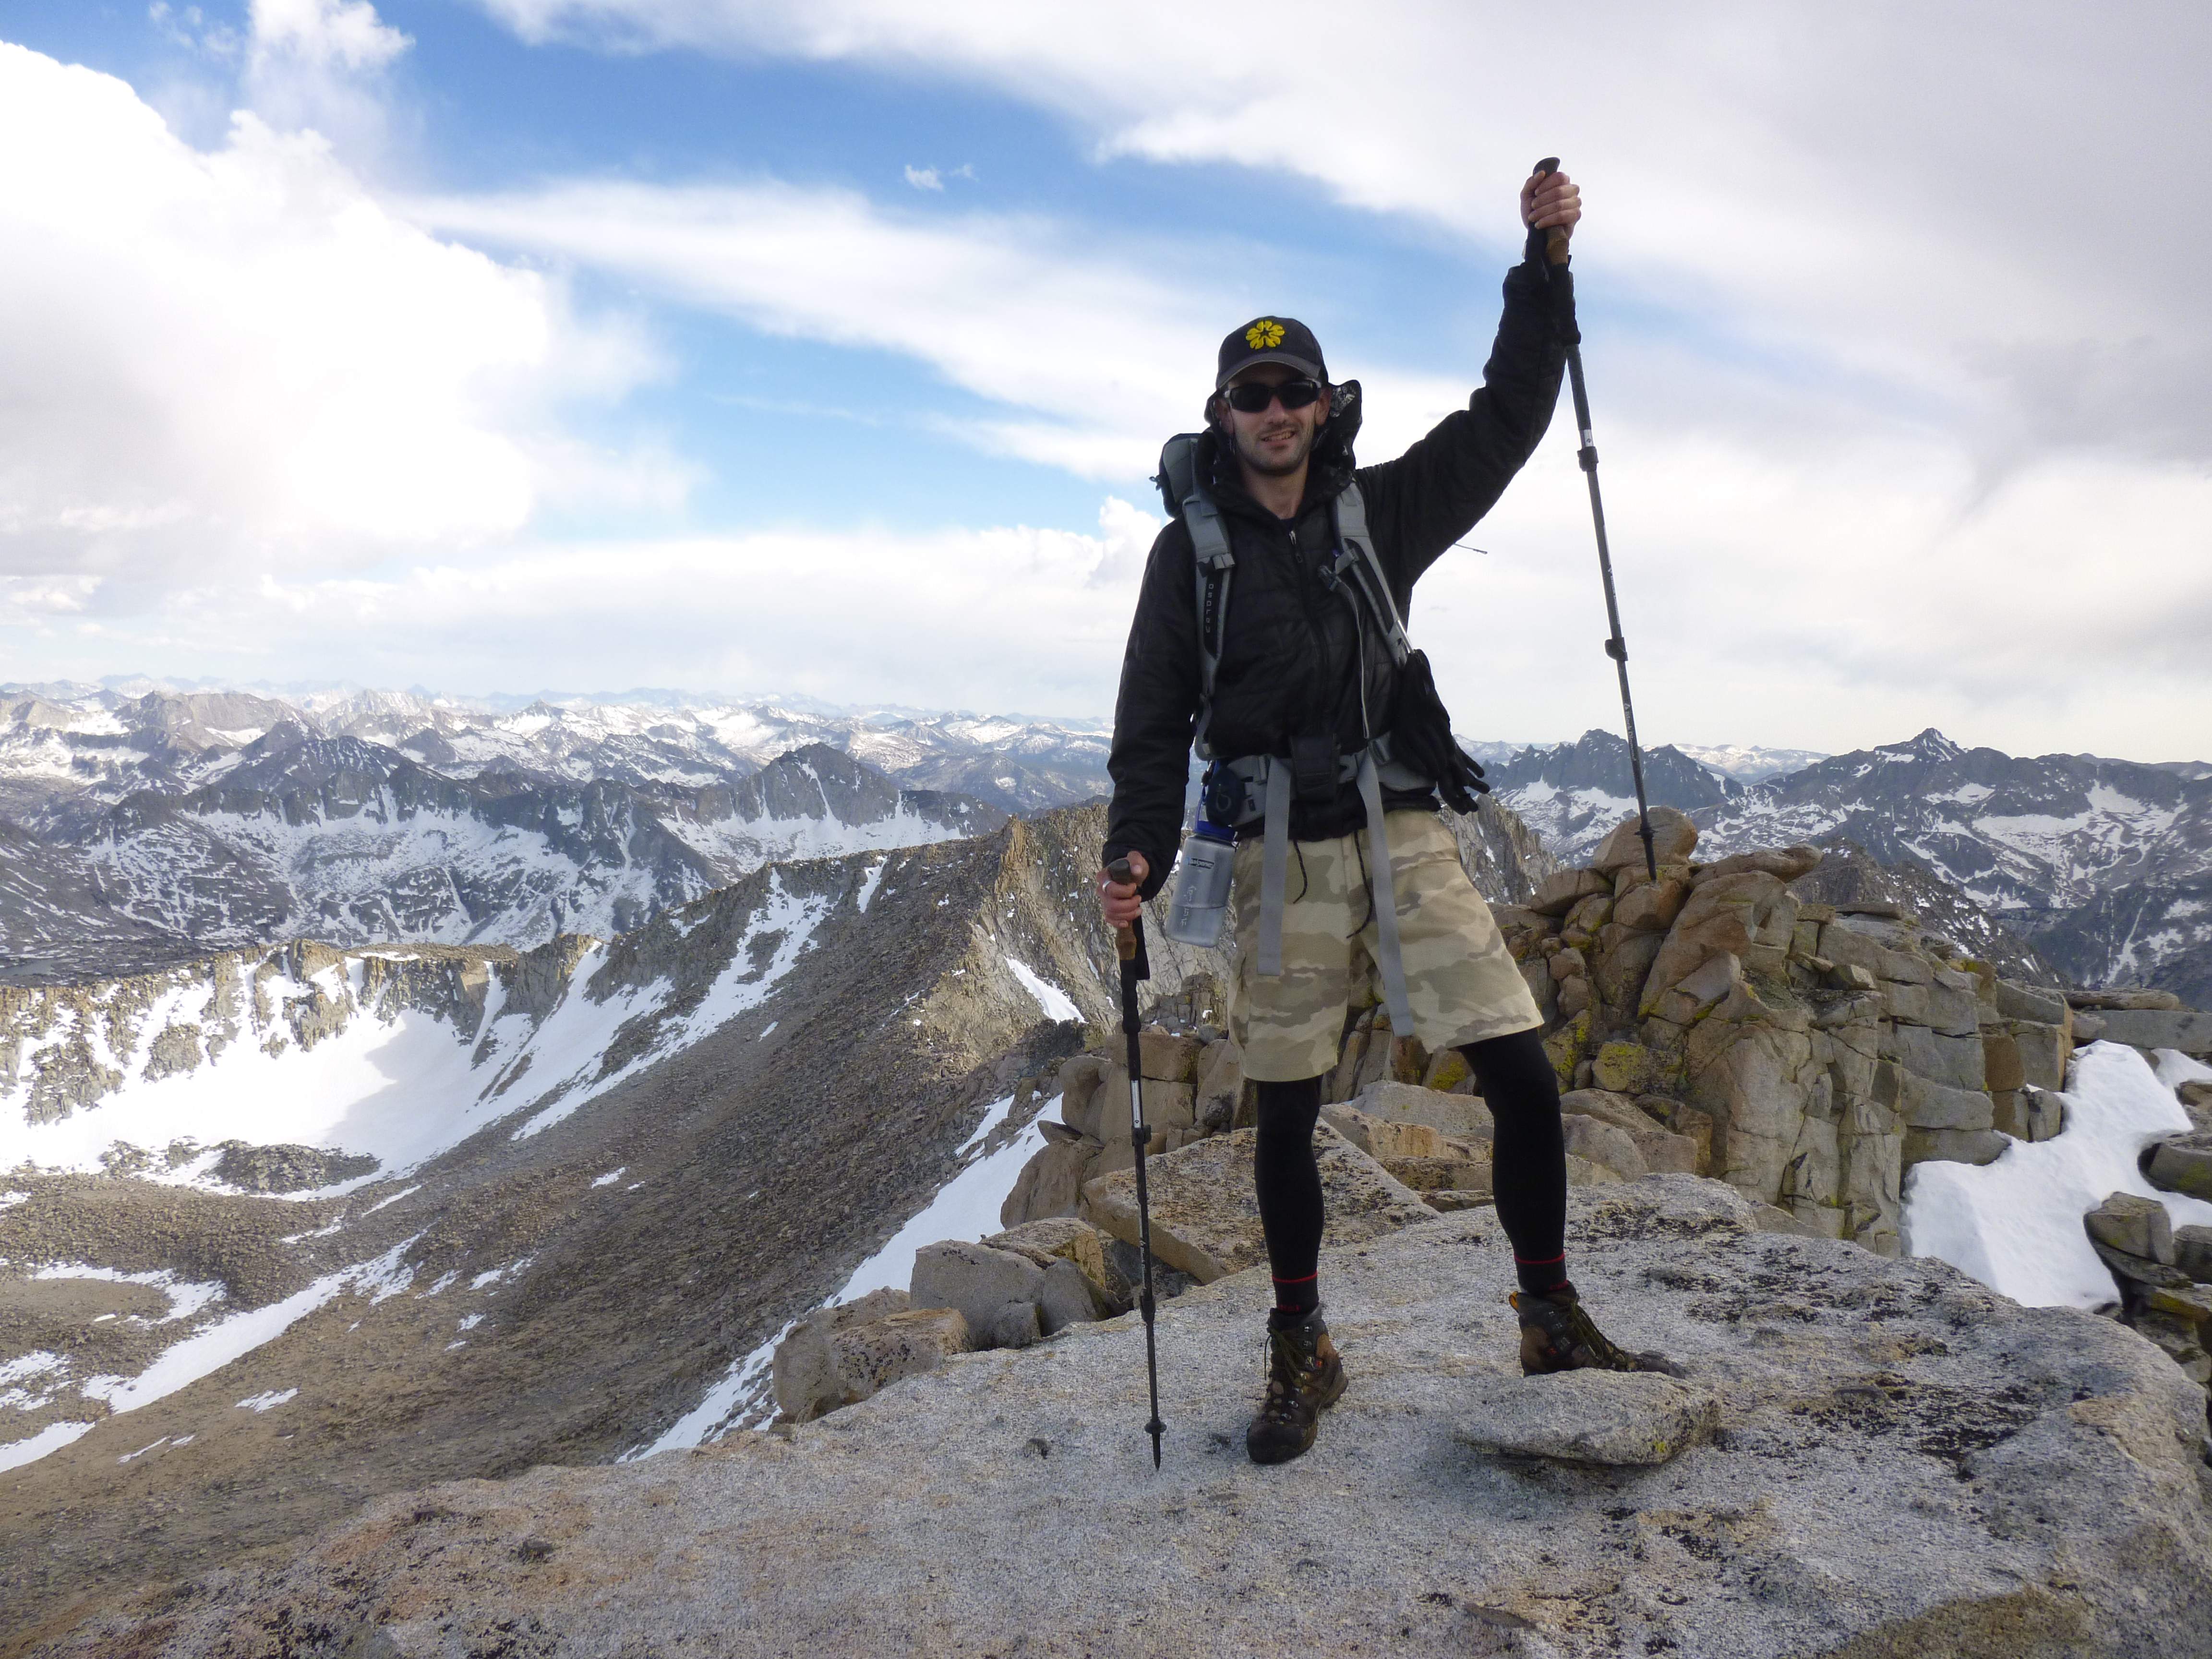
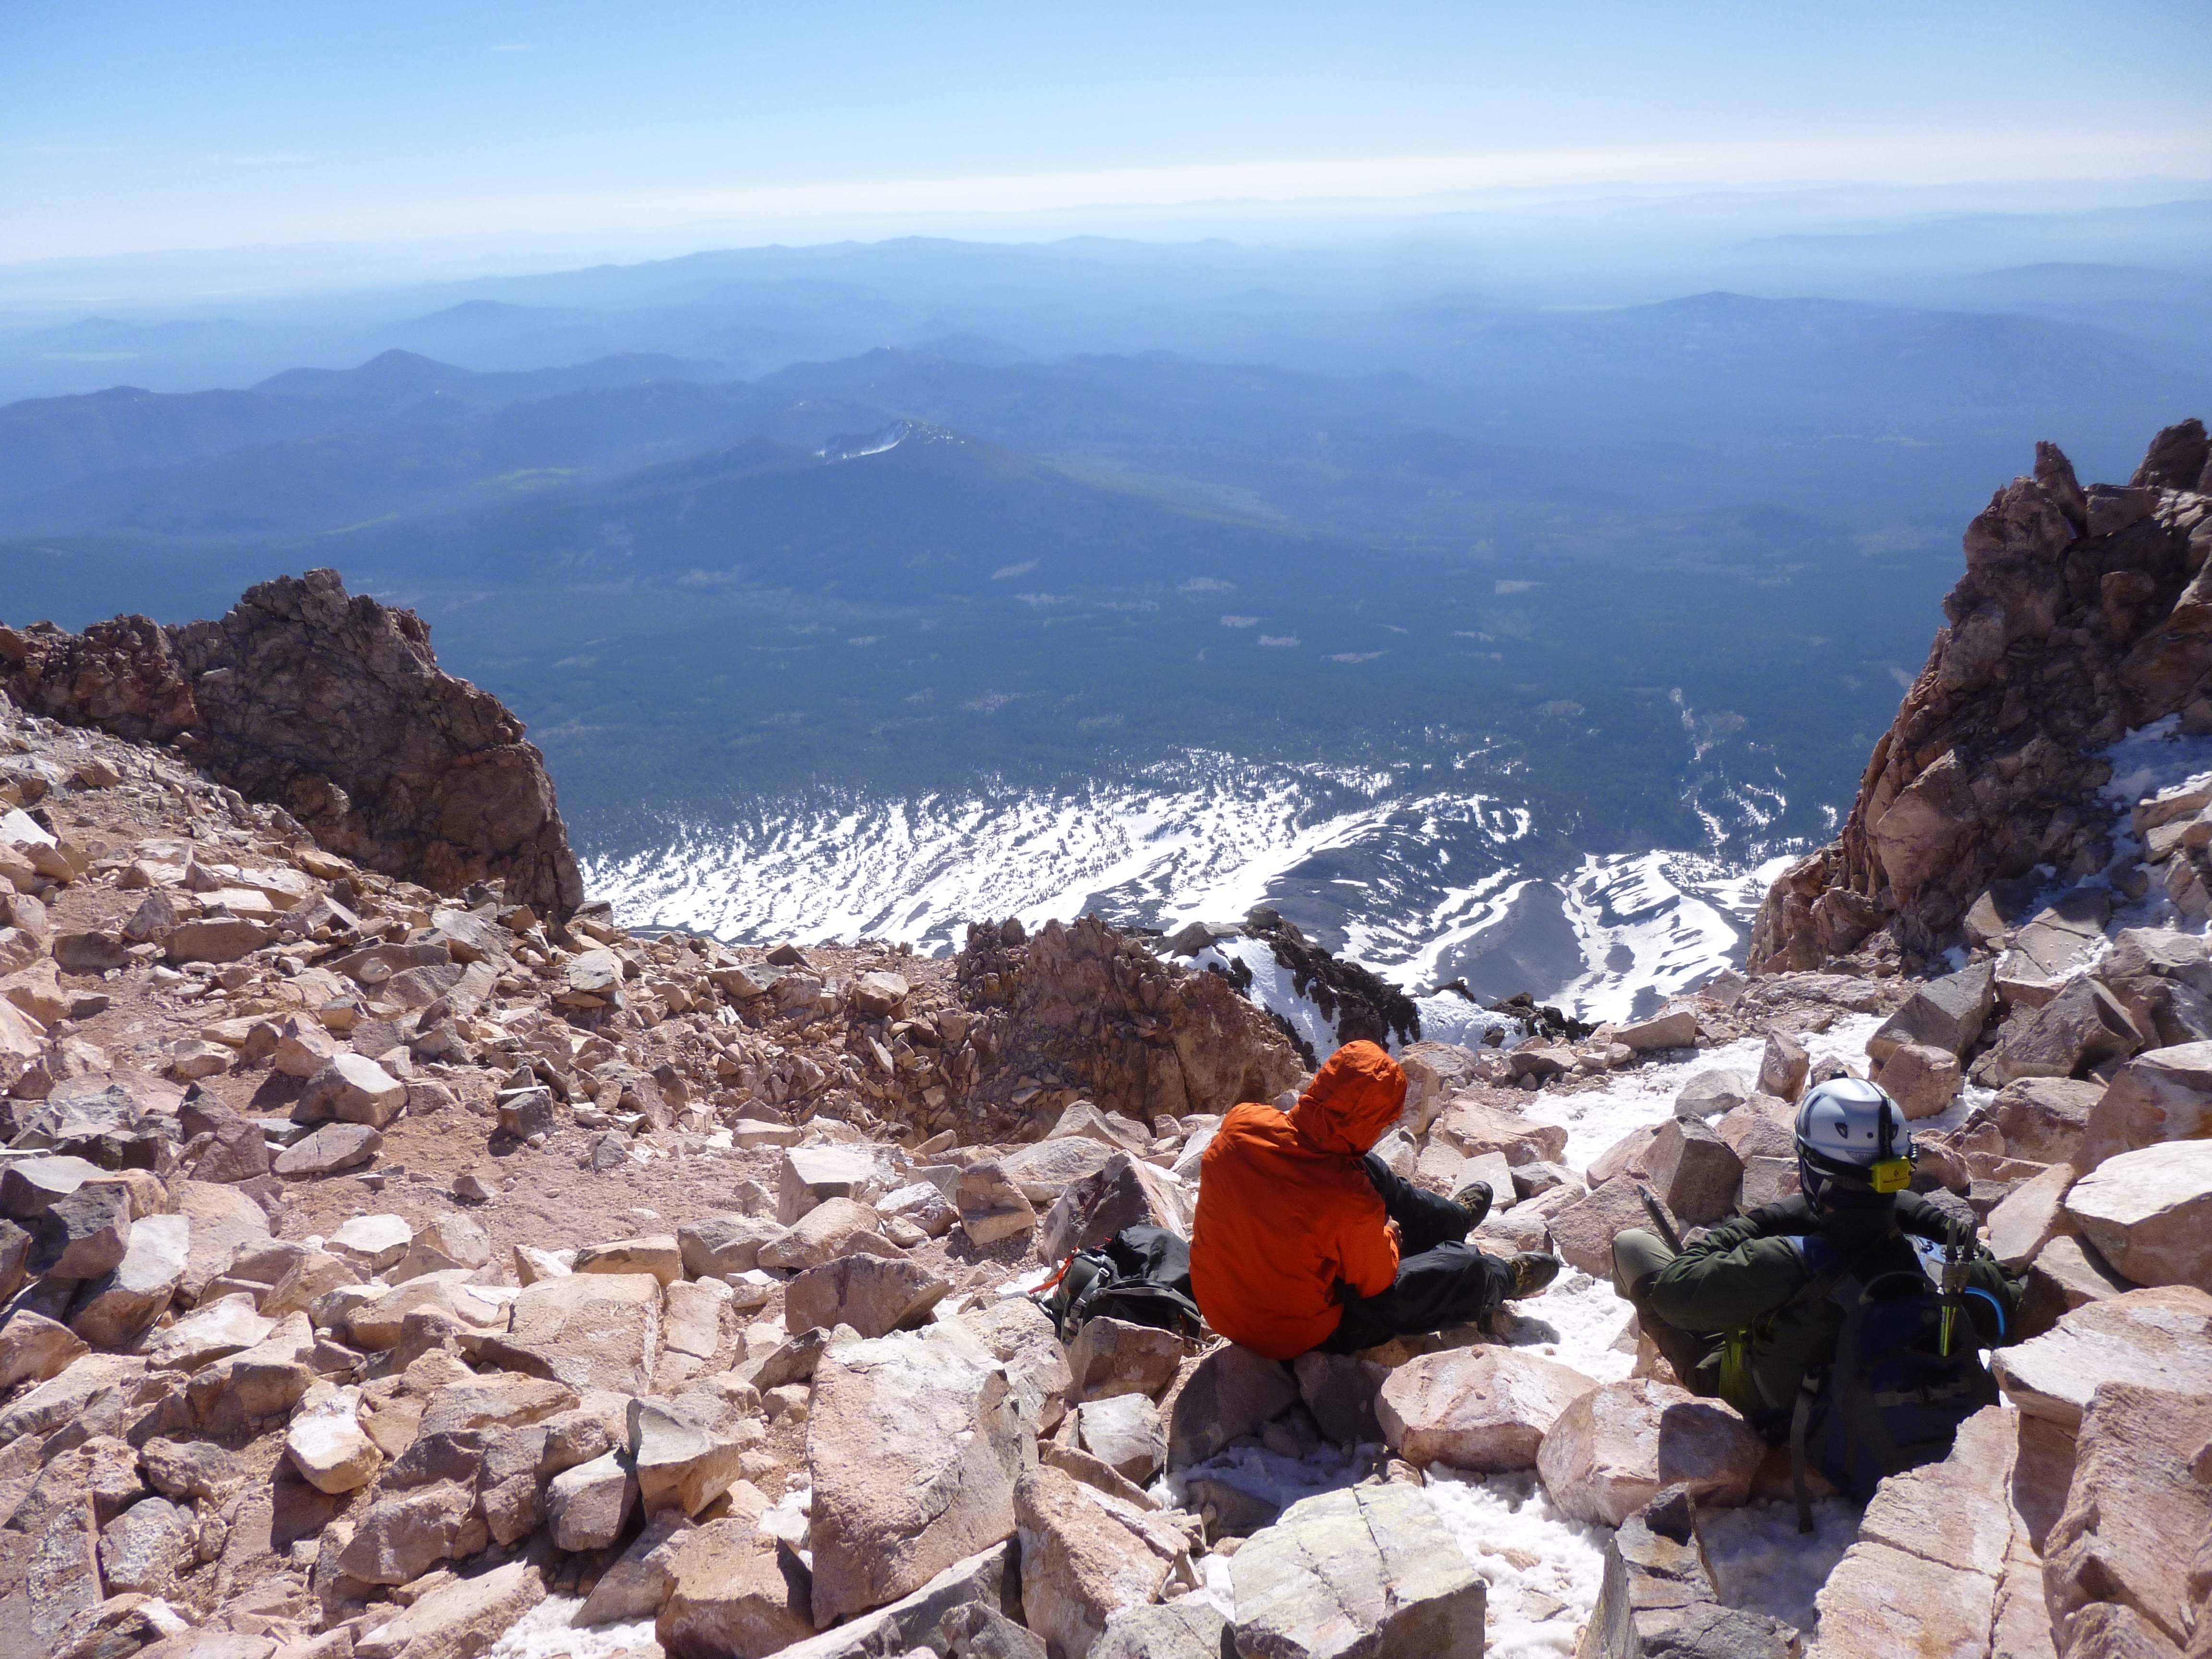
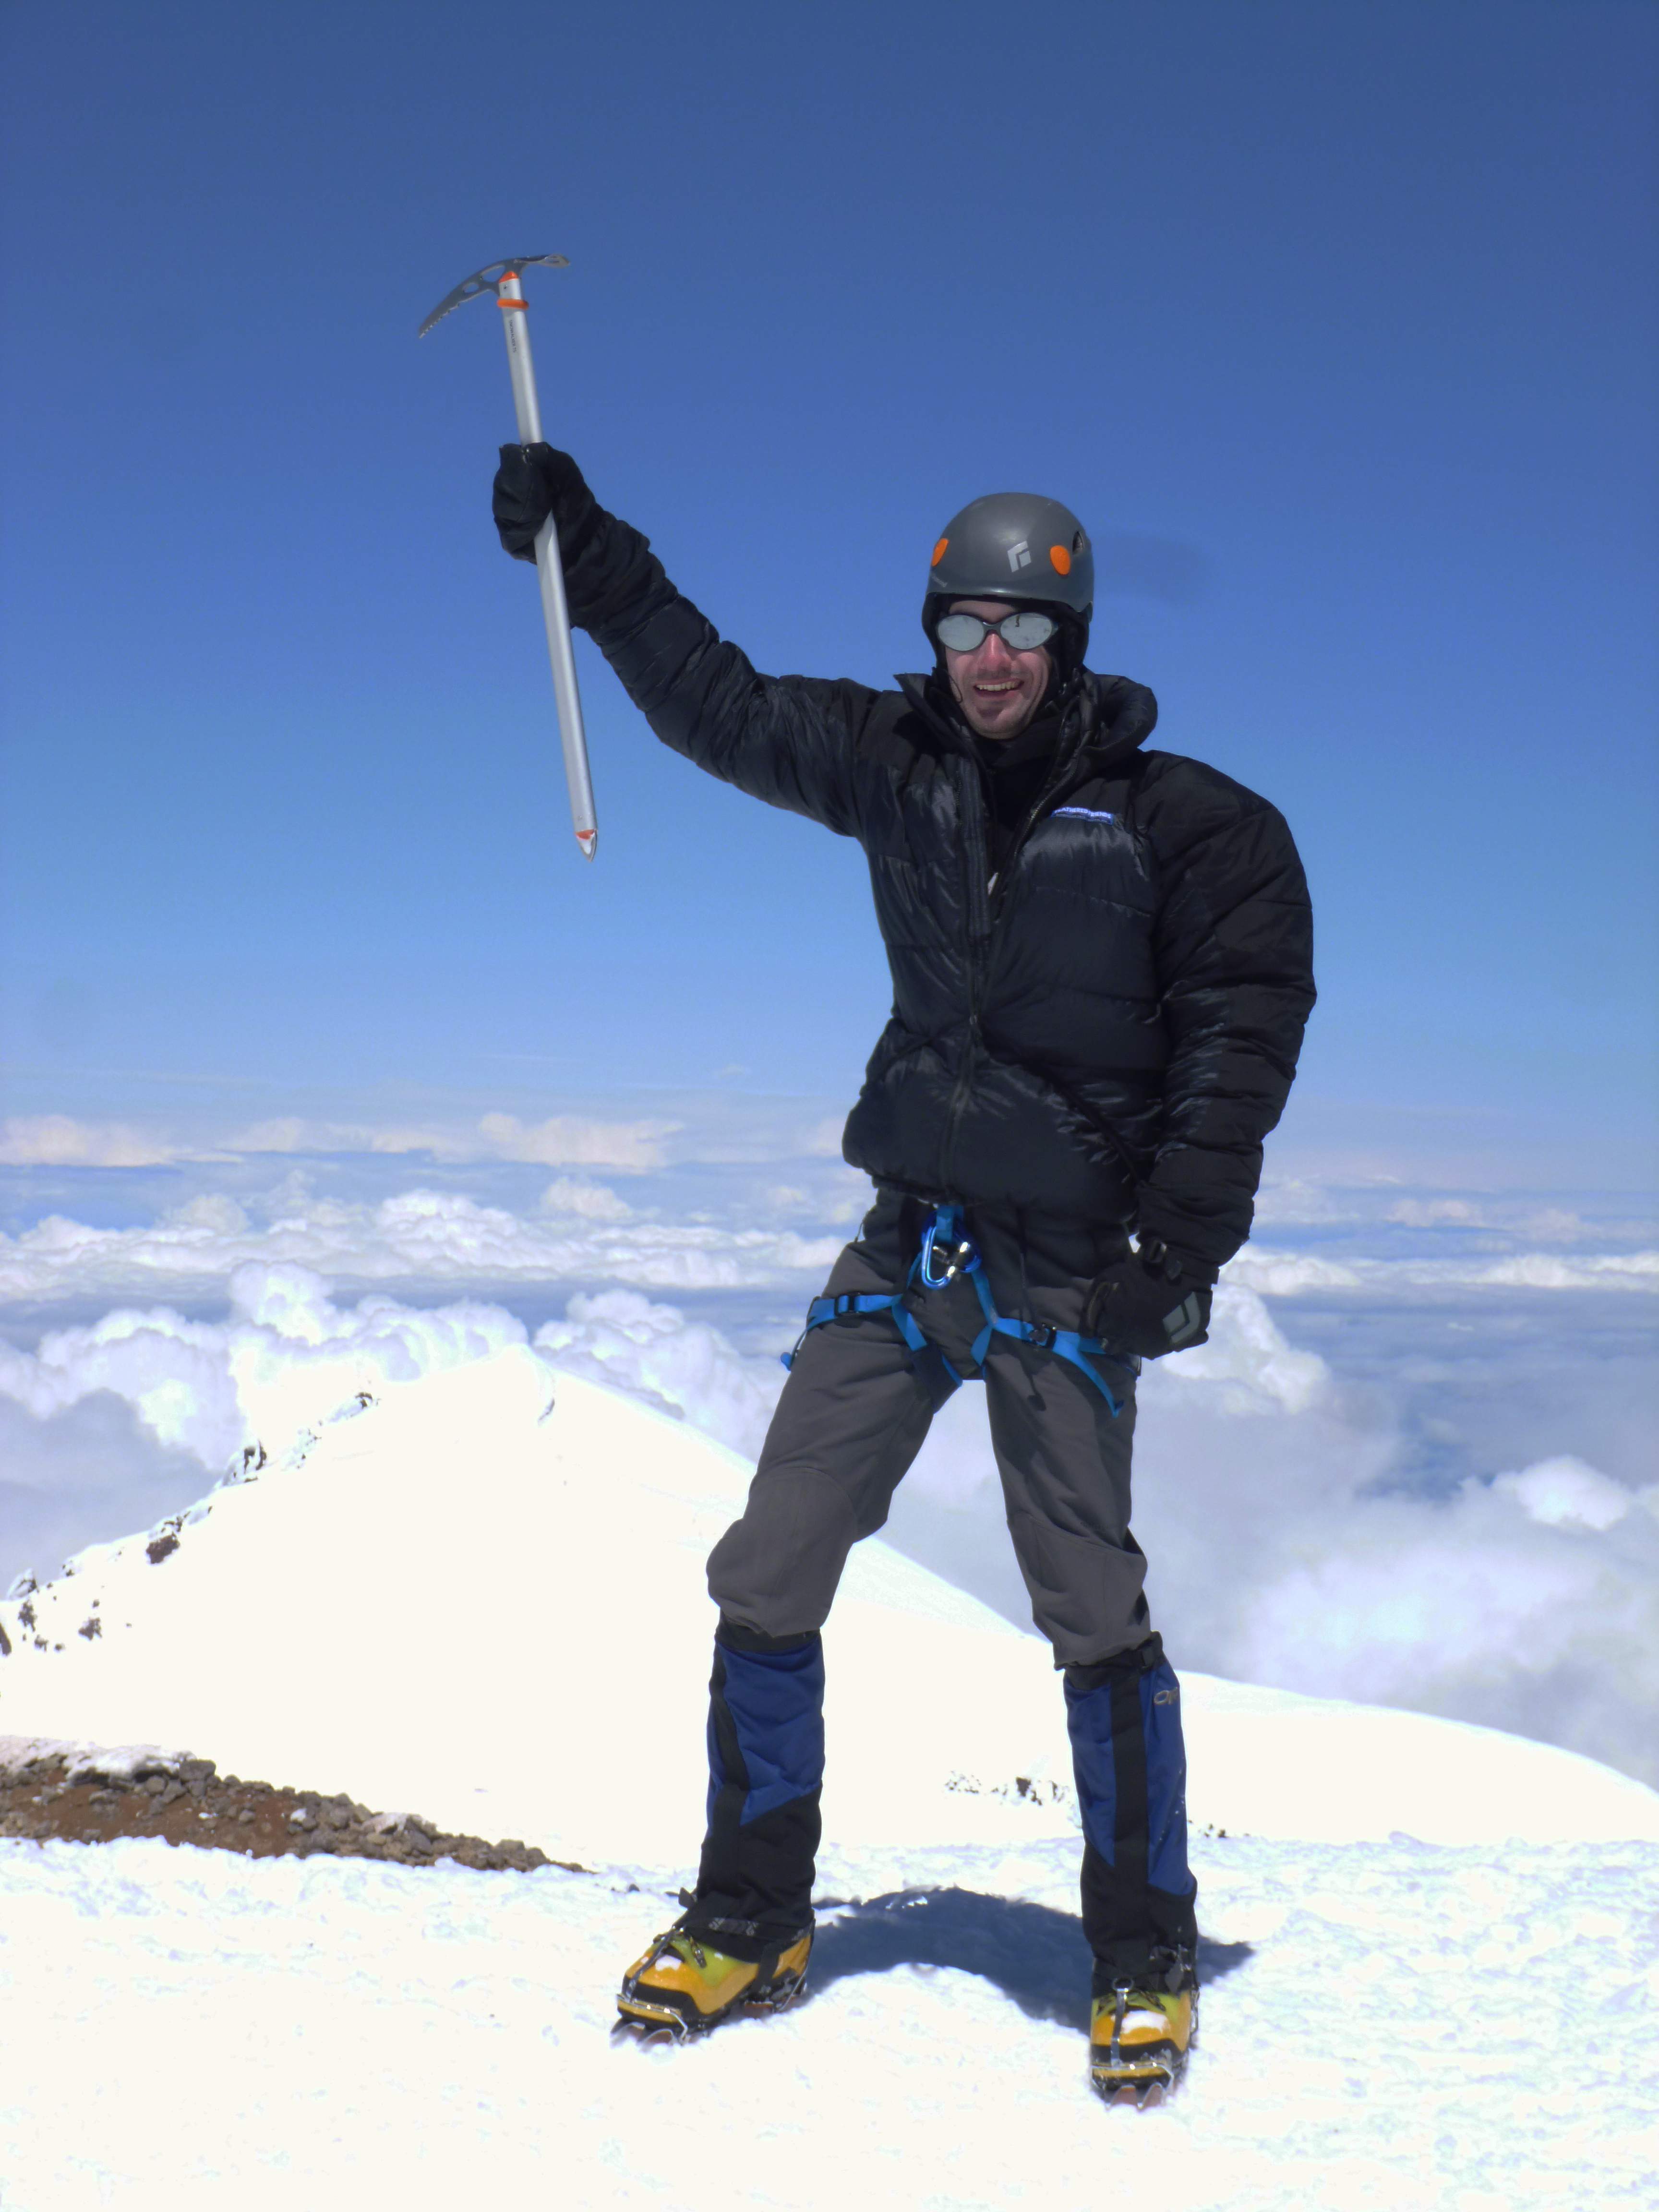
We gained the top of Columbia Crest at 11:30 a.m – 7 hours from Camp Schurman at a very moderate pace. Wind gusted hard at the top, and despite the sun it was very cold.

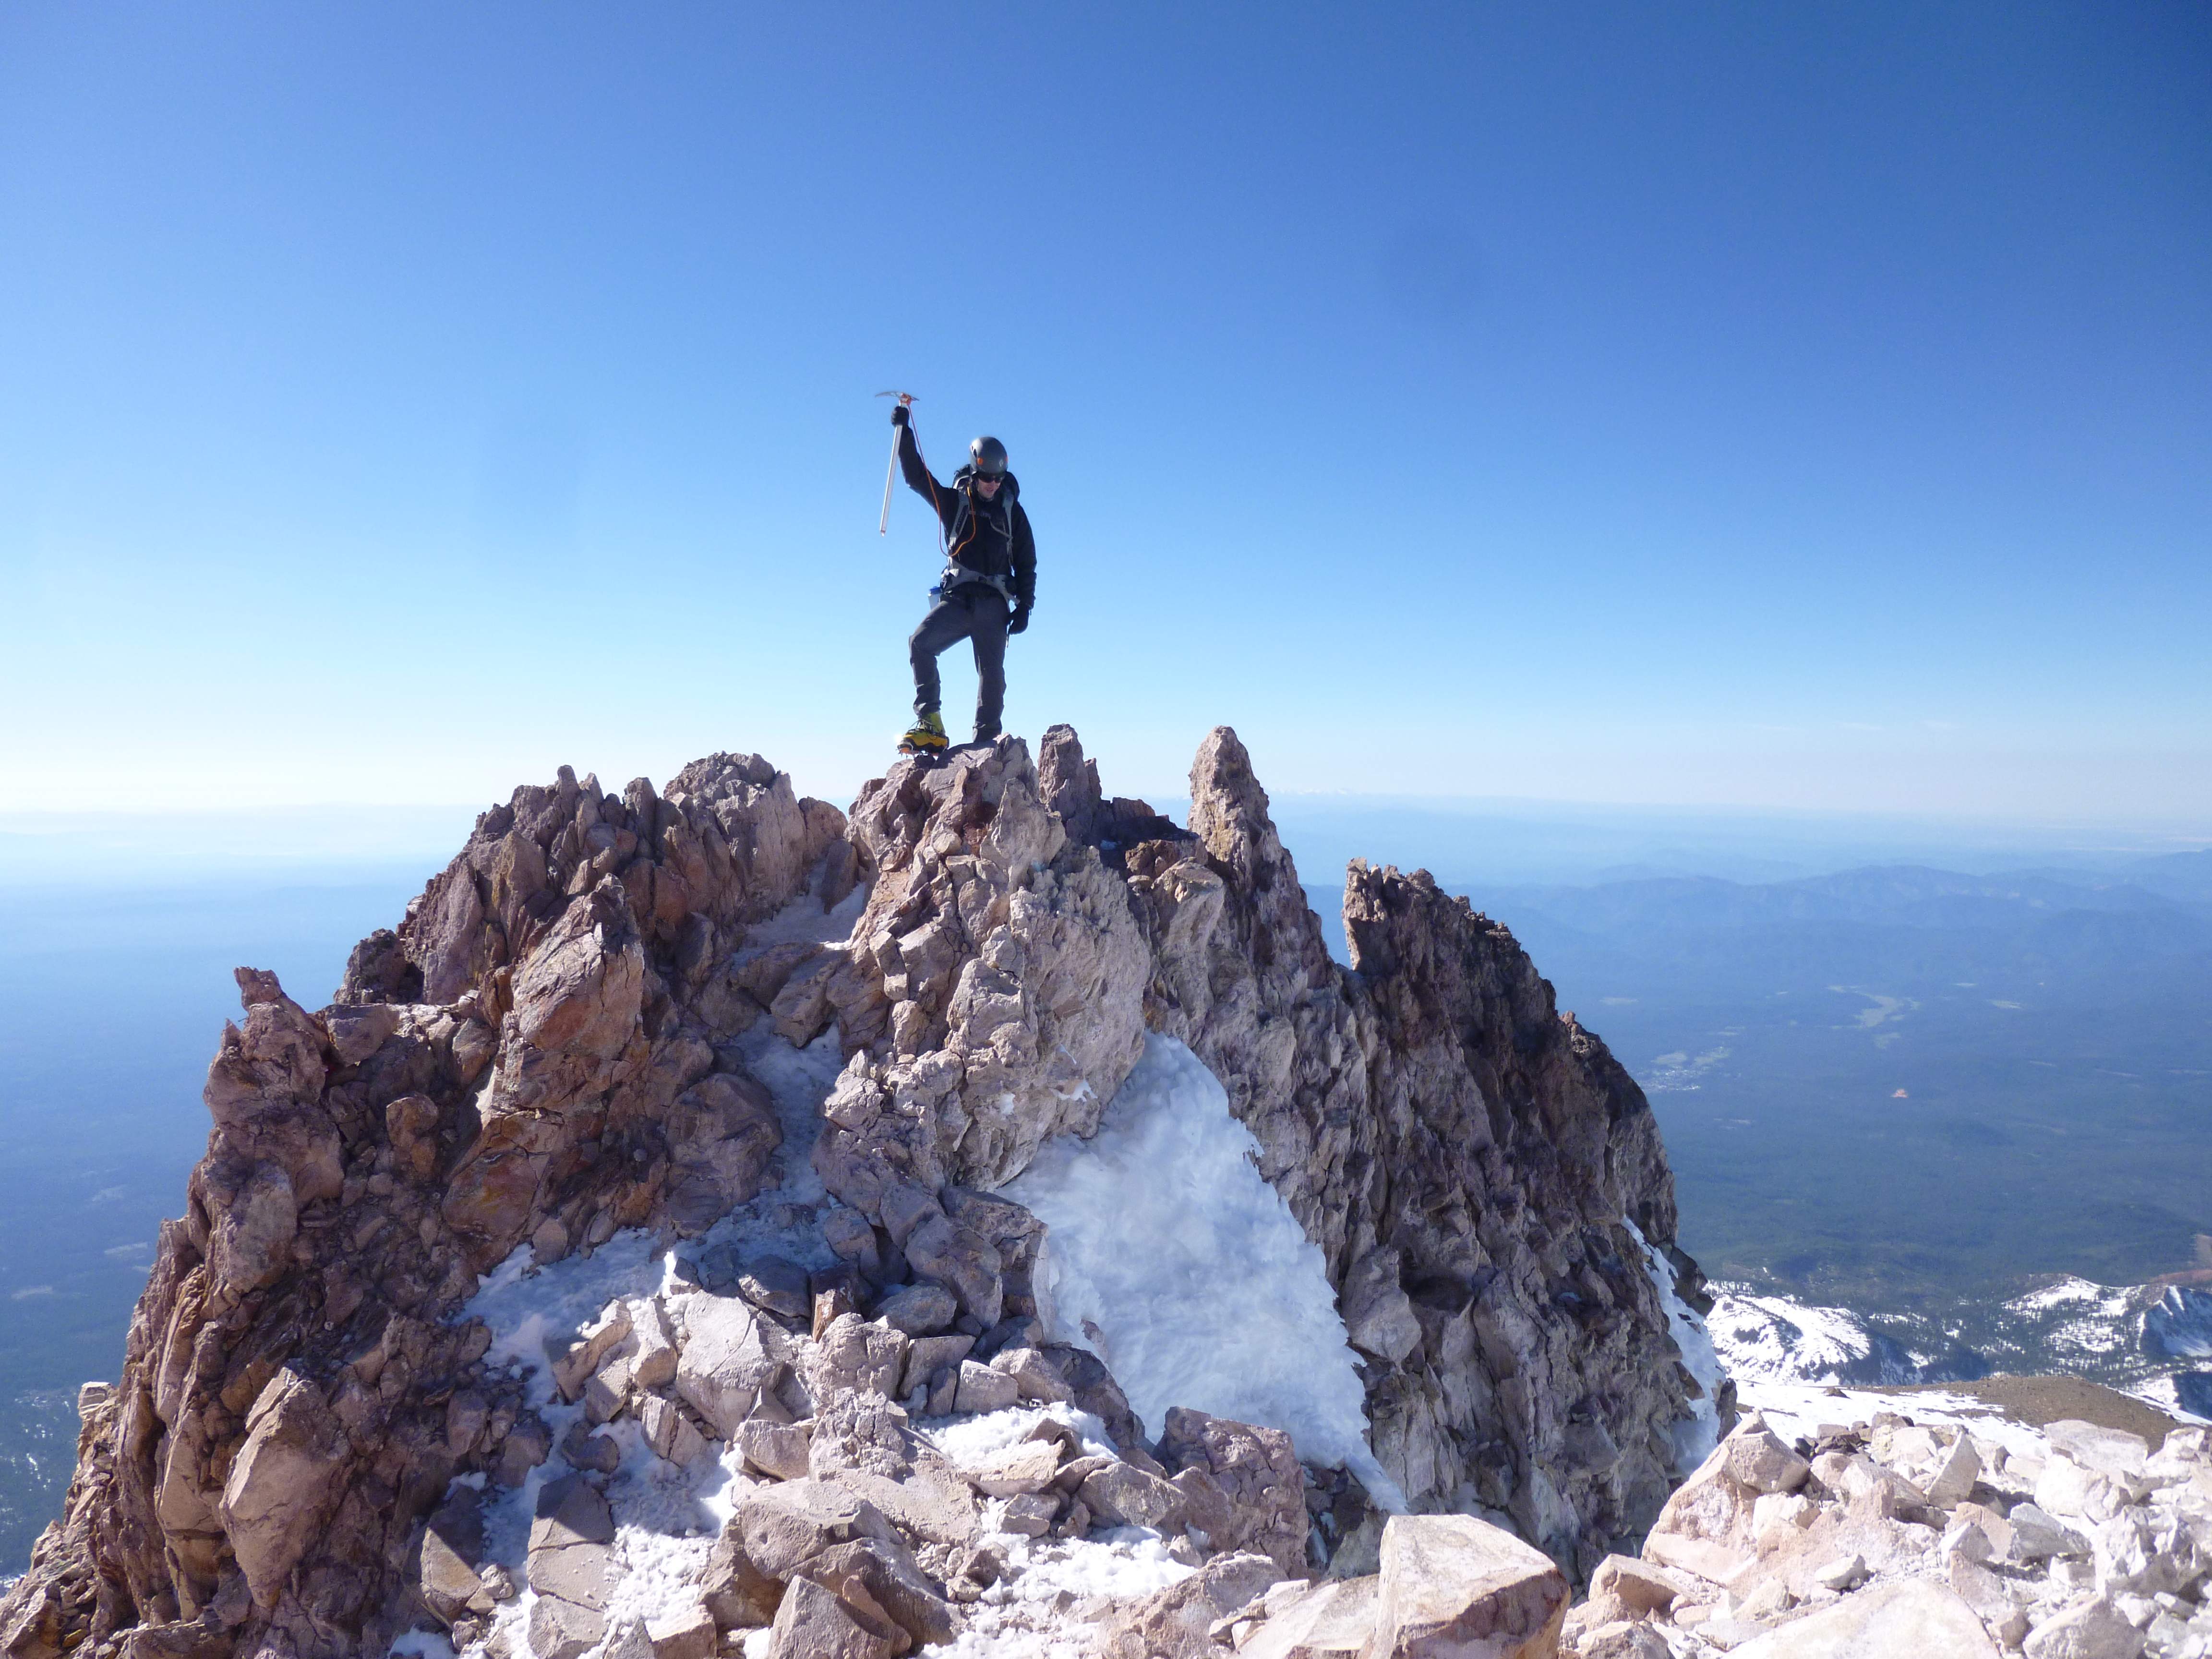
Columbia Crest, Rainier’s high point.
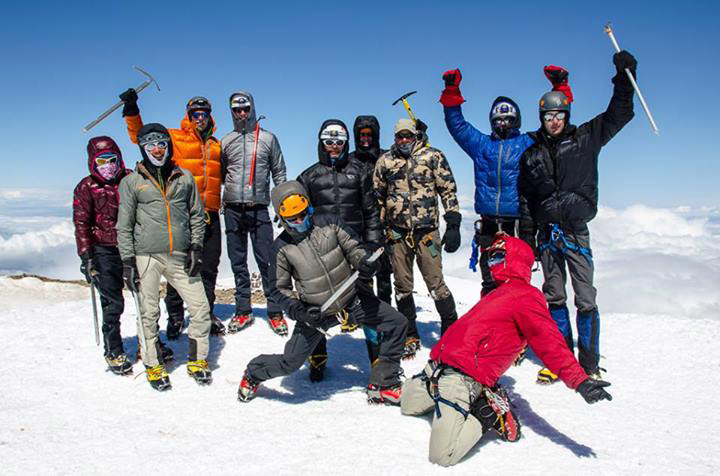
It felt great to reach the top under a blue sky – everyone in our group was strong at the top, and it was fantastic to share the summit together.

On the summit of Mount Rainier.

Our team on the summit.
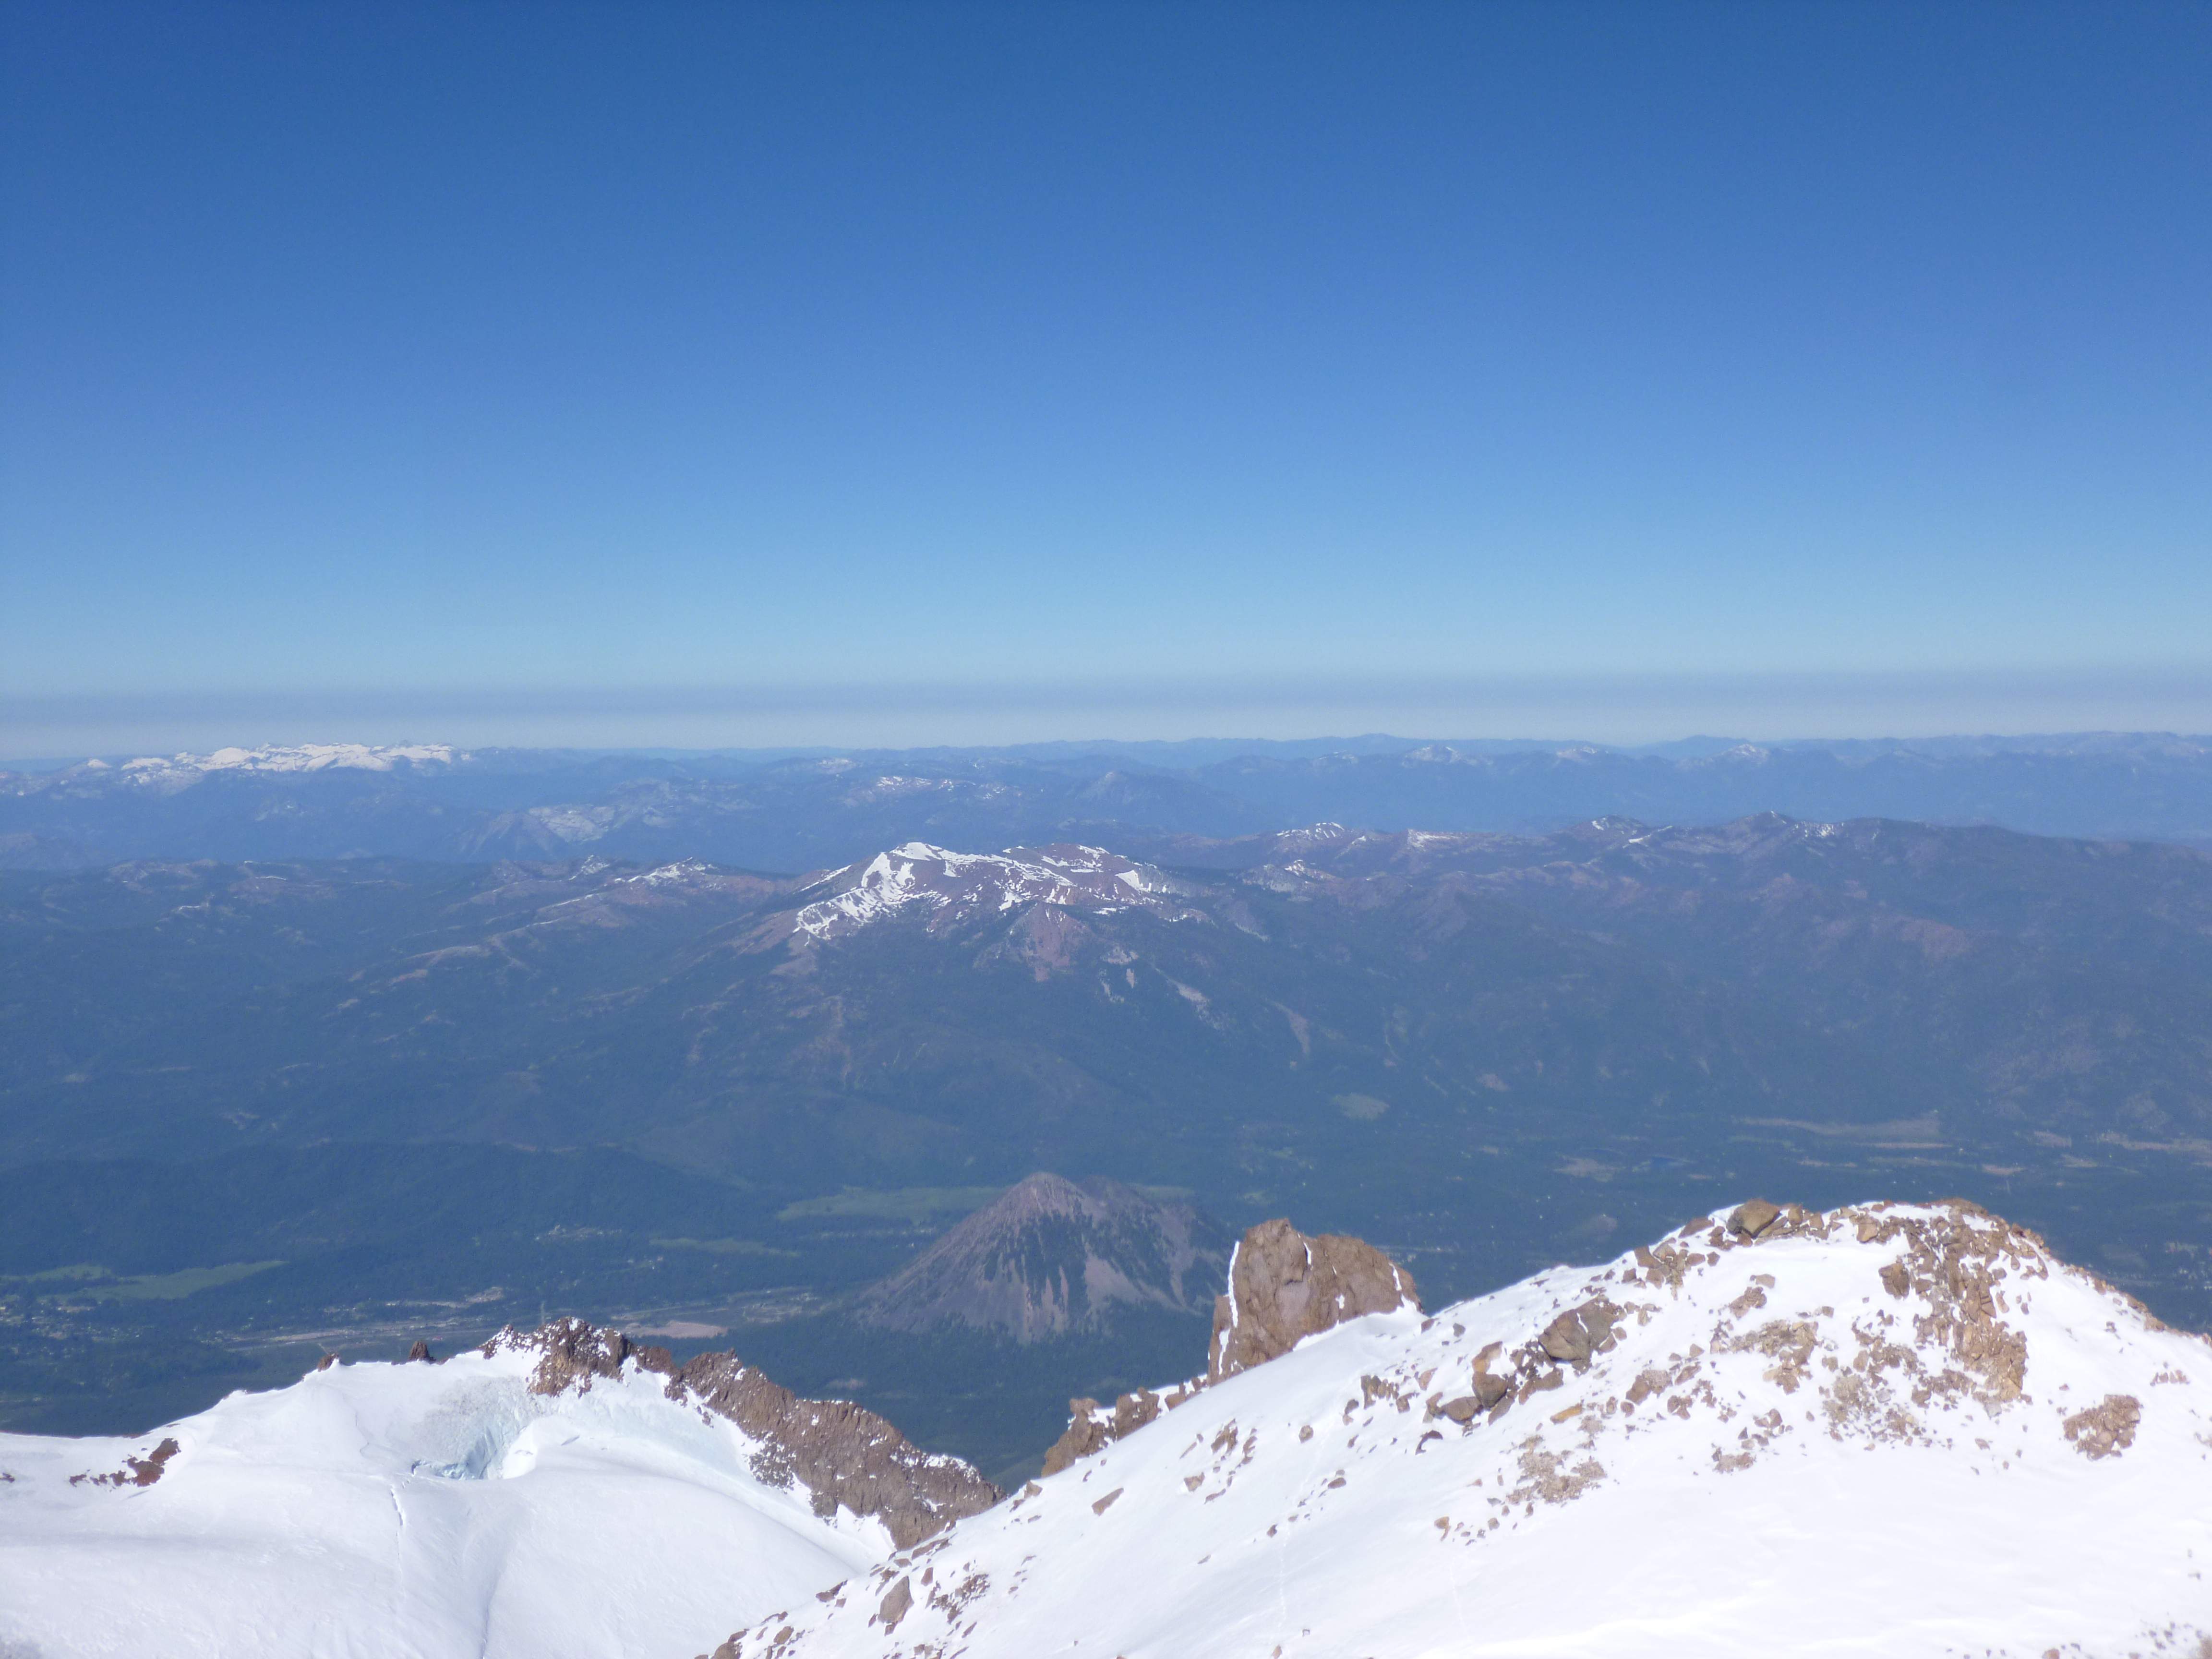
In the distance, Mount Adams loomed out of the clouds.

Mount Adams, from Columbia Crest.
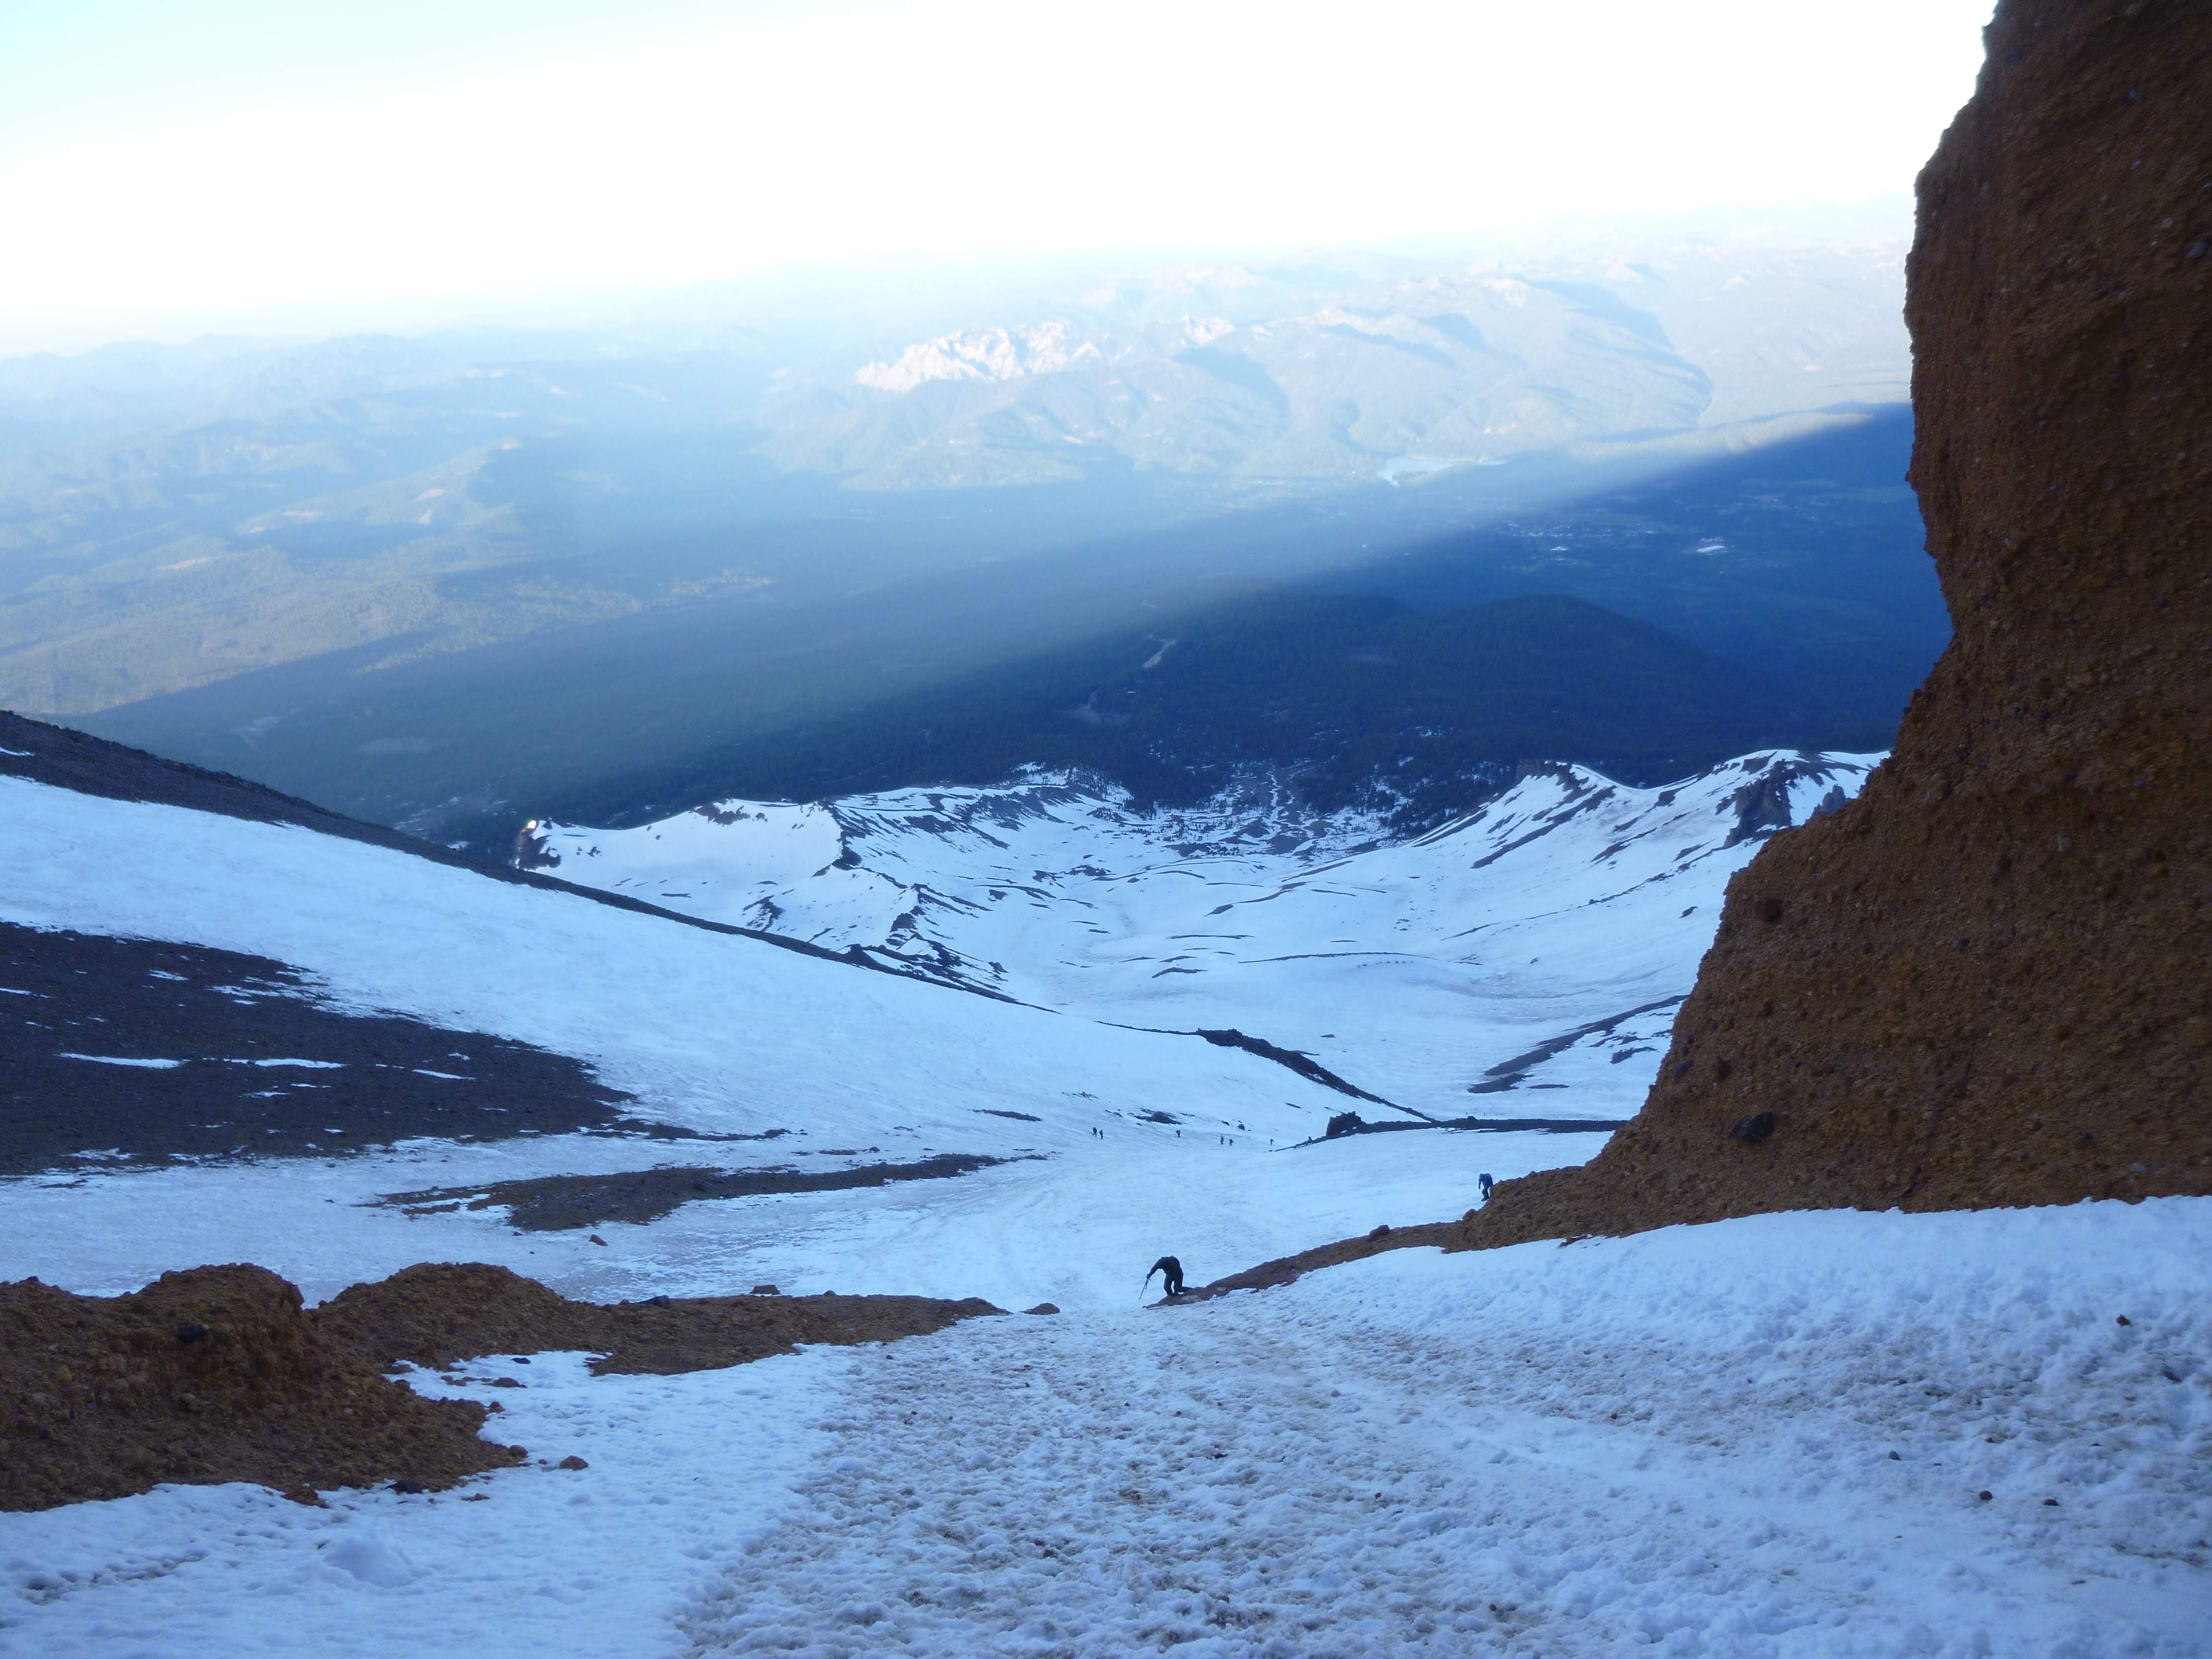
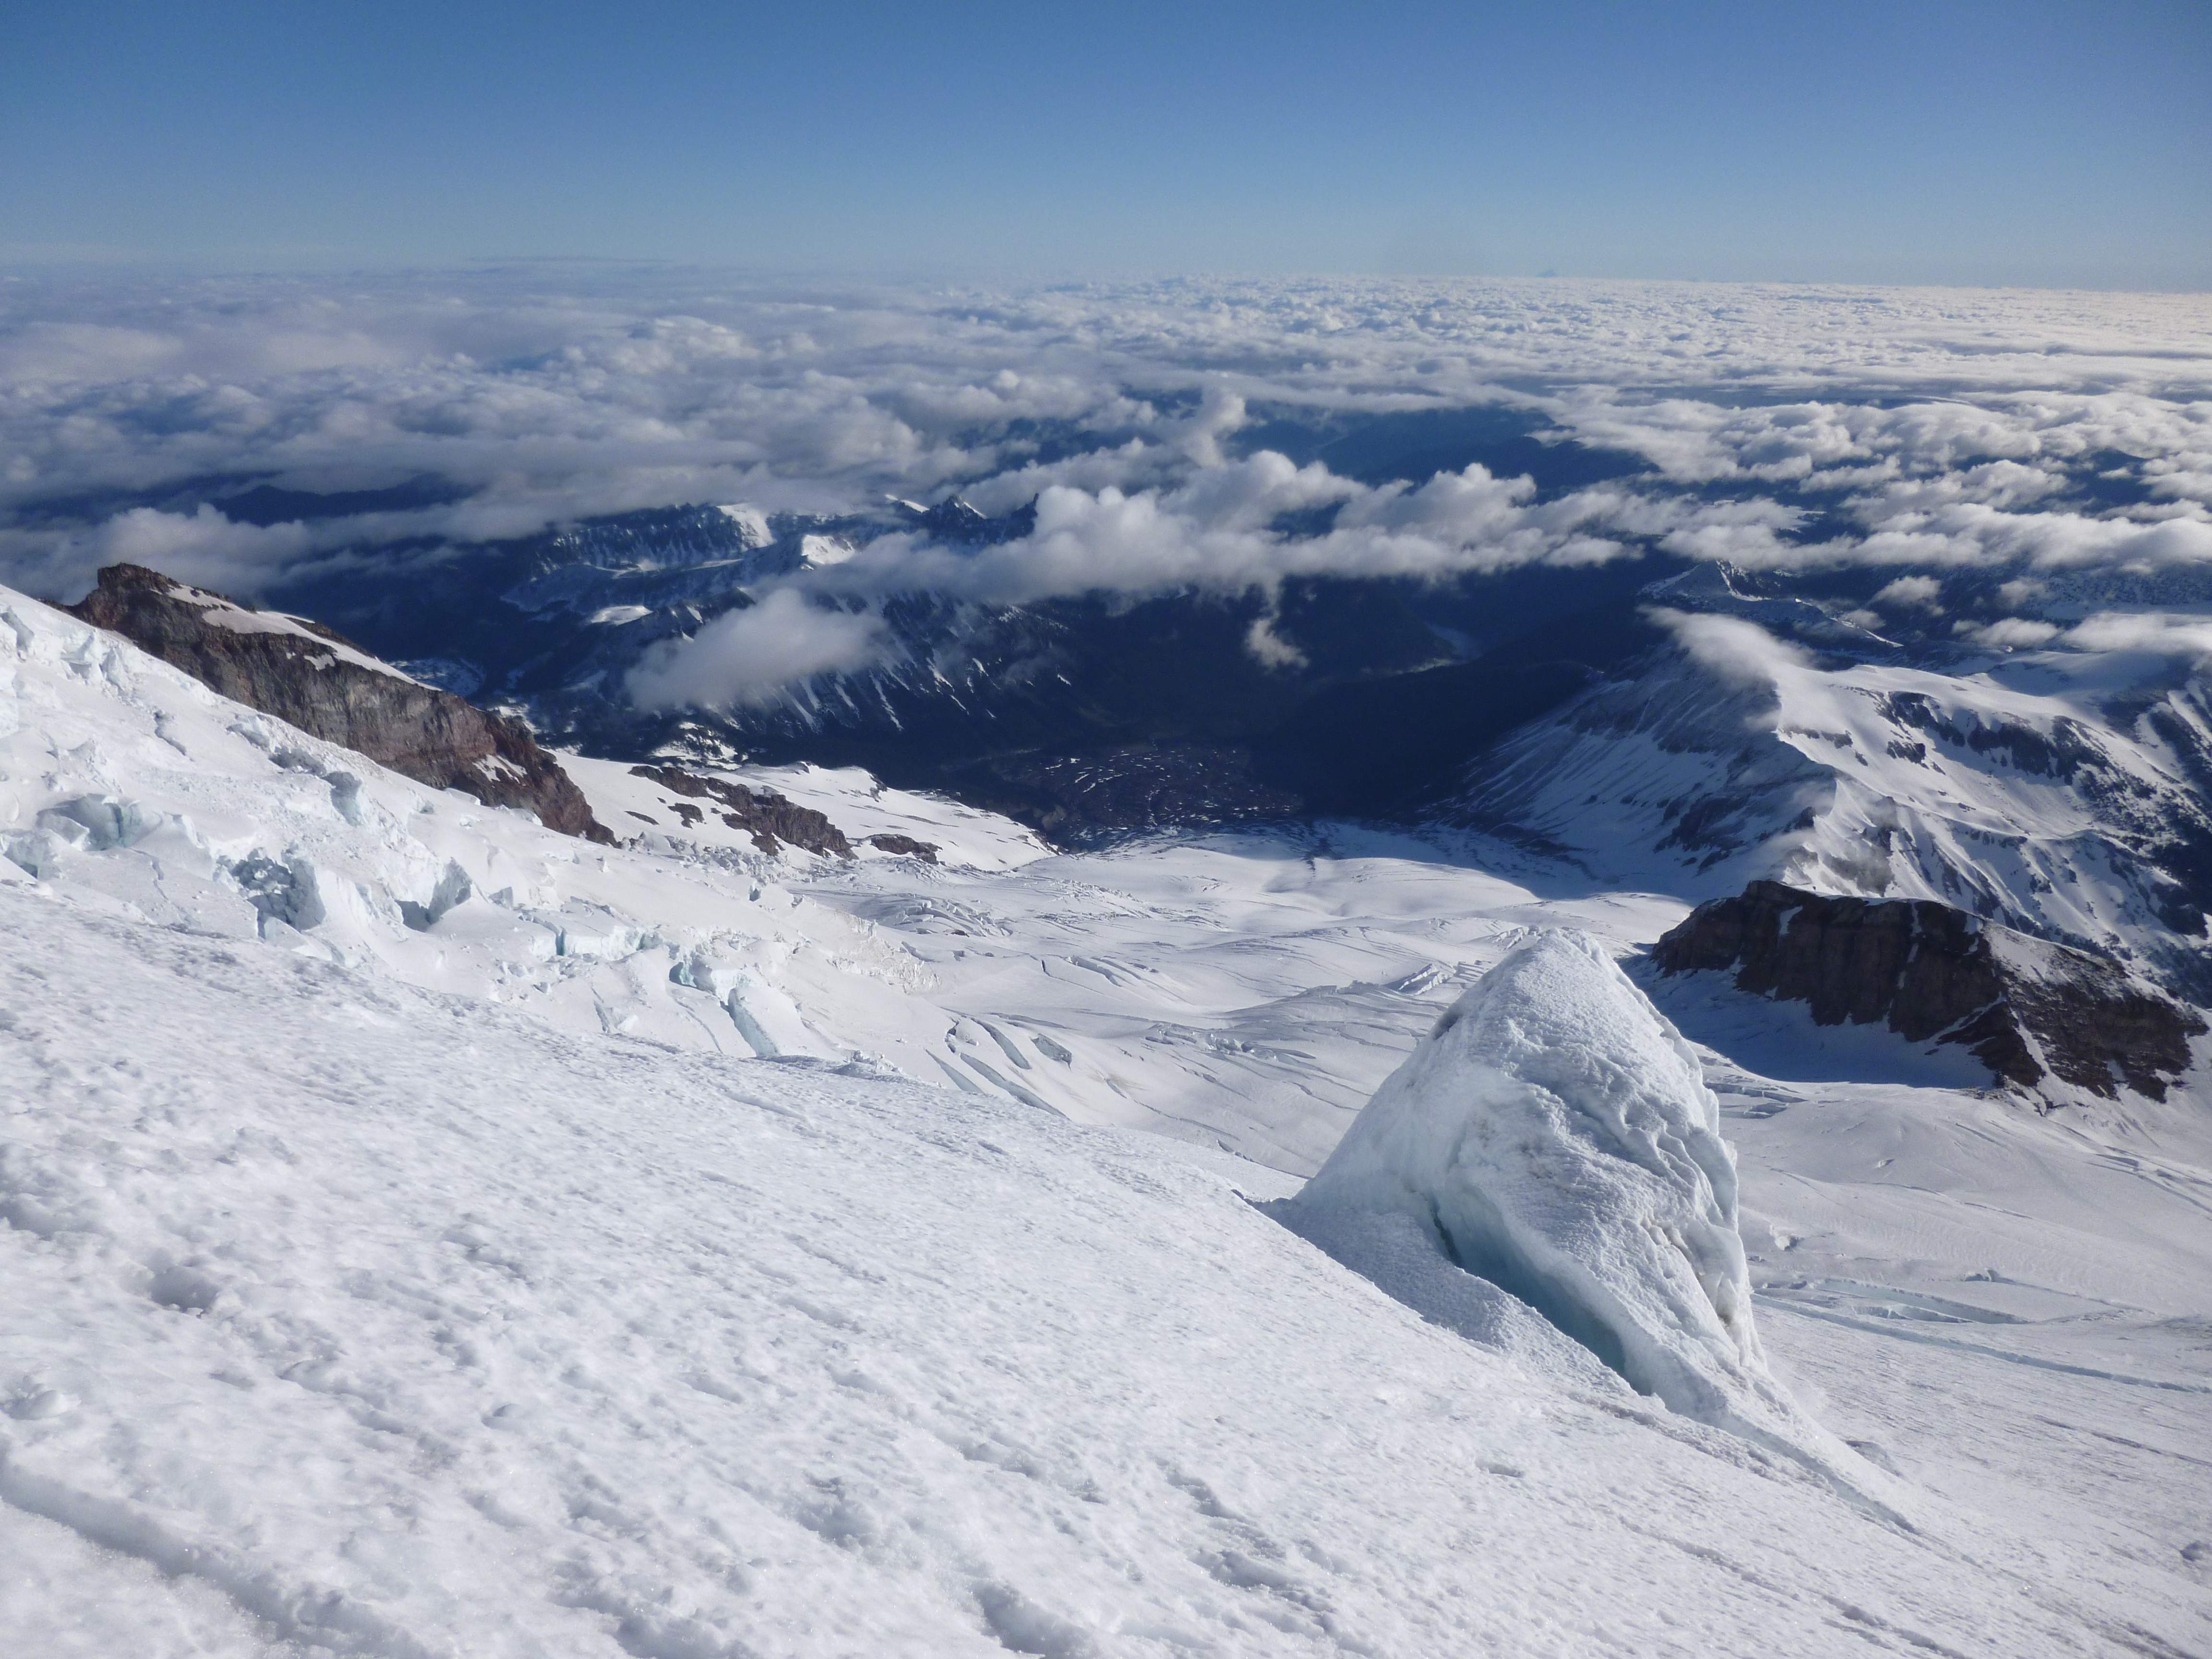
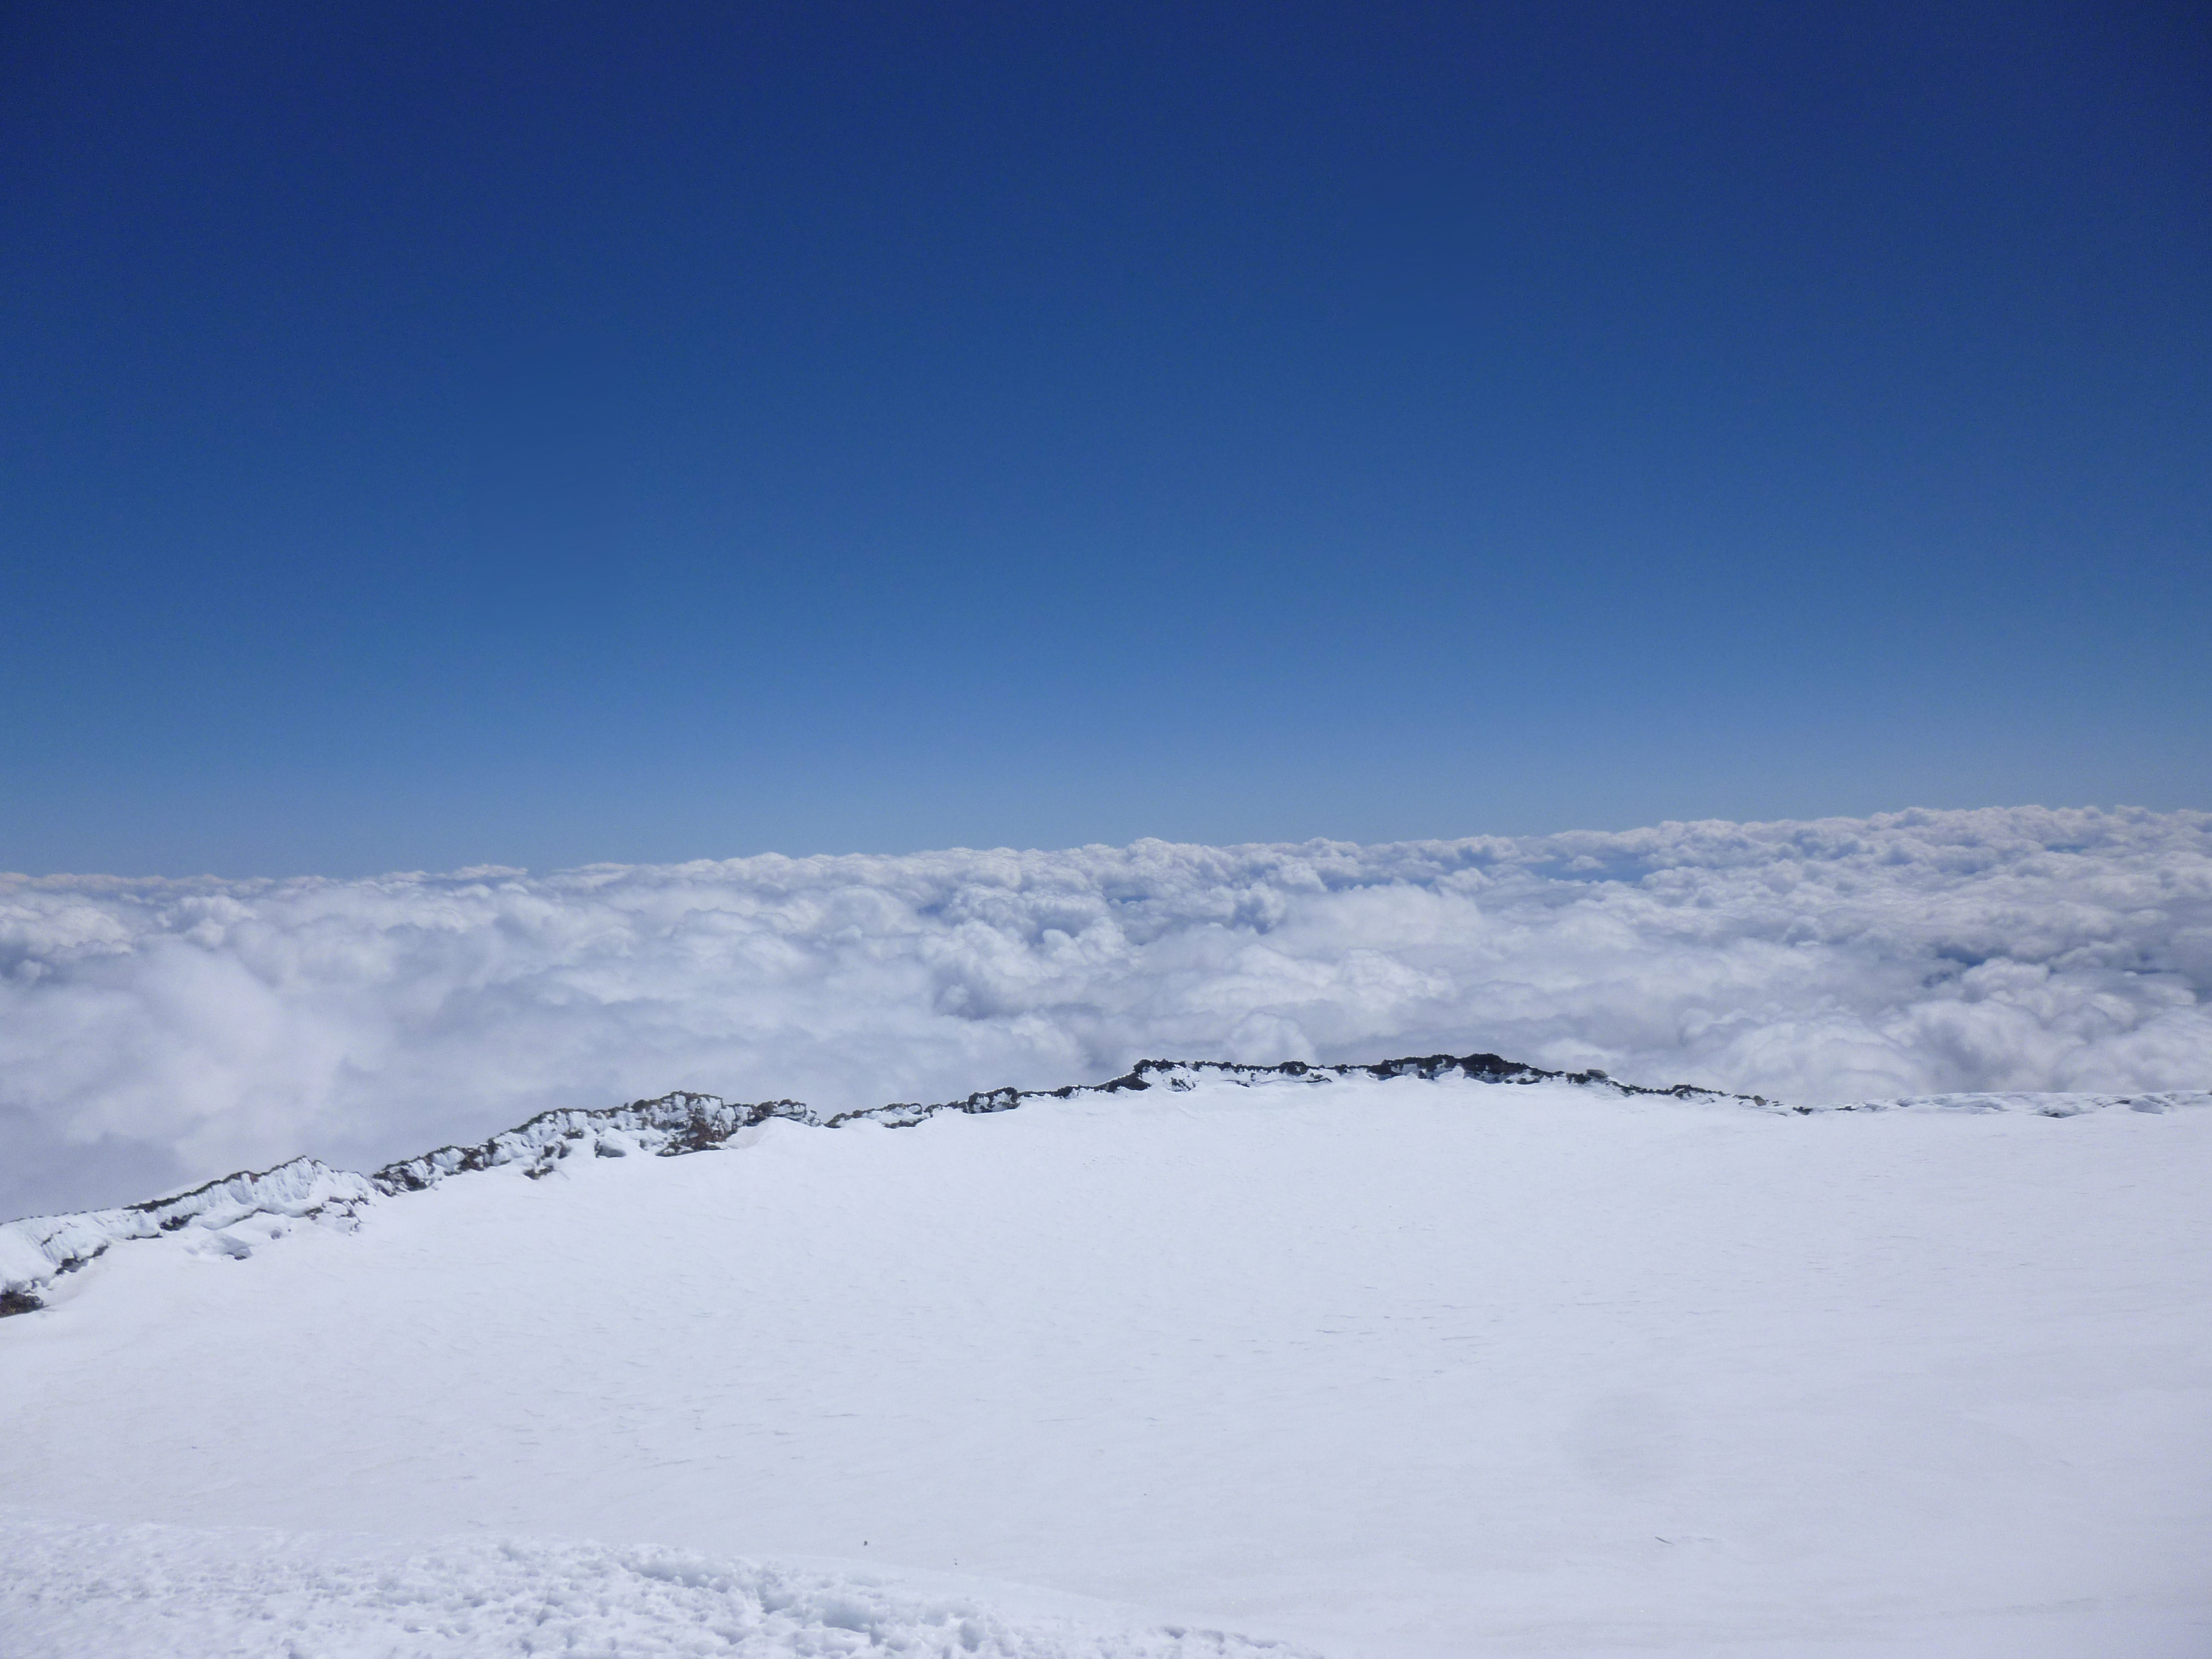
After roughly 45 minutes on the summit, we began to descend. Below us the cloud ocean continued to rise, and as we descended it enveloped us. The rest of the descent would be through variable visibility, with occasional patches of blue sky appearing as clouds rolled over us. We followed our ascent route downwards, using the wands placed earlier to guide us through the cloud cover.

Looking across the Emmons in a brief patch of blue sky. Visibility was very poor for most of our descent.
The rolling clouds gave the glacier an otherworldly, alien appearance. We made good speed descending, slowing down only for tricky crevasse crossings.

Looking down the Emmons Glacier.

Looking back up the Emmons.
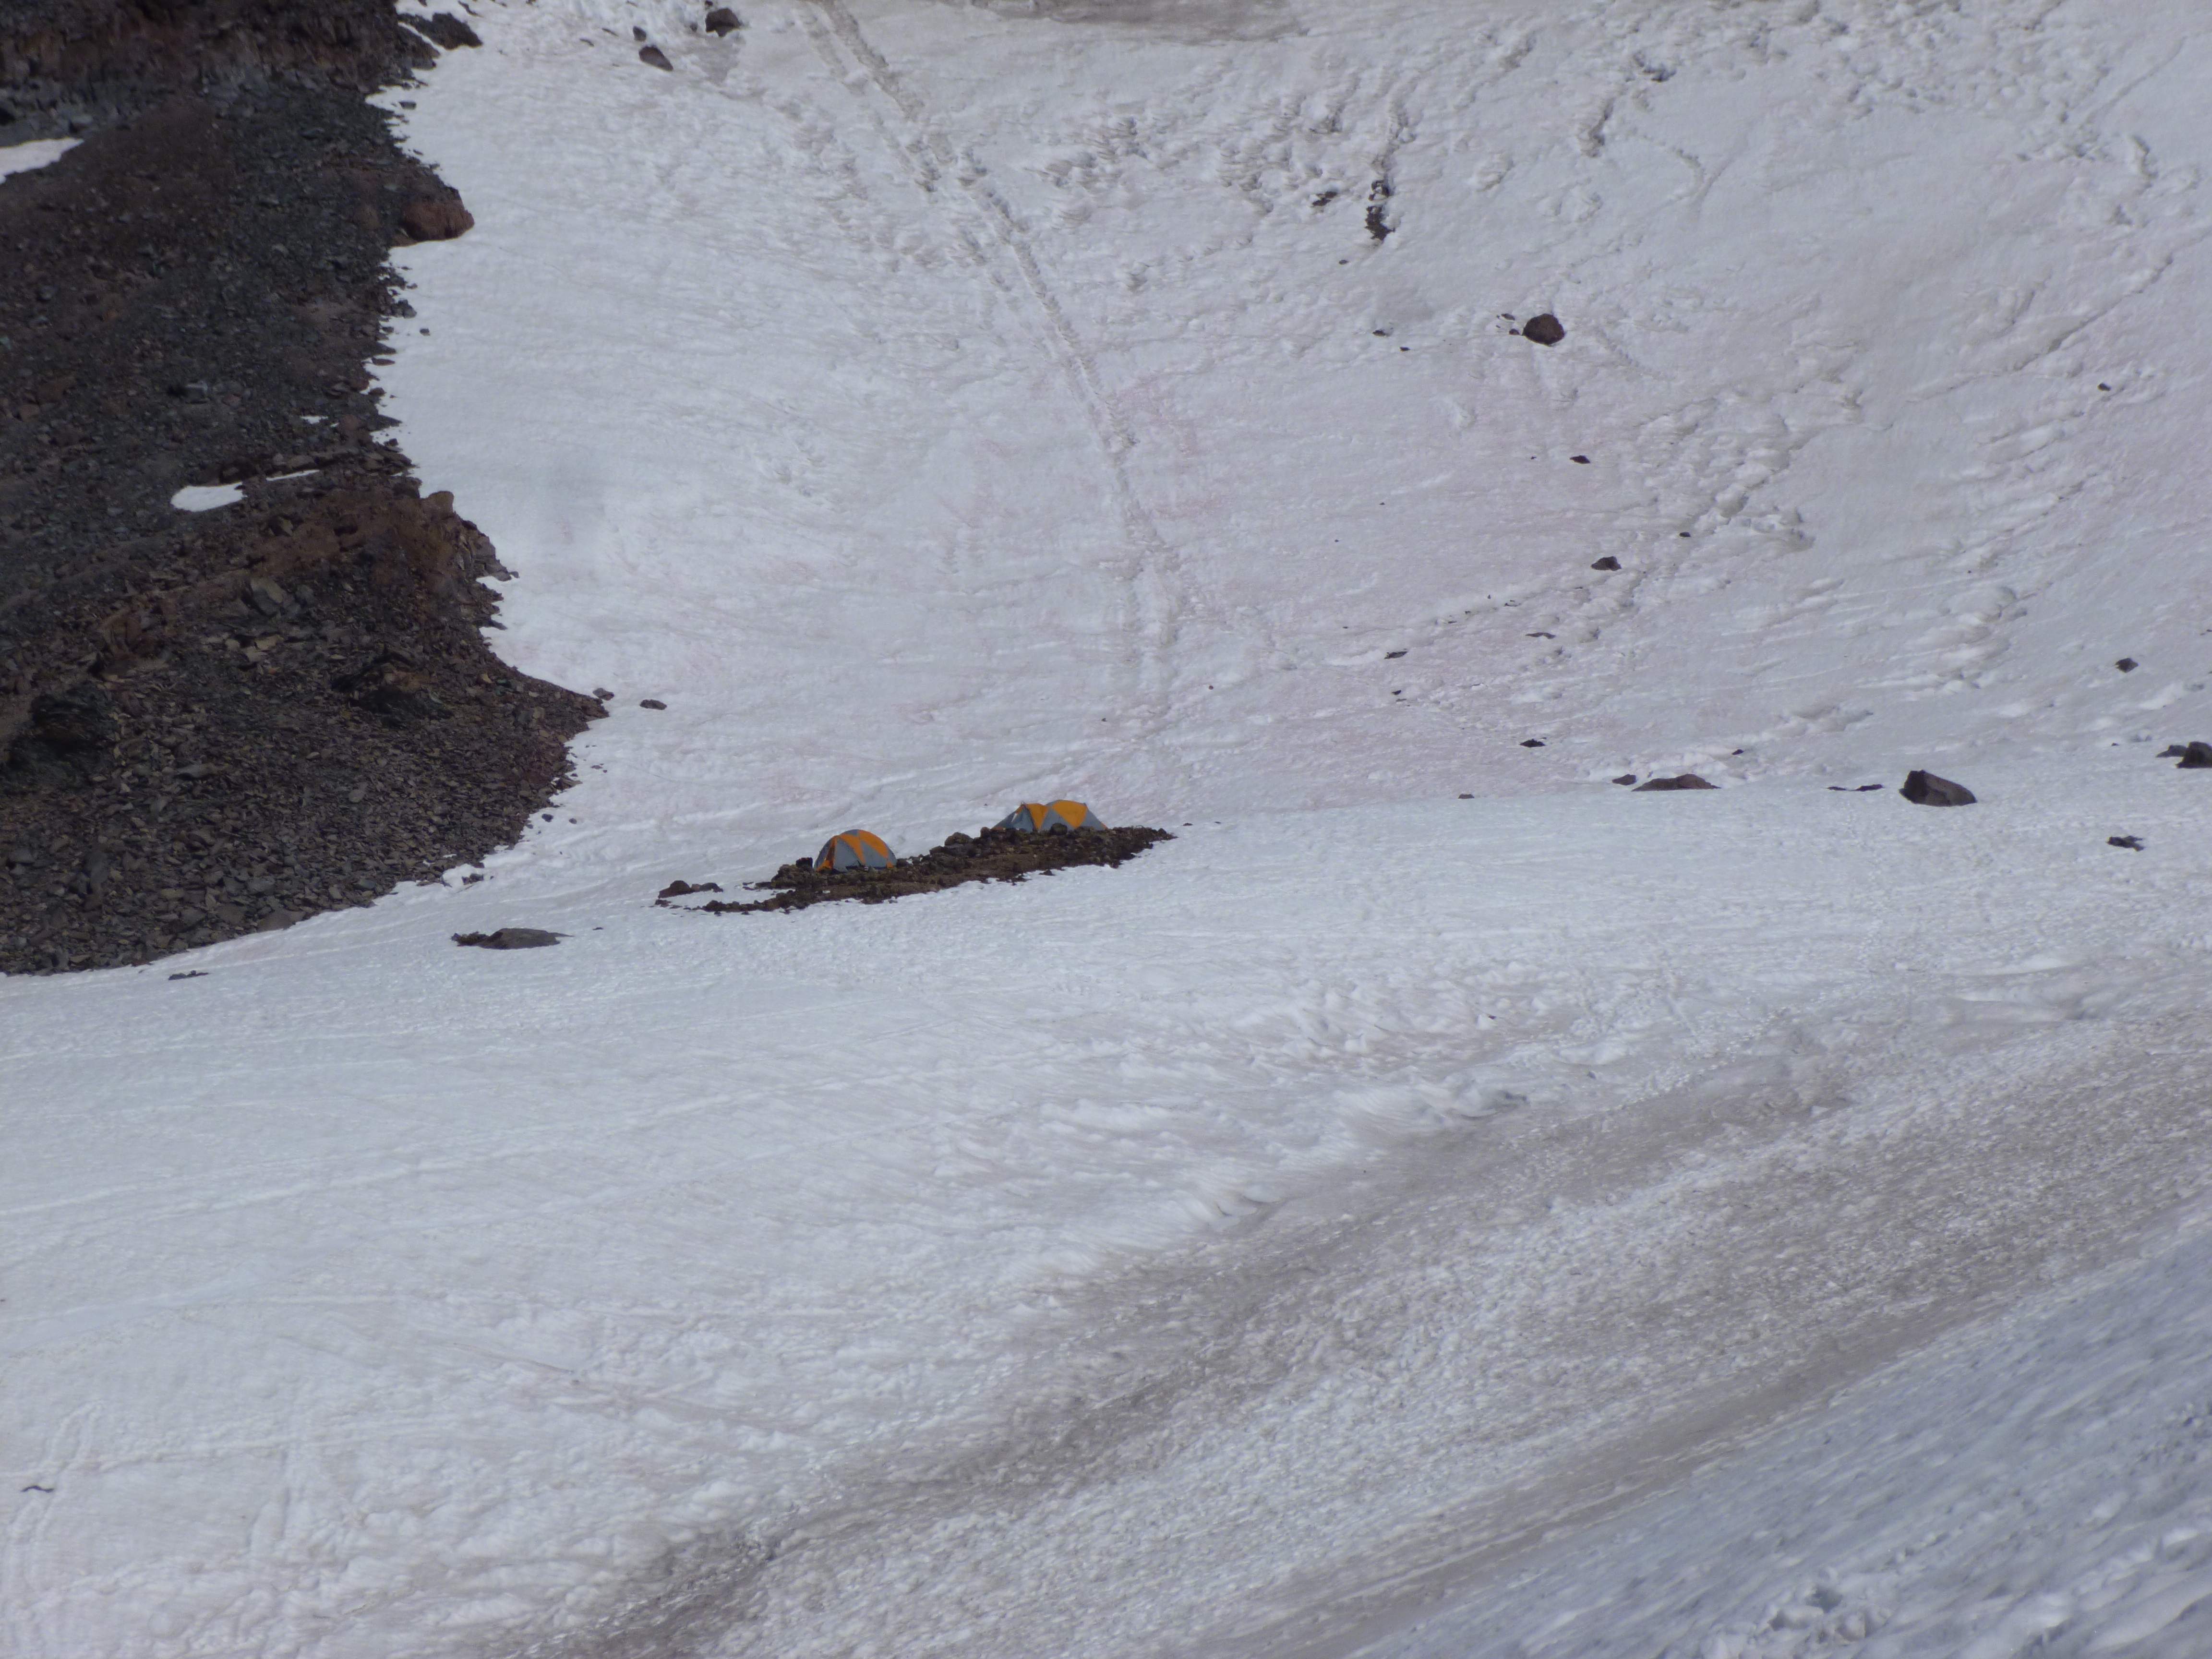
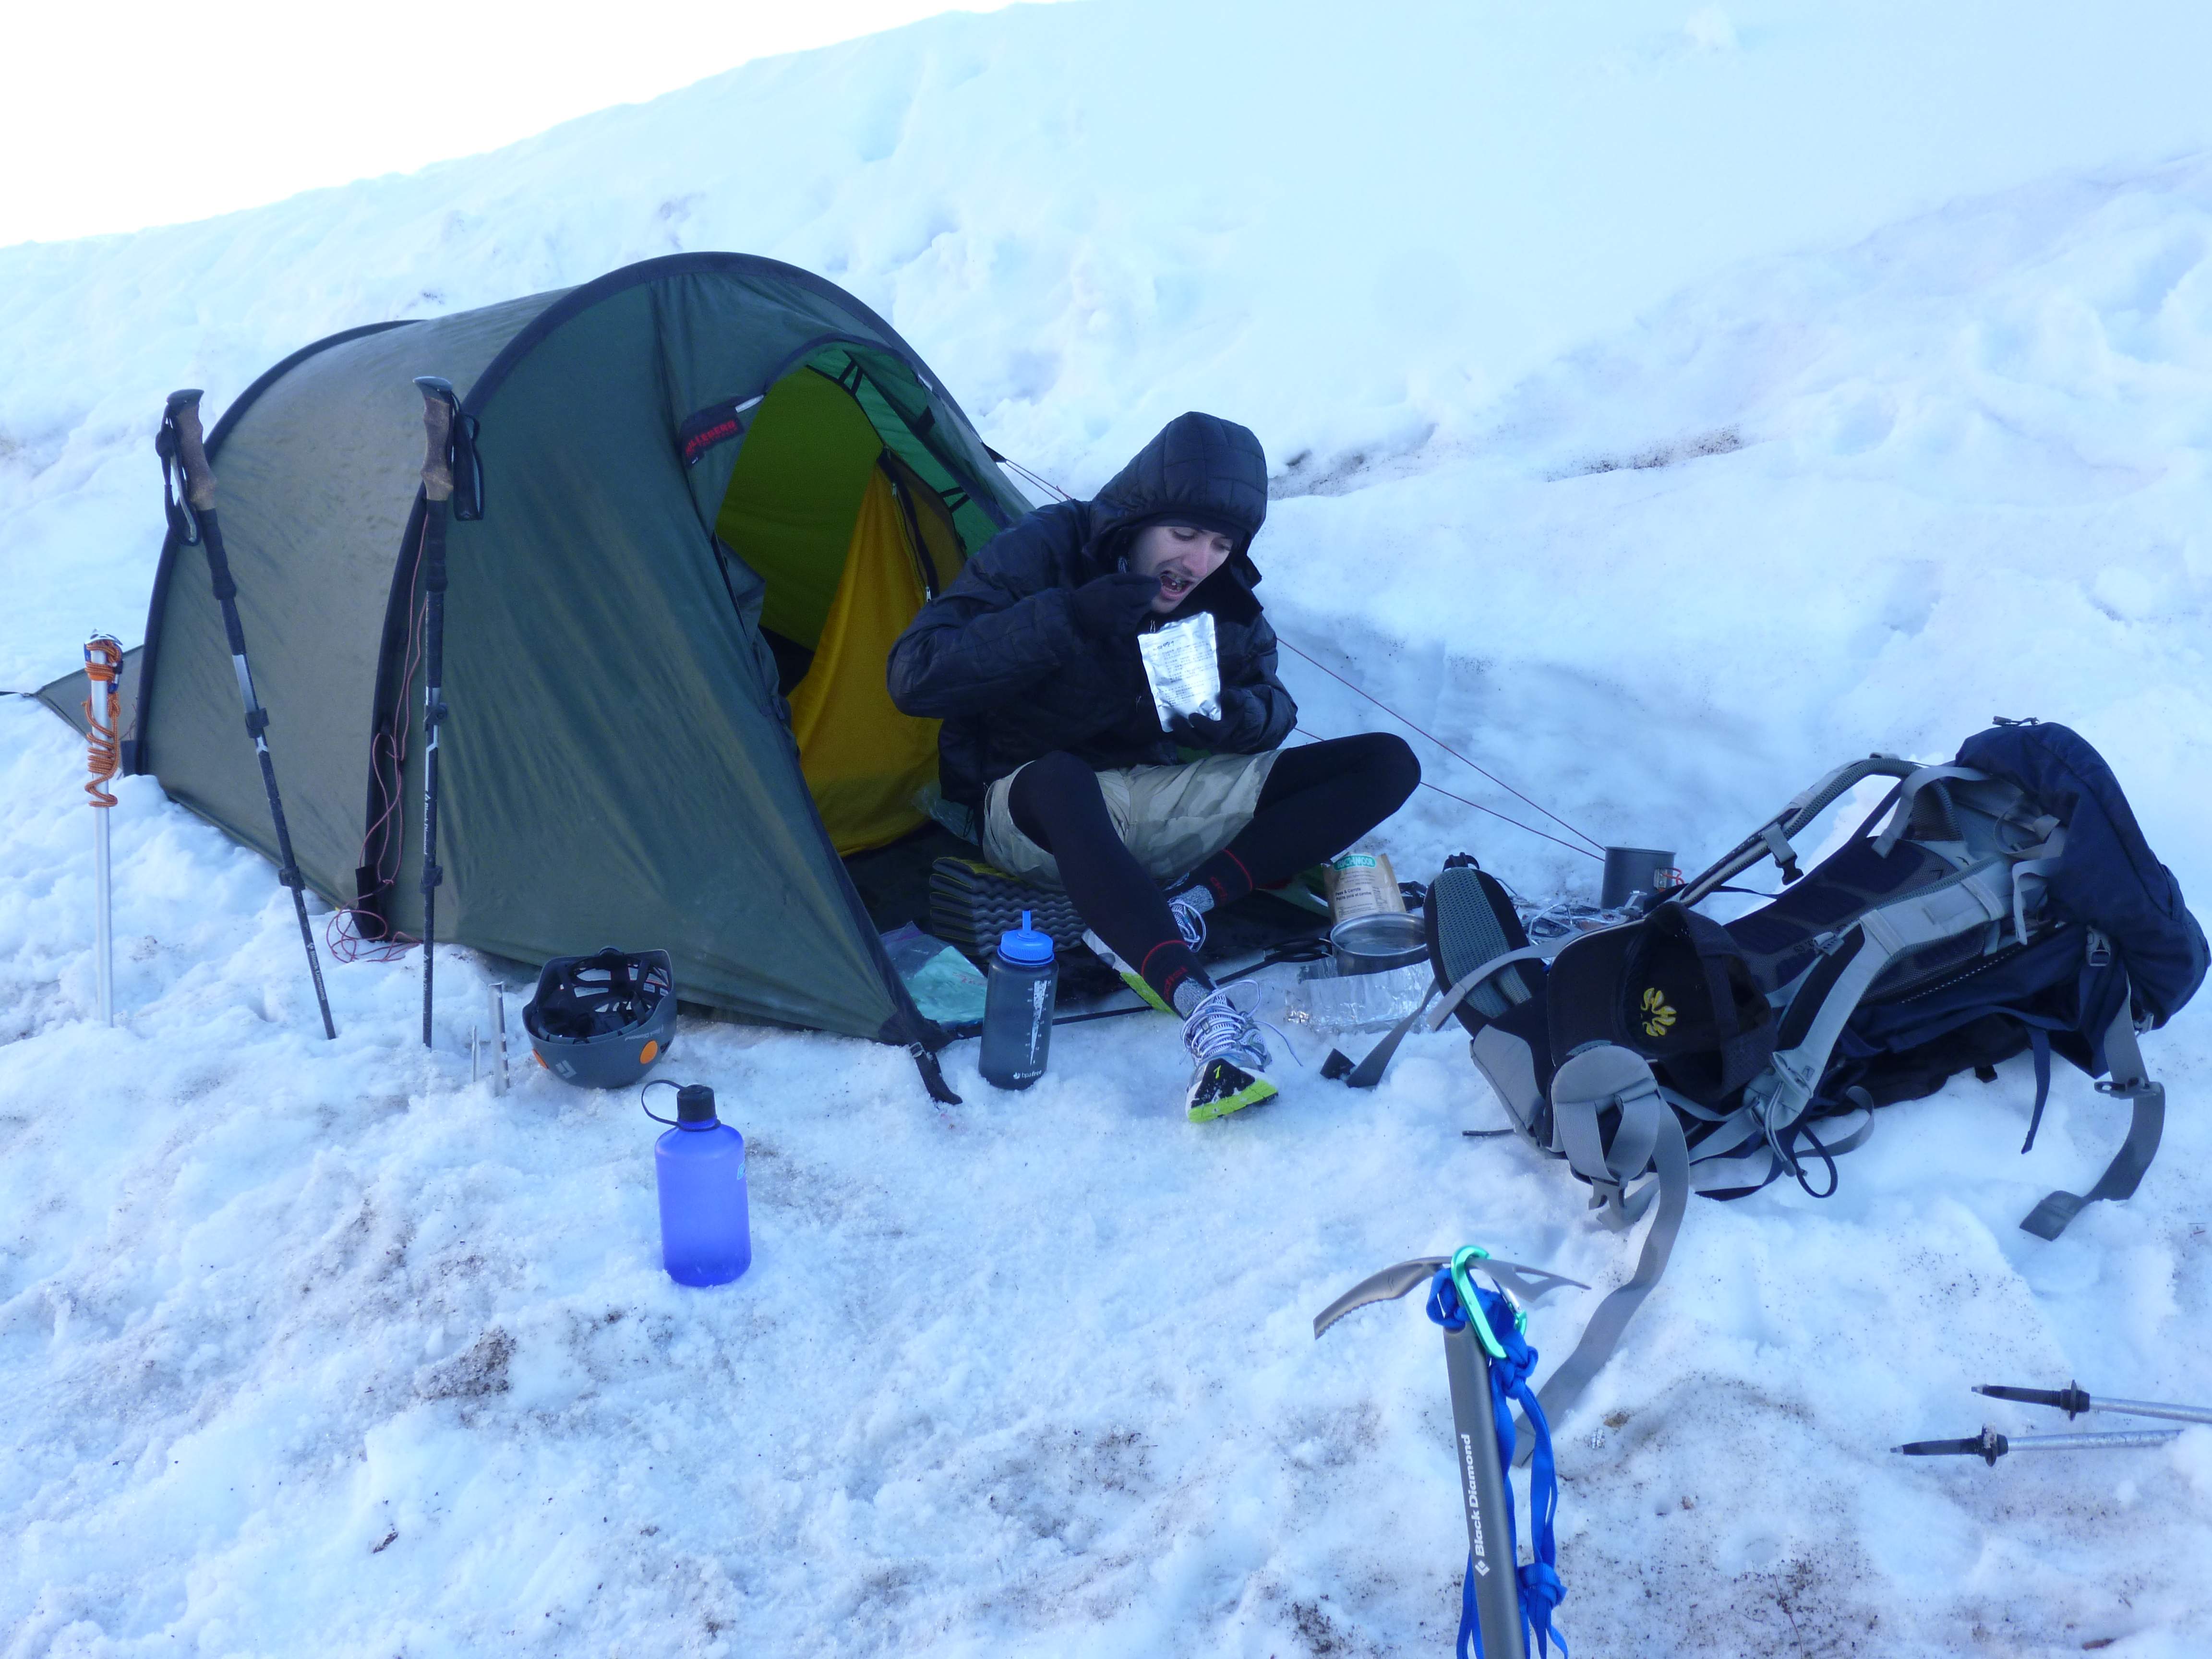
At around 4:30 p.m. – a full 12 hours since leaving – we arrived back at Camp Schurman. Several other teams had arrived while we were climbing, yet others had left. In high spirits, I lounged around camp hydrating and eating snacks.

Returning to Camp Schurman.
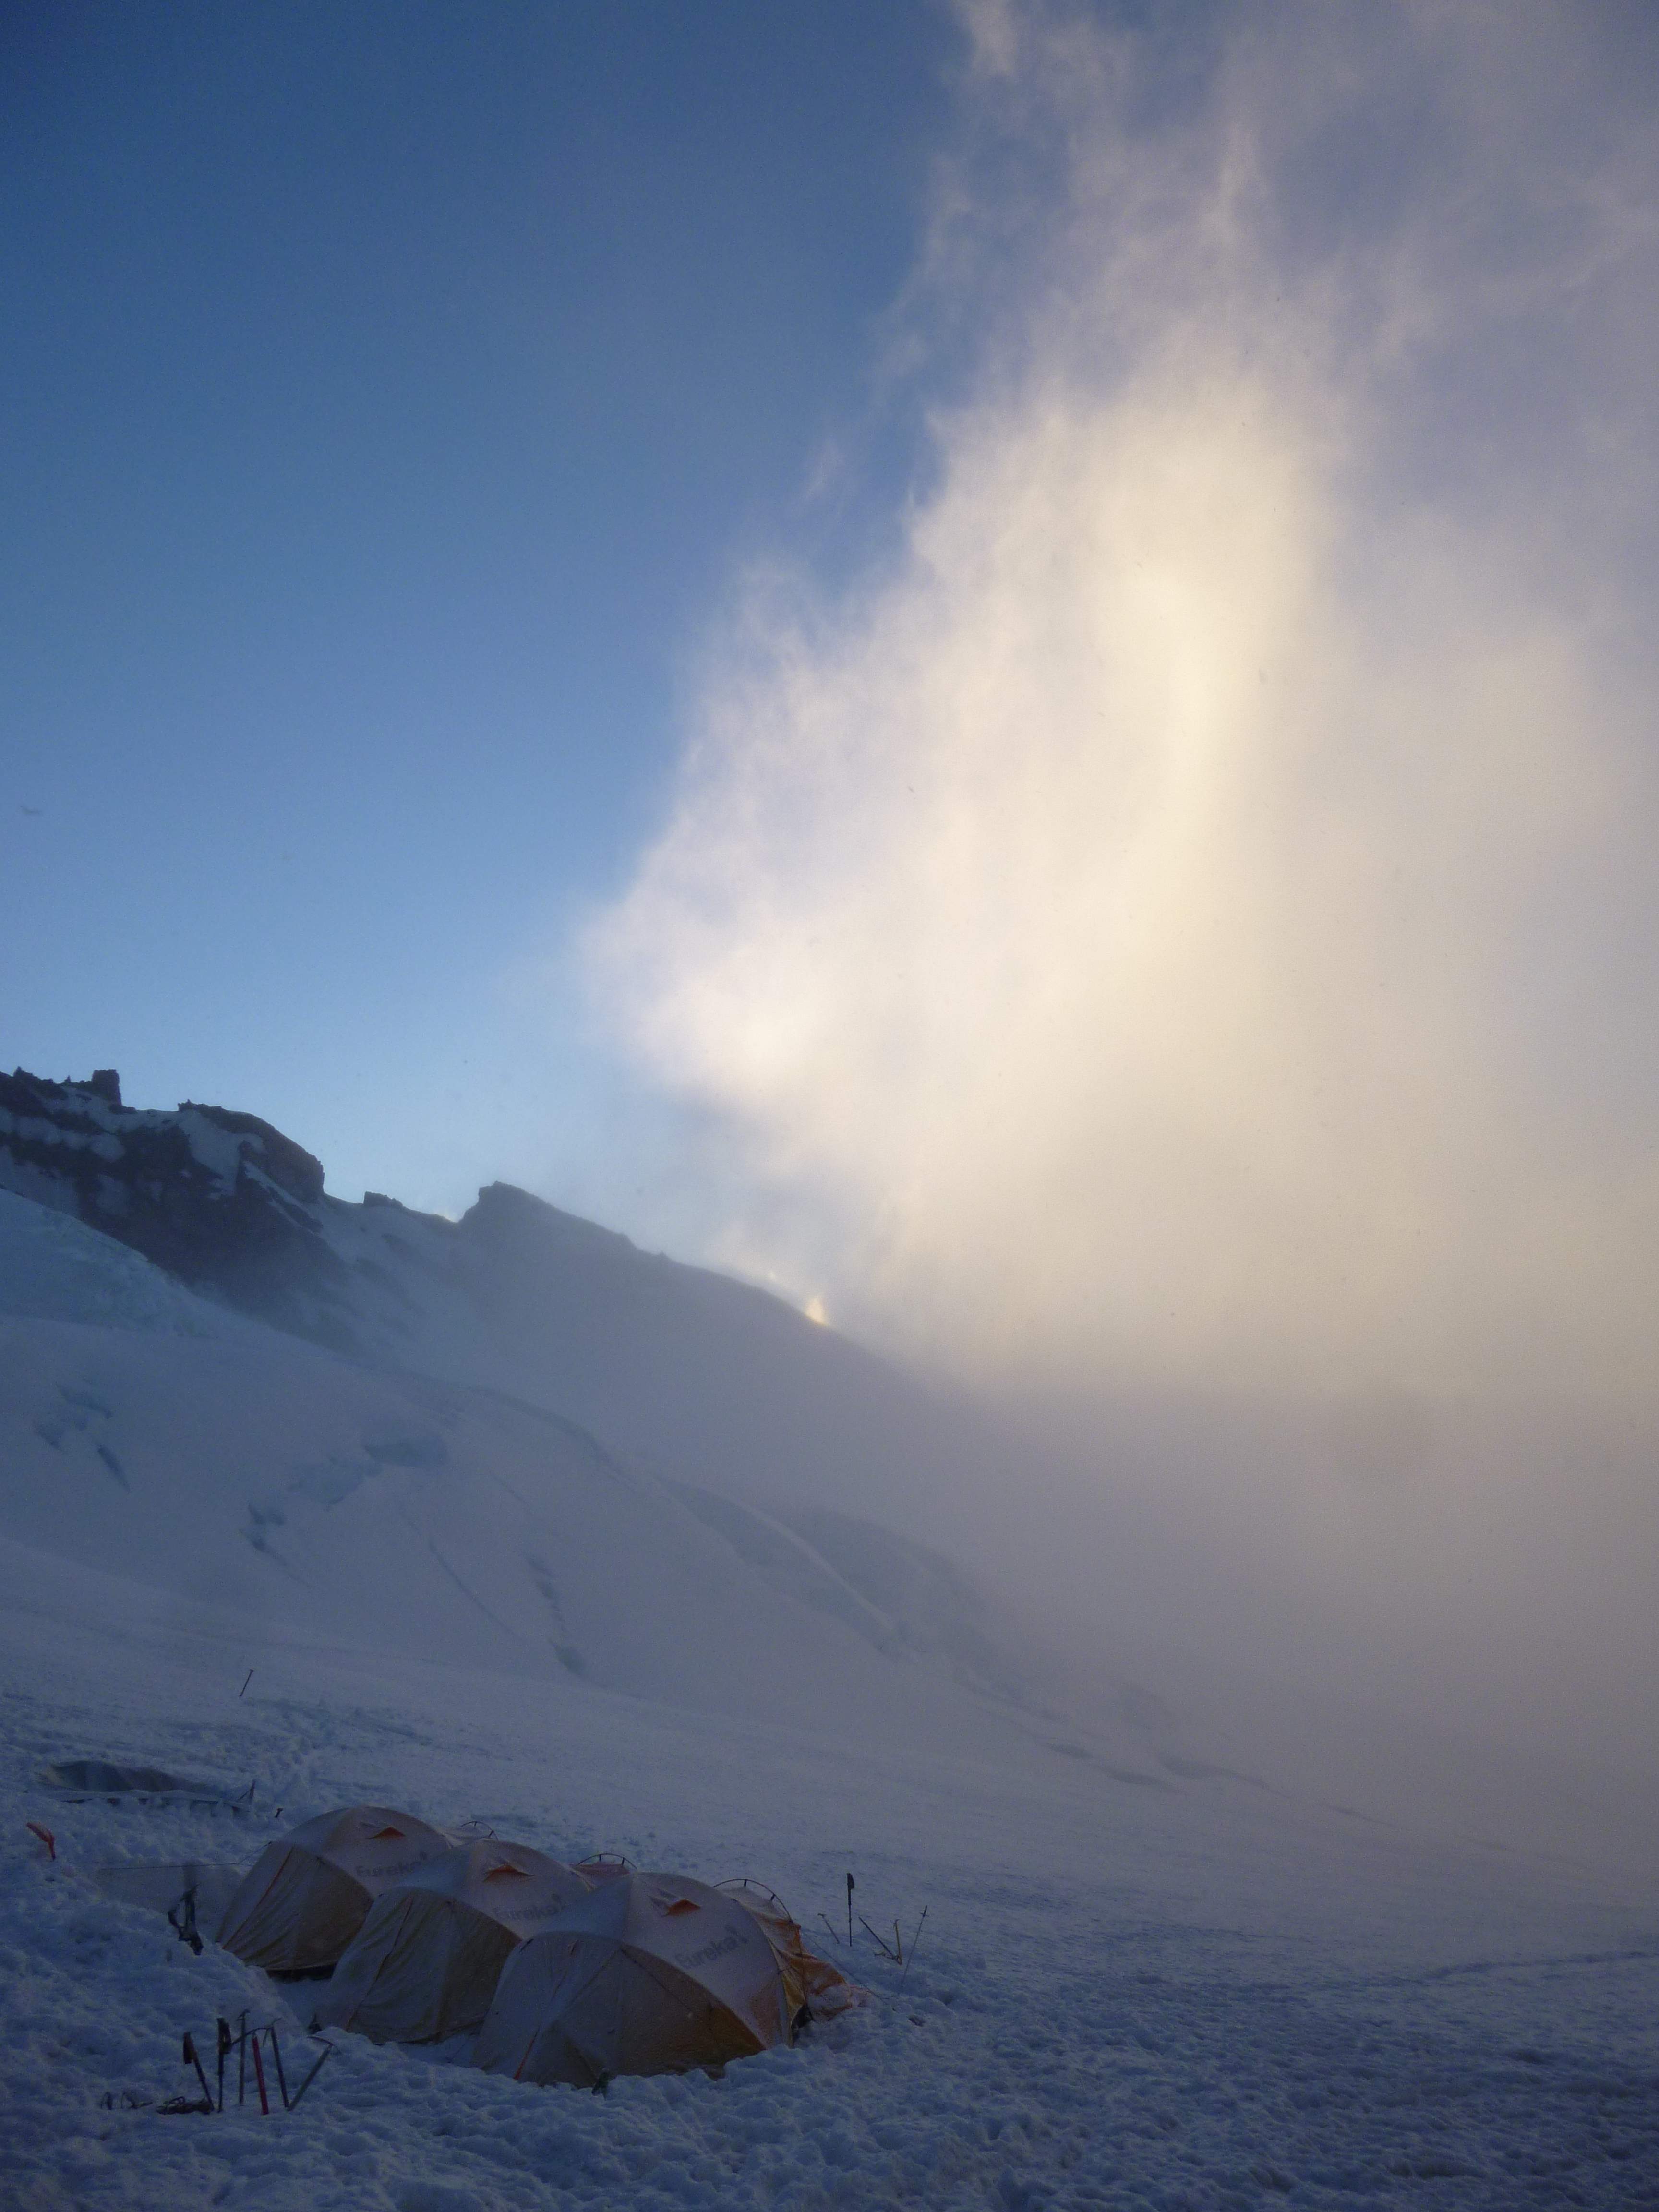
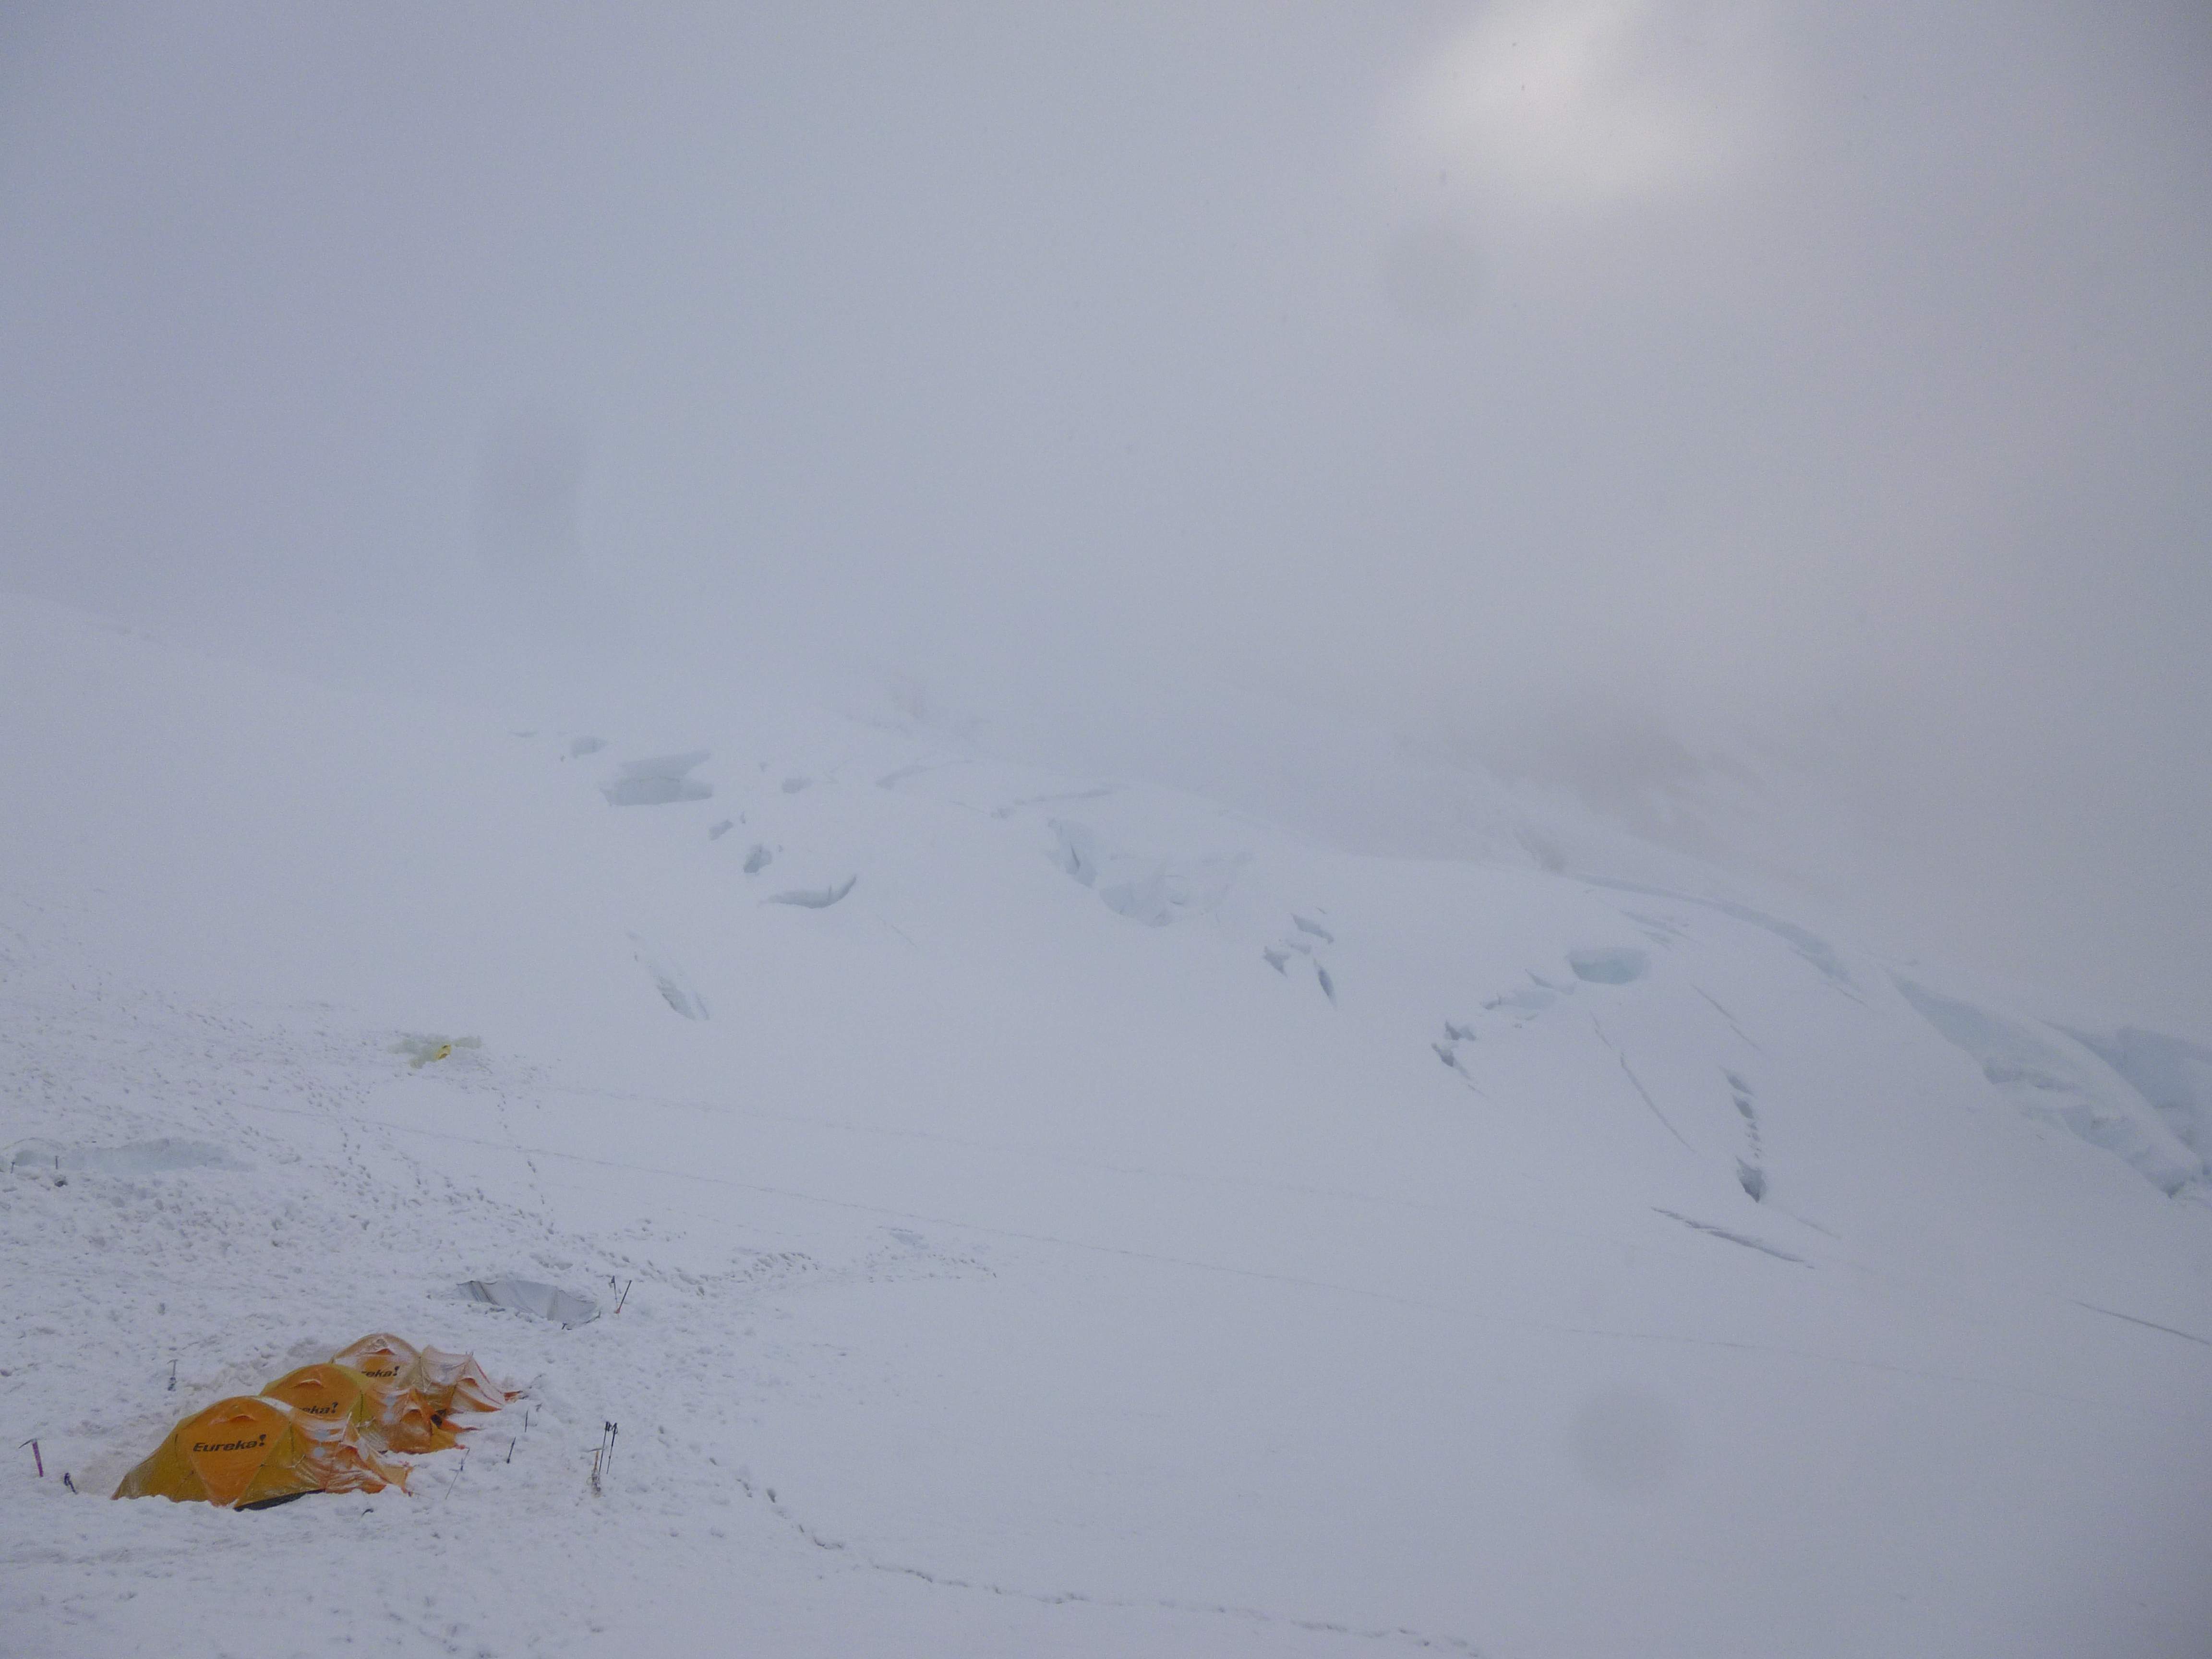
Shortly after our return to camp a steady rain began to come down. It was cold, wet, and thoroughly unpleasant – we were all grateful that we had been lucky enough to ascend in clear weather. As the sun began to set, the rain turned to sleet, then snow. From here on our itinerary was very relaxed, and our plan didn’t call for descending until the next day. We turned in early, planning to get a sunrise start.

Our camp in the sleet.
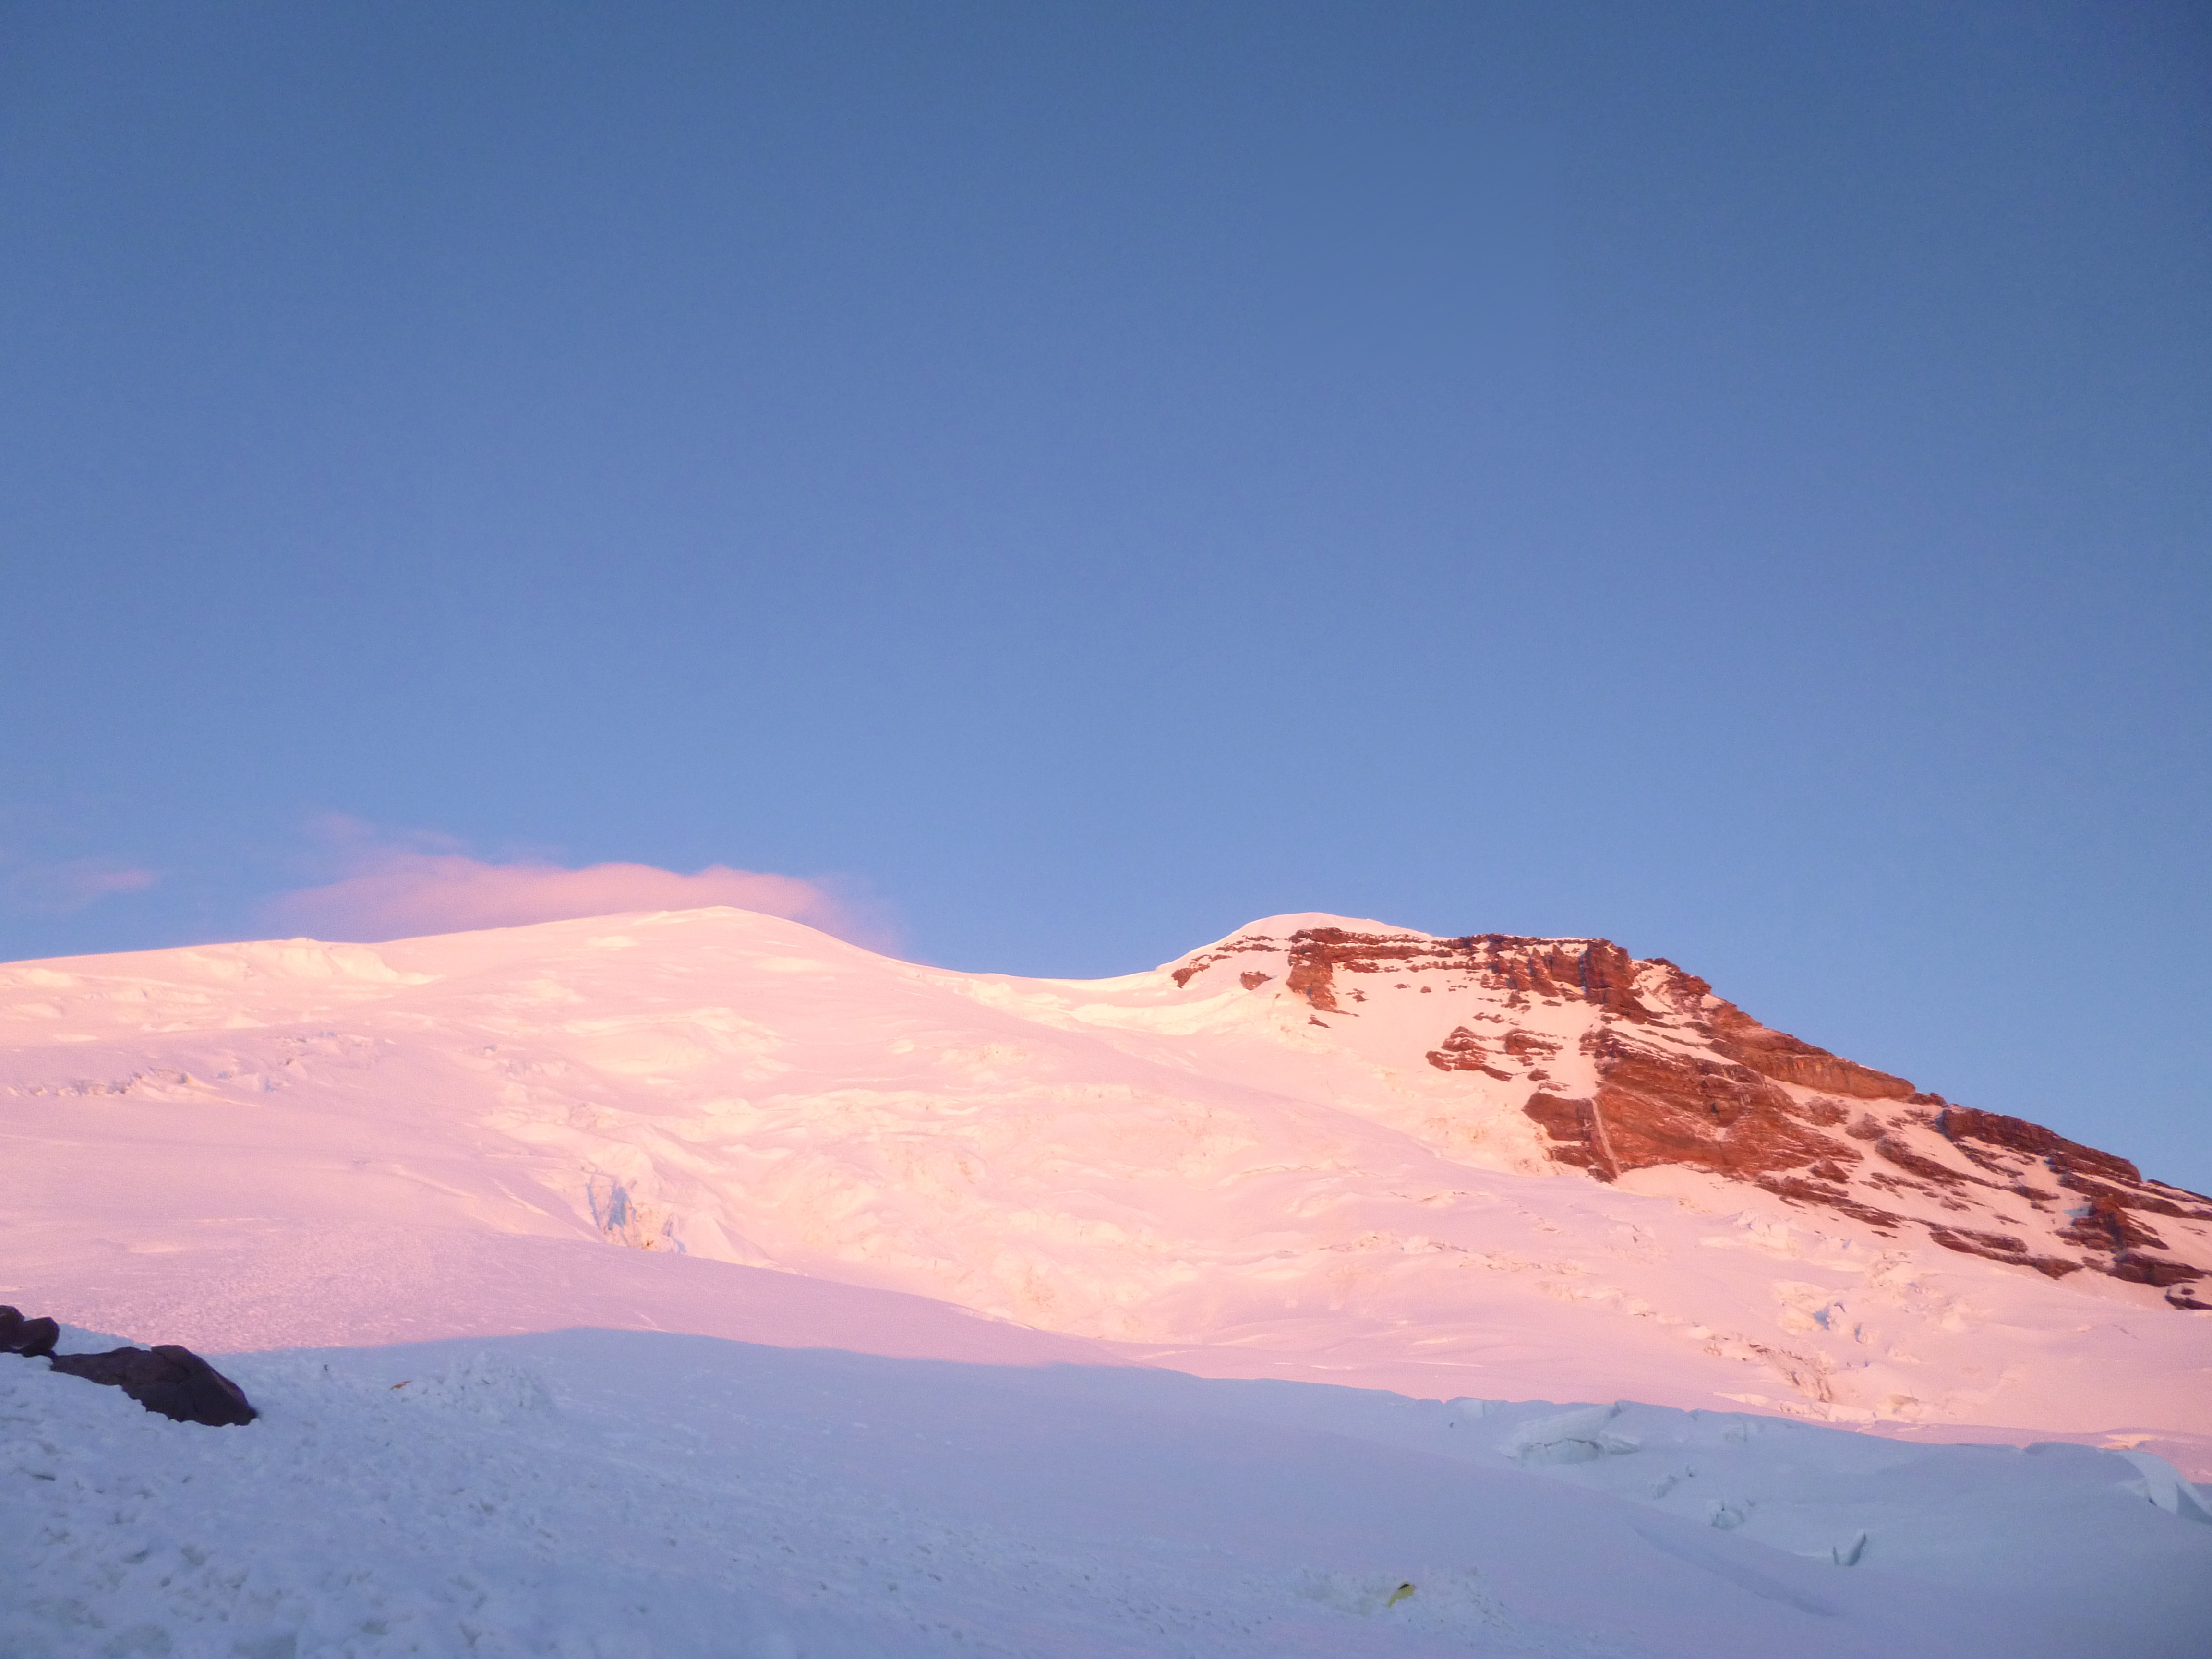
Day 4: Up early, we were greeted by a clear sky and gorgeous alpenglow on the upper mountain.

Alpenglow in Rainier.

Rainier in the morning sun.
The mountain looked fantastic in the clear light. We could make out two teams ascending, and it looked like they would enjoy a weather window similar to ours the day before. The sun was refreshing after the cold, wet night. We quickly broke camp, and prepared to descend back to the Inter Glacier.

Sunrise at Camp Schurman.

Looking down the Emmons.
As we began descending, it was hard not to stare at Little Tahoma Peak and the lower Emmons glacier.

Little Tahoma Peak across the Emmons.

Crevasse fields on the lower Emmons Glacier below Little Tahoma Peak.

Crevasse fields on the lower Emmons Glacier below Little Tahoma Peak.
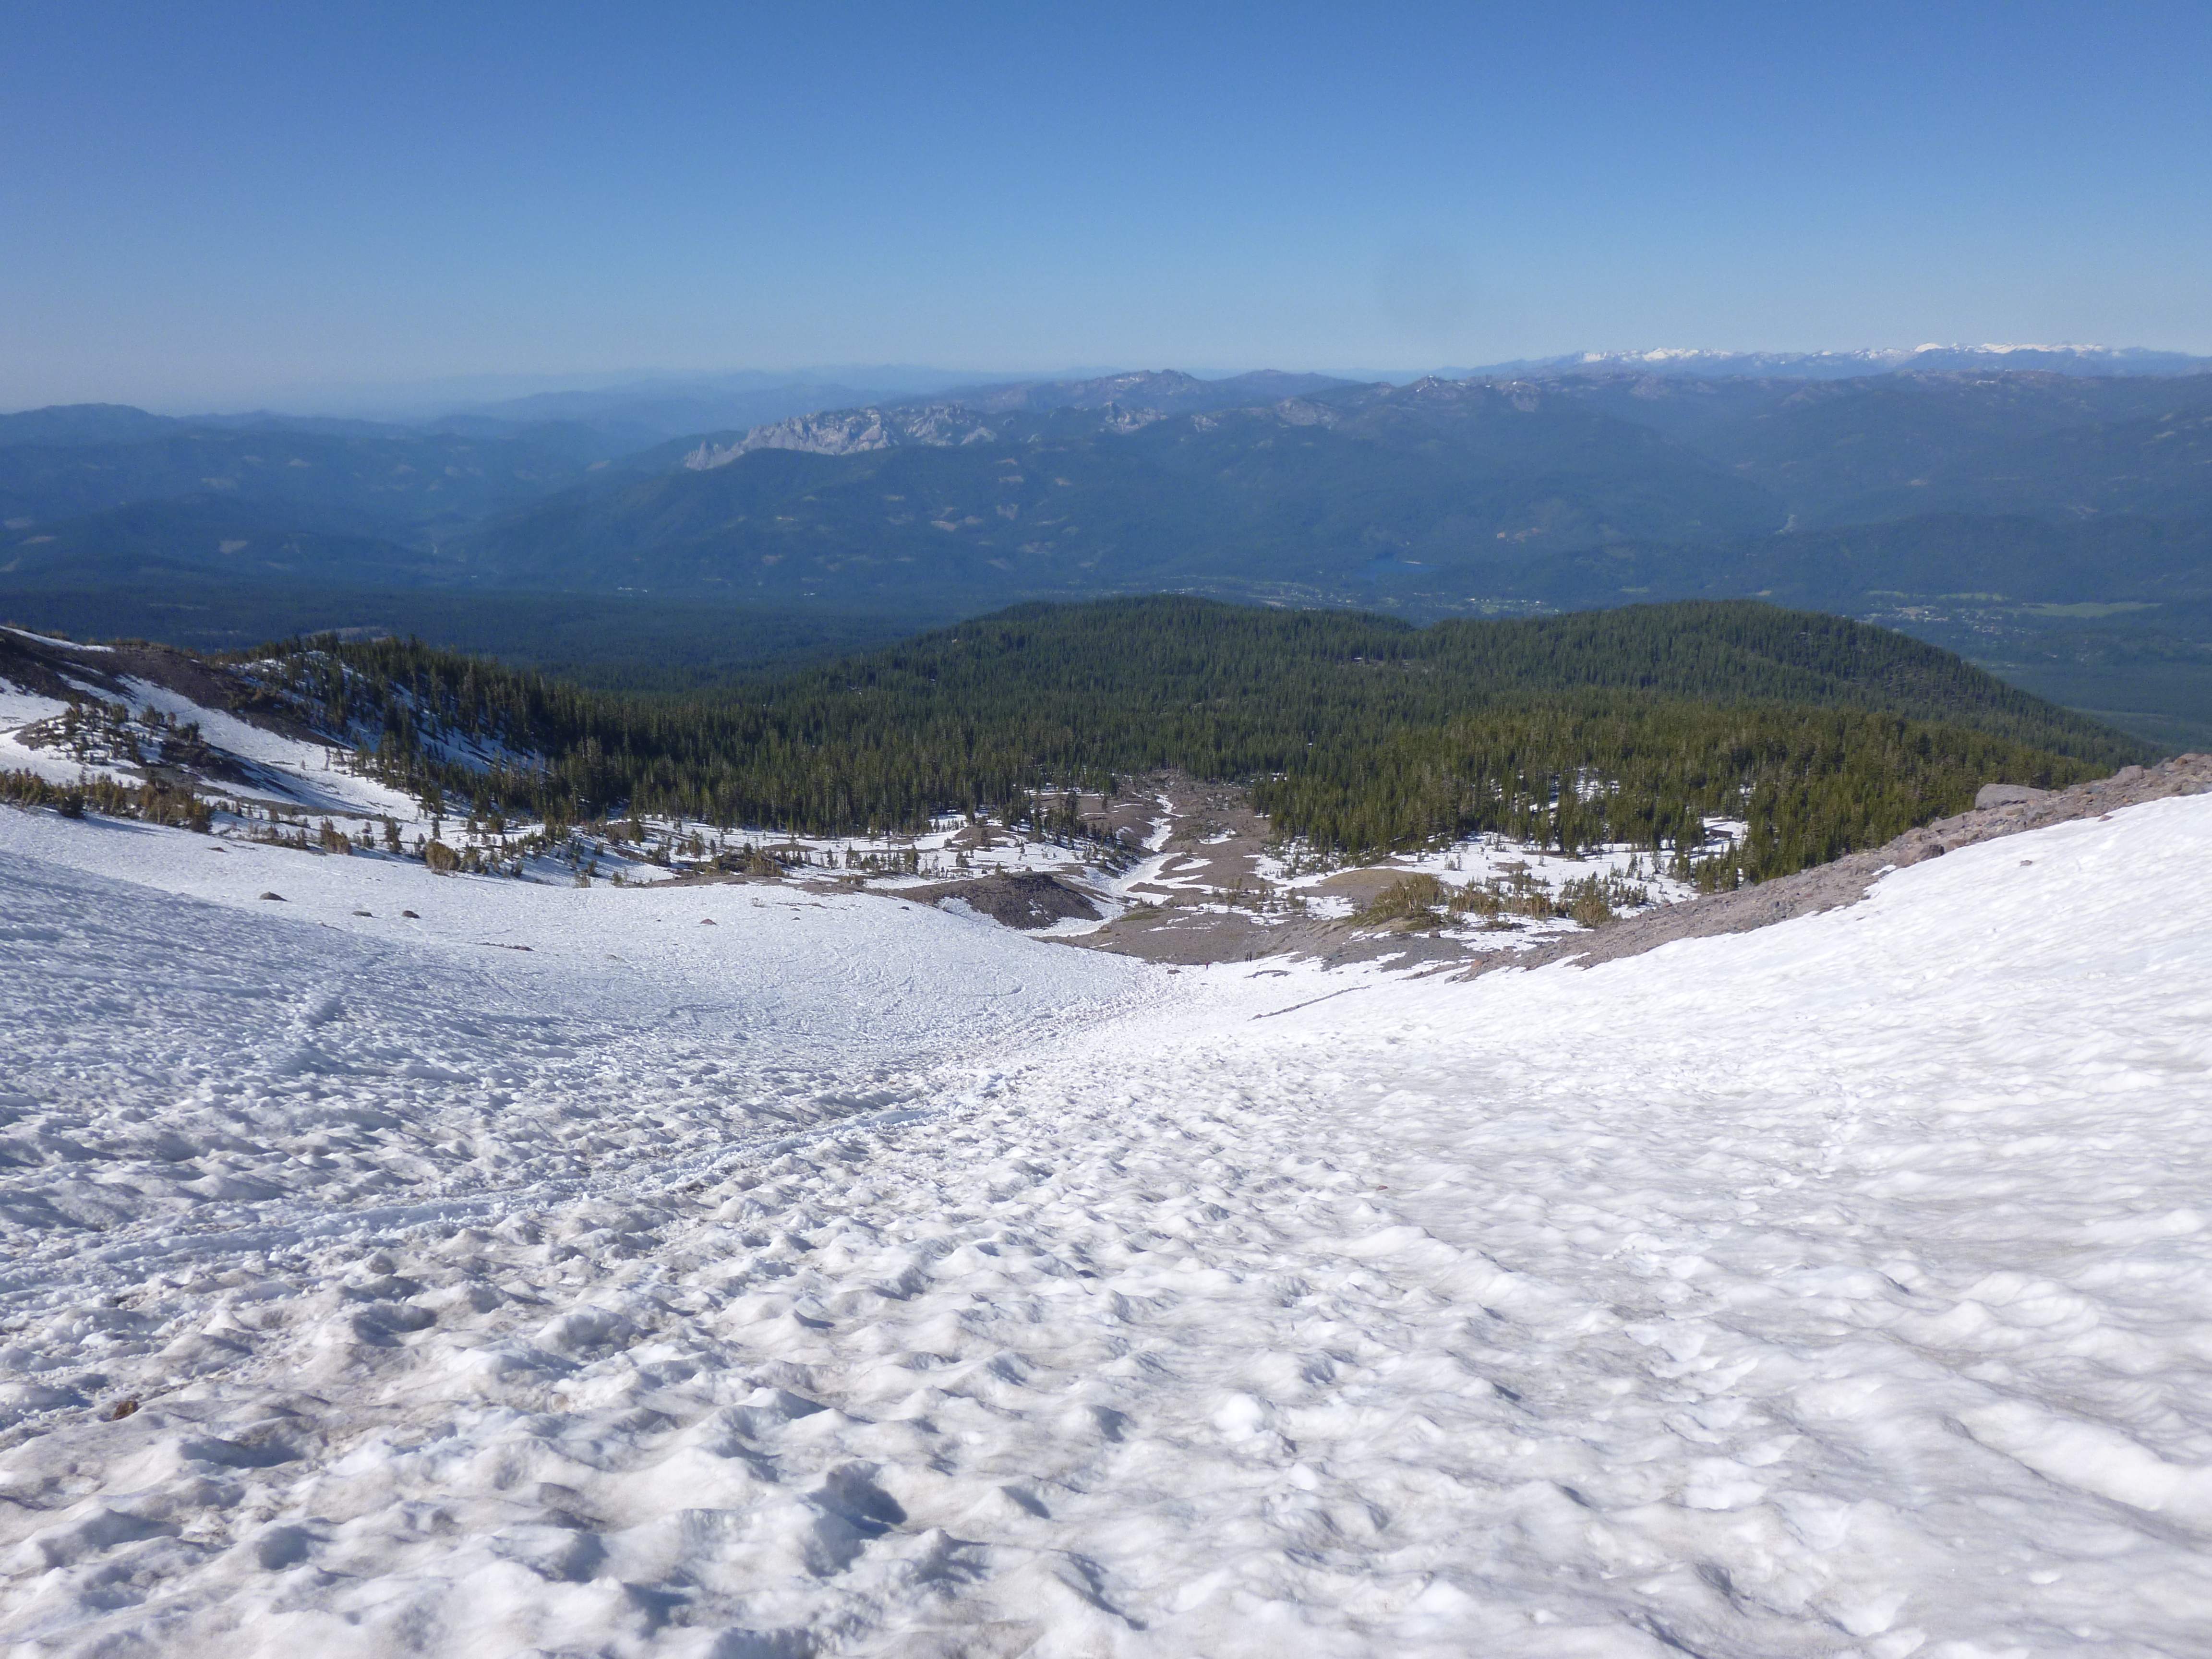
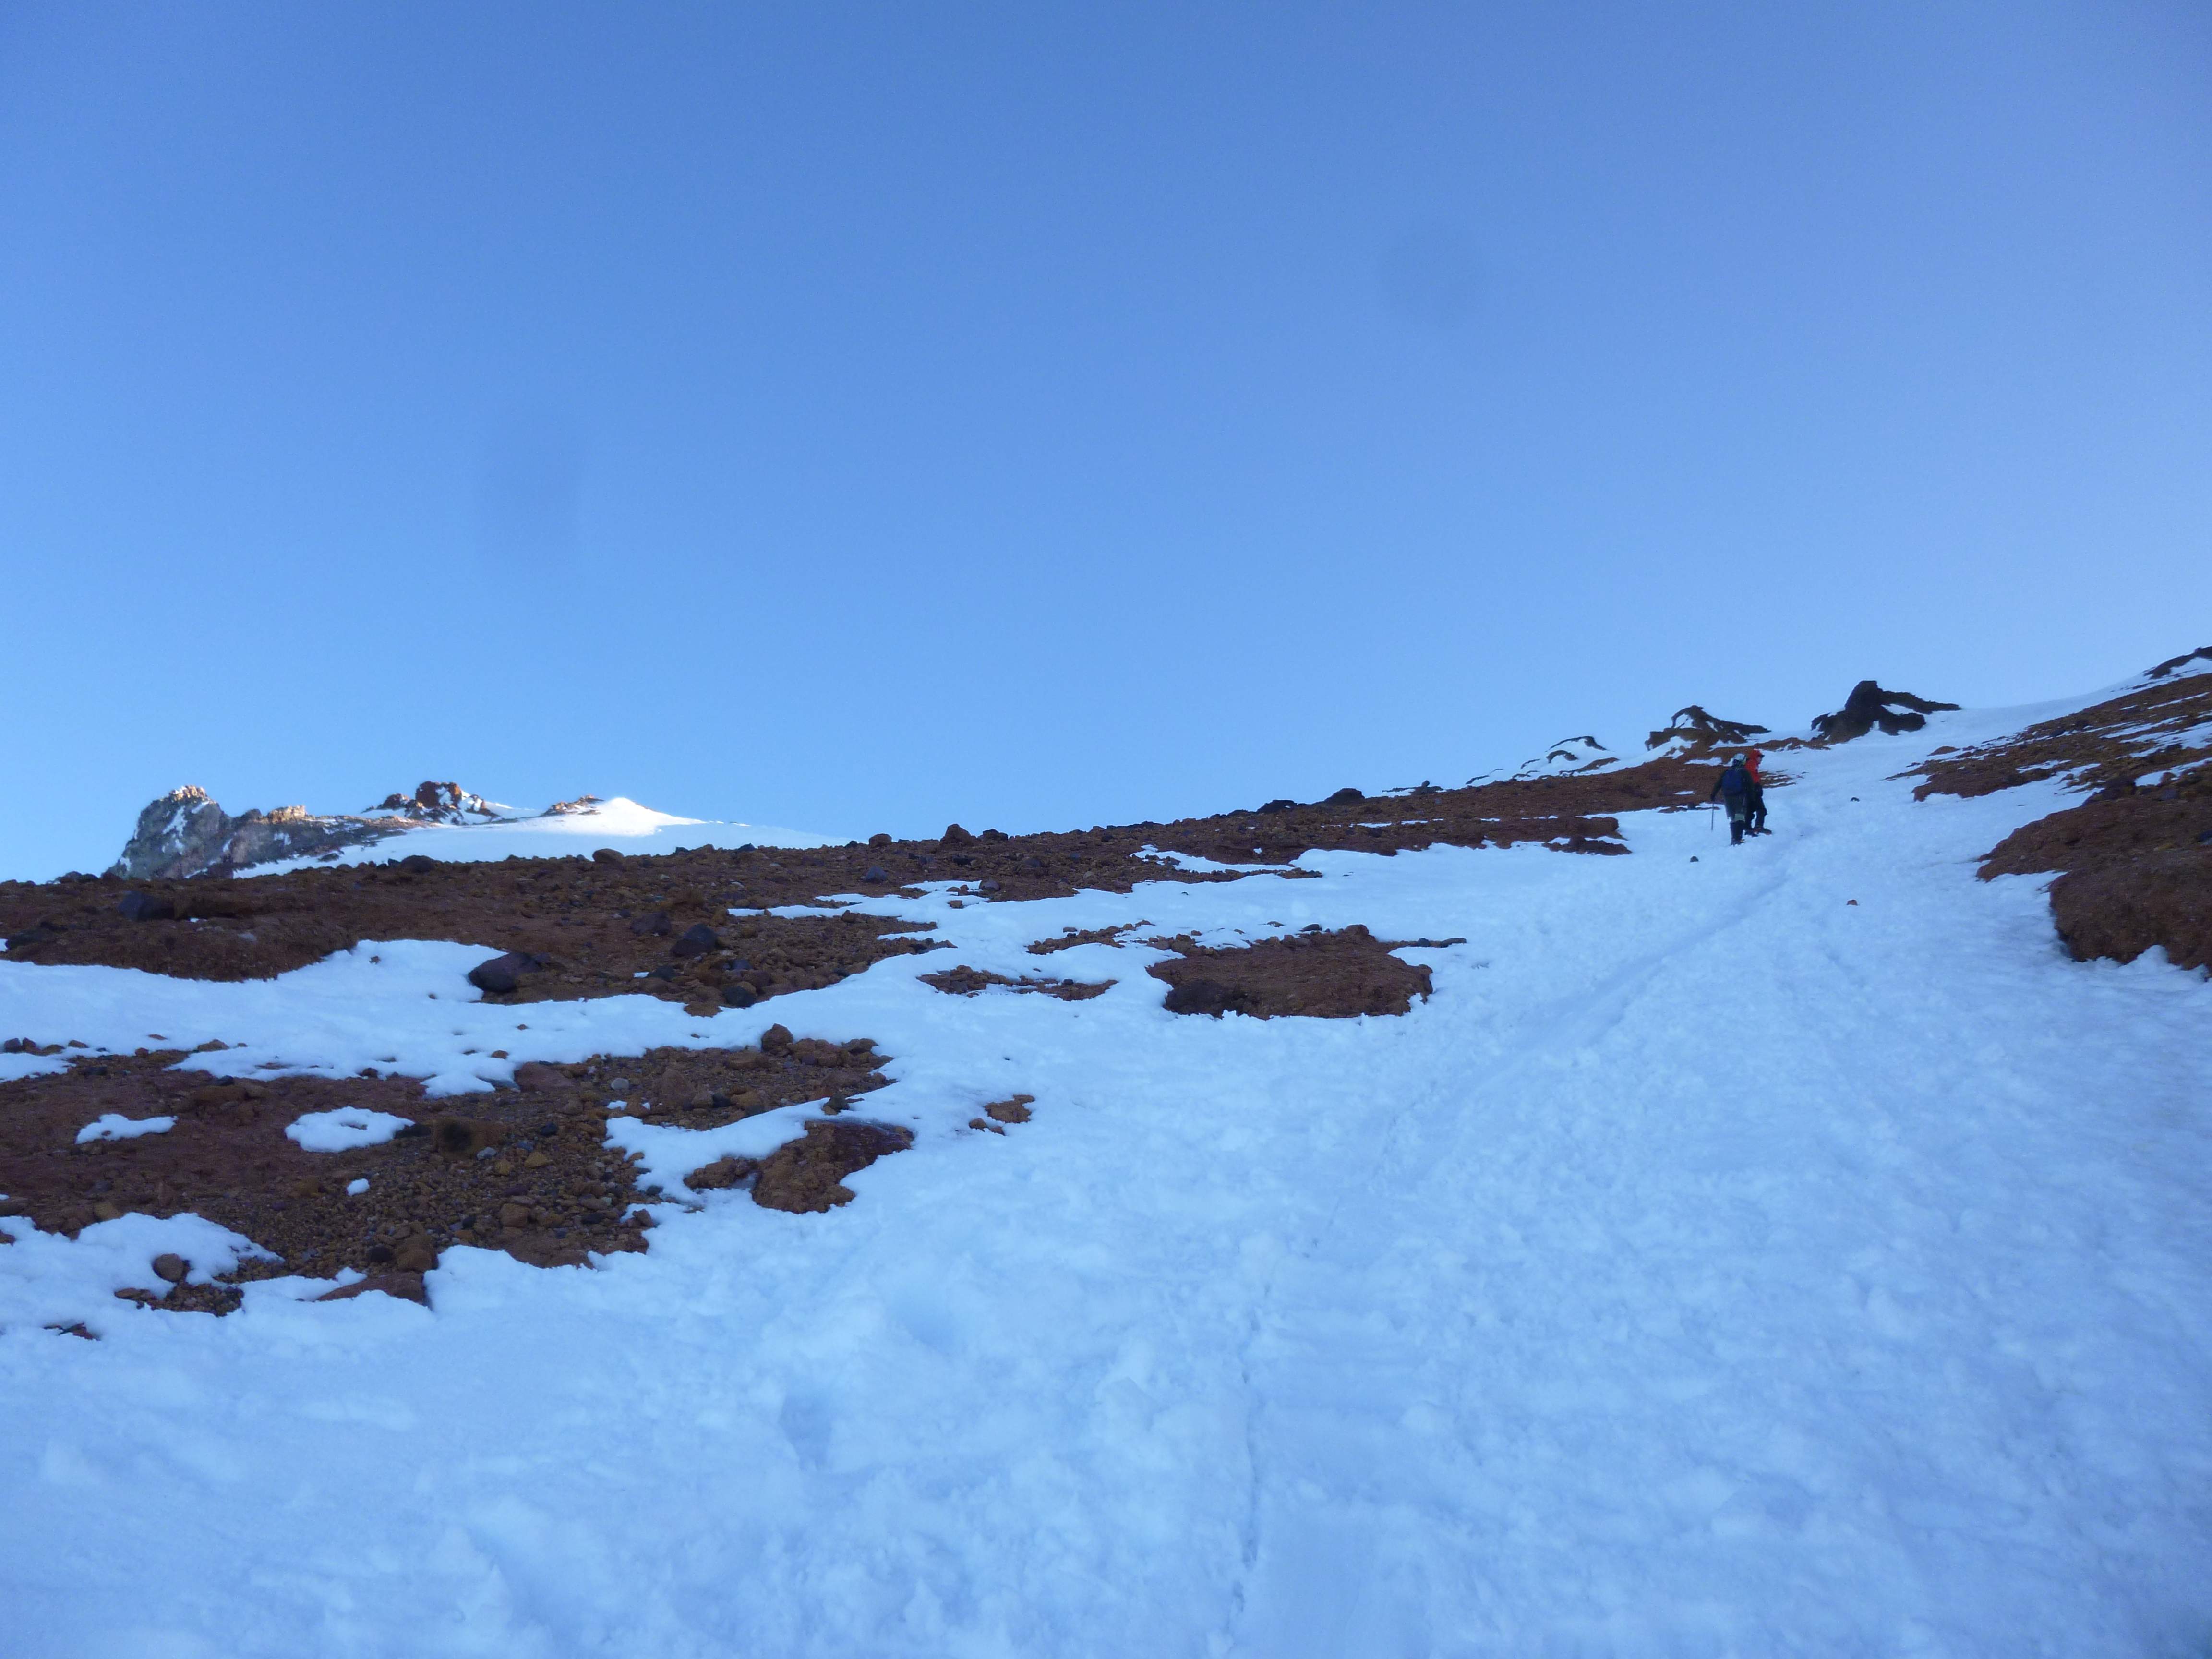
As we reached the Inter Glacier, we were immersed in thick clouds. The morning air was warm, and the fresh snow underfoot had softened into a slushy, ankle deep mess. After around an hour of descent, we reached the bottom of the Inter Glacier, and regained the Glacier Basin trail to the White River trailhead.

Leaving the Inter Glacier for the Glacier Basin trail. Old avalanche debris remained from the winter.

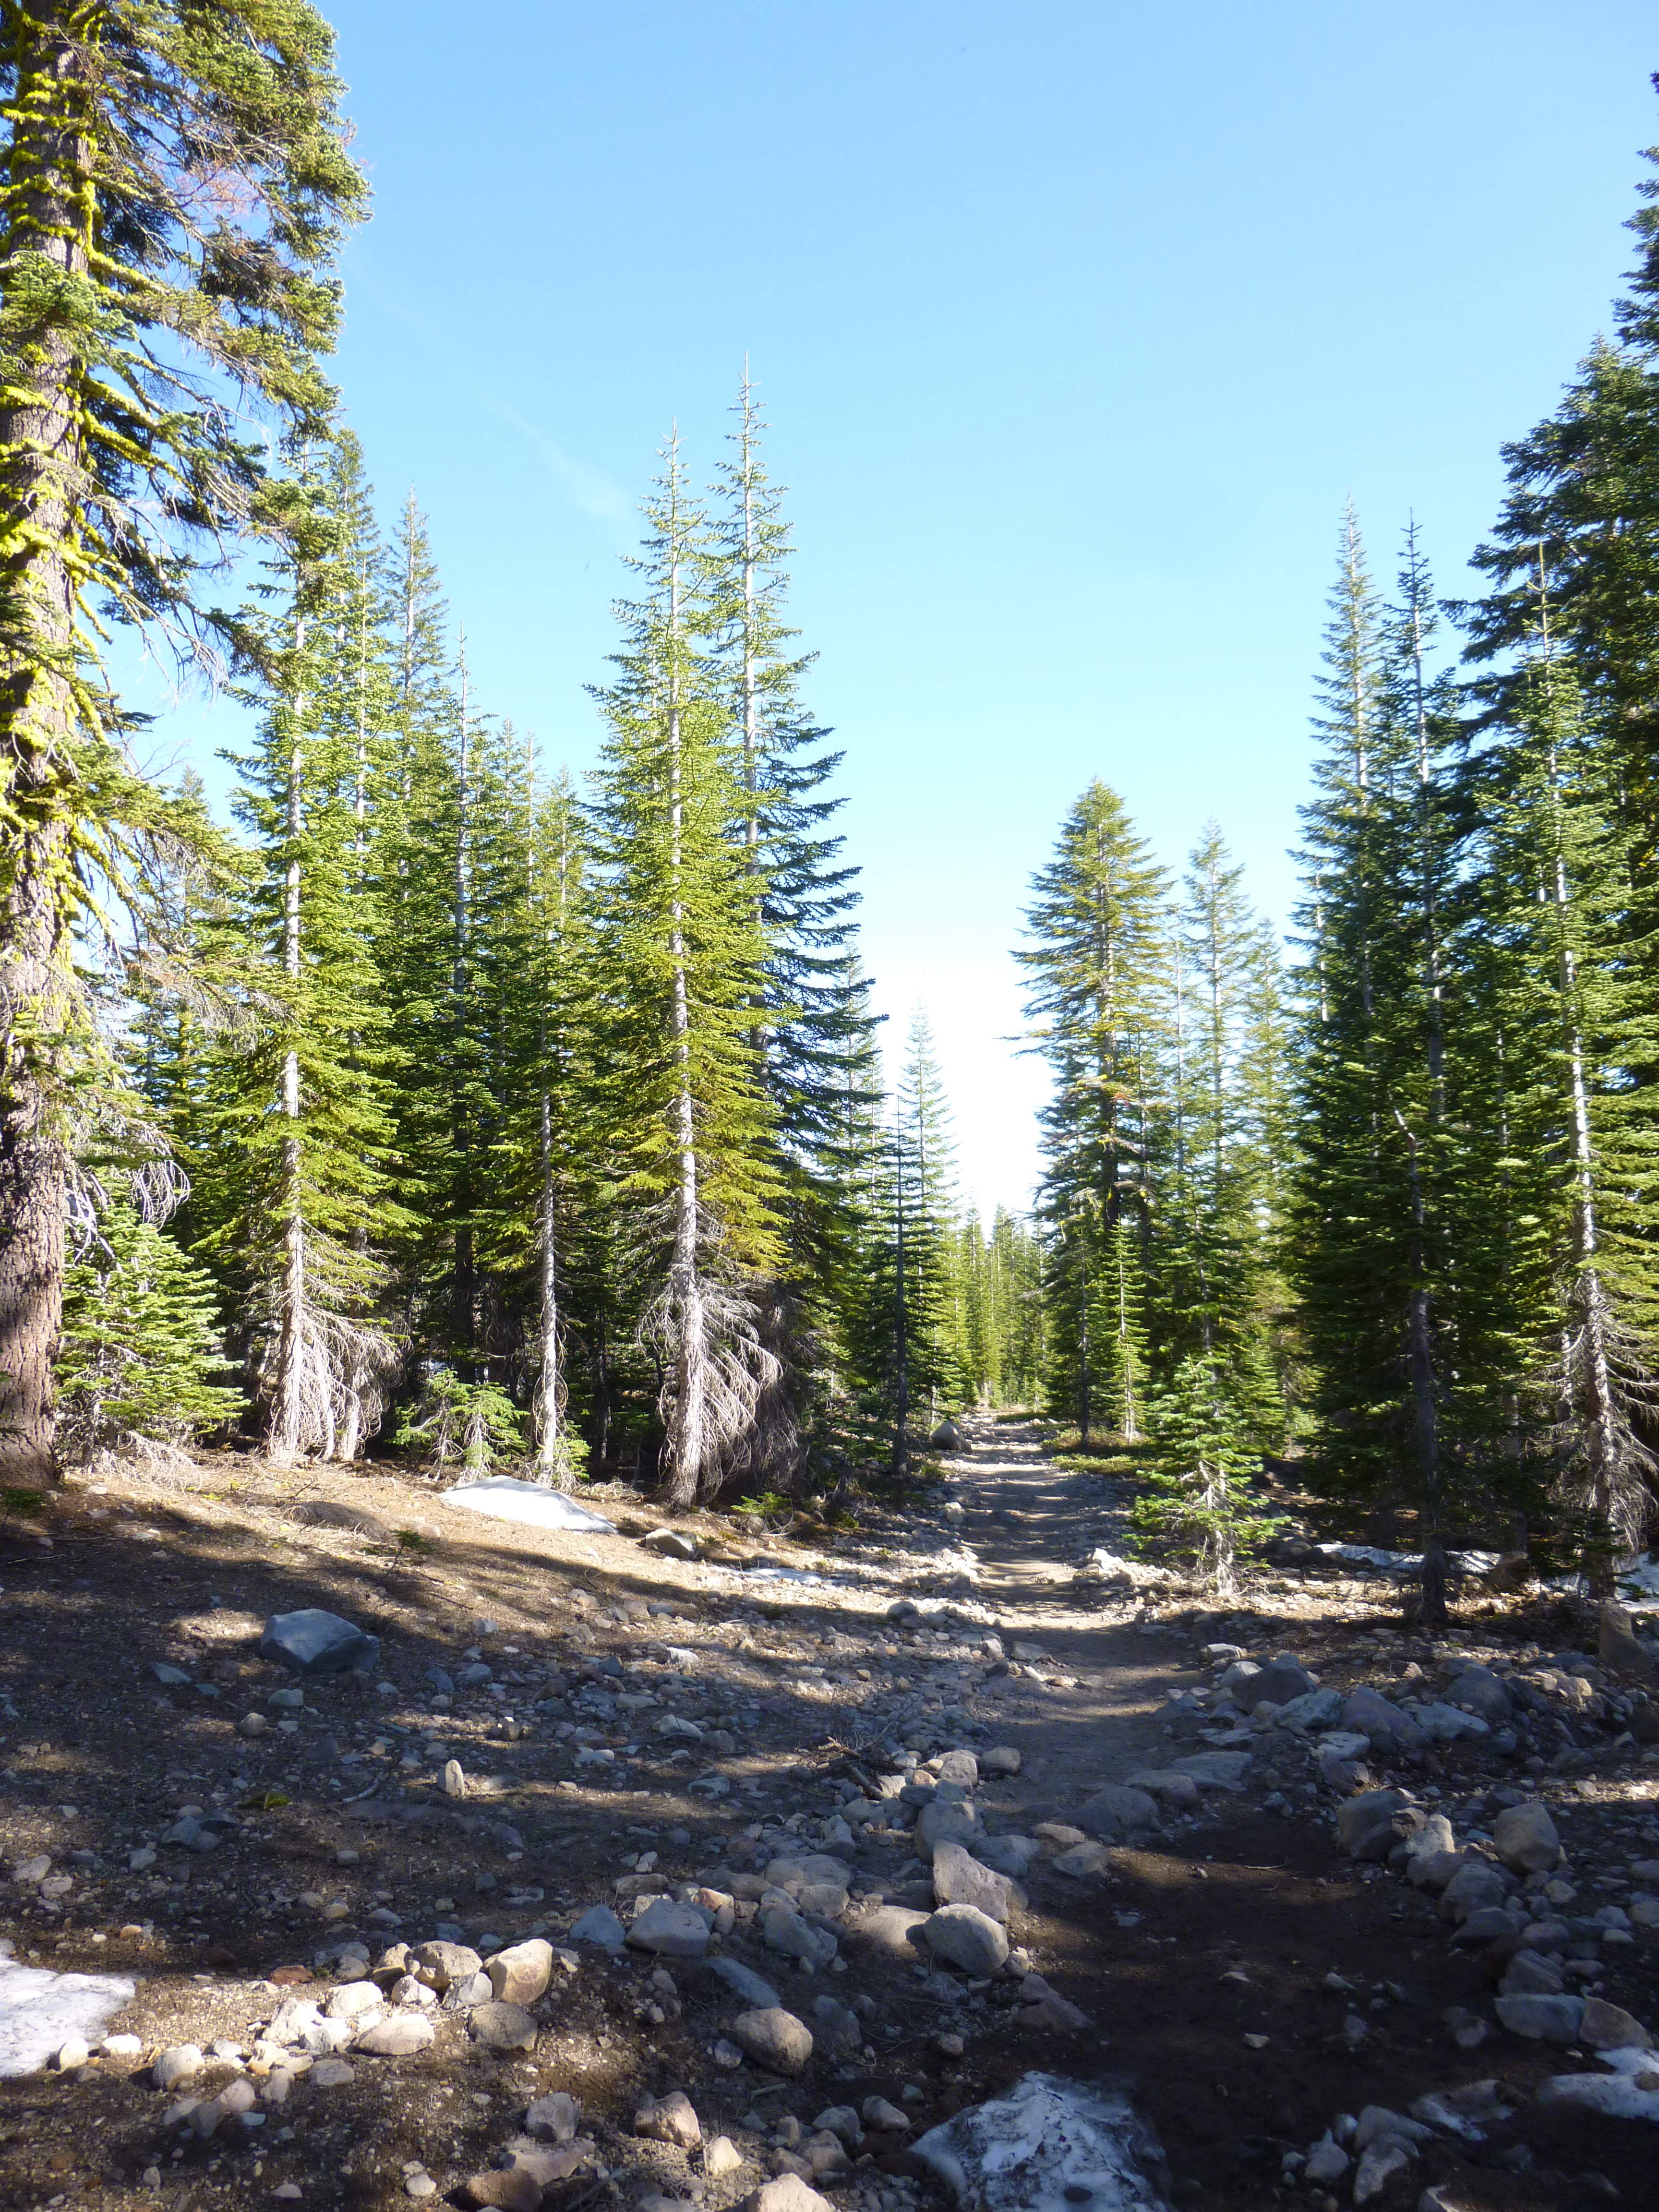
The Glacier Basin trail.

Final view of Little Tahoma Peak.
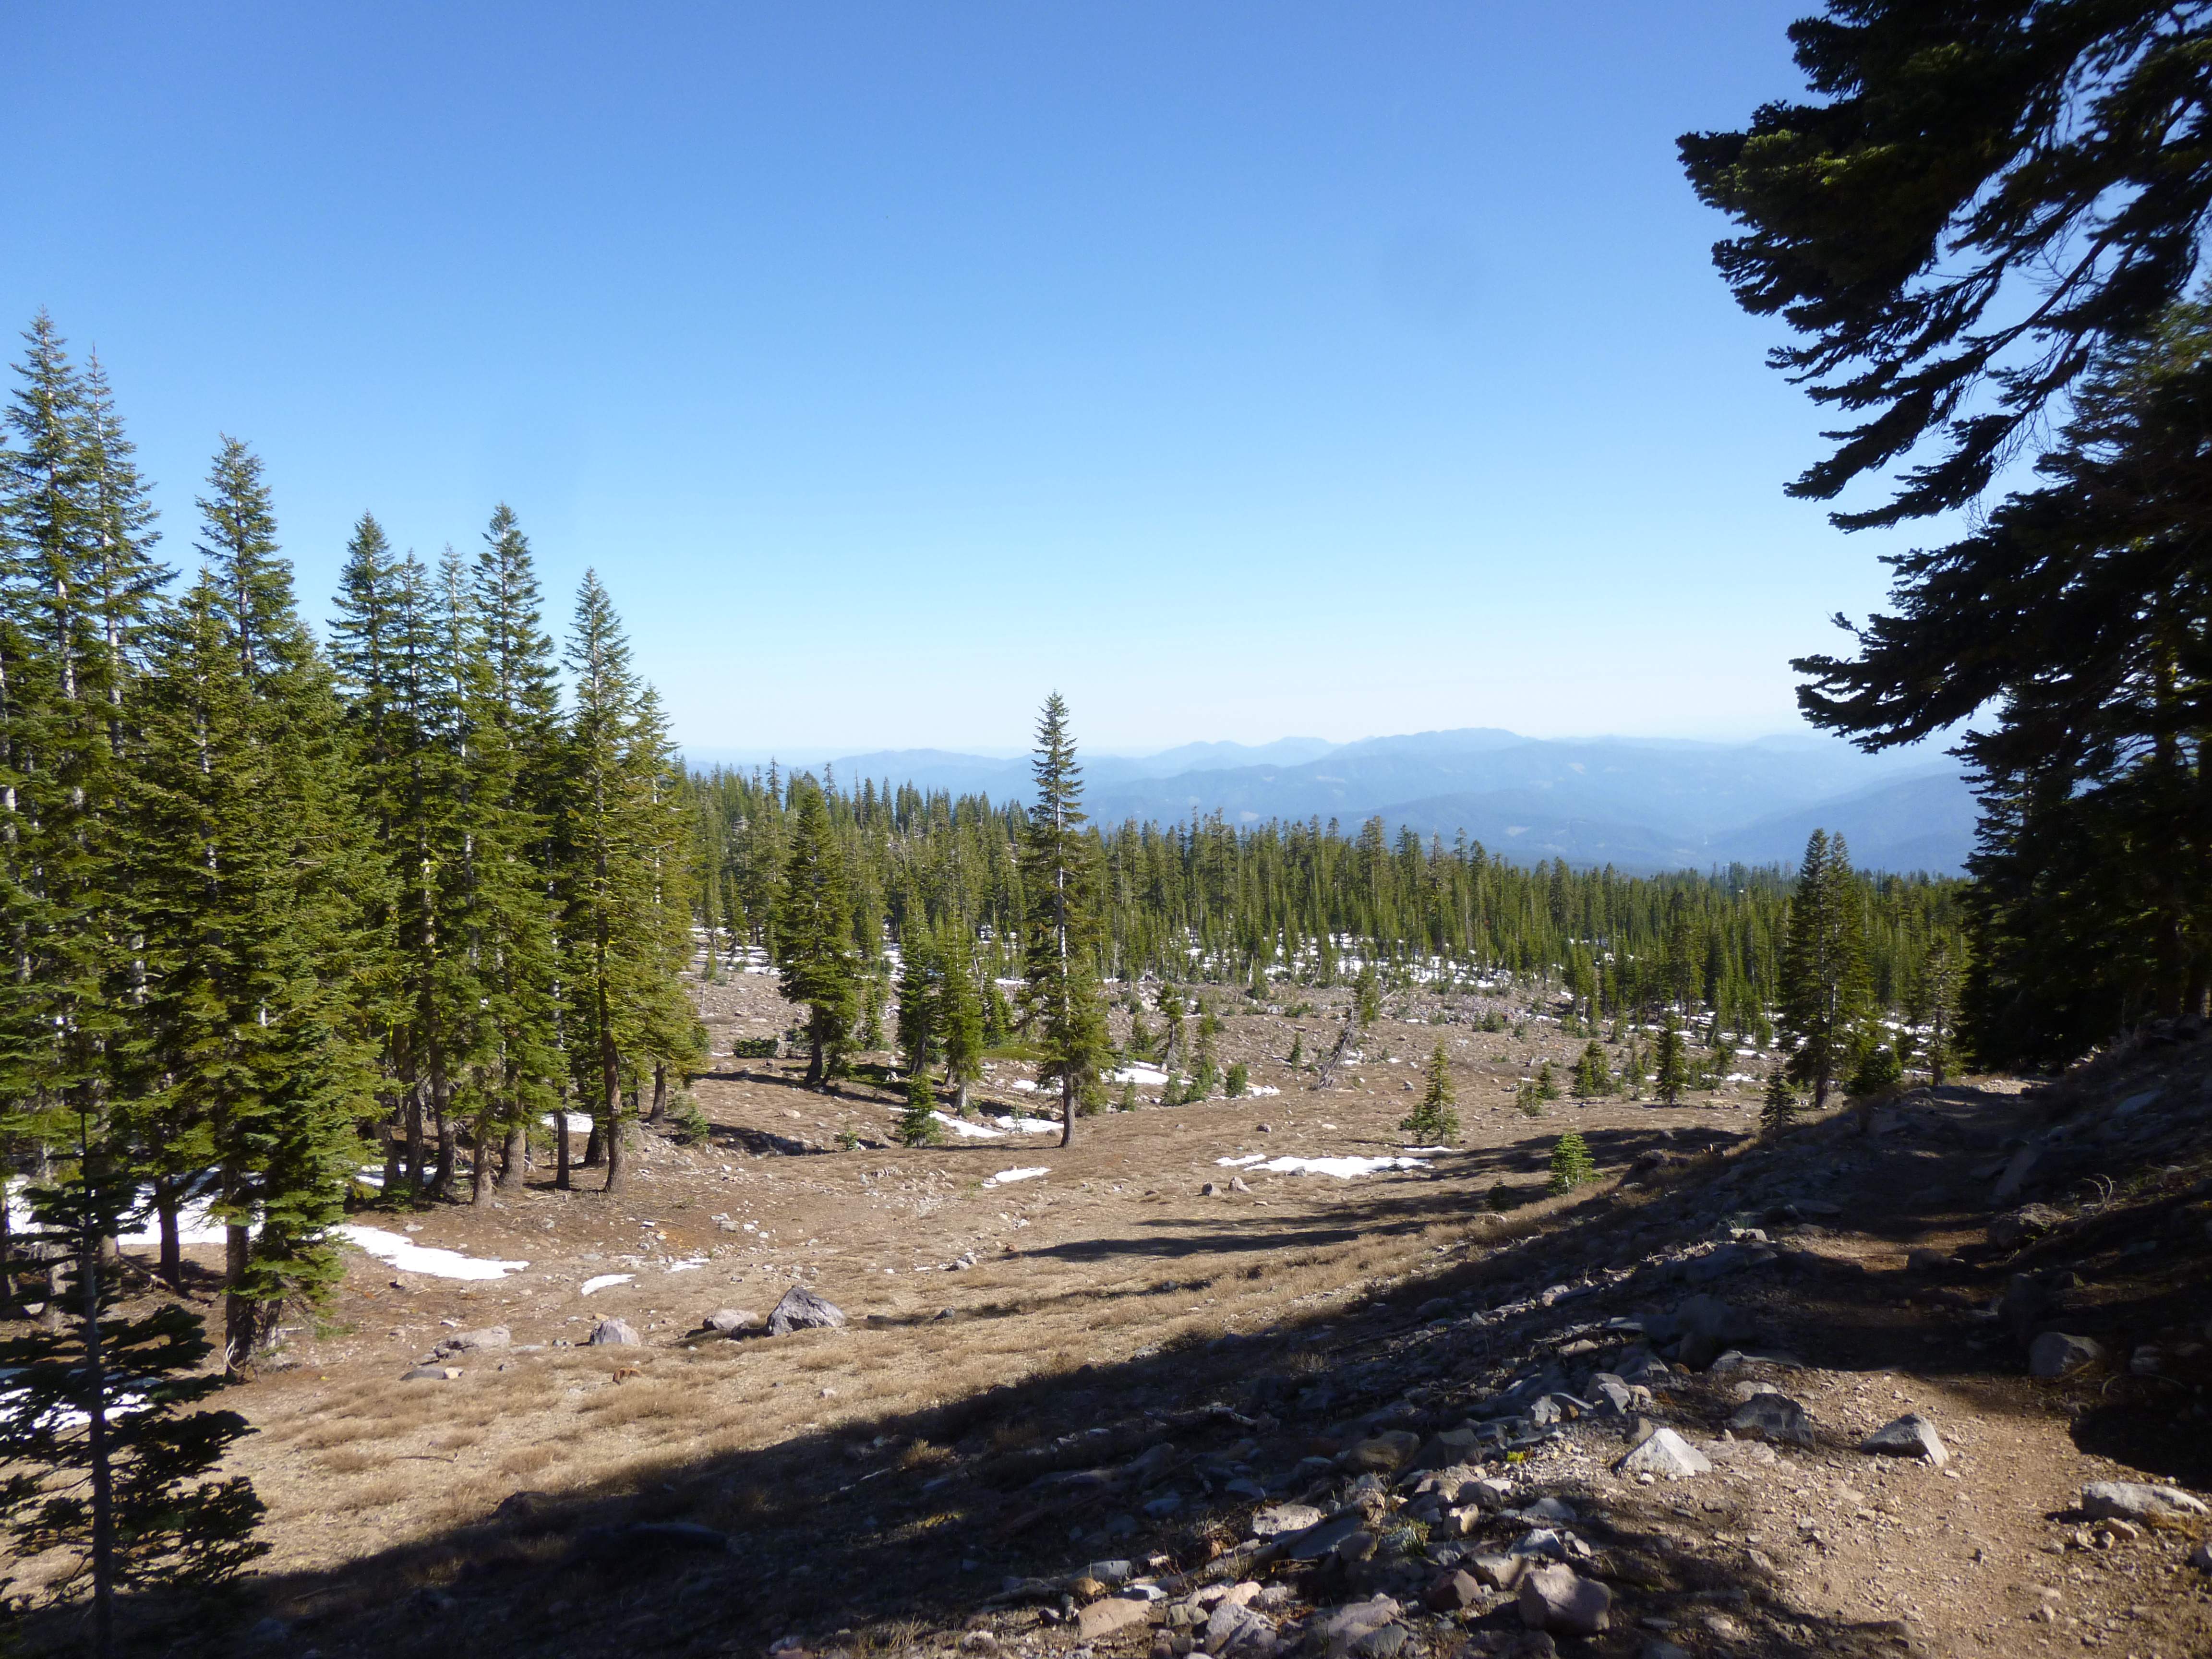
Further down we cleared the snowline, and returned to a groomed path.

Near the White River trailhead.
Returning to the White River parking lot, we drove back into Ashford to celebrate with a huge meal.
Rainier was a superb experience; having climbed it I was left with the urge to return and do so again. The Emmons Glacier was spectacular in clear weather; many of the views left me in awe of the mountain’s raw, beautiful, unforgiving landscapes of rock, ice, and snow.
The structure of a guided team climb was a new experience for me, and though the climb itinerary was spread out and very moderately paced, everything fell into place and worked out wonderfully with the weather. Our team got along very well, and it felt good to work cooperatively while pitching camp, contribute by carrying loads of group gear and food, and operate together on the rope. Climbing with a guided group definitely made the climb safe, but also far more accessible due to the guides’ considerable experience and skillset. Rainier cannot be considered anything but endurance testing and potentially dangerous; heavy packs, glacier navigation, lots of crevasses, unpredictable weather, and a long summit day all contribute to making it a solid climb. I will definitely return to Rainier.
Accessibility
Rainier is relatively accessible, but safe access is highly dependent on weather patterns. While Rainier is climbed year-round, the normal climbing season runs from May to September. Mid-July through mid-August is said to offer the best weather. For reference, the guide companies start their non-winter trips in mid-May, and finish at the end of September or beginning of October. There is always a chance of being turned around by inclement weather – high winds and heavy snowfall in particular often make the upper mountain dangerous or inaccessible.
Many climbers approach Rainier through one of the three guide companies which are licensed to operate on the mountain. I climbed with a team guided by IMG, and was very impressed with their guides’ attitude, experience, and safety consciousness. I finished my climb feeling pleased that I chose their service, and feel confident recommending them. The three guide companies operating on Mount Rainier are:
International Mountain Guides (IMG): http://www.mountainguides.com/rainier.shtml
Alpine Ascents International (AAI): http://www.alpineascents.com/
Rainier Mountaineering, Inc. (RMI): http://www.rmiguides.com/
The Mount Rainier National Park statistics page with success rates, annual usage counts, route statistics, and much more, can be found here: http://www.nps.gov/mora/planyourvisit/annual-mountaineering-reports.htm
Climbing on Mount Rainier is controlled by the Mount Rainier National Park. Their website has an abundance of information on permits, routes, access, and climbing fees: http://www.nps.gov/mora/planyourvisit/climbing.htm