Pico de Orizaba.
Pico de Orizaba
Pico de Orizaba, a 5636m stratovolcano, is the highest mountain in Mexico, and the 3rd highest within North America. Climbing Orizaba in 2012 was relatively straightforward with only a moderate glacier and a short section of mixed rock and snow posing any technical challenge. Orizaba is also called Citlaltépetl or ‘star mountain’ in Nahuatl.
Safety
Orizaba’s glaciers have continued retreating and are becoming less stable. I encountered no objective risk, crevasses, or avalanche hazard in 2012. However, a firsthand report and photographs of a 4m wide, 4-8m deep crevasse at 5500m elevation, near the top of the Jamapa Glacier normal route, were given to me in mid February, 2016. 5500m corresponds roughly with the area near the top of the Jamapa where rocks are visible protruding from the glacier. The crevasse was hidden, covered with a thin and unstable snowbridge, which collapsed underneath a climber. If planning a climb of Orizaba, do not assume that the glacier will be stable or devoid of crevasse hazards. This crevasse presents a significant hazard, and if it opens up further will make the climb far more difficult technically.
Check up to date mountain conditions with locals or recent climbers before committing to a climb, and be aware of the constant potential for hidden crevasses when on any glacier. Roping up with a guide or partner is only a viable safety technique if all members of the rope team are competent in self arrest, glacier travel techniques, and basic rescue. Climbing solo on any glacier always involves a certain level of inherent risk.

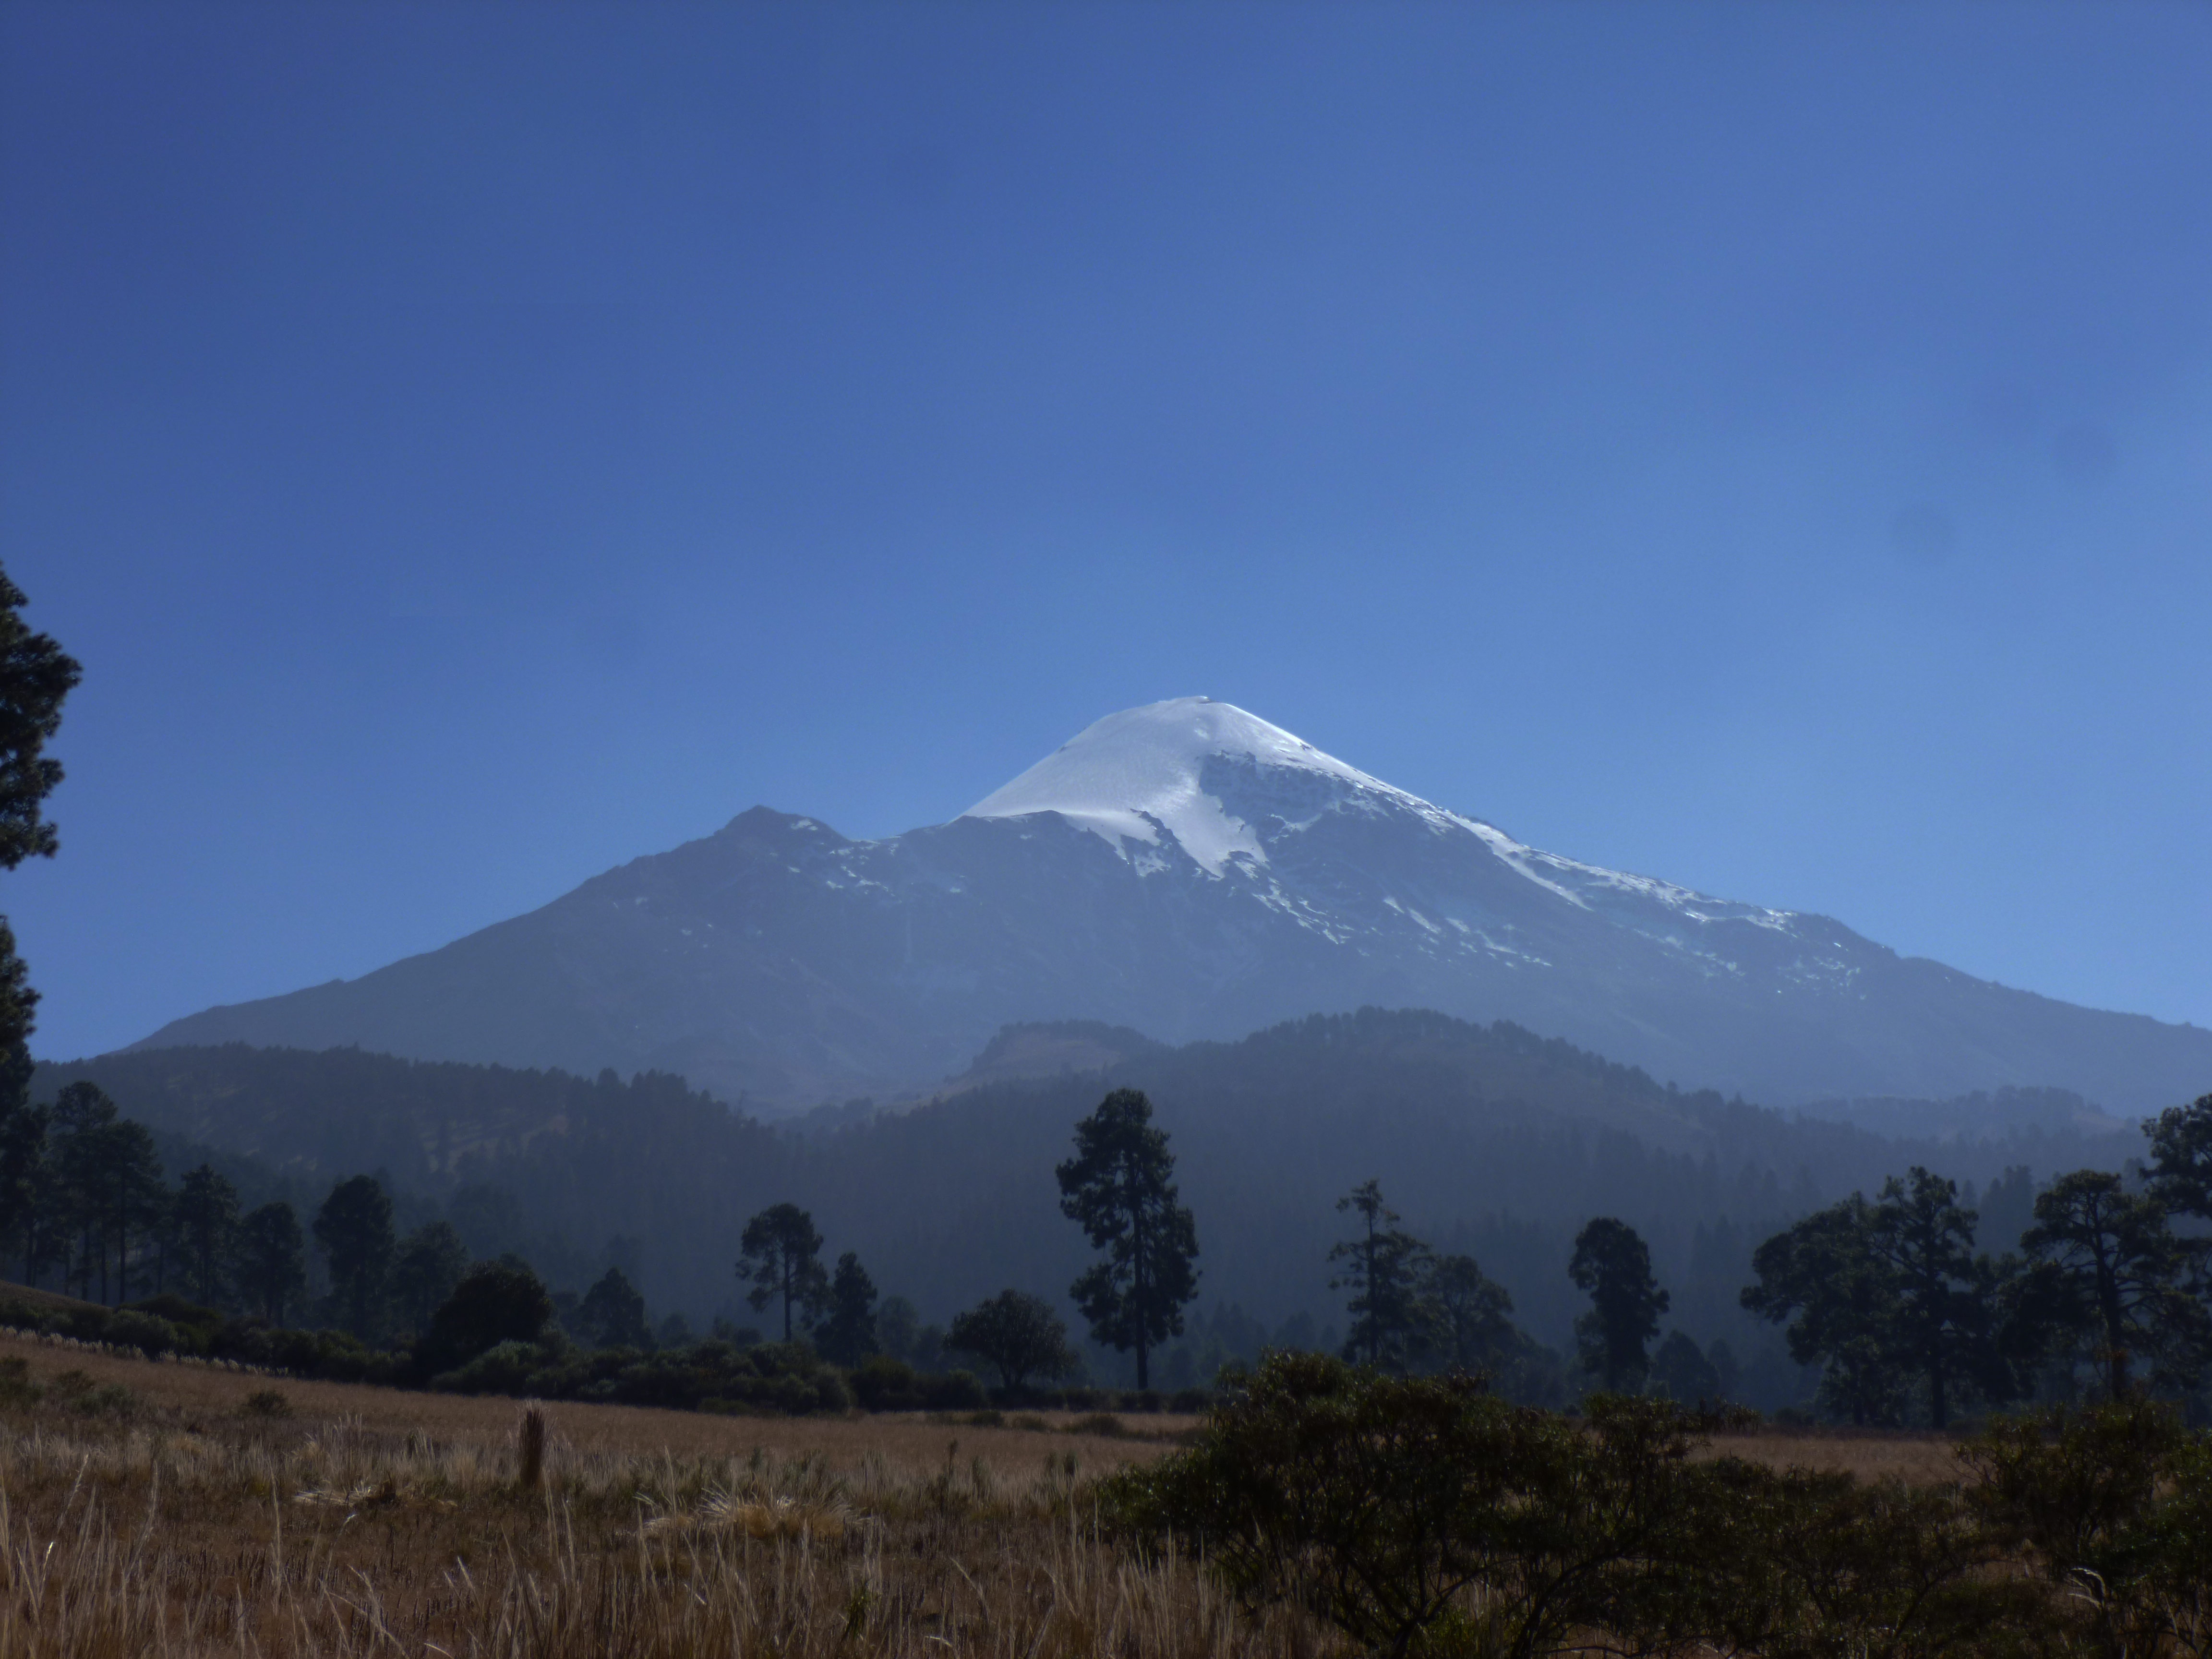
Seen from the nearby village of Tlachichuca, Orizaba’s prominence is evident.

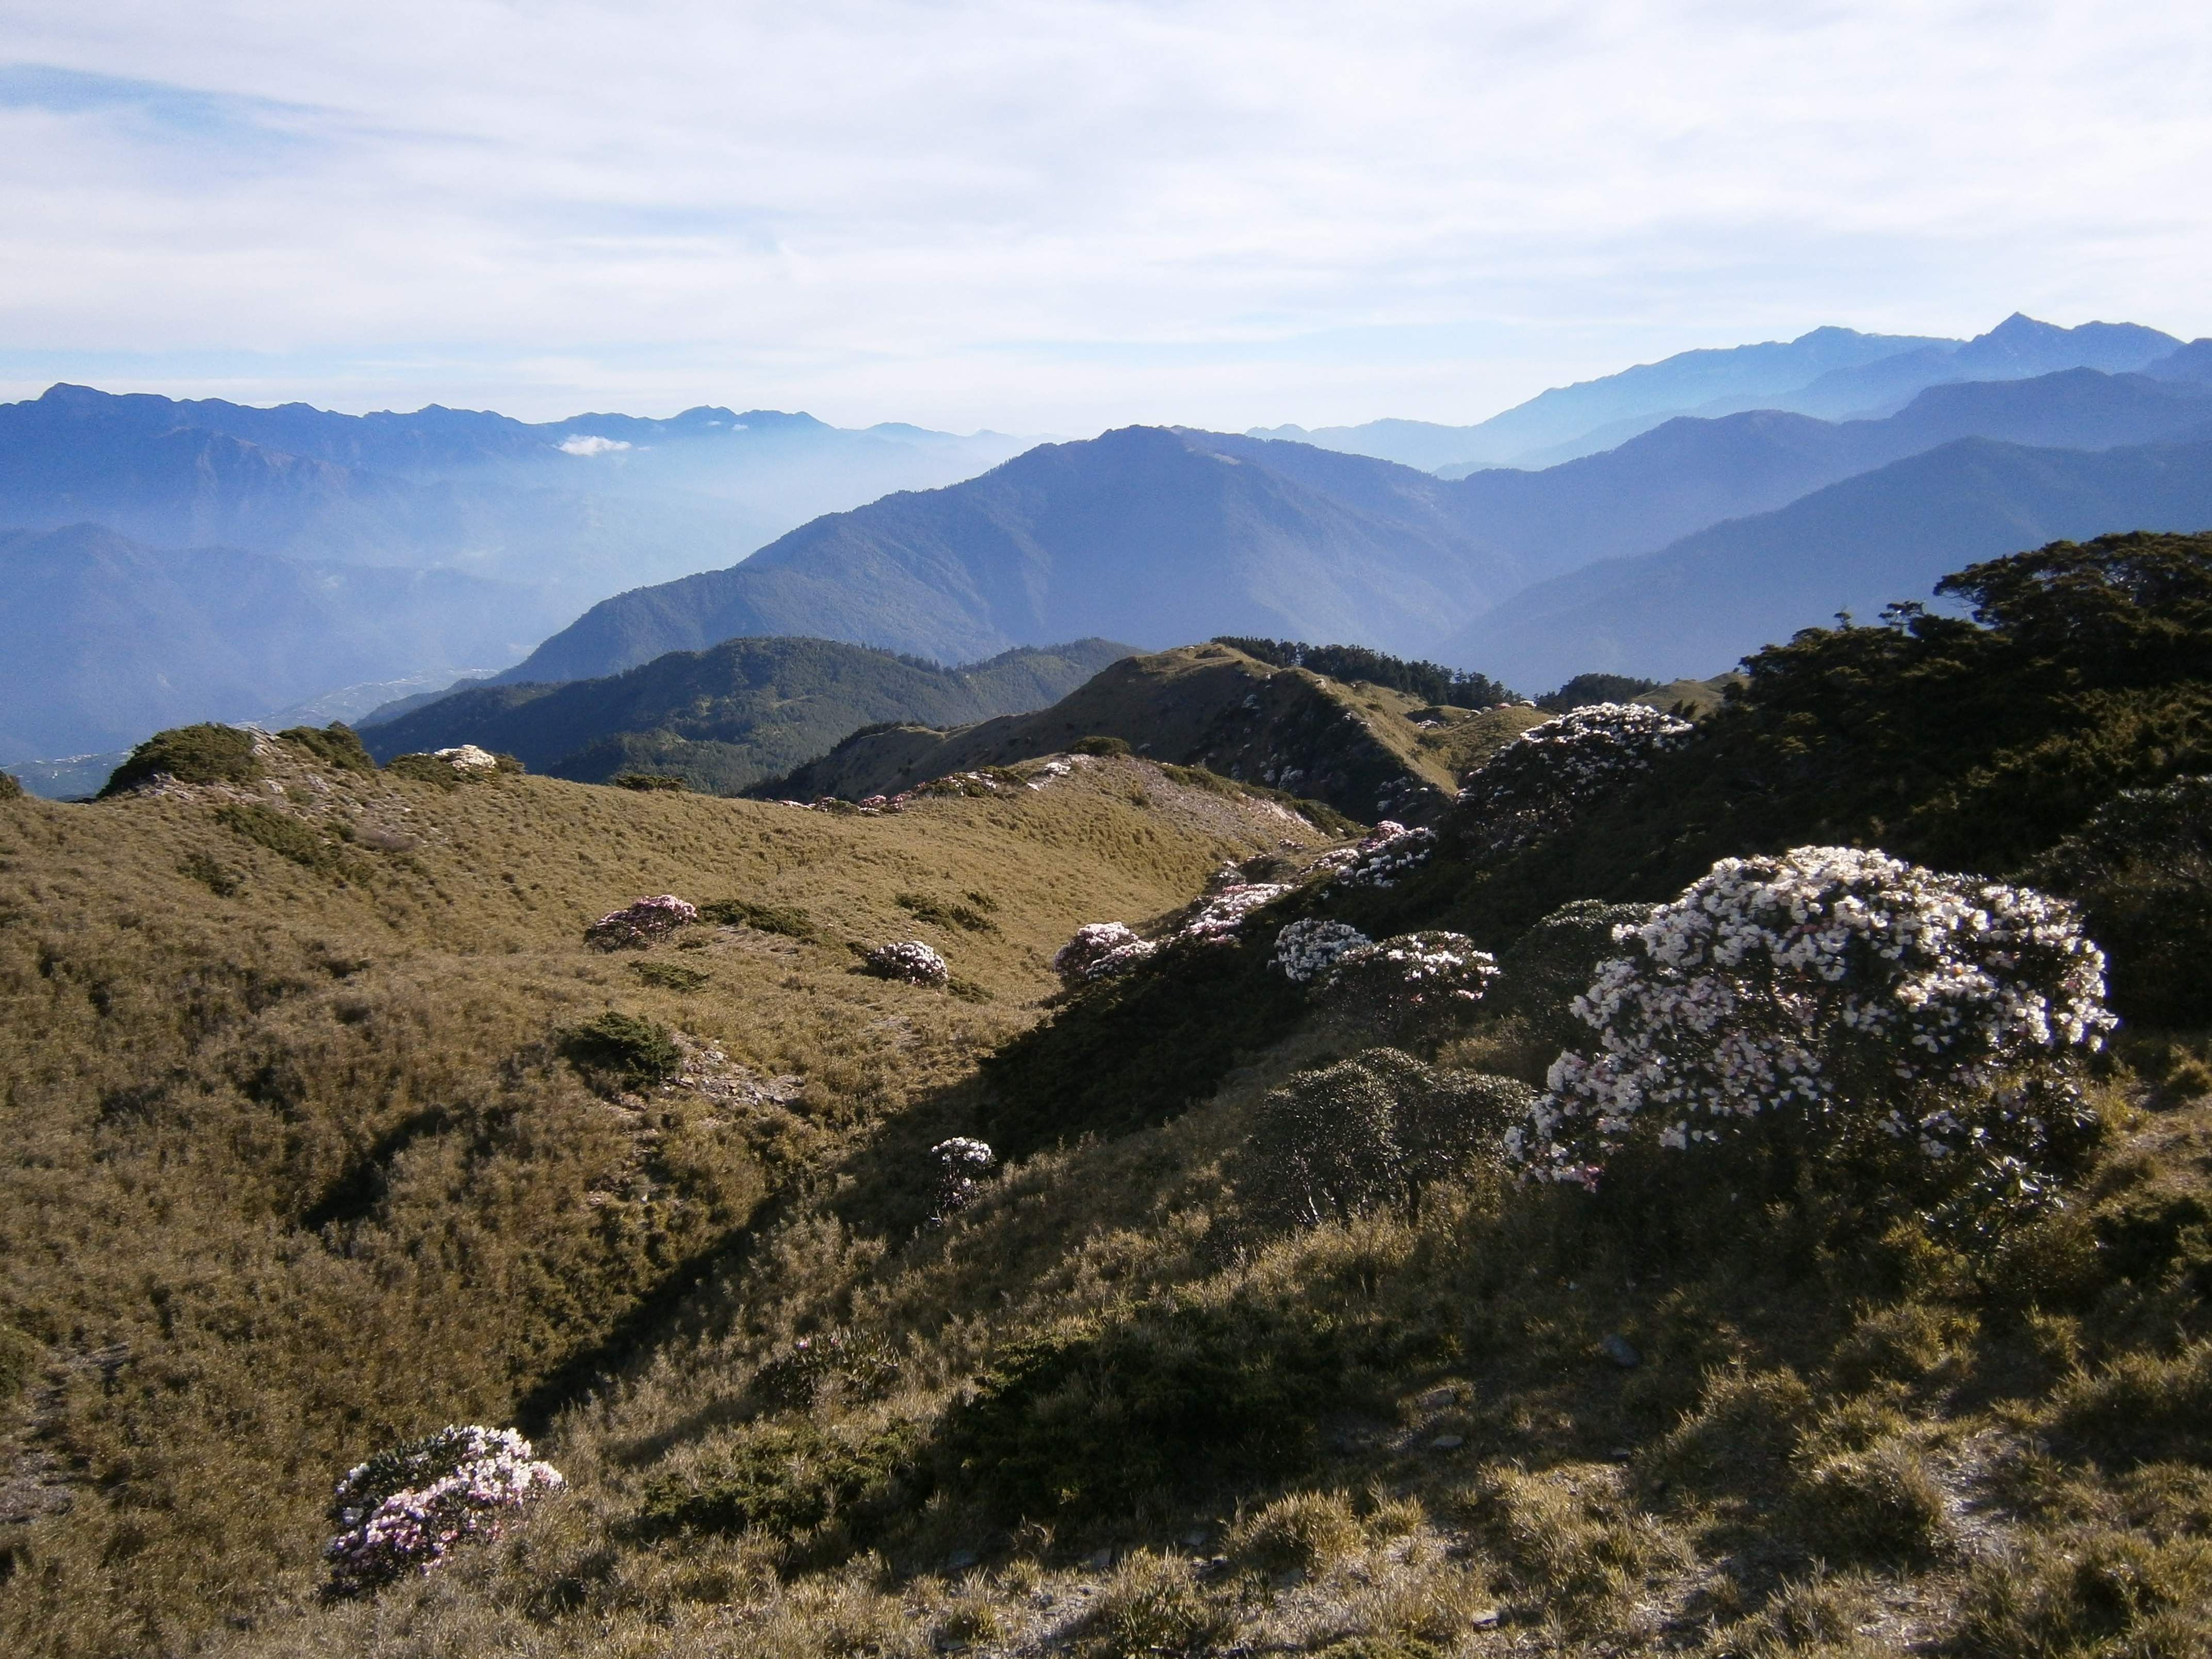
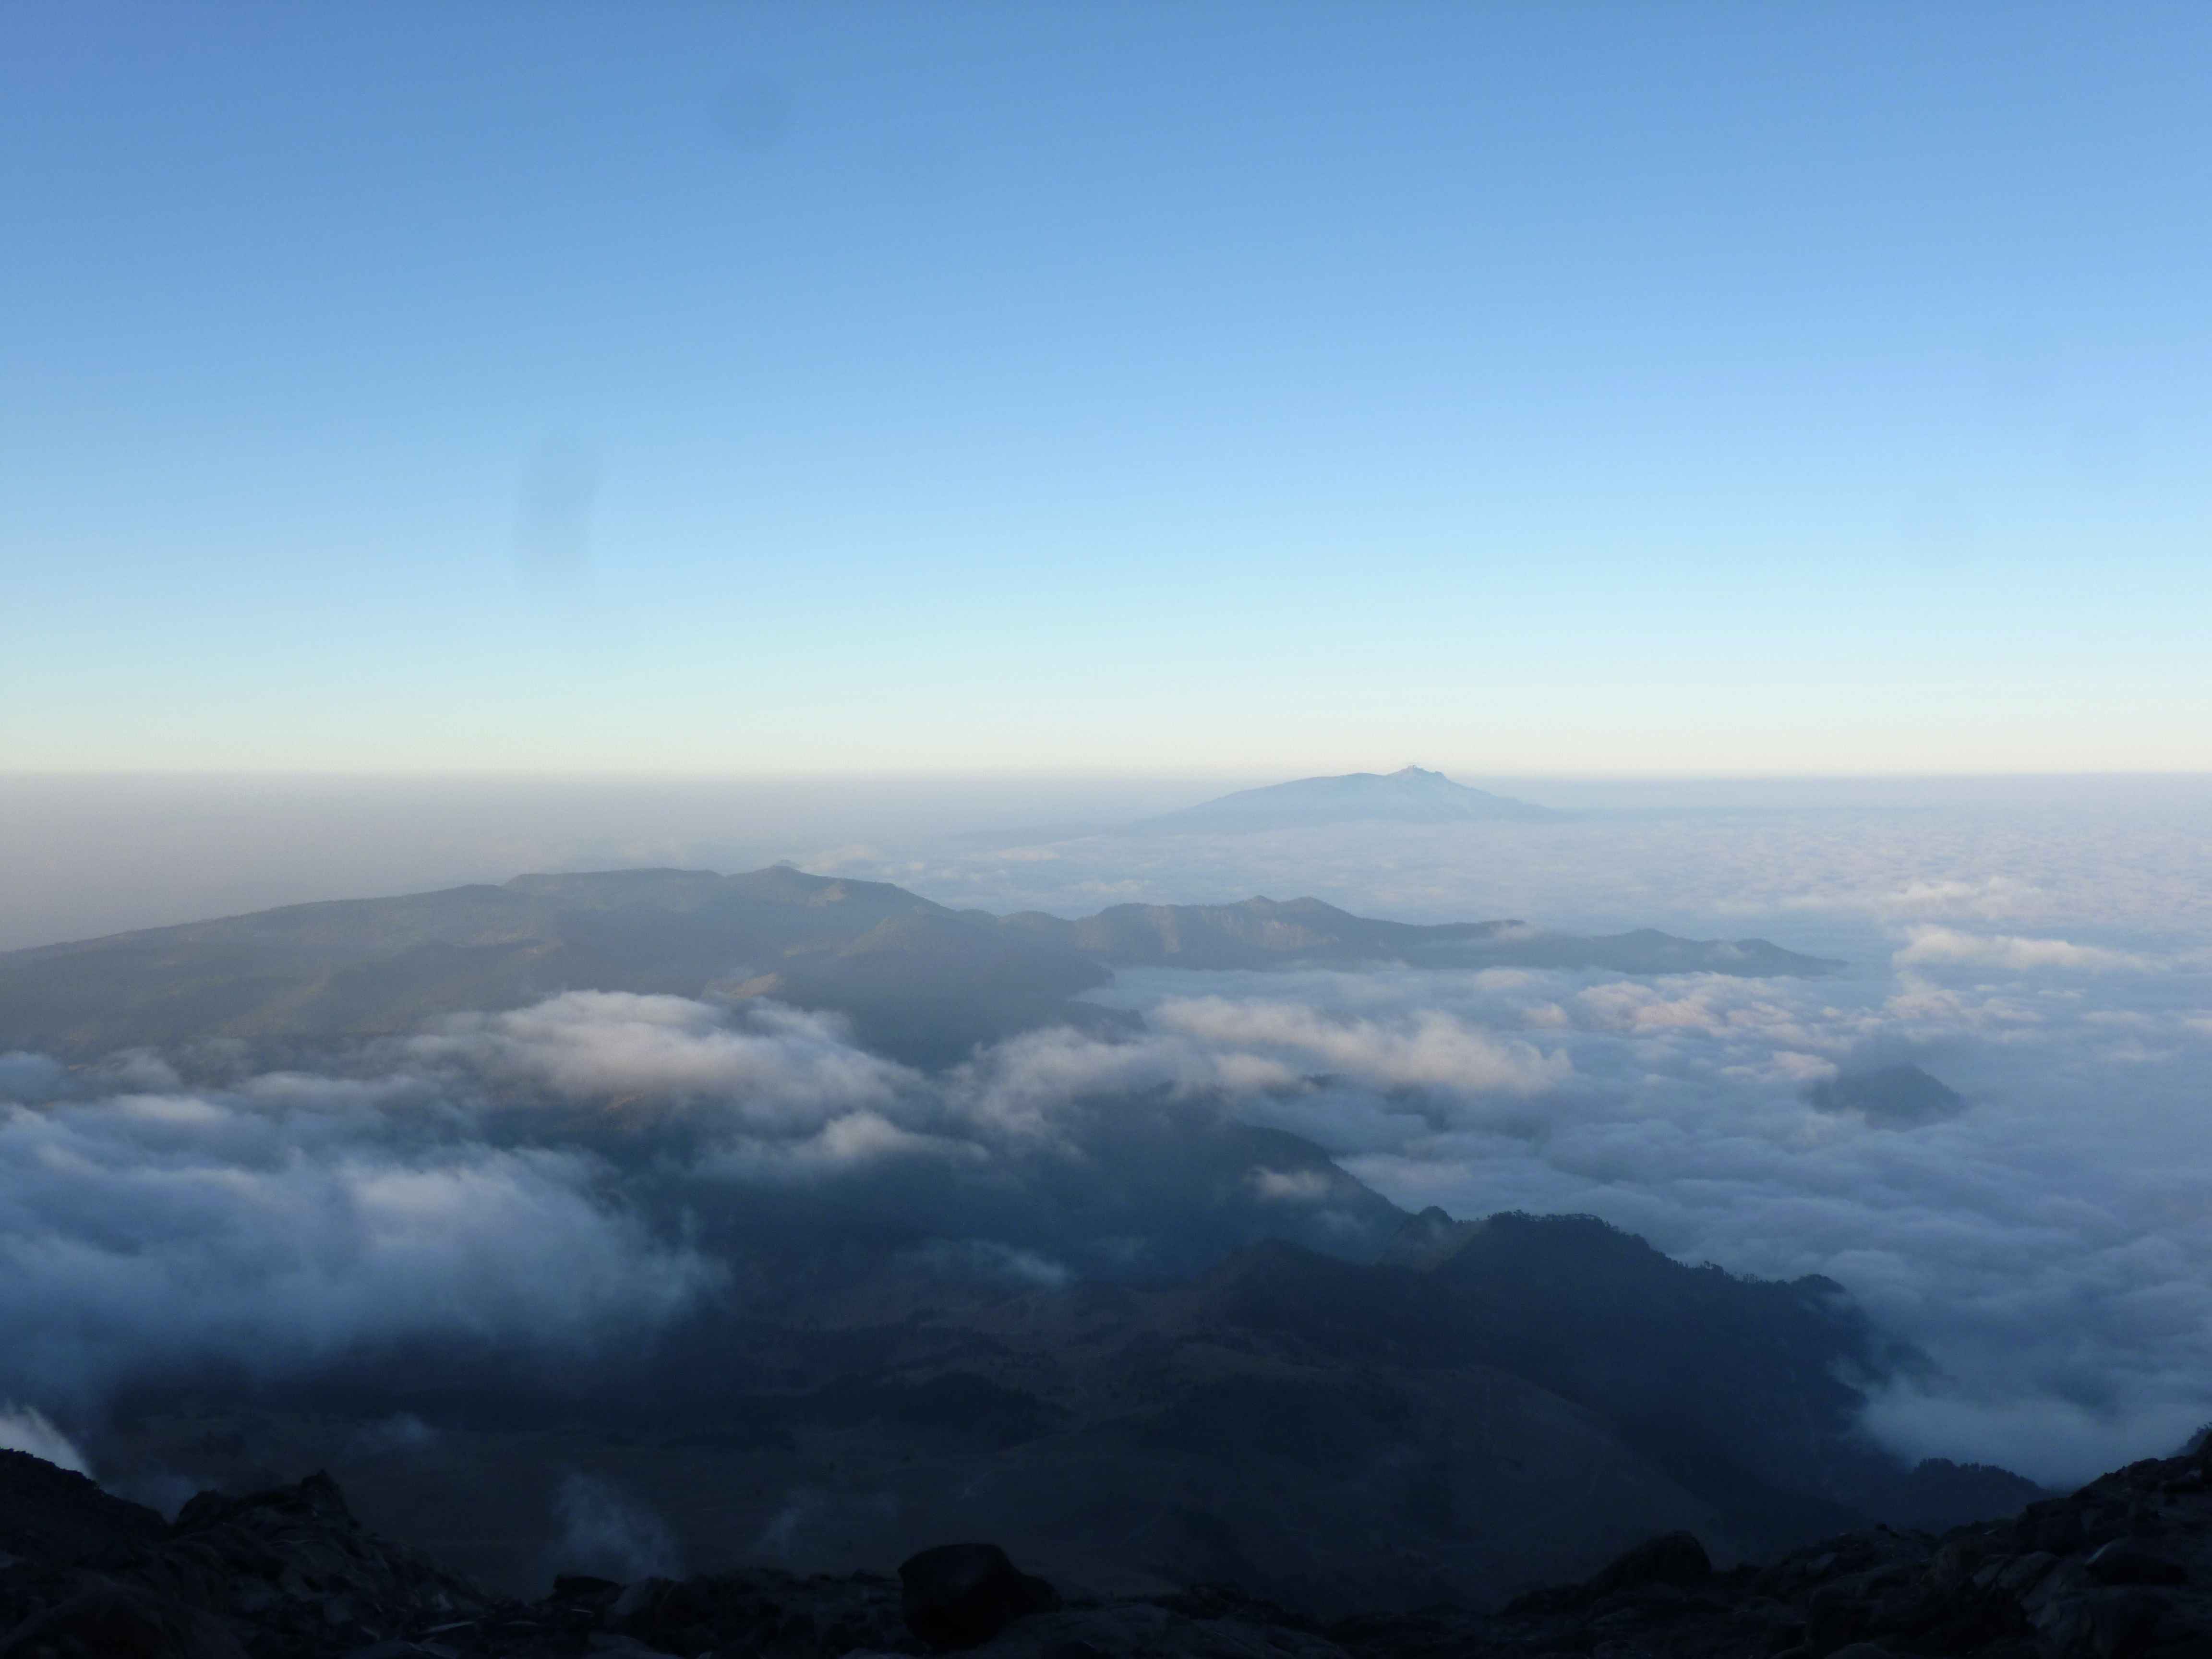
My view of Orizaba in the sunrise, from near the summit of Iztaccihuatl.
Pico de Orizaba Trip Report
The chief difficulty presented by Orizaba is that of altitude. Orizaba is quite prominent, creating a danger for altitude sickness resulting from rapid ascent. This makes a careful acclimatization schedule imperative to safely climbing it. Prior to climbing Orizaba I spent three days acclimatizing by climbing 5230m Iztaccihuatl, another large Mexican volcano.
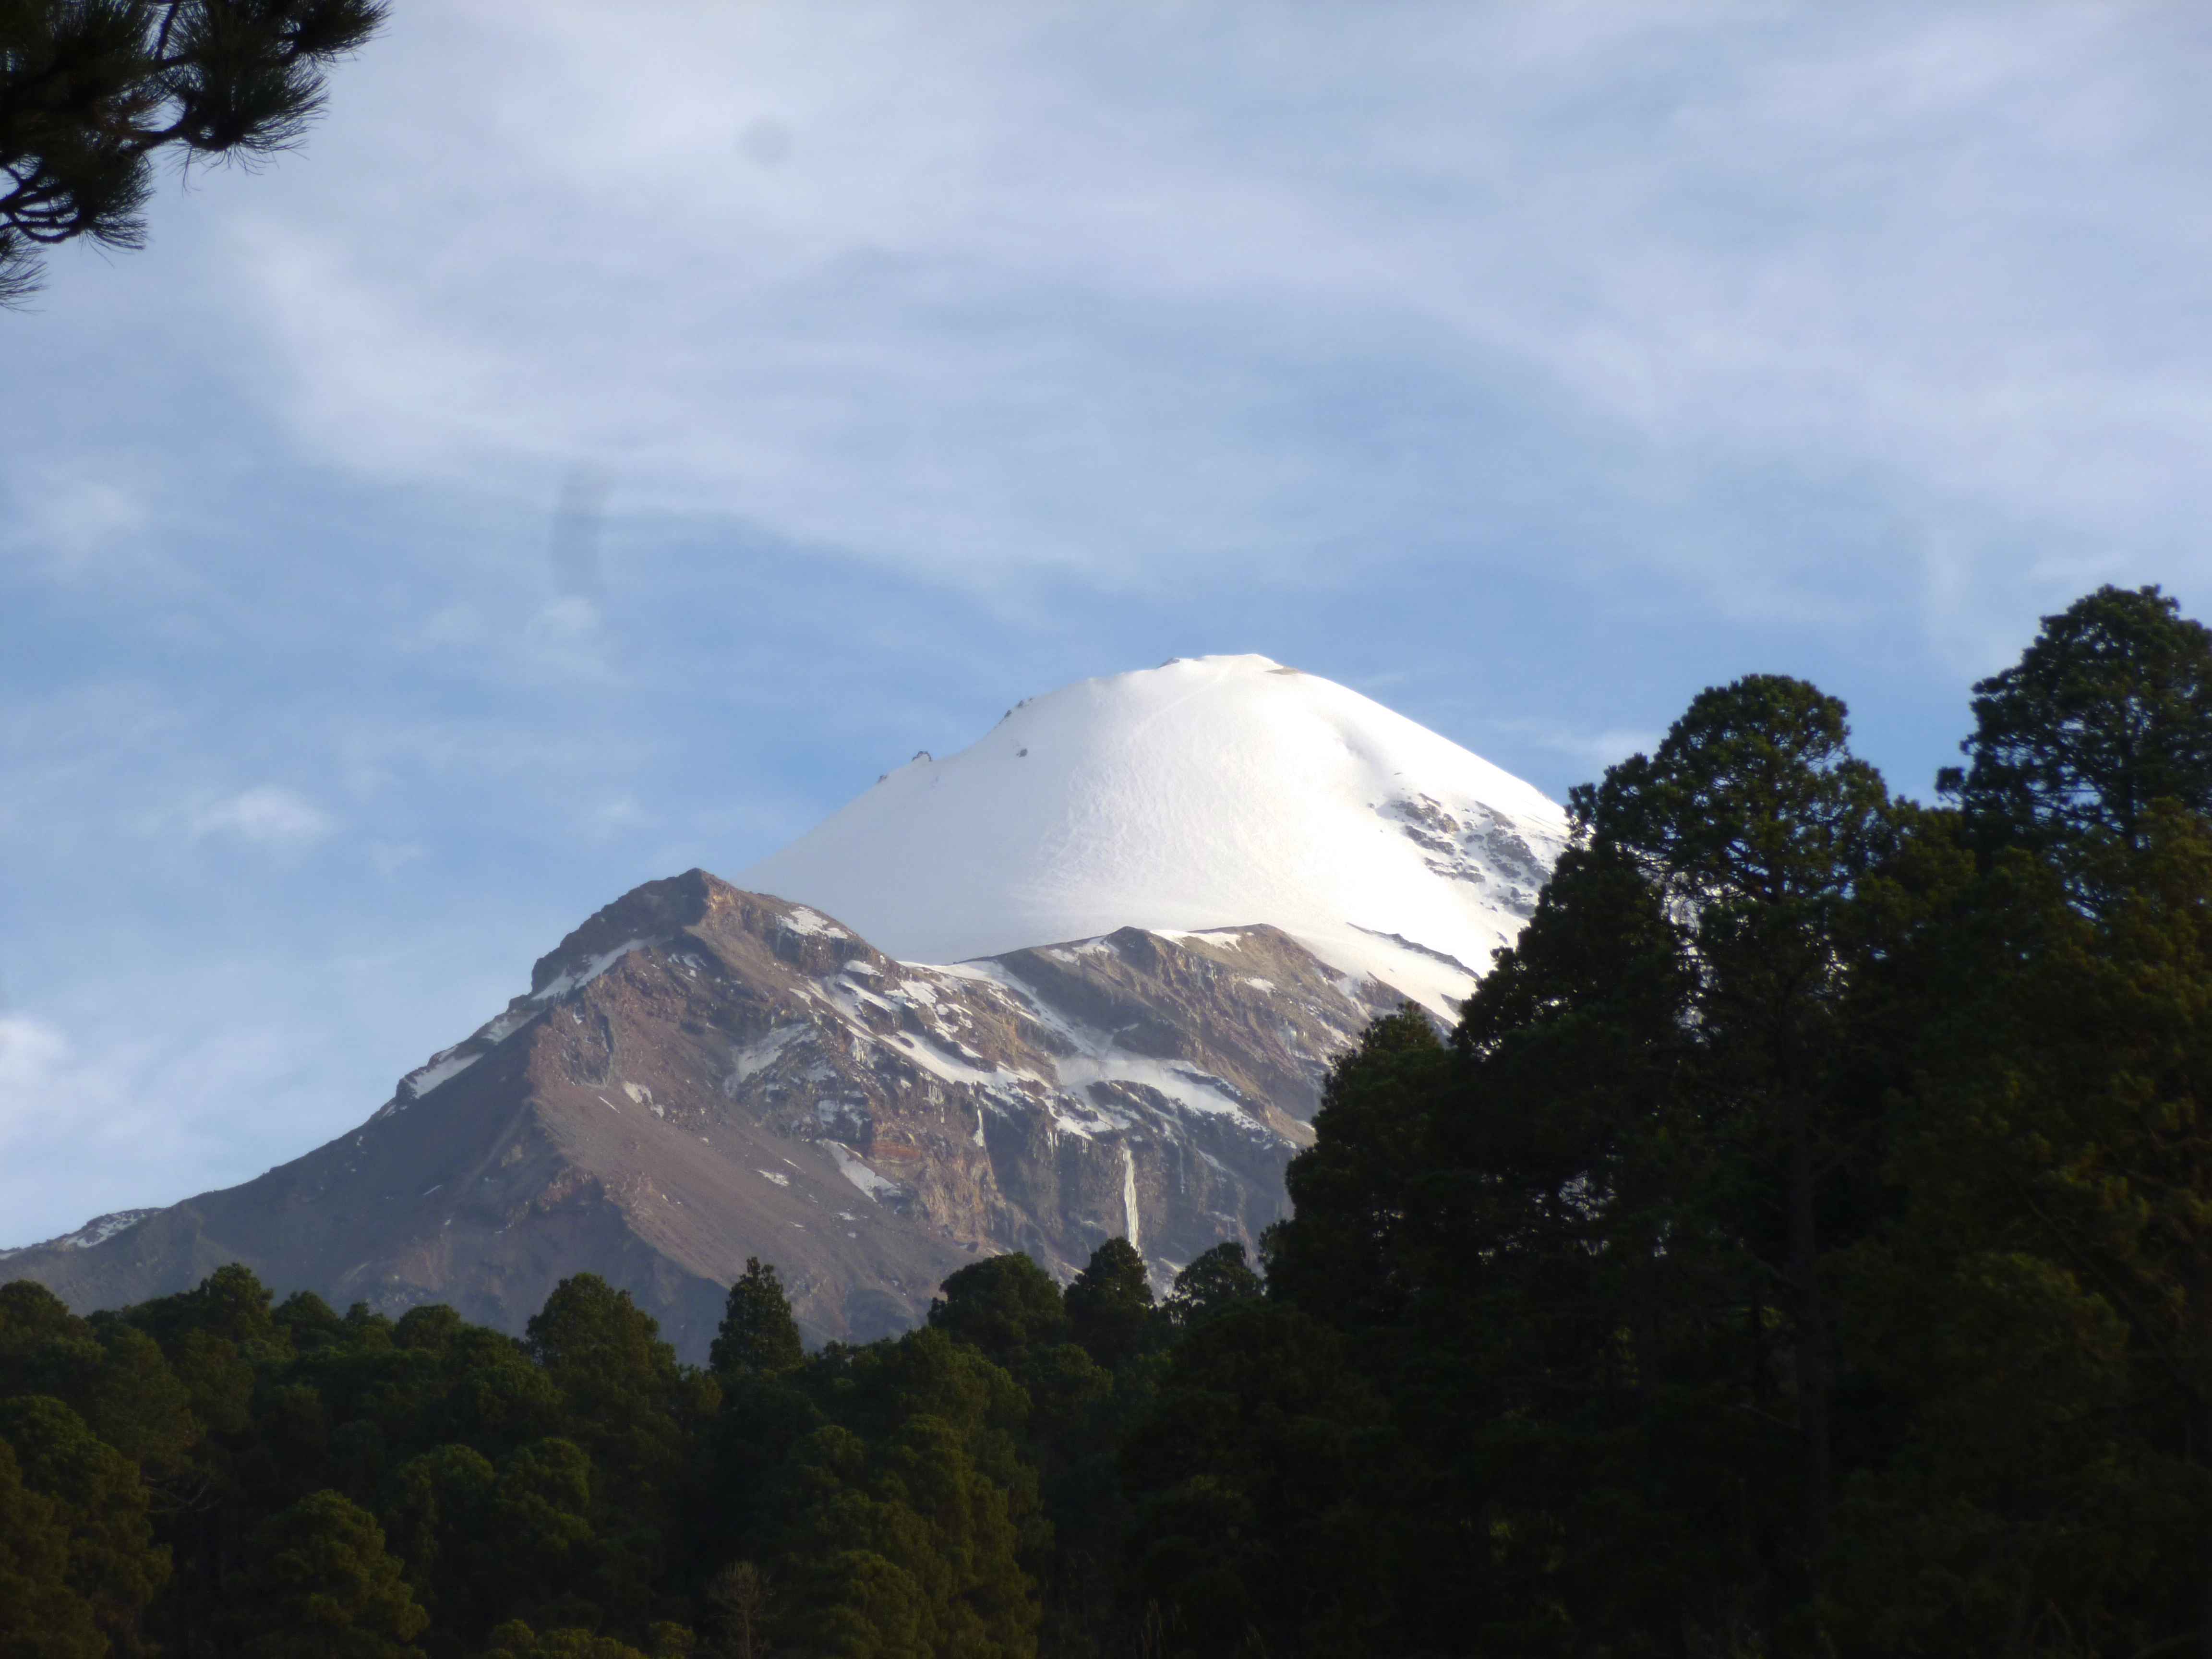
Orizaba viewed from nearby the Piedra Grande hut.
Day 0: I arrived in the town of Tlachichuca, at an elevation of roughly 2750m, and got off the bus directly in front of the Cancholas compound. The Cancholas family provides logistical support for climbing Orizaba, and I had booked lodging and transportation to the mountain from them in advance. The bus to Tlachichuca runs from Puebla’s CAPU bus station, a major terminal. CAPU can be accessed from Mexico City’s TAPO bus station via first class direct buses.
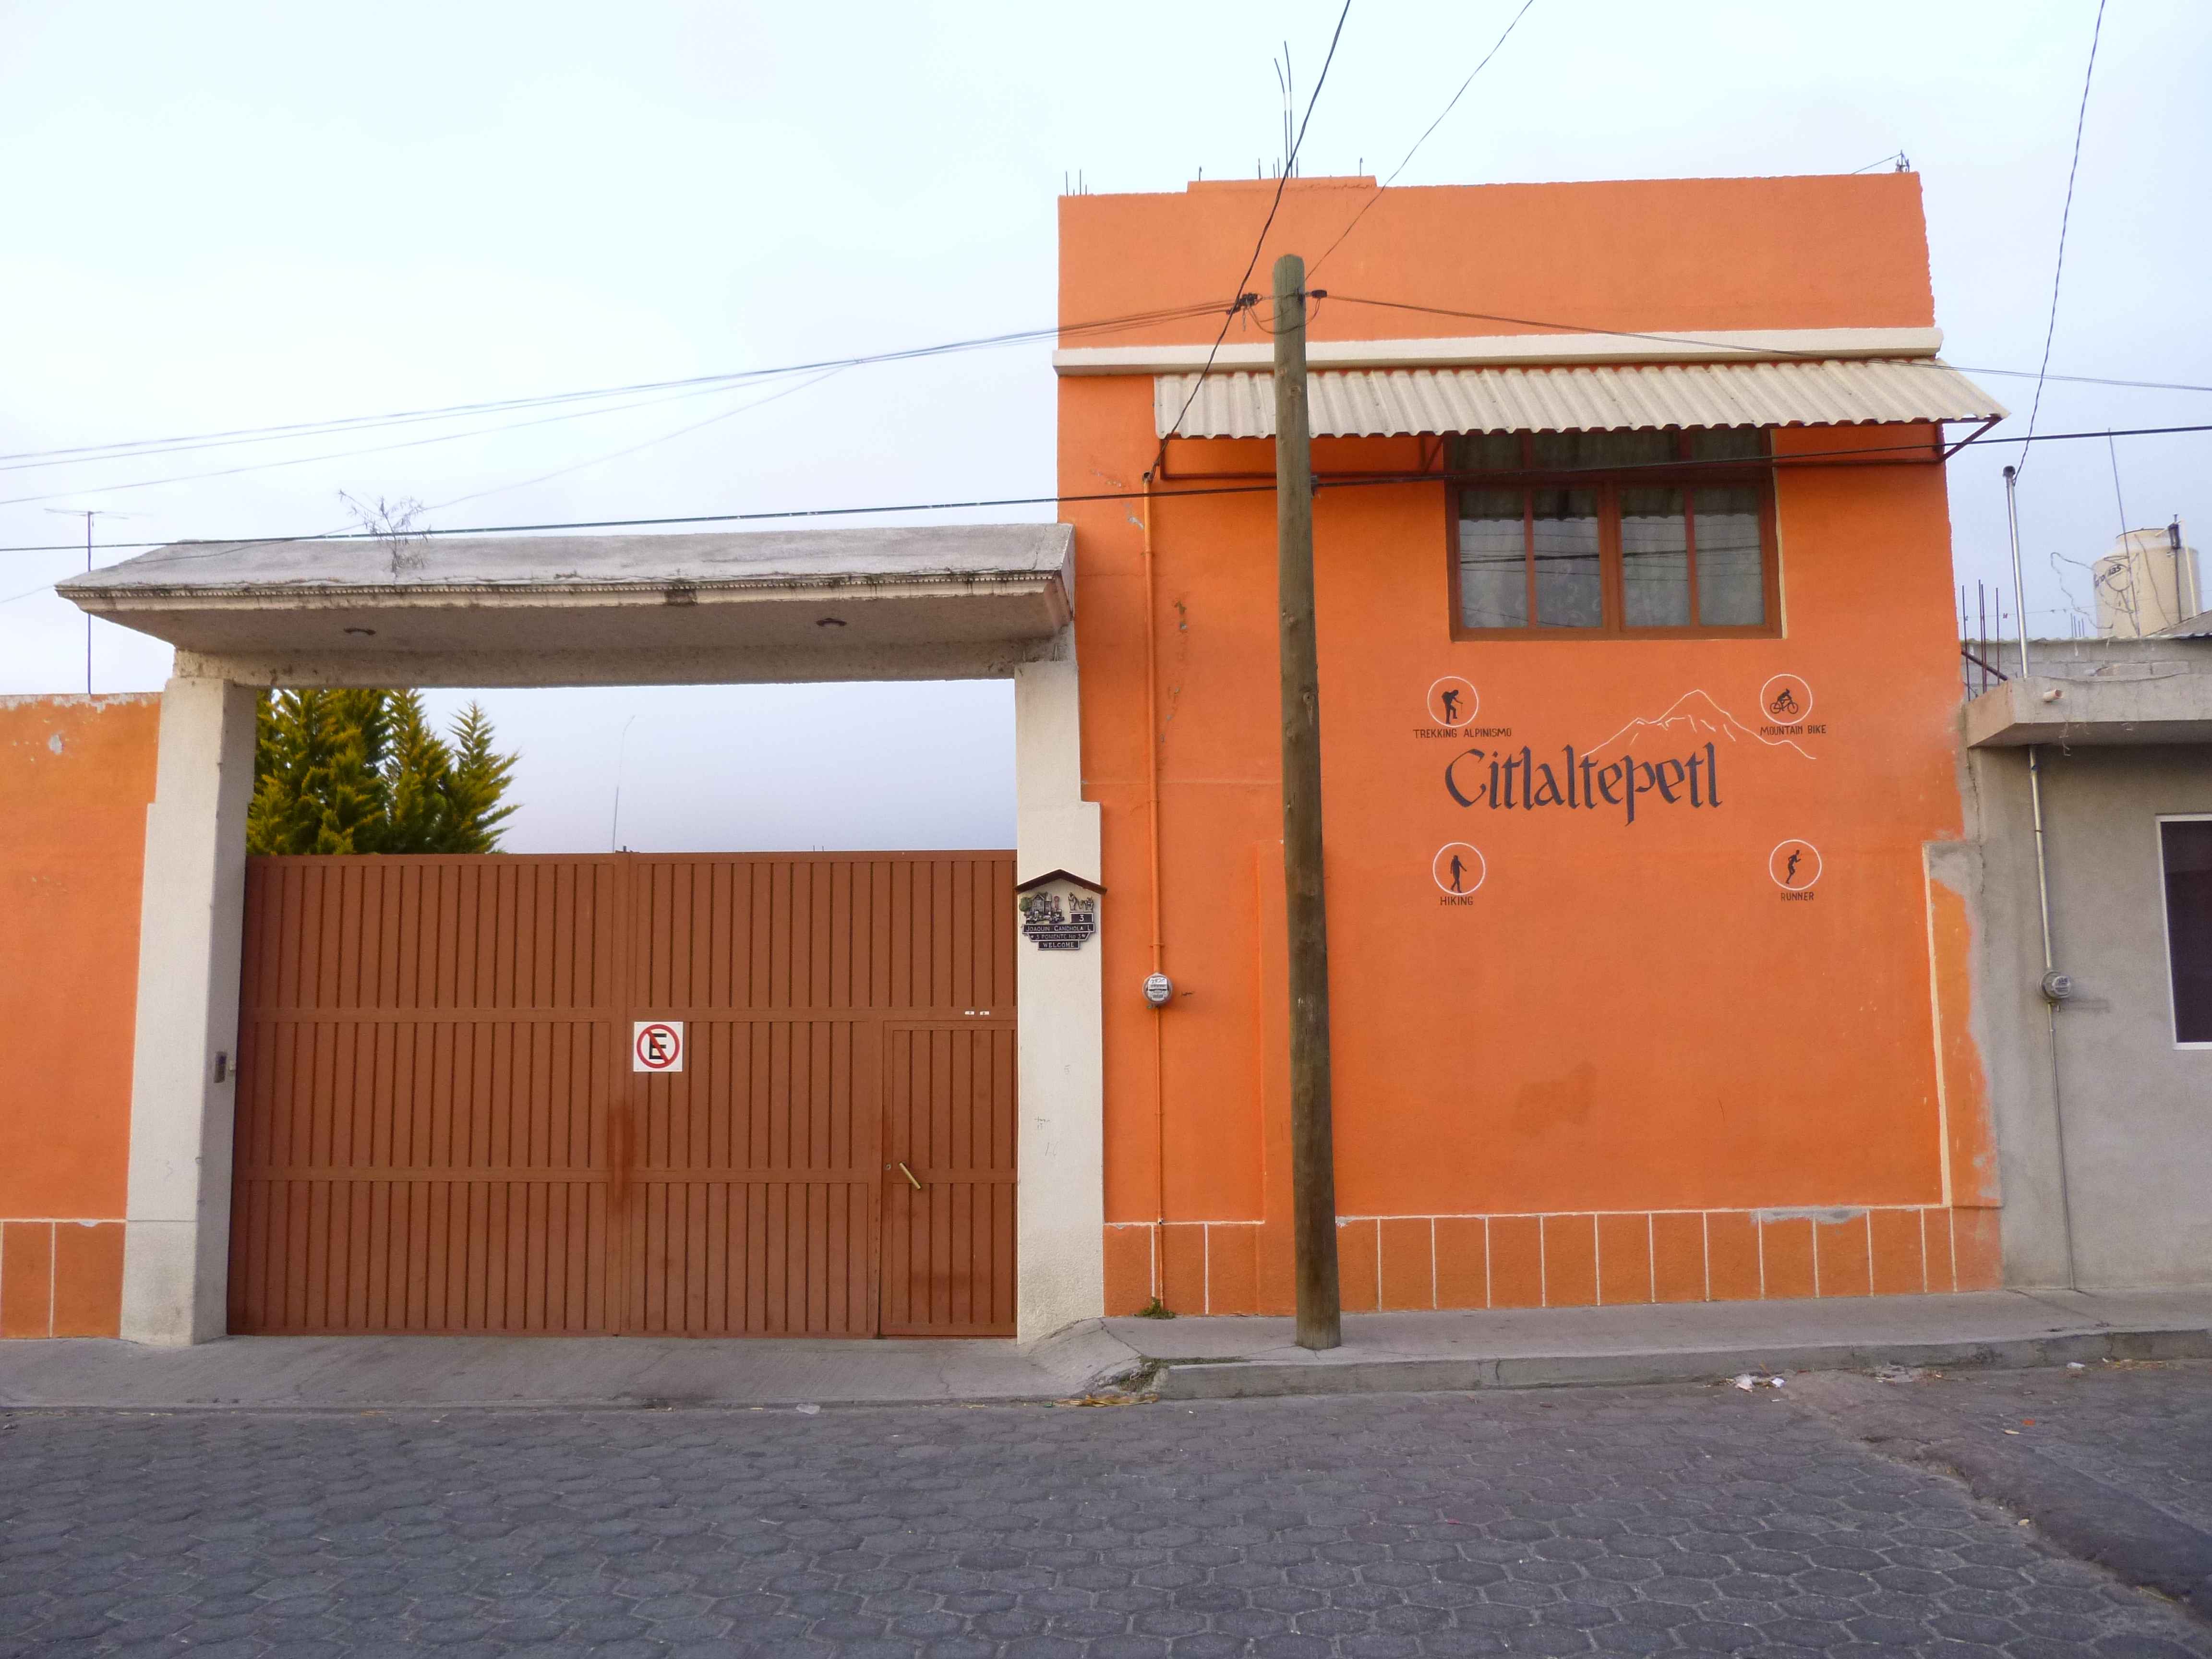
The Cancholas compound.
After a great dinner and some conversation with other climbers heading up, I turned in for the night. Lodging at the Cancholas compound was comfortable, clean, affordable and safe – their service was superb and I would strongly recommend them.
Day 1: After a good night’s sleep, a hearty breakfast, and some final packing, the Cancholases drove me and several other climbers to the Piedra Grande hut on the north side of Orizaba using a 4×4 truck. With an elevation of 4270m, many climbers use the Piedra Grande hut as an acclimatization point for two or more nights.

The Piedra Grande hut at the base of Orizaba (lower-left corner).

The Piedra Grande hut.
December is the dry season in Mexico, and there was no snow on the lower mountain.
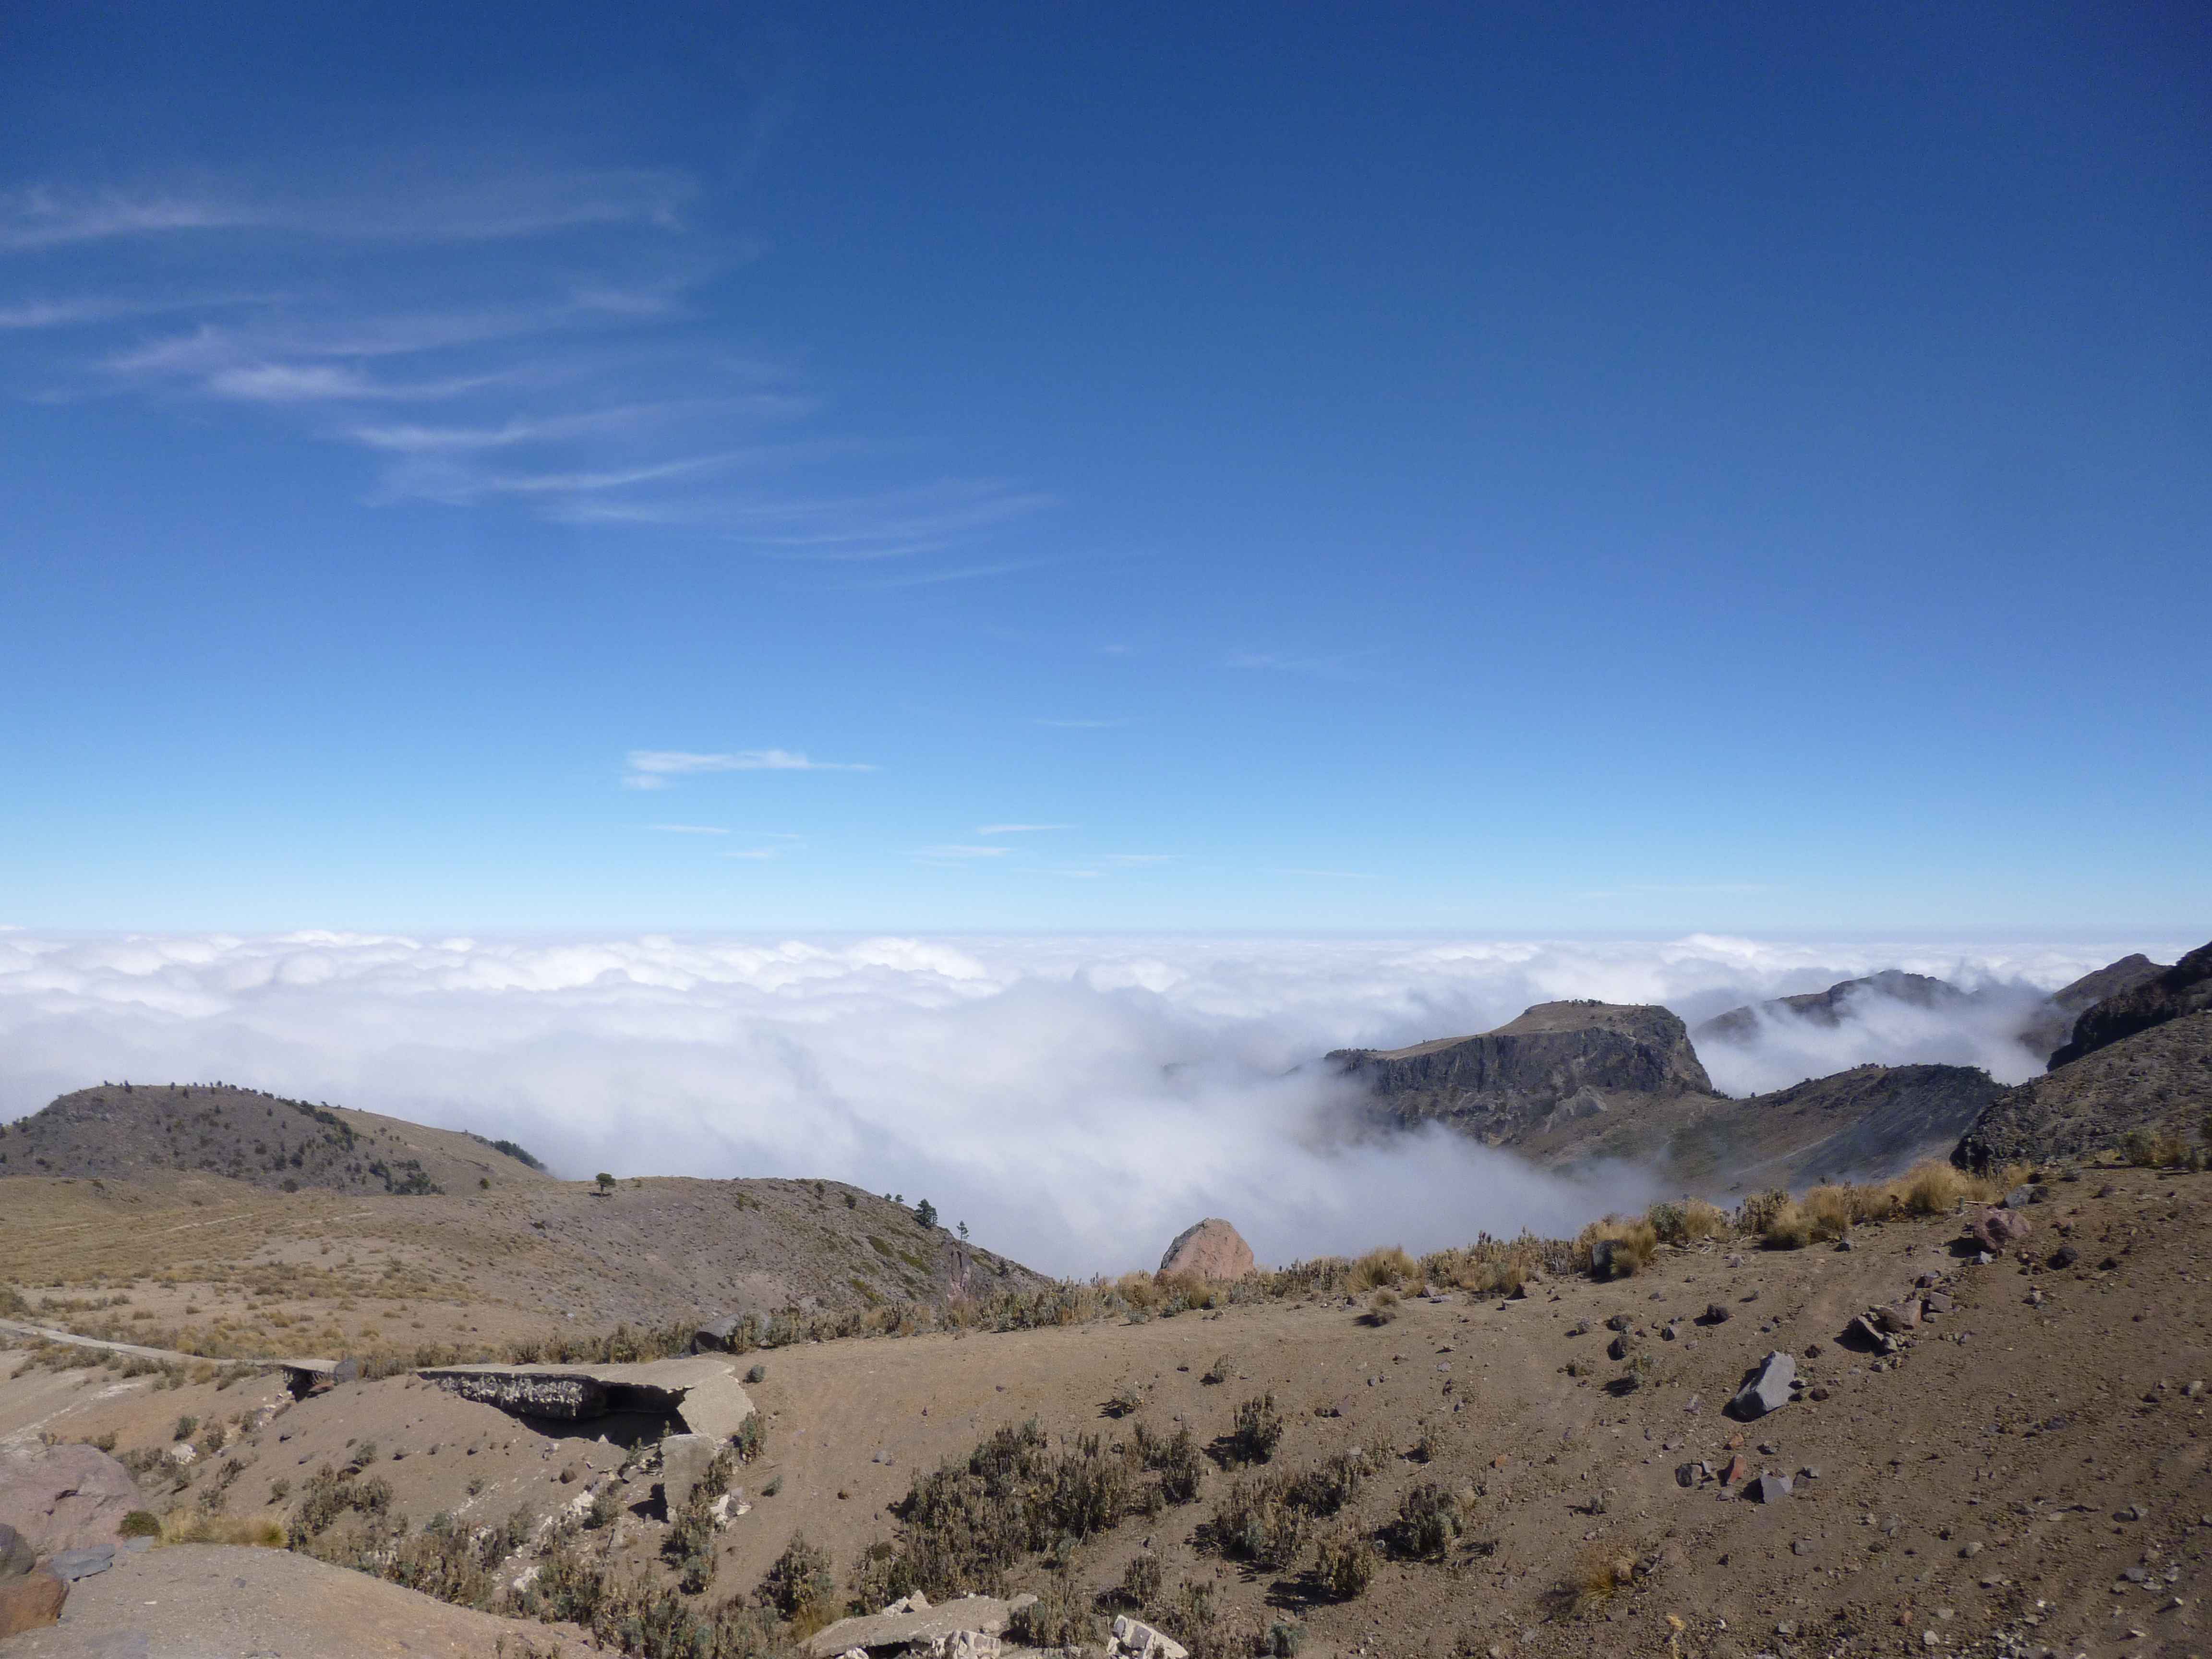
Above the clouds at the base of Orizaba.
From here, the route to the top could be seen. Having spent some time at altitude and feeling well acclimatized it was my intention to set a high camp at the base of the ‘labyrinth’, a mixed section of smooth rock and snow, and climb to the summit the following morning. Here is a rough outline of the route I followed:

A rough outline of my route – day 1 blue, day 2 red.
At the Piedra Grande hut I finished getting gear ready, and started up the mountain. In addition to climbing and camping gear for contingency I packed 3 days worth of food and 12L of water.

Packed heavy, heading up to set high camp.
From the Piedra Grande hut the route begins by following an old drainage aqueduct before heading up through a moraine of loose scree.
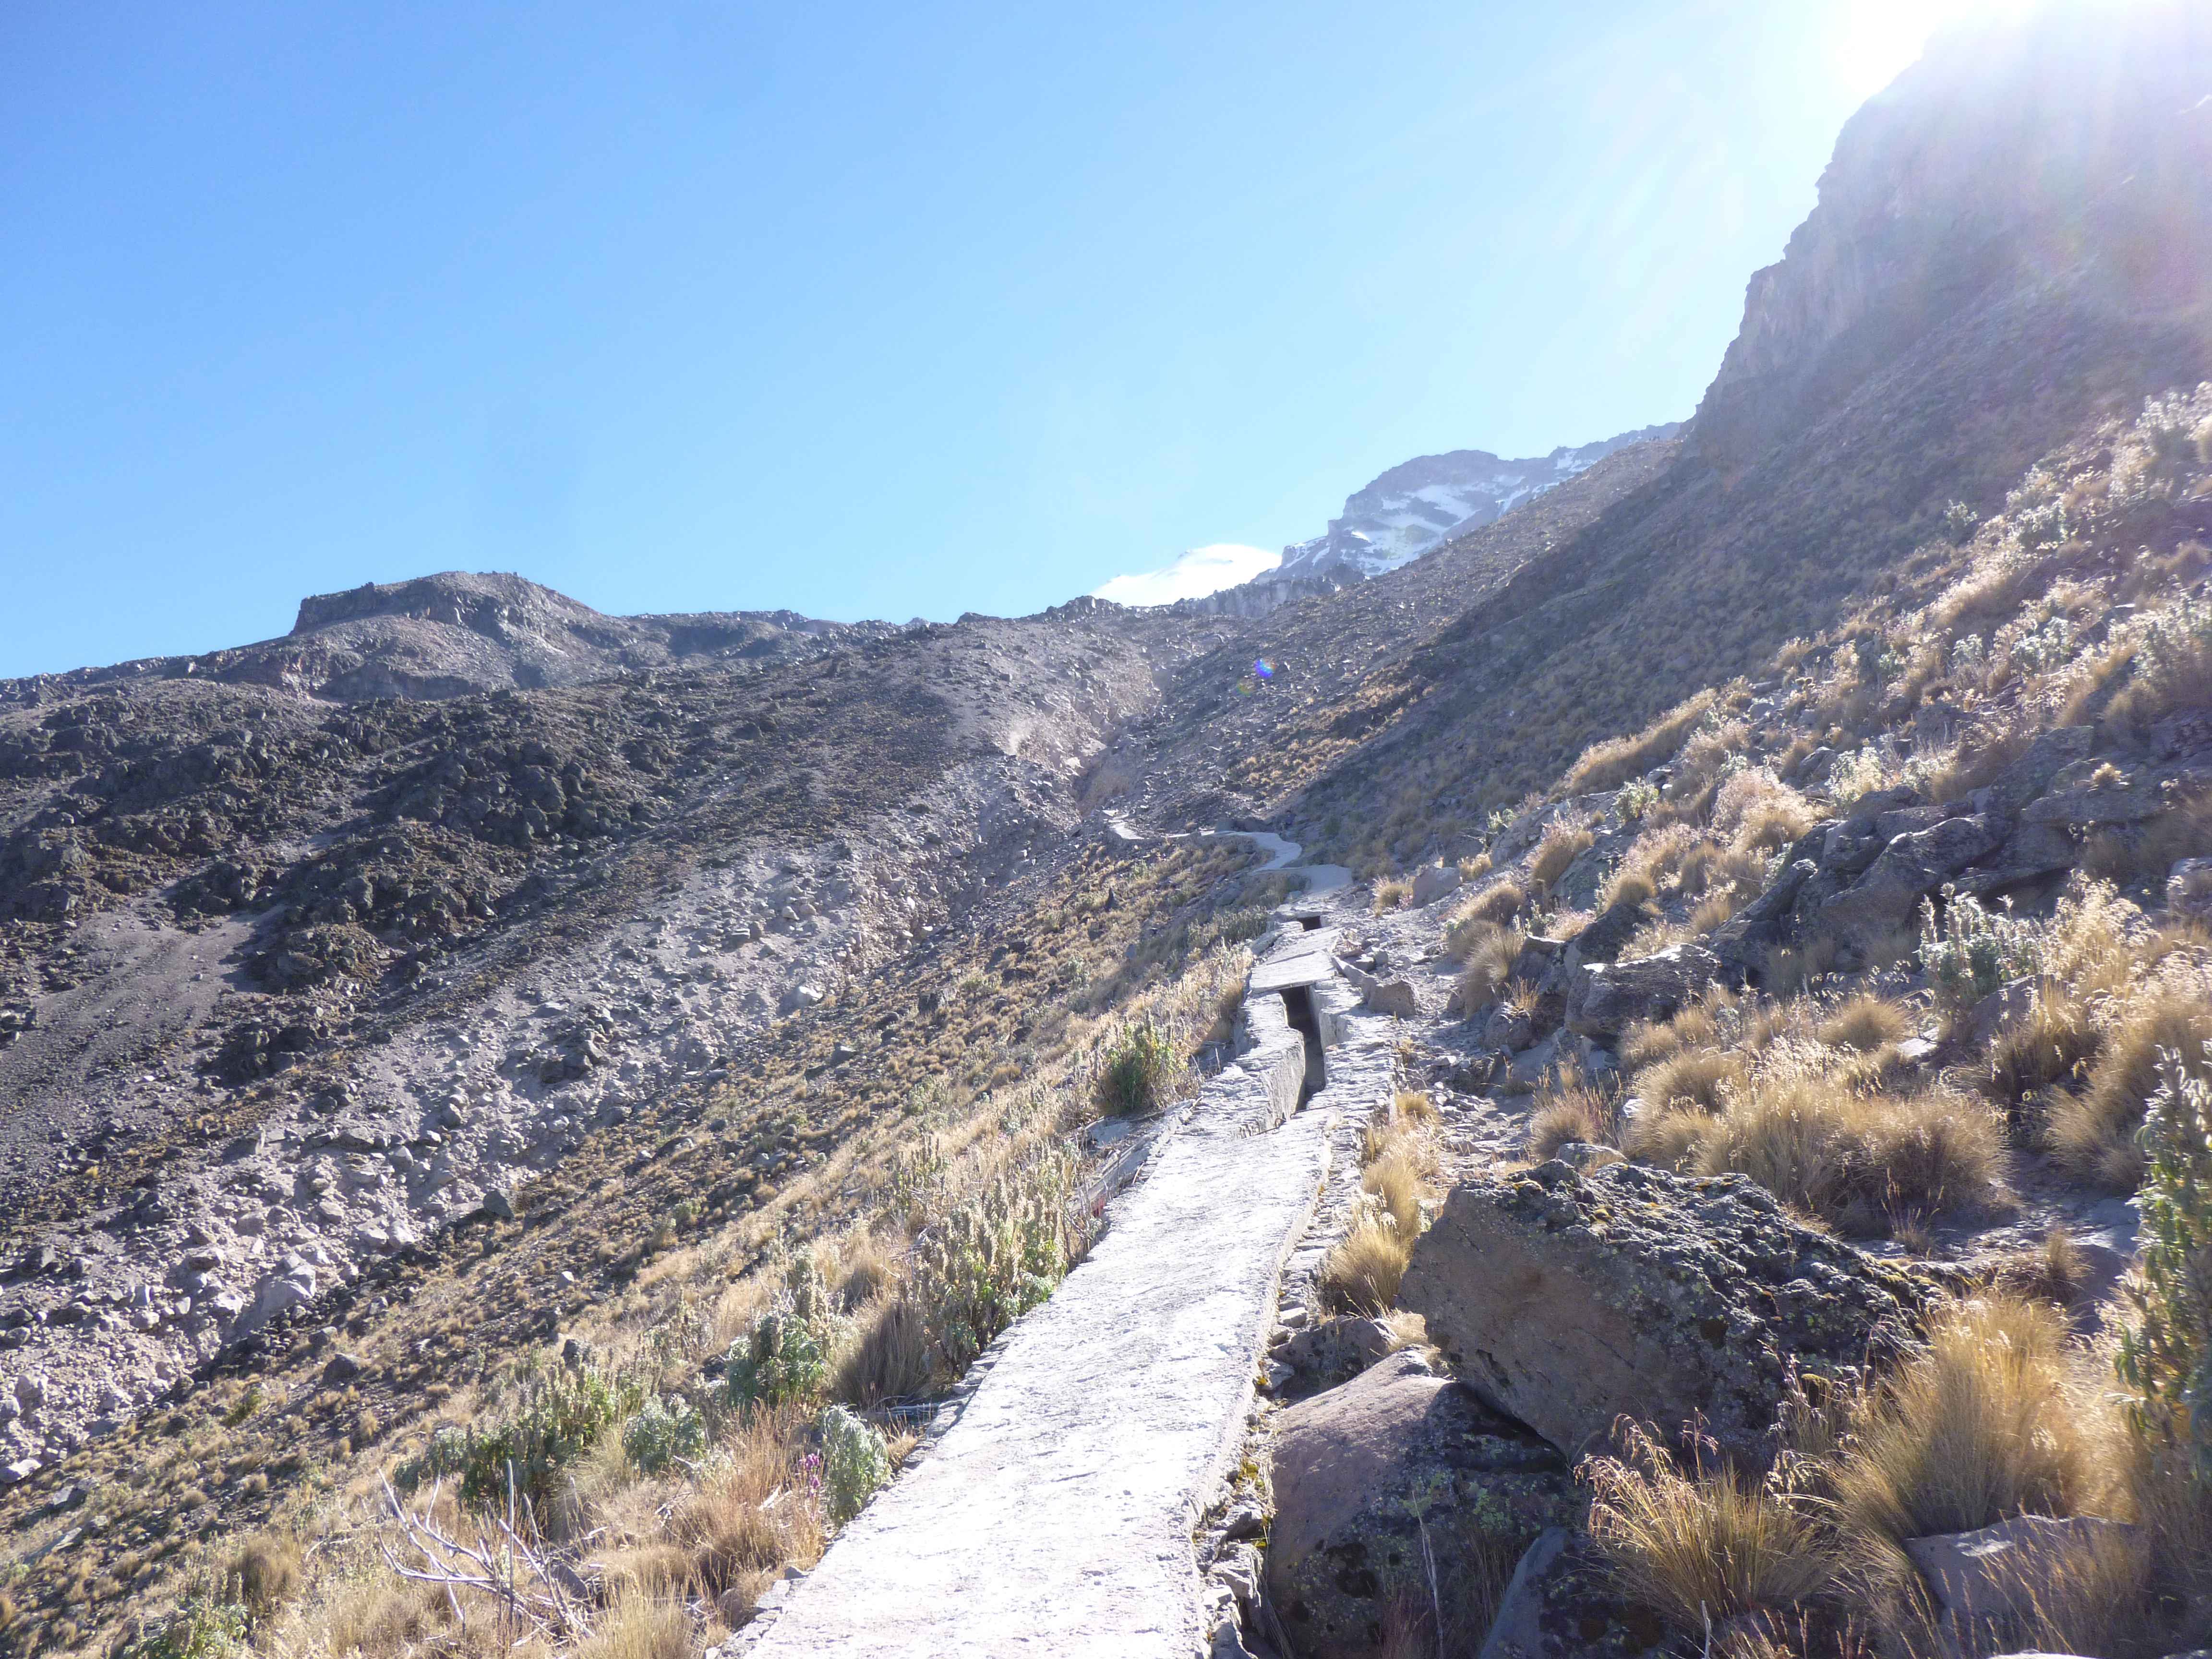
An old aqueduct marks the beginning of the route.

Heading up the lower mountain’s scree.
The weather was perfect, and looking behind me I had great visibility.
Looking north, halfway to the base of the labyrinth.
Further ahead were the first campsites. Stone rings constructed by previous climbers to stop wind and protect tents were conveniently intact. Keen on camping higher, I passed the first set of sites.
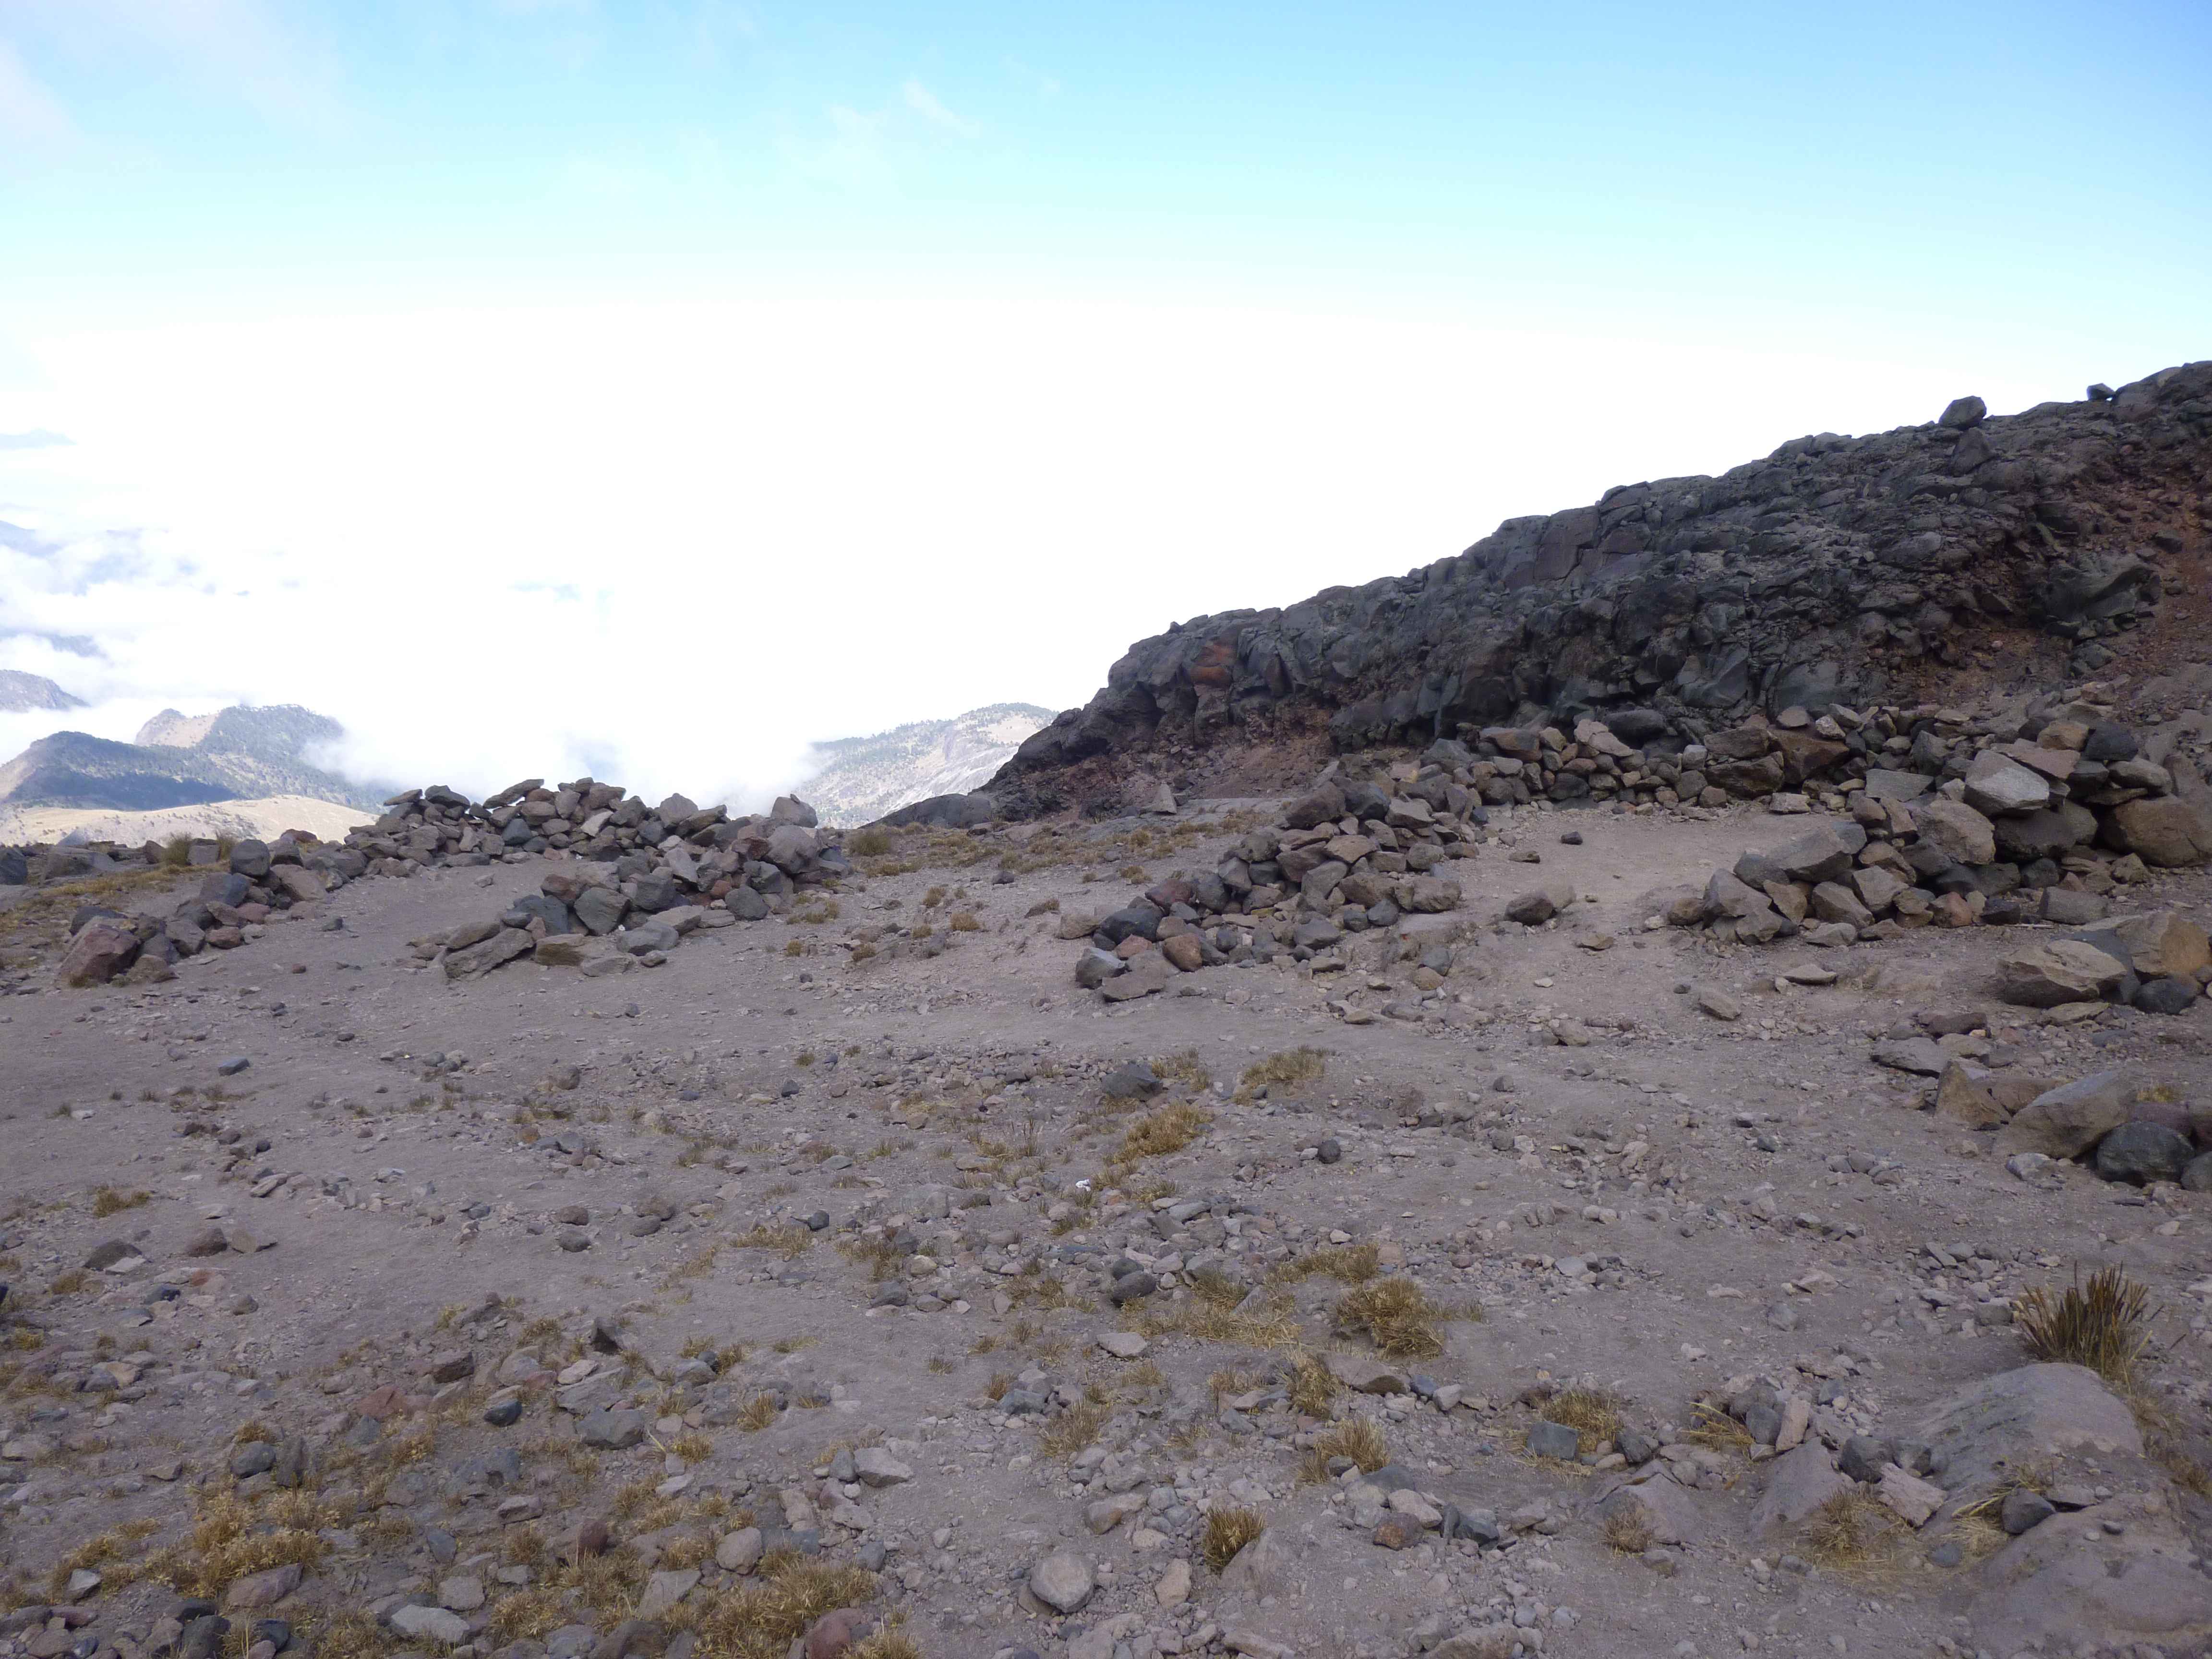
The first campsites, several hundred meters below the labyrinth.
Higher still the scree eased into smooth rock, rounded like giant marbles. The glacier once covered this section of the mountain.

Smooth rock below the labyrinth.
At the Piedra Grande hut I had met Oso, a well-known Mexican climbing guide, as he was getting ready to return to Tlachichuca. He informed me that the labyrinth was in poor condition, steep gulleys of hard snow. Equally cautionary was a Brazillian-American climber I’d spoken with on Iztaccihuatl earlier in the week, whom I ran into again as he was descending from Orizaba’s summit. He told me that he and his partner had found the labyrinth particularly icy, and tricky to ascend in the dark. This information fresh in my mind, the labyrinth indeed looked frozen, but not too imposing. Scouting it, I planned to ascend via the climber’s right hand side, straight up the second gully to the right.
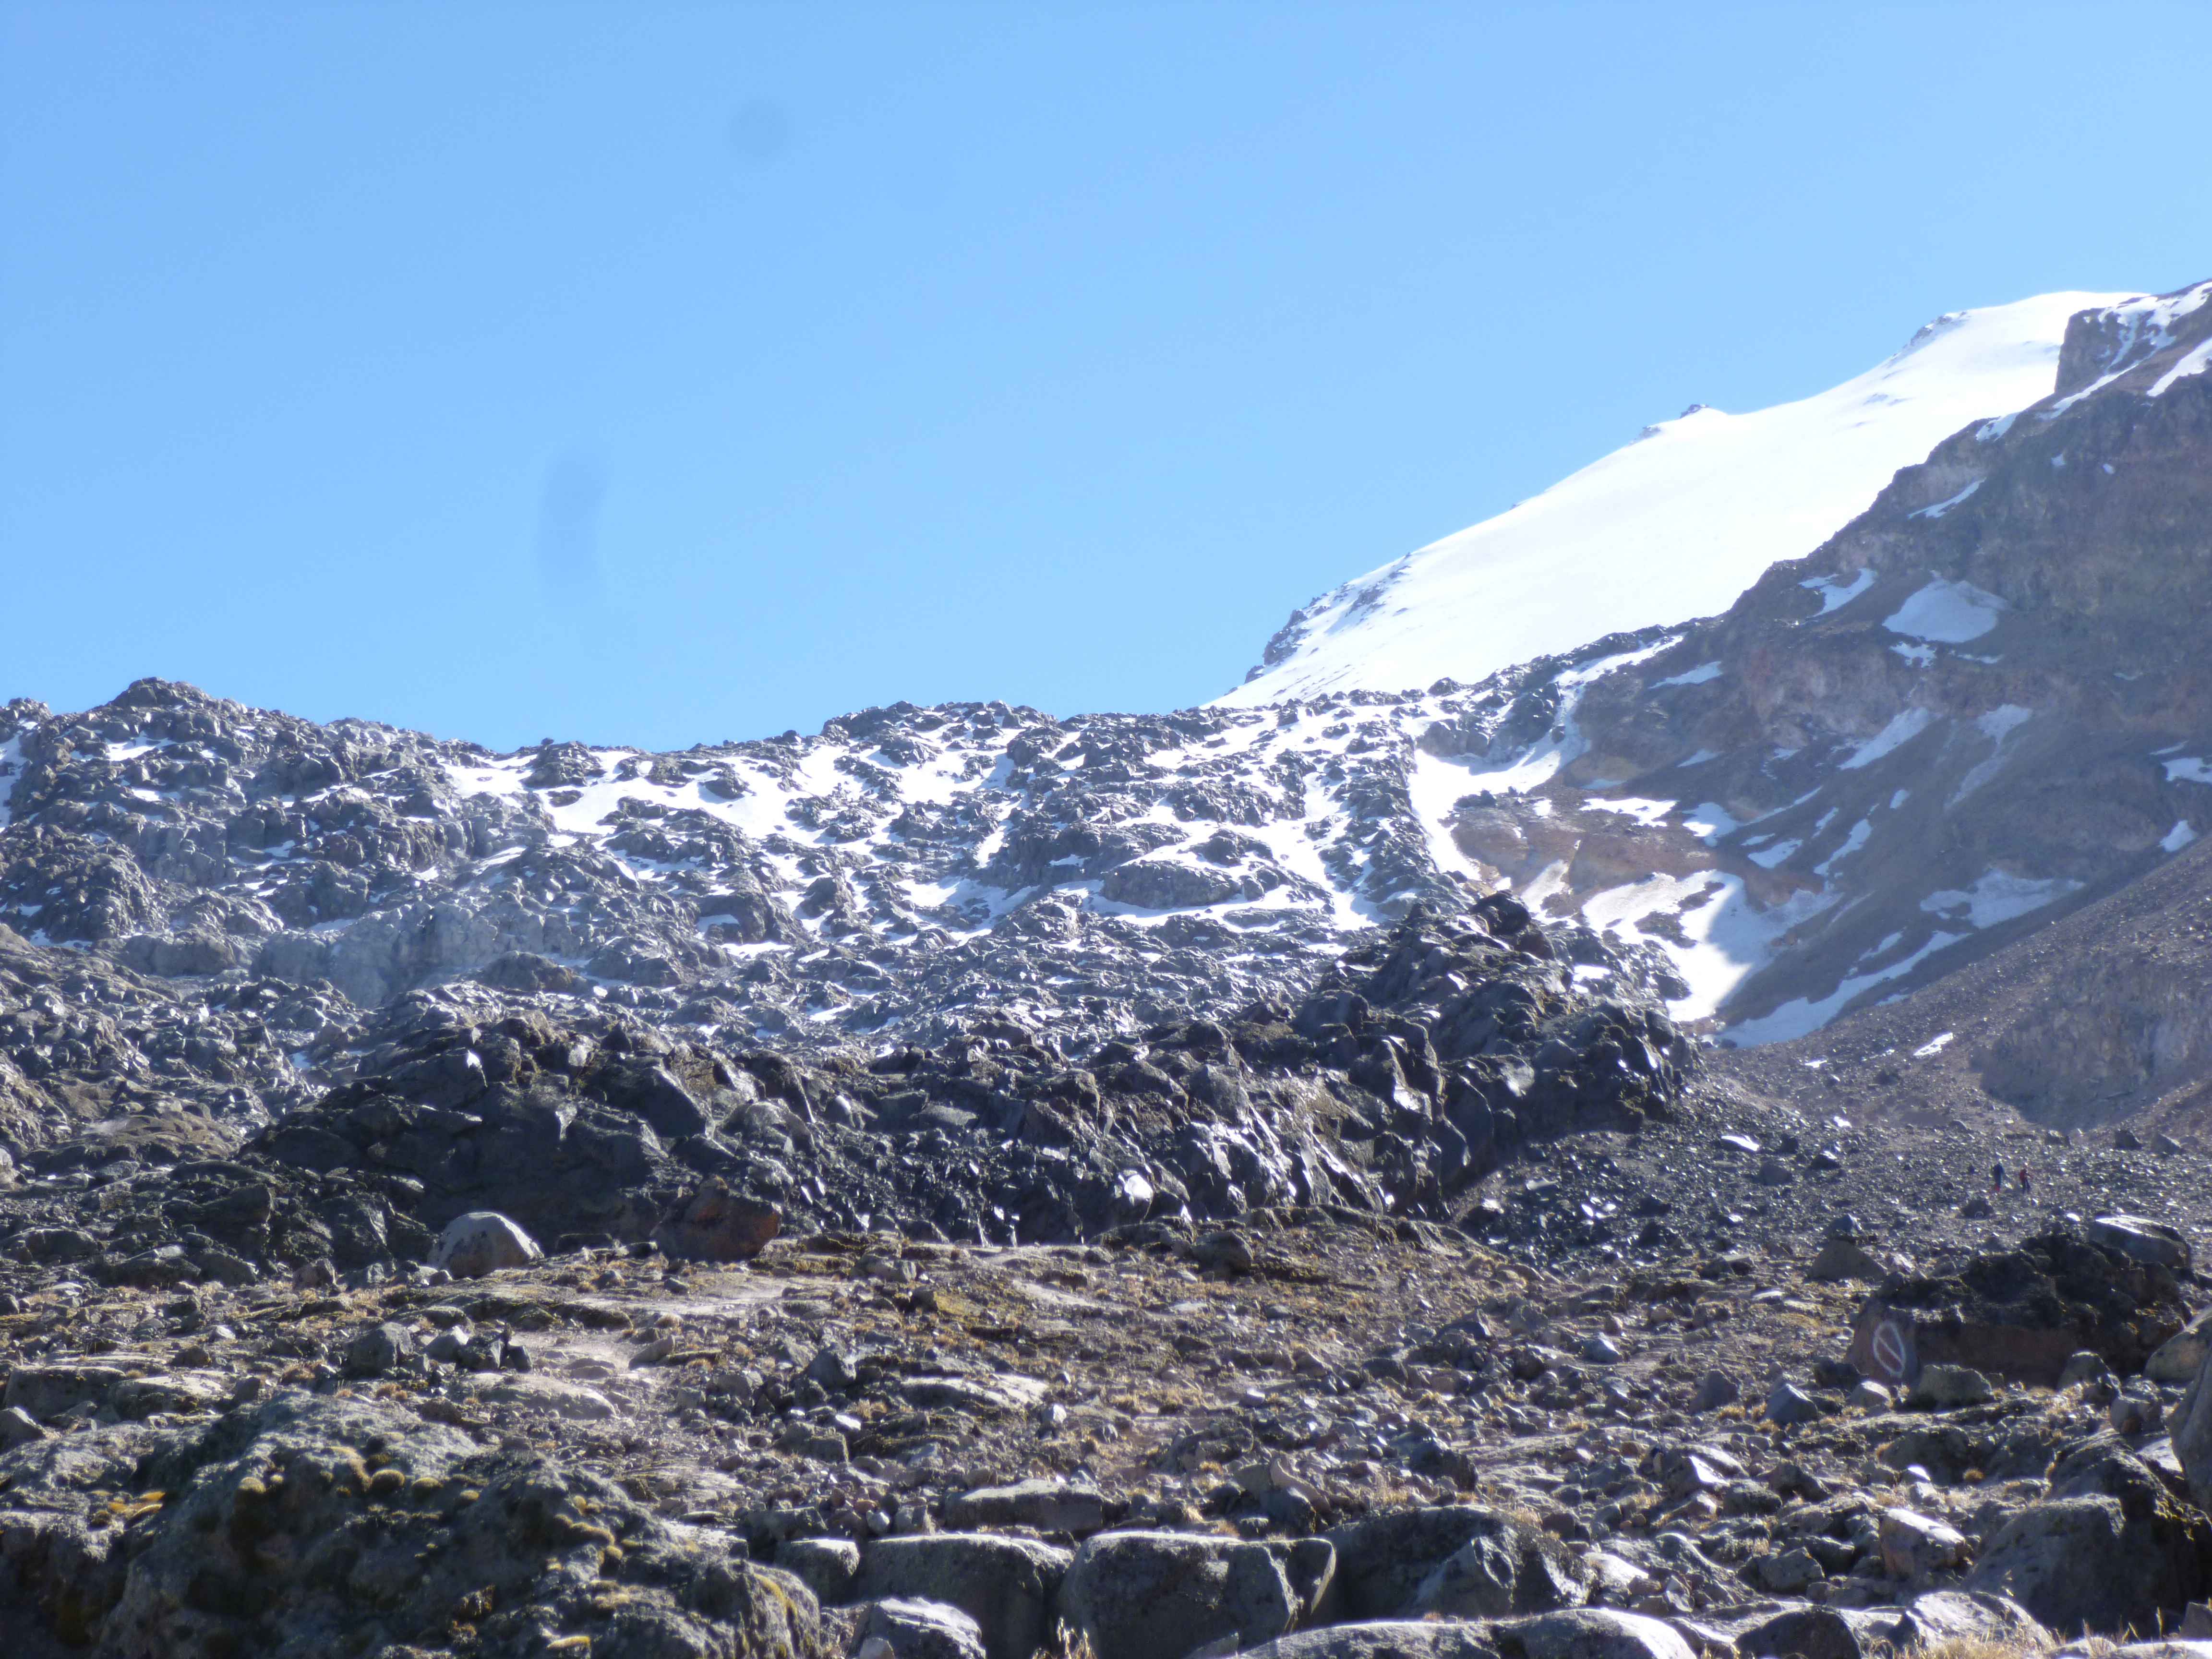
Looking up at the labyrinth. Orizaba’s summit is in the top right.
Moving higher, I found the last stone tent wall below the labyrinth and pitched camp. Without objective measurement, I would estimate my campsite elevation at around ~4750m.

High camp below the labyrinth.

Heavy rocks anchored my tent nicely.
A nice view from my front door.
After cooking dinner I turned in for an early sleep. It was cold overnight, with moderate wind. In the dark of night glowing stars filled the sky, and the moon was bright enough to cast shadows.
Day 2: I woke up at ~2:30 a.m. to the sound of other climbers passing my campsite. I discovered that it was the trio of Canadians whom I’d climbed with on Iztaccihuatl a few days prior. I wished them good luck, and went back to sleep. Up again at 3:30 a.m I began to cook breakfast and prepare gear for the climb to the top. As I was getting ready an Australian couple and their guide passed by, and a British/Mexican pair stopped to rest and chat. This is the benefit of pitching camp in the middle of the route! As I was getting ready to leave the guided Australian couple returned – the labyrinth was rock hard, and one of the Australians didn’t feel comfortable climbing it. They asked if she could use my tent to rest and wait for the others, to which I agreed.

Getting ready to climb to the summit.
Departing my campsite at 4:30 a.m., I was soon at the base of the labyrinth where, as warned, snow and melt water had frozen.
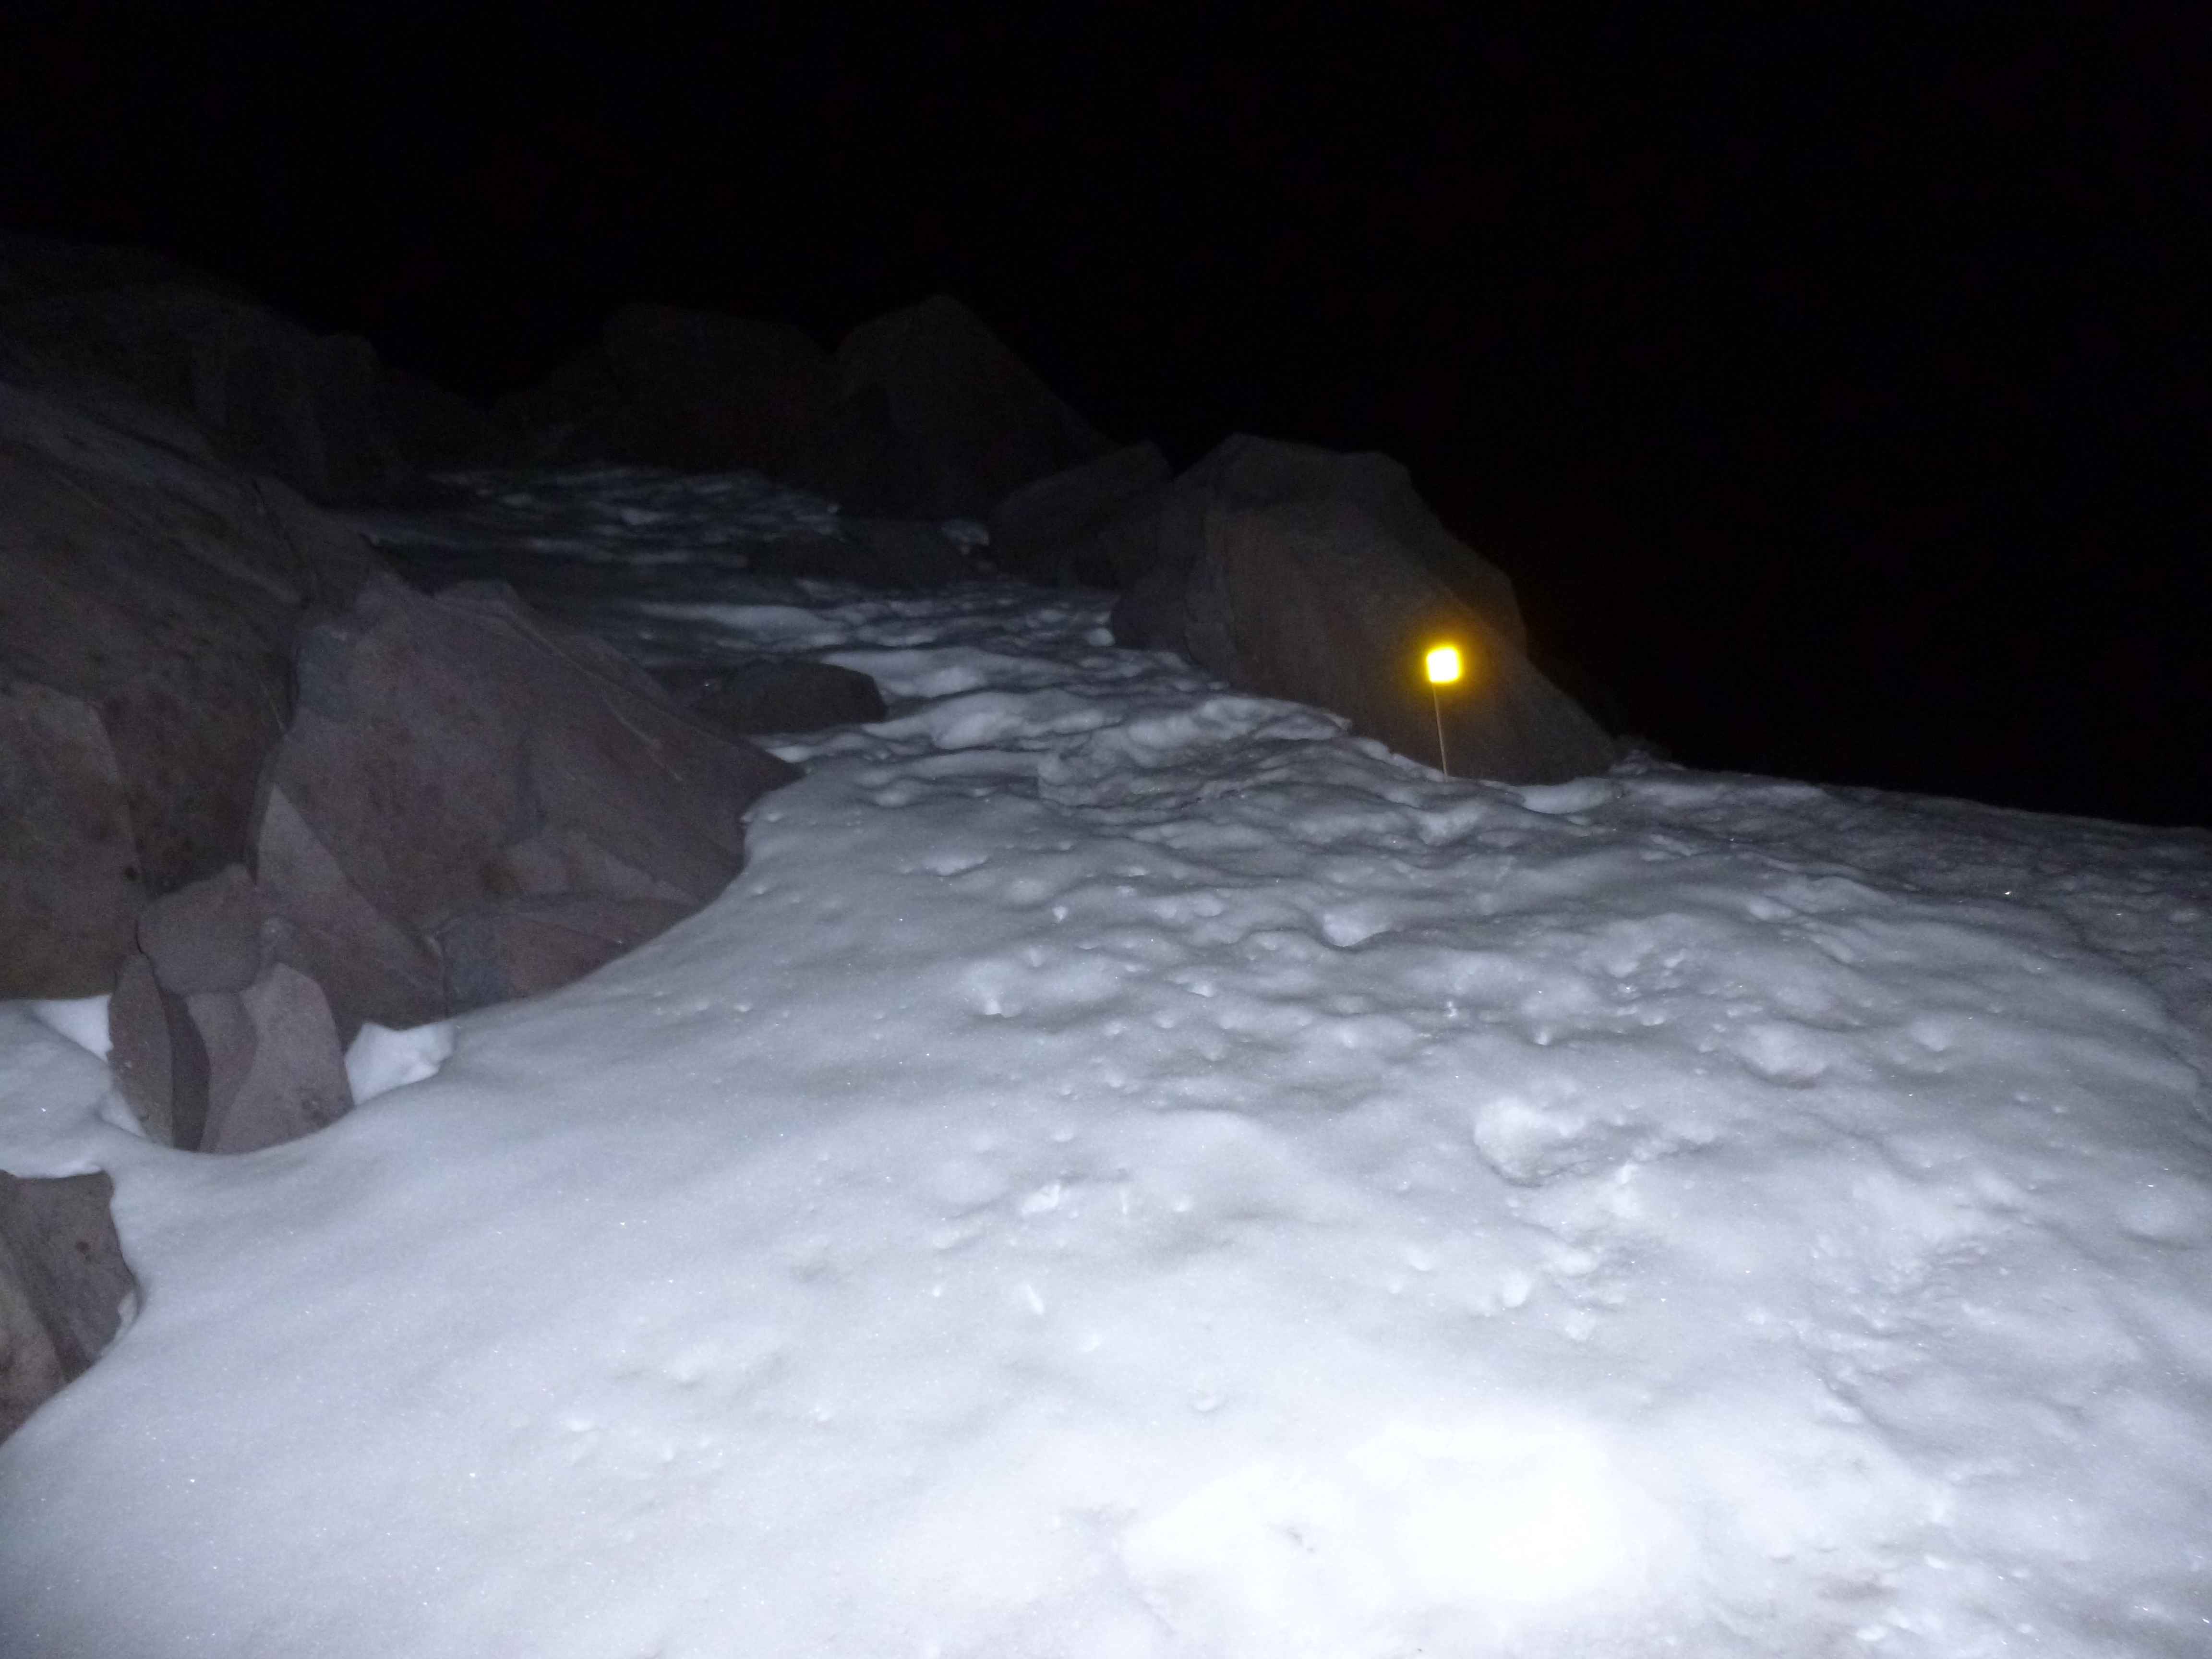
Reflective flags marked the route to the labyrinth’s base.
After a brief stop to put on crampons and switch from trekking poles to ice ax, I began to head up the right hand gulley I had scouted earlier. While of moderate steepness, overnight it had frozen and was covered in bulletproof ice, providing poor purchase. The gulley’s sides were well pronounced, and on the ice it would be difficult to arrest a fall. Worse, falling was potentially quite dangerous, with nothing to stop a slide all the way to the bottom.
Off to the left I saw the headlights of the Australian and his guide taking a different route up, and so after ~25m I turned around and descended to the labyrinth base. Following the lights of the others I found slightly steeper, equally icy pitches, but with the benefit of many more rocks to guard a potential fall. The Australian and his guide were short-roped together, although as they weren’t placing protection I am unsure whether it would have helped or hindered them given a fall. Some 30 minutes later the terrain leveled out and the labyrinth was finished. After a short, flat section of loose rocks, I was on the Jamapa glacier.

Looking across the Jamapa glacier.
Contrary to the labyrinth, the glacier was in superb condition. Crisp, firm snow gave excellent purchase. The glacier begins at a very moderate angle, and slowly gets steeper. As I continued upwards, the sun began to rise.
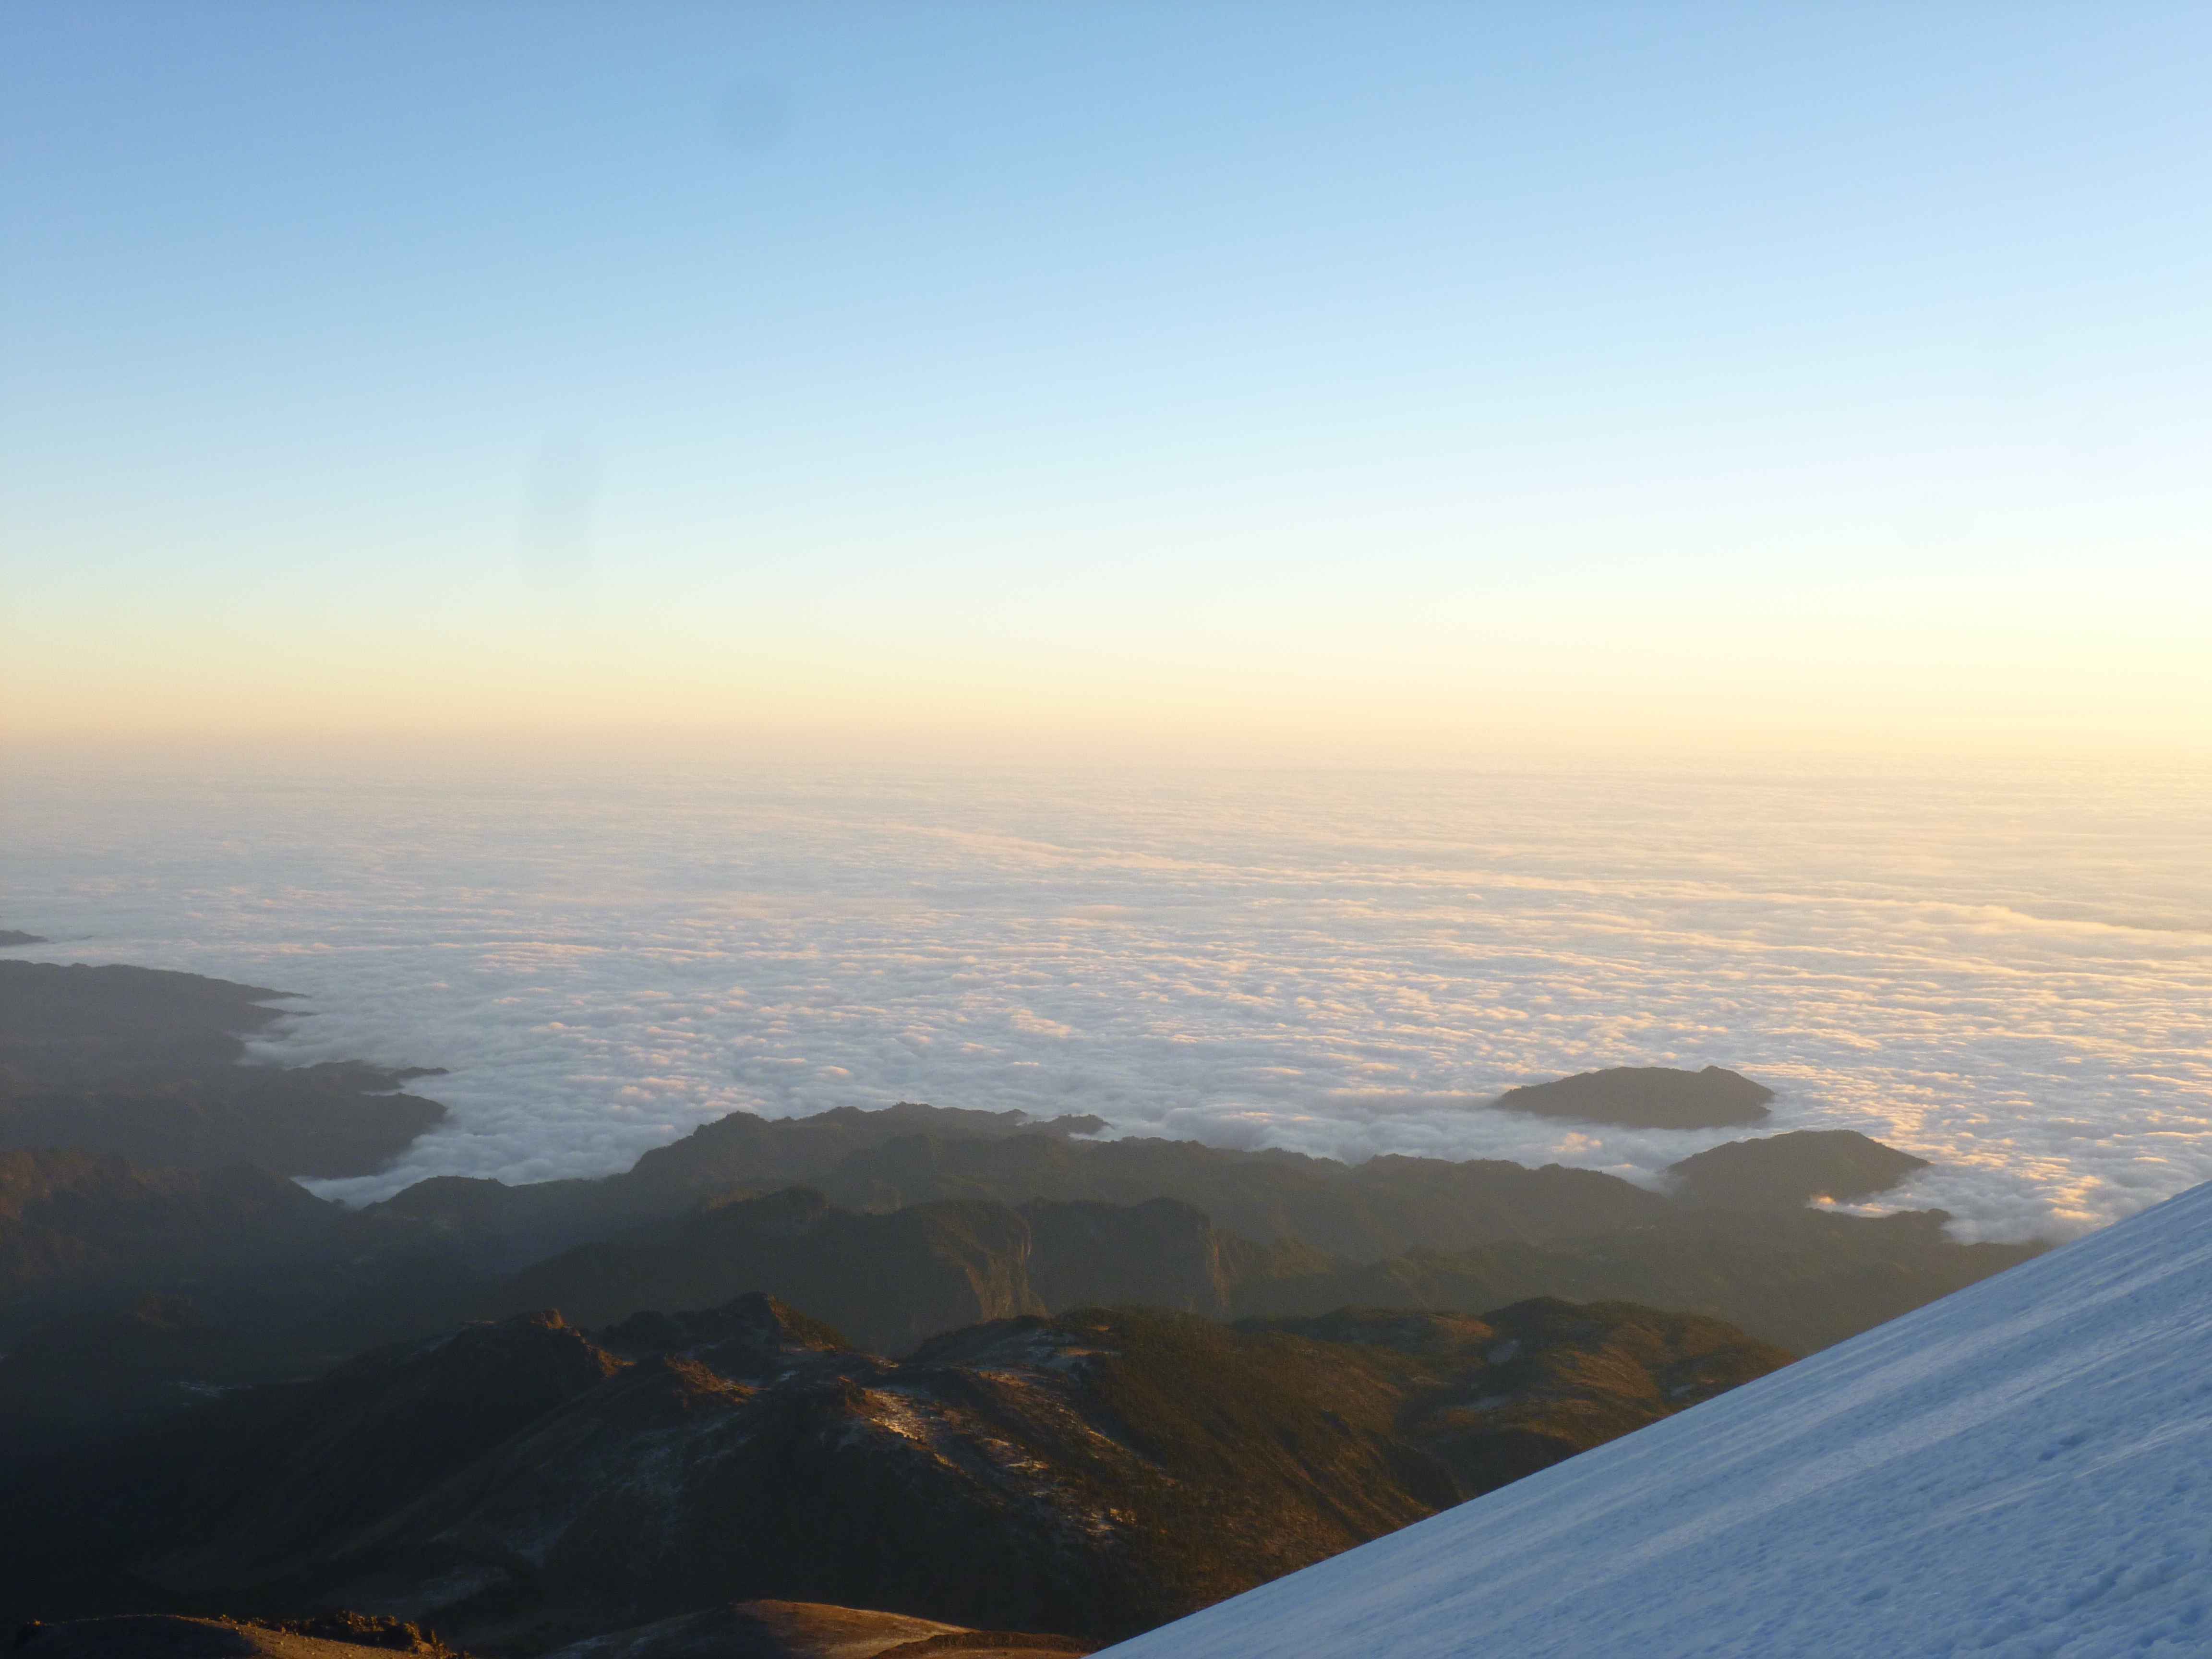
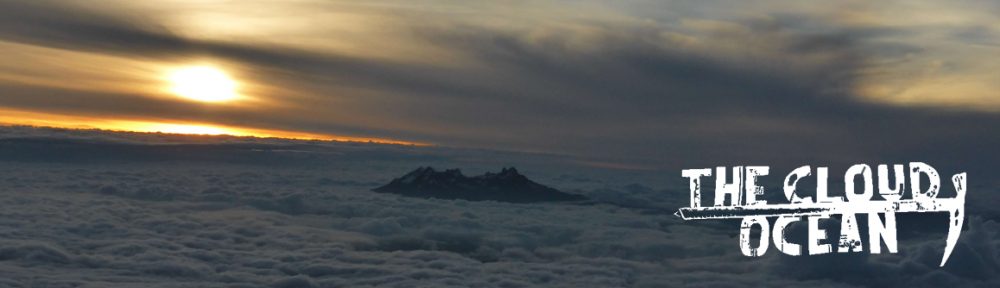
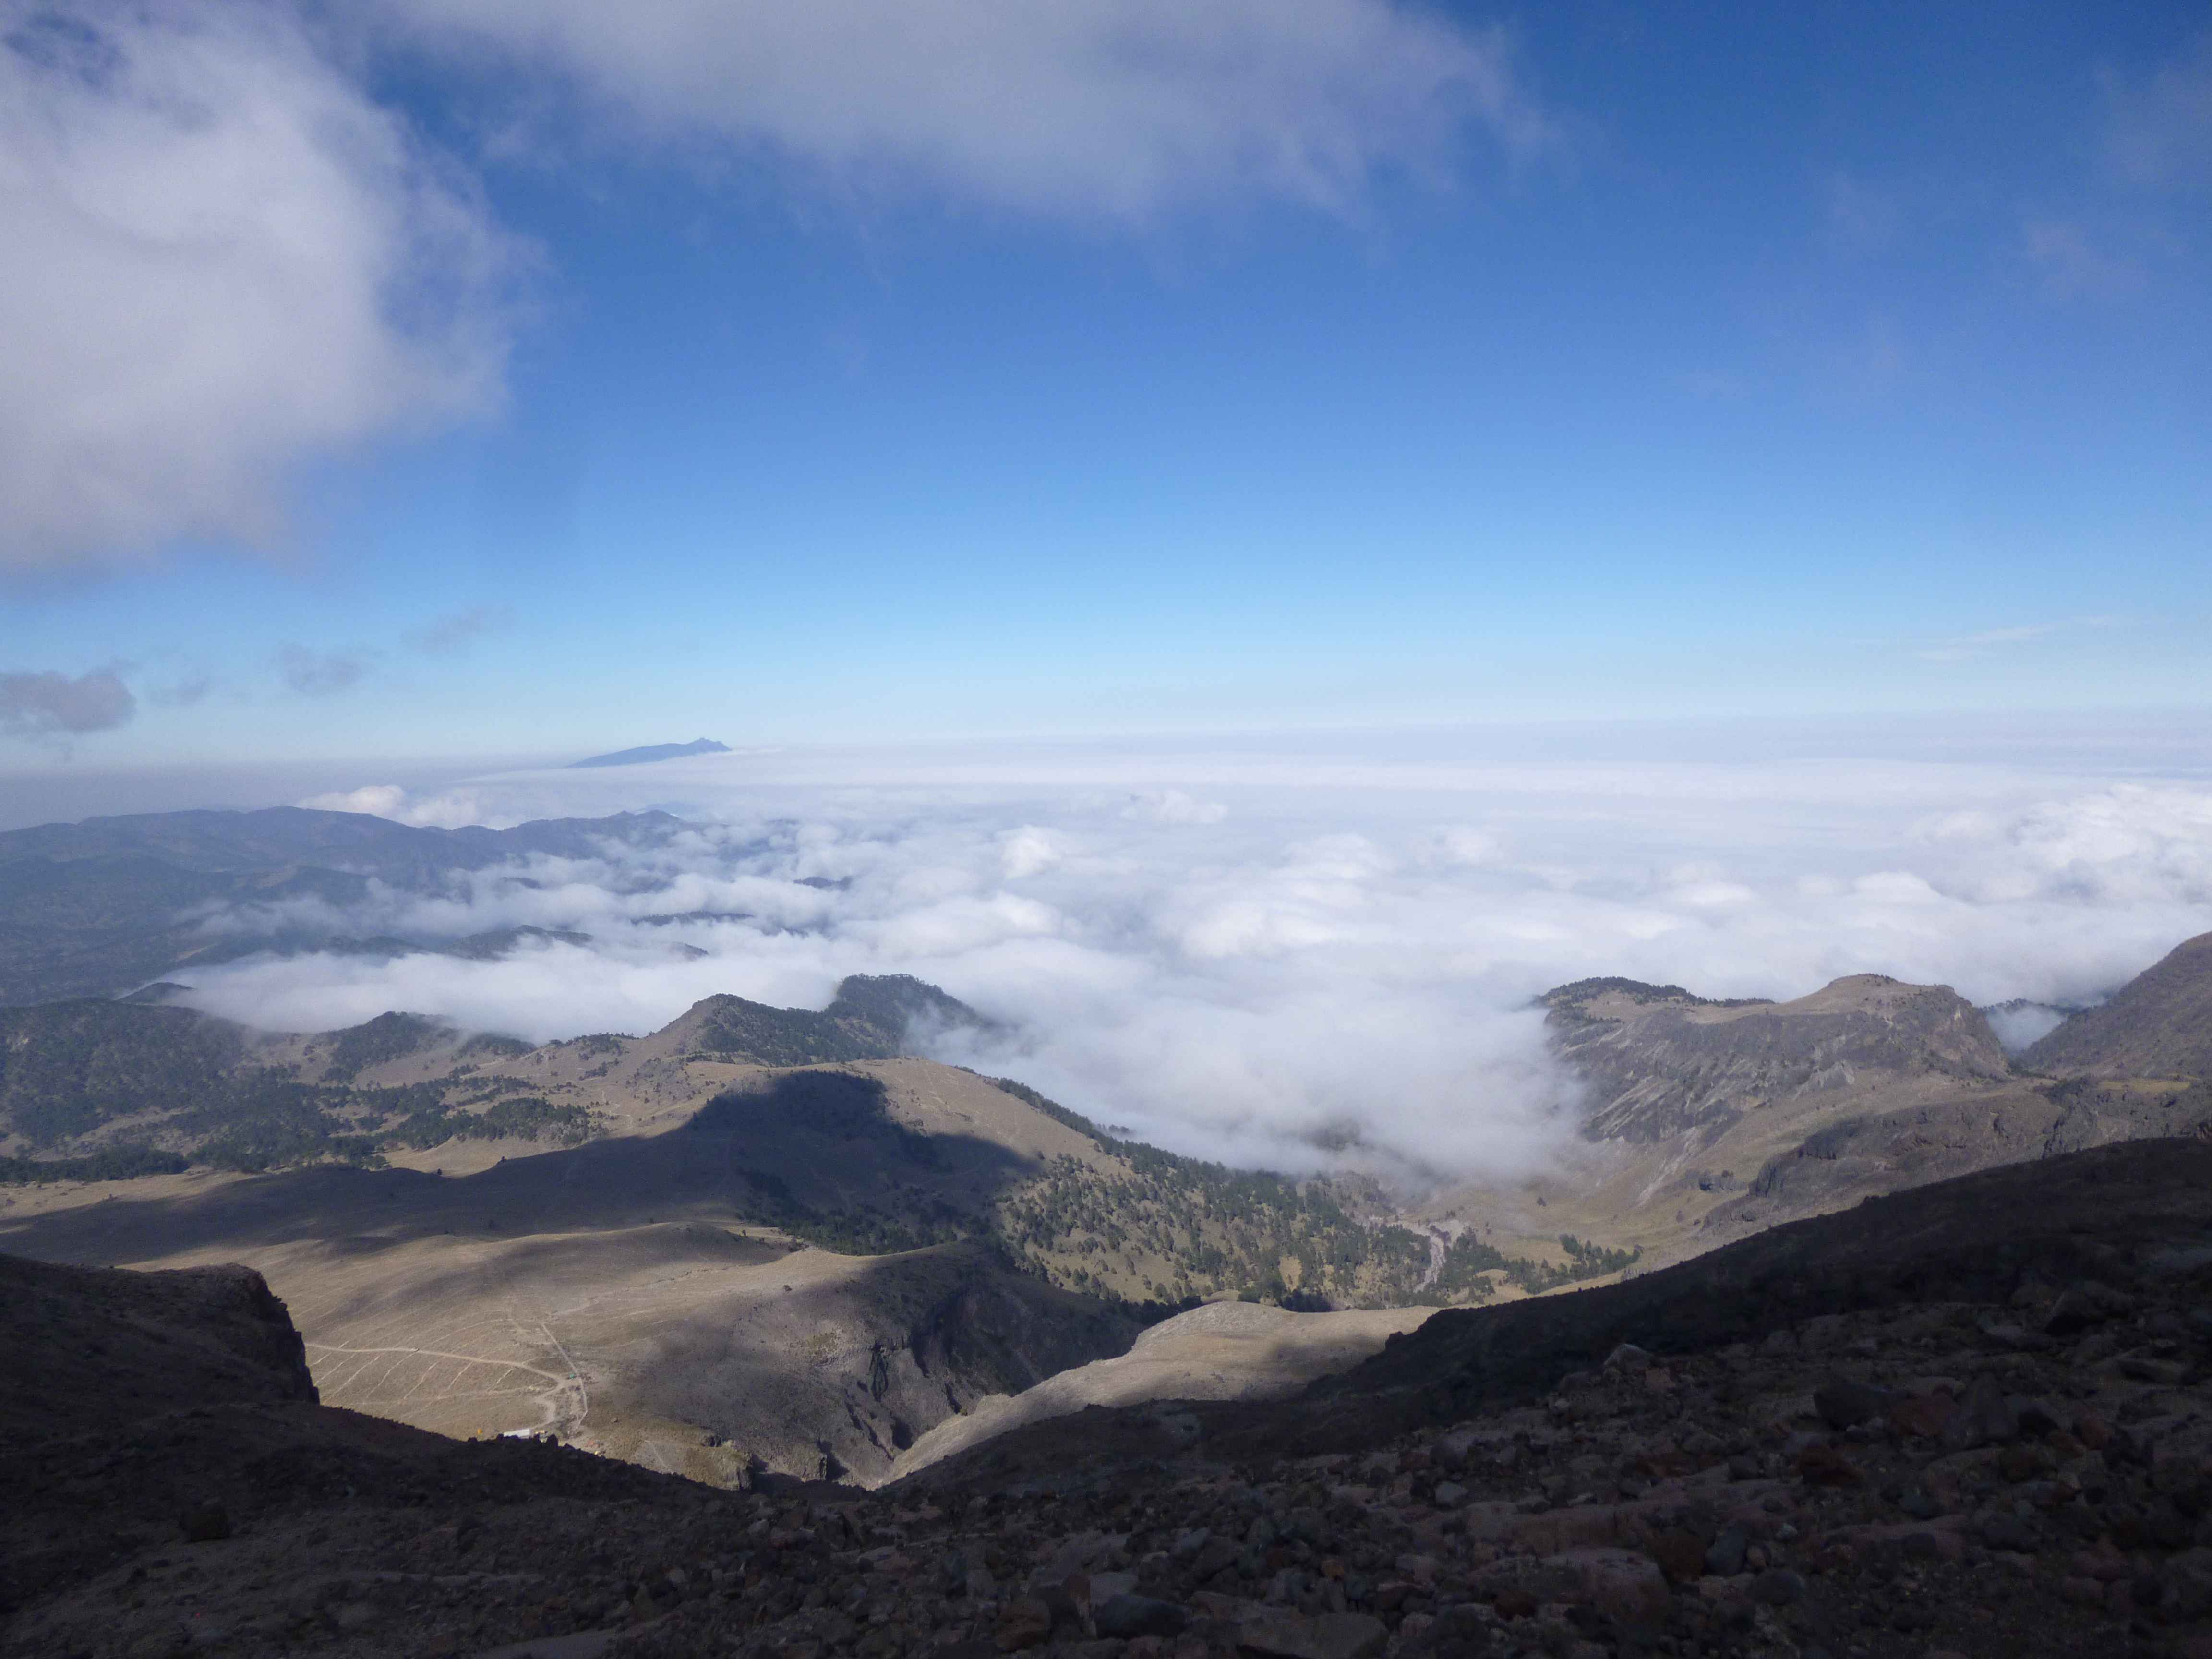
A cloud ocean far below.
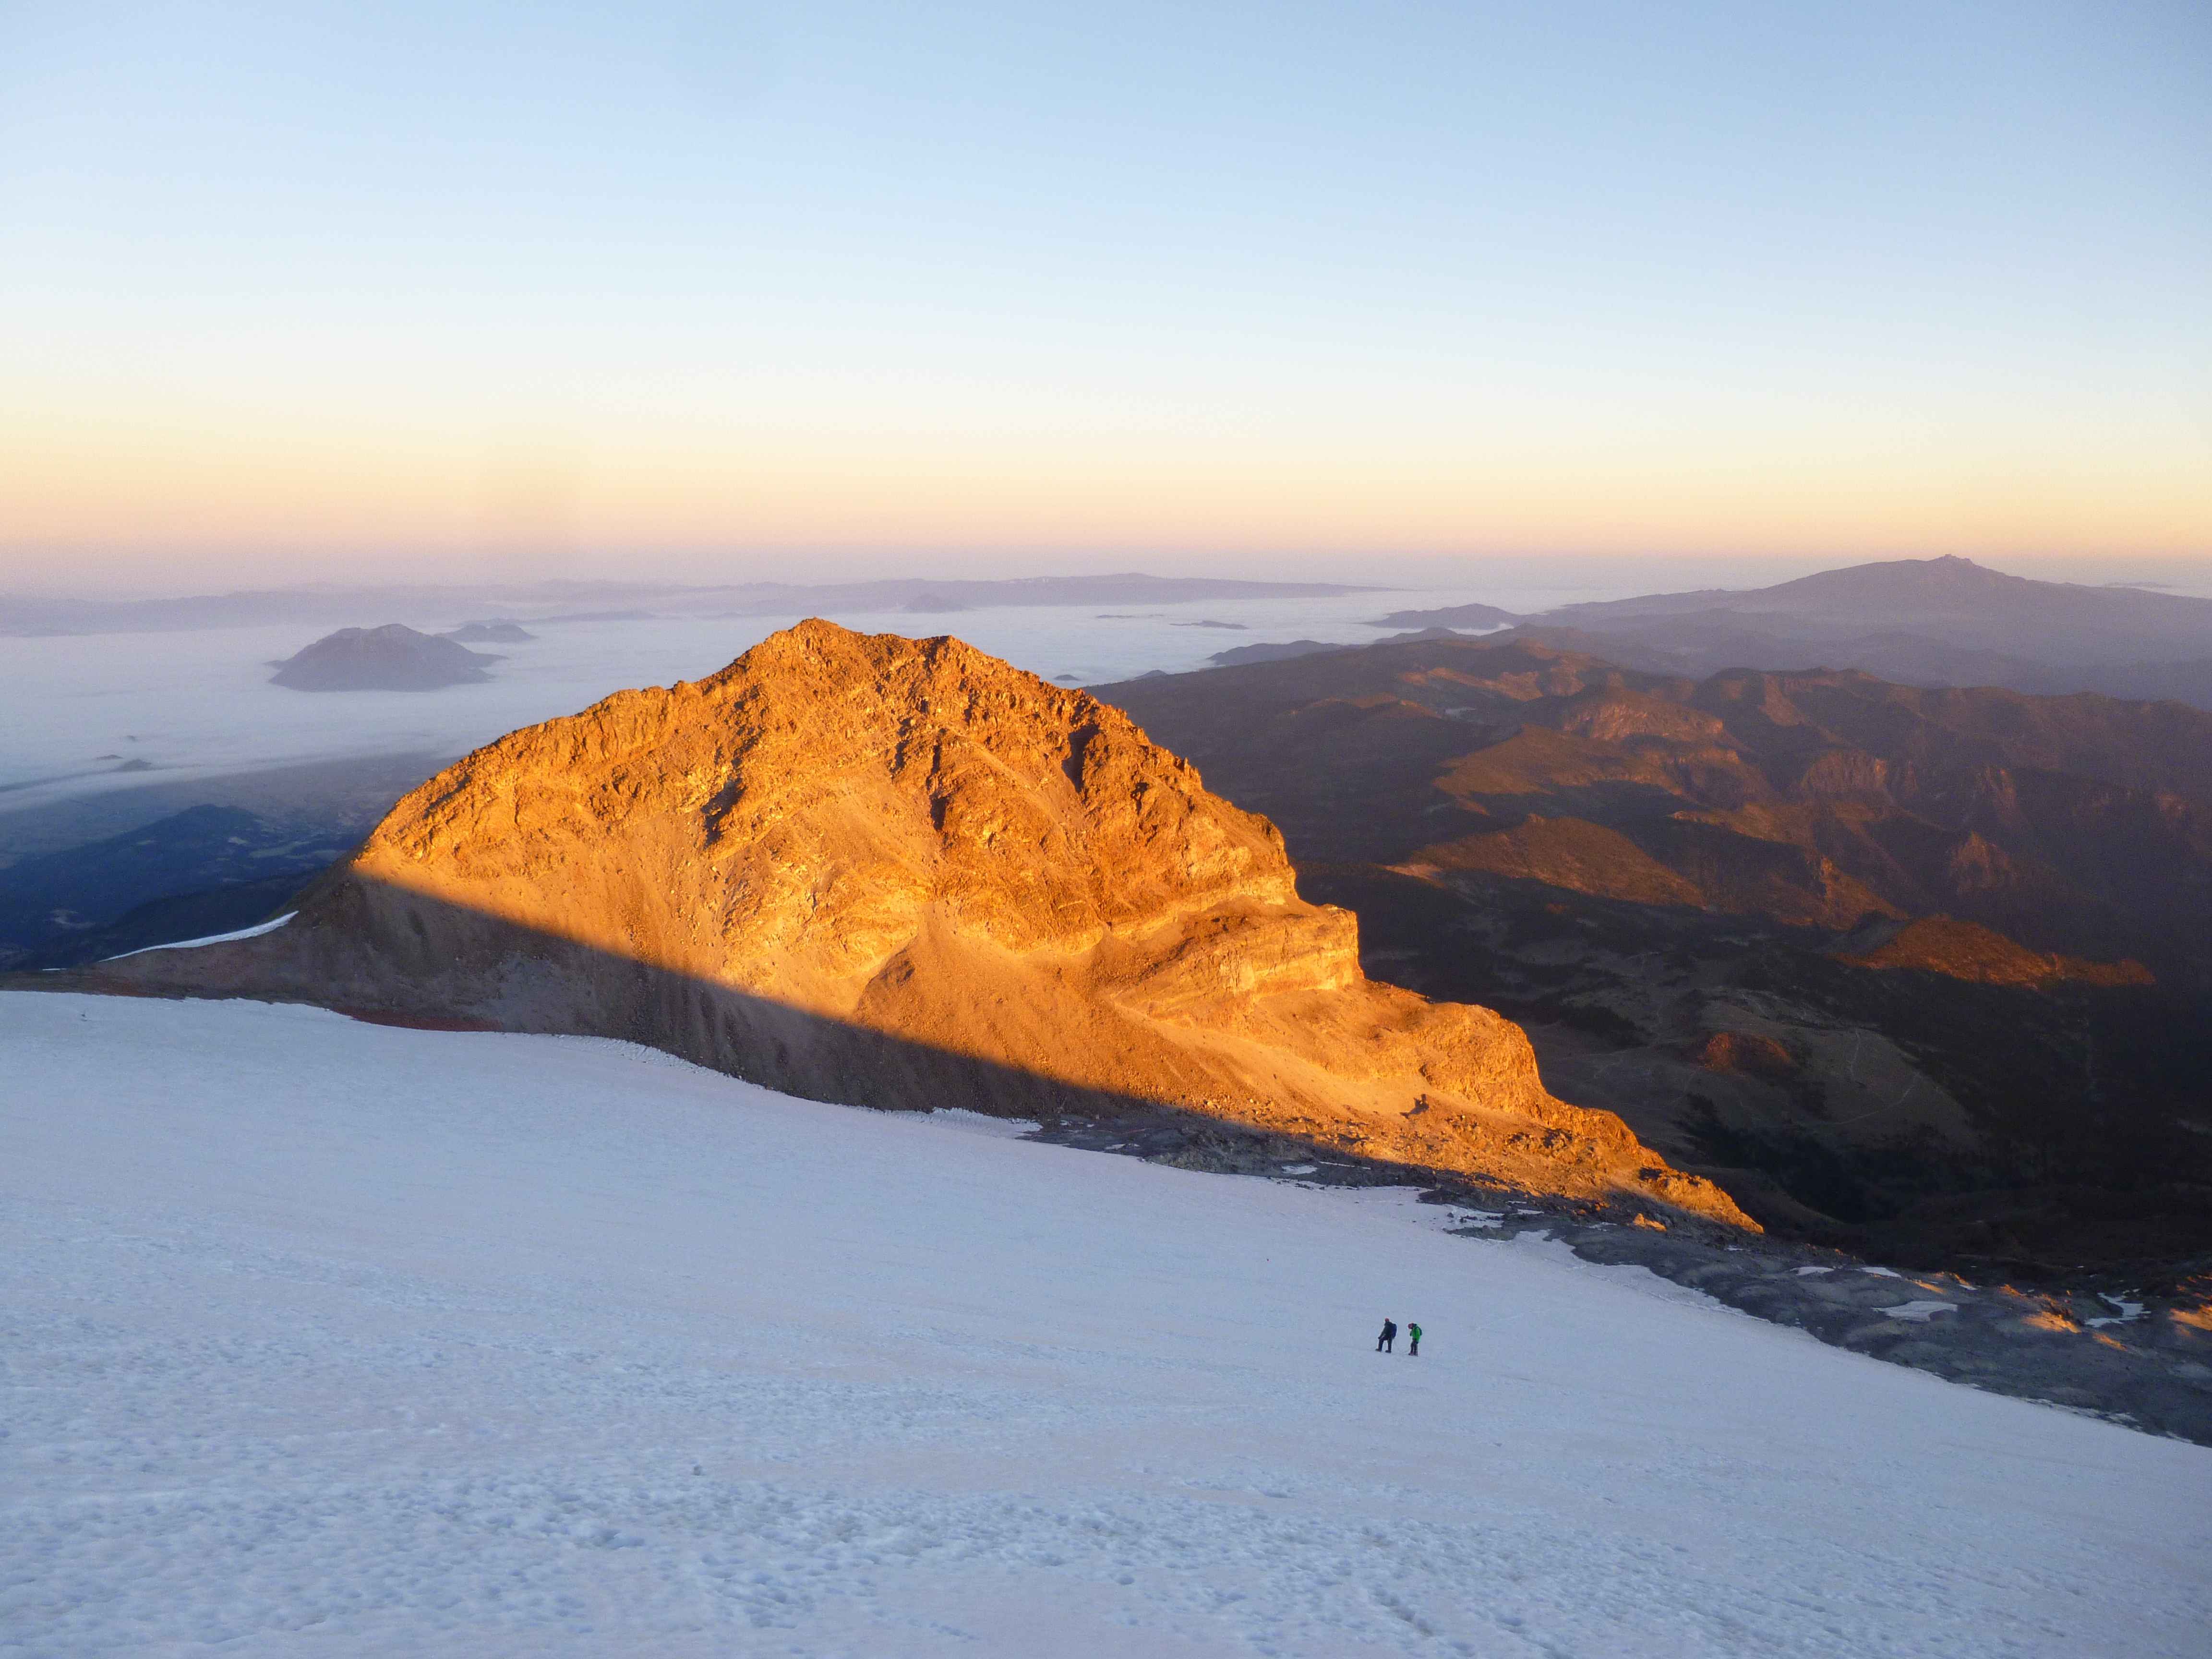
Sunrise on the ‘sarcophagus’ rock. The Australian and his guide are below.
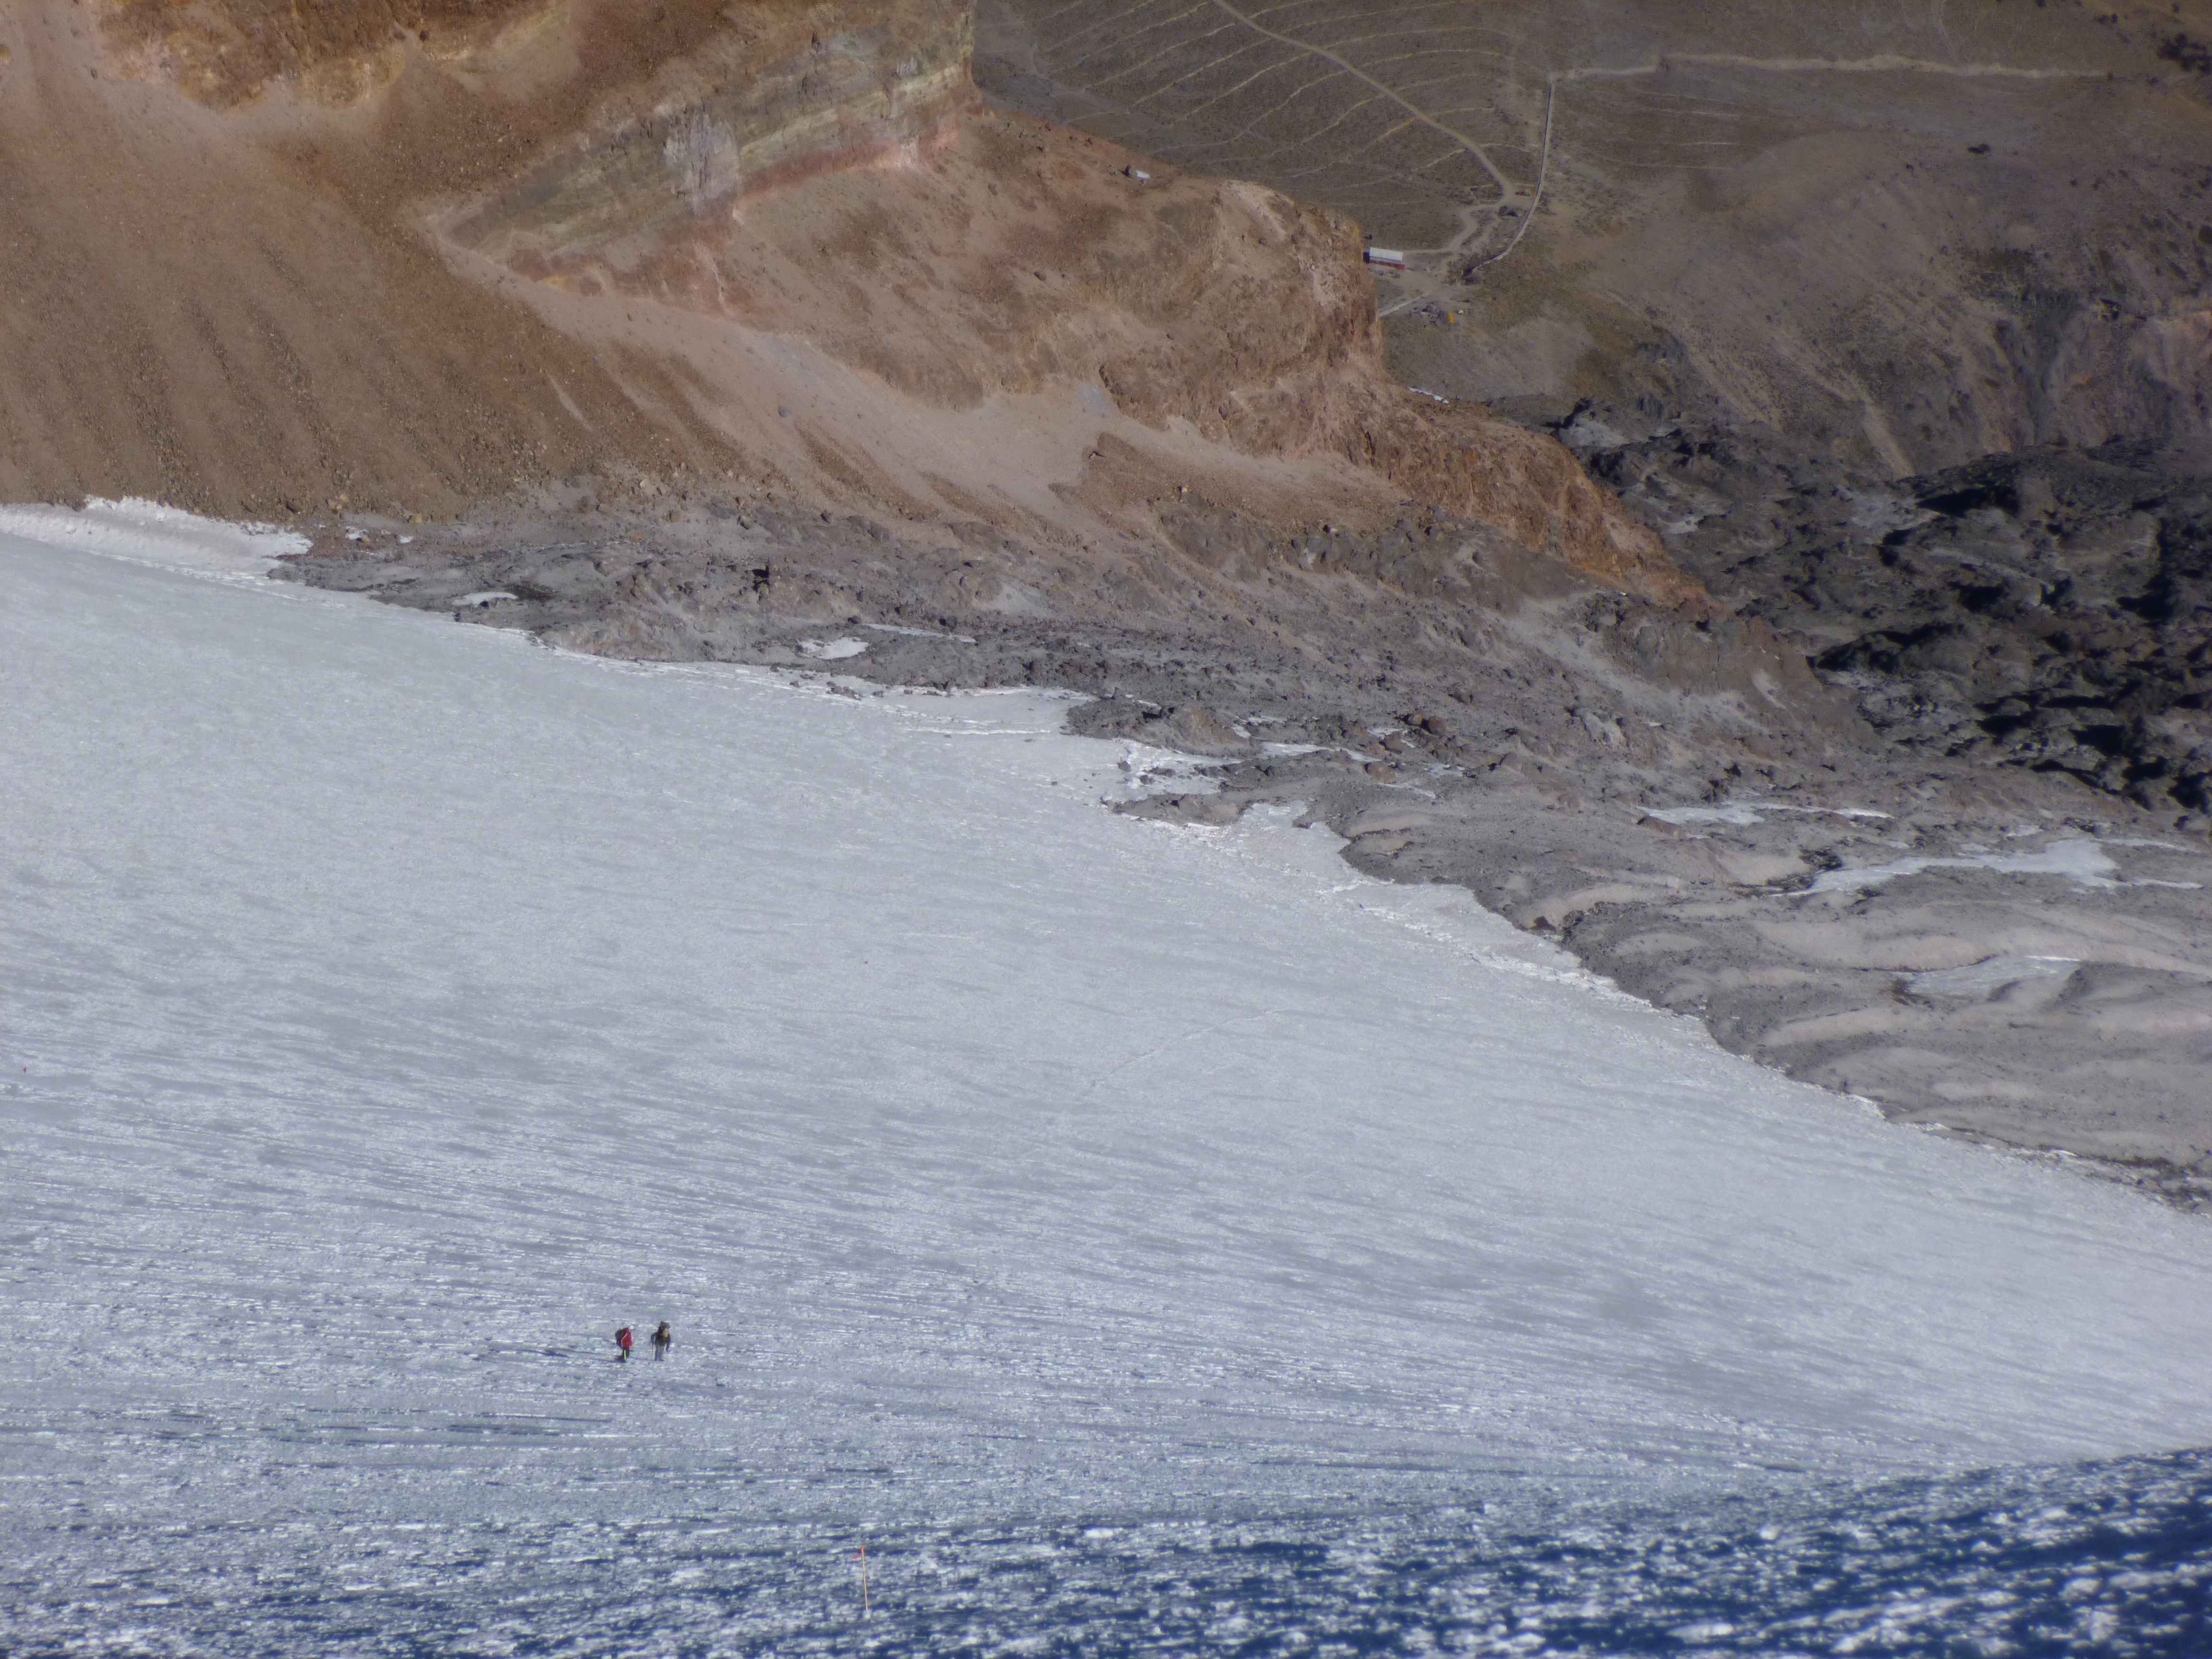
Above, the glacier provided a direct route to the summit.
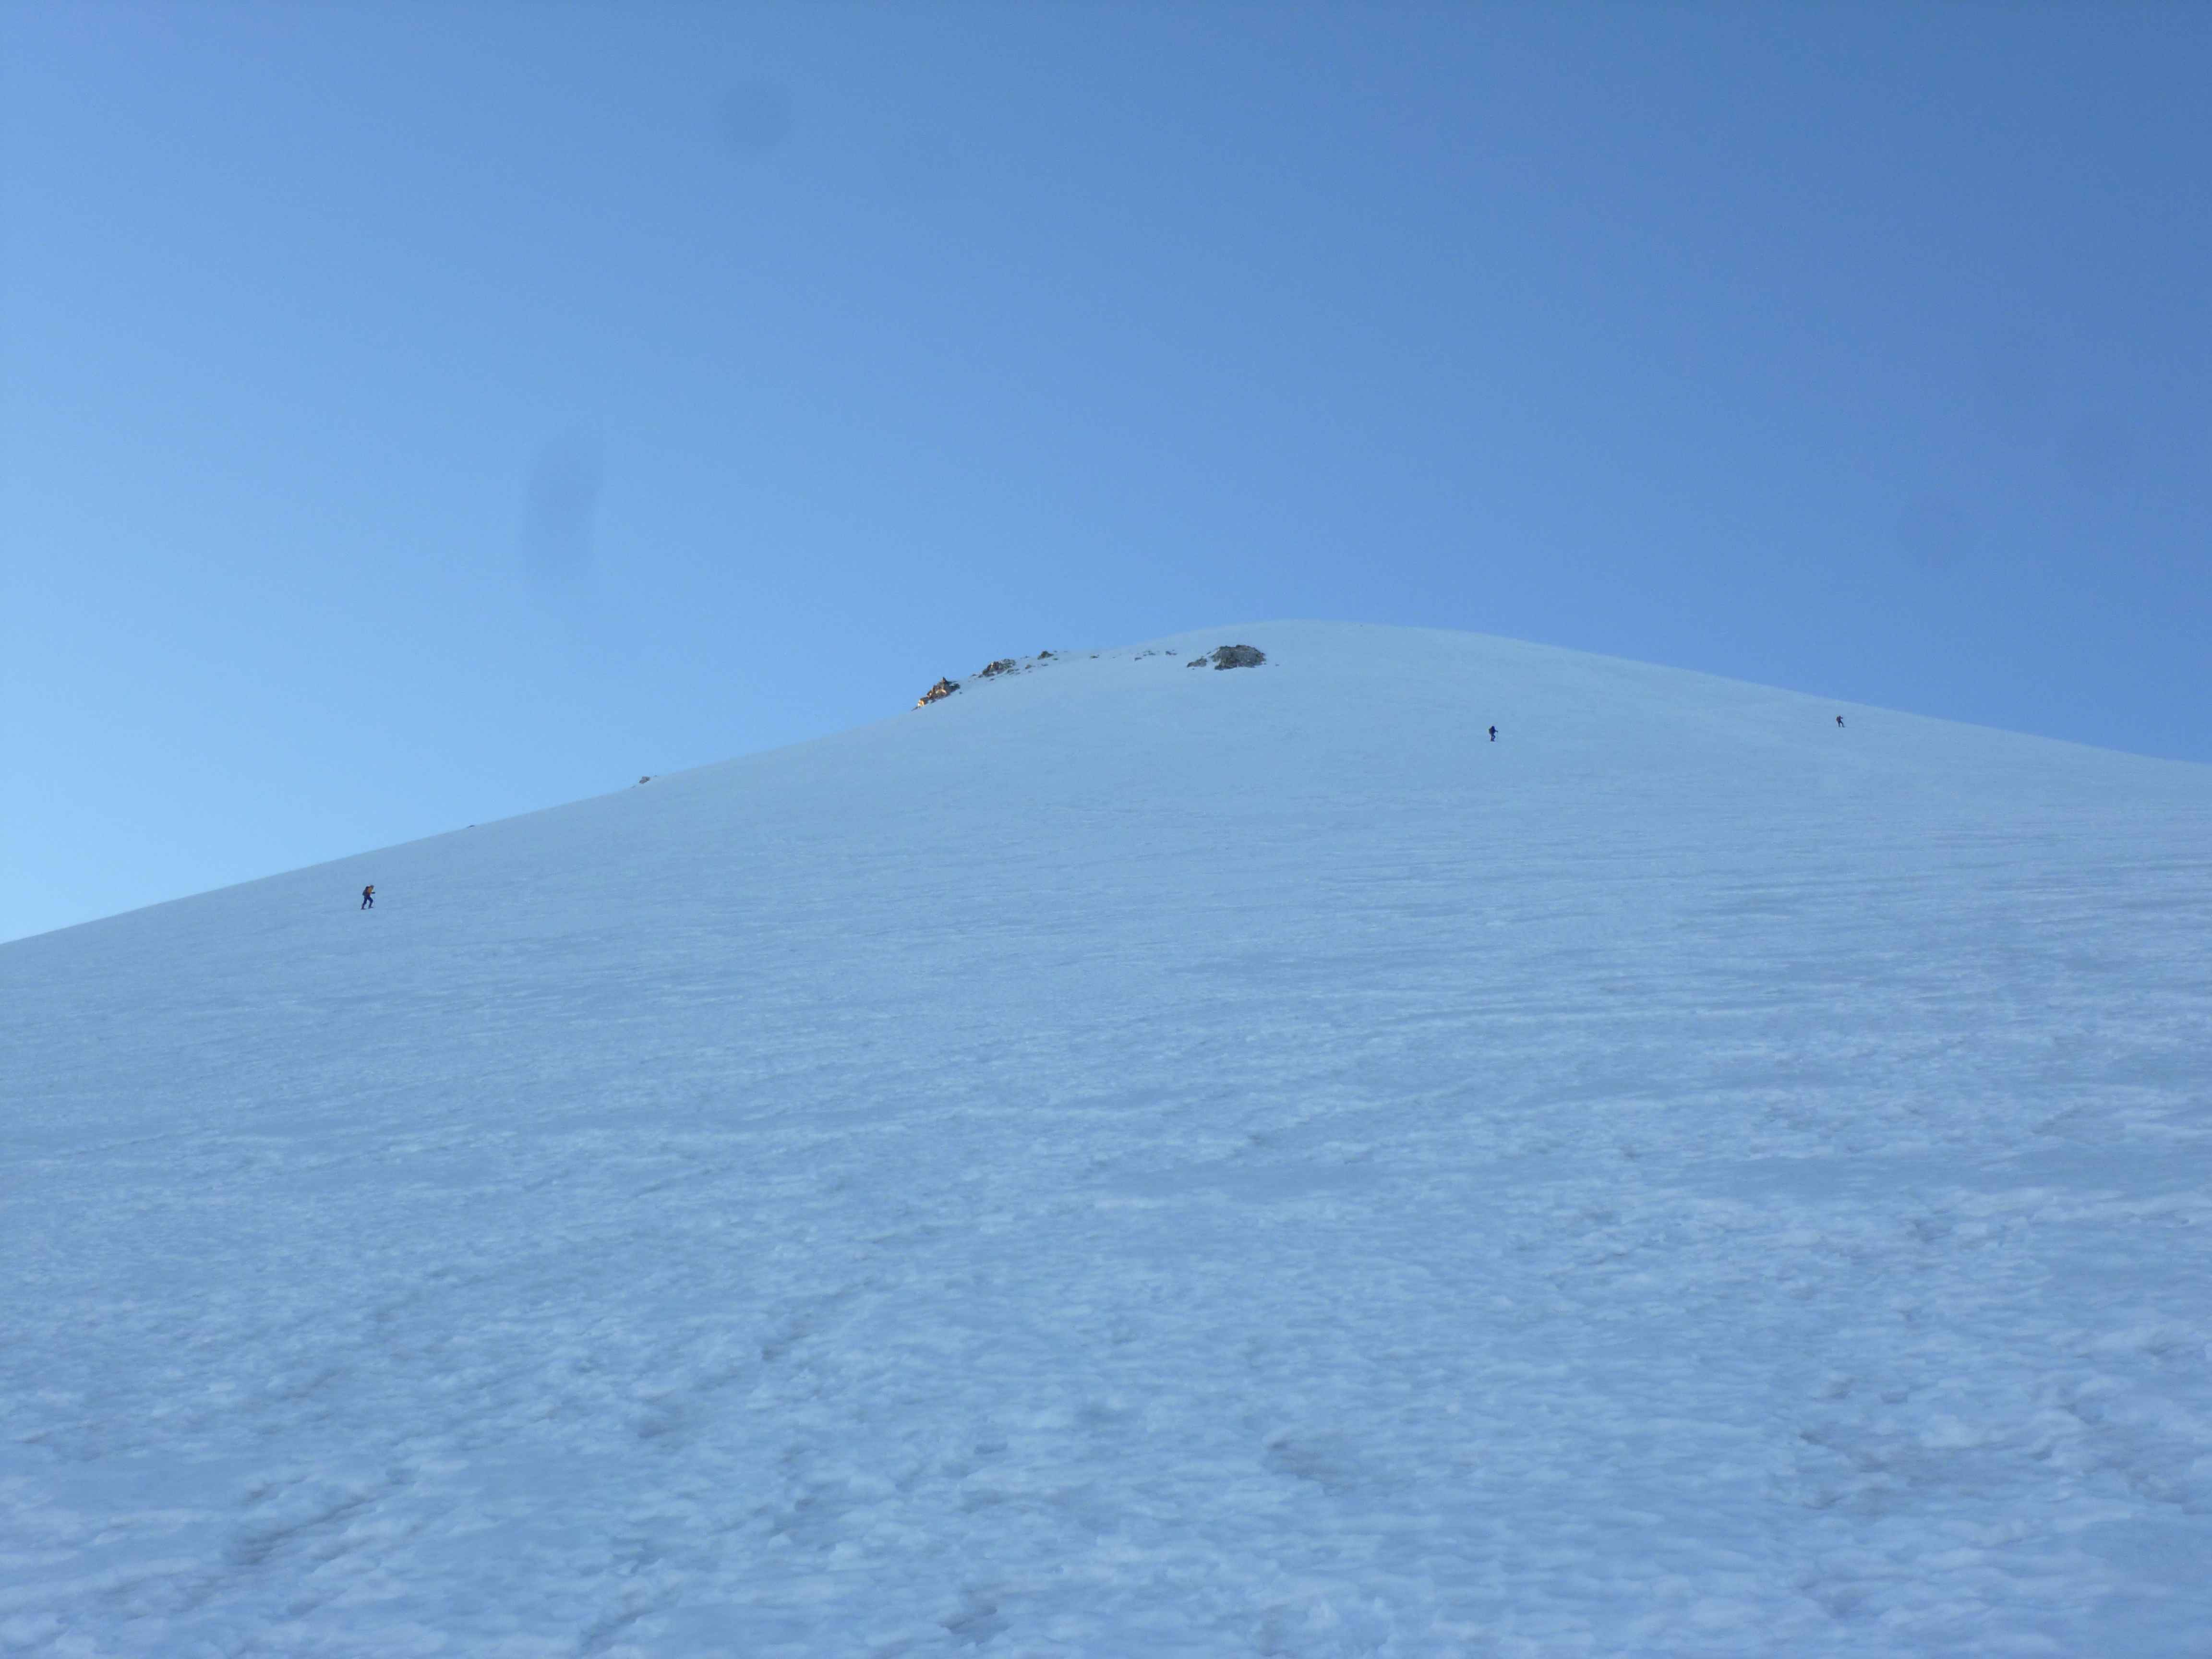
Looking up the Jamapa glacier – the three Canadian climbers are above.
Orizaba casts a giant shadow during sunrise.

The shadow of Orizaba.
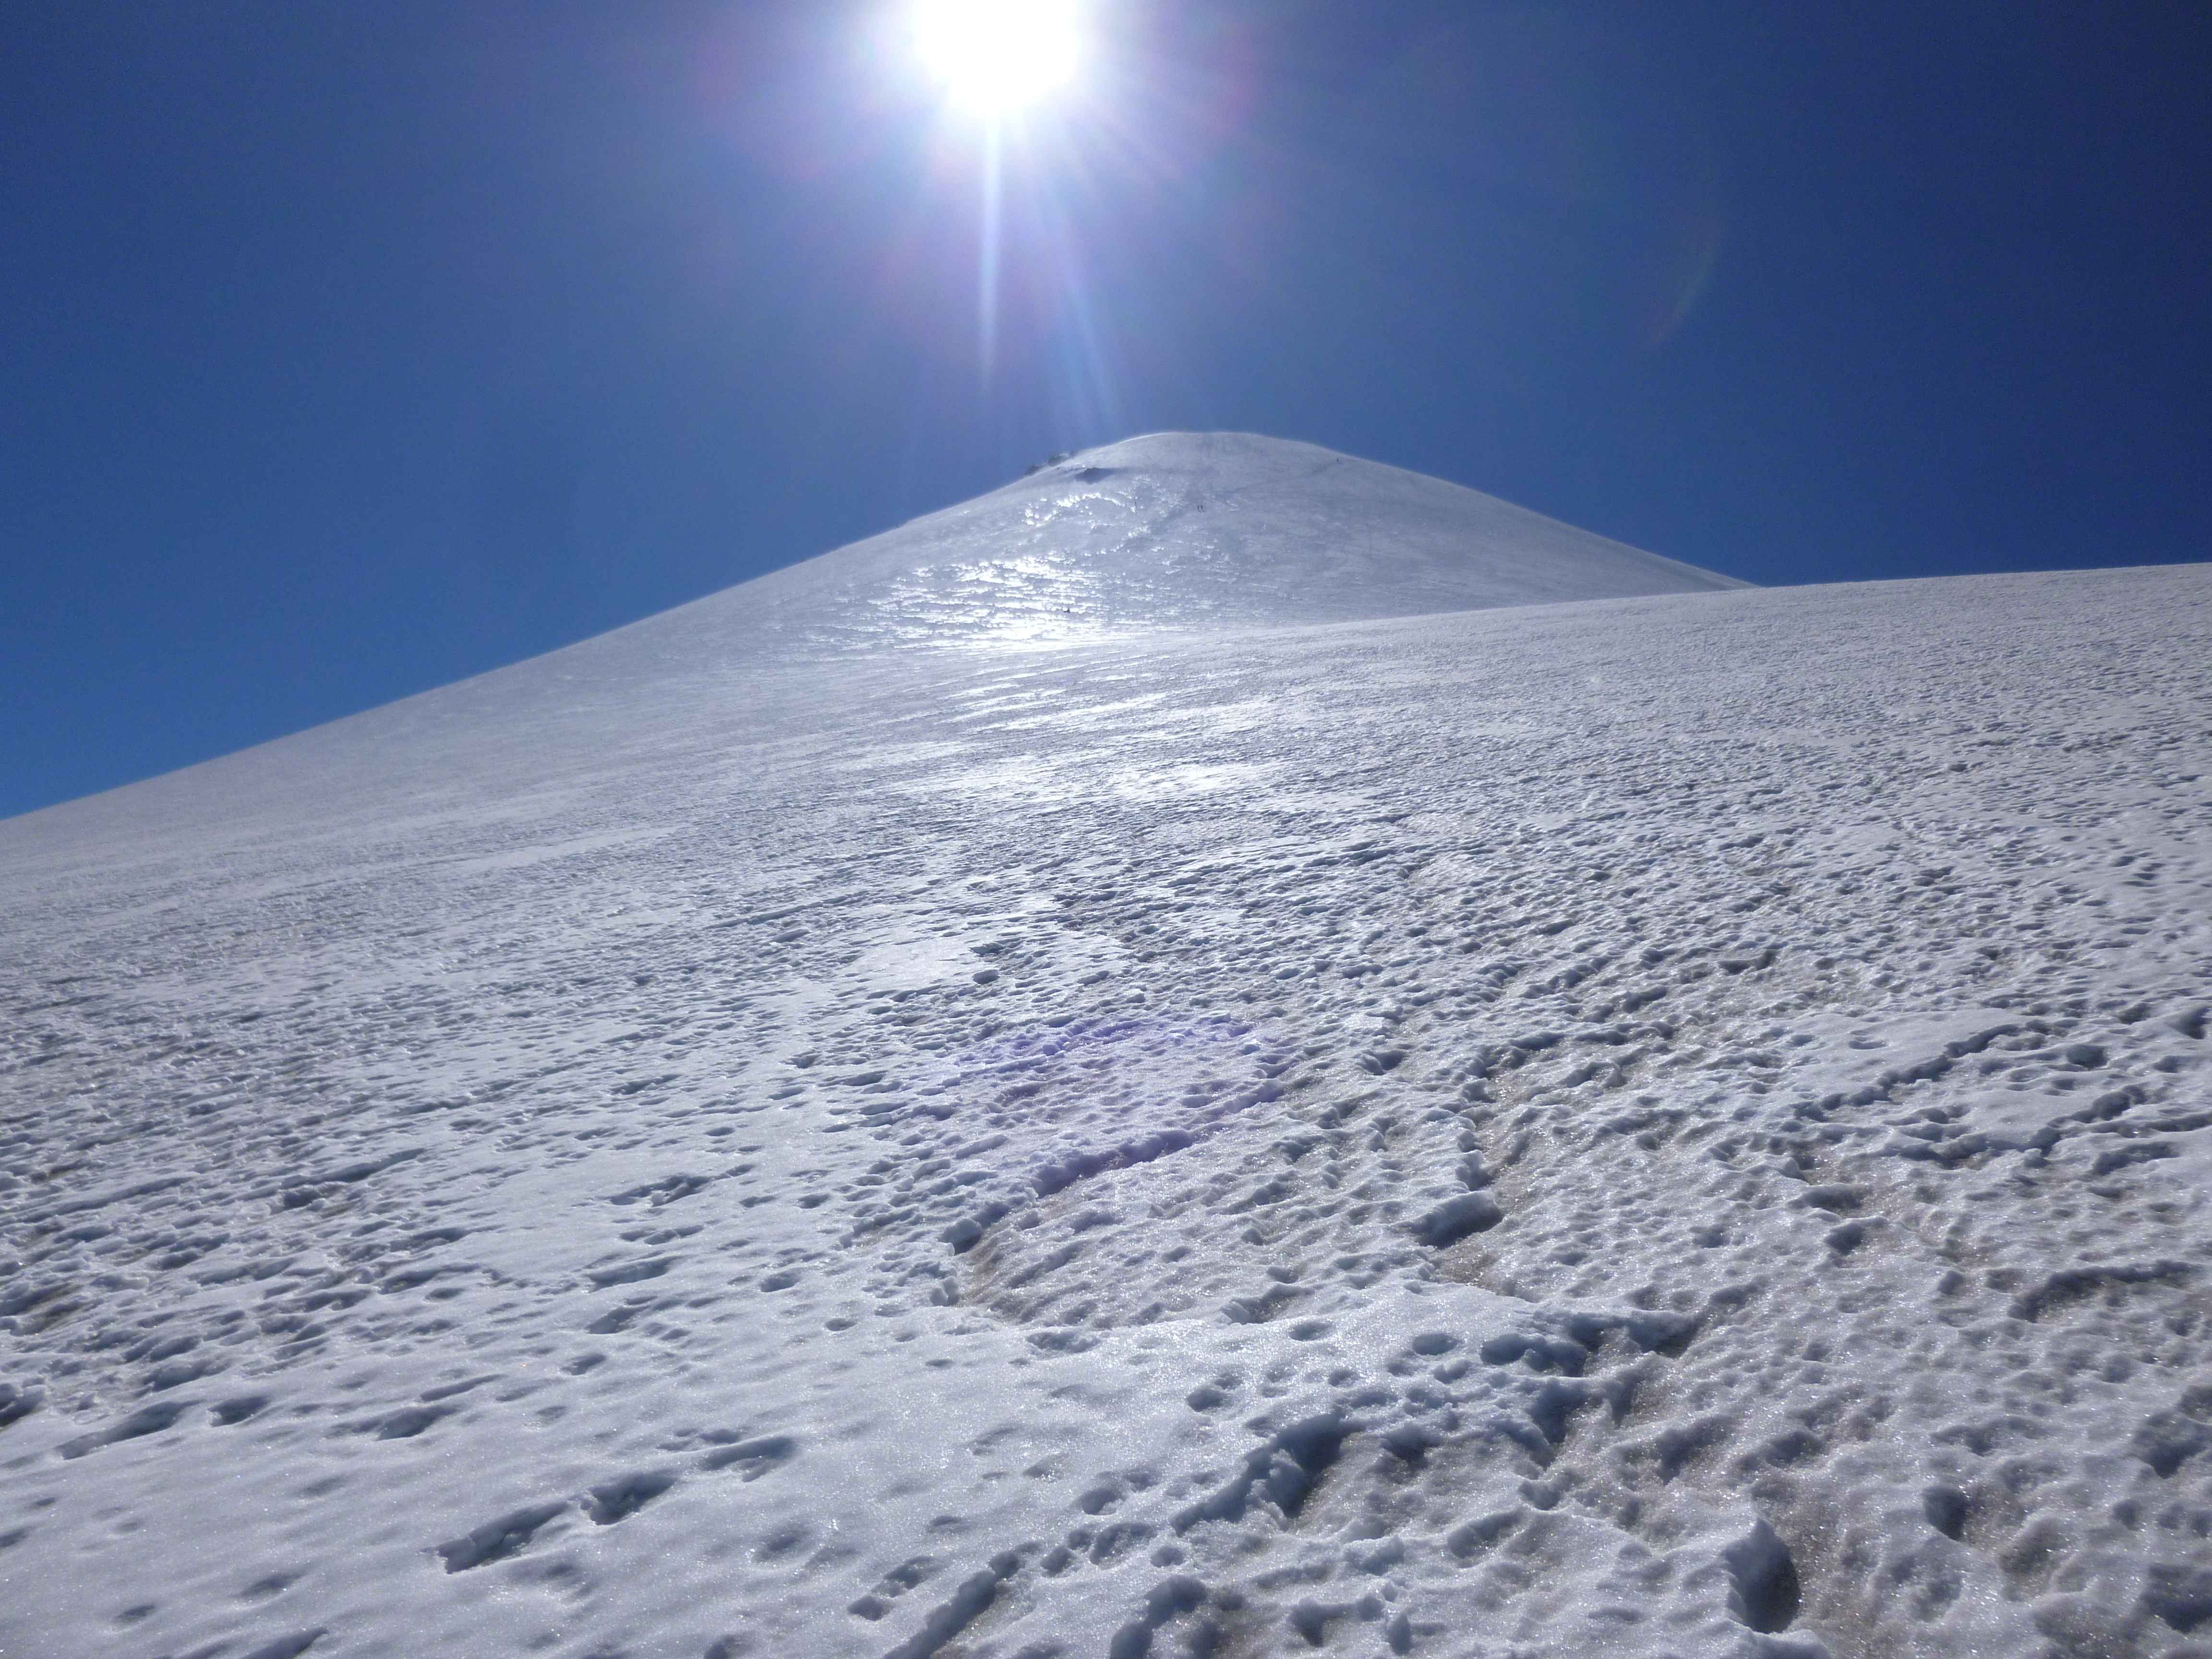
Near the top, the glacier was roughly 35-40 degrees at its steepest. The snow condition was fantastic, and made for sturdy, enjoyable climbing.

The glacier was steepest near the top.
At 9:00 a.m. I reached the top, and was startled by how narrow the crater rim was. Directly in front of me the rim dropped off abruptly into the crater itself. ~10m away the true summit was marked with a pile of crosses, blown over and destroyed by high winds.

Orizaba’s true summit is marked by a jumble of broken crosses.

Various summit markers have been destroyed by weather, leaving a heap of junk.

A rough panorama of the summit crater.
Two of the Canadian climbers were already at the top when I arrived, and their friend soon followed. Everyone was in a great mood as they helped me take some photographs.

Once again I met the three Canadians at the summit.
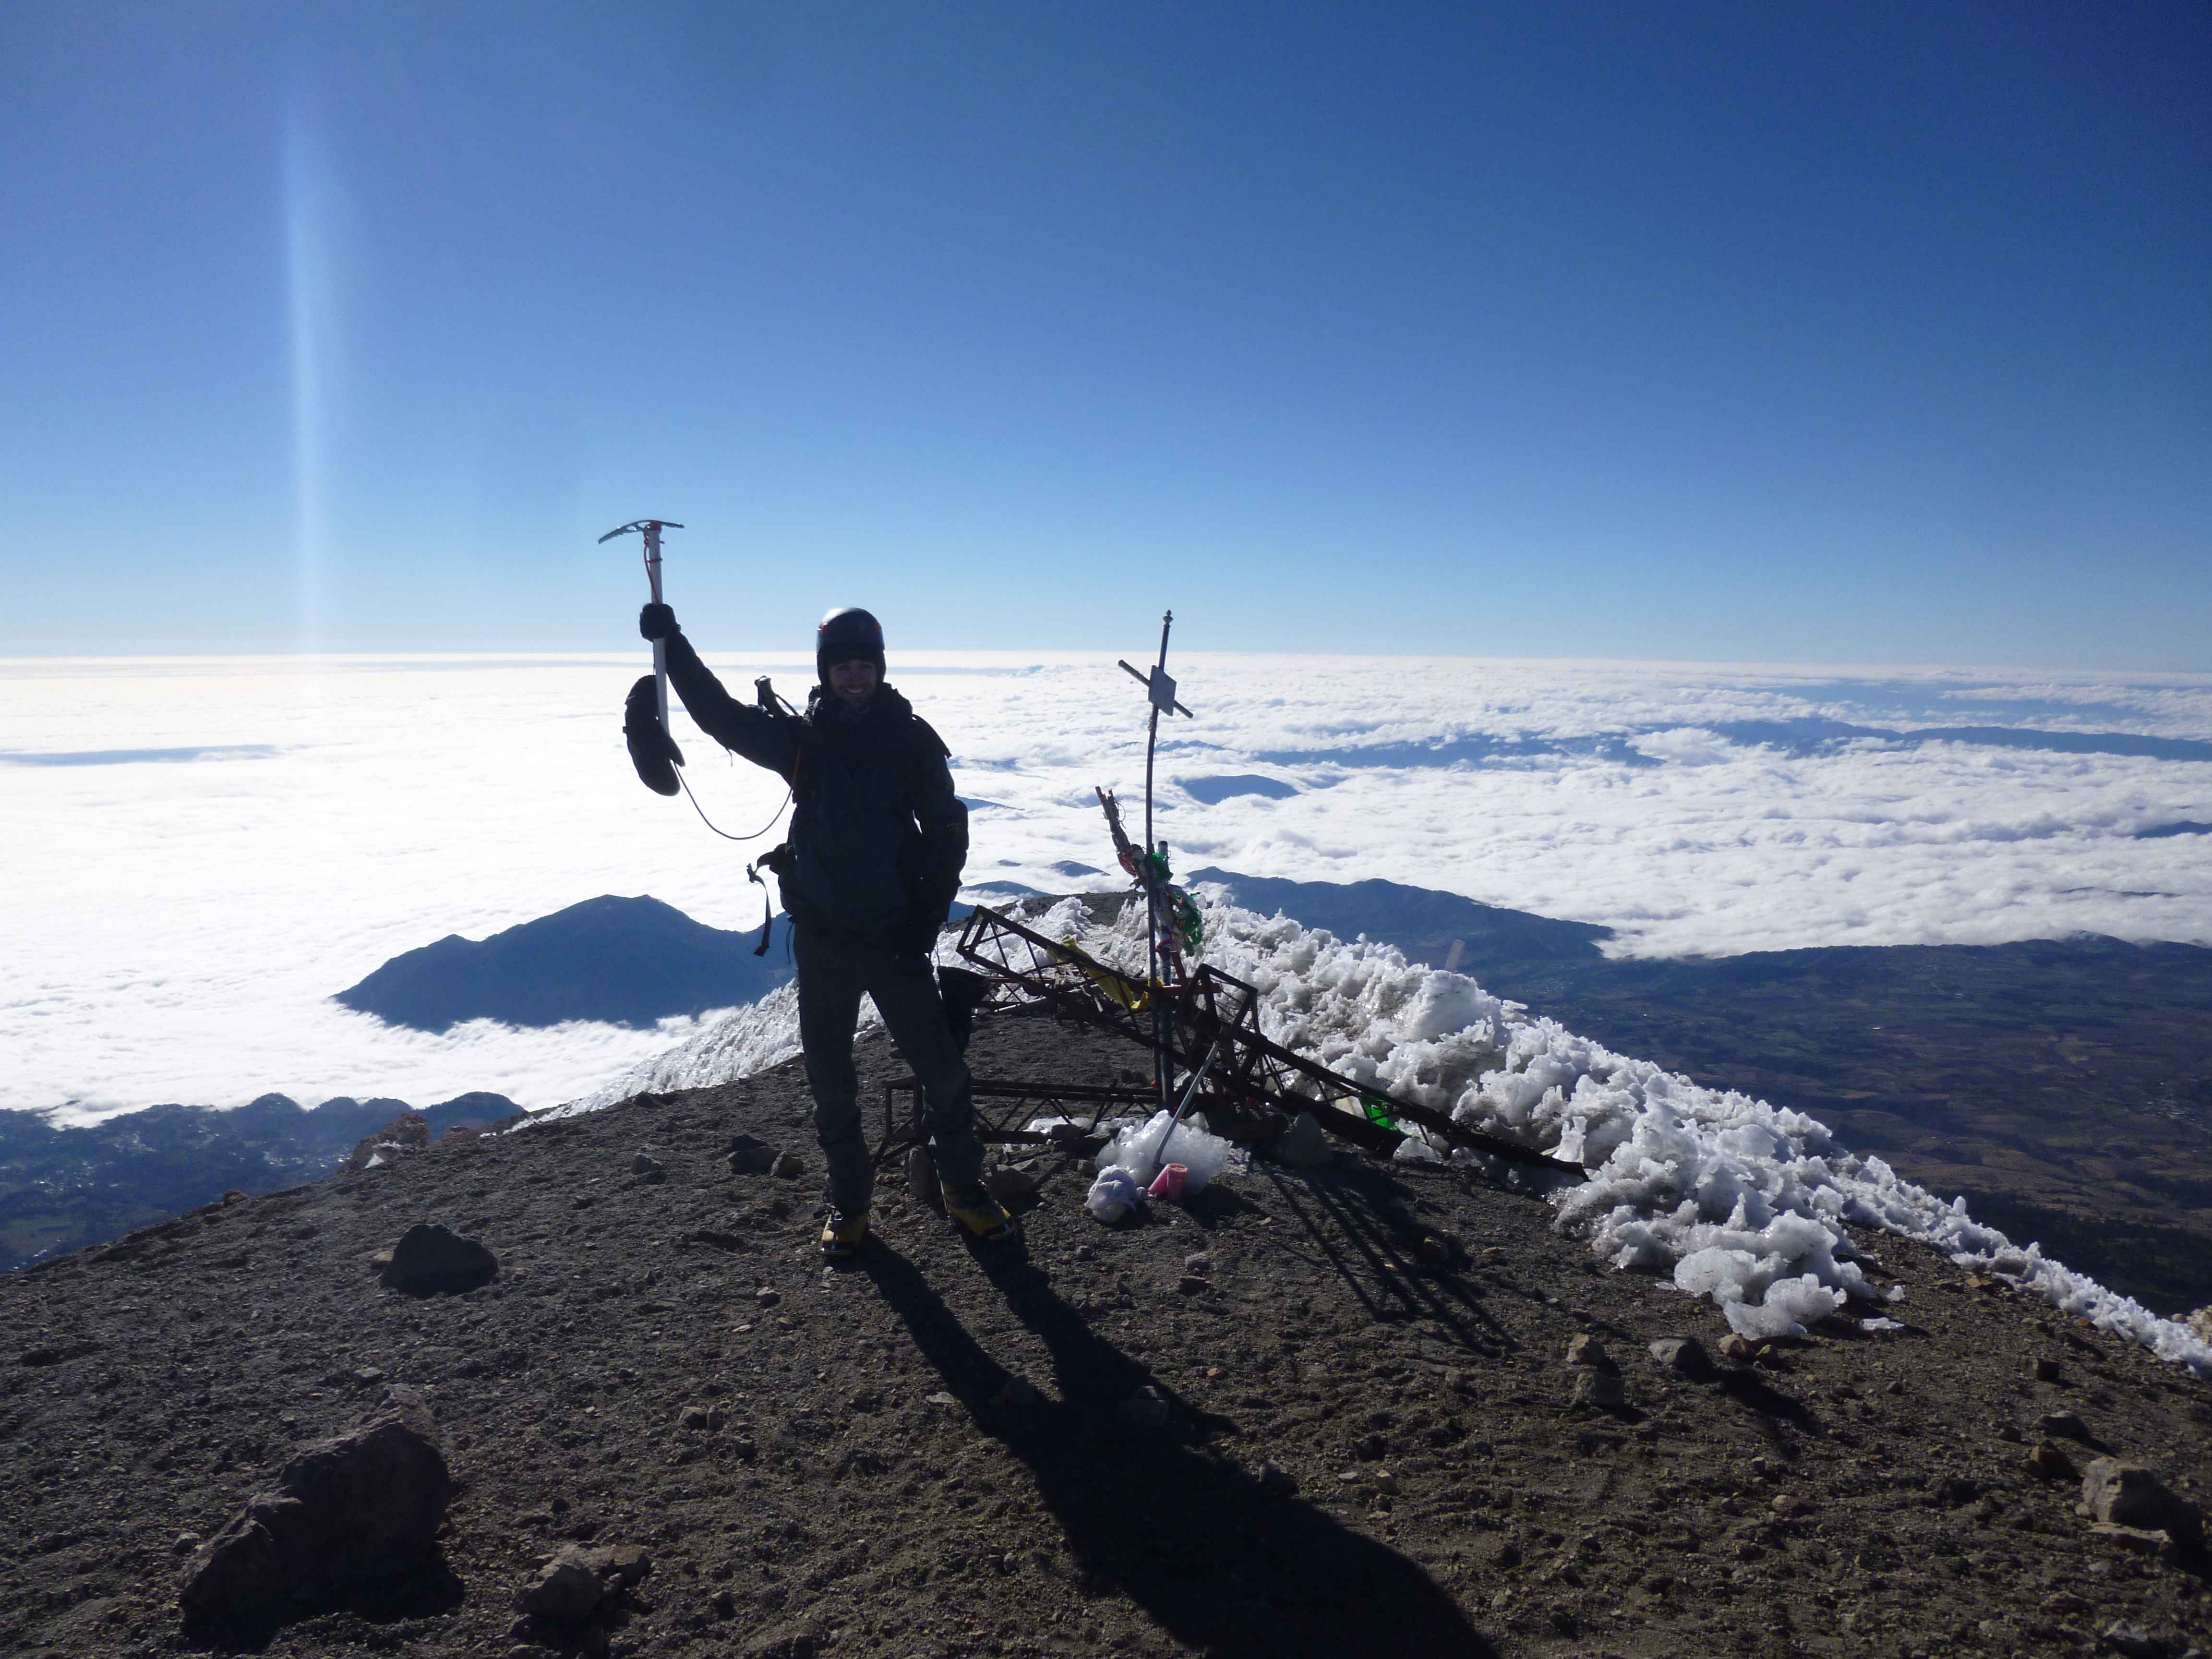
Feeling great in the sunshine on the summit!
The view was excellent, with an endless cloud ocean stretching out far below.
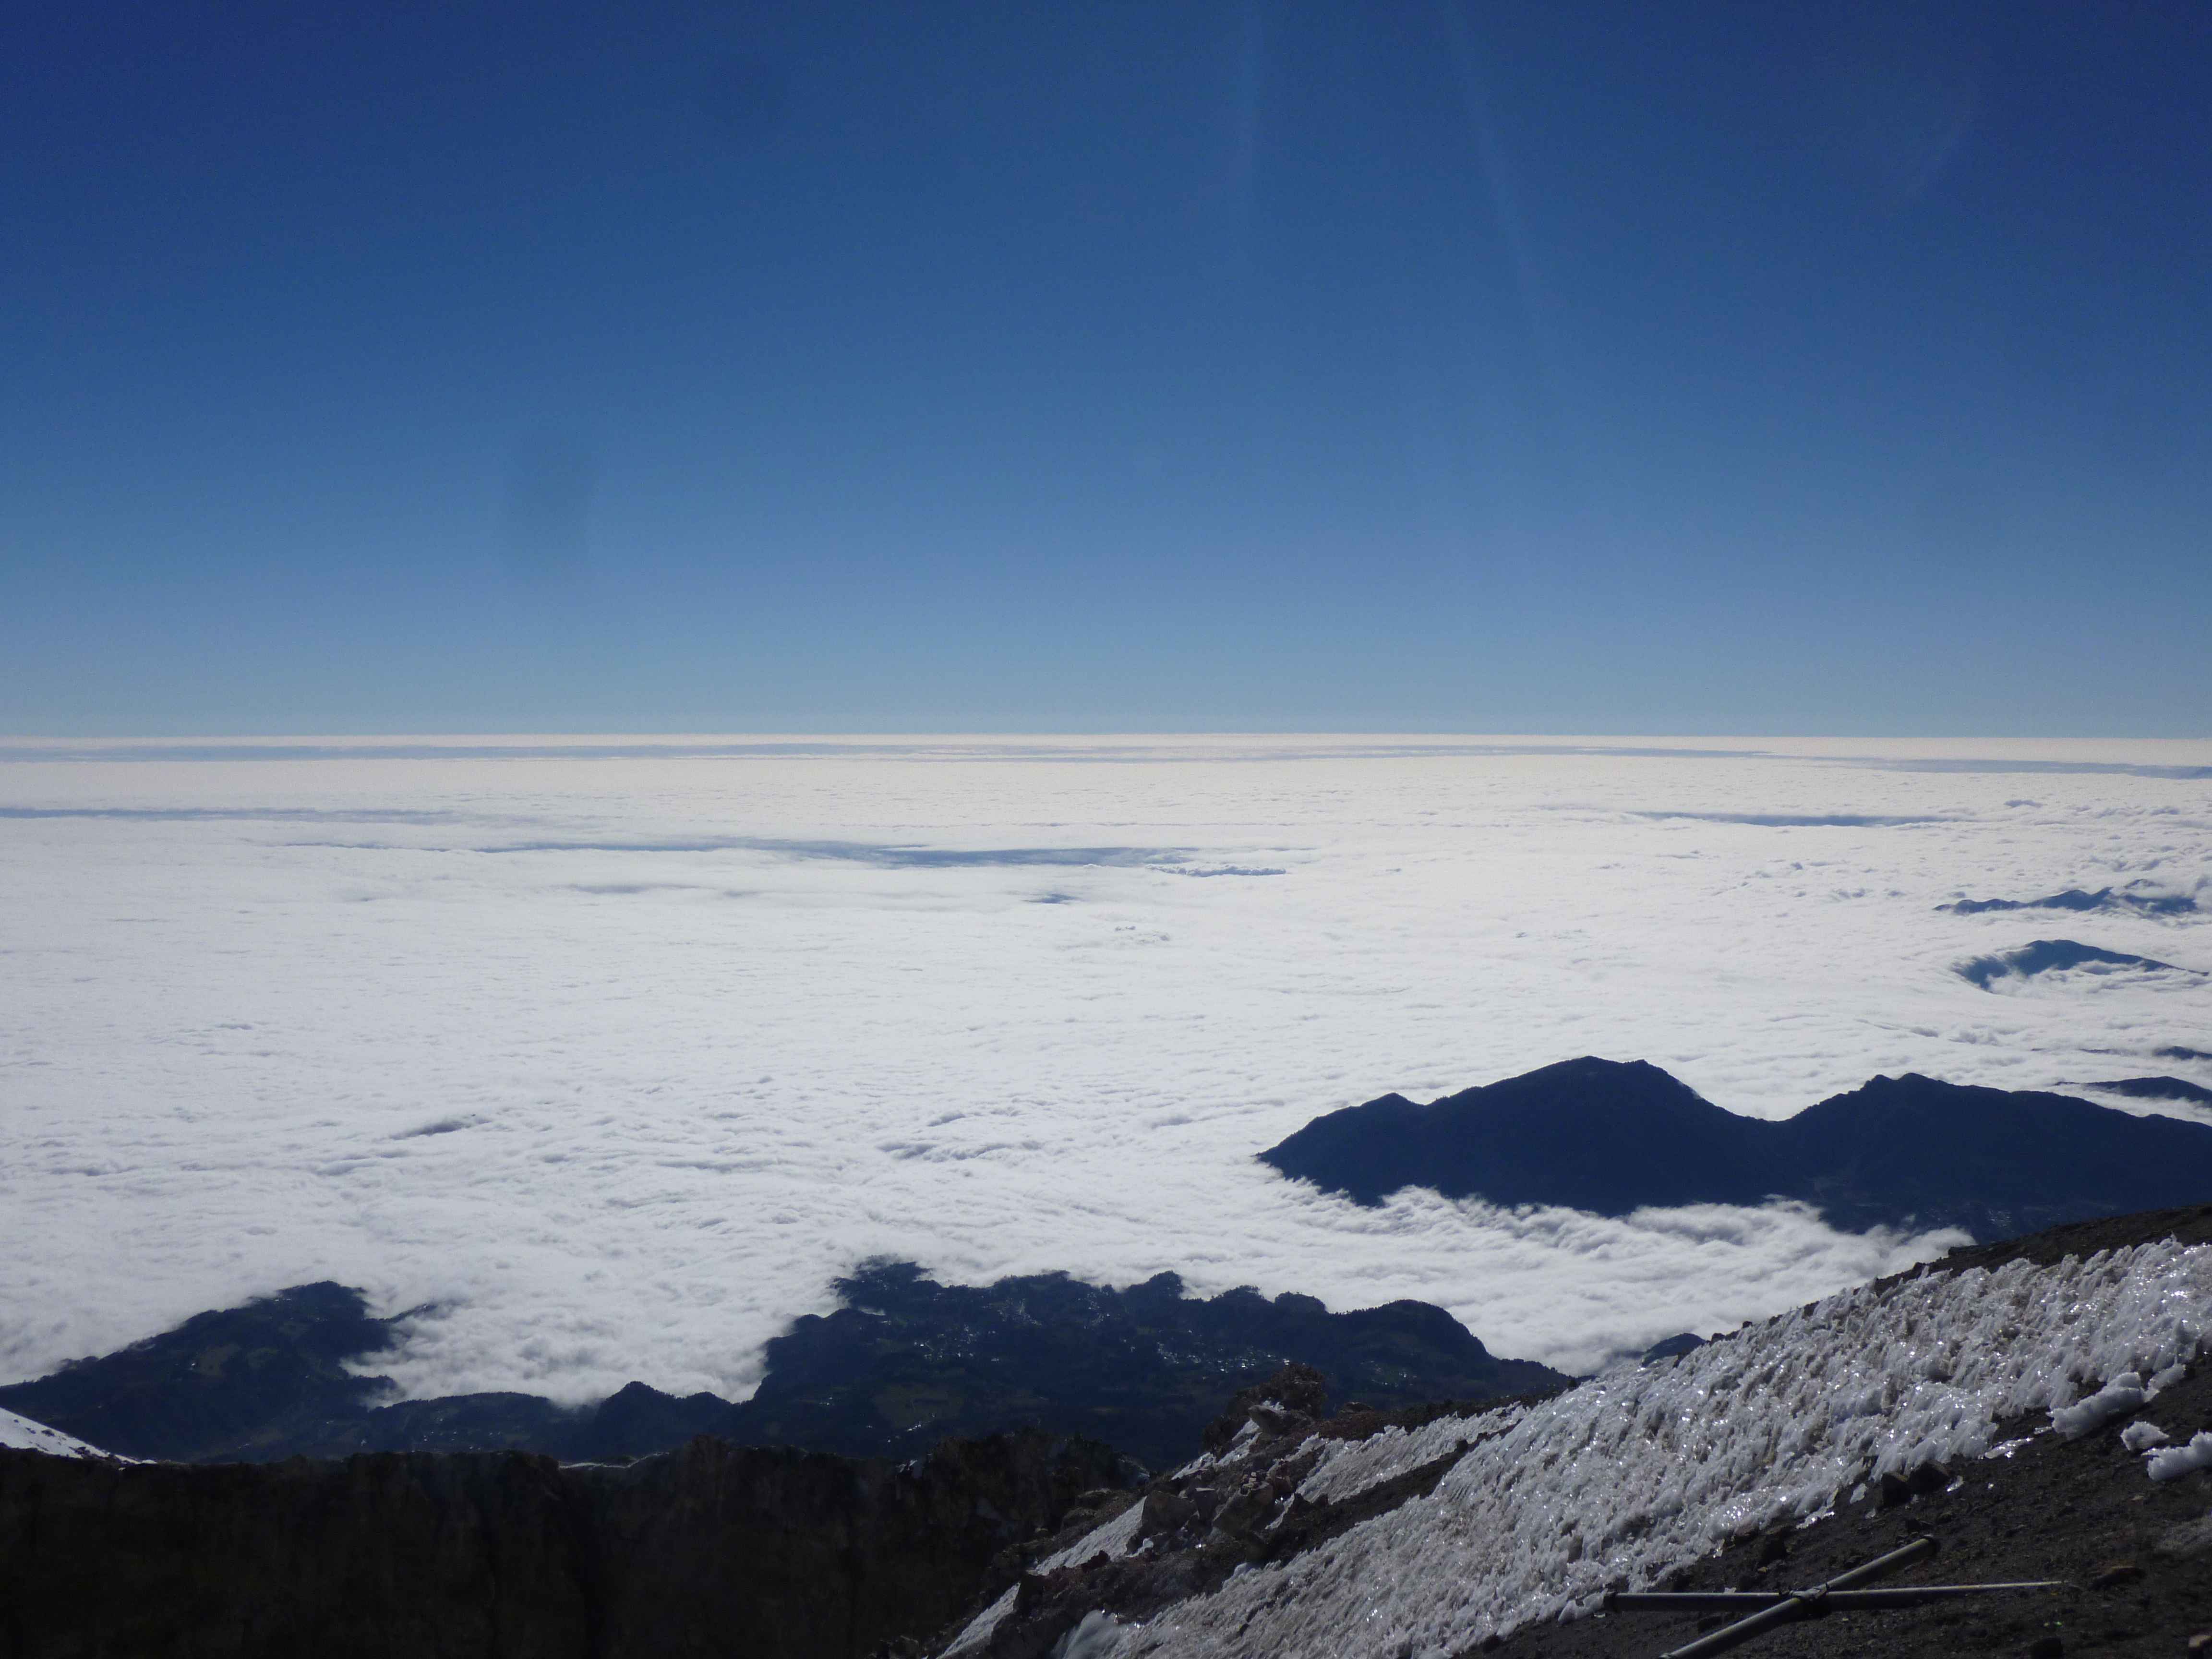
Seemingly endless clouds.
The air was clear enough for me to make out 5230m Iztaccihuatl and 5426m Popocatépetl. Popocatépetl, an active volcano, was emitting small plumes of smoke. It was really neat to see these mountains from Orizaba, as I had climbed Iztaccihuatl earlier in the week and enjoyed numerous, clear views of Pico de Orizaba along the way.

Iztaccihuatl (right) and Popocatépetl (left) could be seen in the distance.
After some 30 minutes on the summit, I began to descend. Once over the crater rim, I could see the Piedra Grande hut far below.
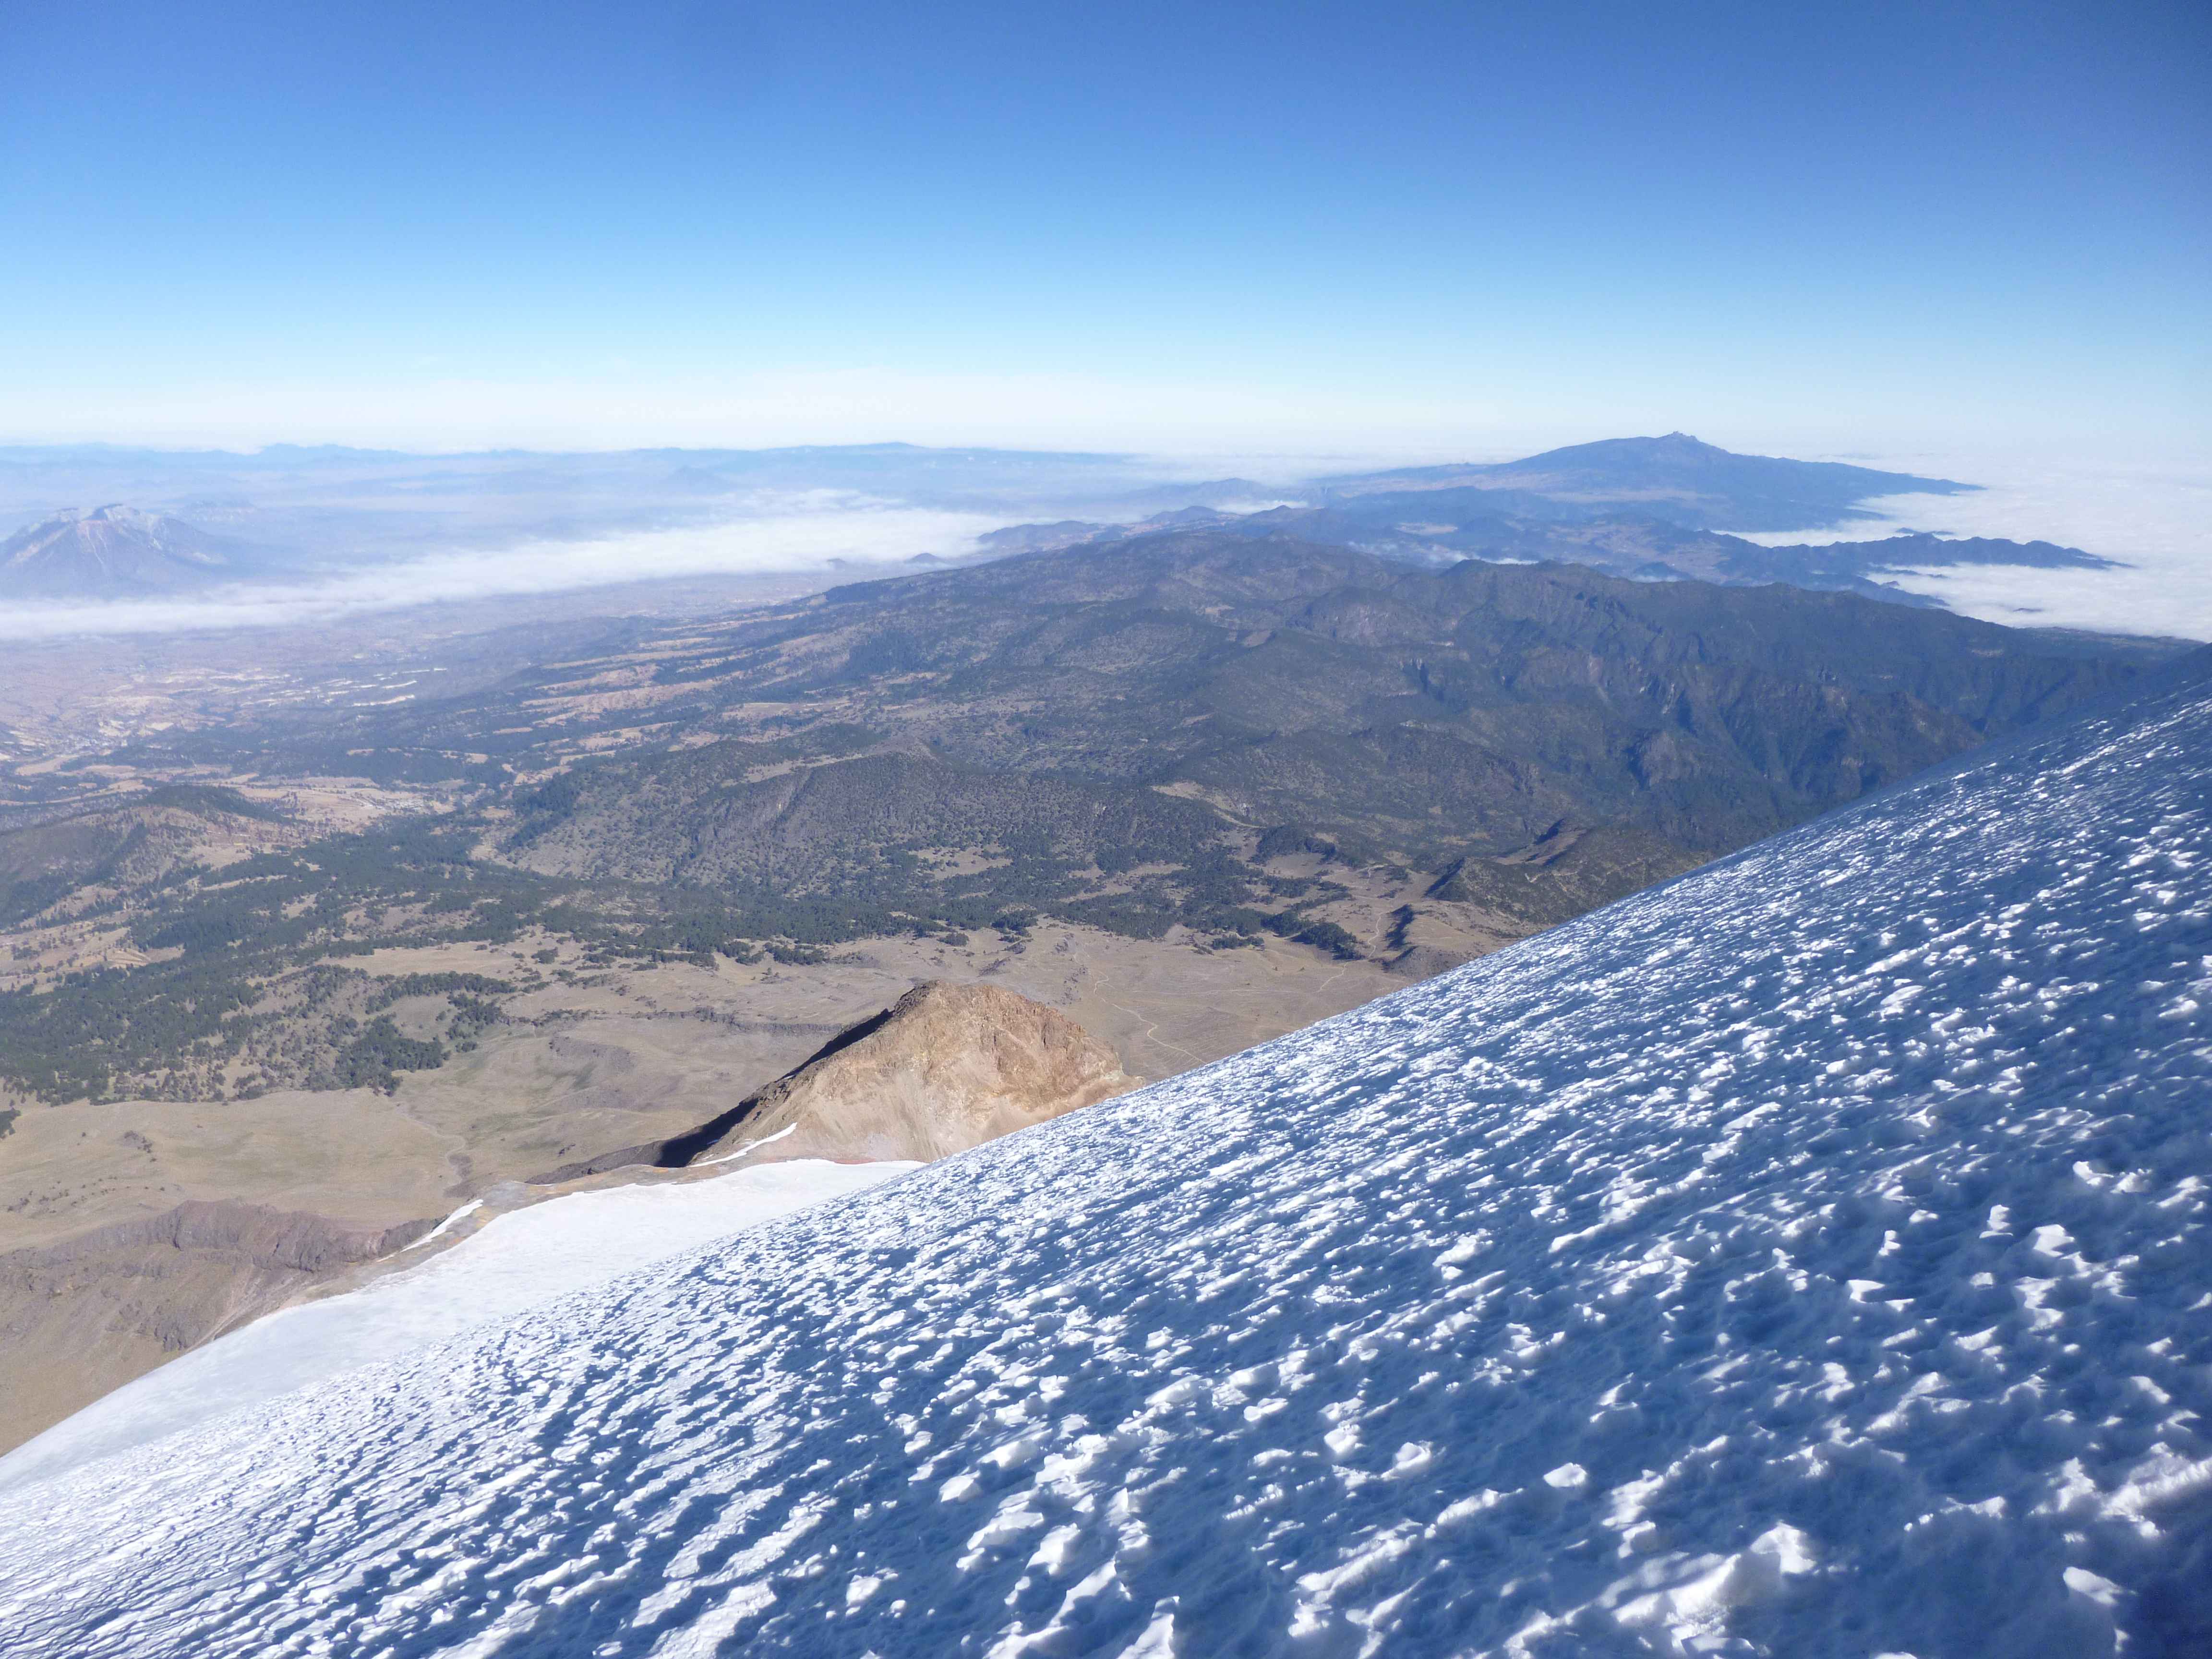
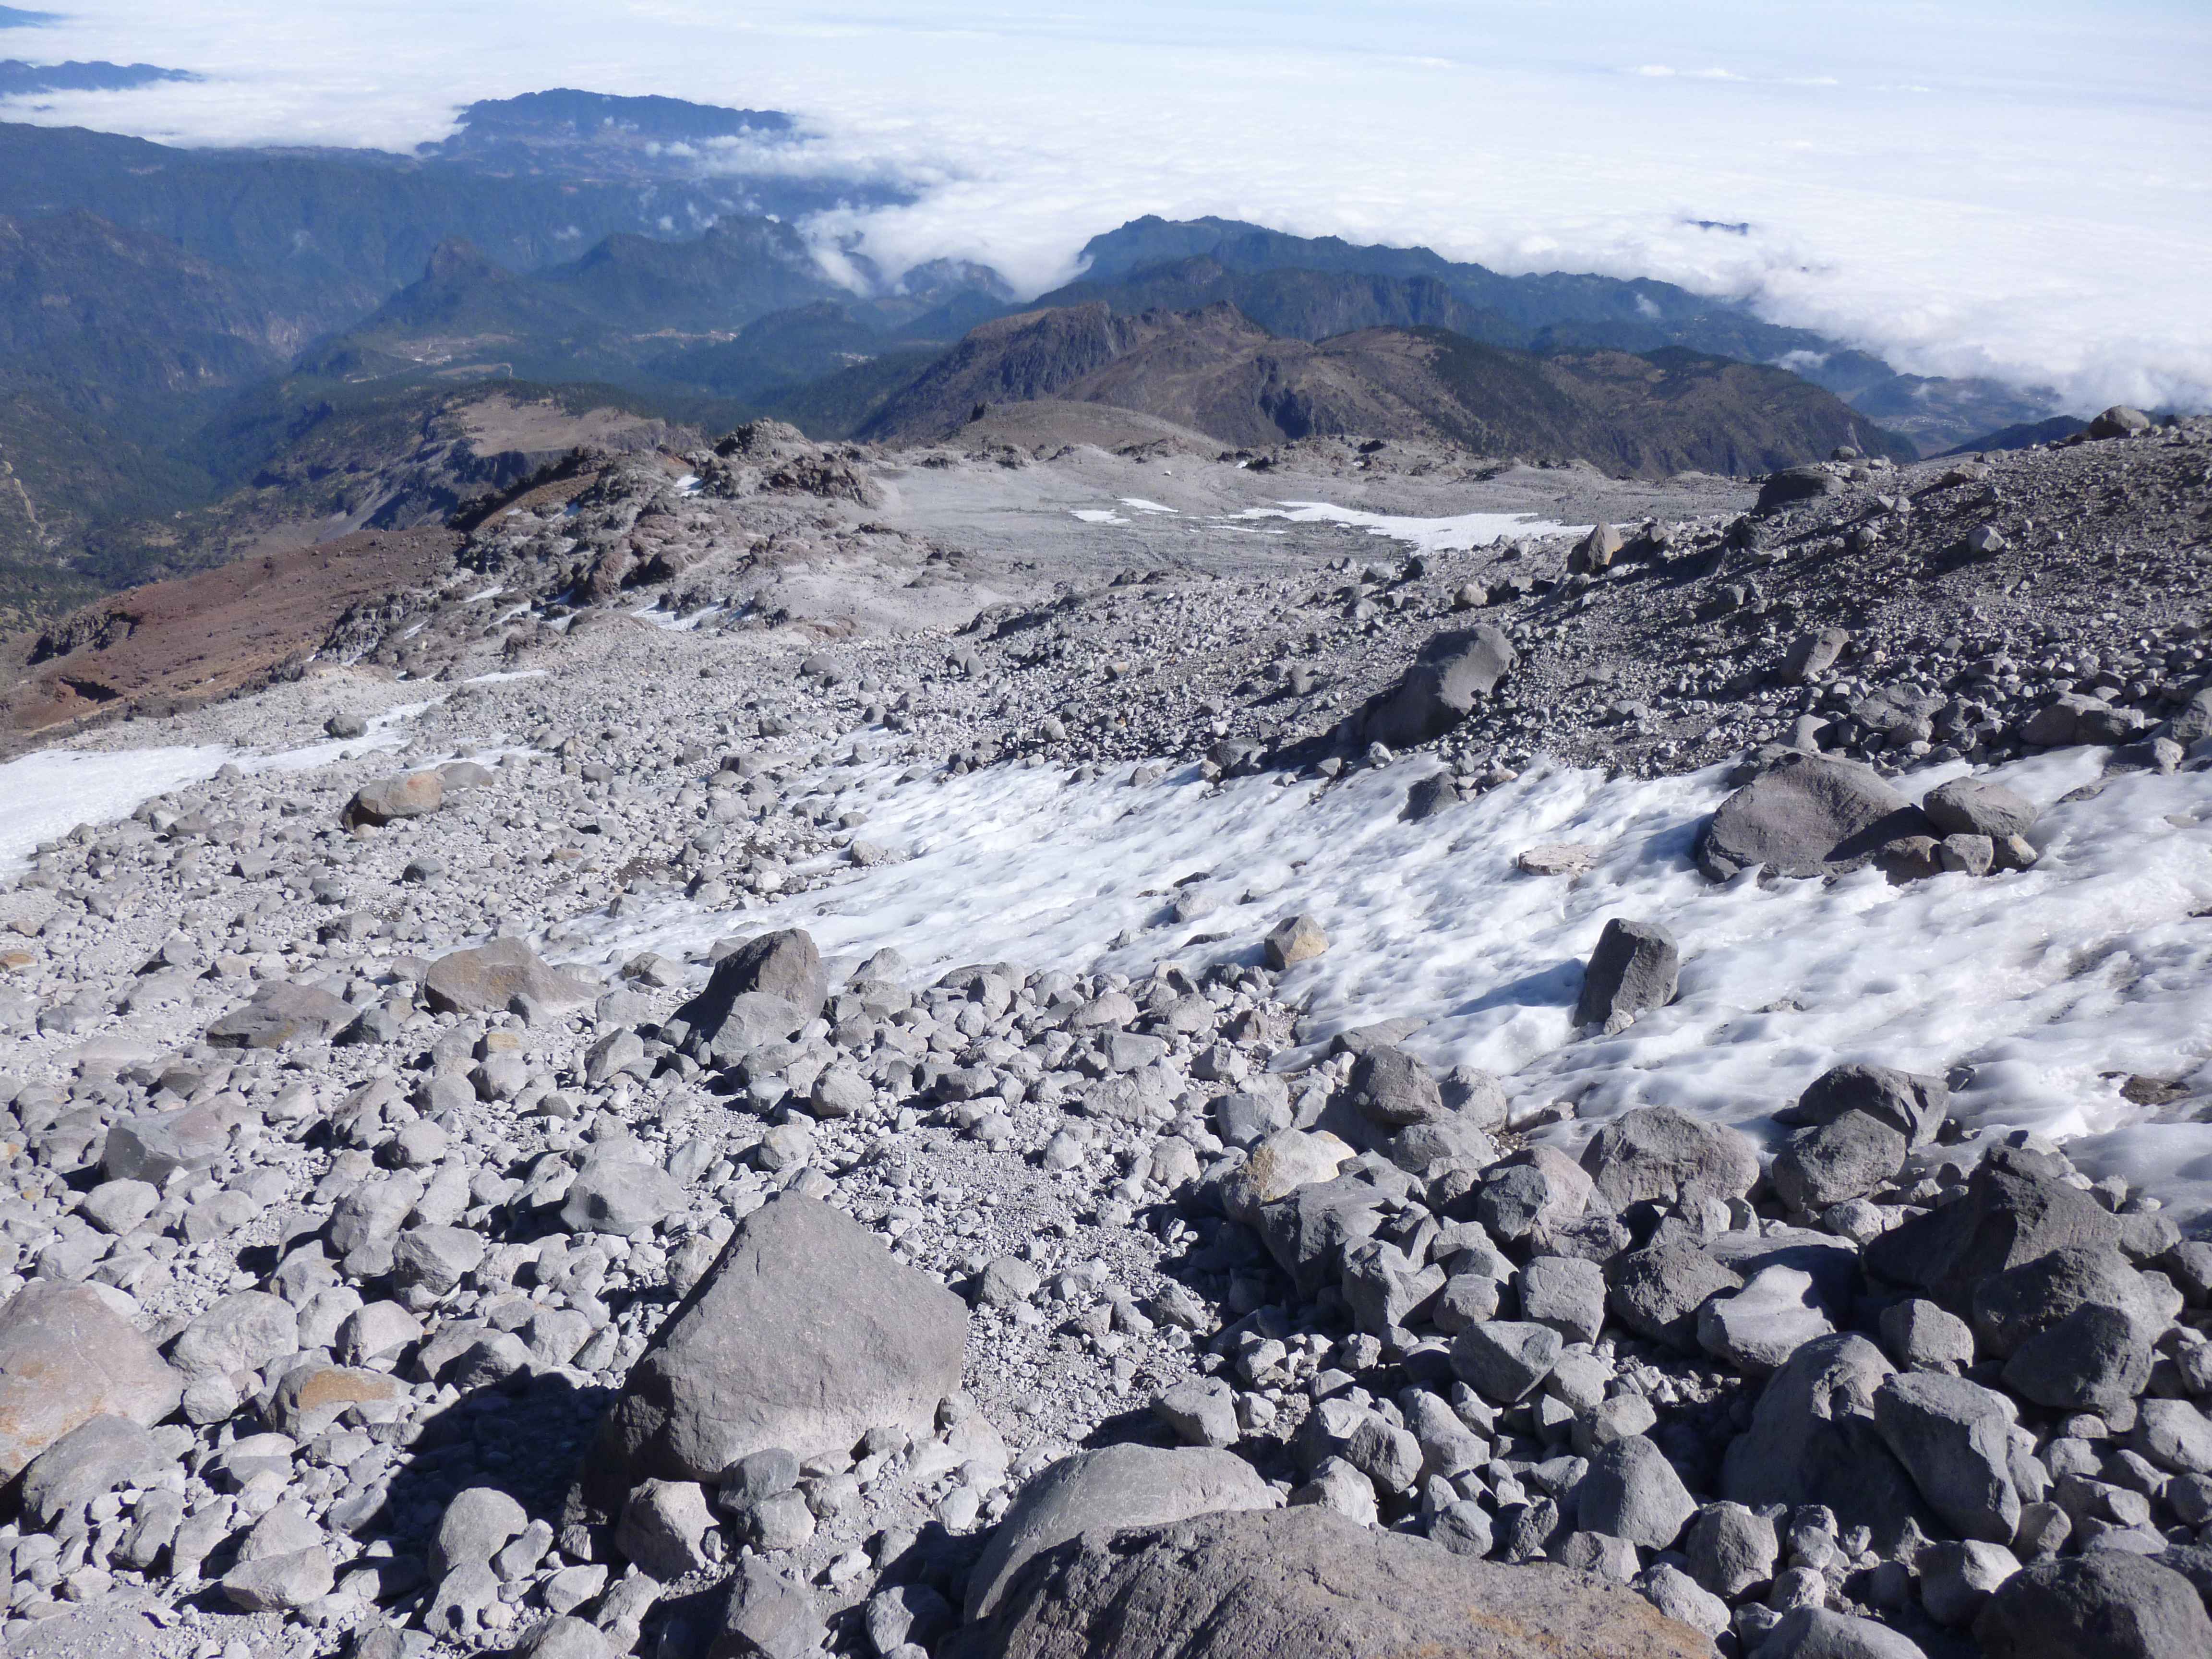
Looking north down the glacier, from near the summit.
Looking down the glacier. The Piedra Grande hut is visible in the top right corner. The British/Mexican pair are heading up.
Behind me, the glacier shone in the sunlight.
Looking back up the glacier.
In daylight, route finding was easy. I retraced my path across nearly level terrain back to the top of the labyrinth.
The top of the labyrinth.
In sunshine the labyrinth ice had begun warming, creating better traction, so I opted to descend along the right hand side. This gave me a good view of the left-hand route I’d ascended in the dark.

View from the right hand side of the labyrinth. I ascended the series of gullies furthest from this vantage point.
Descending the labyrinth was a bit awkward in places, but nowhere near as difficult as the morning’s ascent. When I reached my tent I broke camp, dumped my extra water, and packed up to descend back to the Piedra Grande hut. Below my campsite, the route transitioned back to scree.

Heading down the mountain through scree fields.

Piedra Grande hut below.
Once back at the hut I cooked up some lunch, chatted with other climbers, and relaxed in the sun until the Cancholases arrived for the 4×4 drive back to Tlachichuca. On the way out I enjoyed lovely views of the mountain in the clear afternoon air.

Looking back at Orizaba.
Once finished, it felt like Orizaba had gone by quickly. I had come prepared for several days, allowing myself additional time on the mountain in case I felt like I needed more acclimatization, and to accommodate the potential for high winds preventing access to the summit. Iztaccihuatl before Orizaba was an excellent decision, and made for a very thorough acclimatization course – I experienced no symptoms of altitude sickness, and felt strong throughout the climb.
Climbing Orizaba solo was very rewarding, especially because my planning for the trip worked out perfectly – afterwards I almost felt as if I had over-prepared in regards to my schedule, food, and gear. Reaching the summit after all of my preparation felt like a great personal accomplishment. Spending a night alone, high on a mountain, is a powerful experience.
Accessibility
Pico de Orizaba’s chief obstacle is that of elevation – a careful acclimatization schedule is critical for avoiding potentially dangerous altitude sickness and to climb Orizaba safely.
a firsthand report and photographs of a 4m wide, 4-8m deep crevasse at 5500m elevation, near the top of the Jamapa Glacier normal route, were given to me in mid February, 2016. The crevasse was hidden, covered with a thin and unstable snowbridge, which collapsed underneath a climber. If planning a climb of Orizaba, do not assume that the glacier will be stable or devoid of crevasse hazards. This crevasse presents a significant hazard, and if it opens up further will make the climb far more difficult technically. Check up to date mountain conditions with locals or recent climbers before committing to a climb, and be aware of the constant potential for hidden crevasses when on any glacier. Roping up with a guide or partner is only a useful safety technique if all members of the rope team are trained in self arrest, glacier travel techniques, and basic rescue. Climbing solo on any glacier always involves a certain level of inherent risk.
Pico de Orizaba is easily accessible. From the Mexico City airport, take an airport taxi to the TAPO bus station, where you can catch a first class bus to Puebla’s CAPU bus station (~2 hours transit time). From the CAPU station a second class (multiple stop) bus runs to Tlachichuca (~2.5 hours transit time). There are information booths in both bus terminals, and staff are very helpful in assistance finding ticketing/departure gates. For perspective, I speak less than ten words of Spanish, and didn’t have any serious issues finding my way.
Orizaba can be climbed year round, but the dry season occurs from November through March, and this is the most popular time to climb.
In Tlachichuca I used the services of the Cancholas family for lodging and transportation to/from the mountain, and I was very pleased. The Cancholas compound has comfortable beds, showers with plenty of hot water, and ample space for sorting/packing gear. Breakfasts and dinners were delicious and filling, with a great balance of fresh food. They even provided beer after my climb, and were eager to accommodate their guests as much as possible. When I first walked into the compound, Maribel greeted me with “Welcome! This is your home.”, a statement which they certainly lived up to during my stay. Finally, their service was affordable and easy to book in advance. You can view their website here: http://www.summitorizaba.com/